
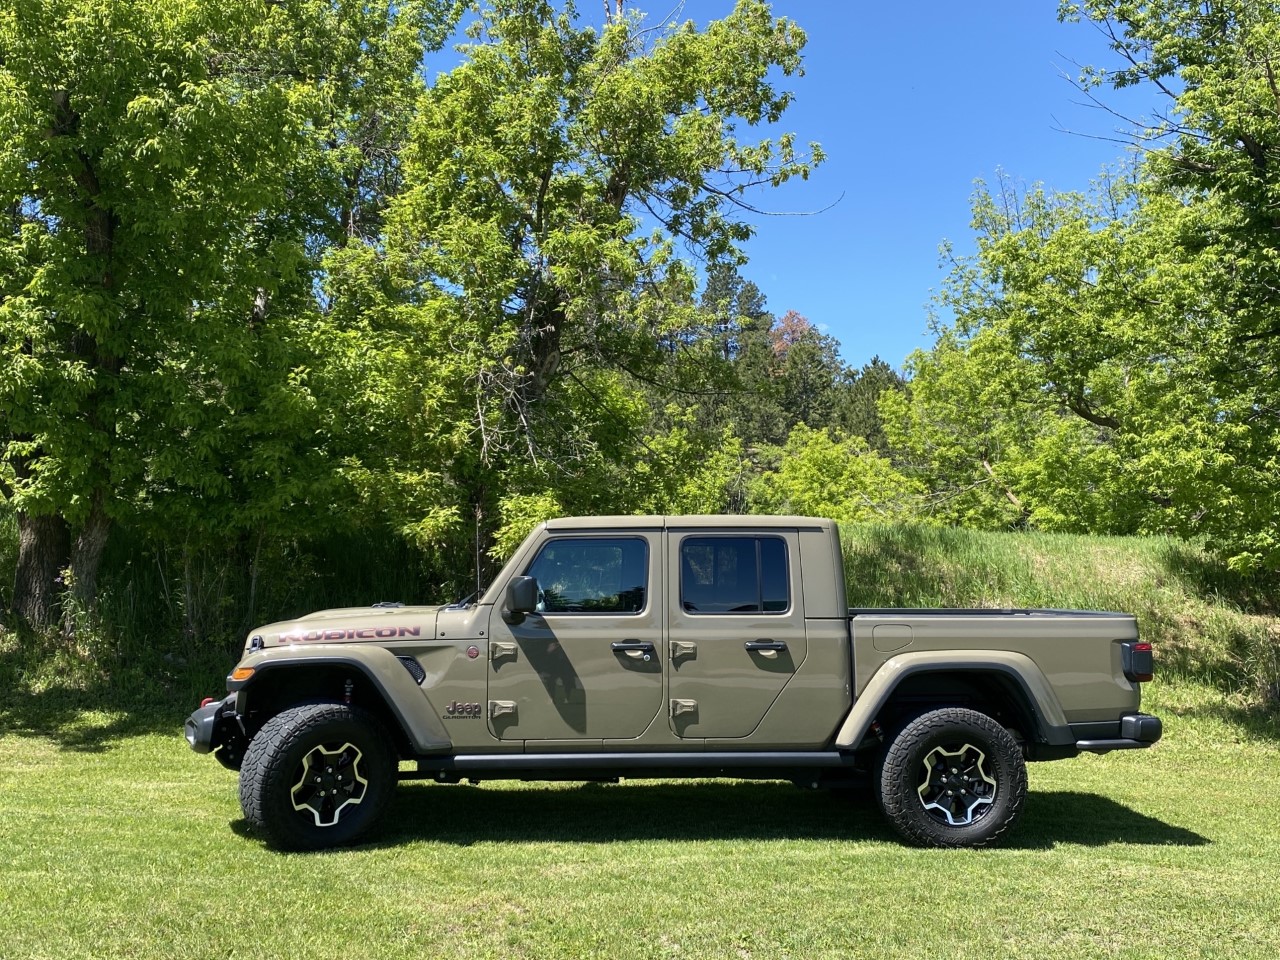
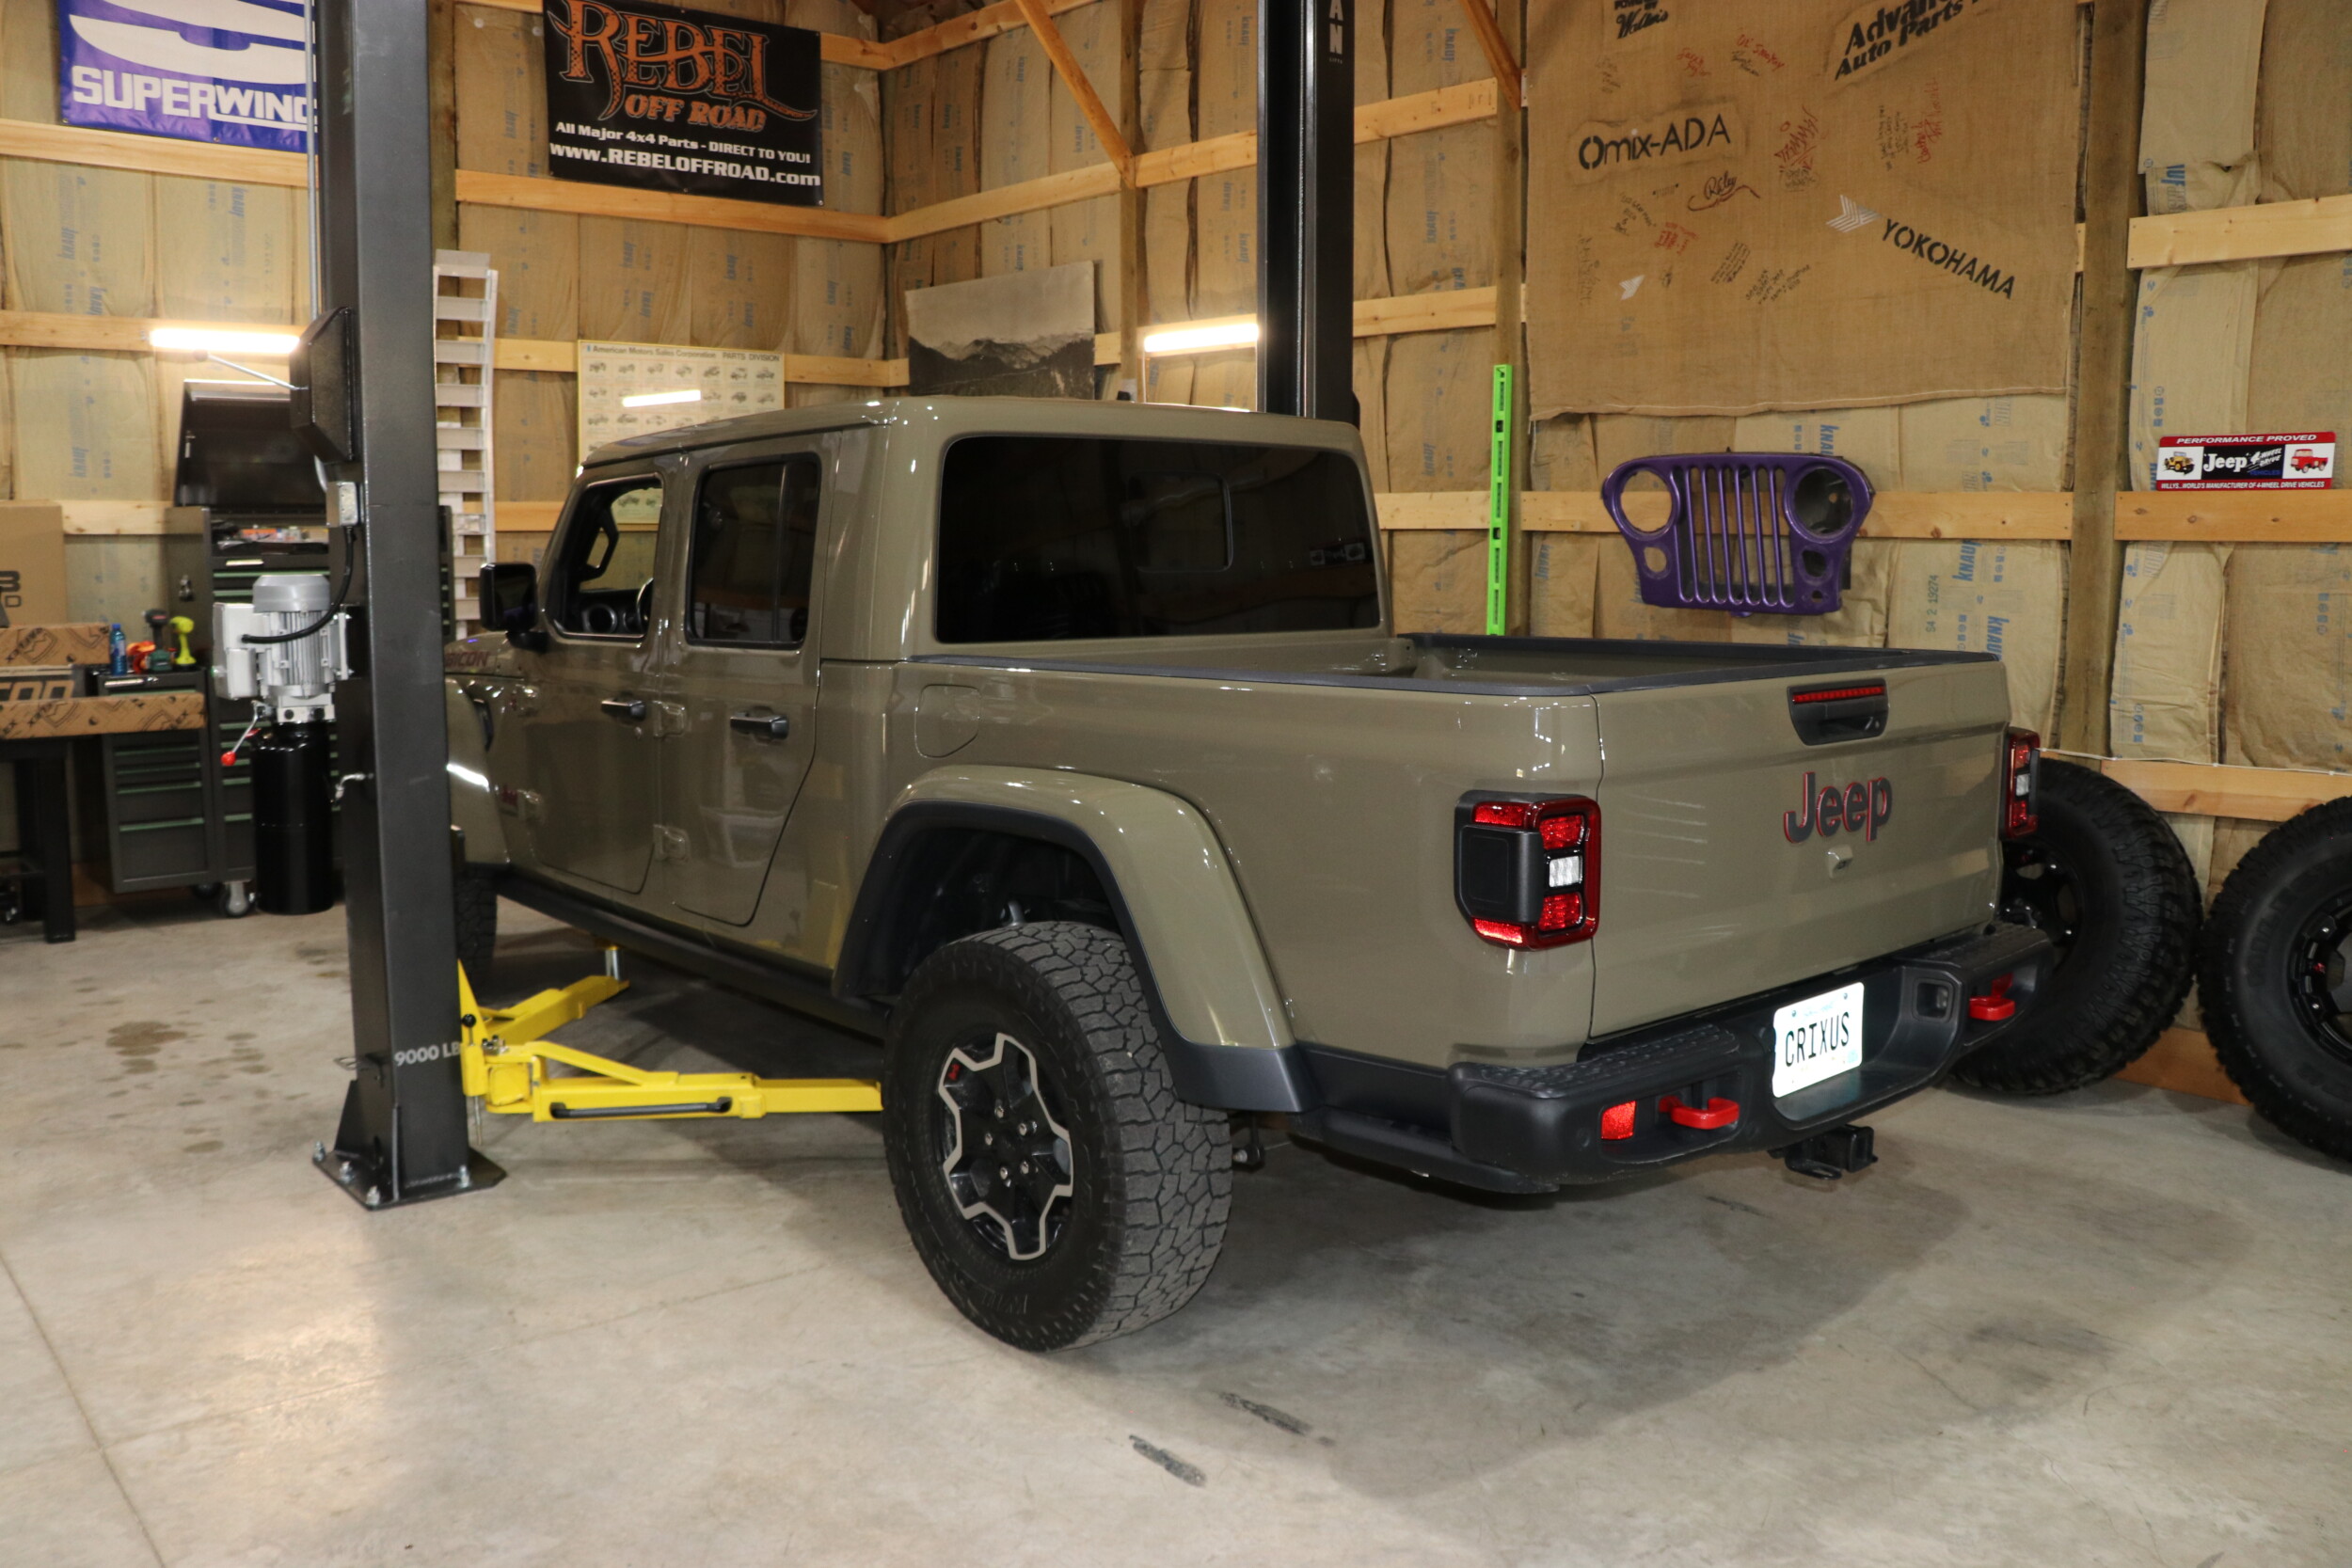
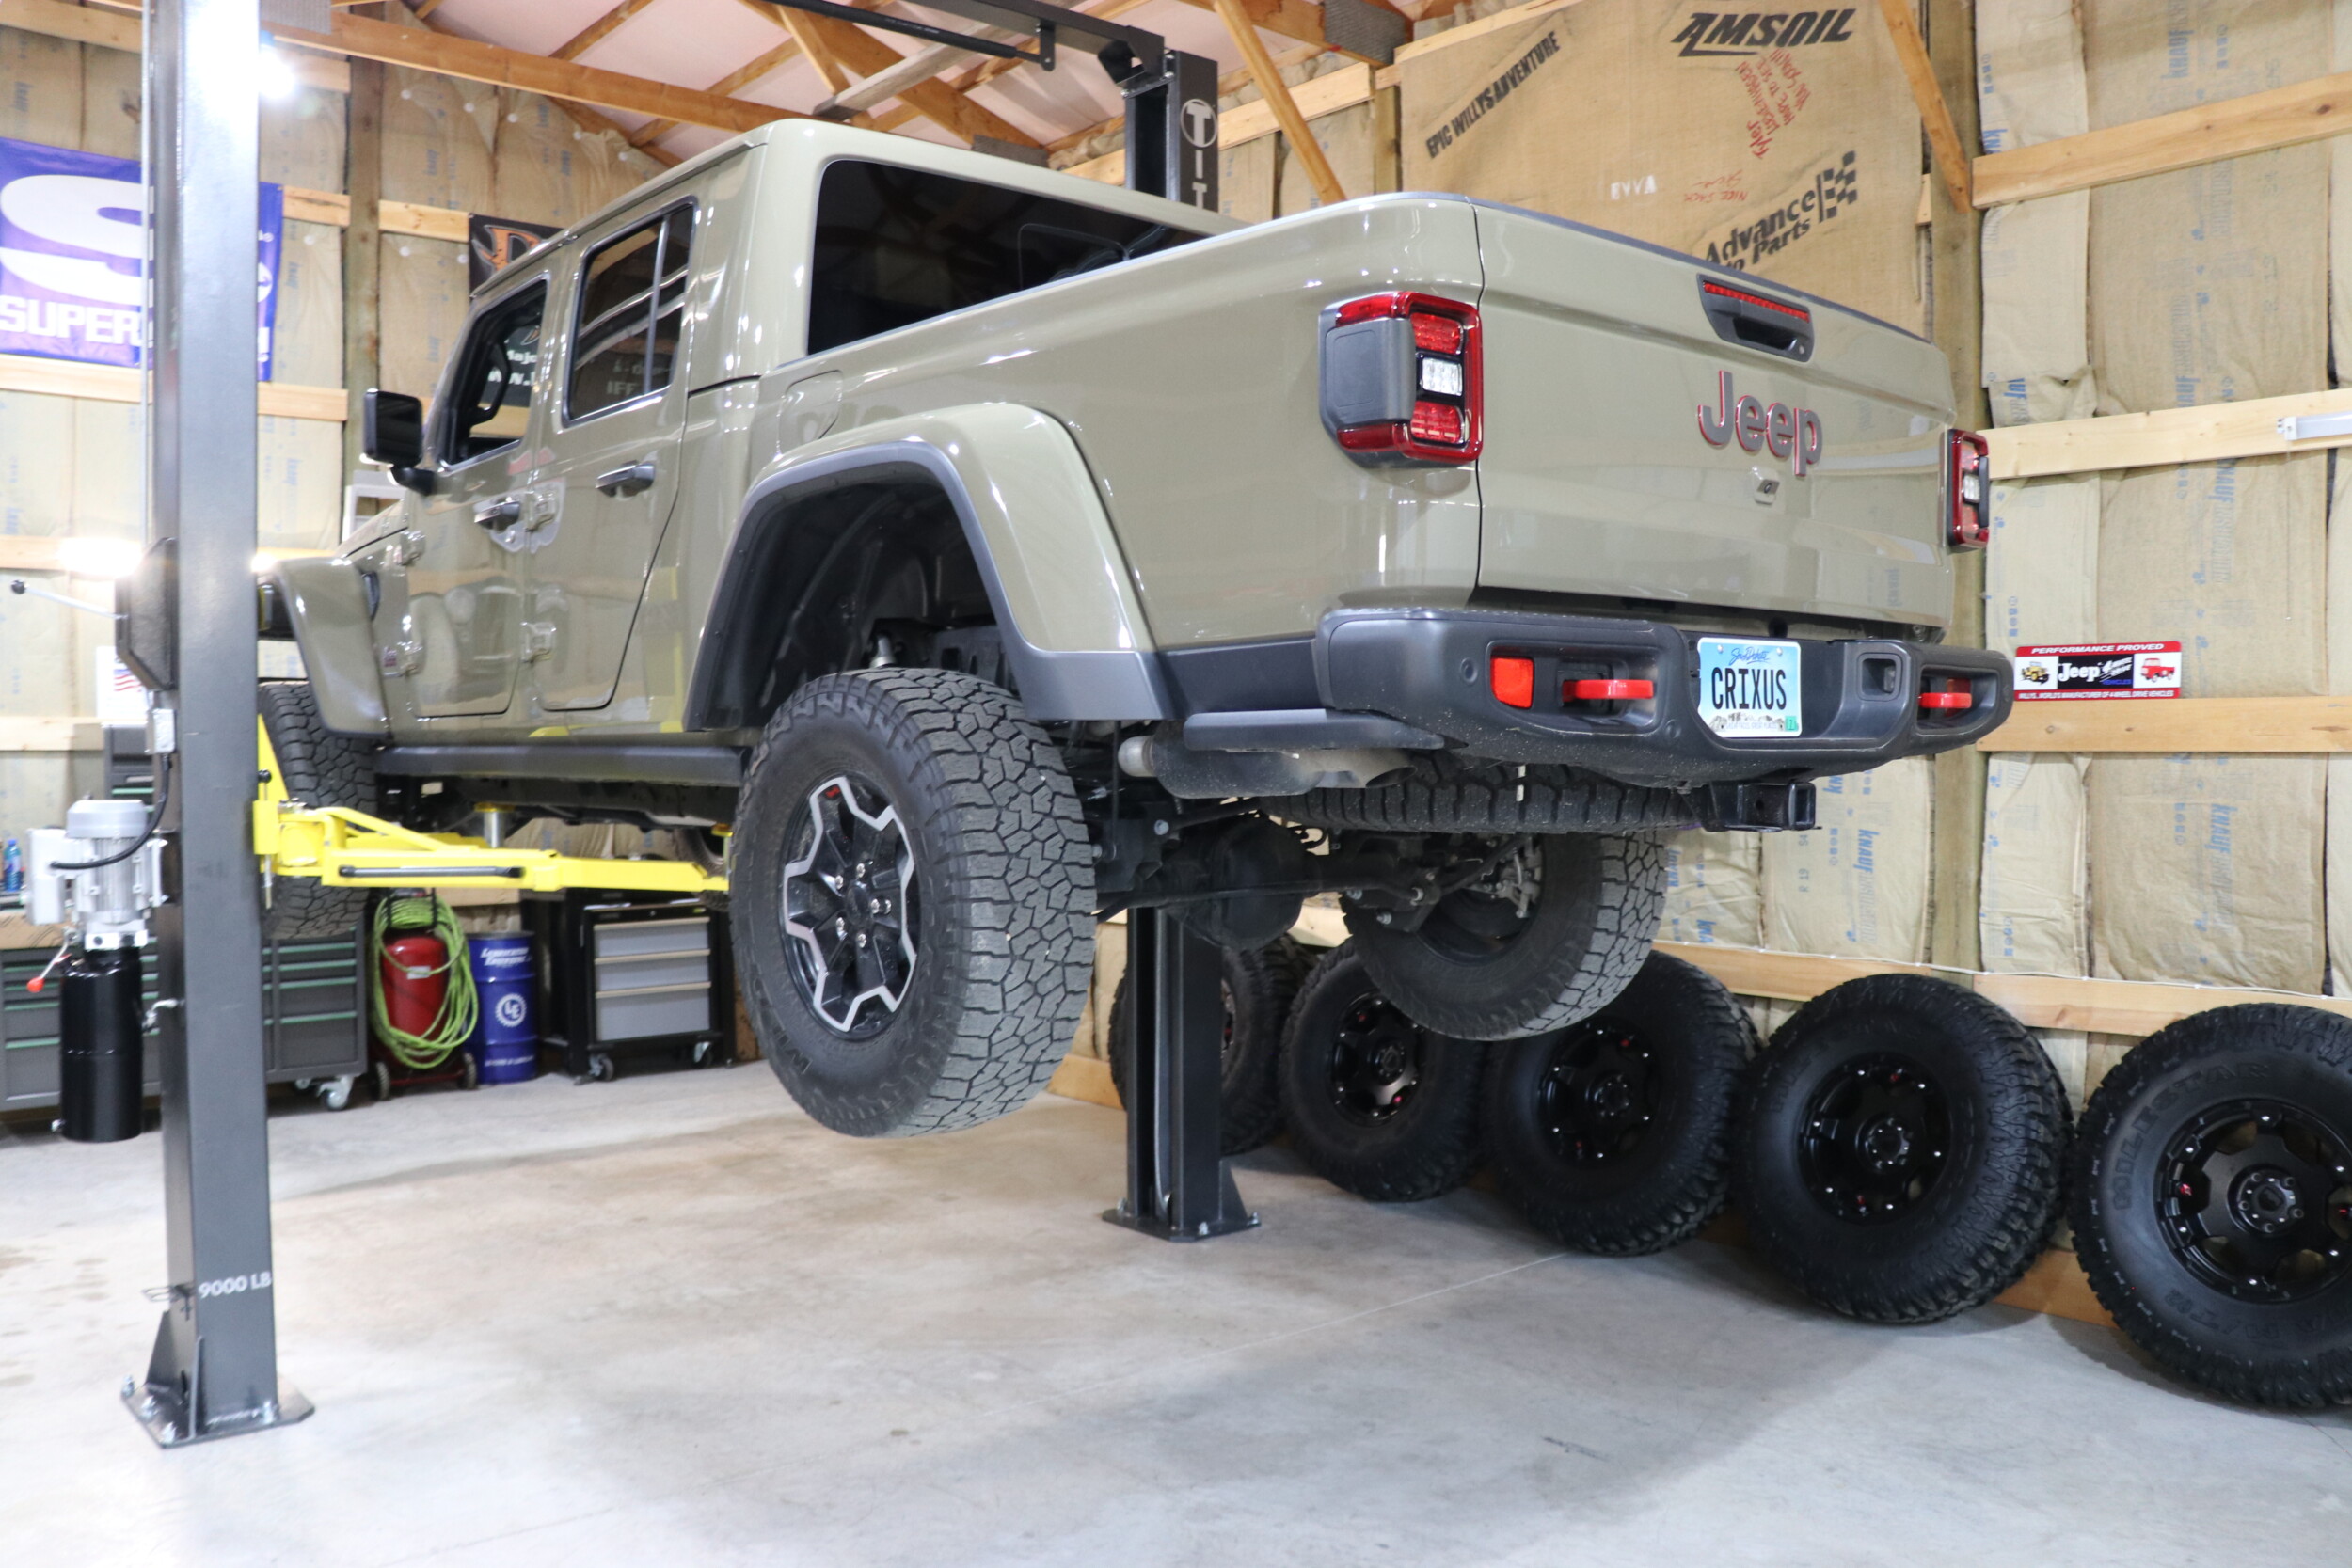
“Crixus”
The word “Gladiator” in itself creates visions of grandeur and strength. A story where adventure, hardship and myth collide. Stories become legend and will be retold around the campfire for generations to come. Since the introduction of the Jeep Gladiator, thousands have had a more modern vision of the same strength, adventure and grandeur. Follow along as we build “Crixus” the Jeep Gladiator JT!
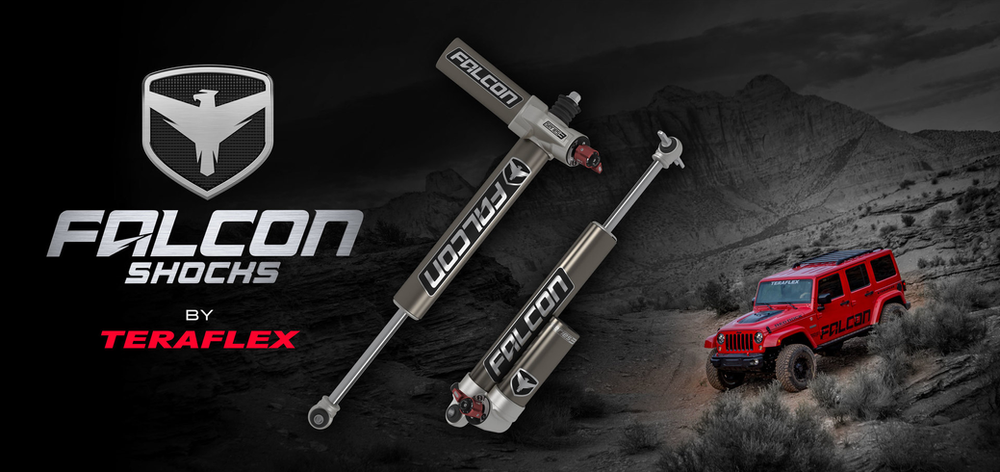
We recently acquired a 2020 Jeep Gladiator Rubicon that we have dubbed “Crixus“. Crixus will be built and used for overland adventures, off-road exploration and industry events. We’ll build and use this vehicle for our own adventures which we will share with the community. We’ll also share why we chose the quality products for this build from the trusted companies known industry wide. One of the most popular and well known names in the industry is Teraflex, our title sponsor for this project.
Who’s Who:
We will be showcasing other fine products and services from past sponsors from our other builds and projects. Milestar will once again, be the tire of choice for this specific build. Any fab work, sand blasting and of course, powder coating, will be done as always by Rugged Werx. Inland Truck Parts & Services will be our experts while we re-gear the Gladiator with Genuine Spicer Gears. New sponsors will be announced soon as we are currently working with various manufacturers and suppliers while we create the vision of this Gladiator build.

How We Choose The Products:
In years of building Jeeps I have had the opportunity to try and experience the quality from several manufacturers. I’ve installed and run everything from Rancho to Old Man Emu, Skyjacker, BDS, Daystar’s Budget lifts and yes, Teraflex. In this time I have found that Teraflex has become my “go-to” when it comes to Jeep suspension products.
With everything needed from Teraflex, Nomad Wheels, Milestar, Falcon and DV8 we ripped into the project to begin the build. Since the front end is a bit more complex, I decided to get right to it and start there.
The Build:
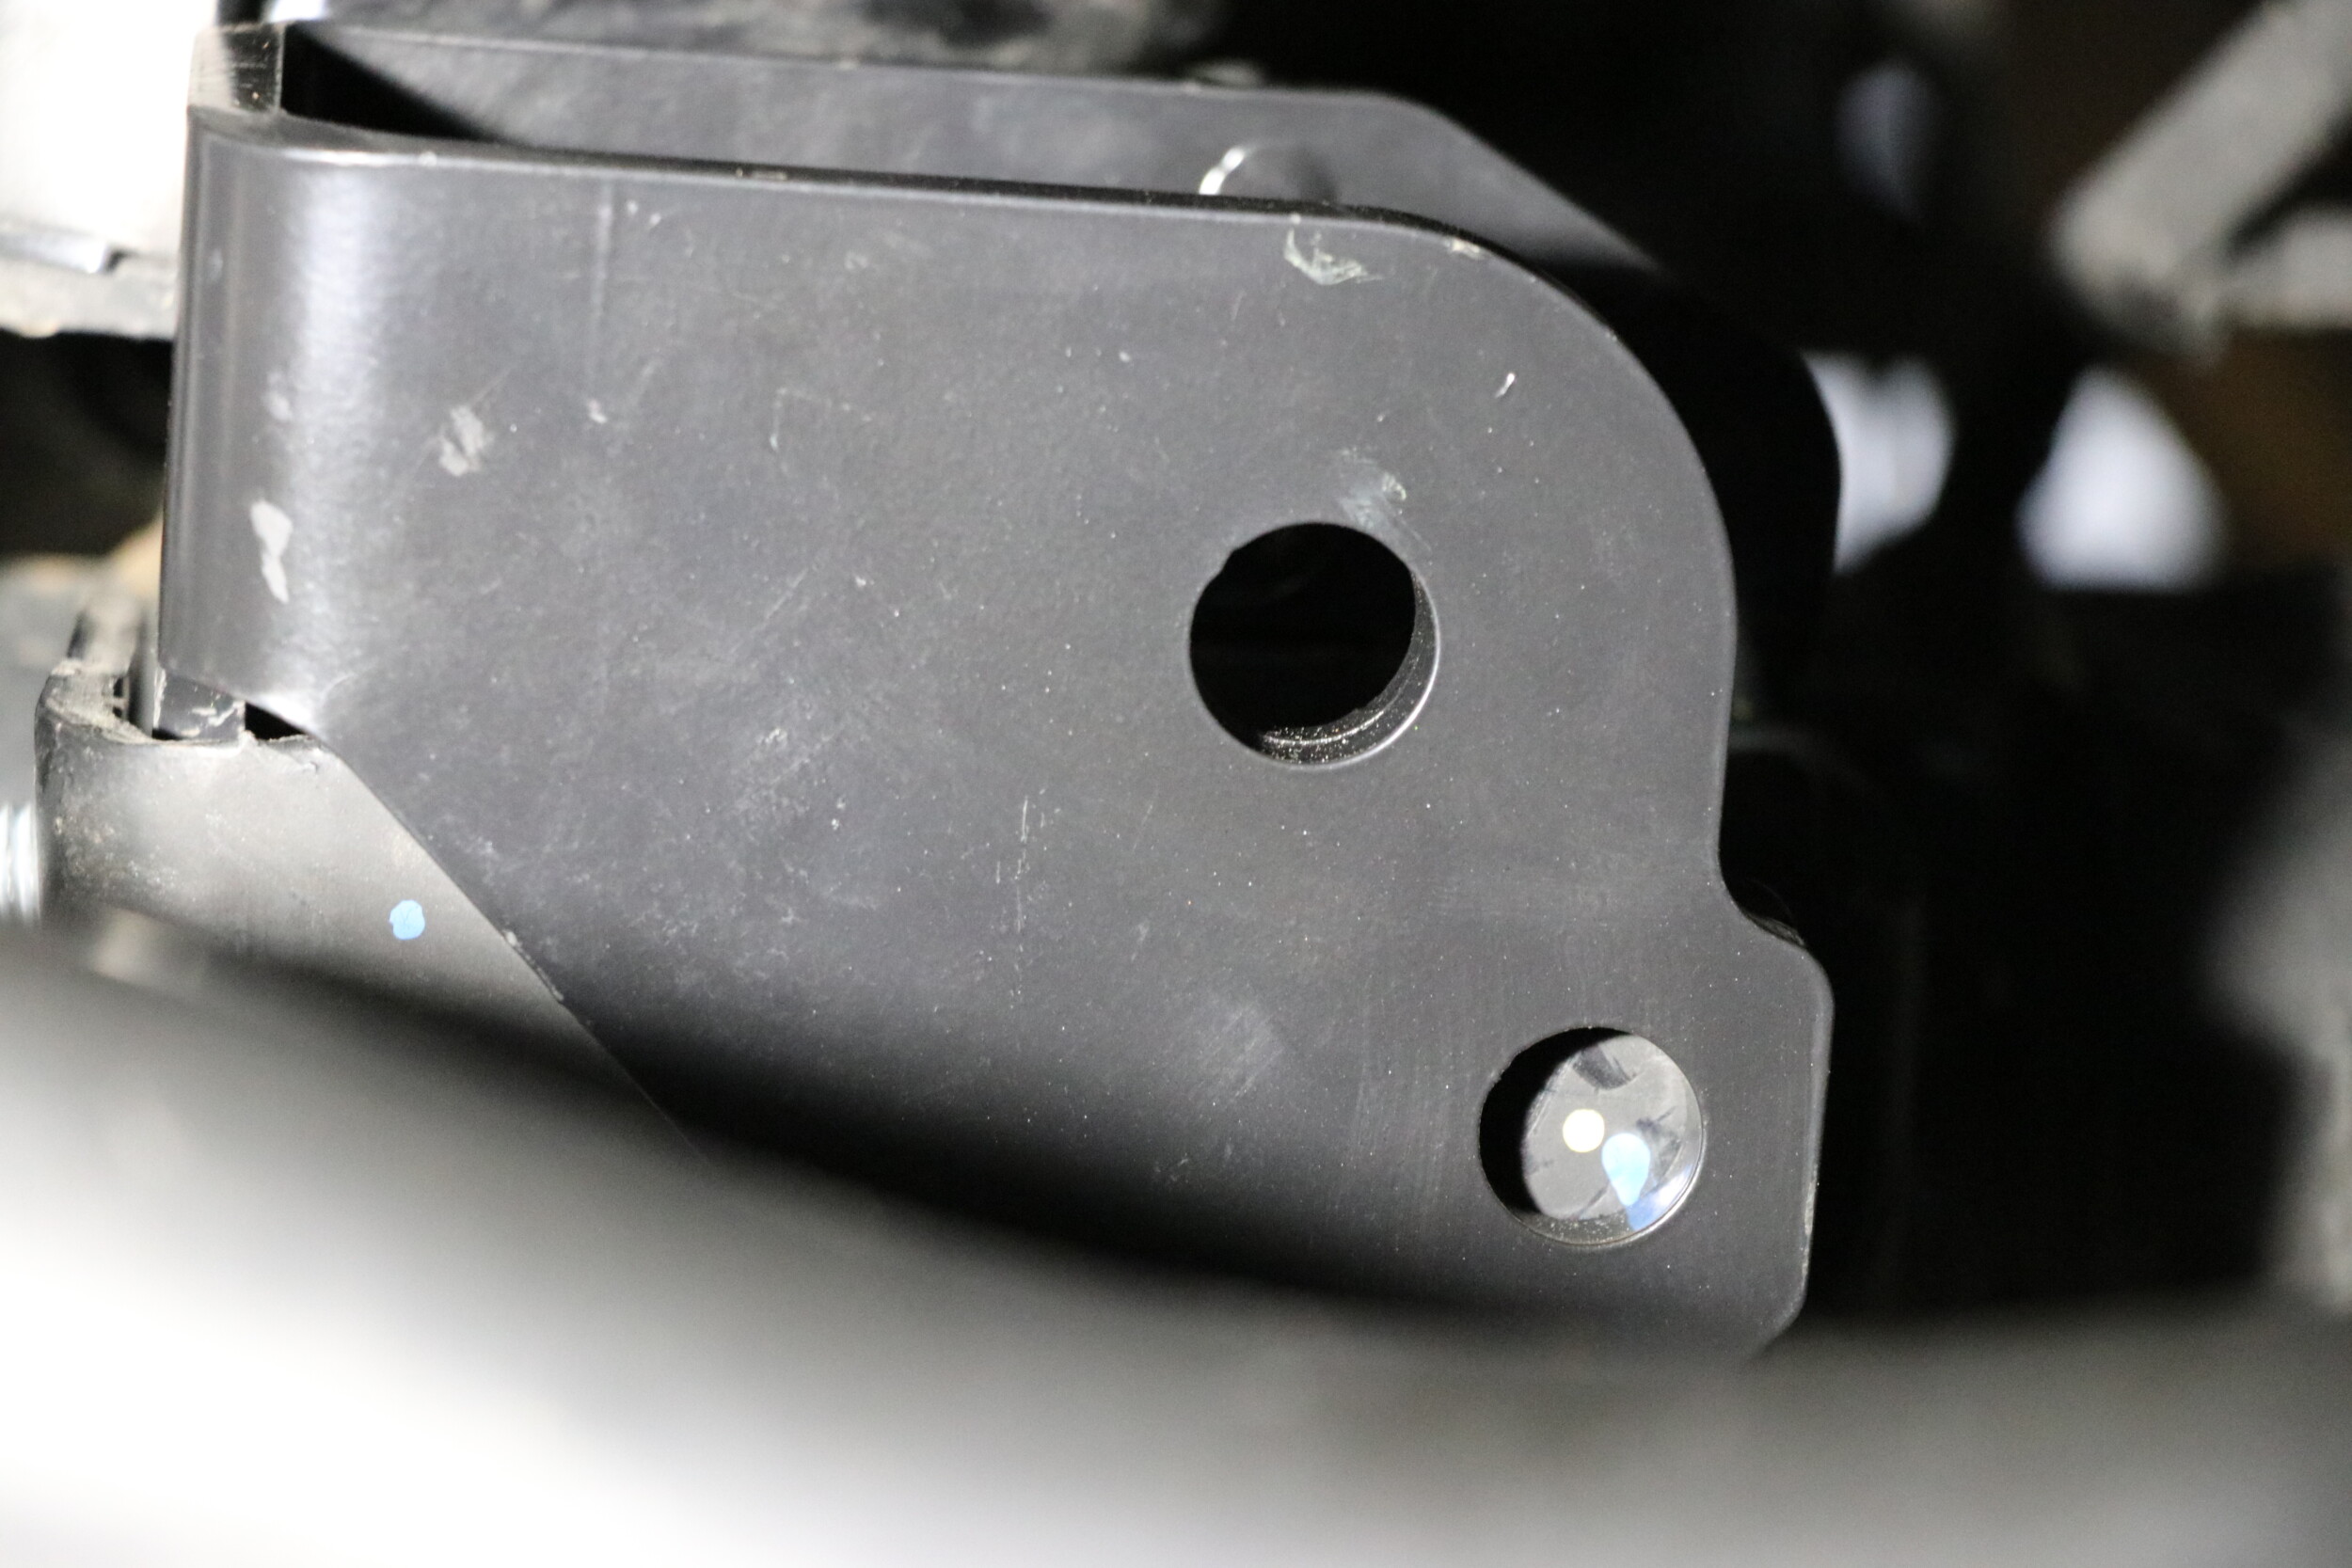
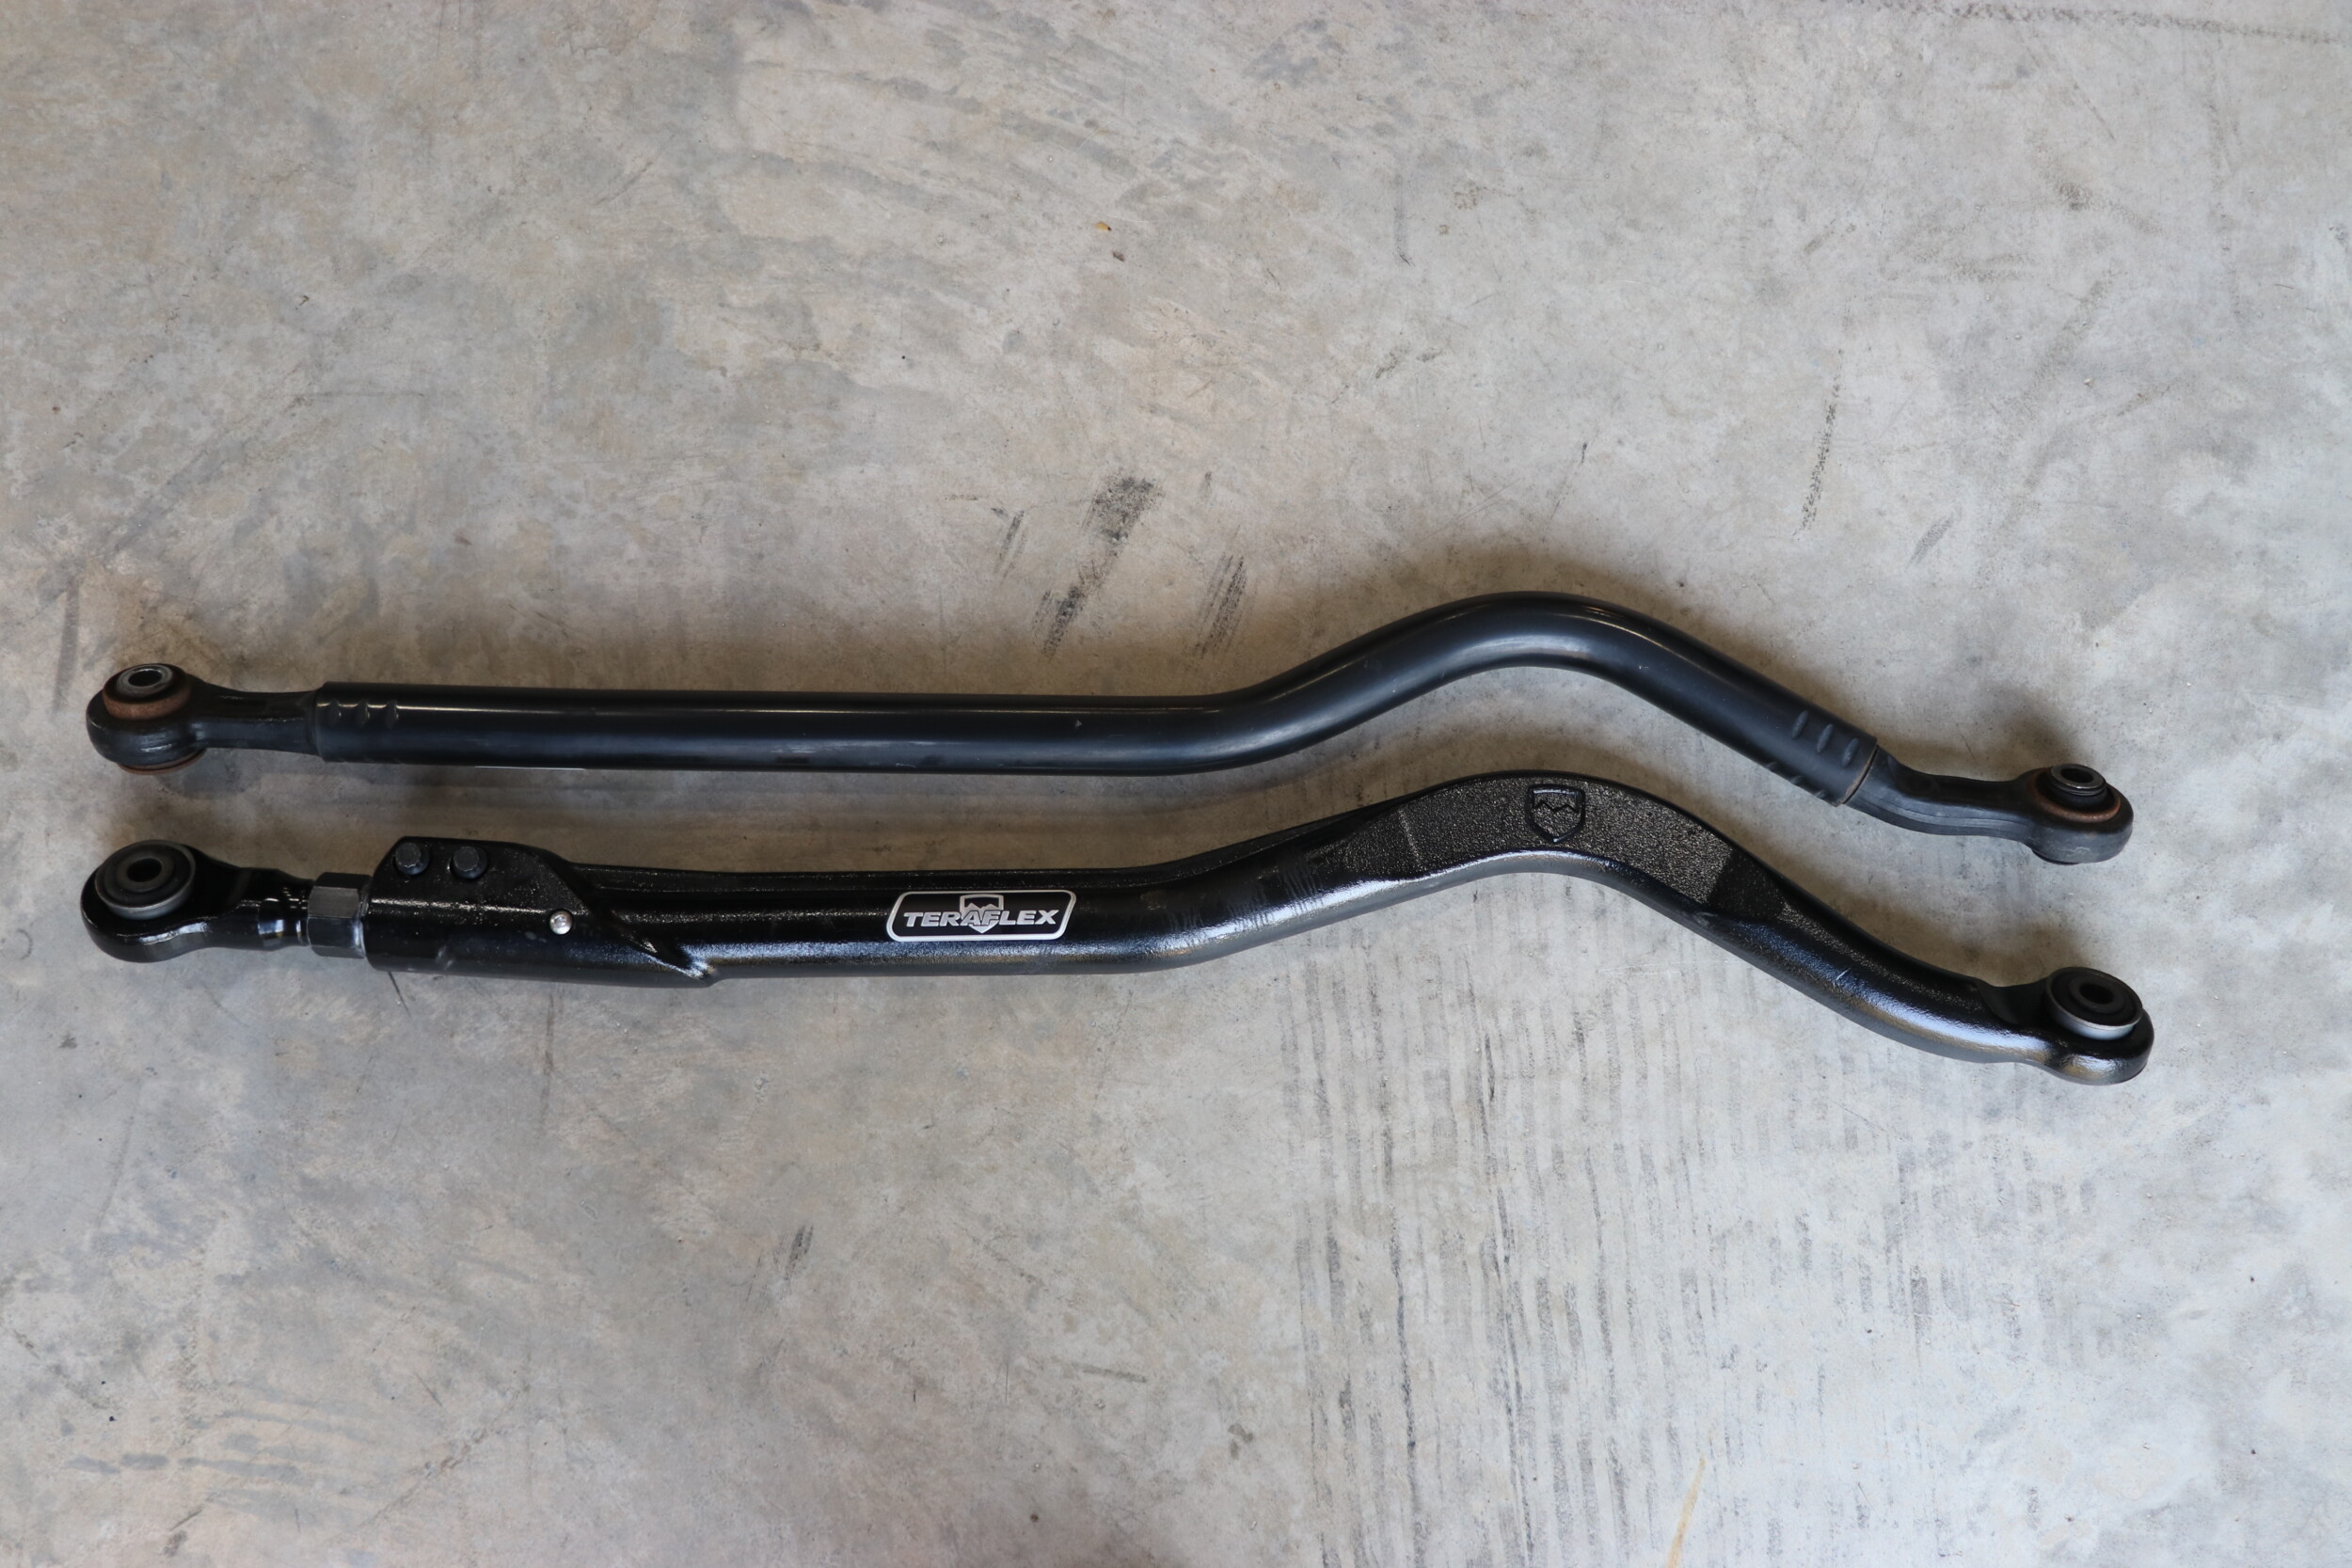
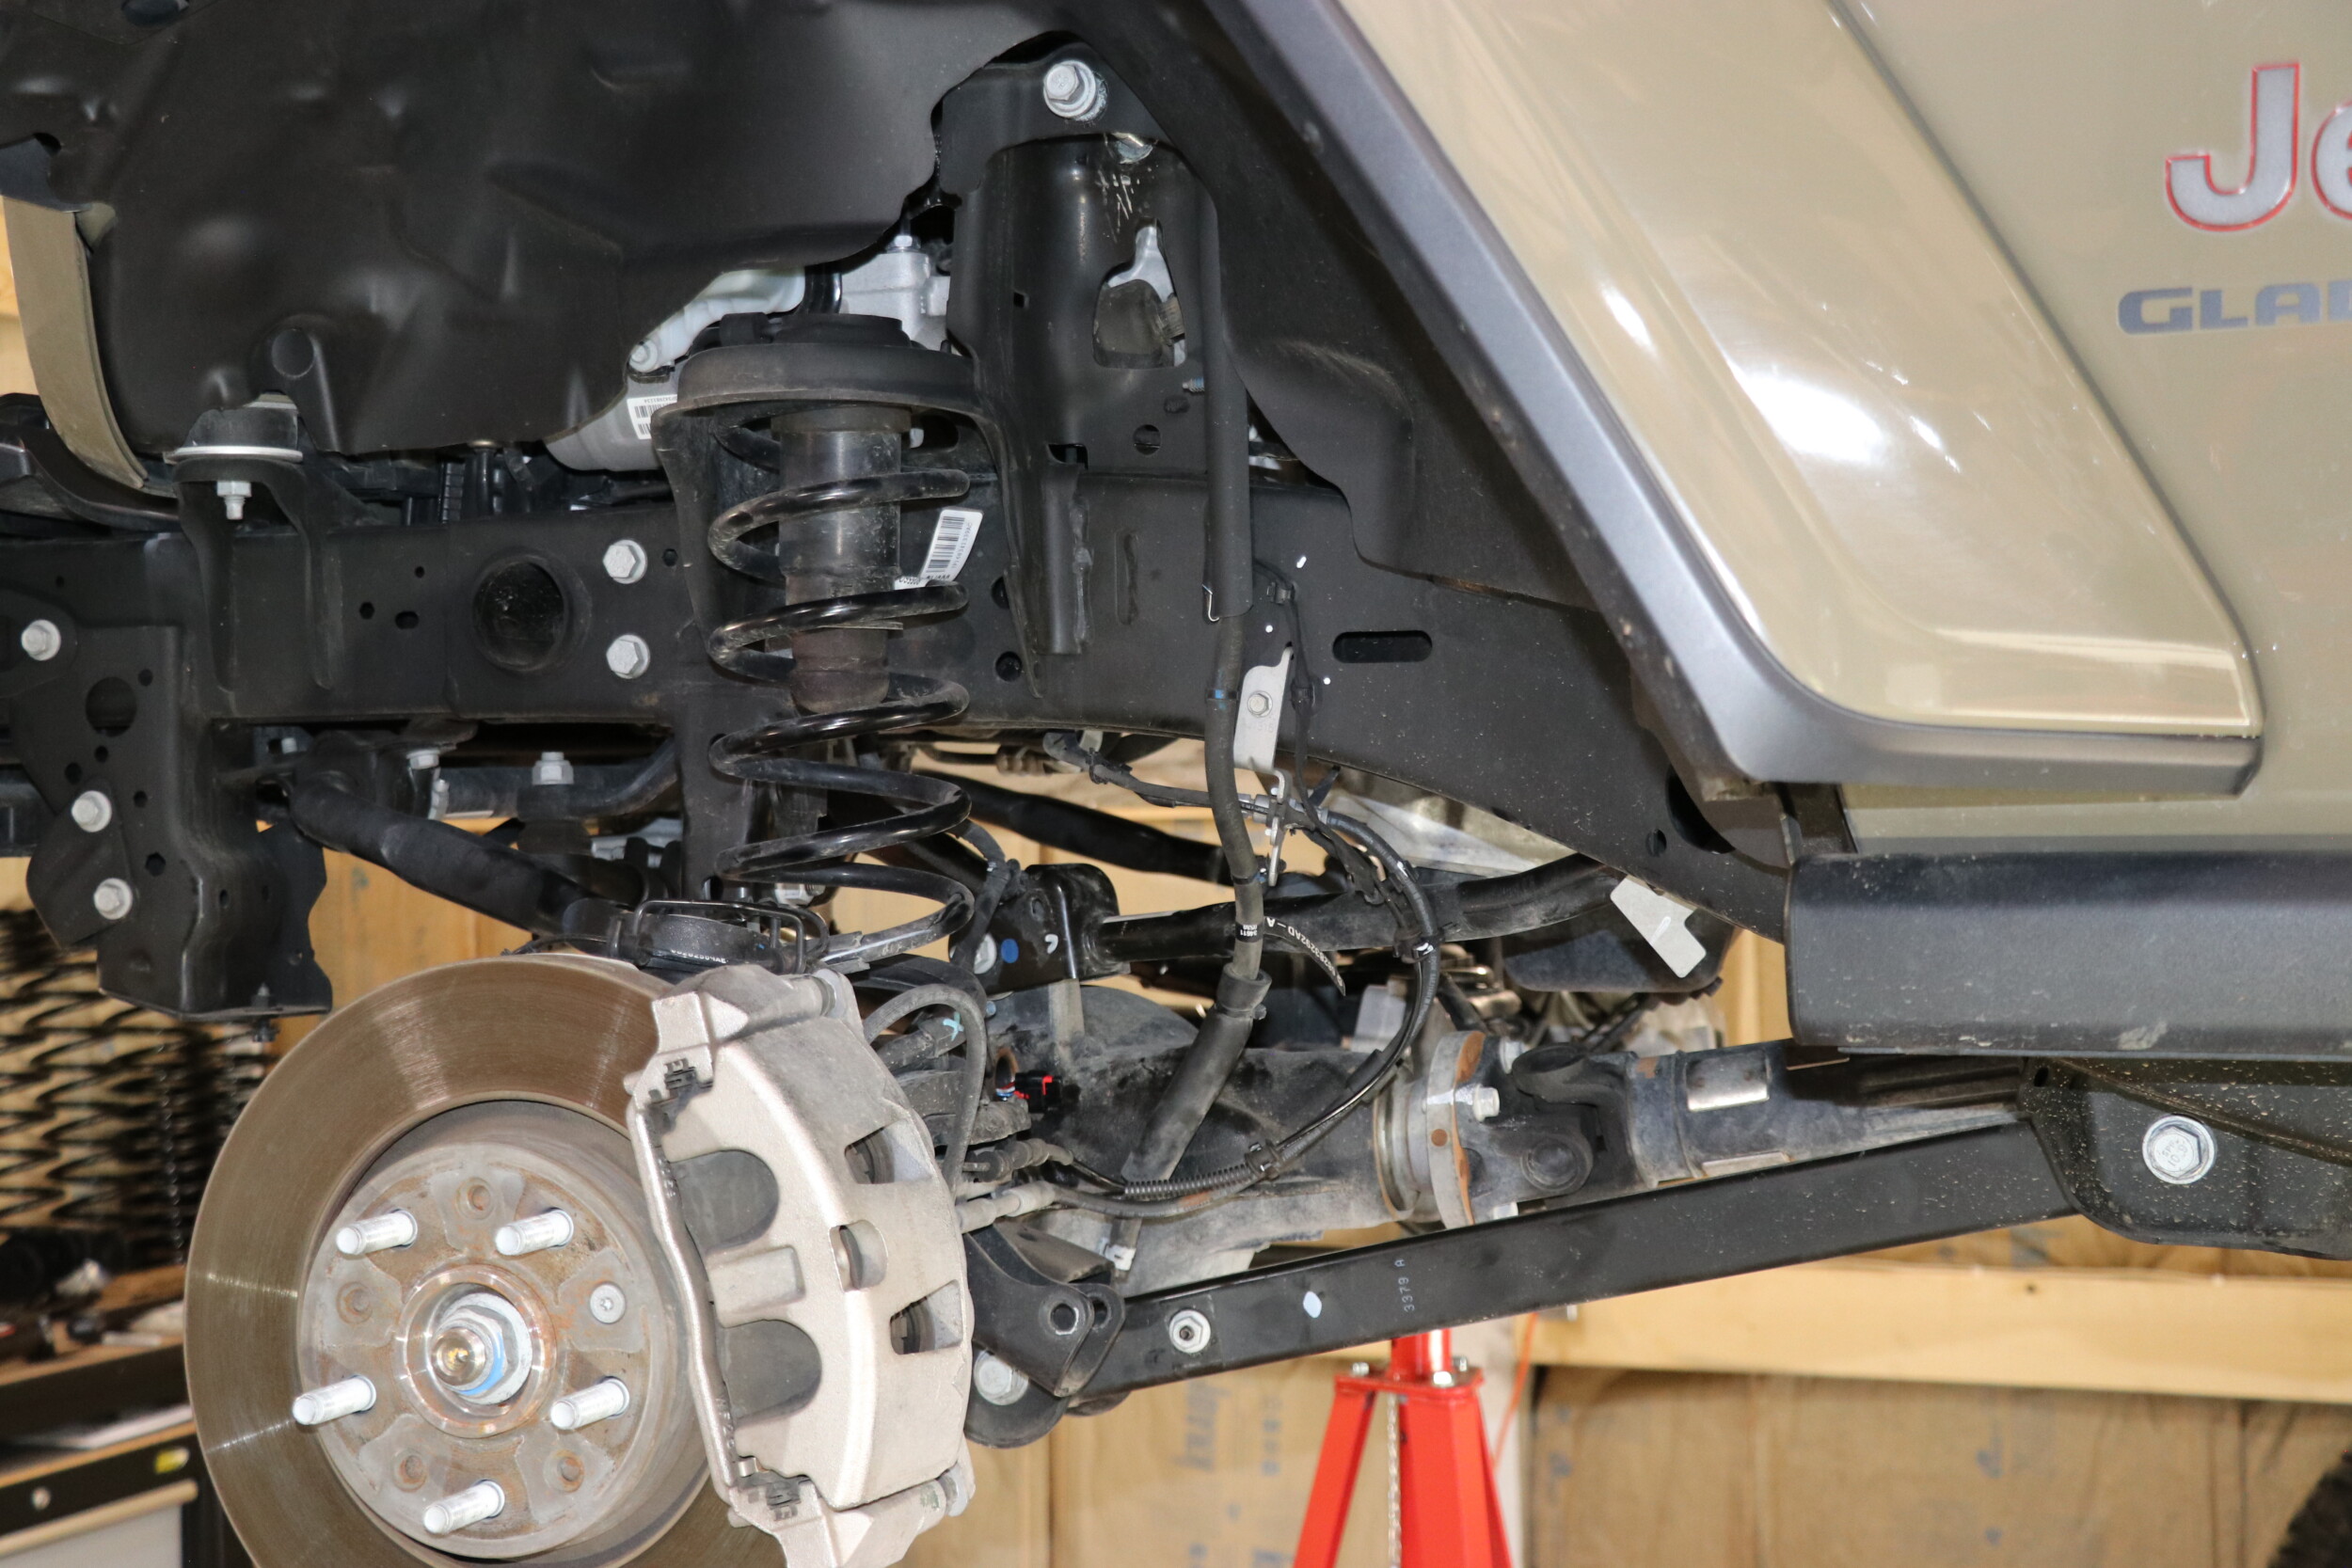
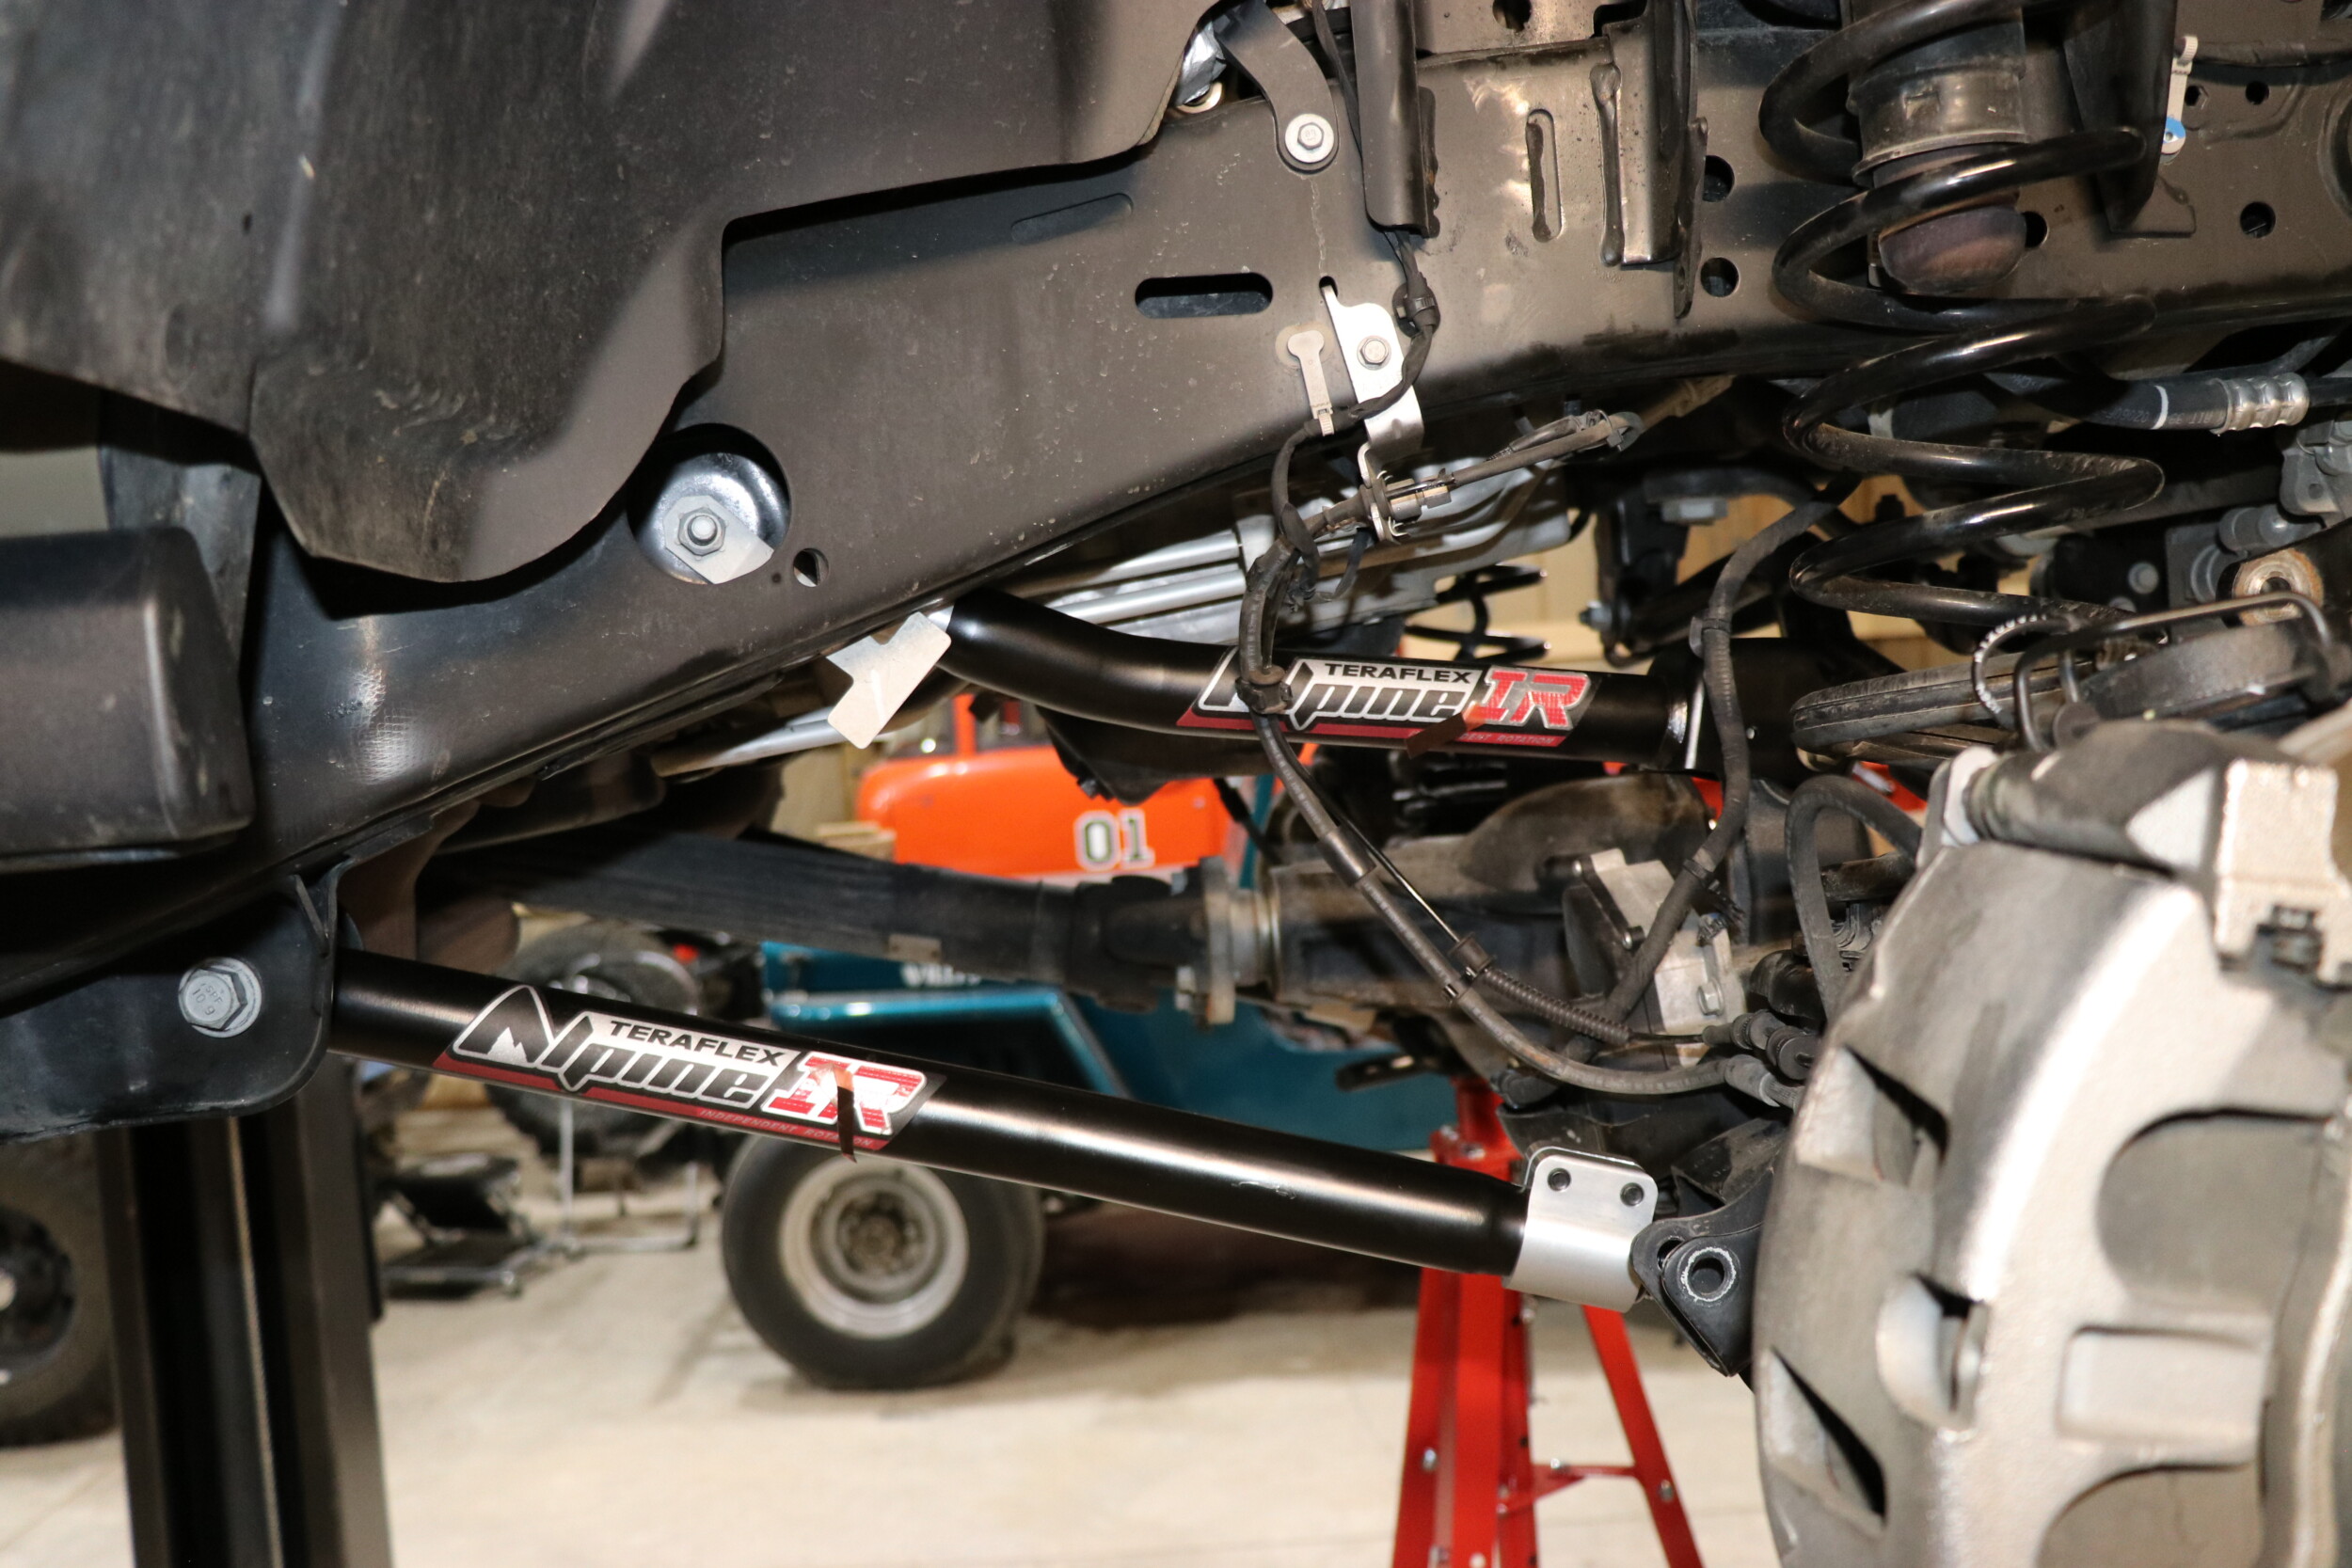
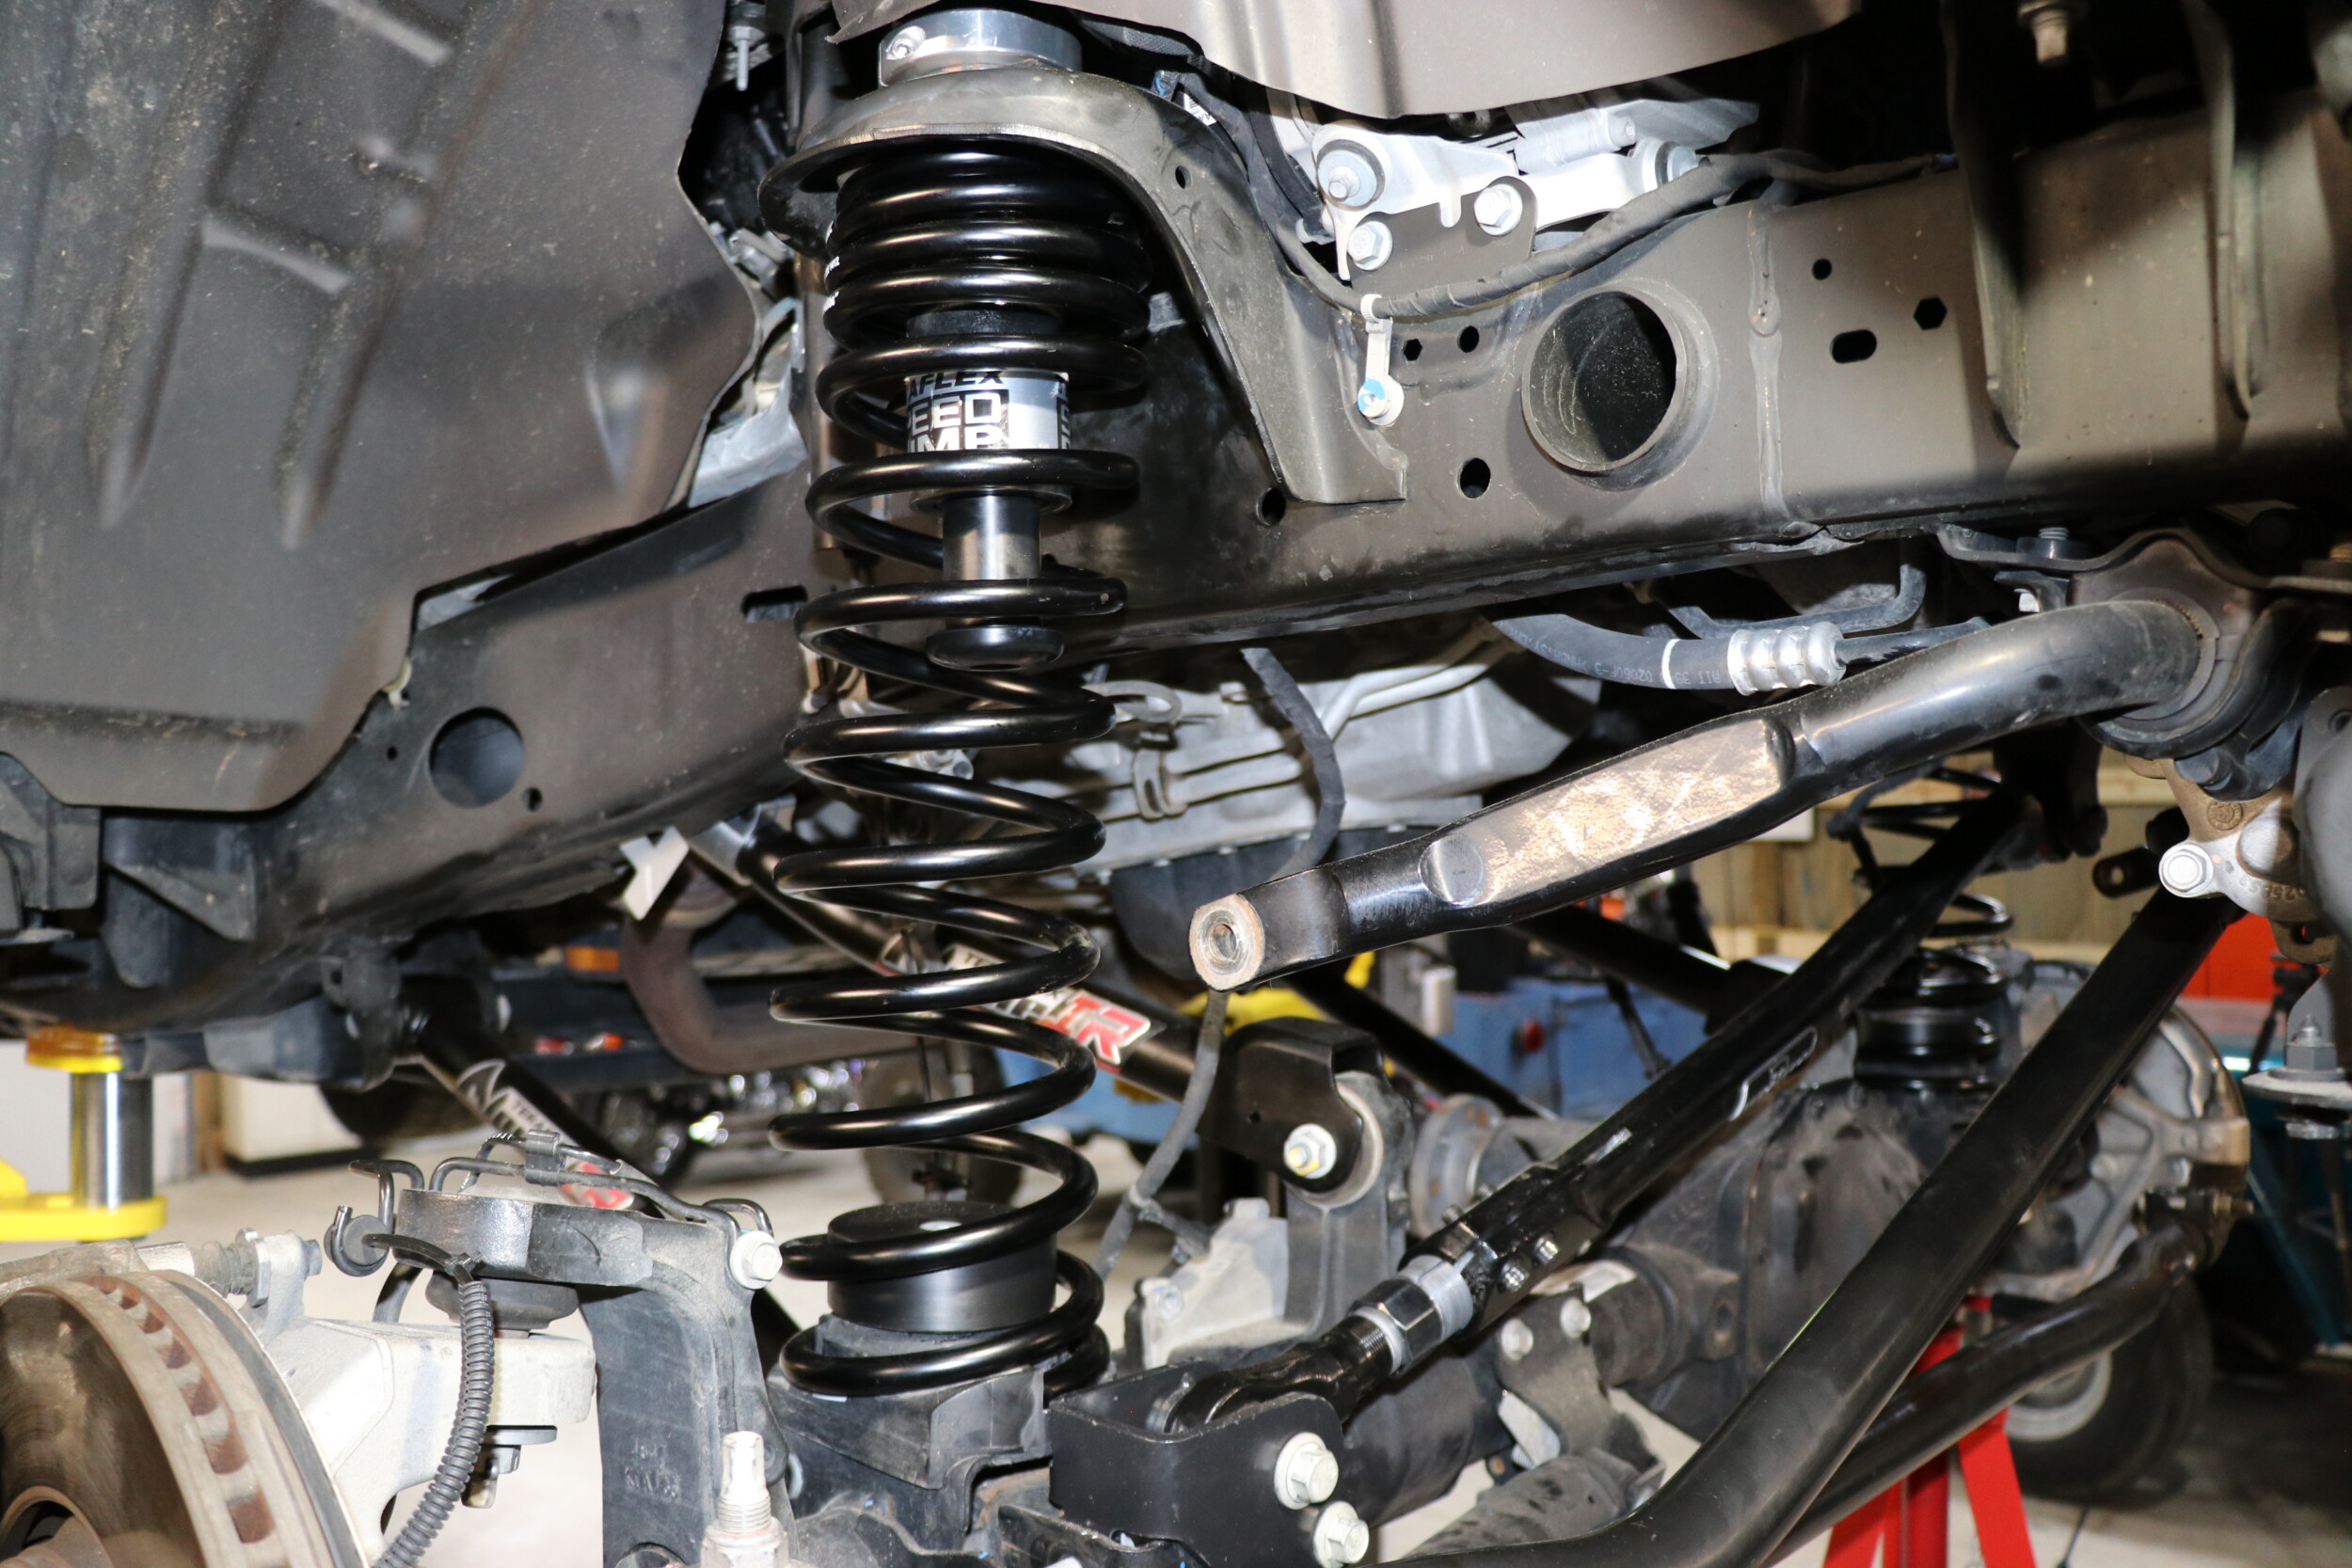
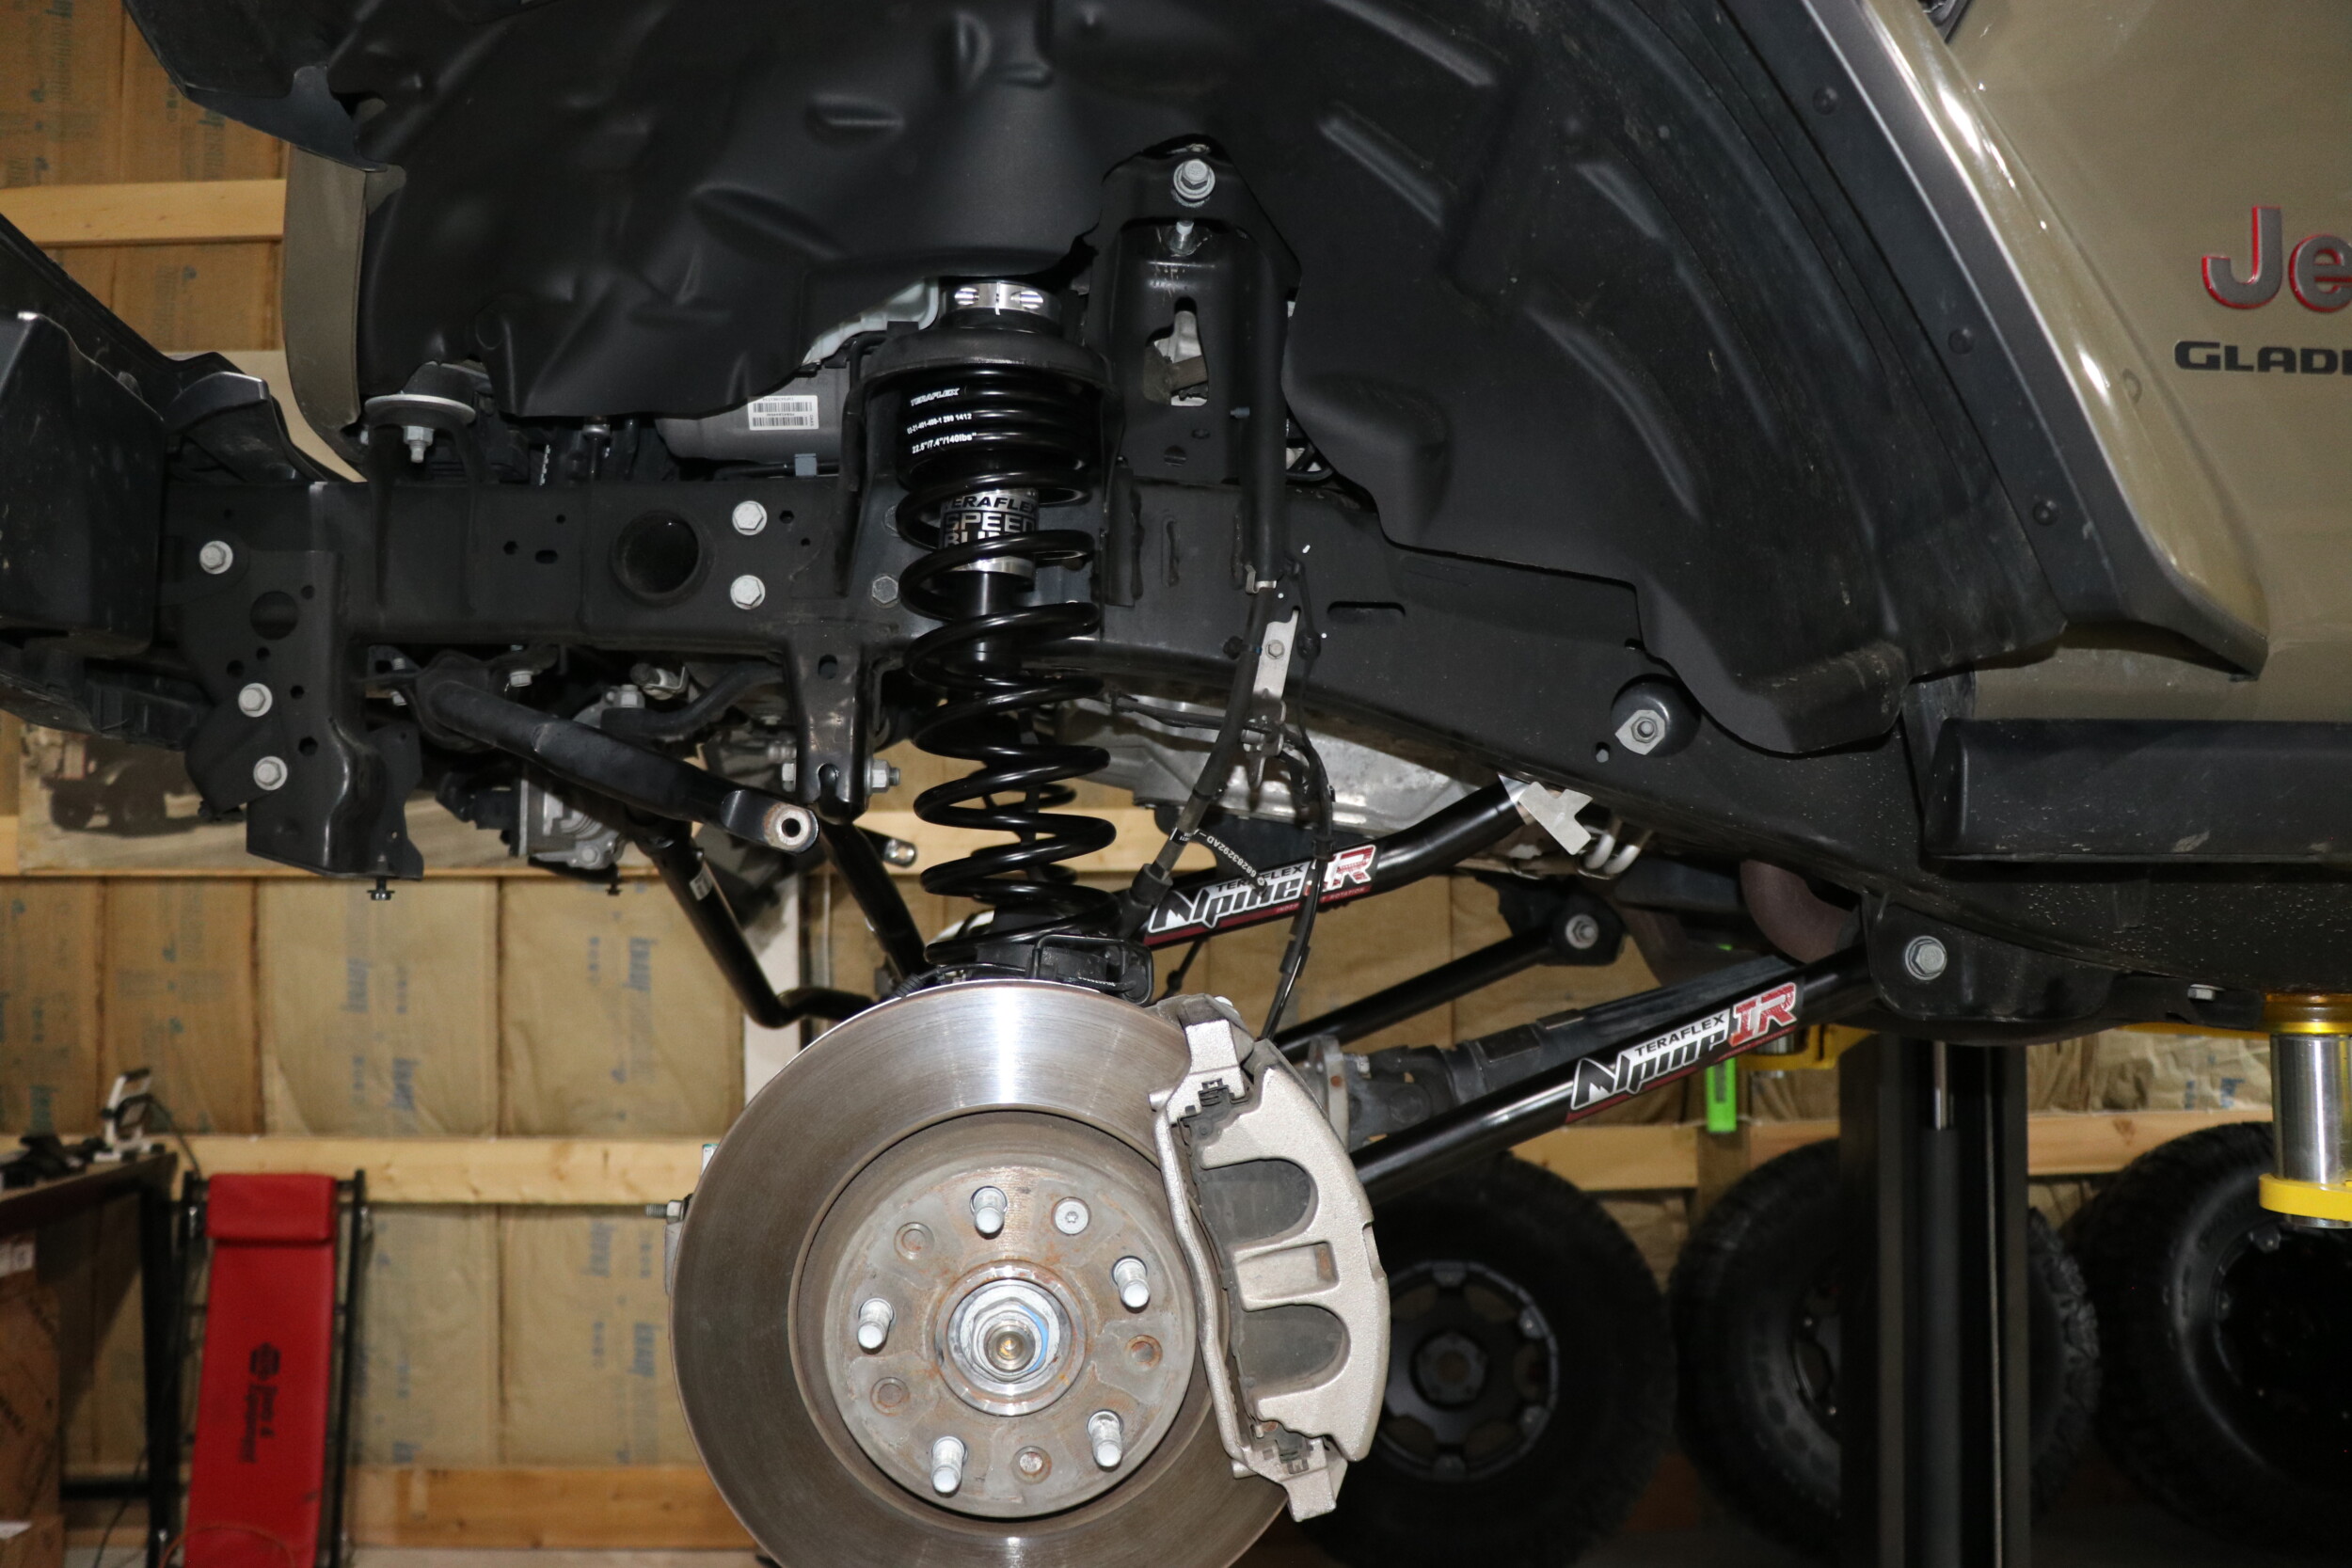
One of the things that I am very impressed with in regards to the products from TeraFlex is the attention to detail. Not only do the products have the best in quality, each component includes detailed instructions on the installation process. The first component to be installed was the front track bar relocation bracket. It did require some test fitting, marking and drilling but was easy enough to complete.

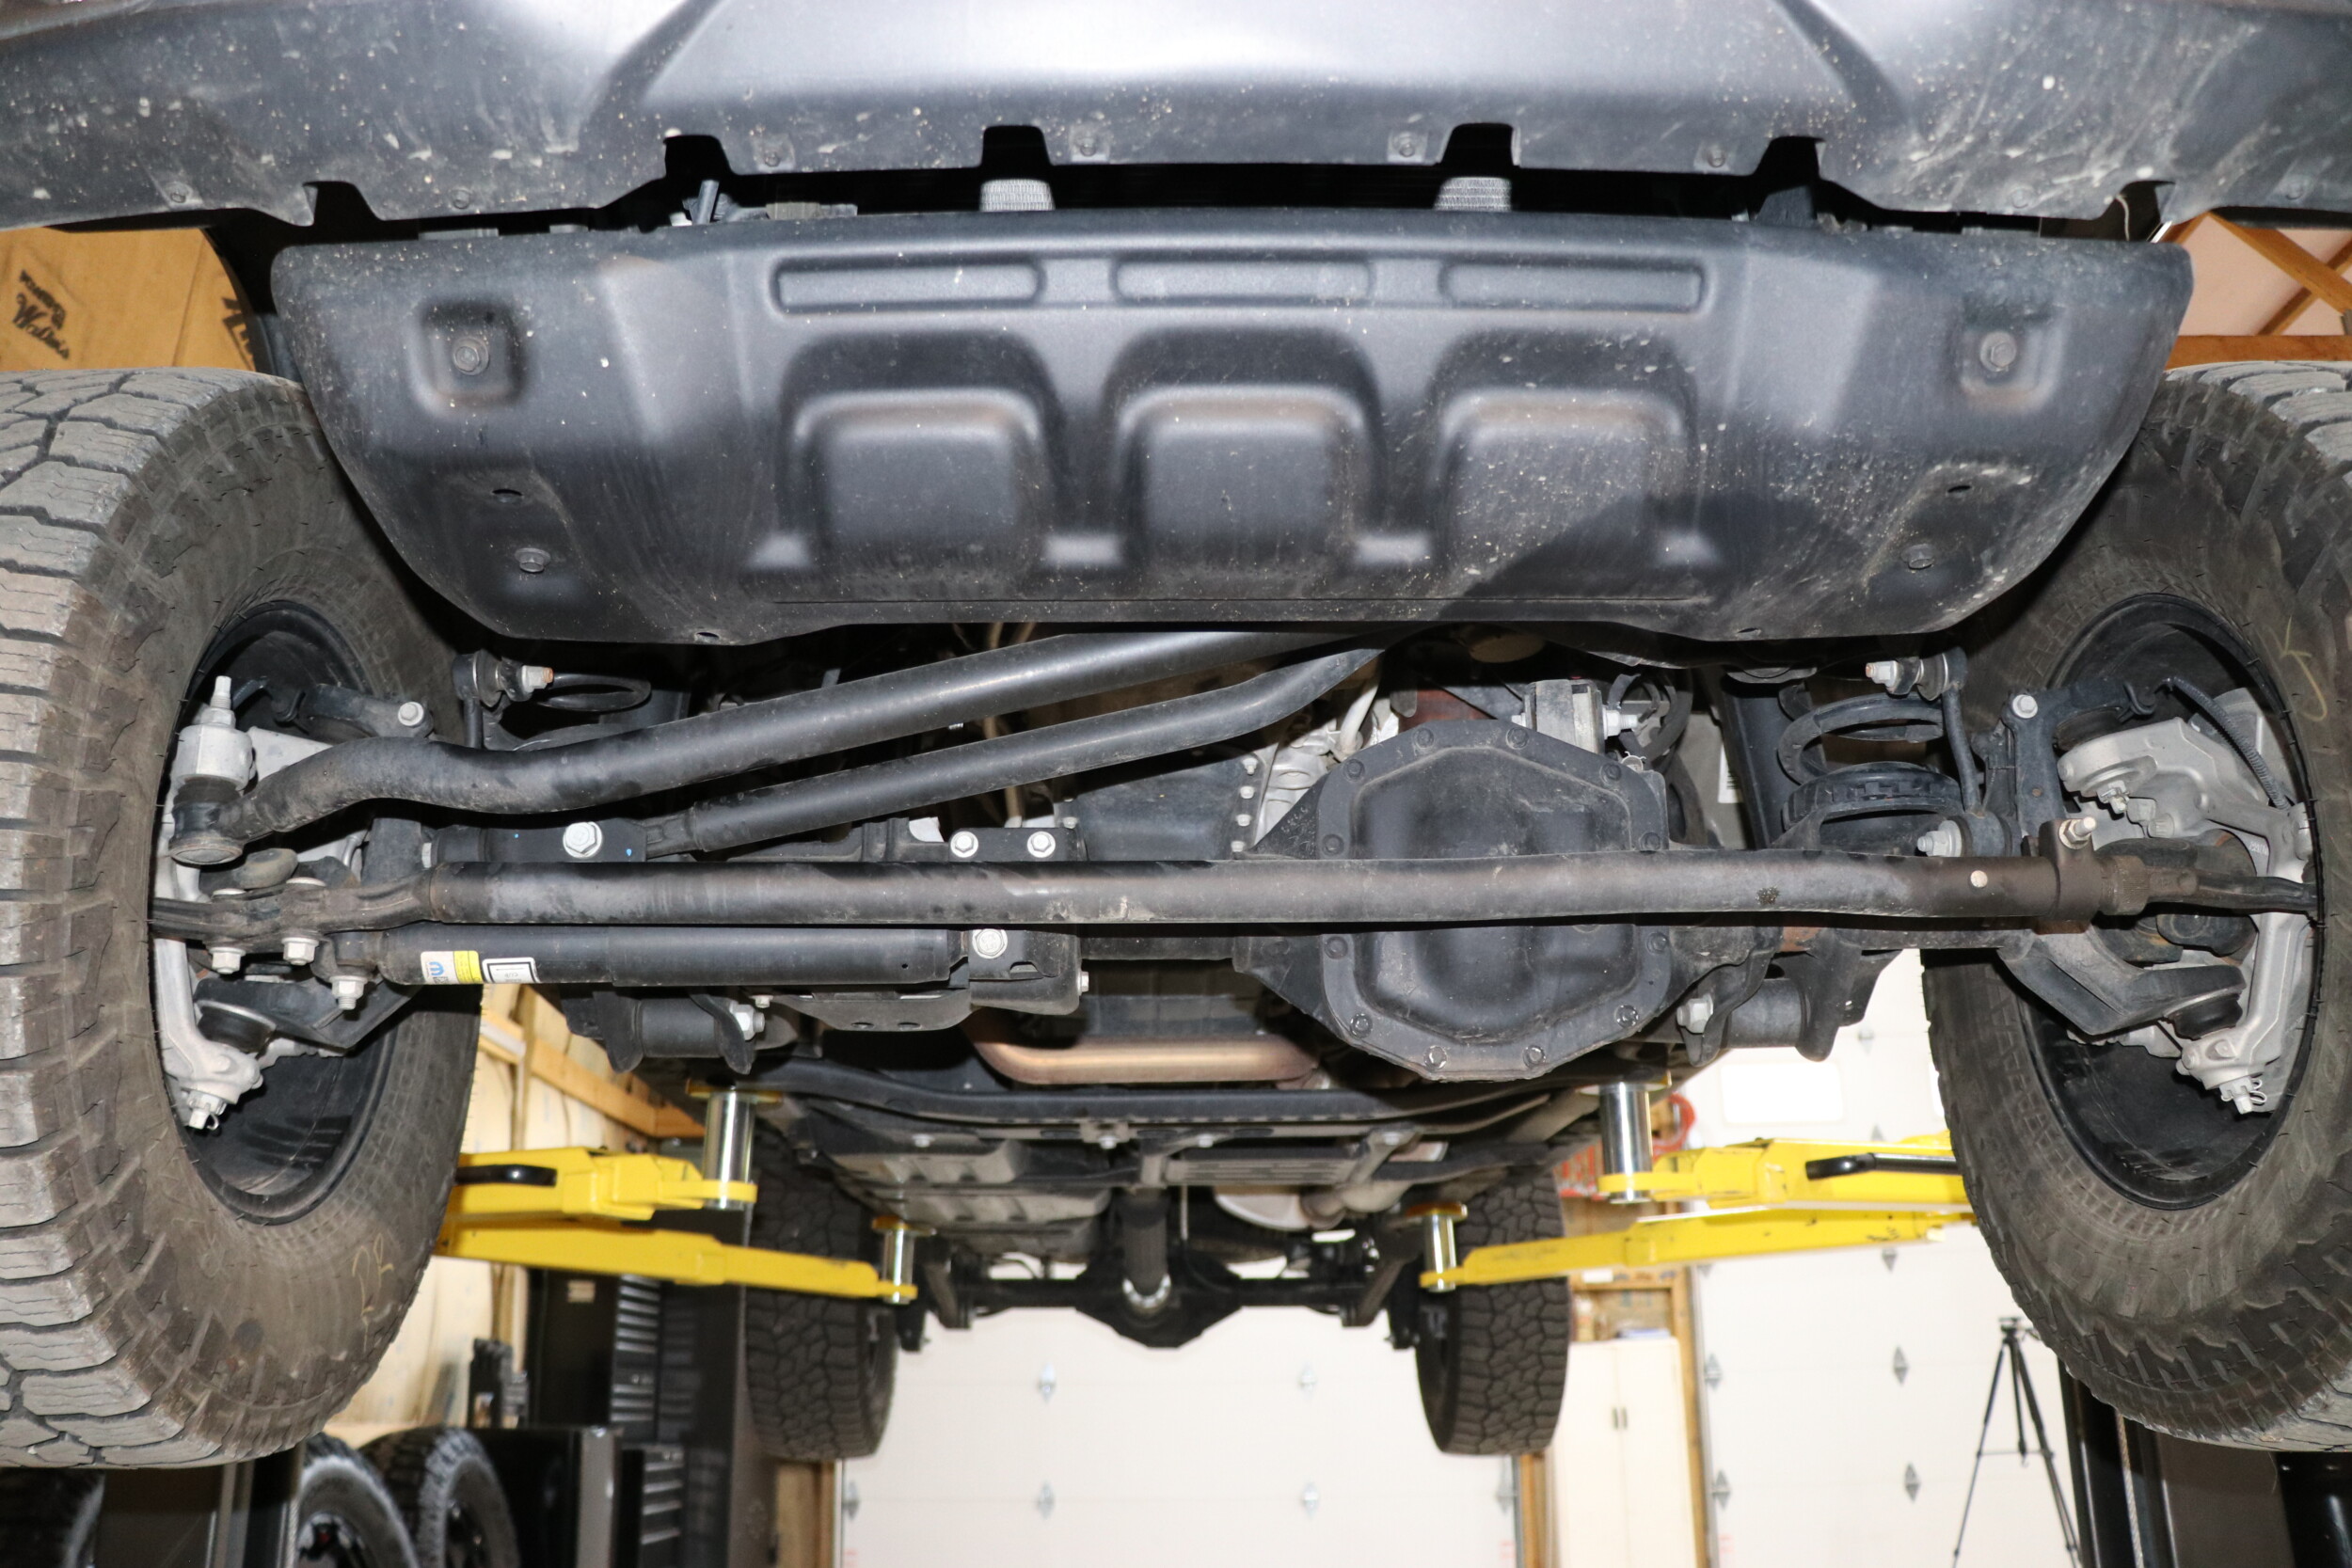


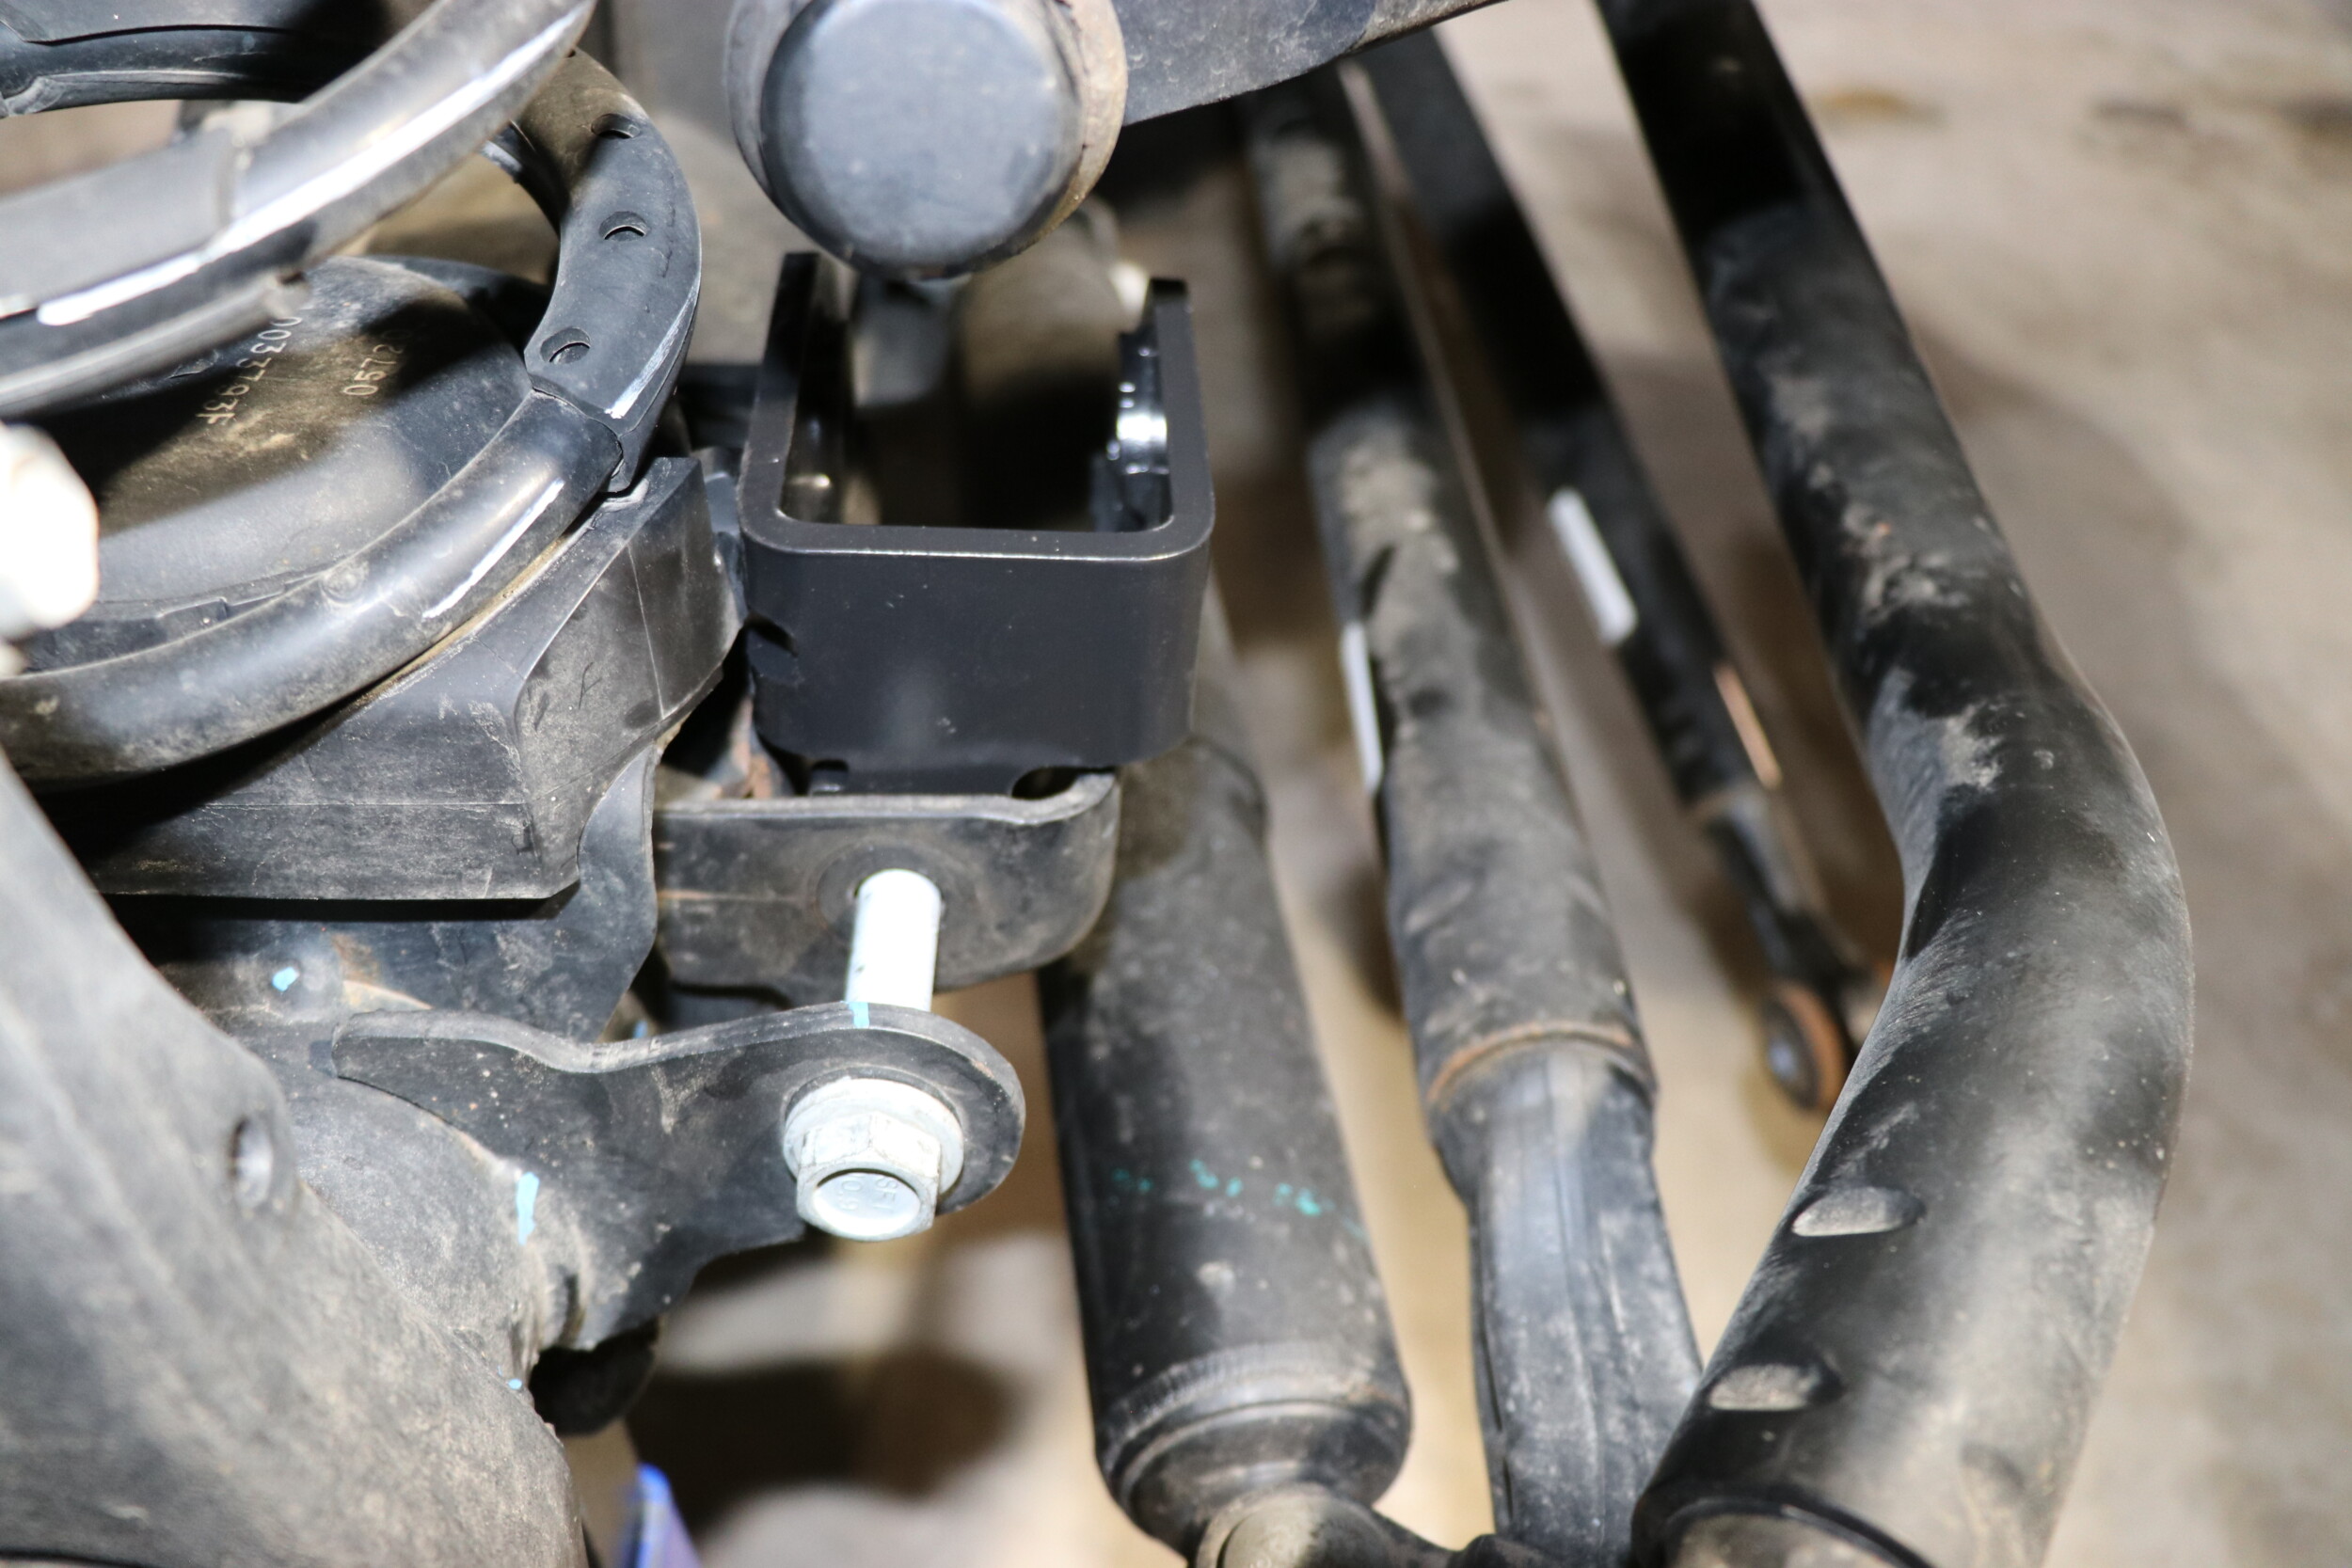
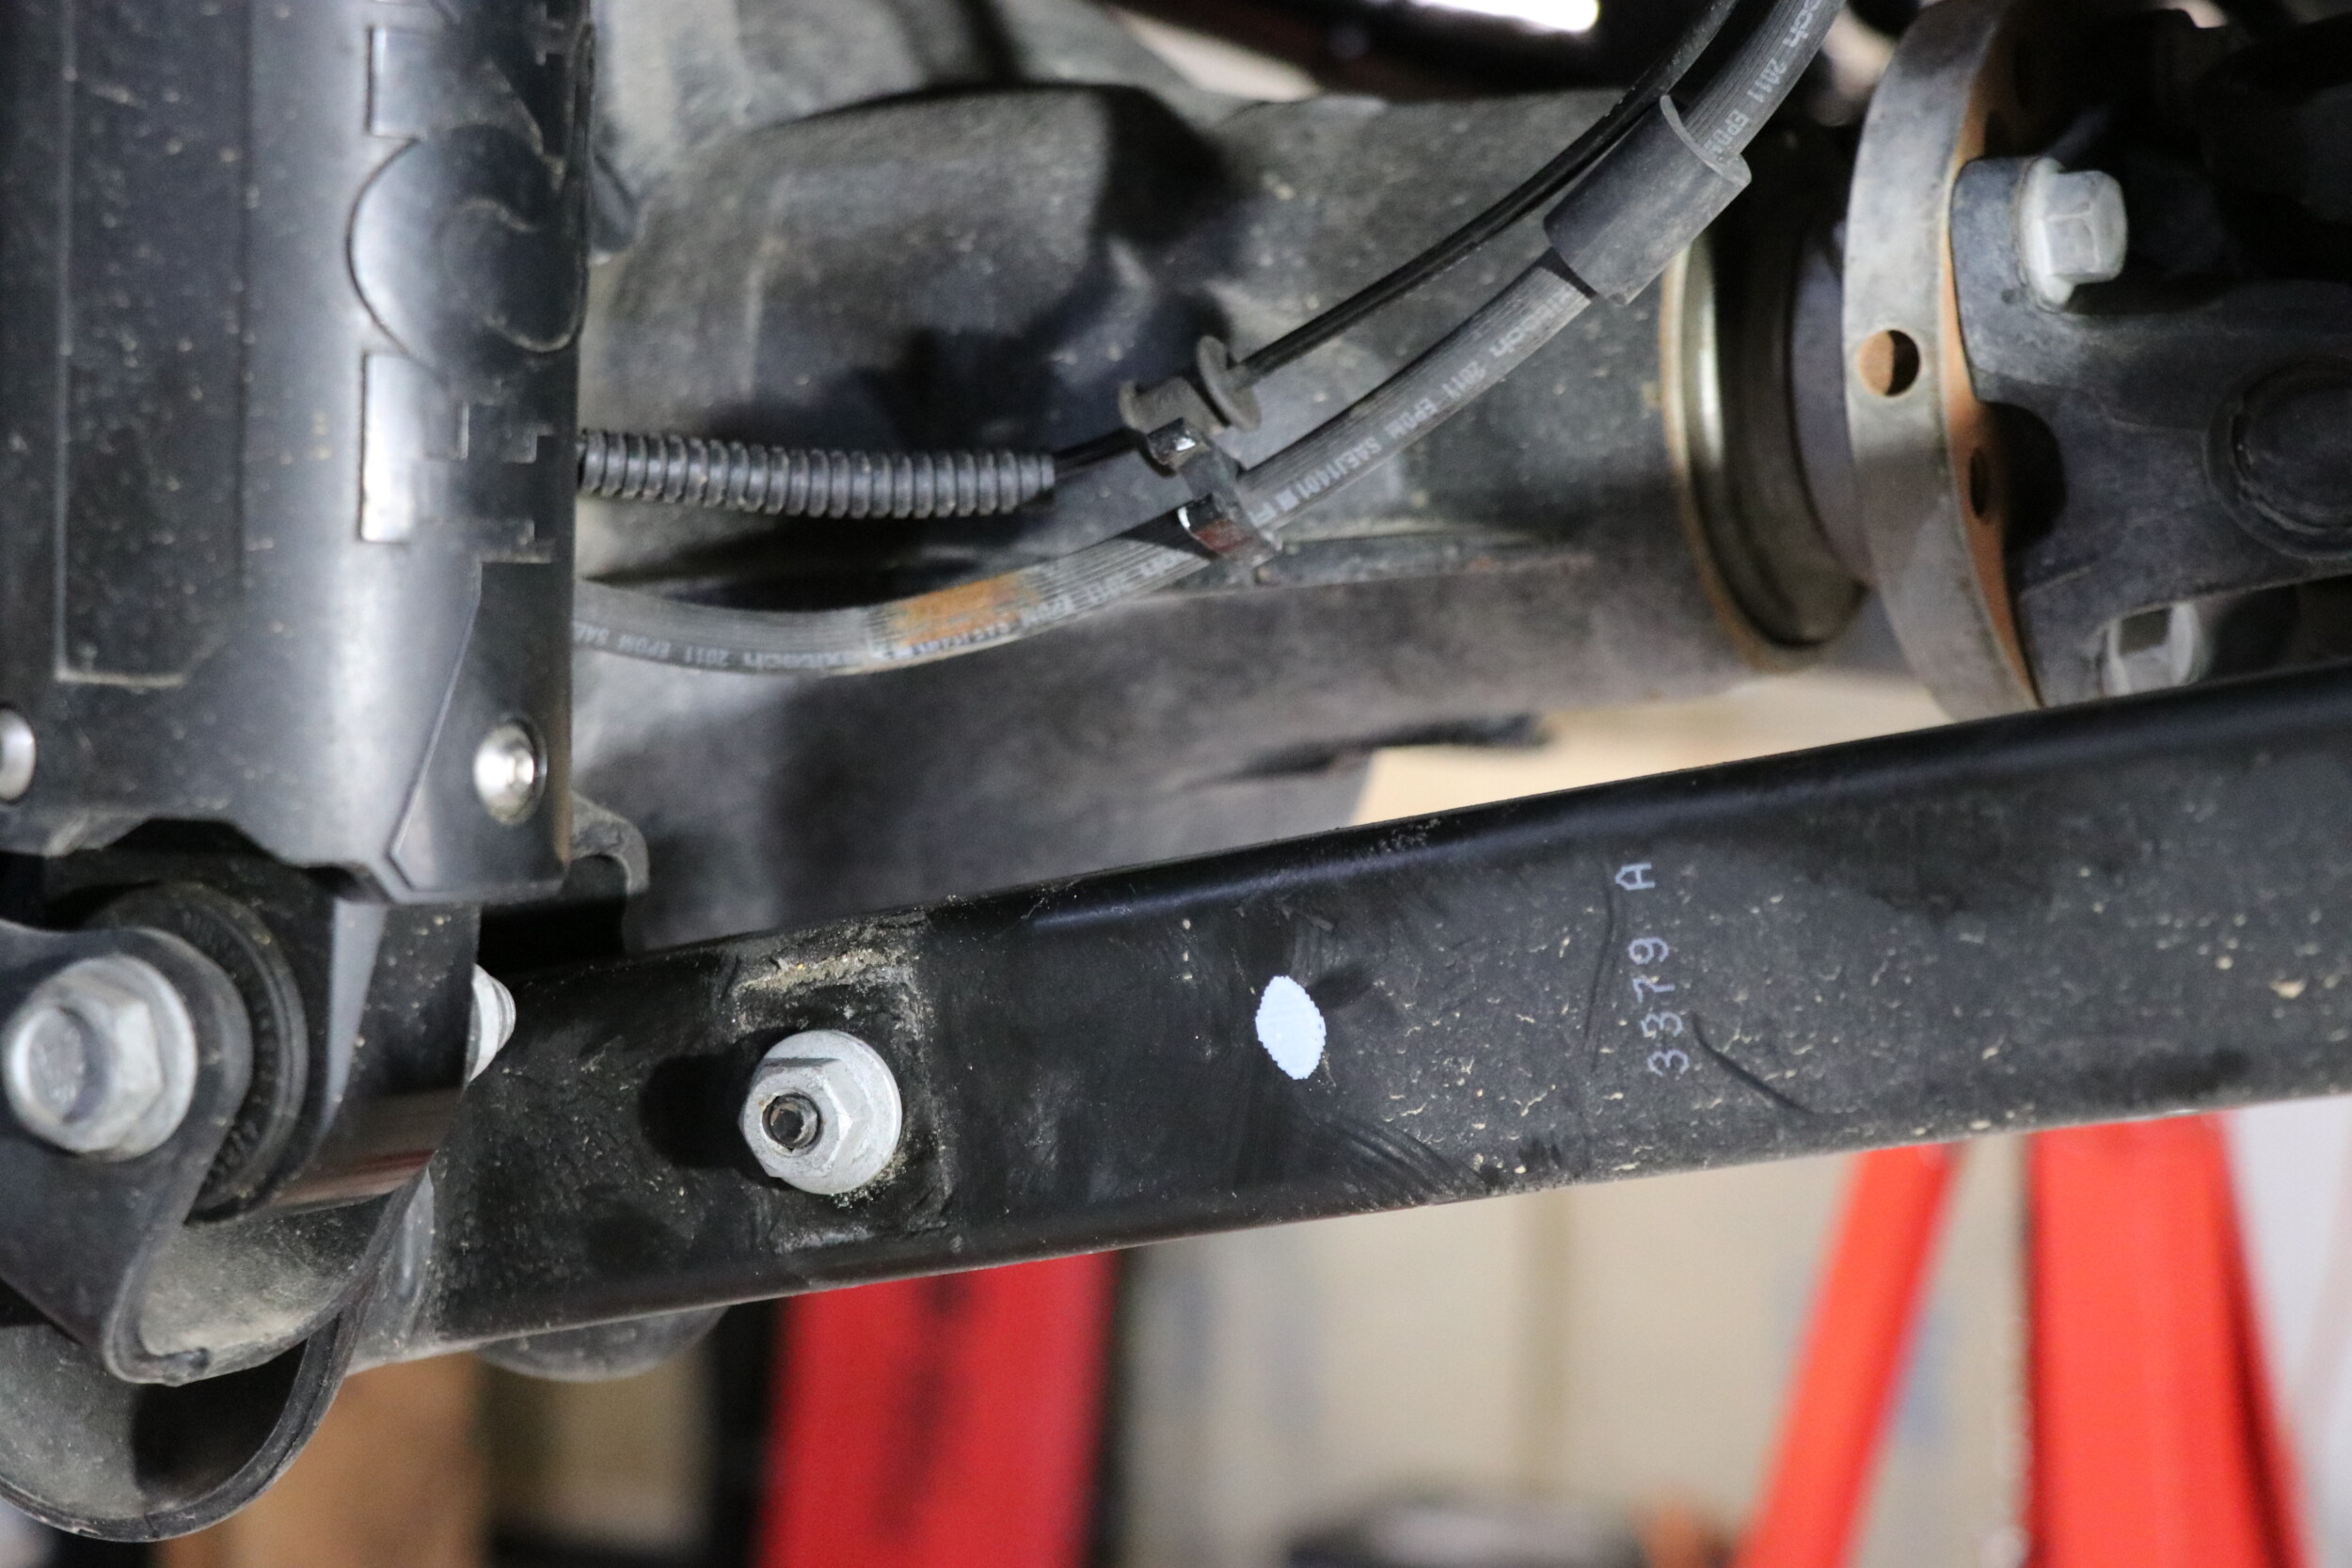
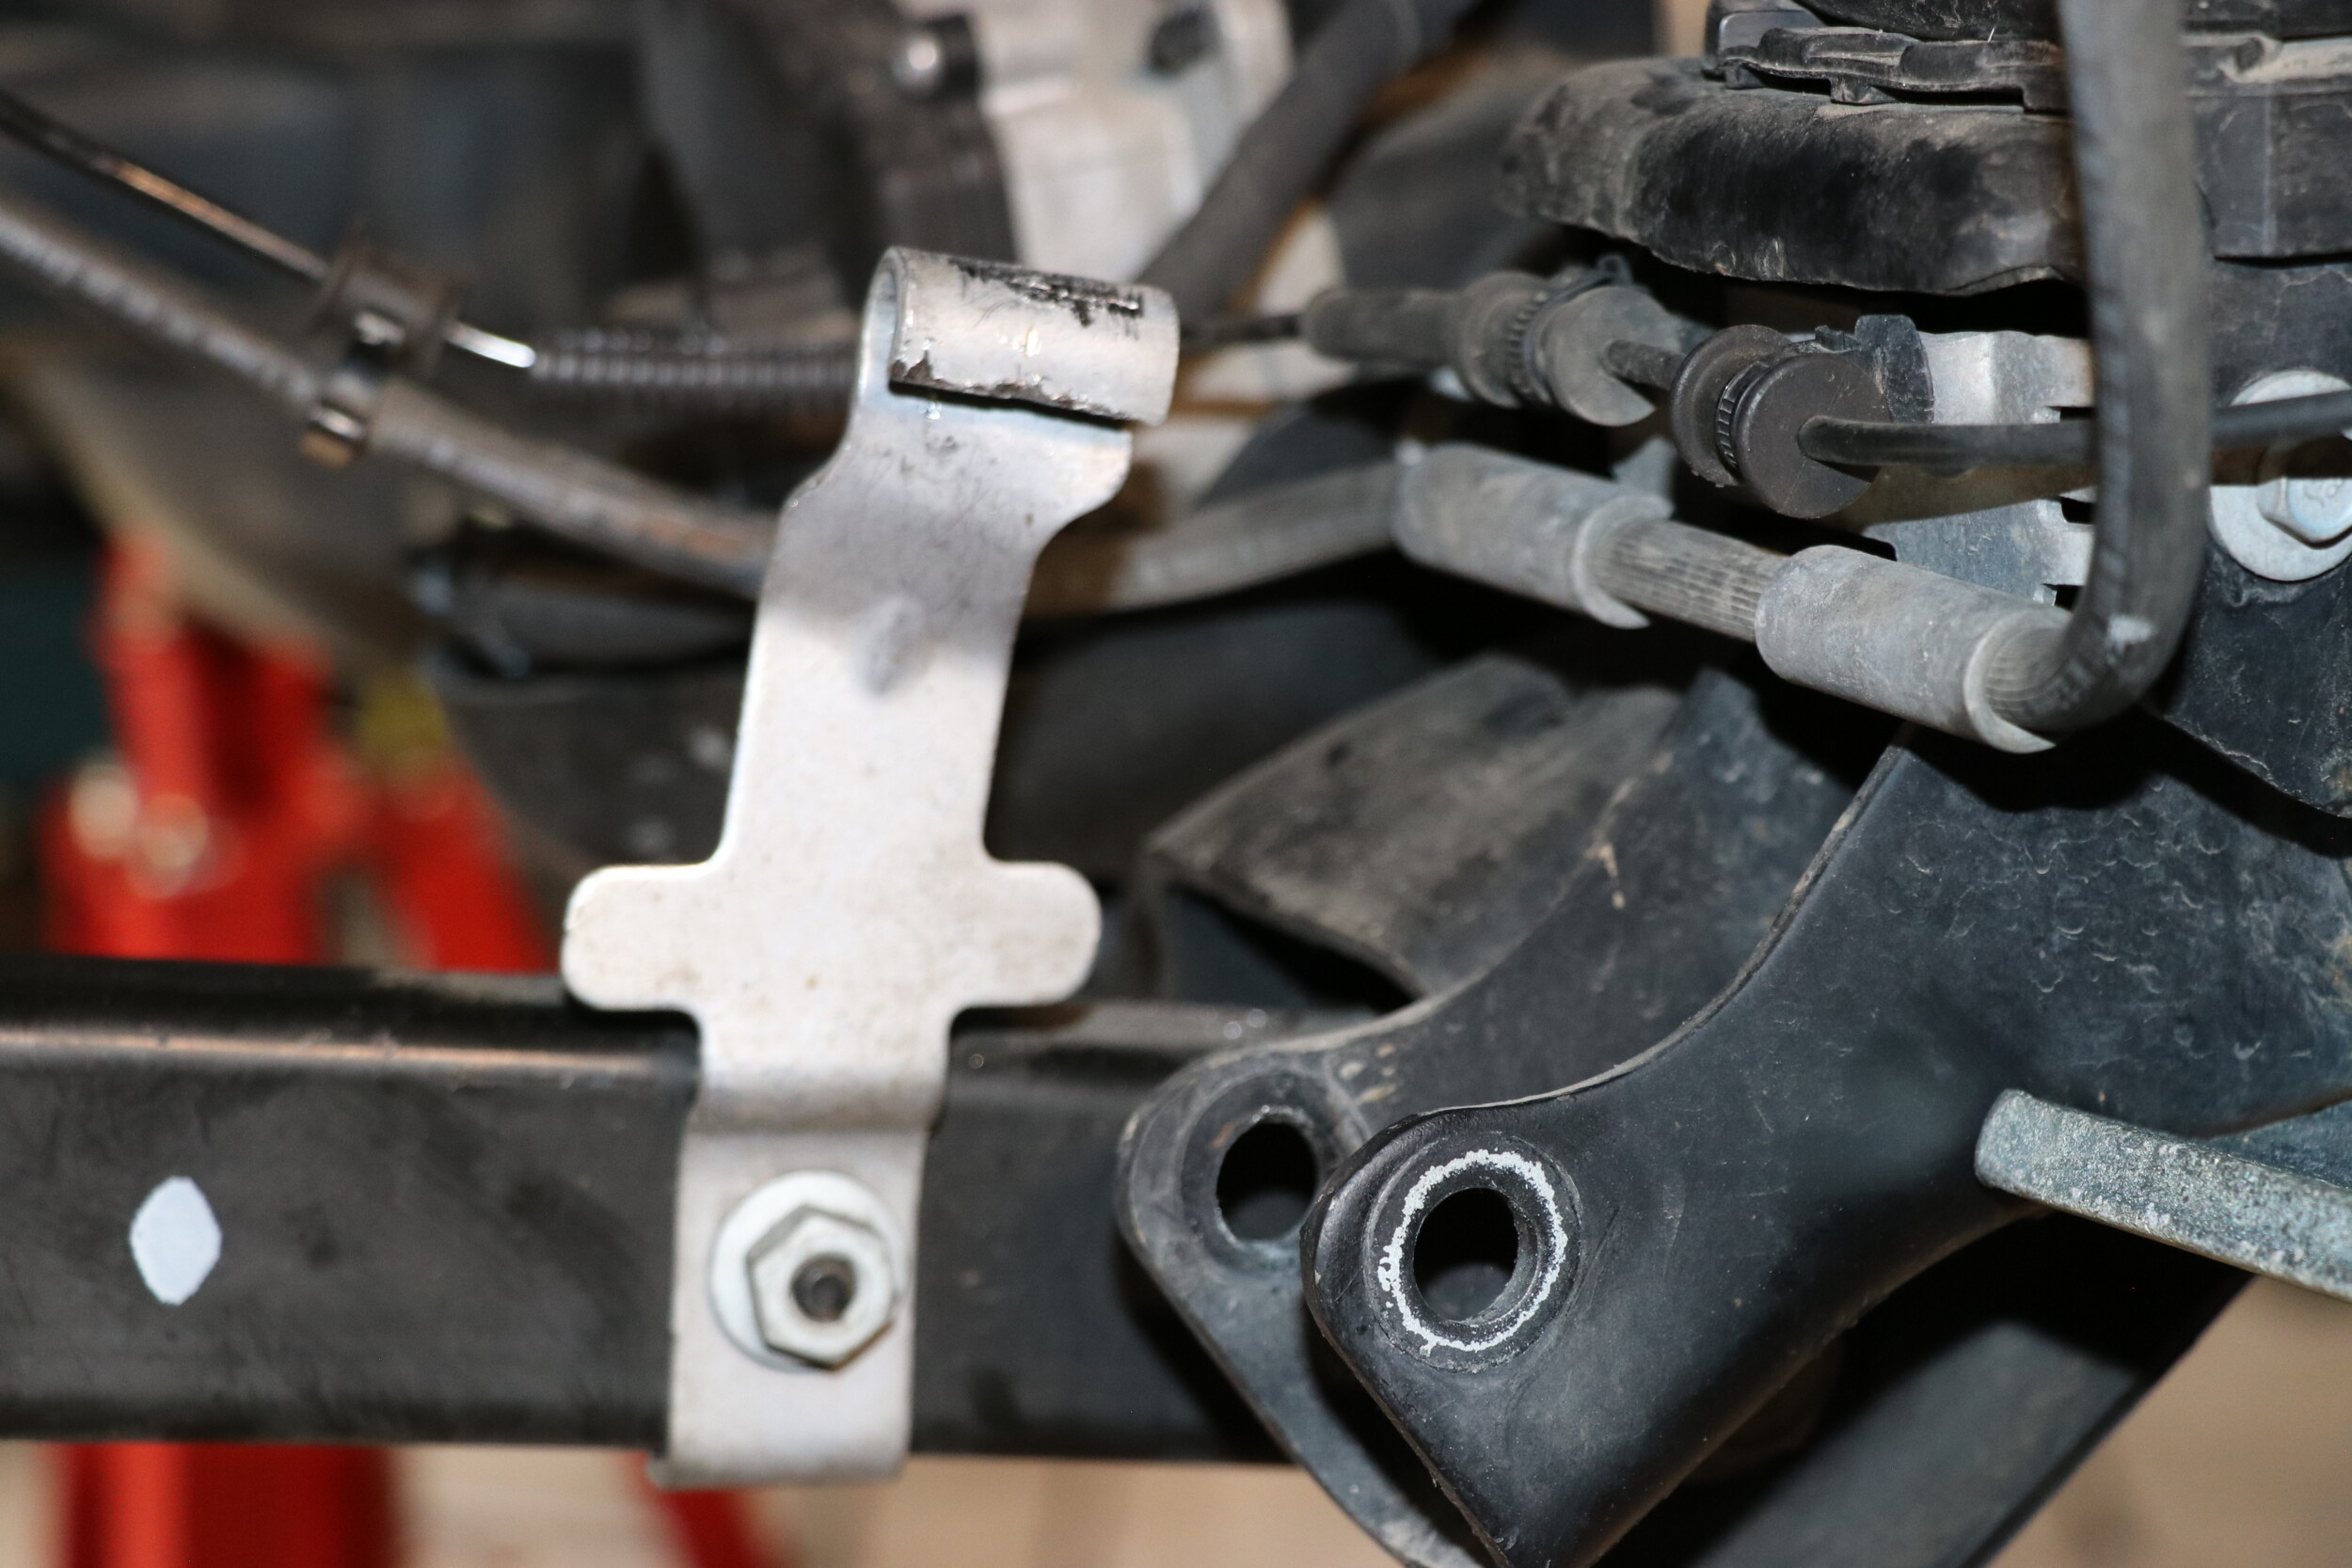
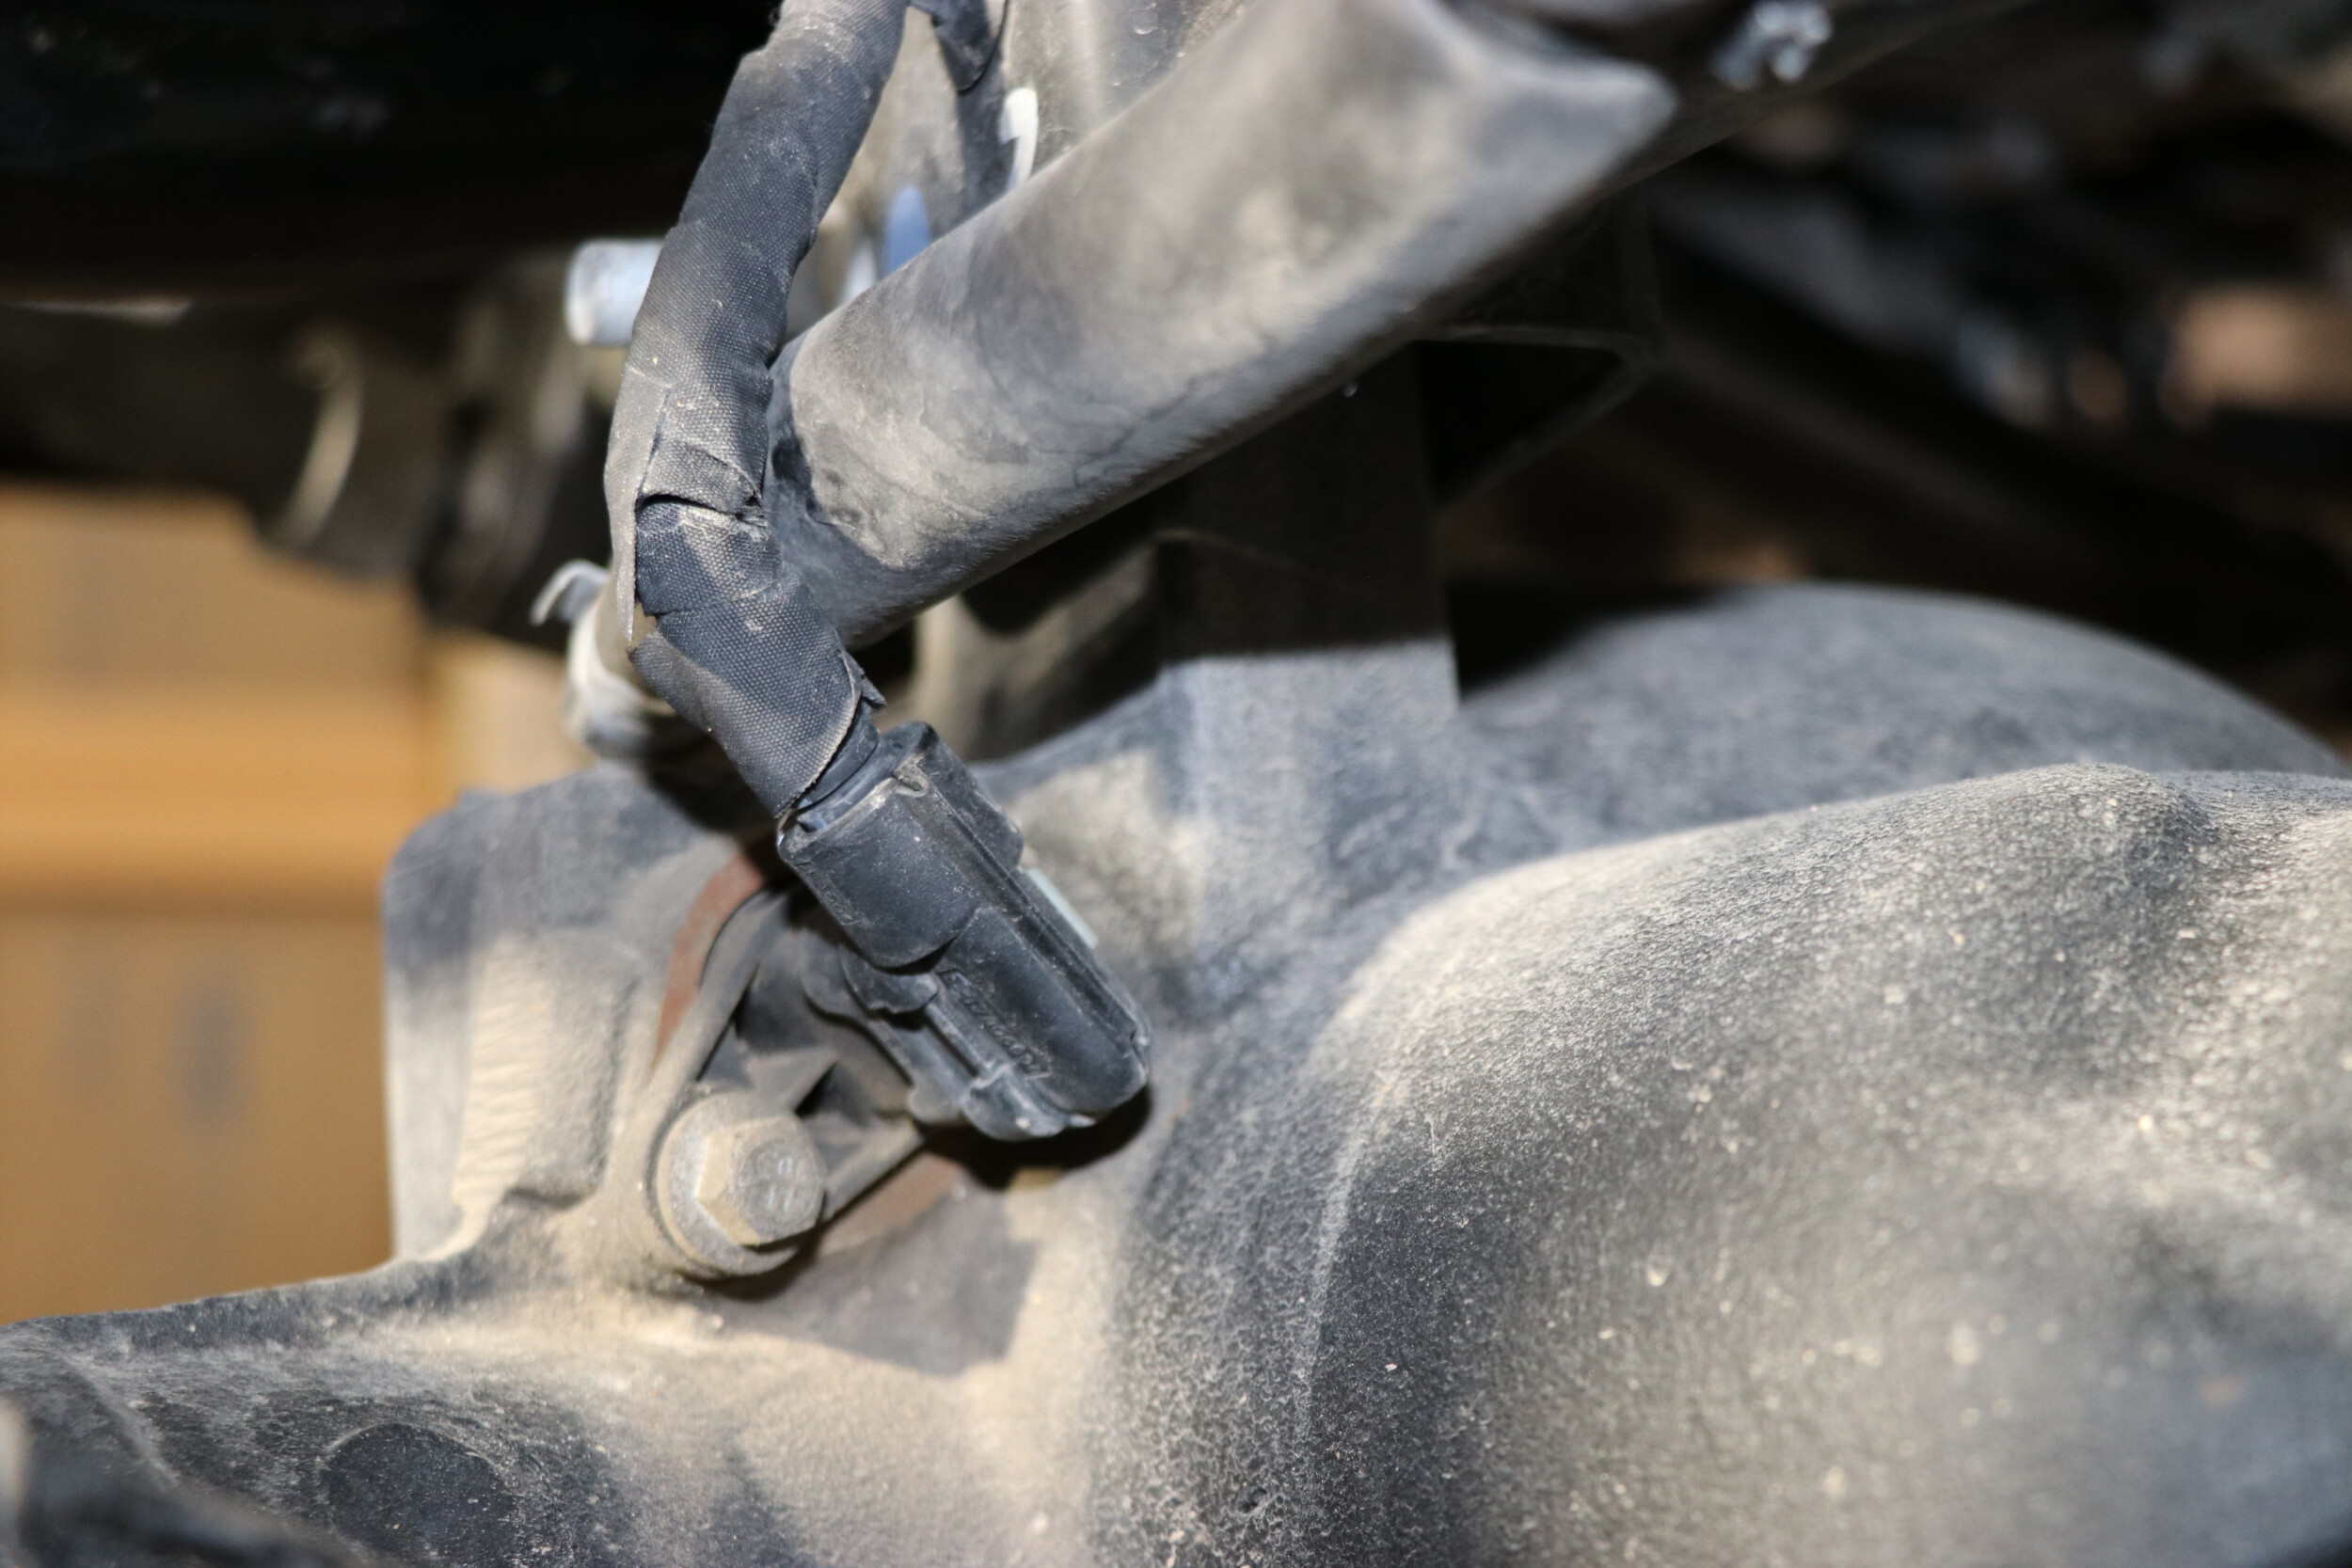
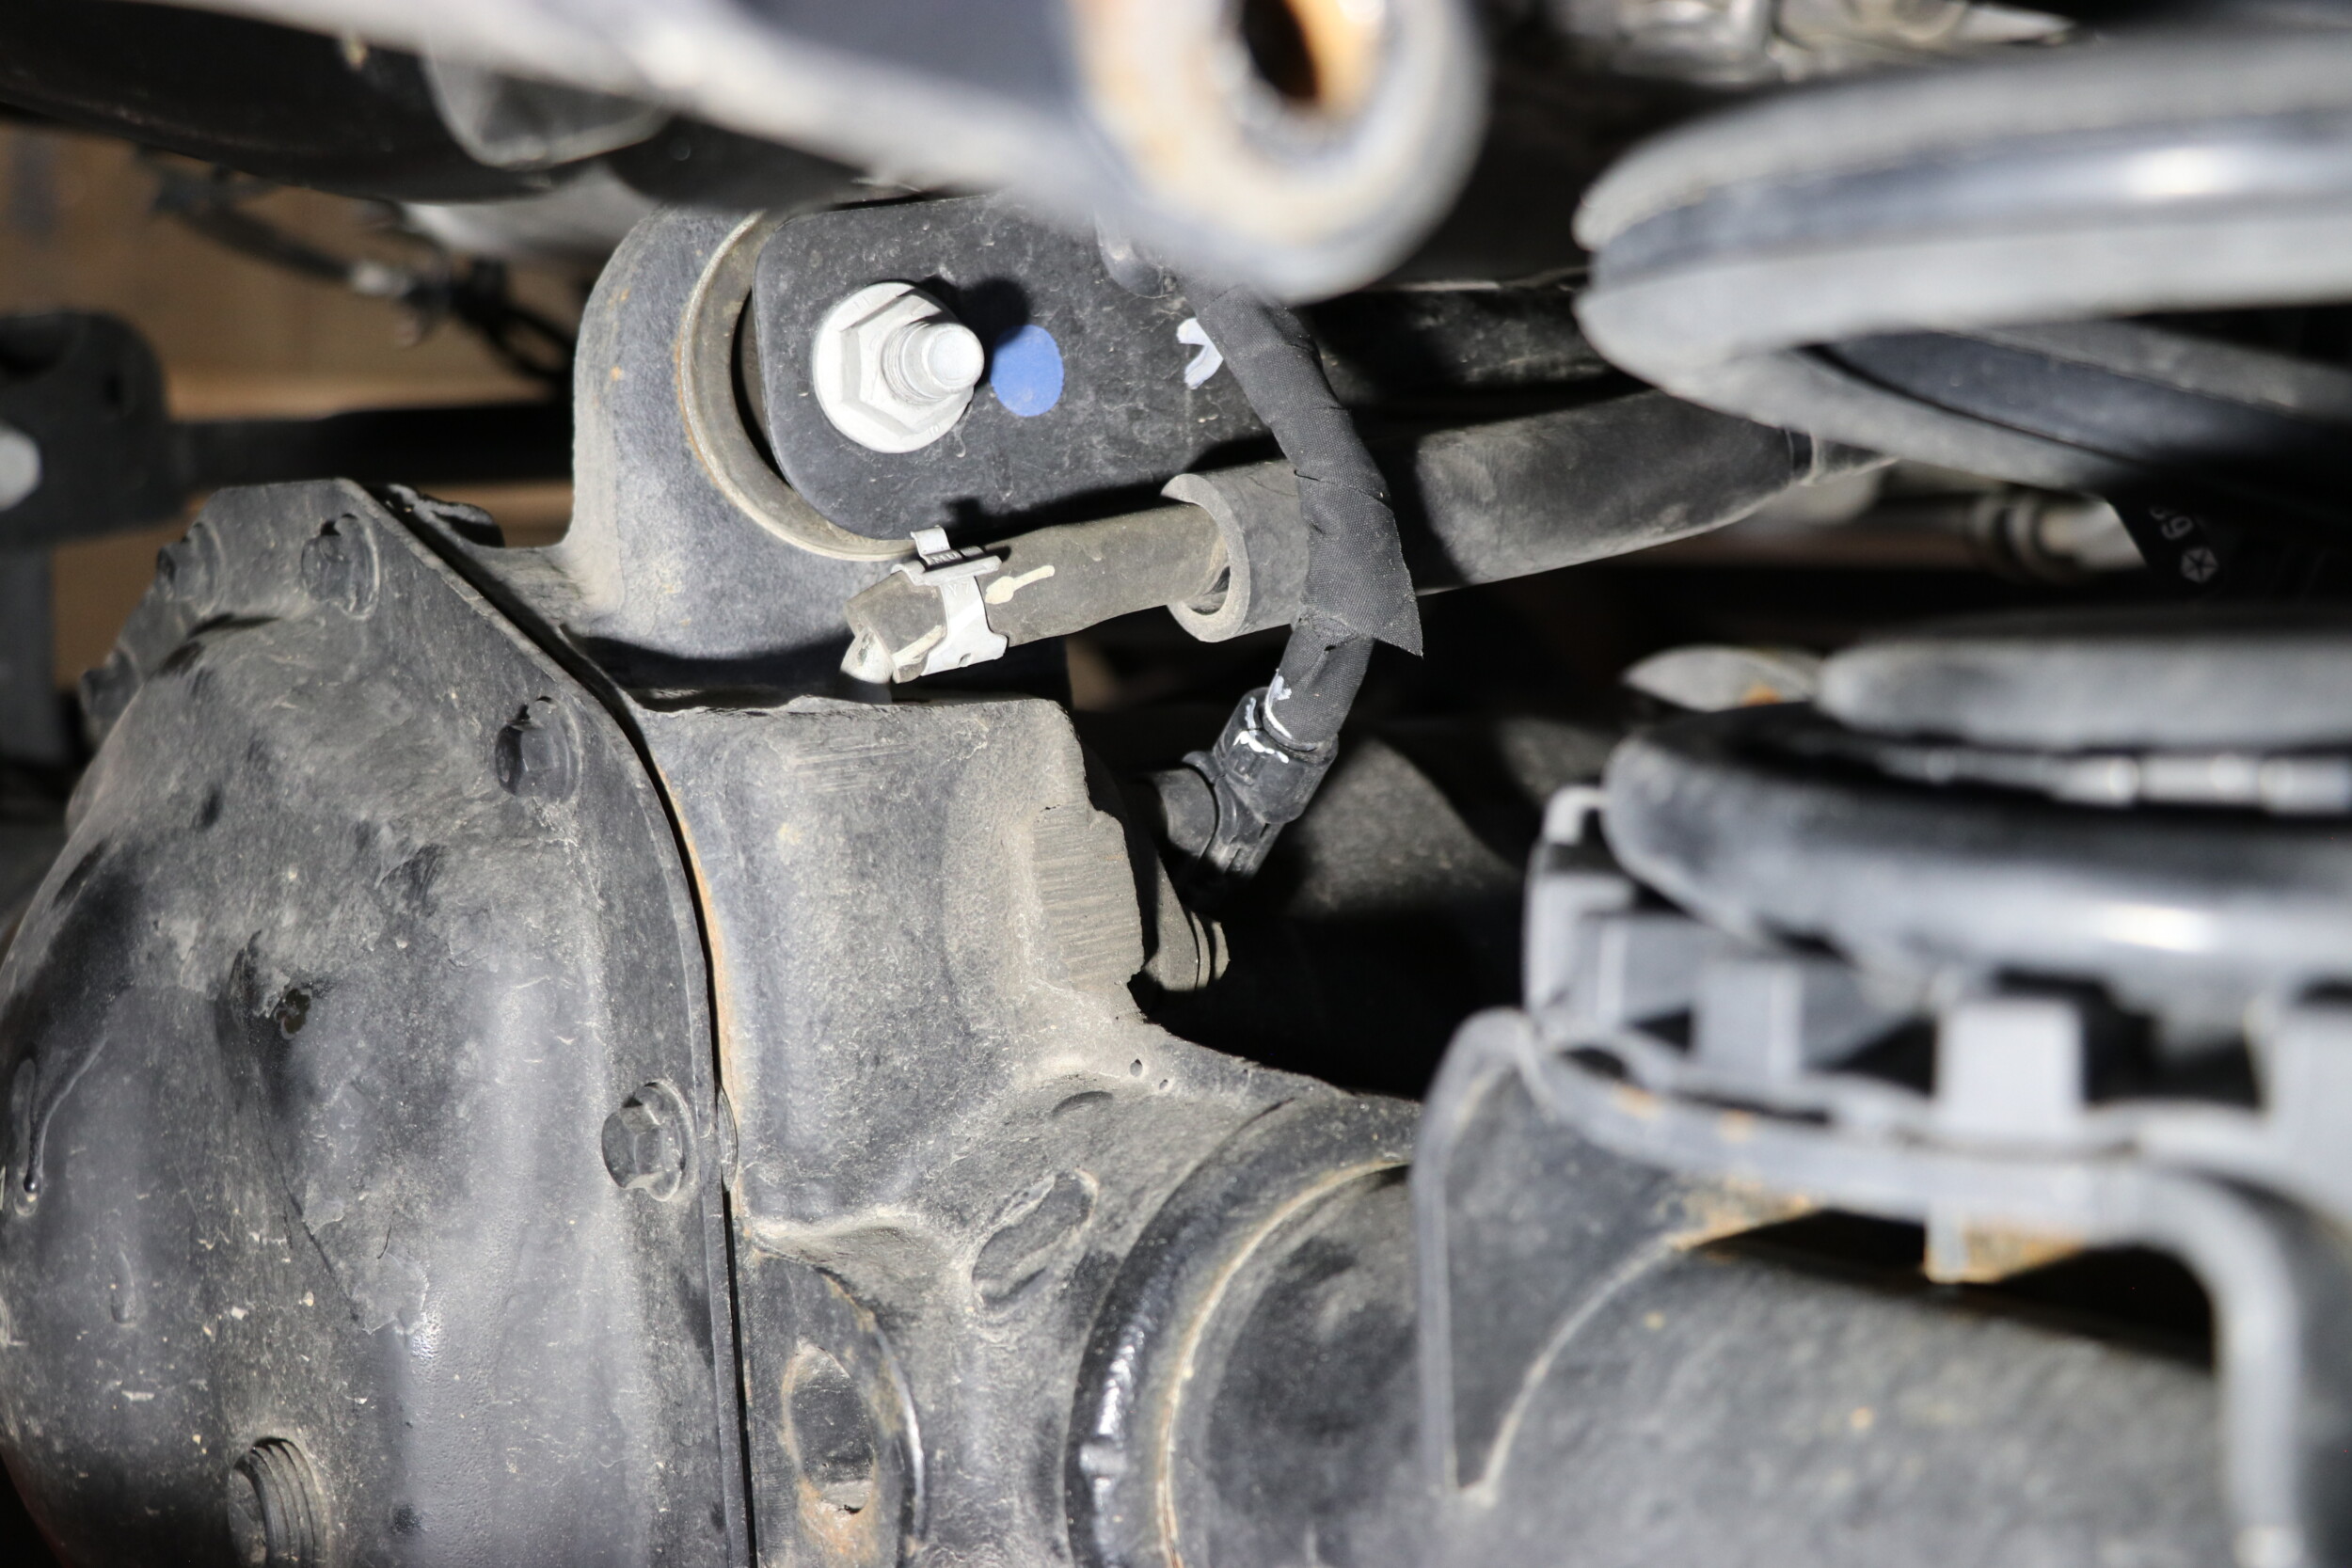
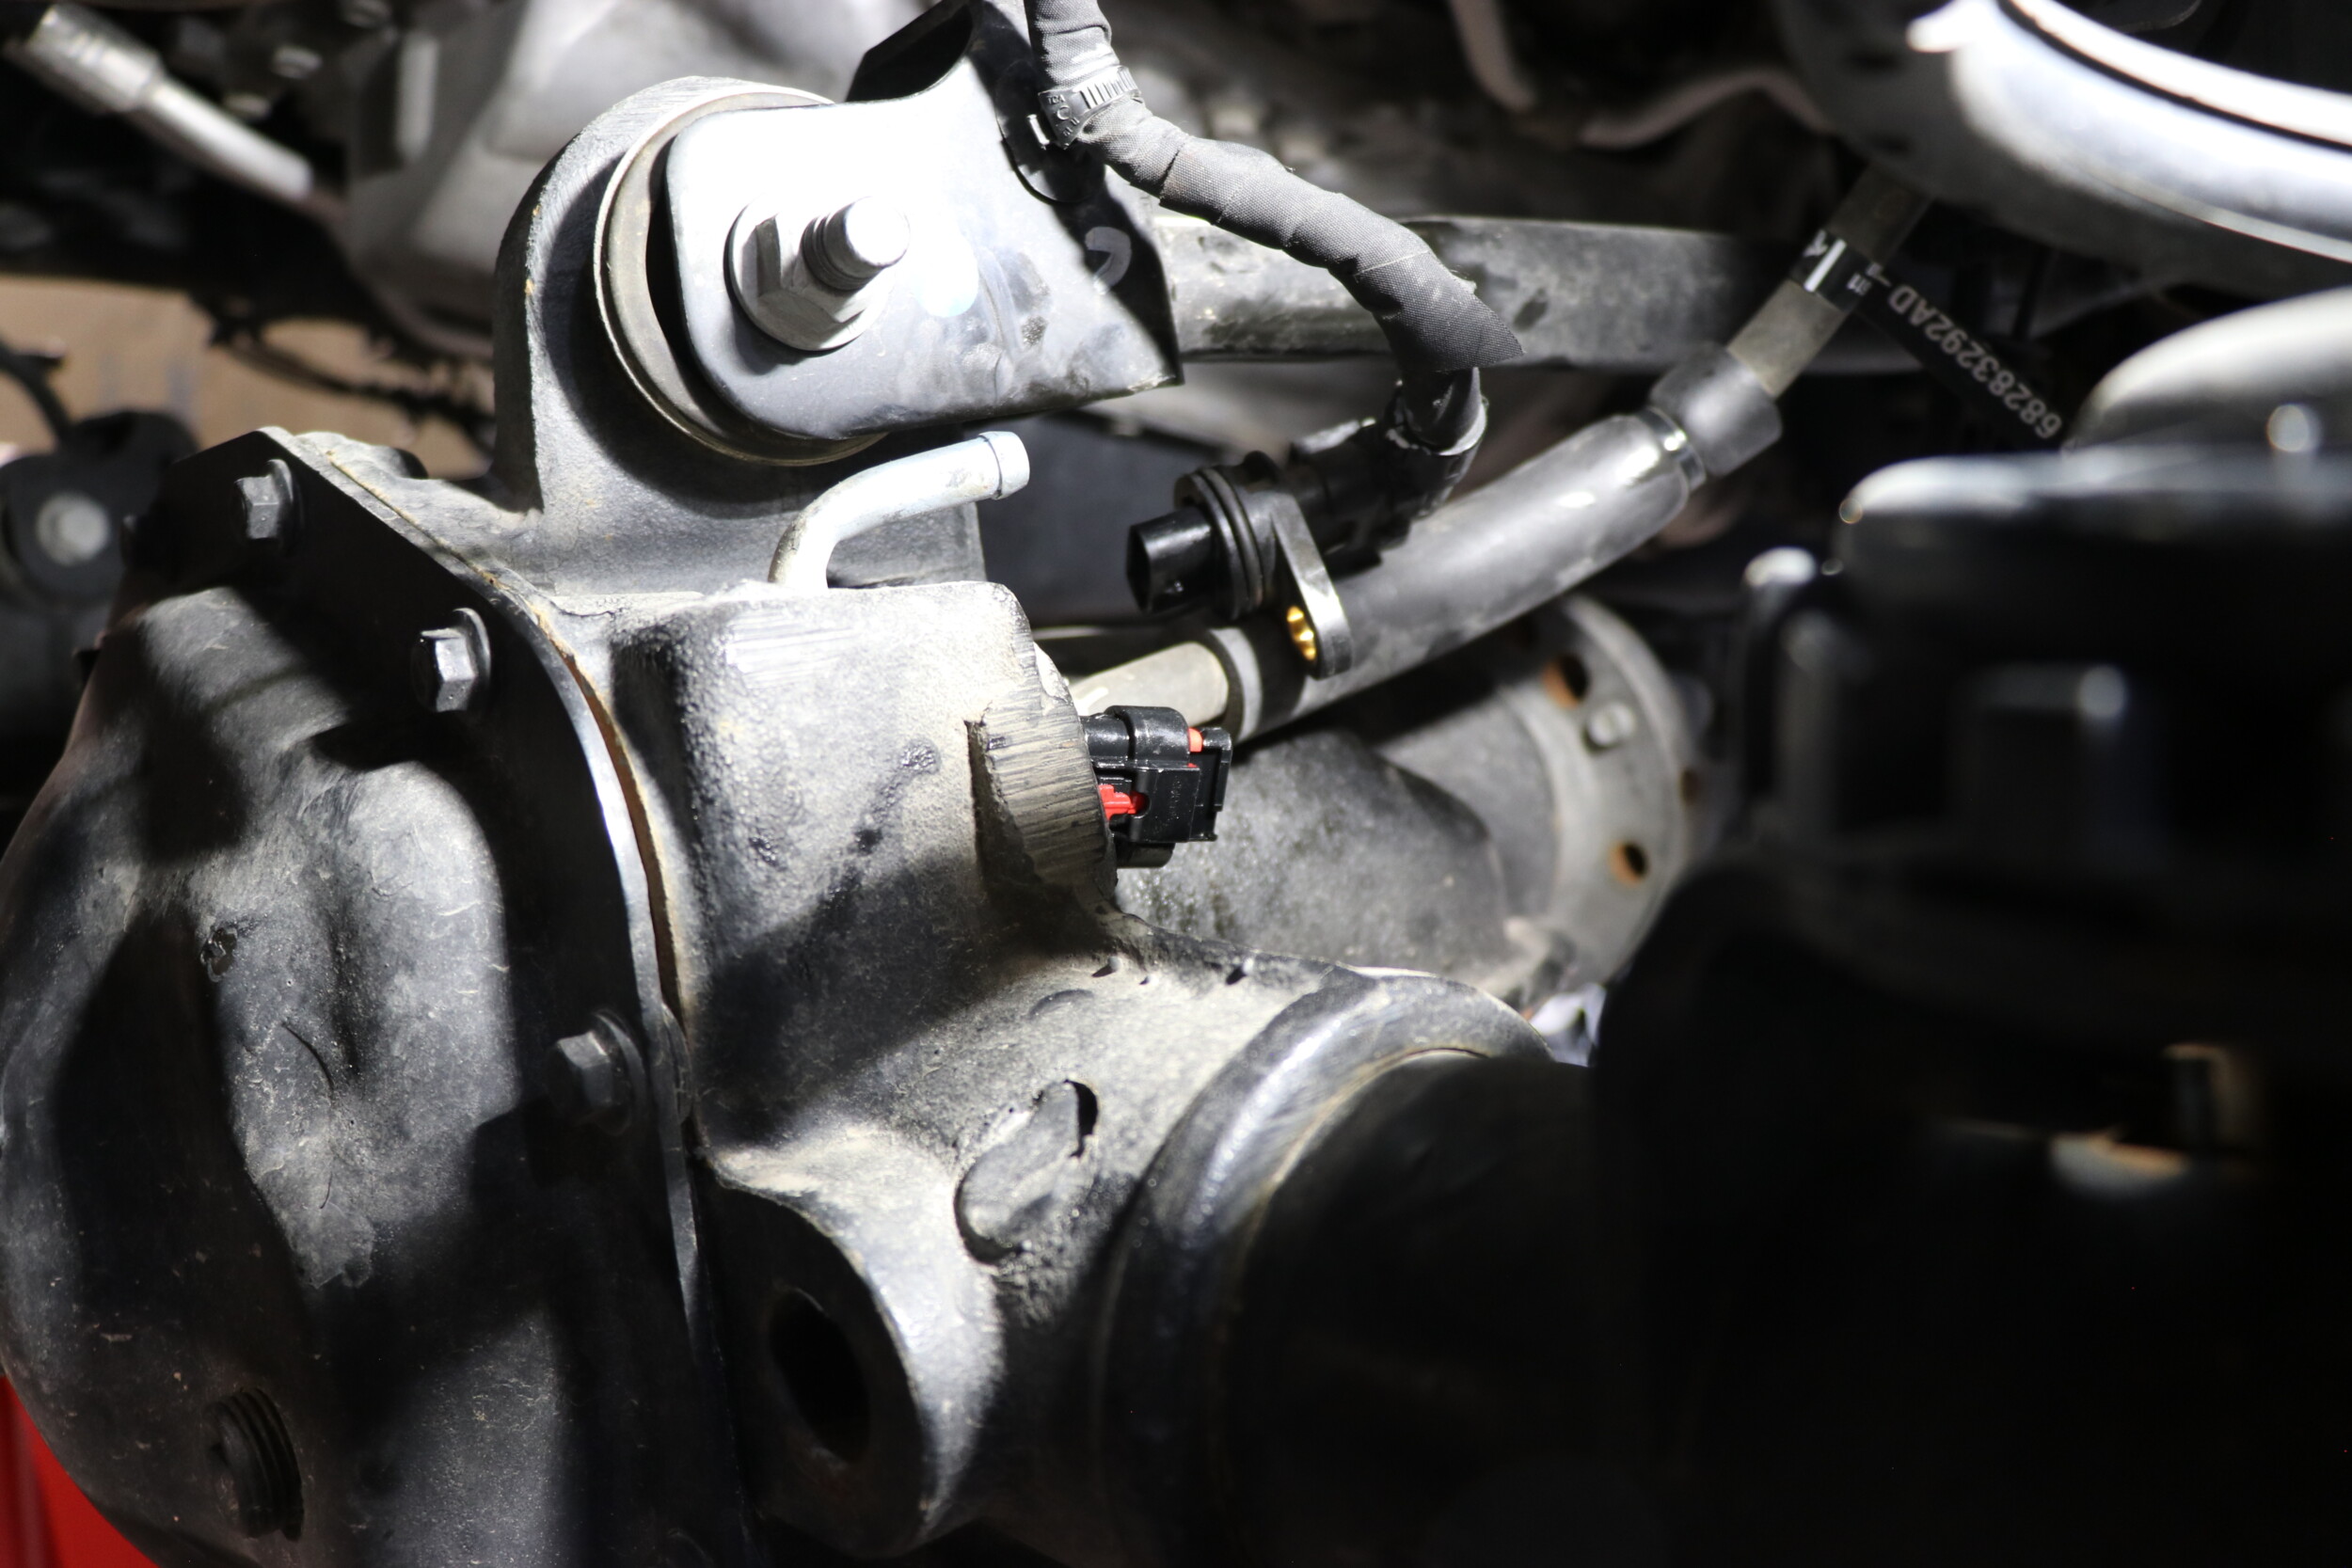
After getting the new track bar bracket installed, we installed the new track bar. Next the brake line brackets and wiring for the front locker needed removed so we could remove the control arms.
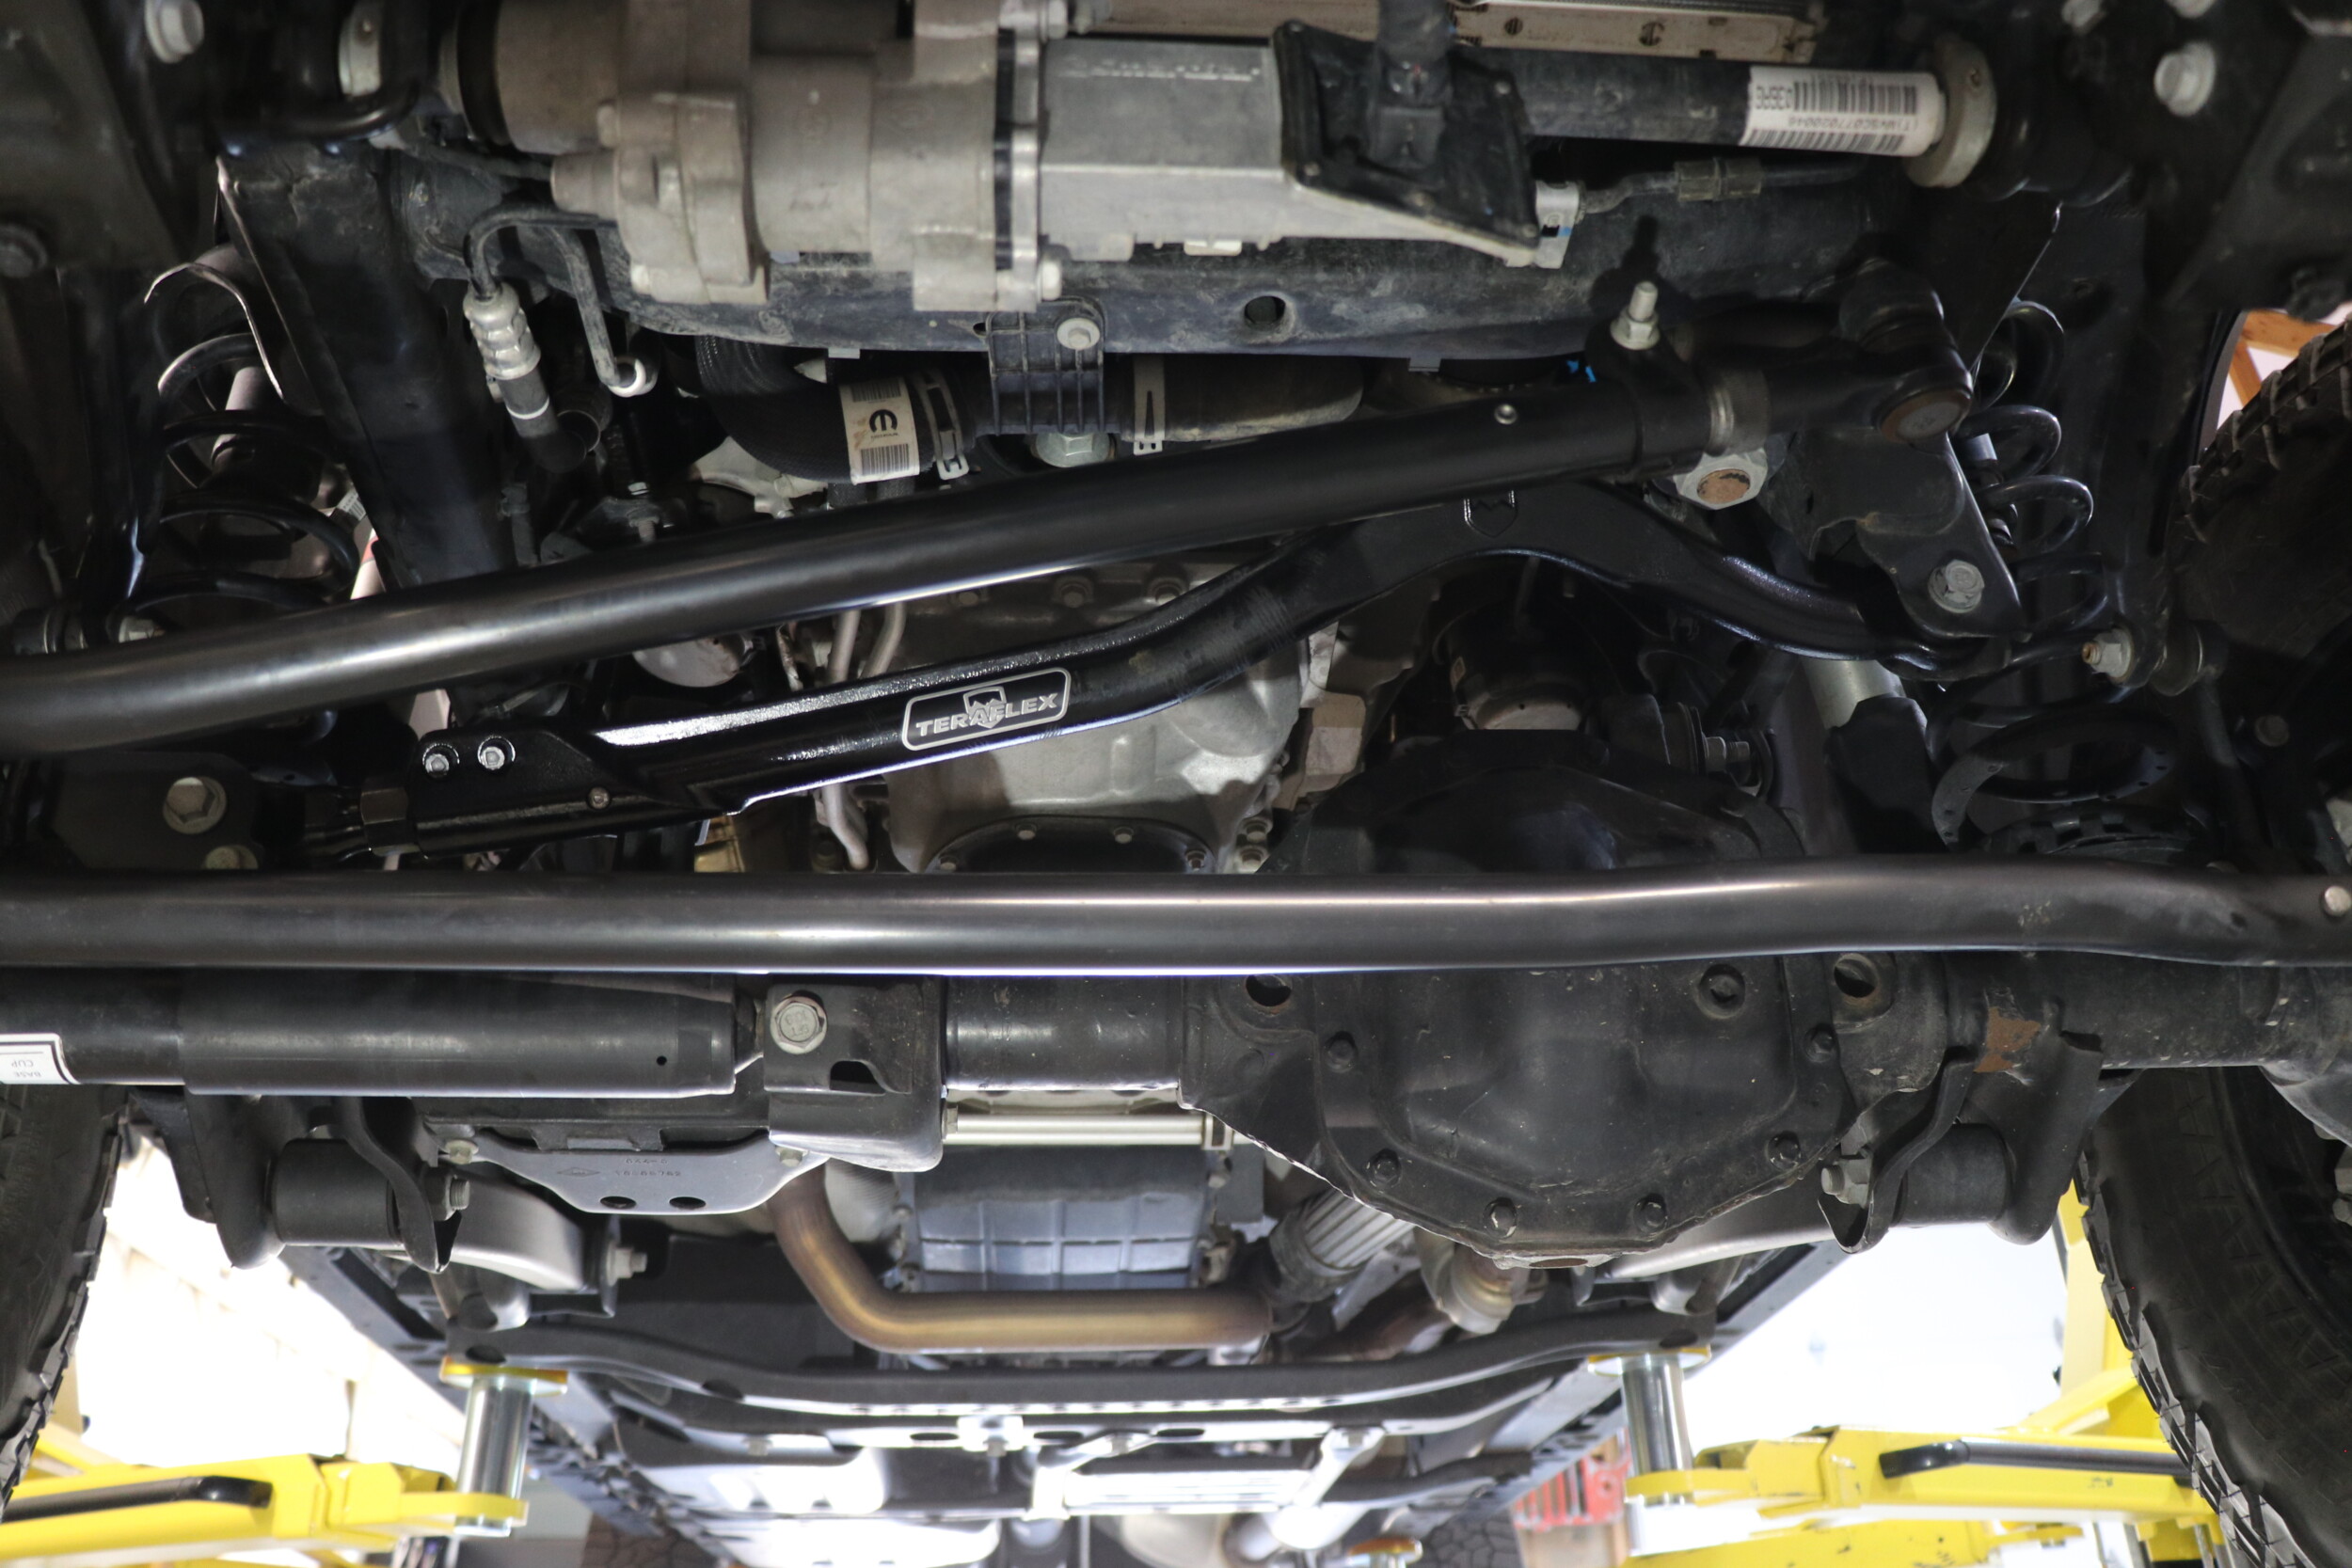


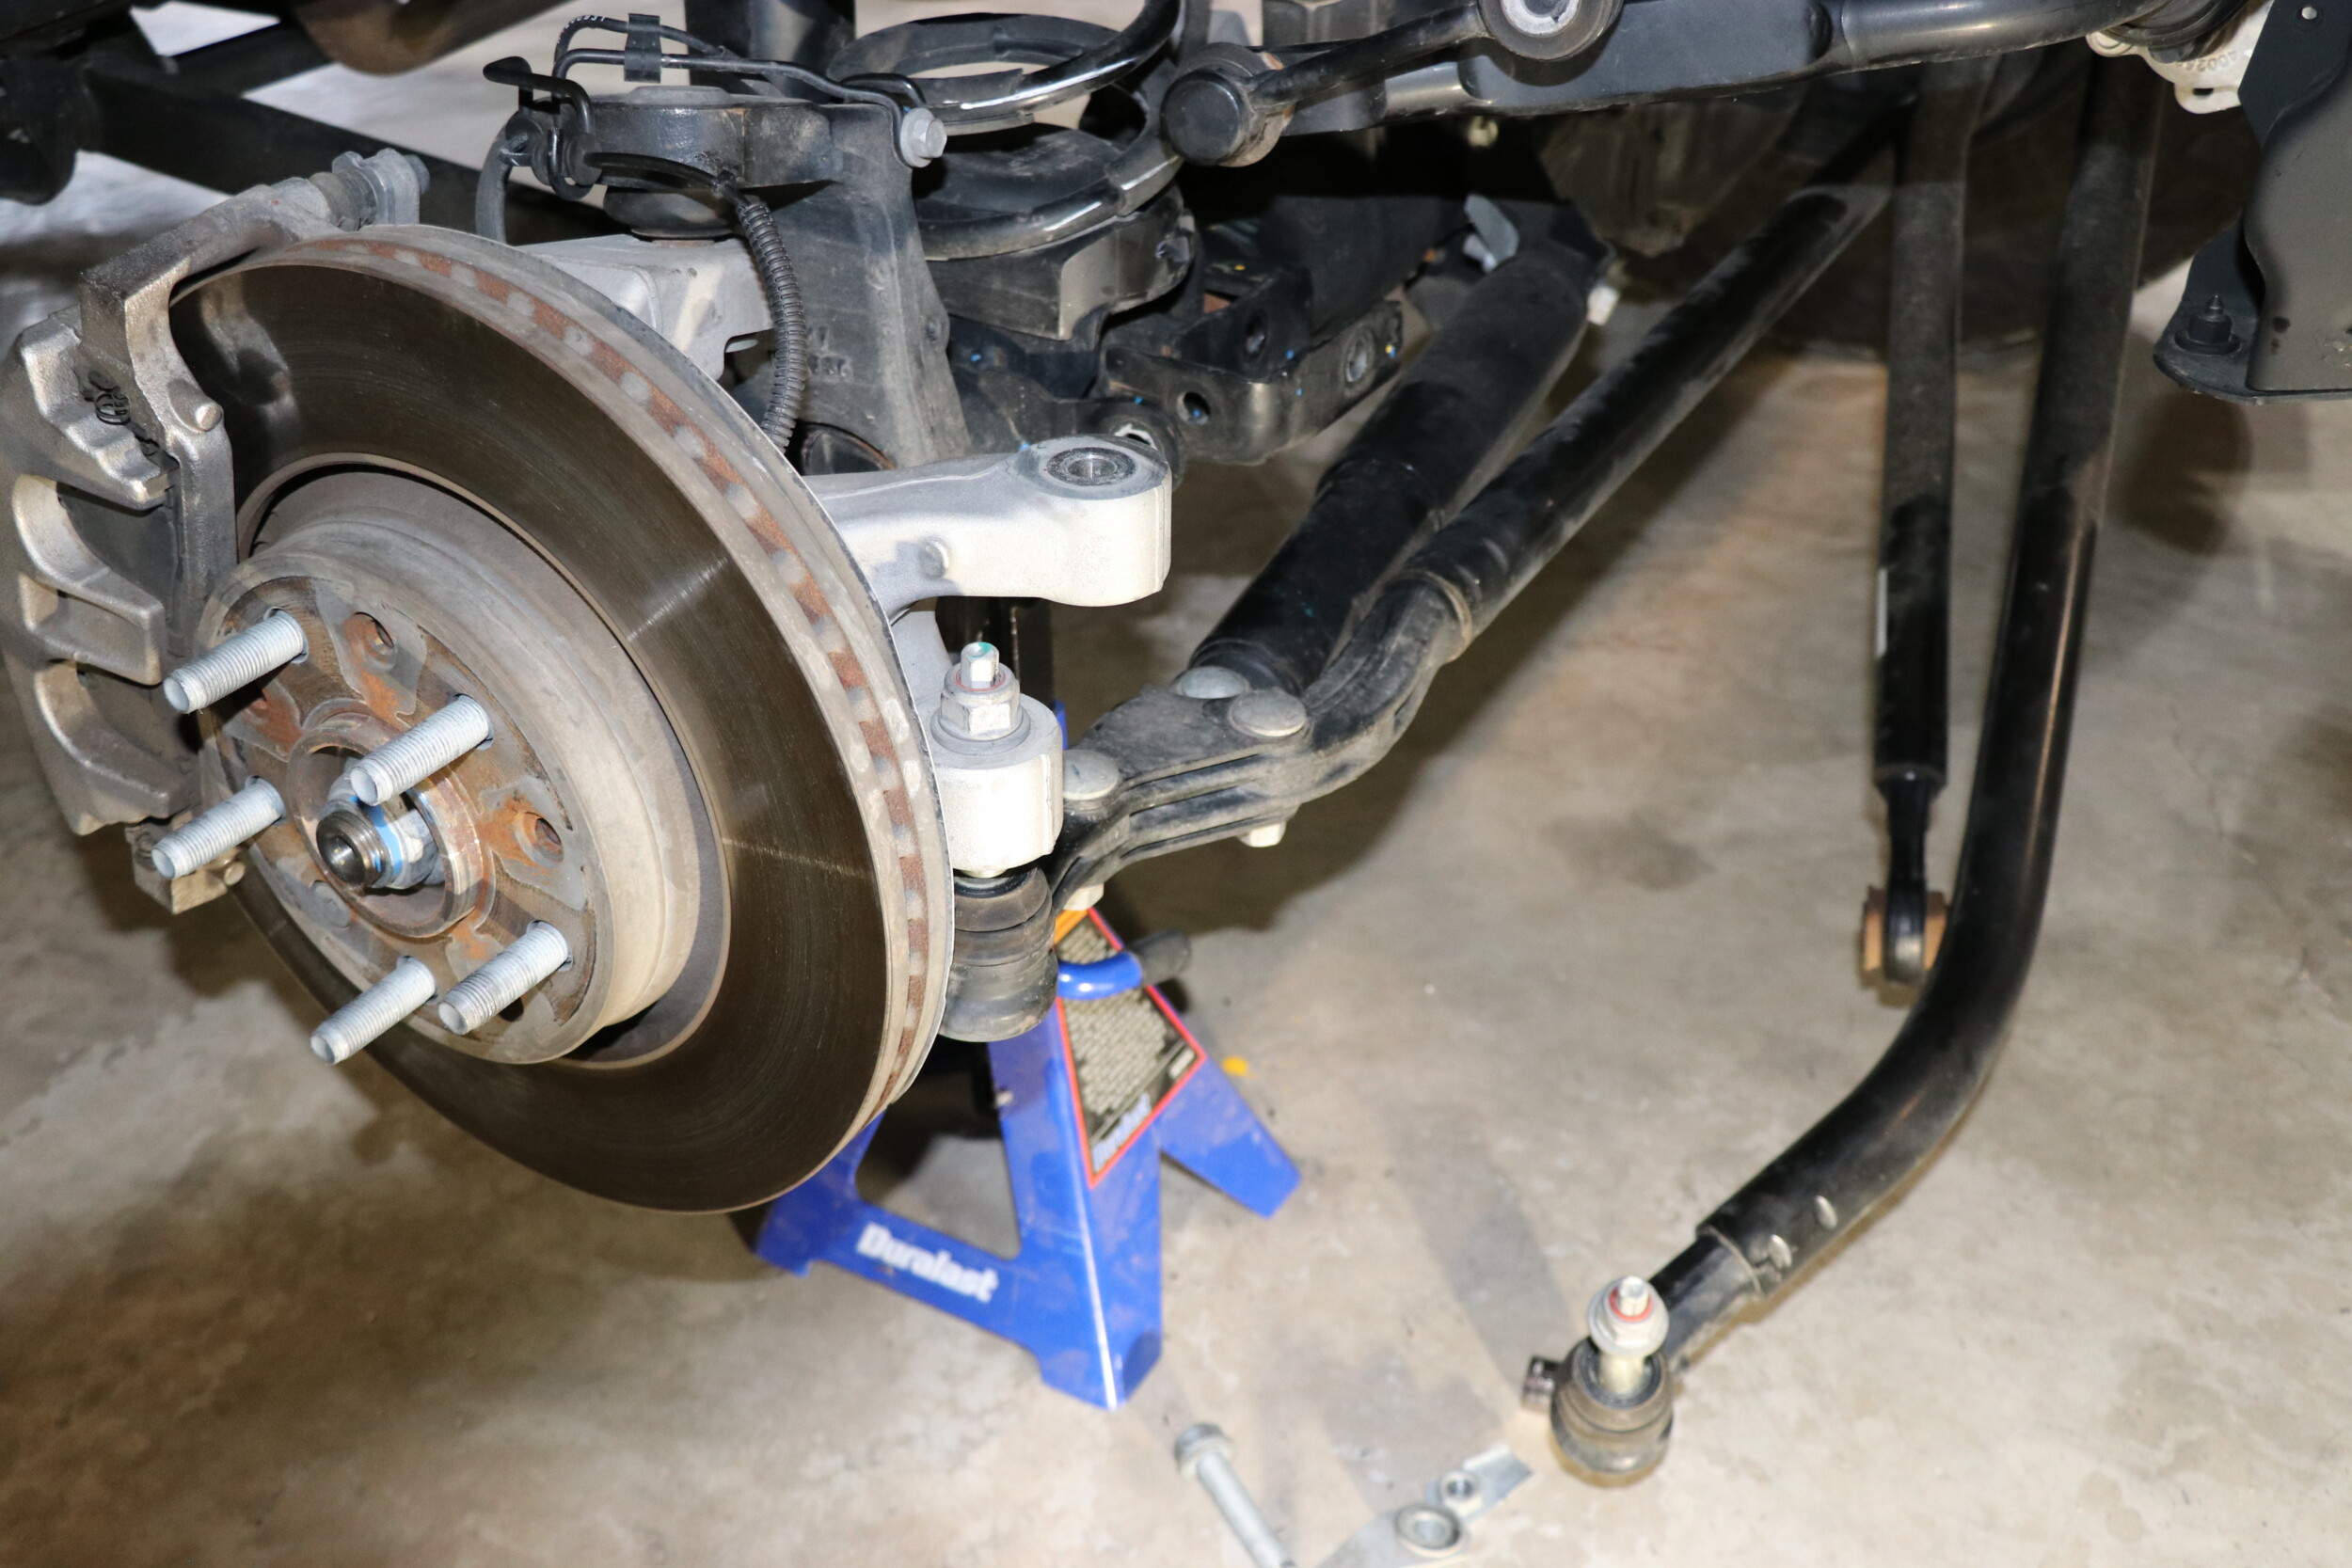
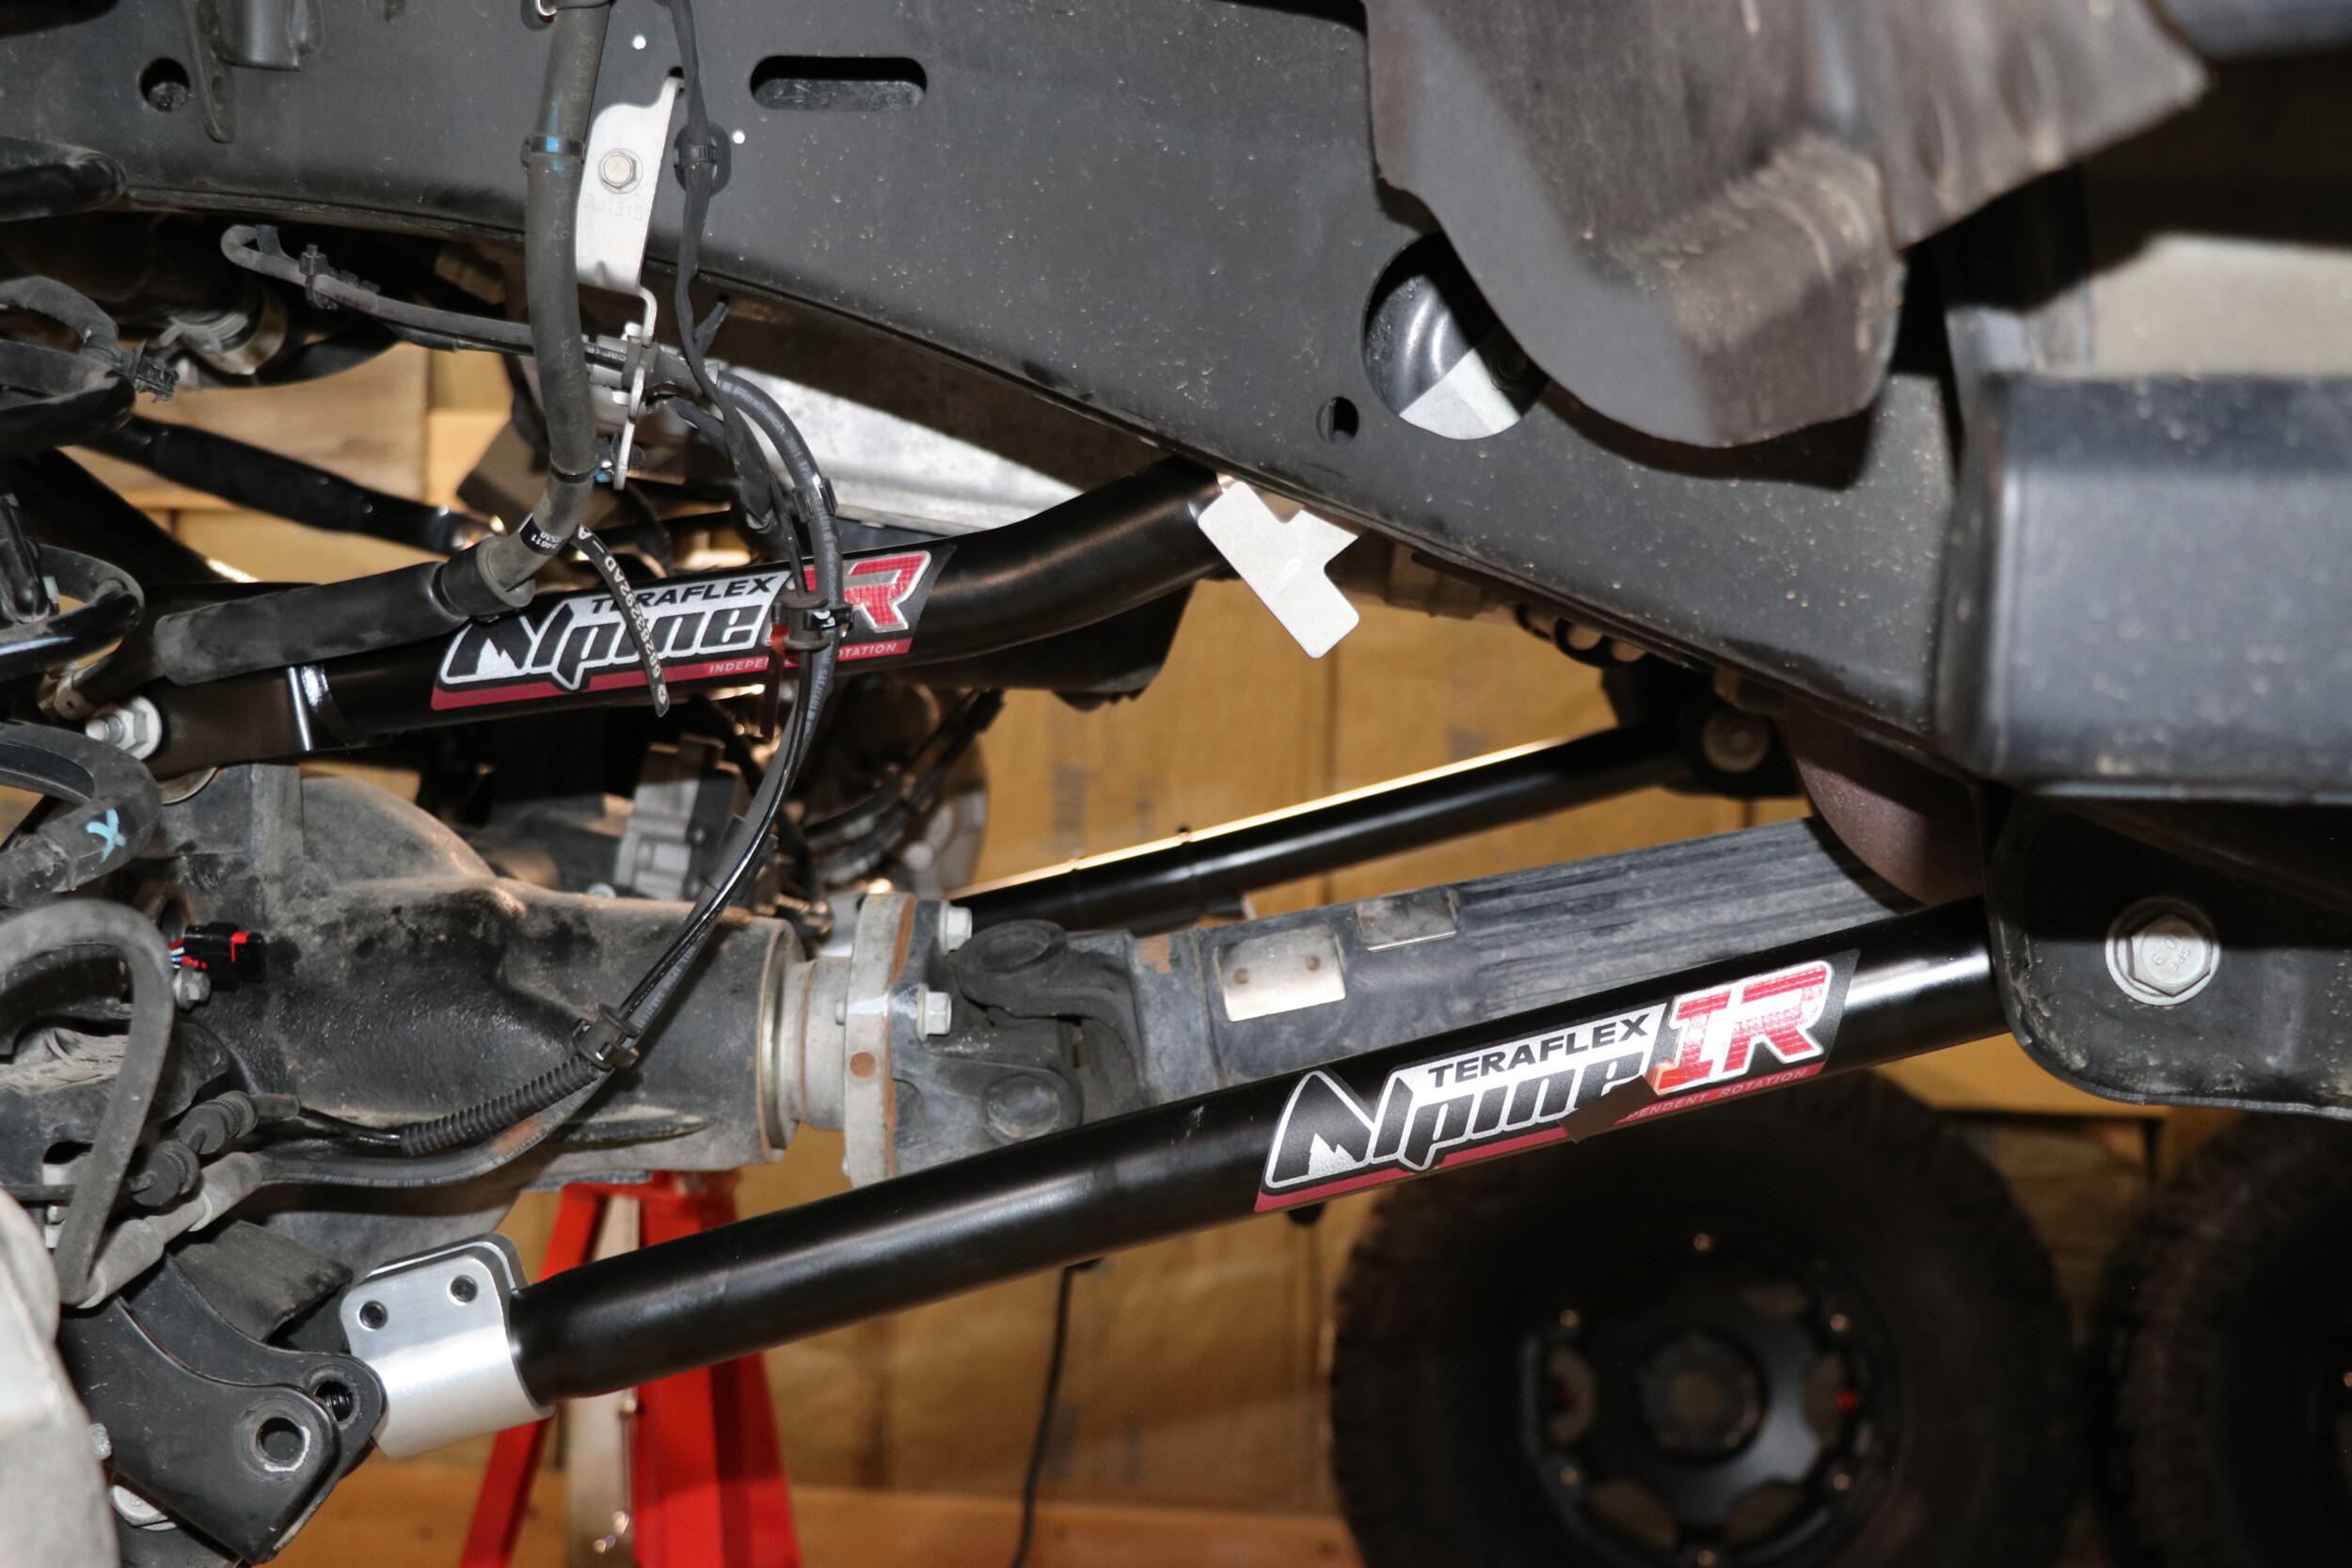
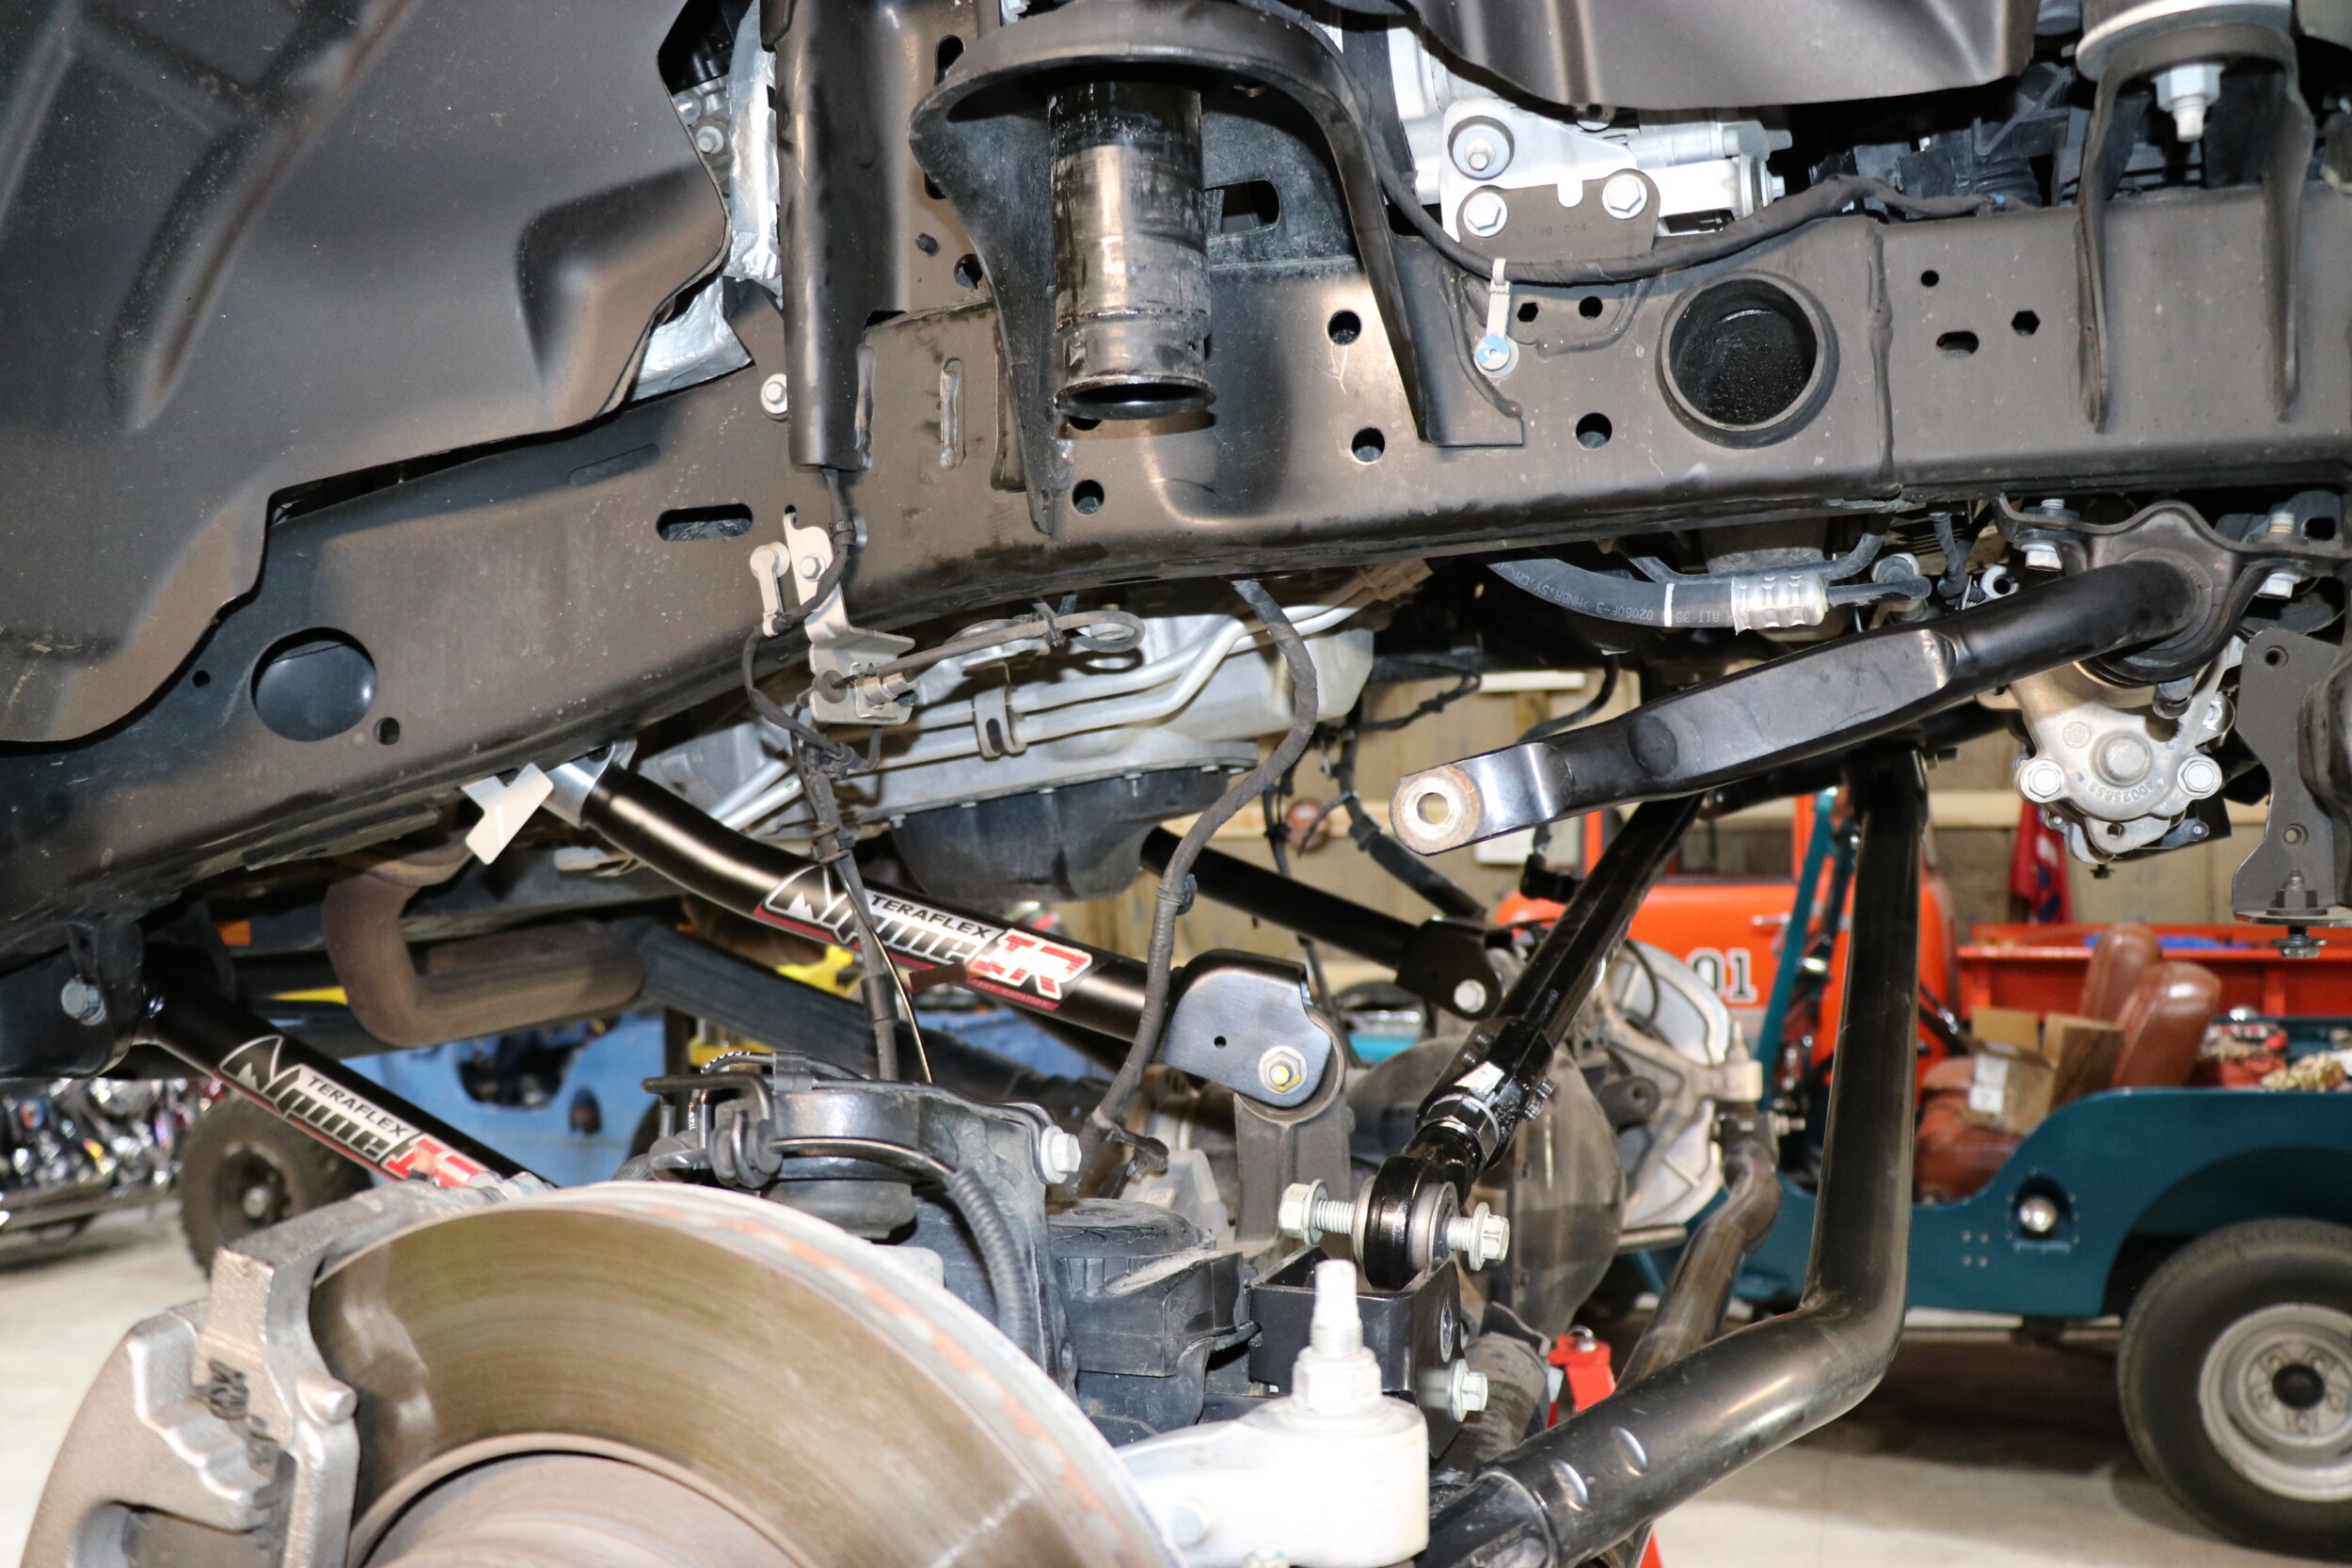
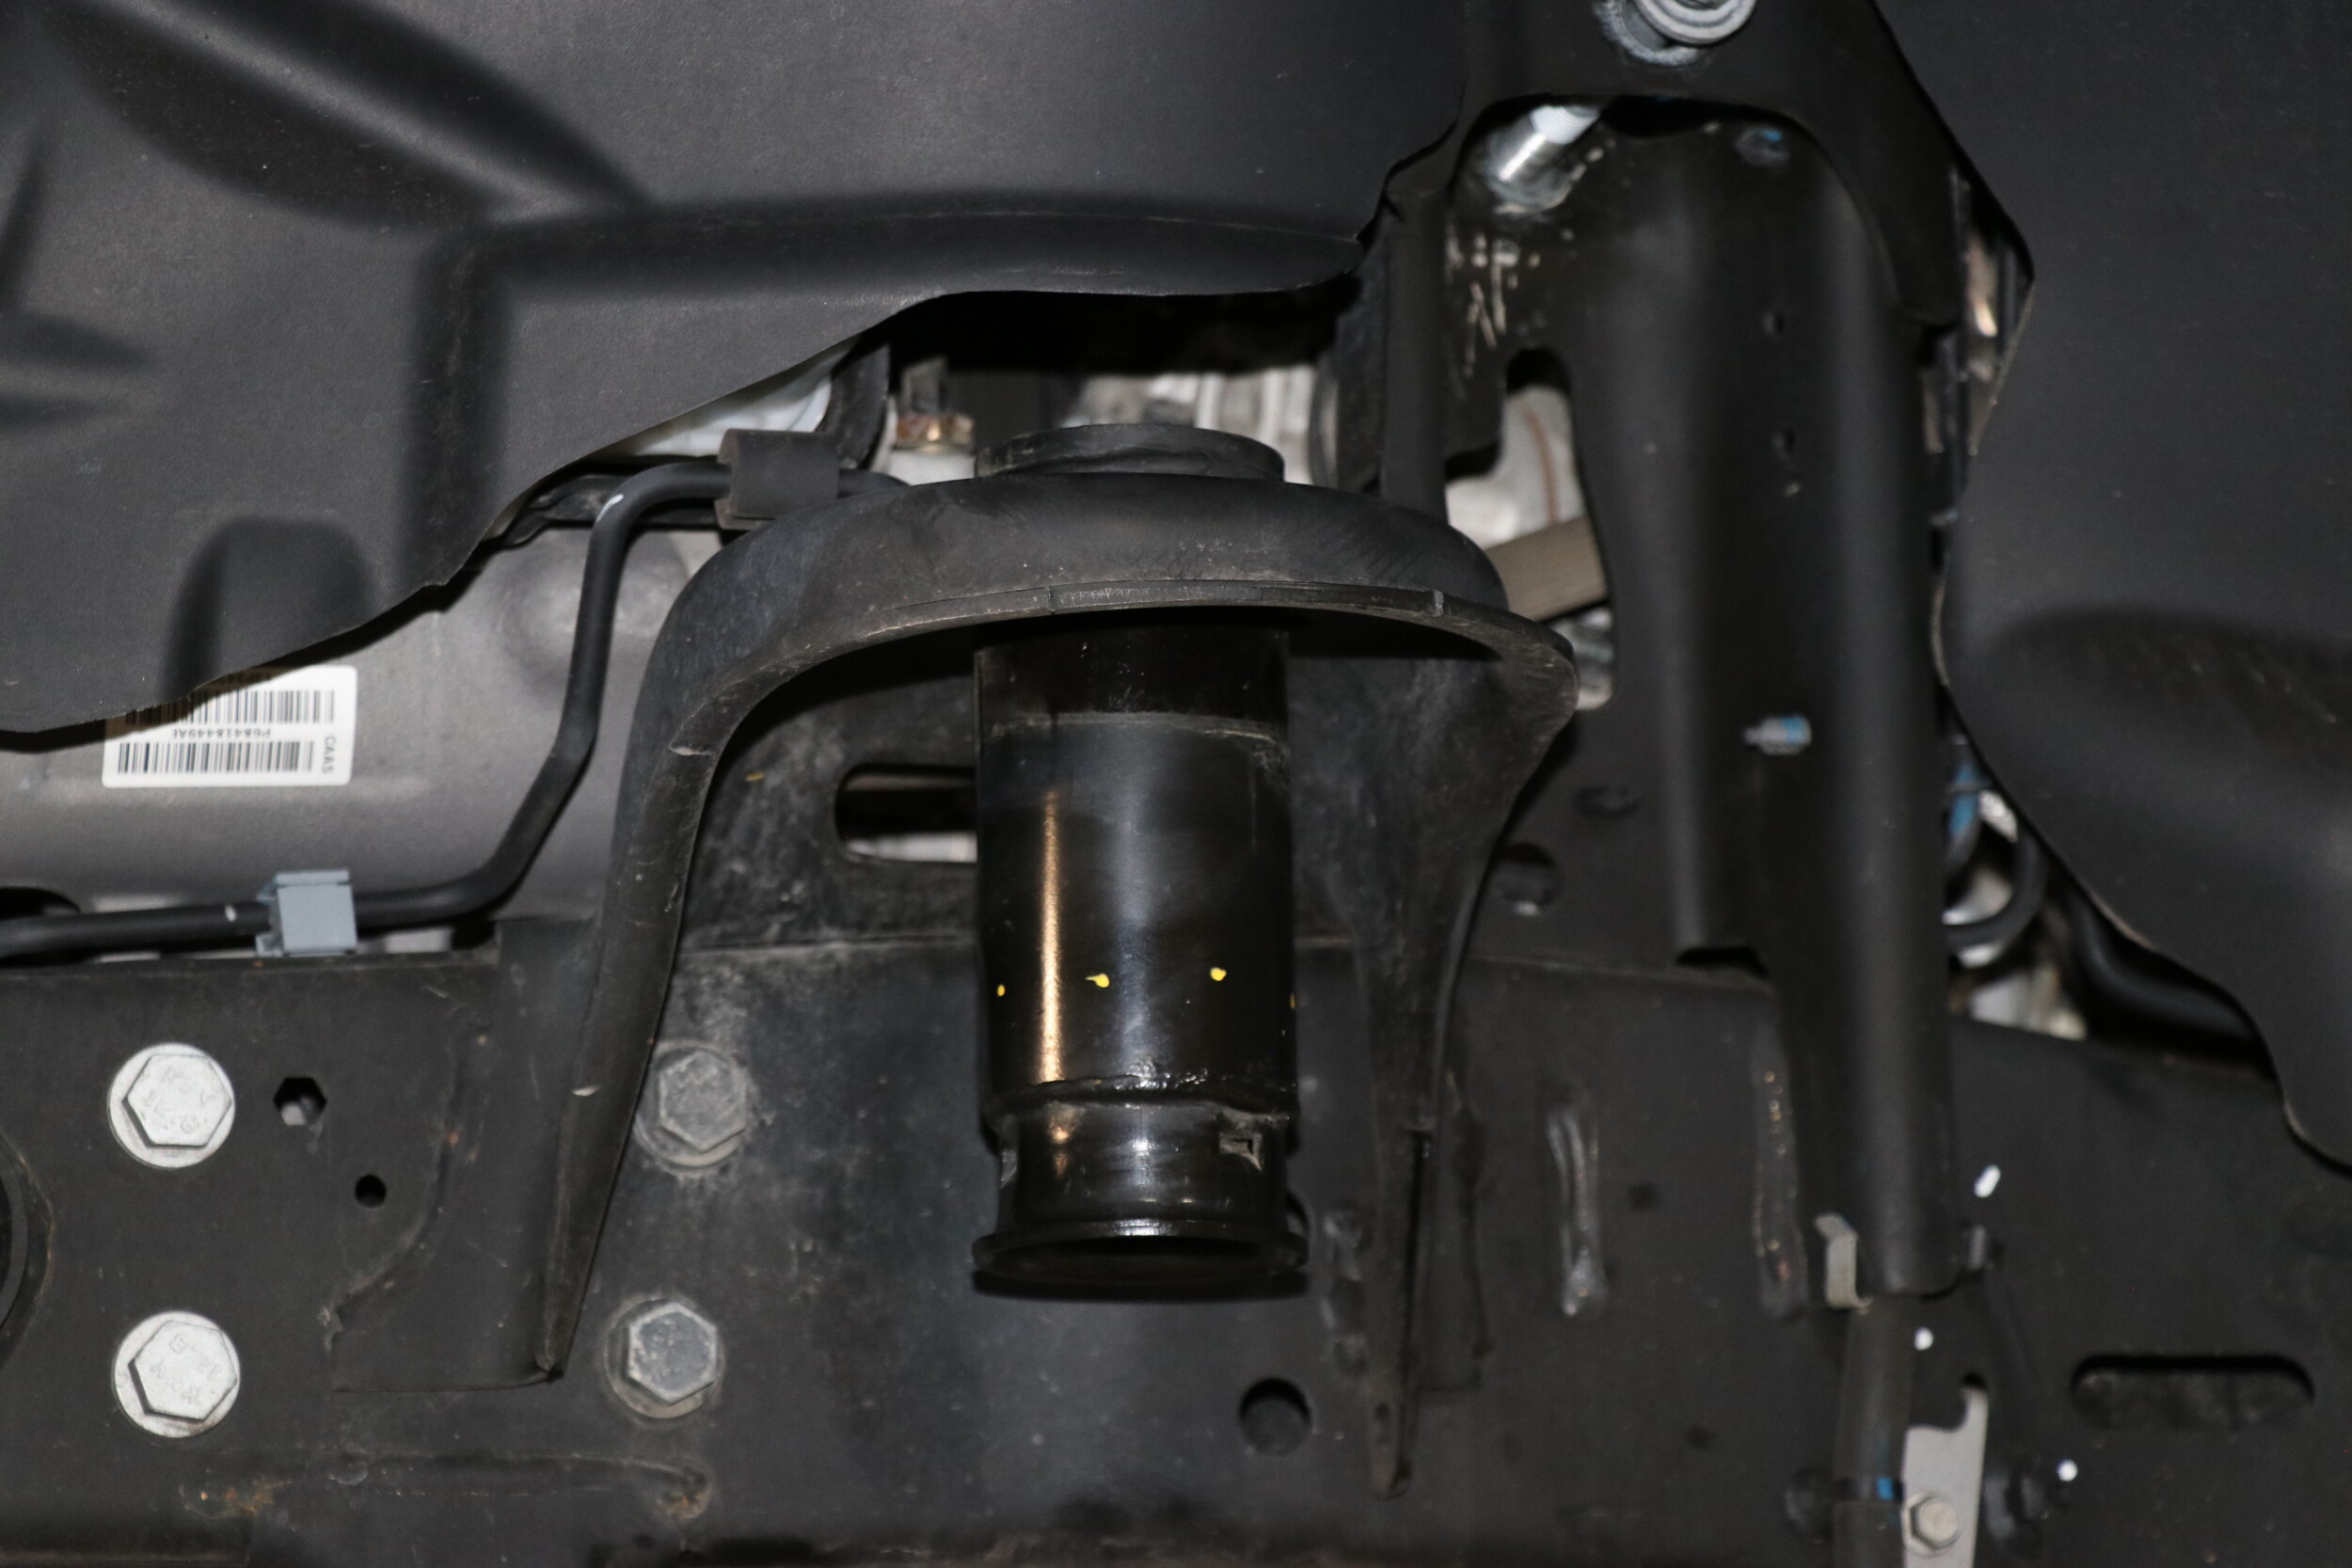
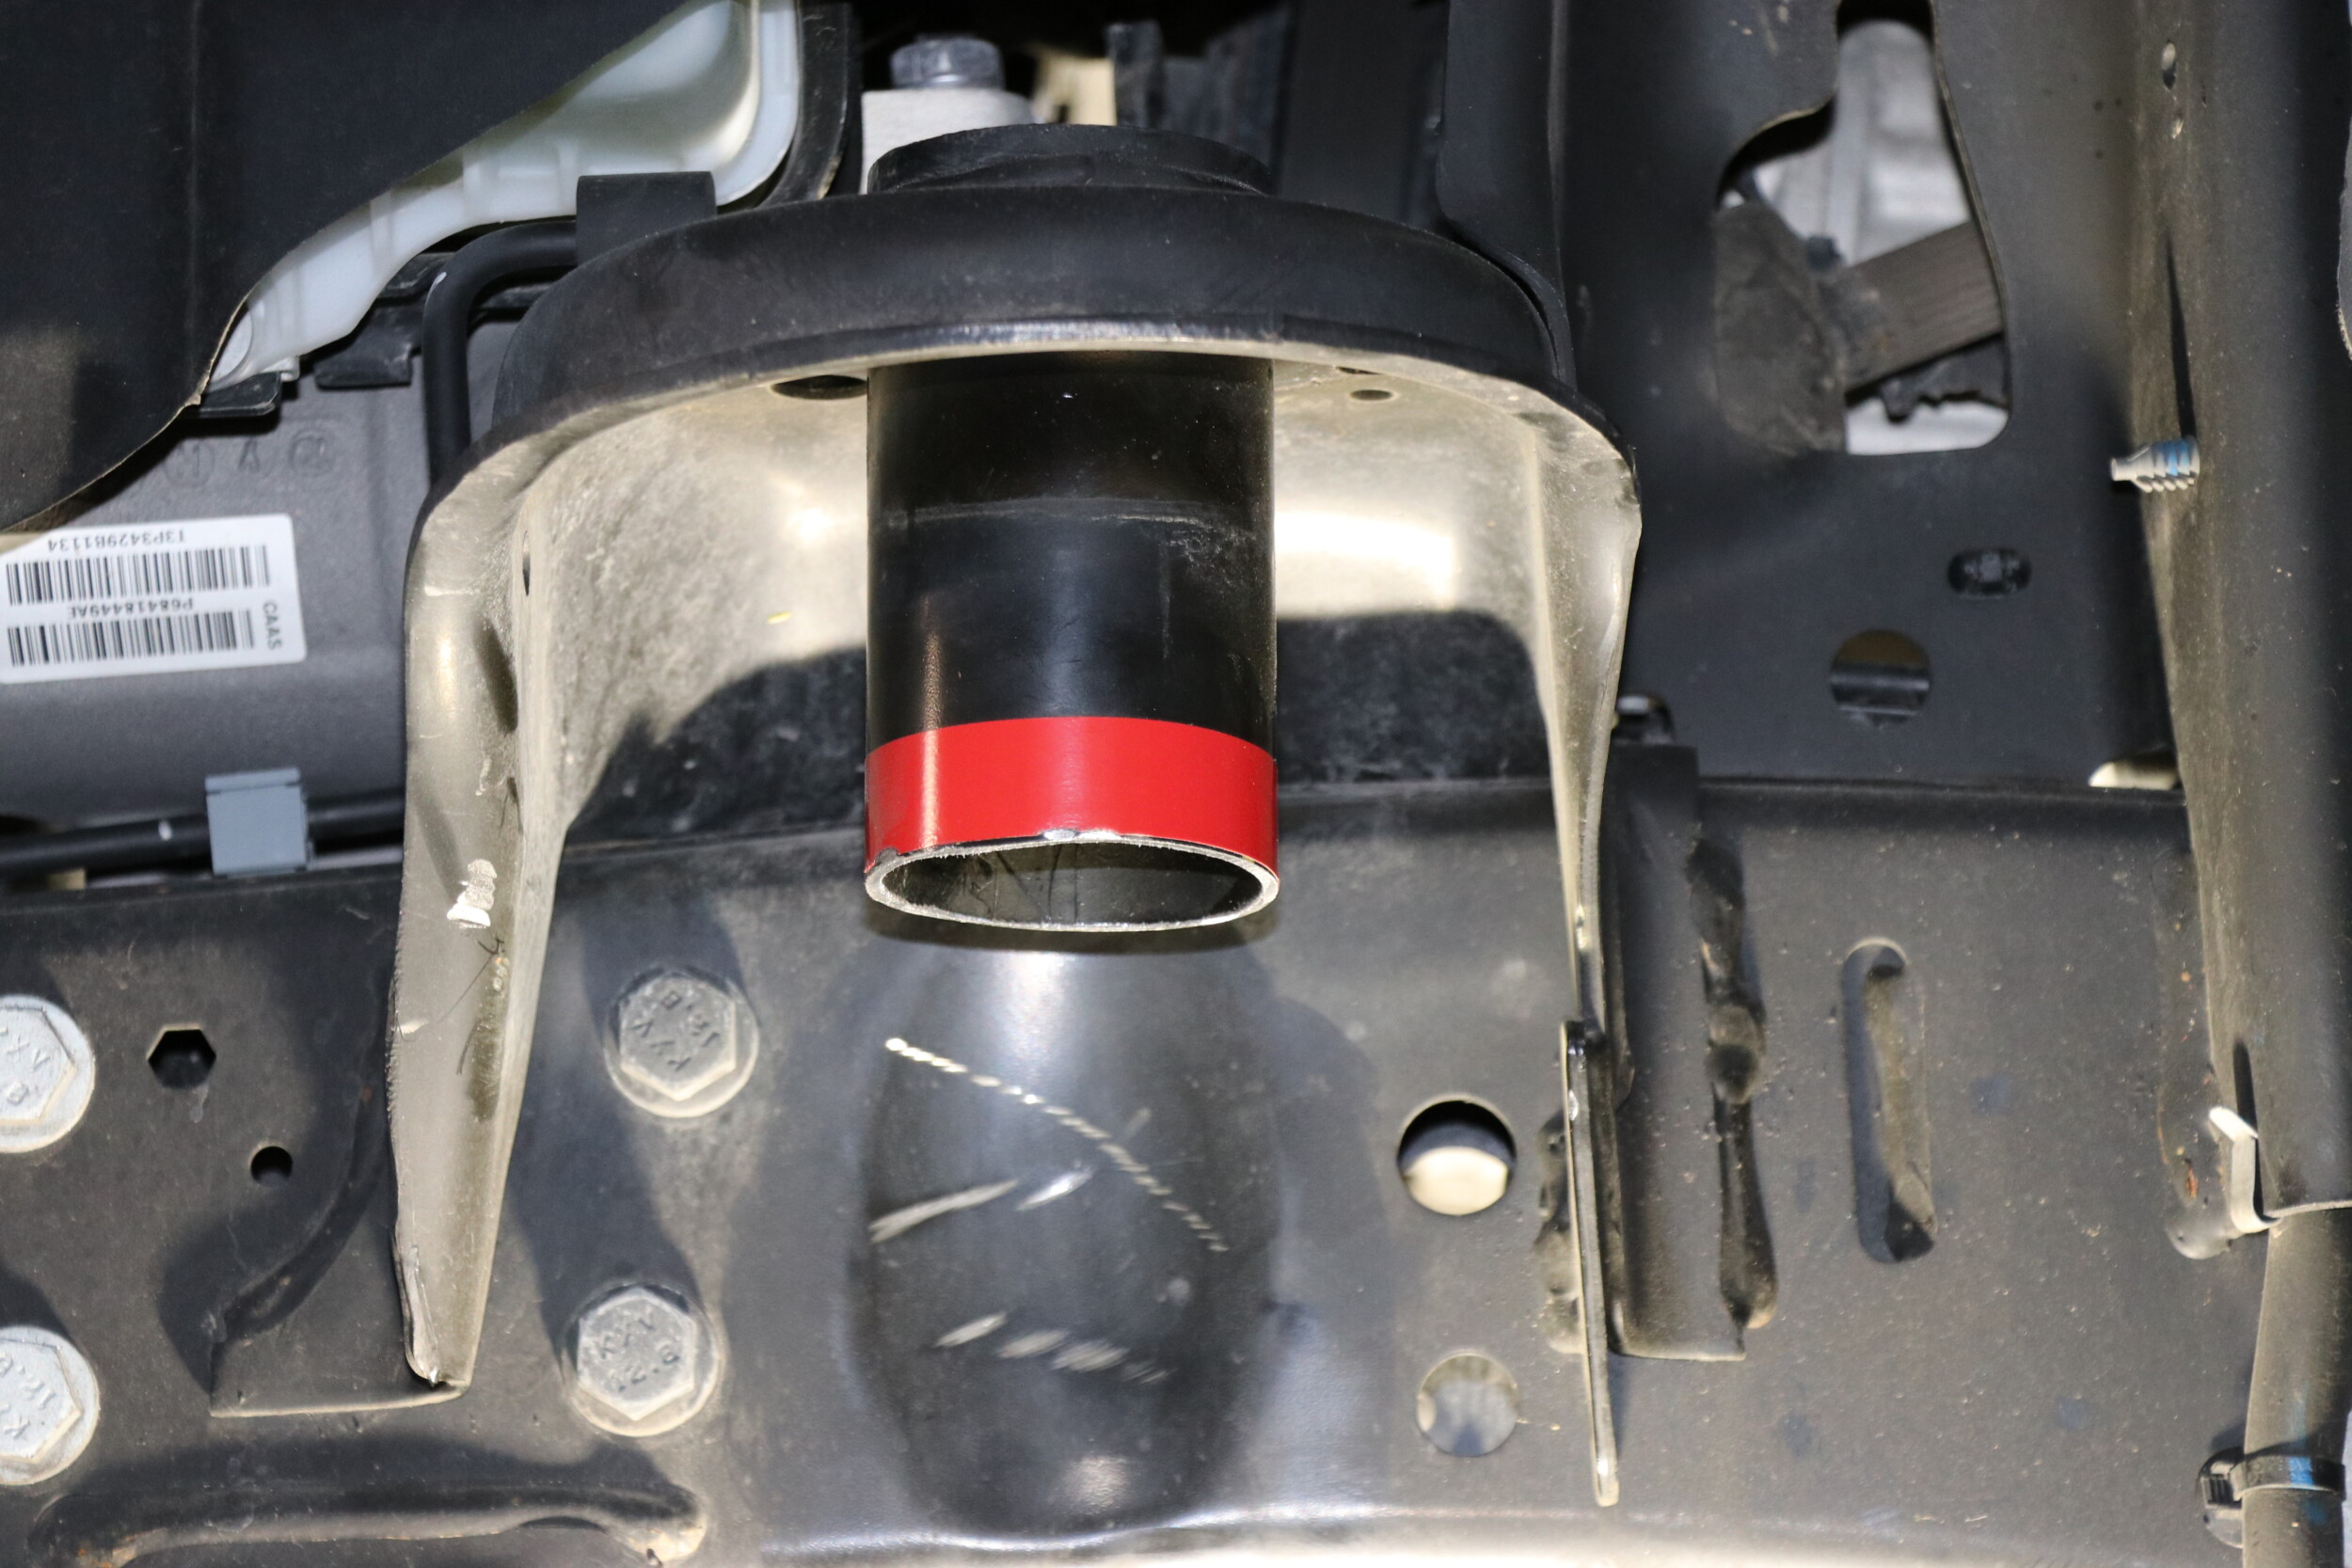
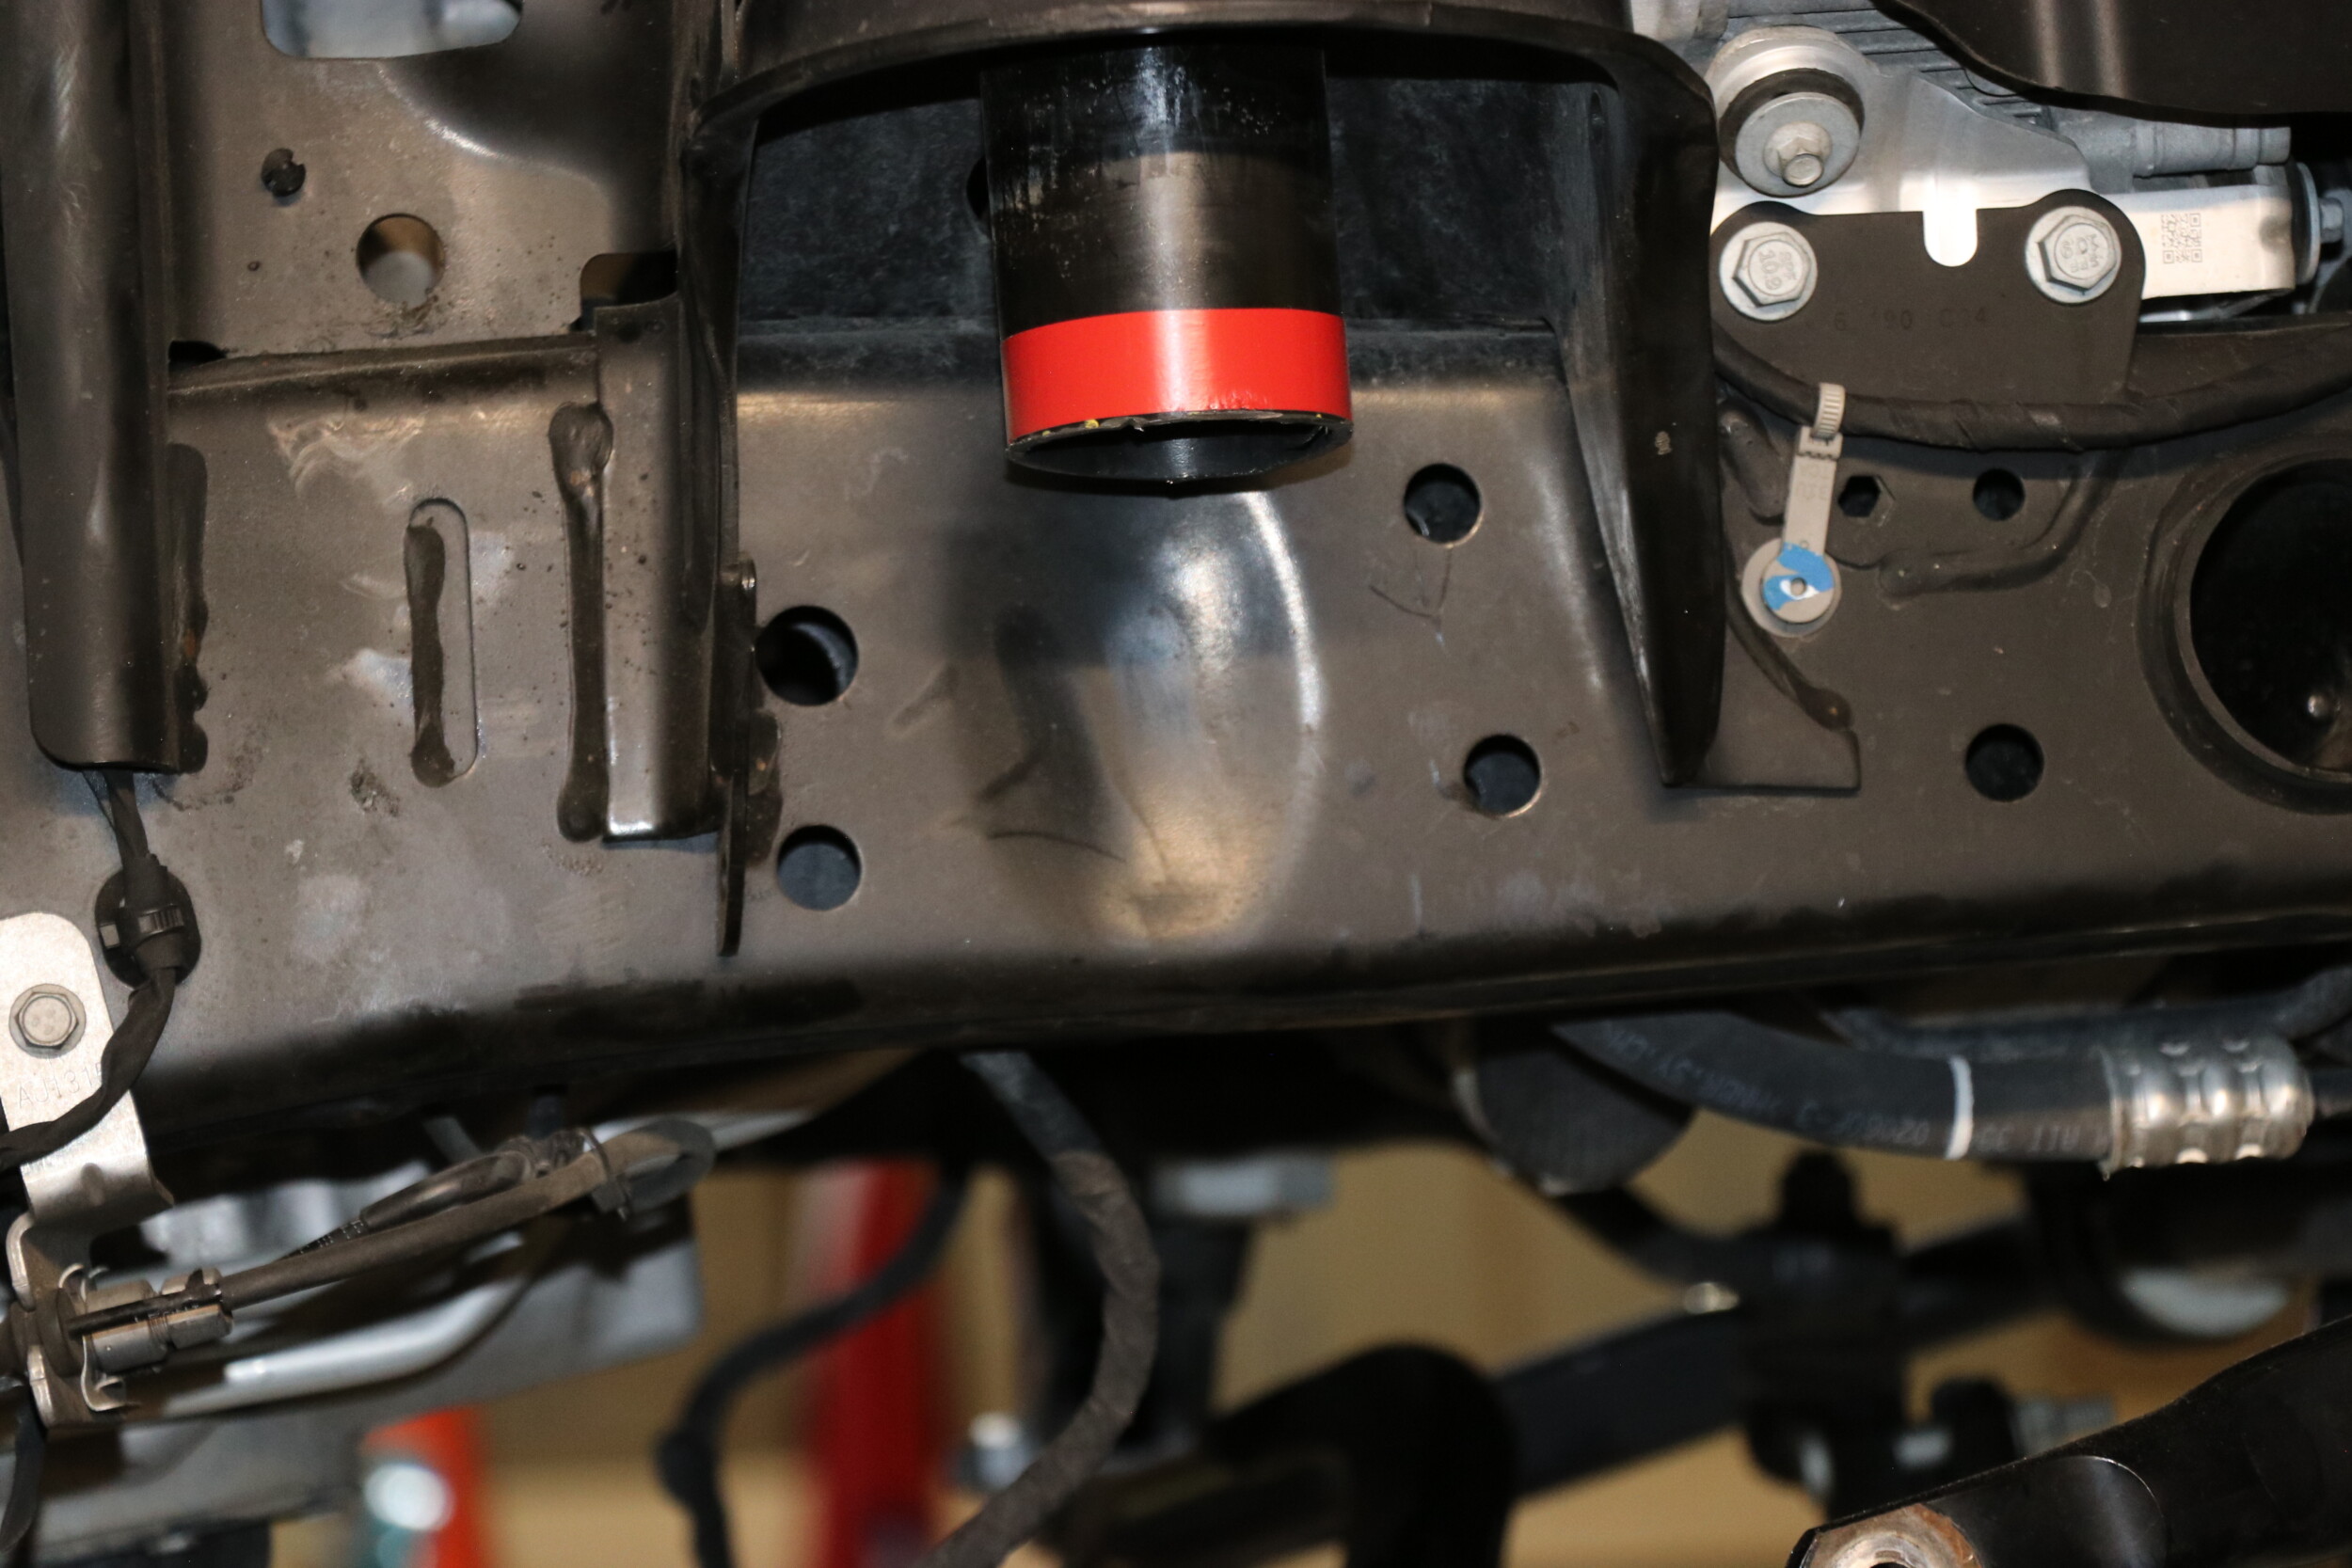
Onto the next step, with the important components unhooked it was safe to remove the shocks and sway bar links. After that, the factory control arms came out and the Alpine RT replacements from Teraflex were installed. The stock coli springs were also removed and preparations were made for the new bump stops.

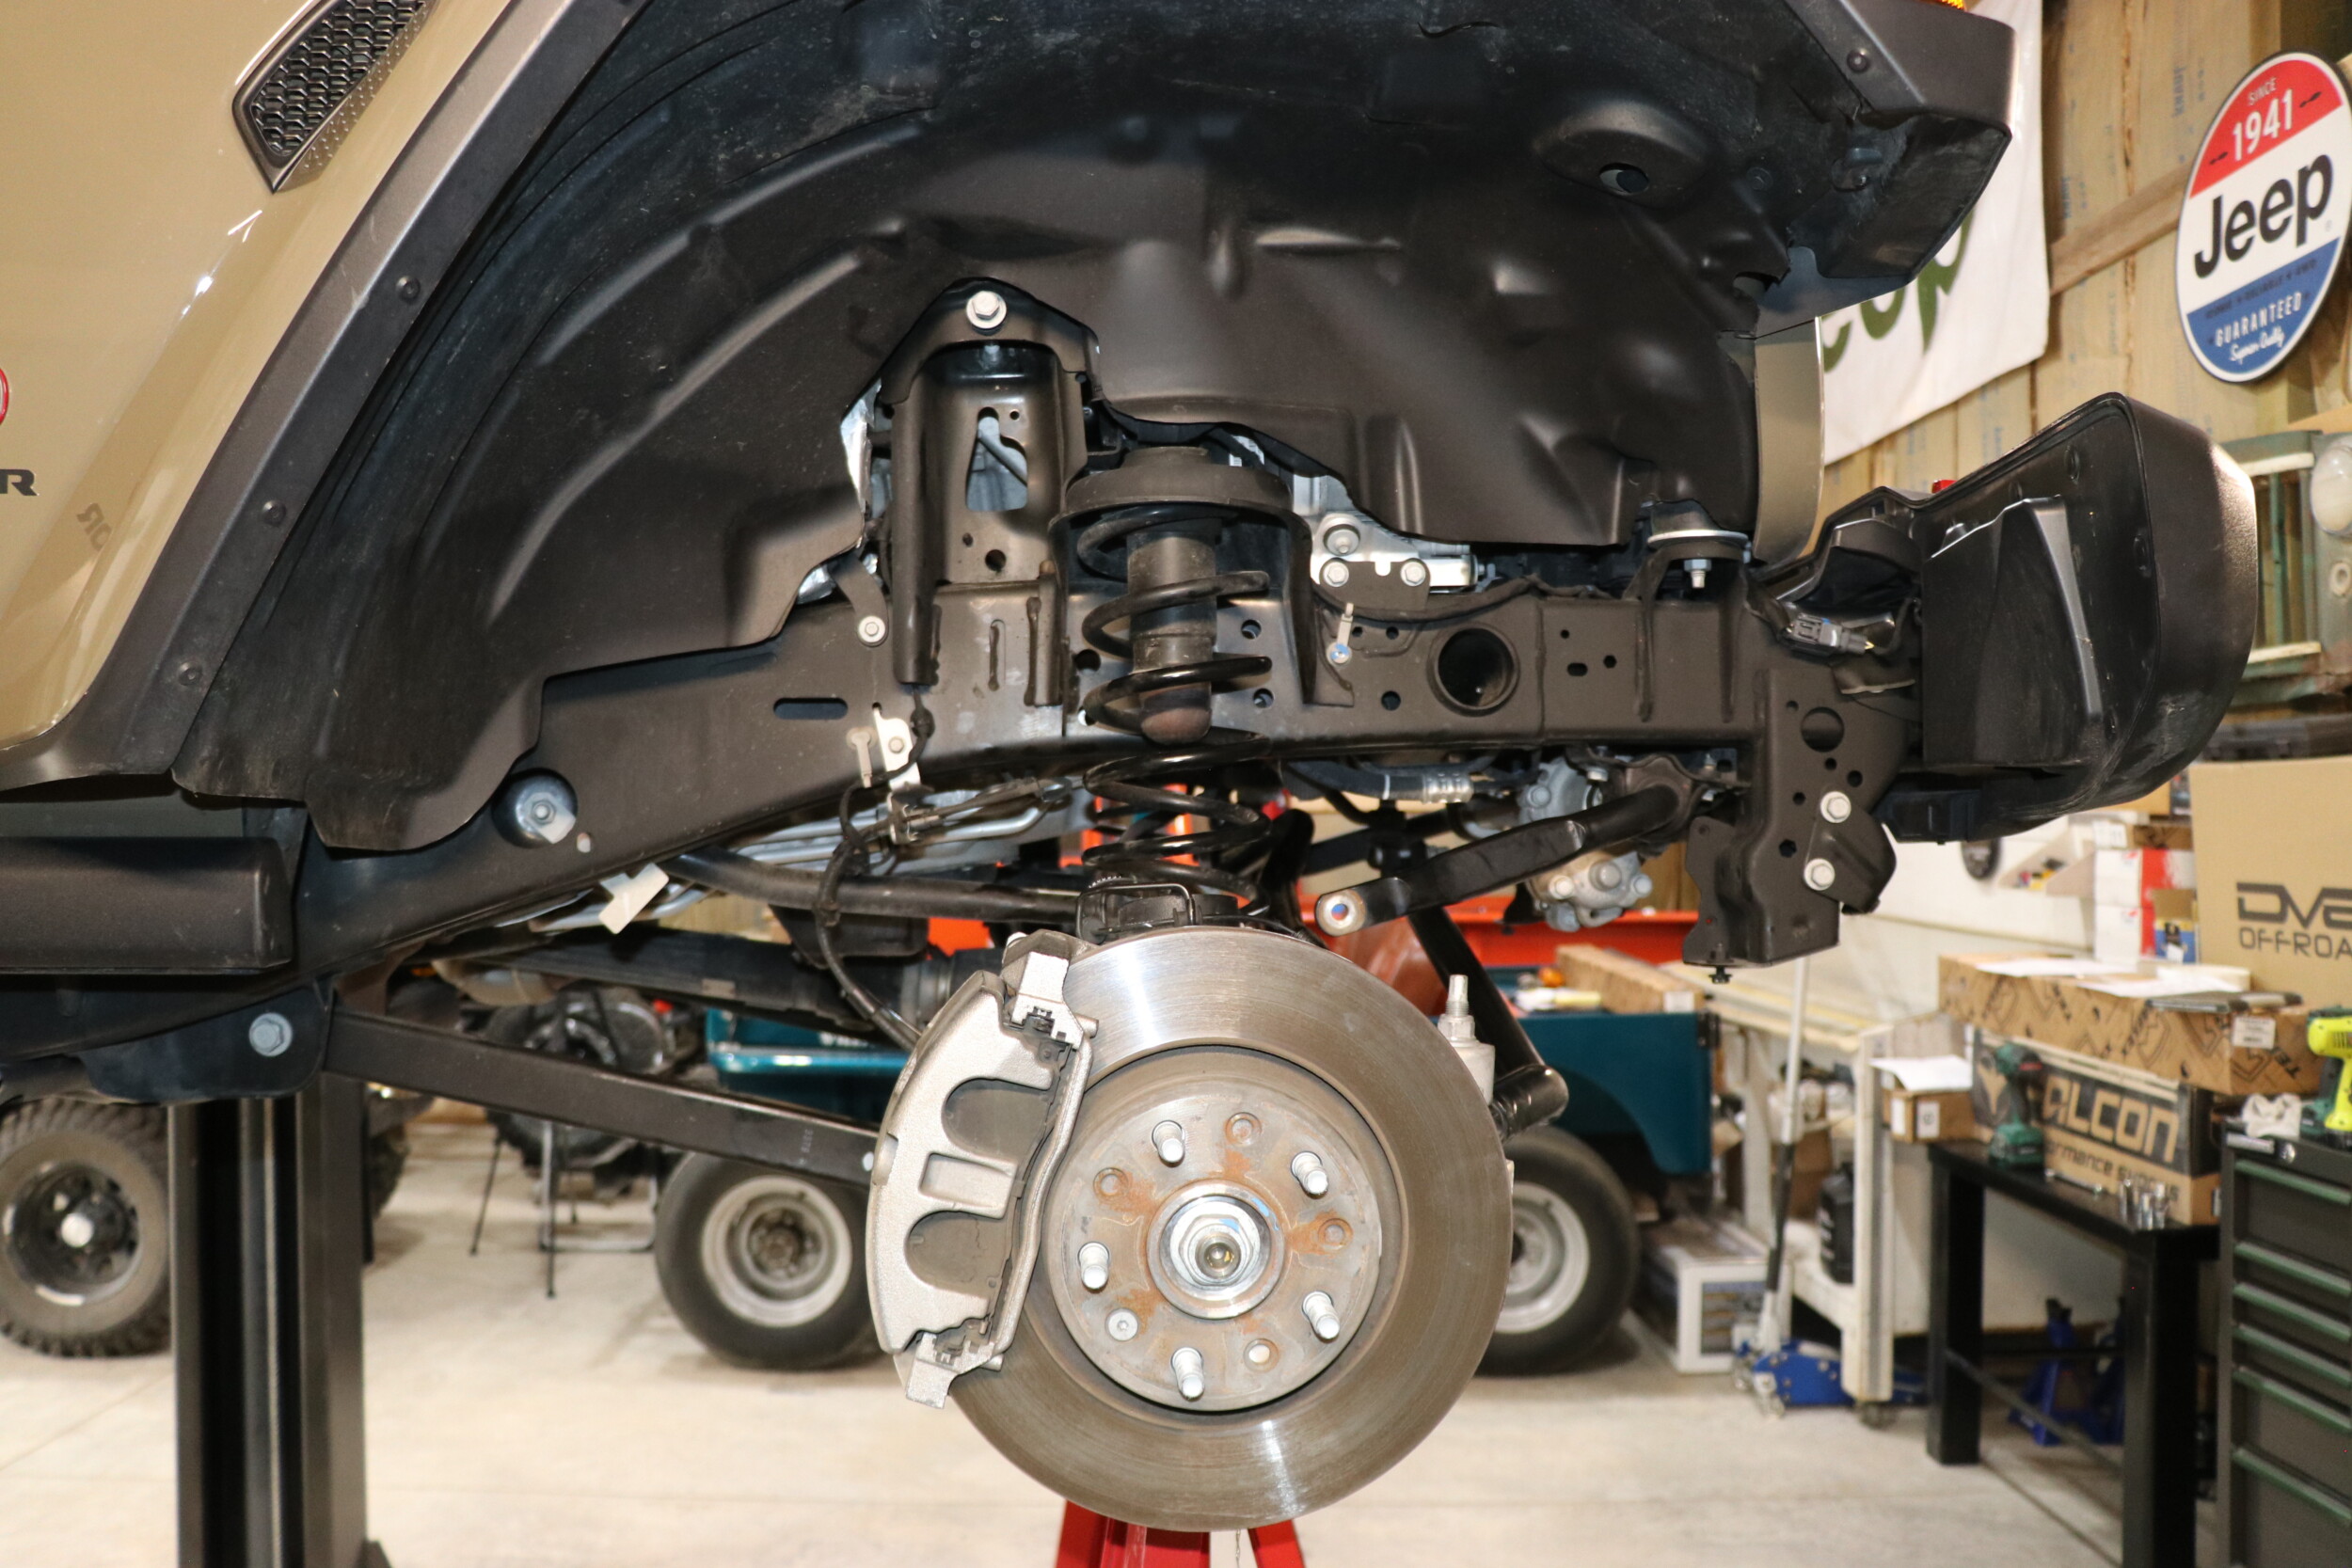
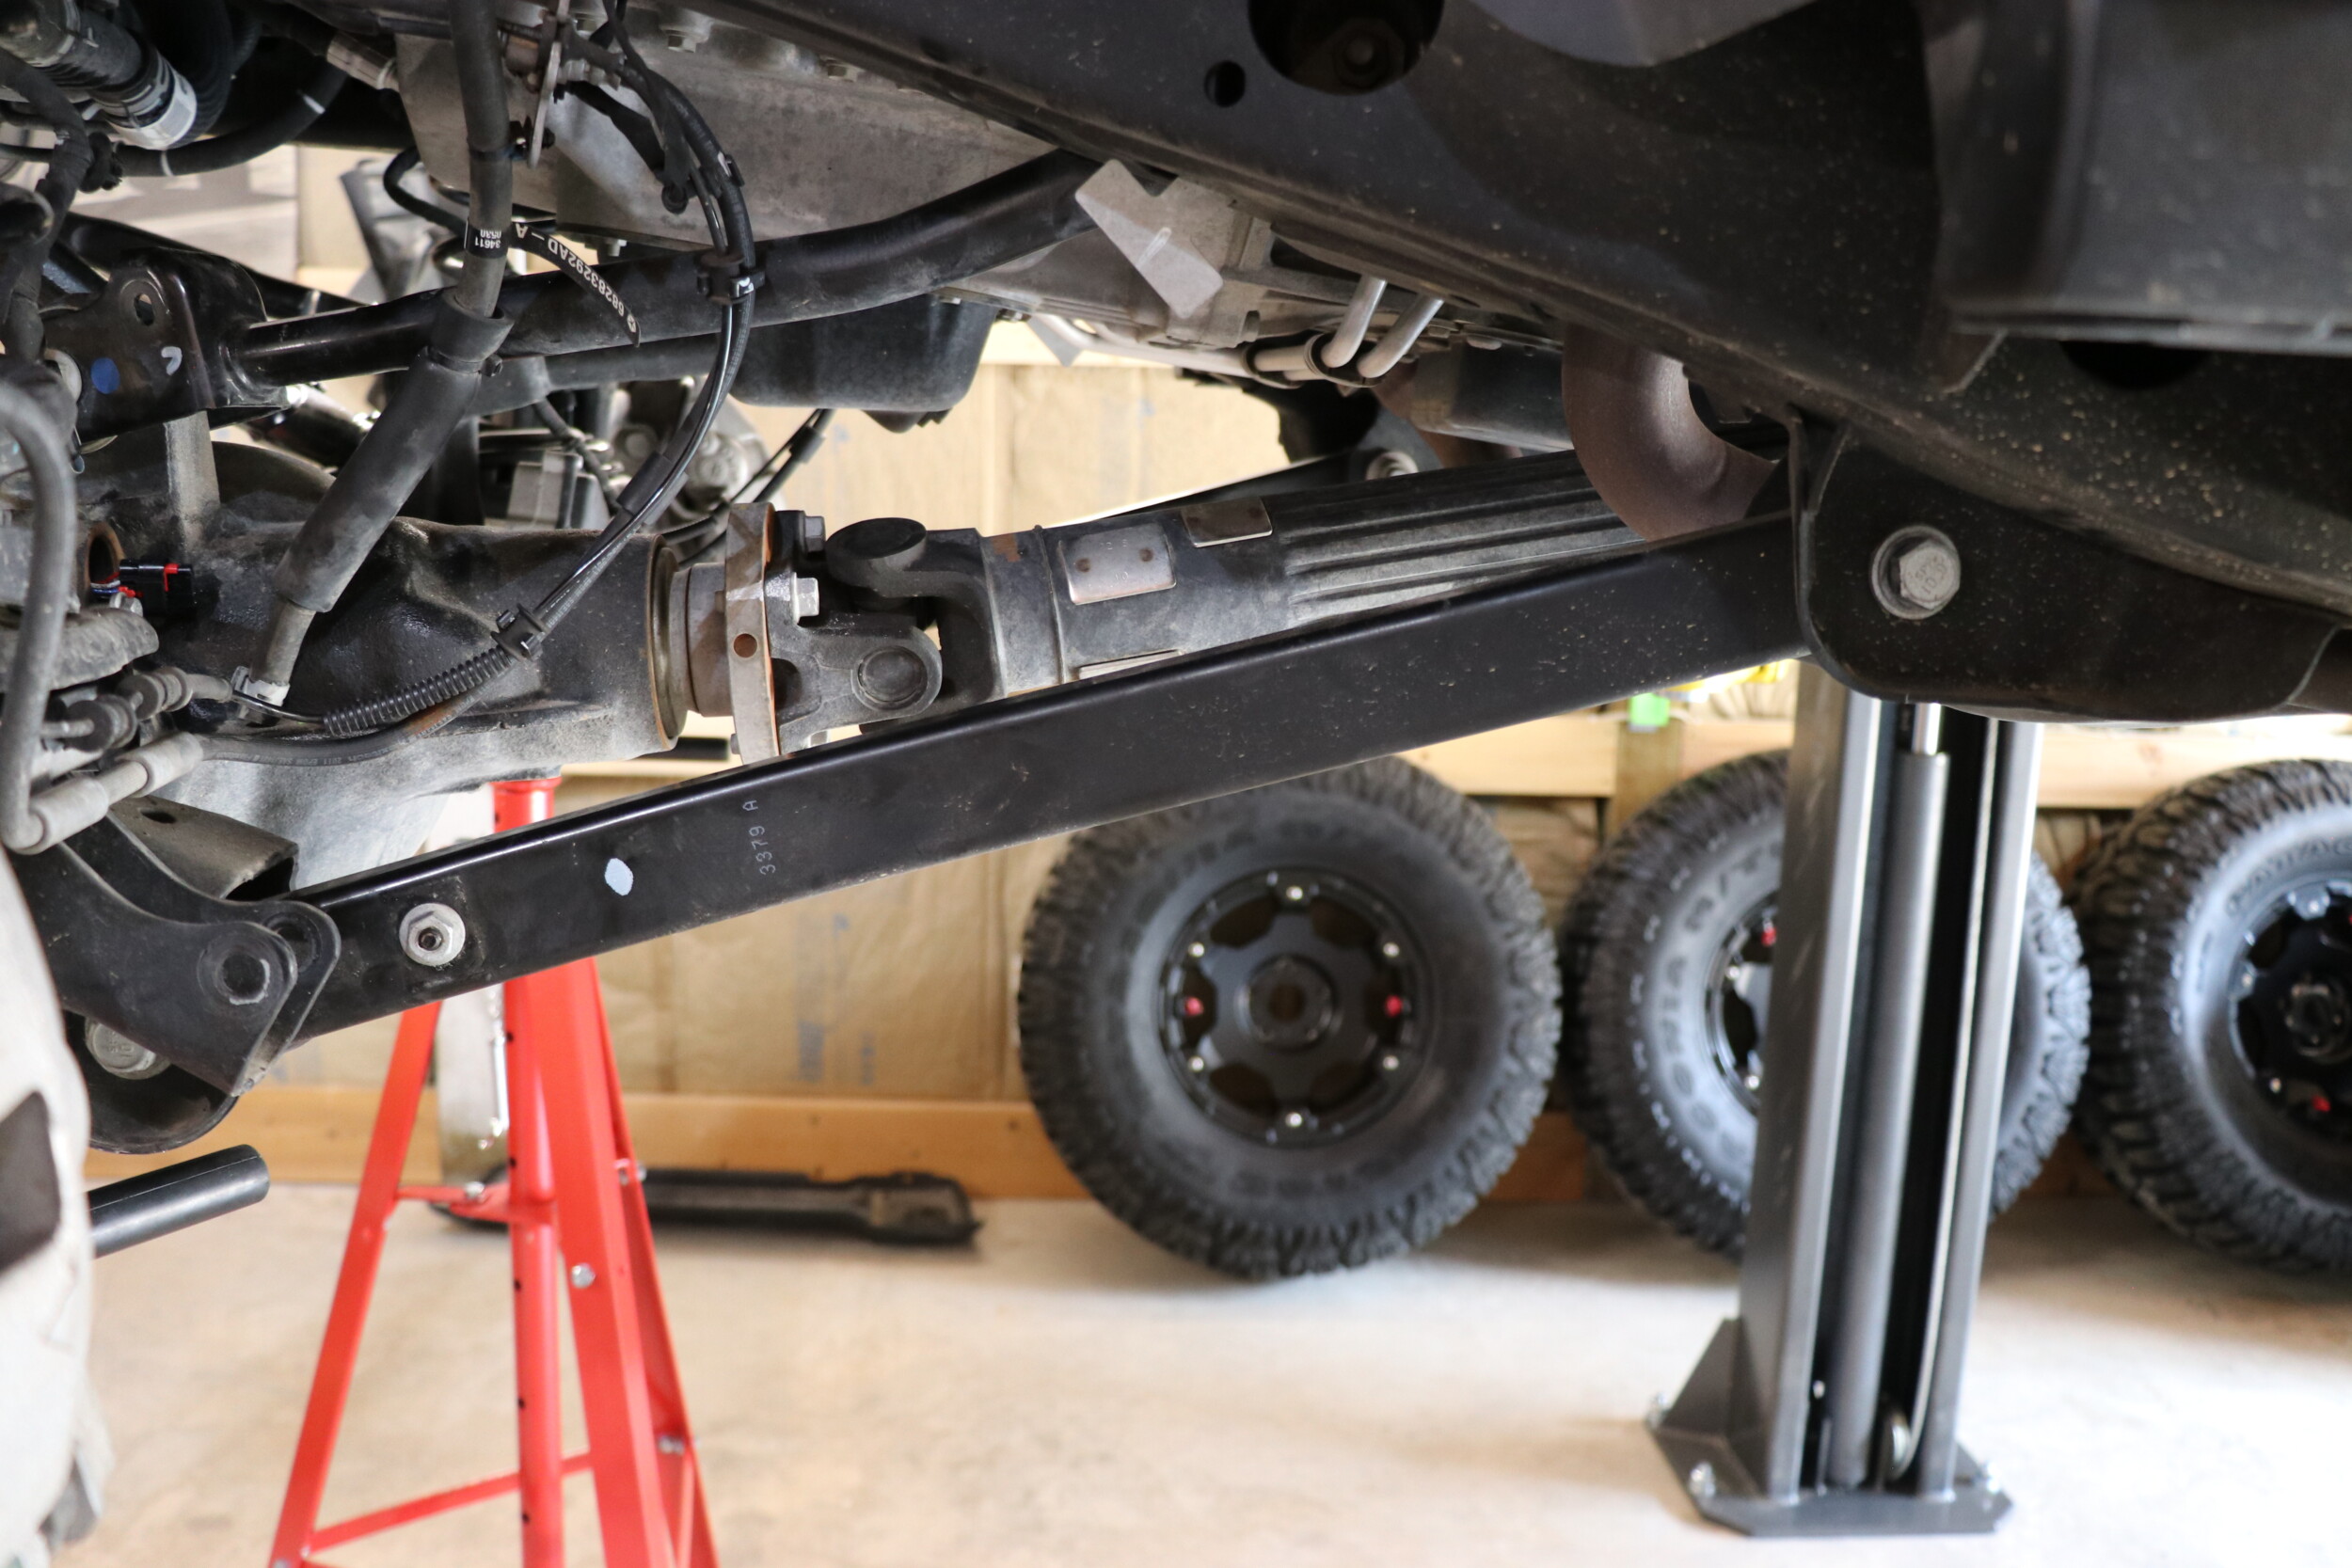
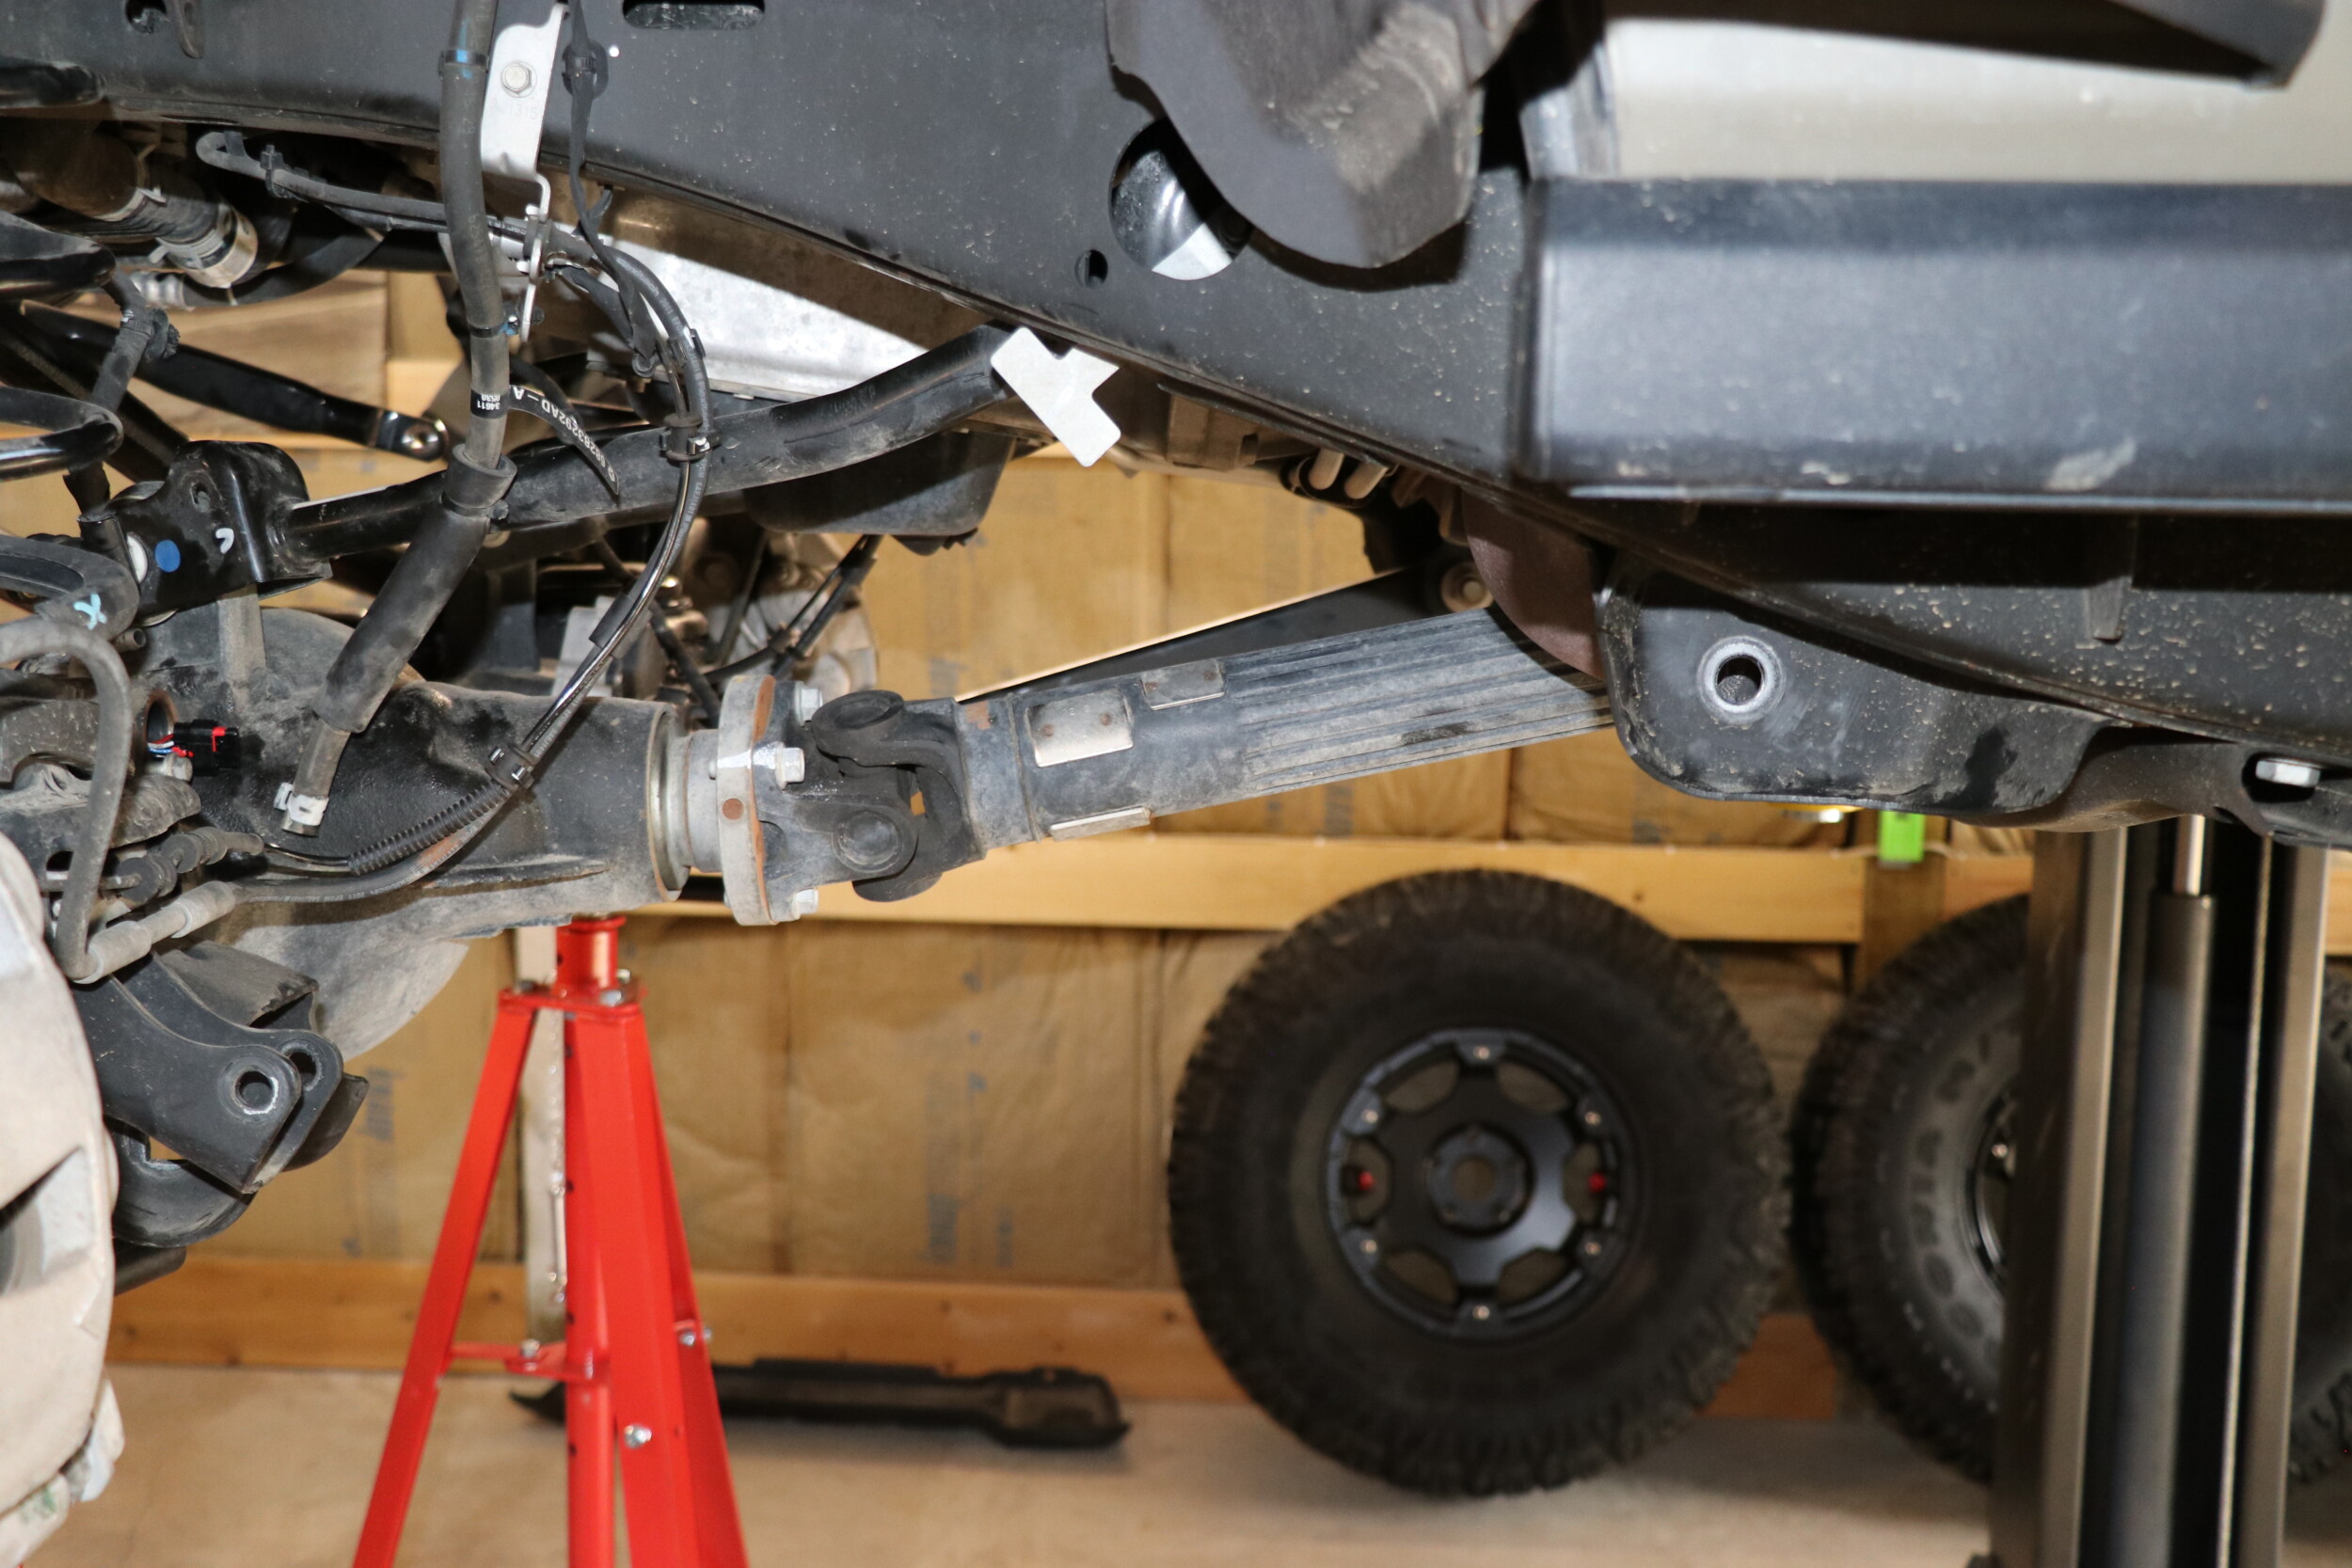

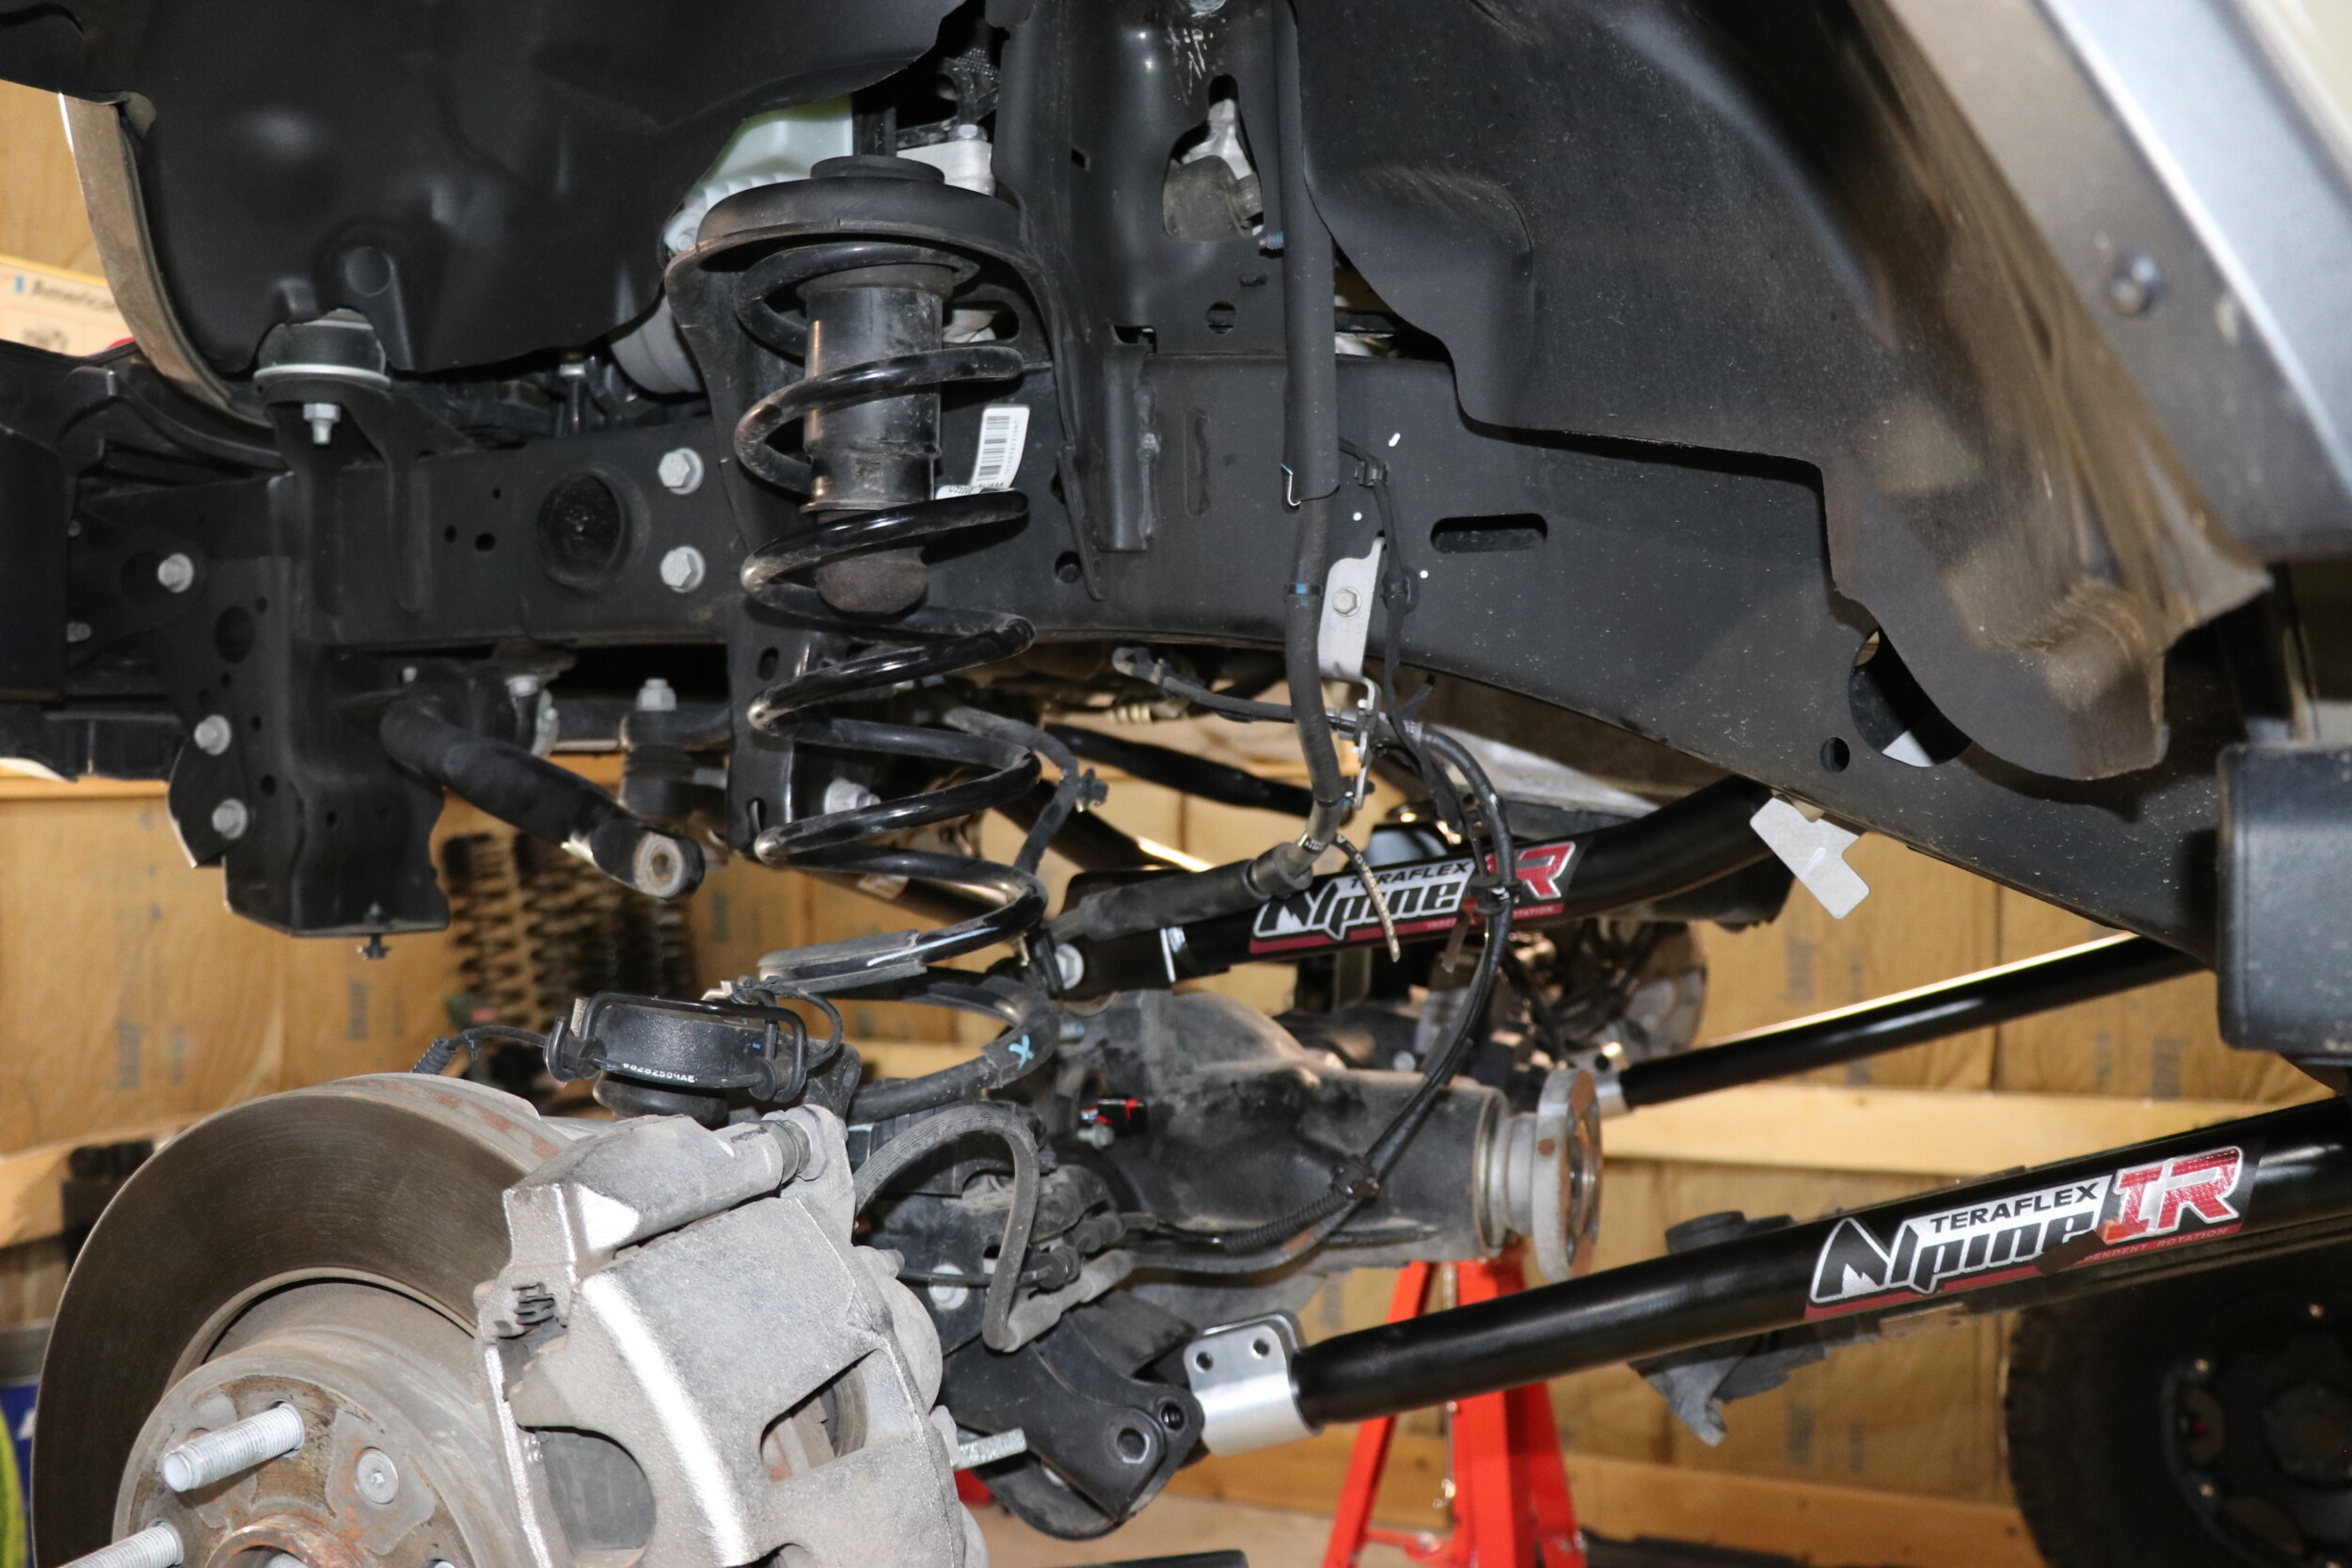
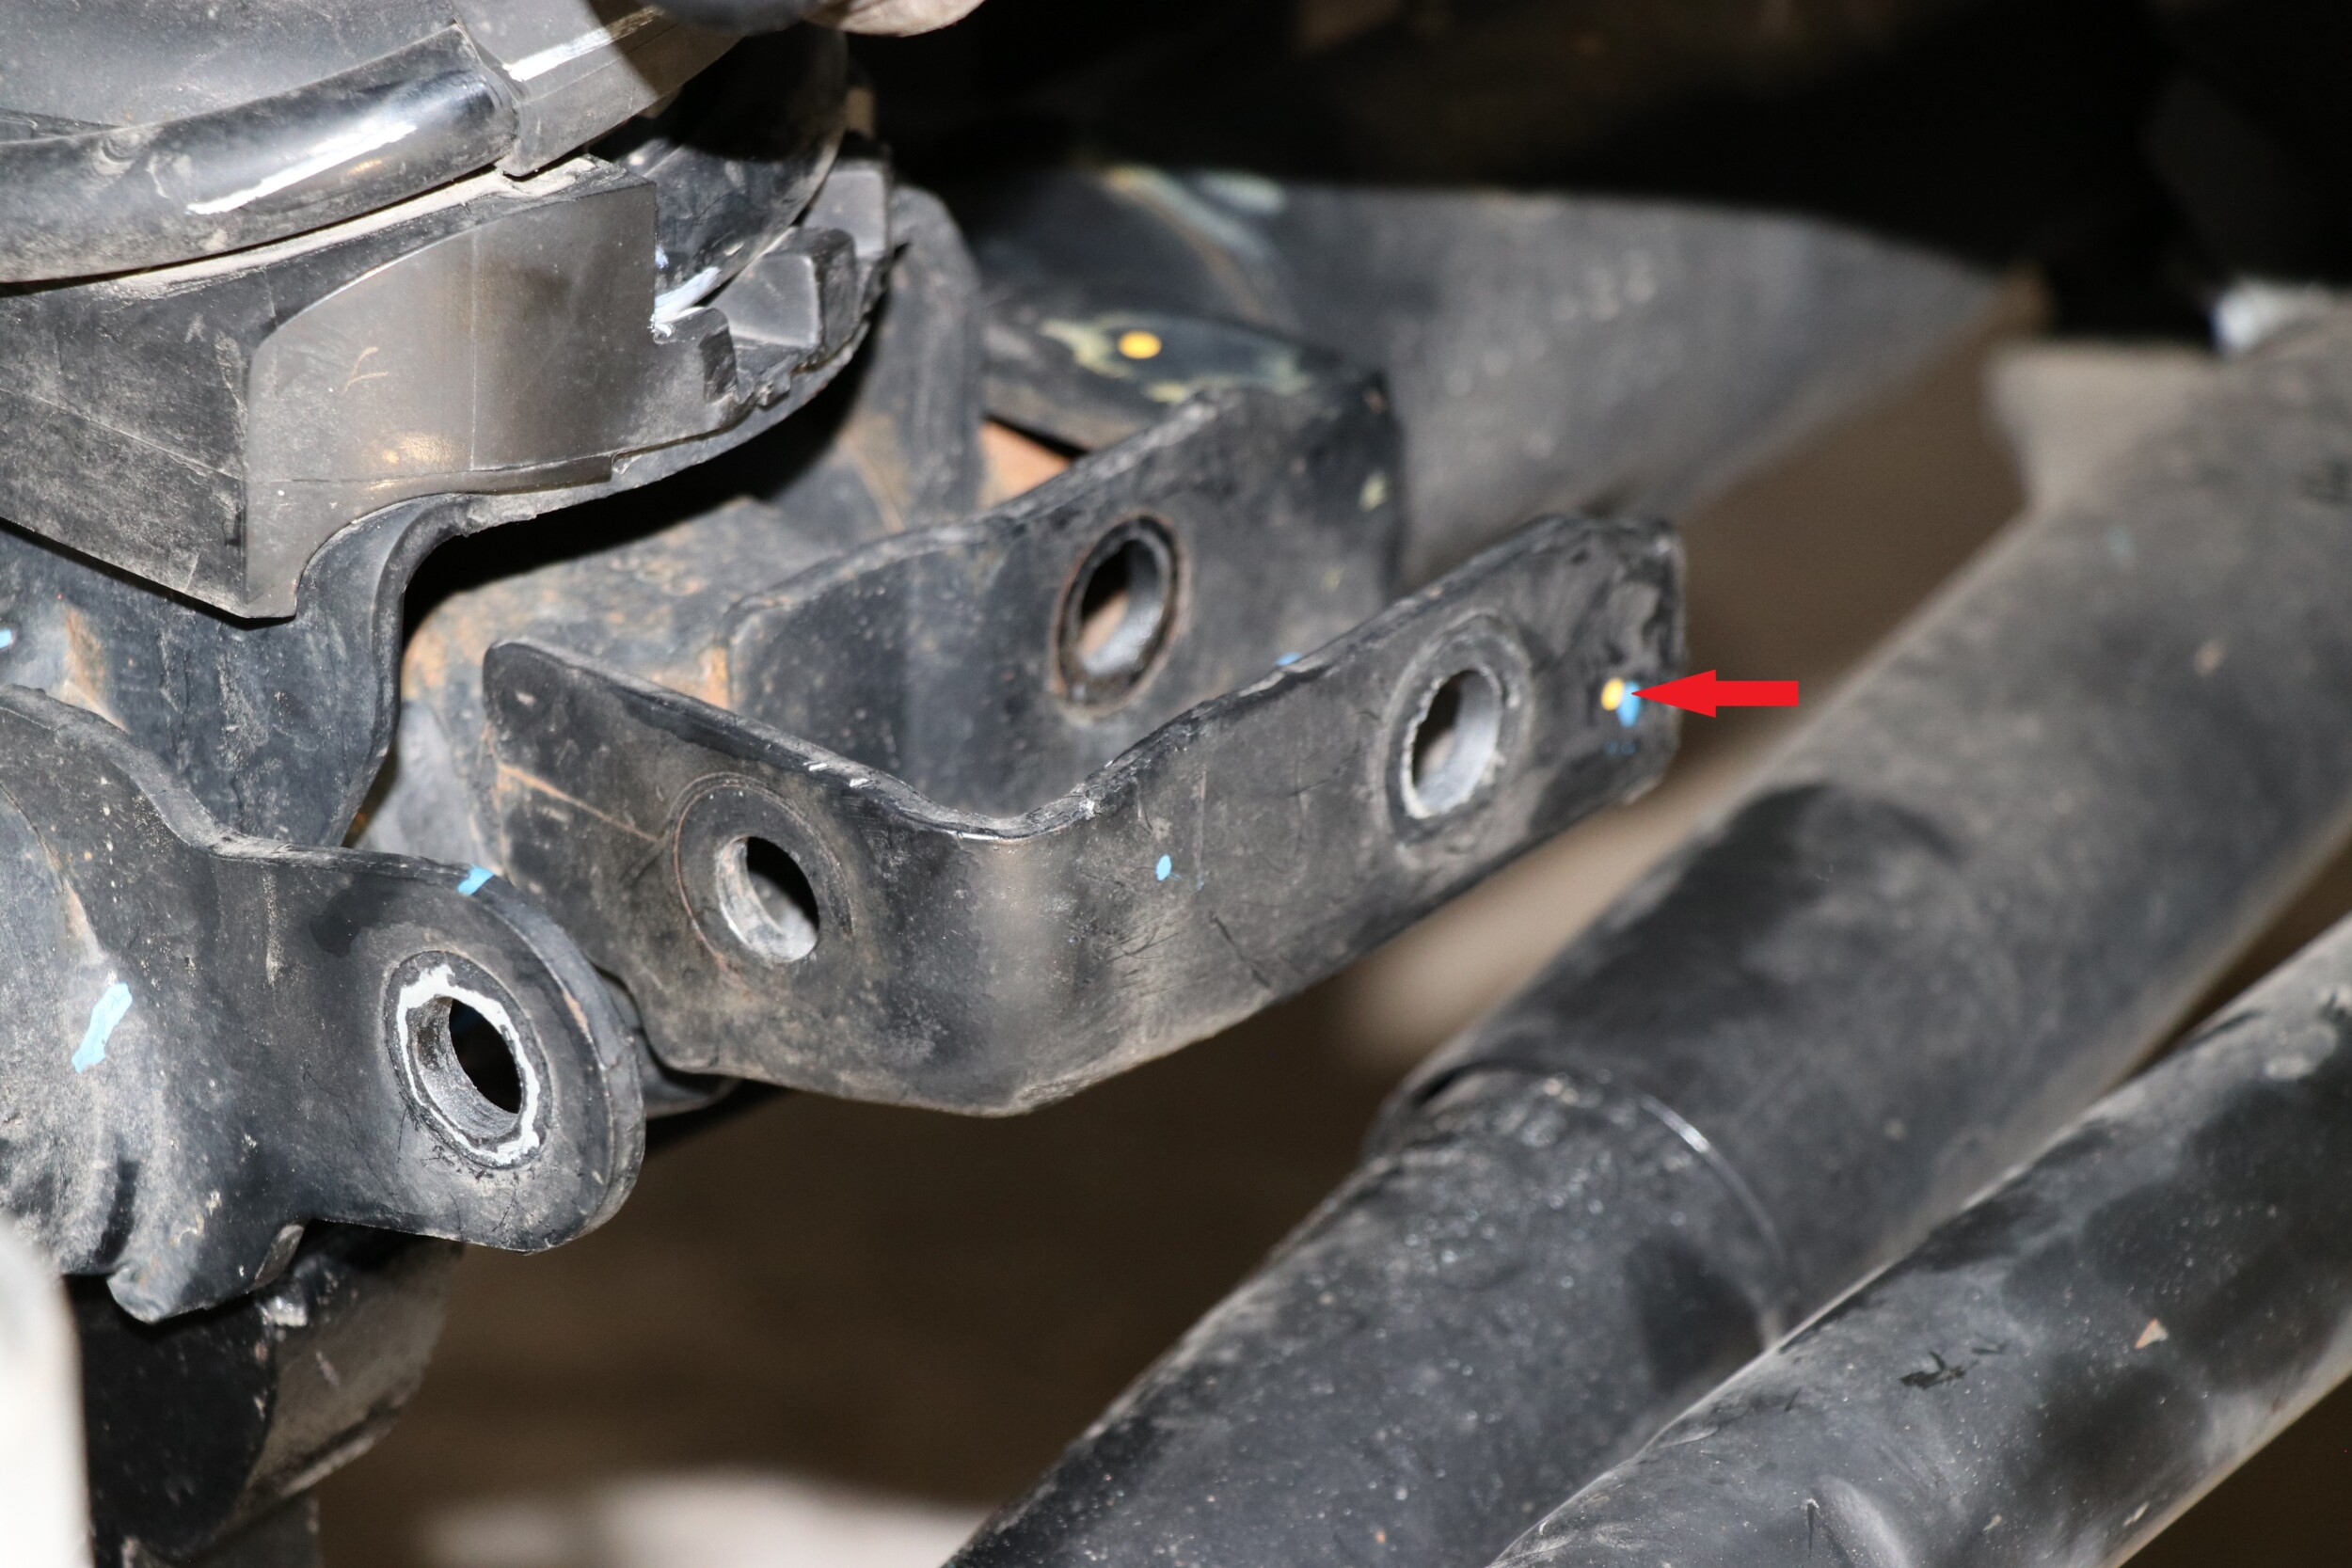
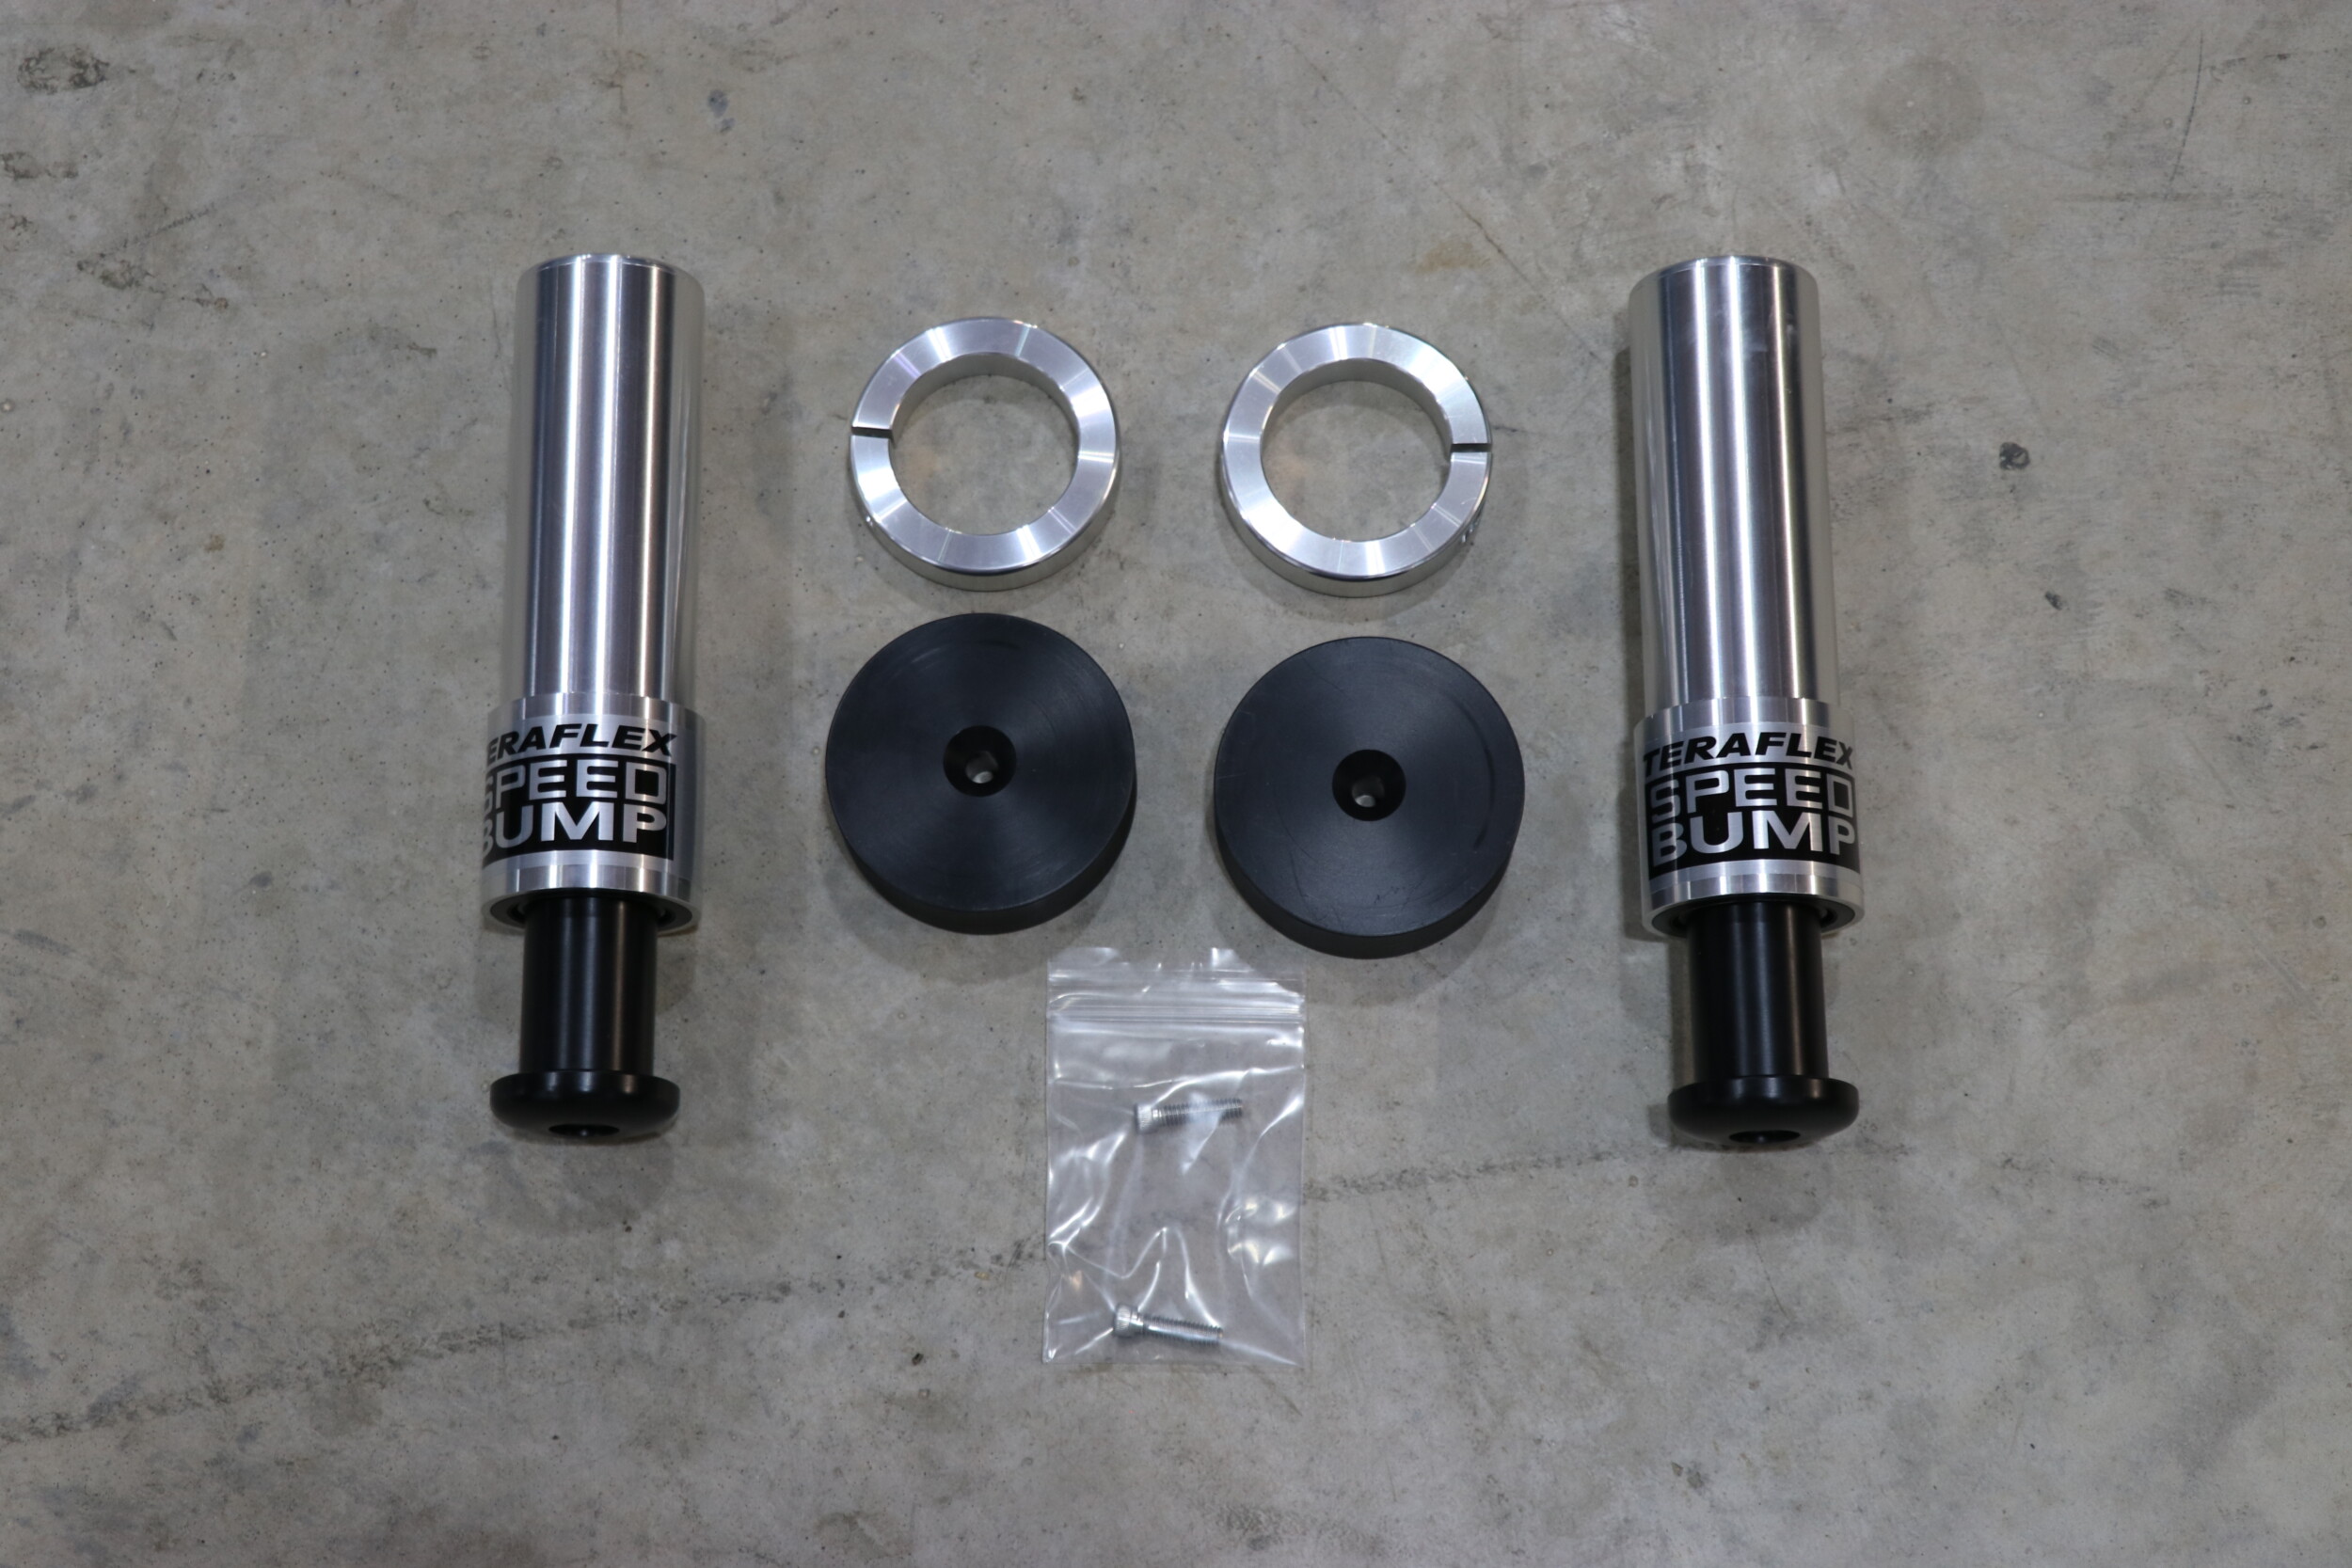
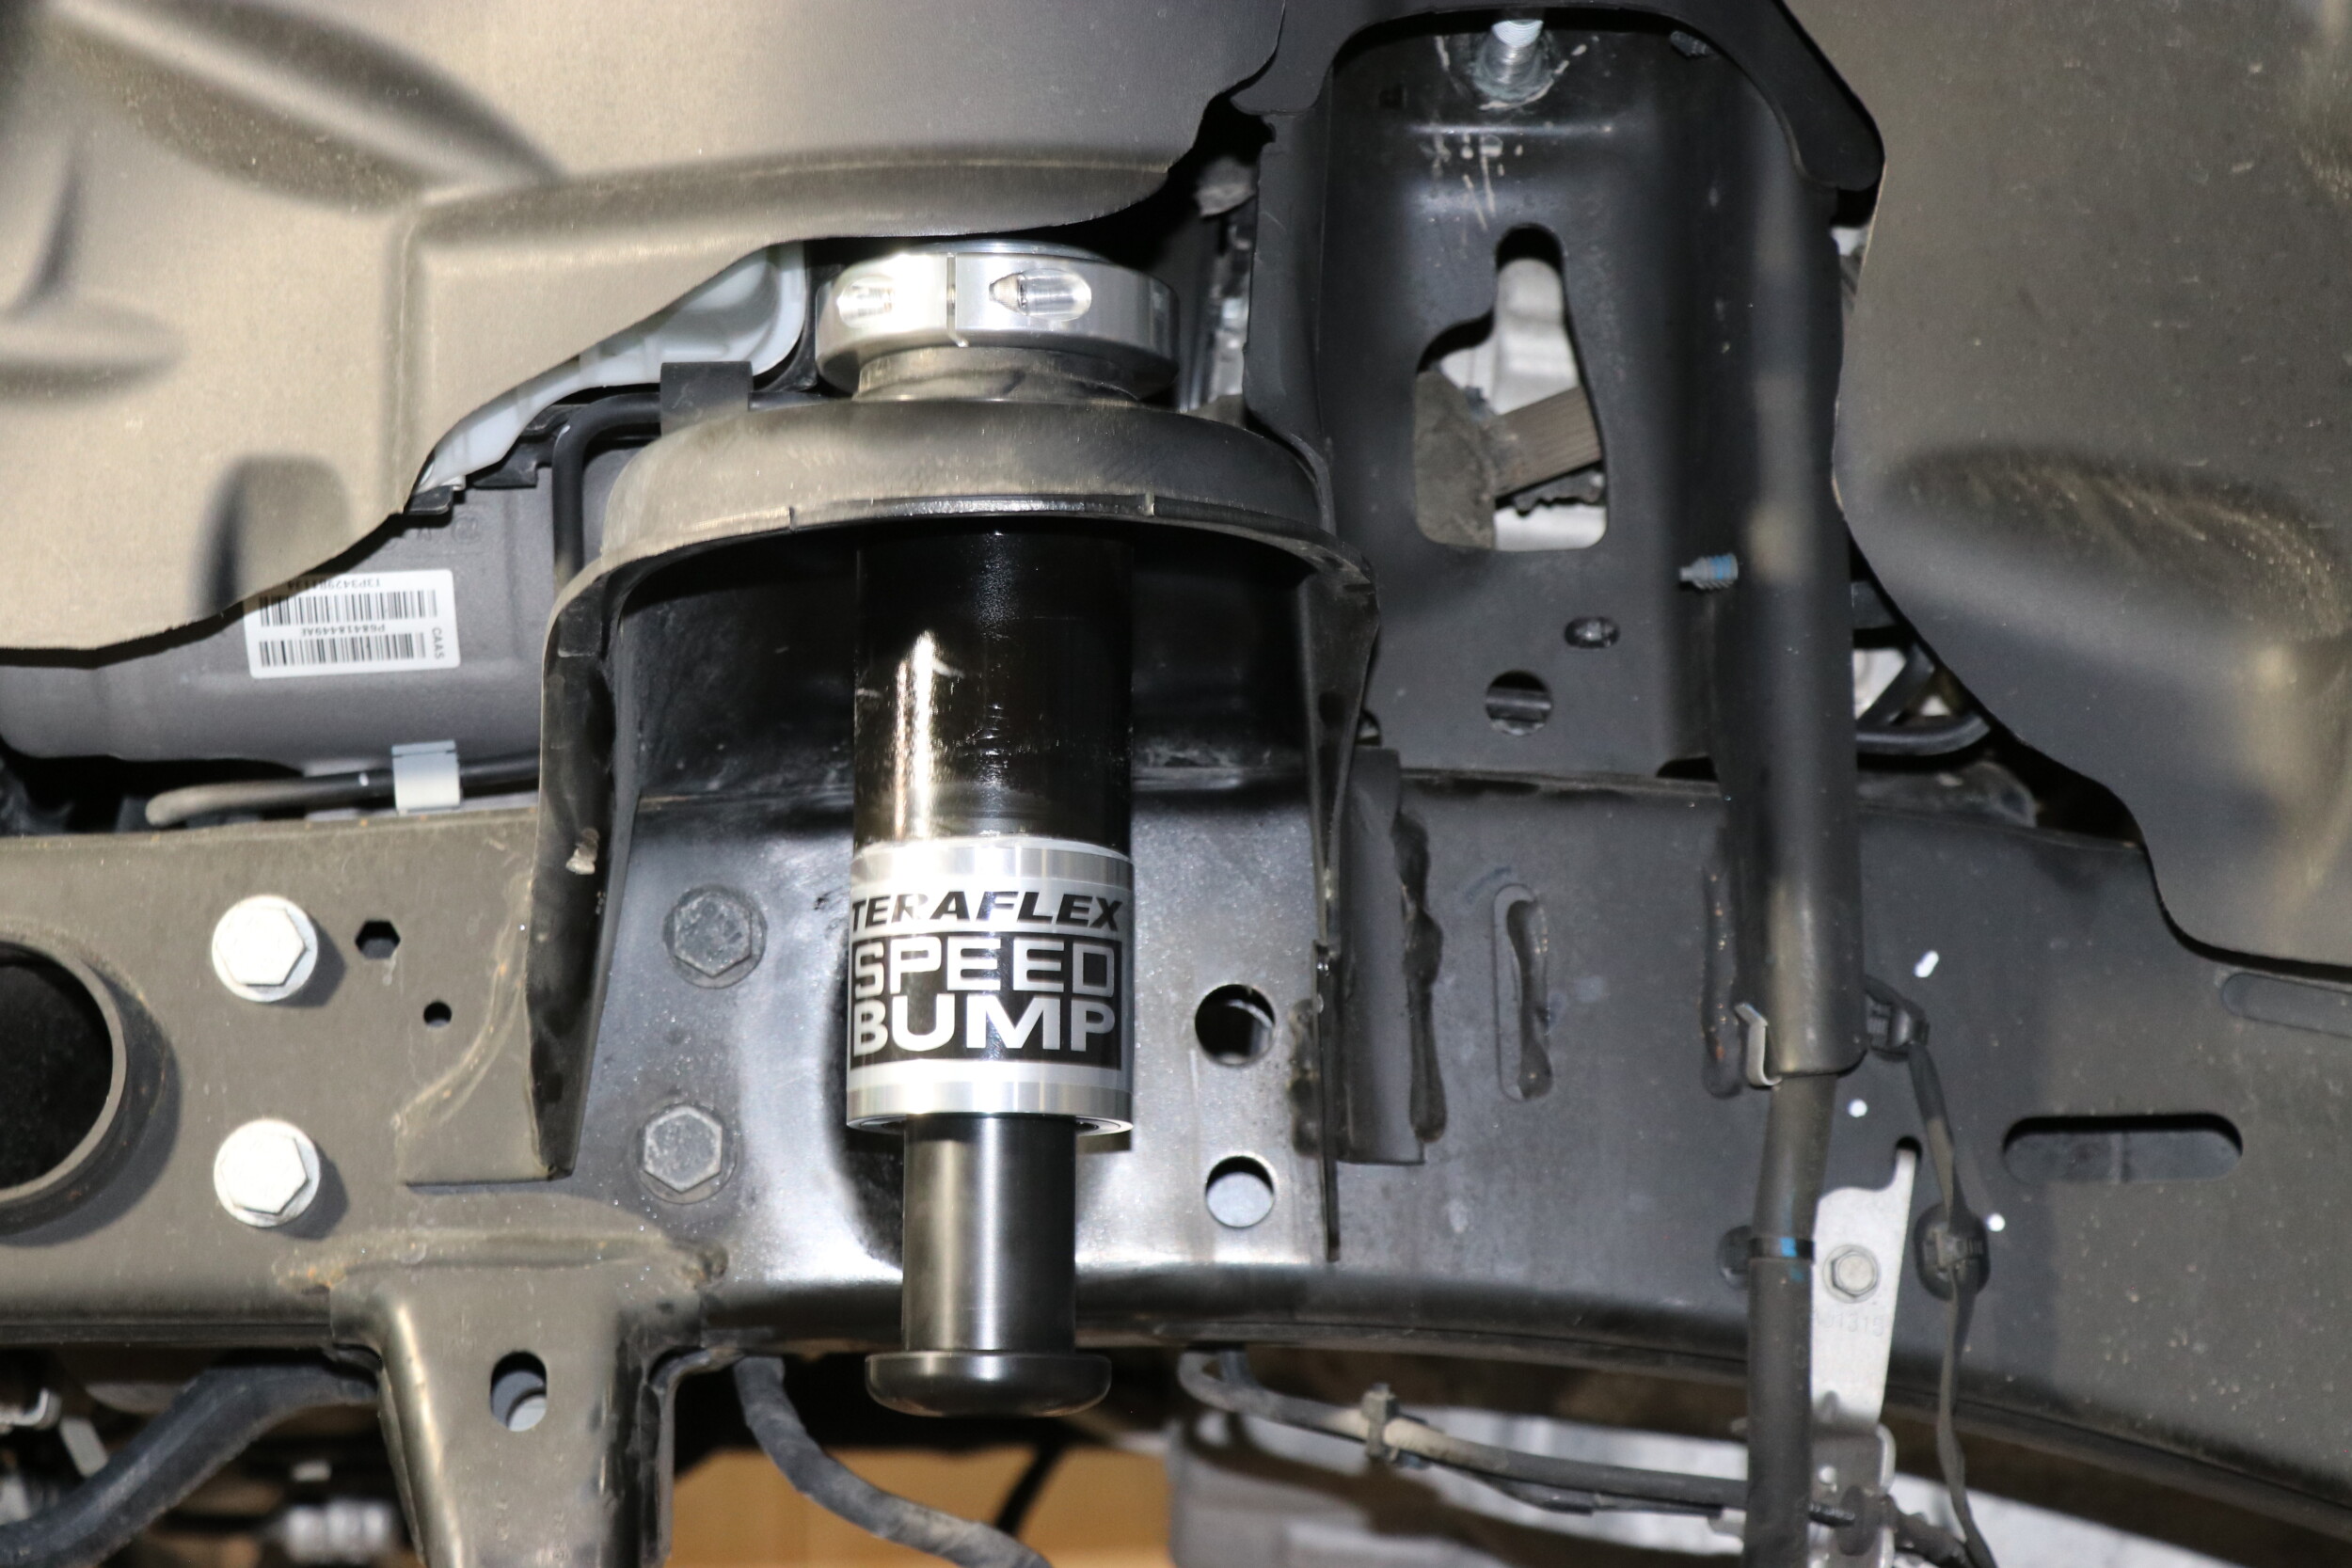
The new bump stops are one of those items that can be intimidating if you haven’t installed them before. They do require some cutting but again, there are very detailed instructions included and if followed, it’s not too bad. The bump stops must be installed before the new triple rated springs can be installed.


Thank you for checking out our latest and upcoming build. Please check back and on our social media platforms as we get post updates!
[/vc_column_text][/vc_column][/vc_row]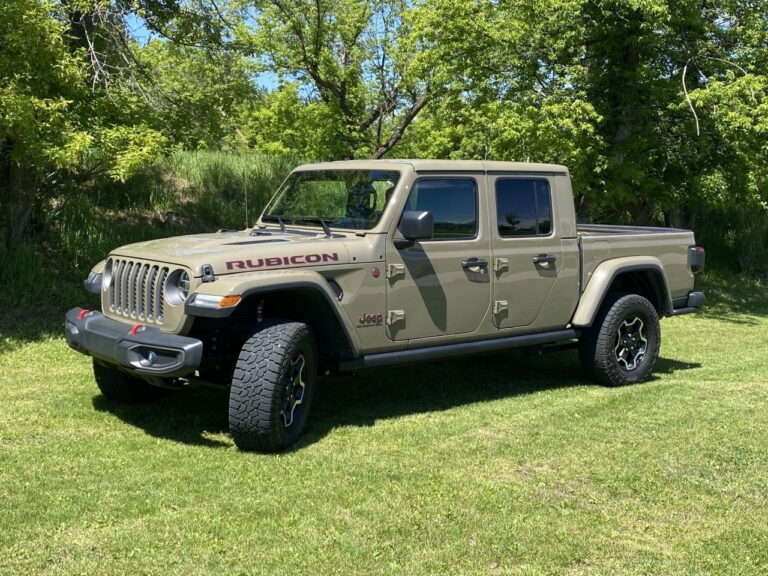

This restoration was made possible thanks to these great sponsors and contributors