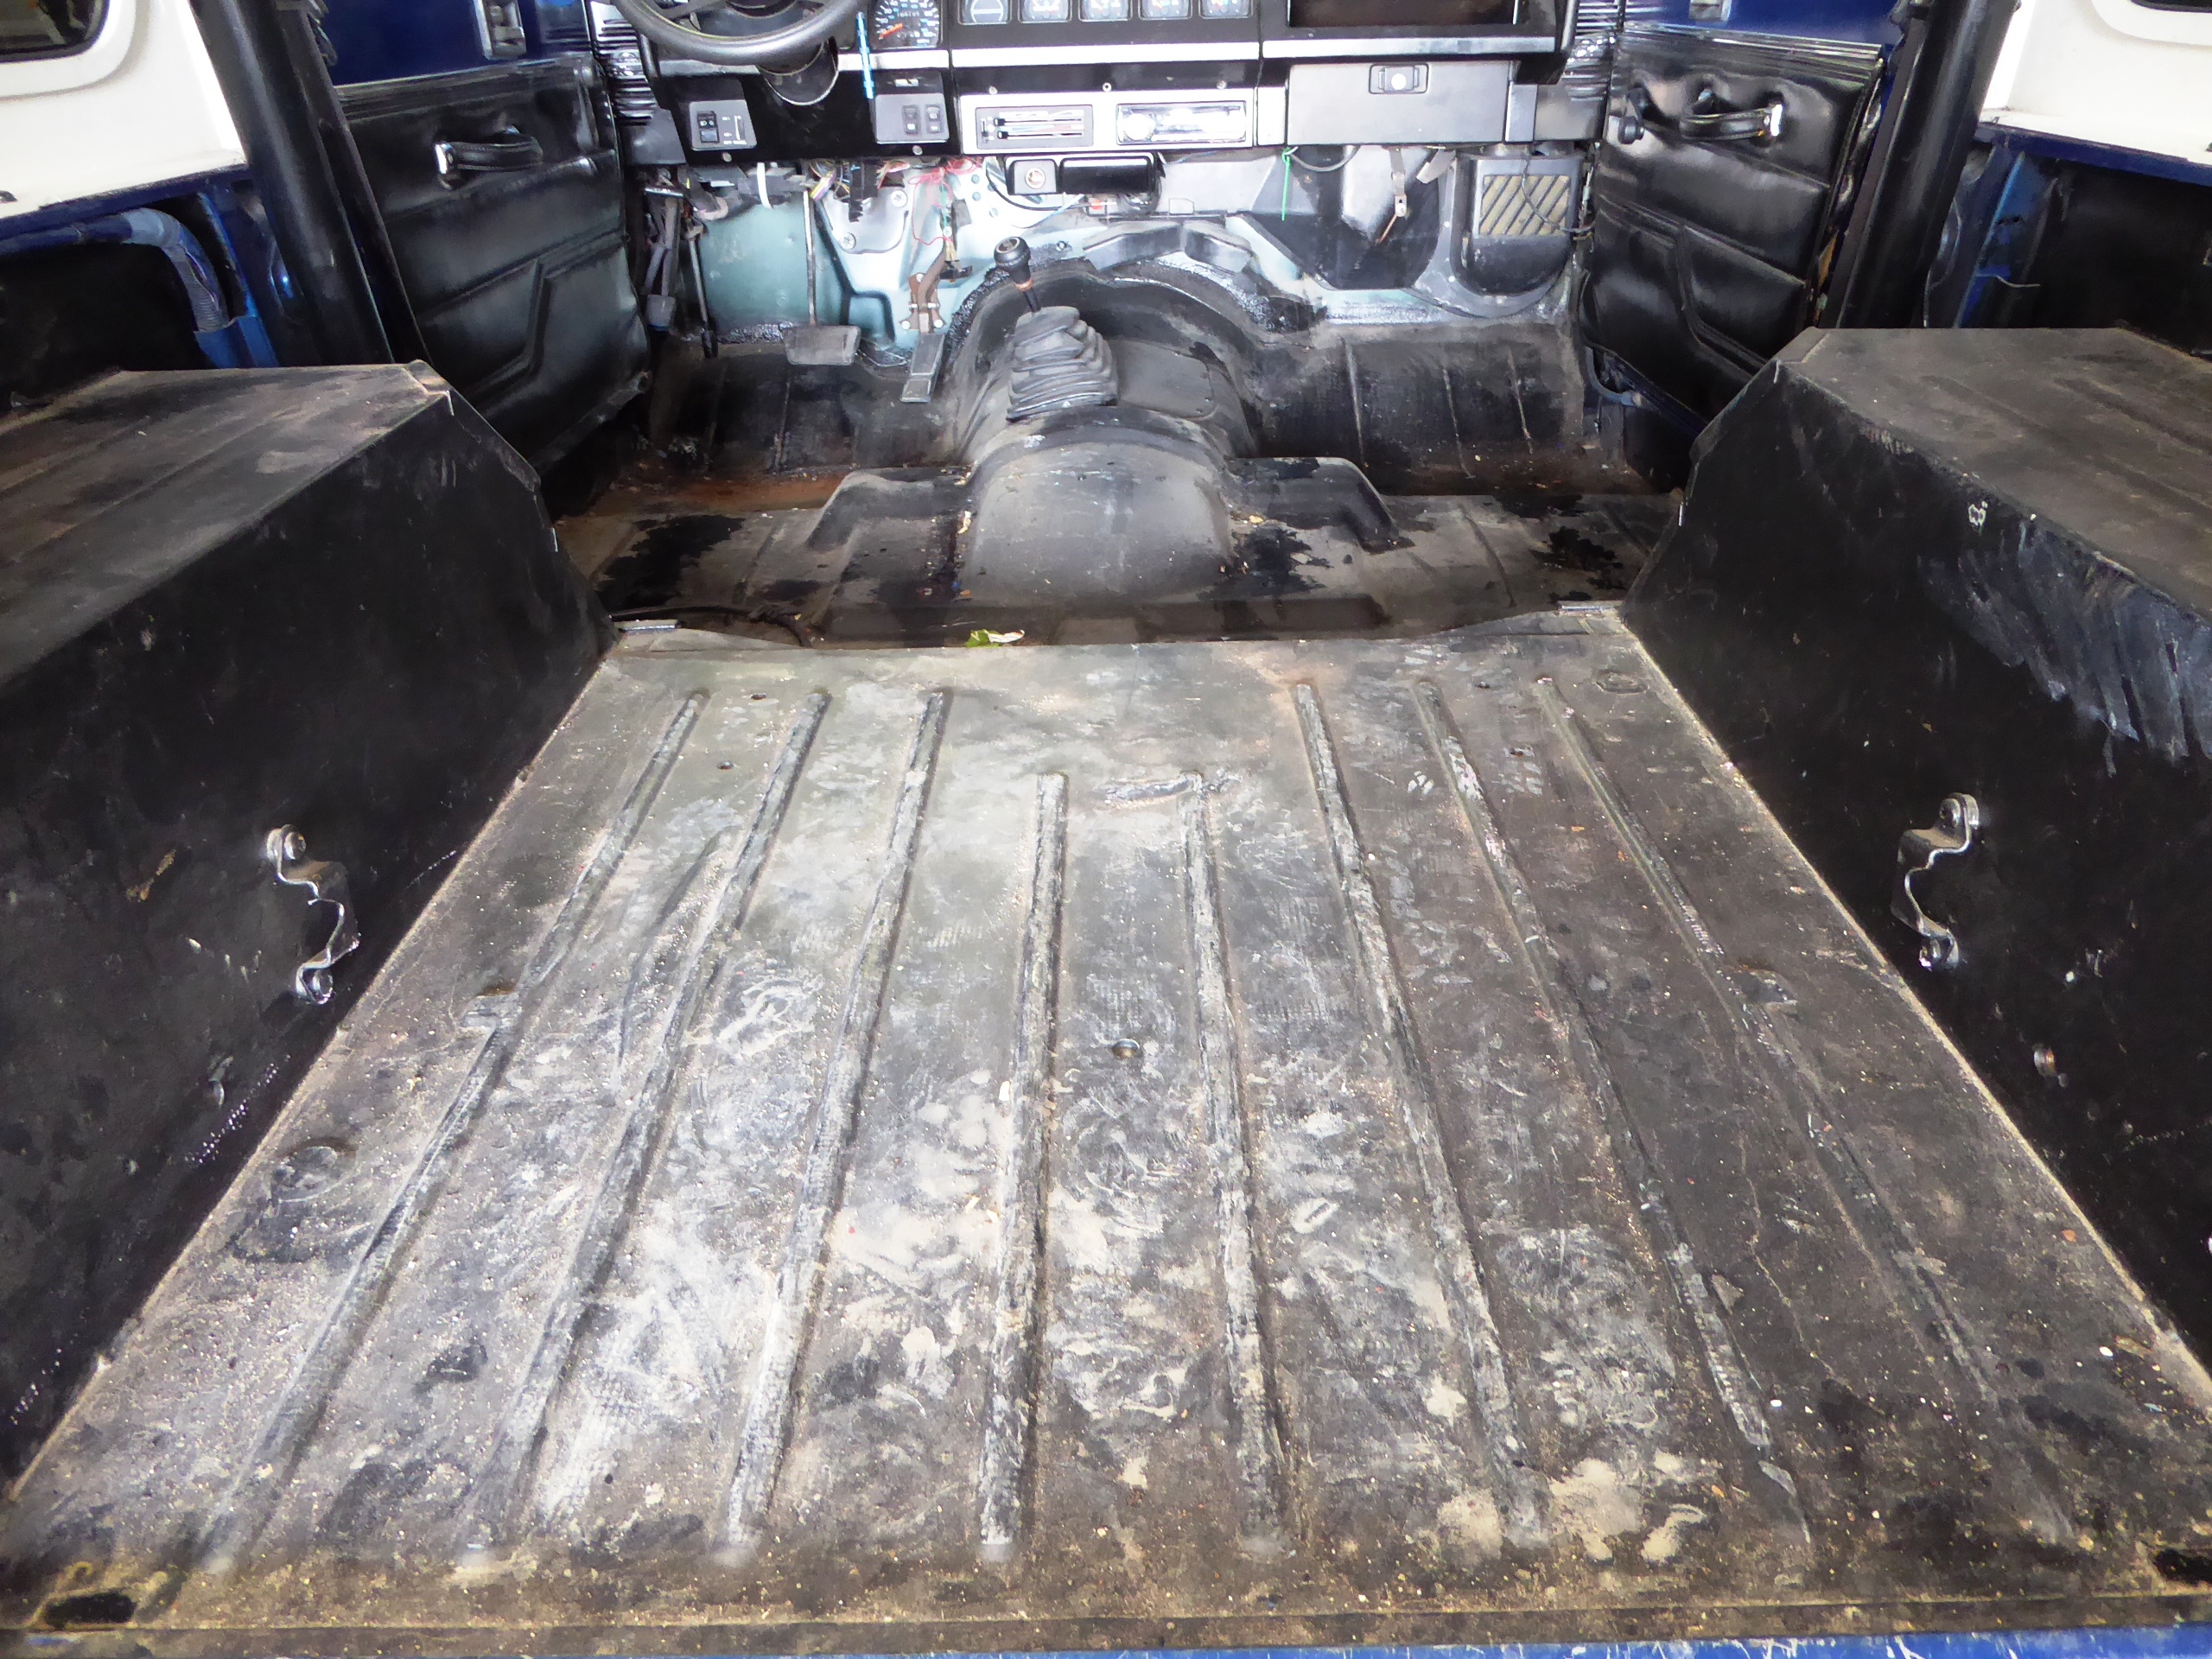
Jeep vehicles have always been in a class of their own when it comes to use and versatility; during the winter months they are an incredibly dependable source of transportation for obvious reasons. In the summer months they can be the conduit that takes the weekend adventurer away from the daily grind to remote locations, they are a convertible with 4-wheel drive that is equally suitable in the mountains as it as at the beach or in down traffic during they daily commute. With such huge aftermarket support for this brand; one thing that isn’t commonly thought of is the floor and what it is or is not covered with.
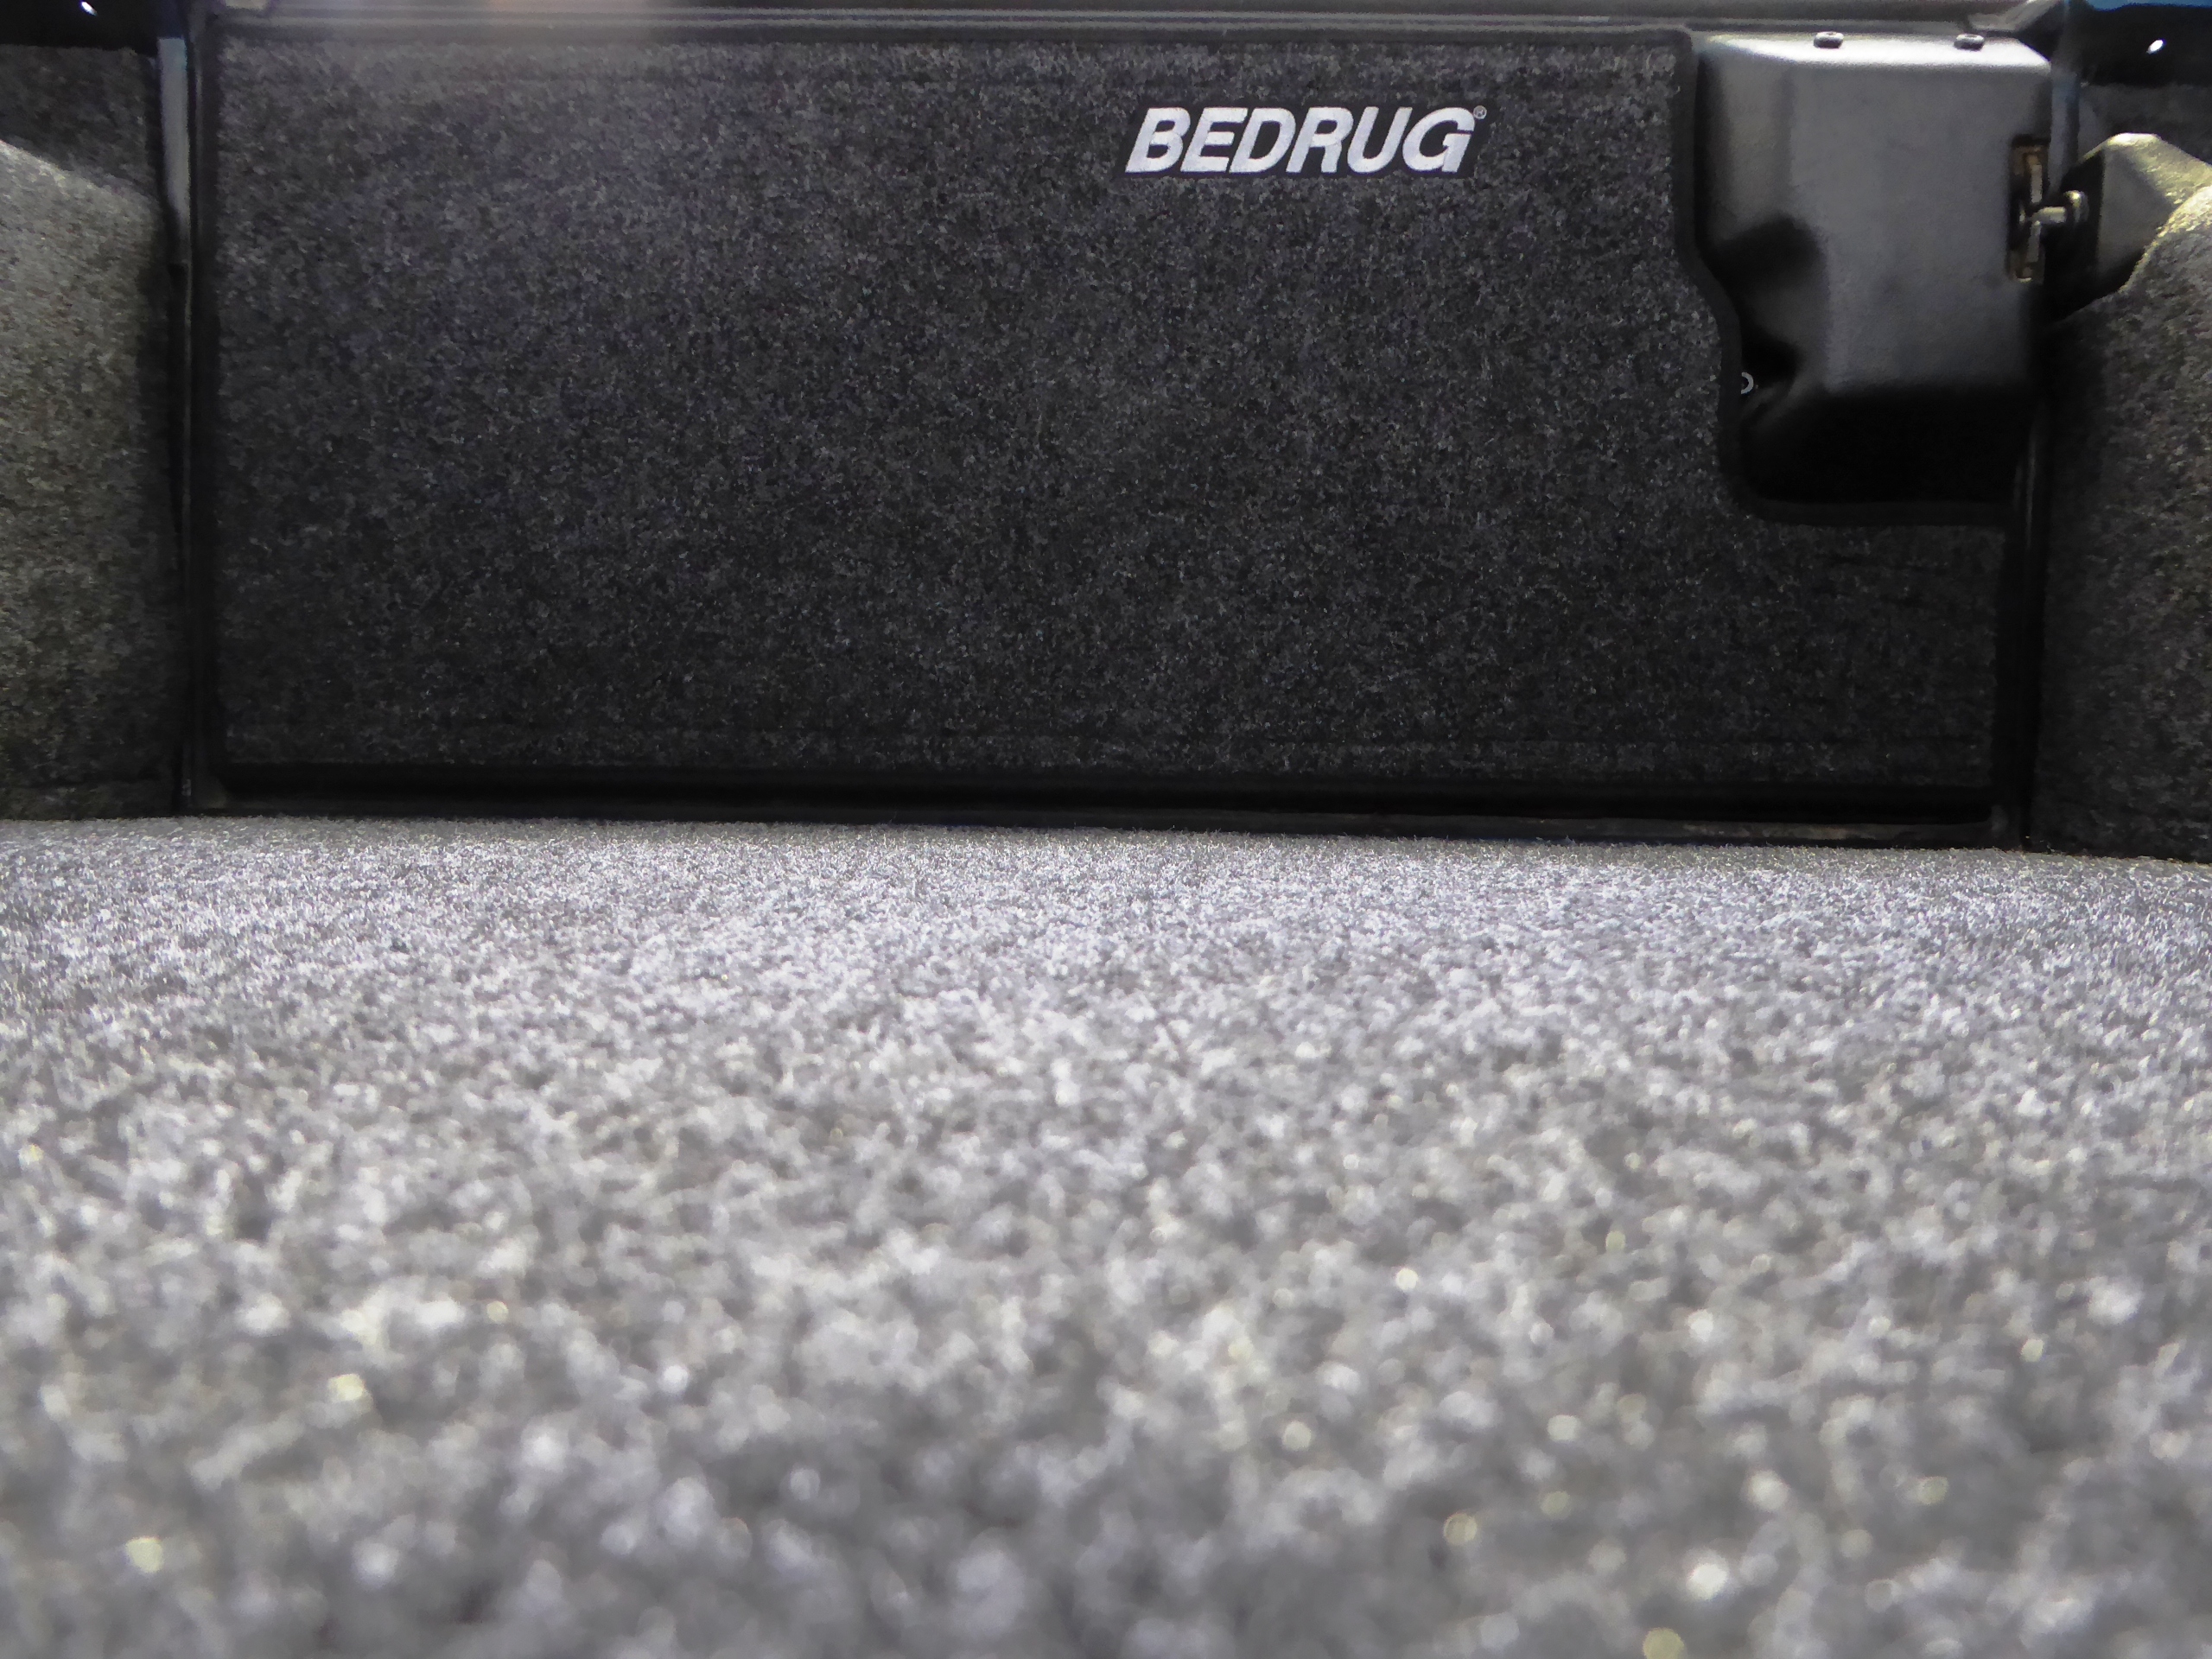
For years we have used a product called “Bed Rug” from a company by the same name in our company trucks. We have chosen them for multiple reasons (they can handle the elements, I have a tent that goes in a truck bed that makes for comfortable digs when I’m camping and it will not succumb to mold or mildew when it gets wet). When we saw that Bed Rug had a product line specifically for Jeep vehicles we were stoked to give it a try since we have had such success with them over the years. We have a later YJ that we are currently building up for daily use as well as being trail ready so it seemed like the perfect time to get our hands on one and try it out.
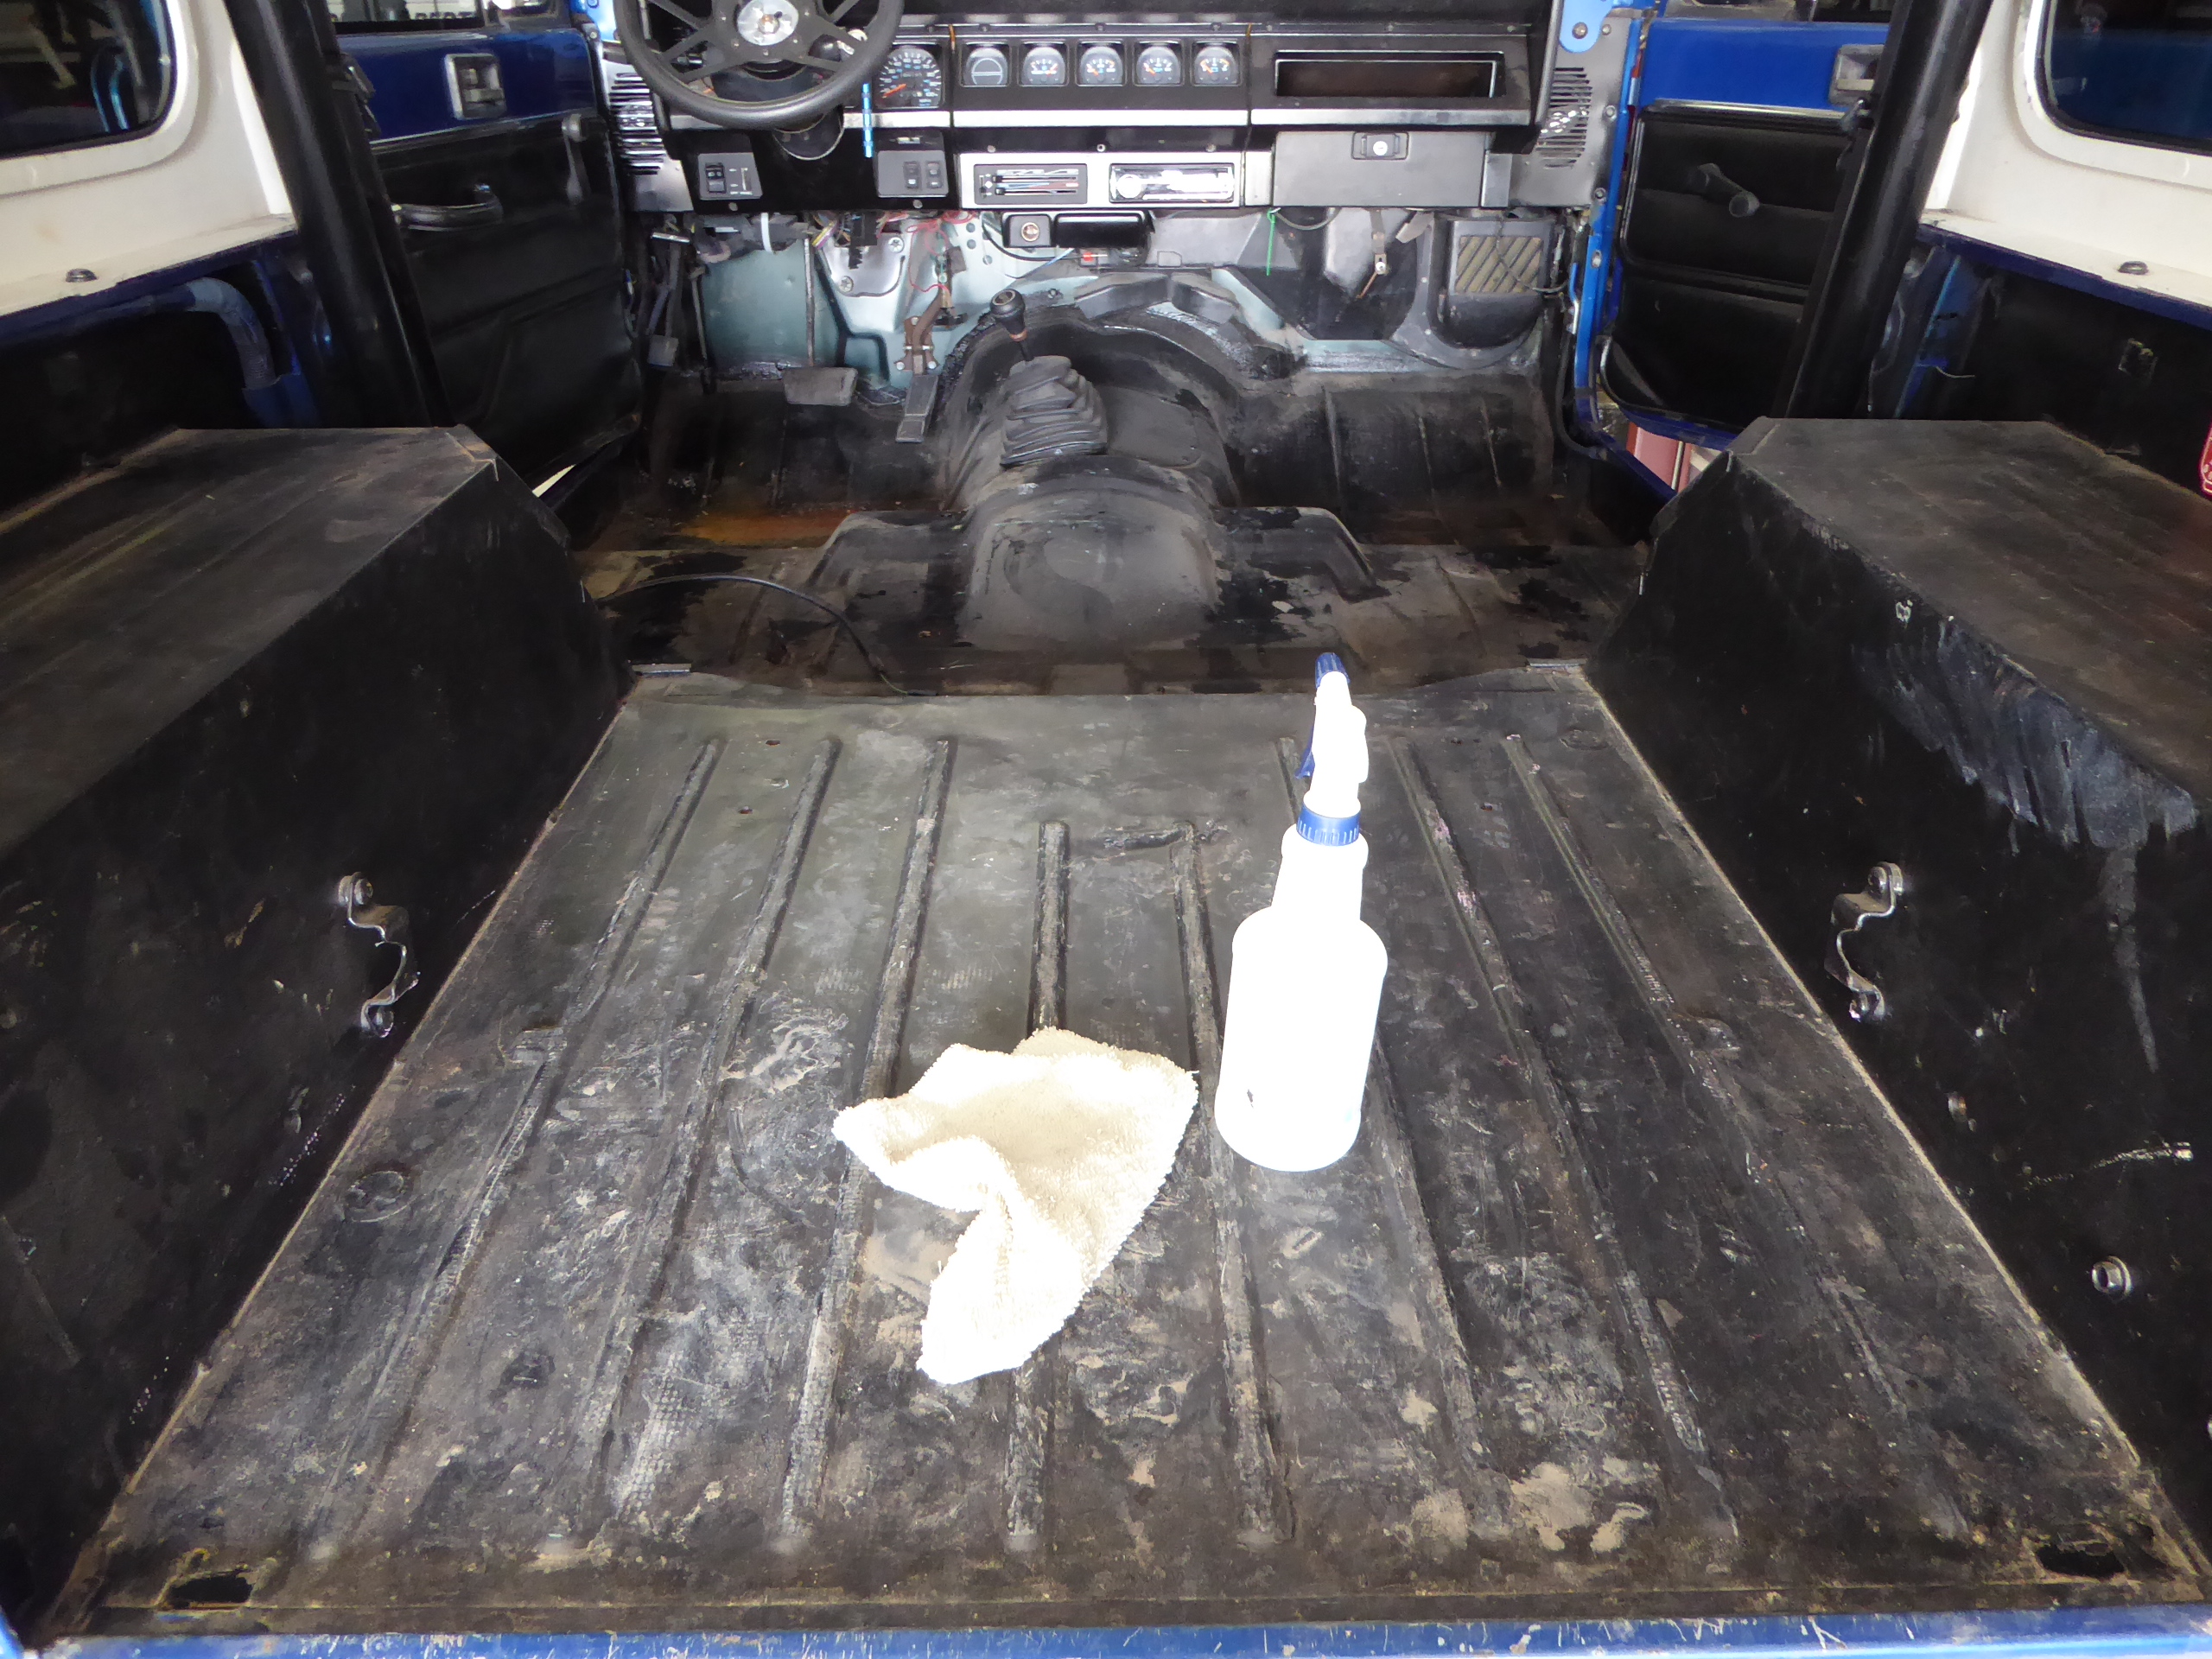
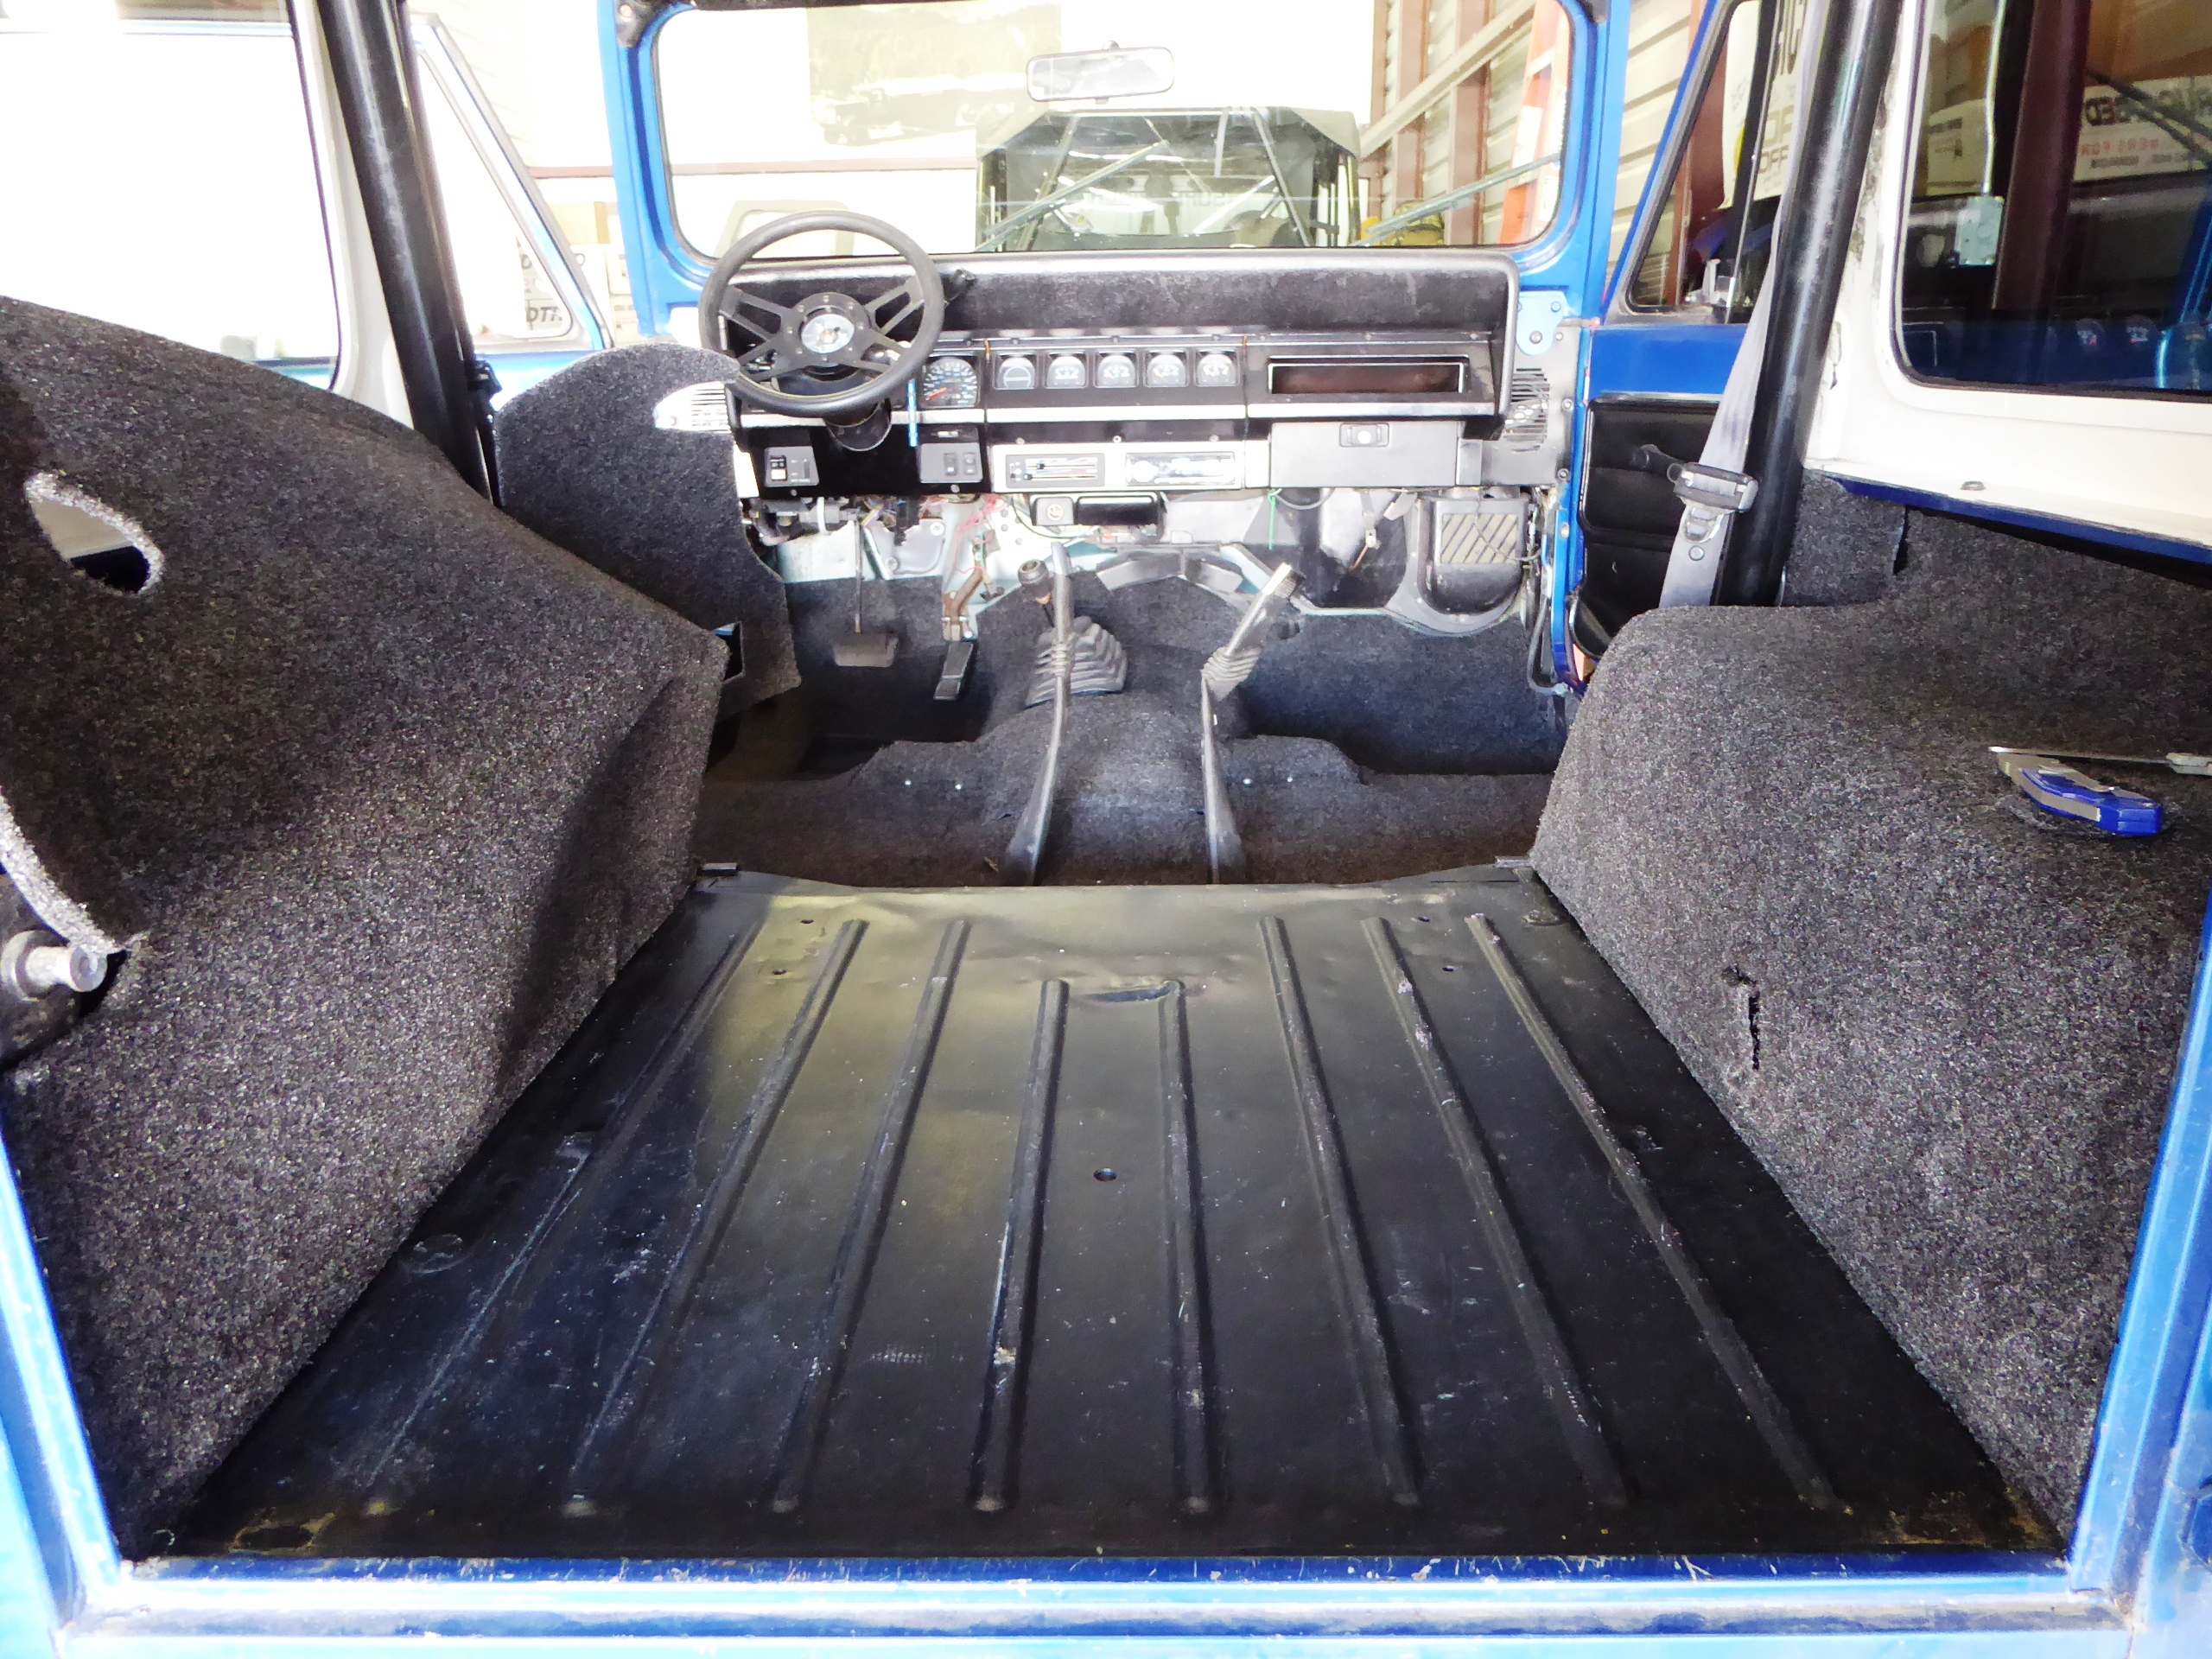
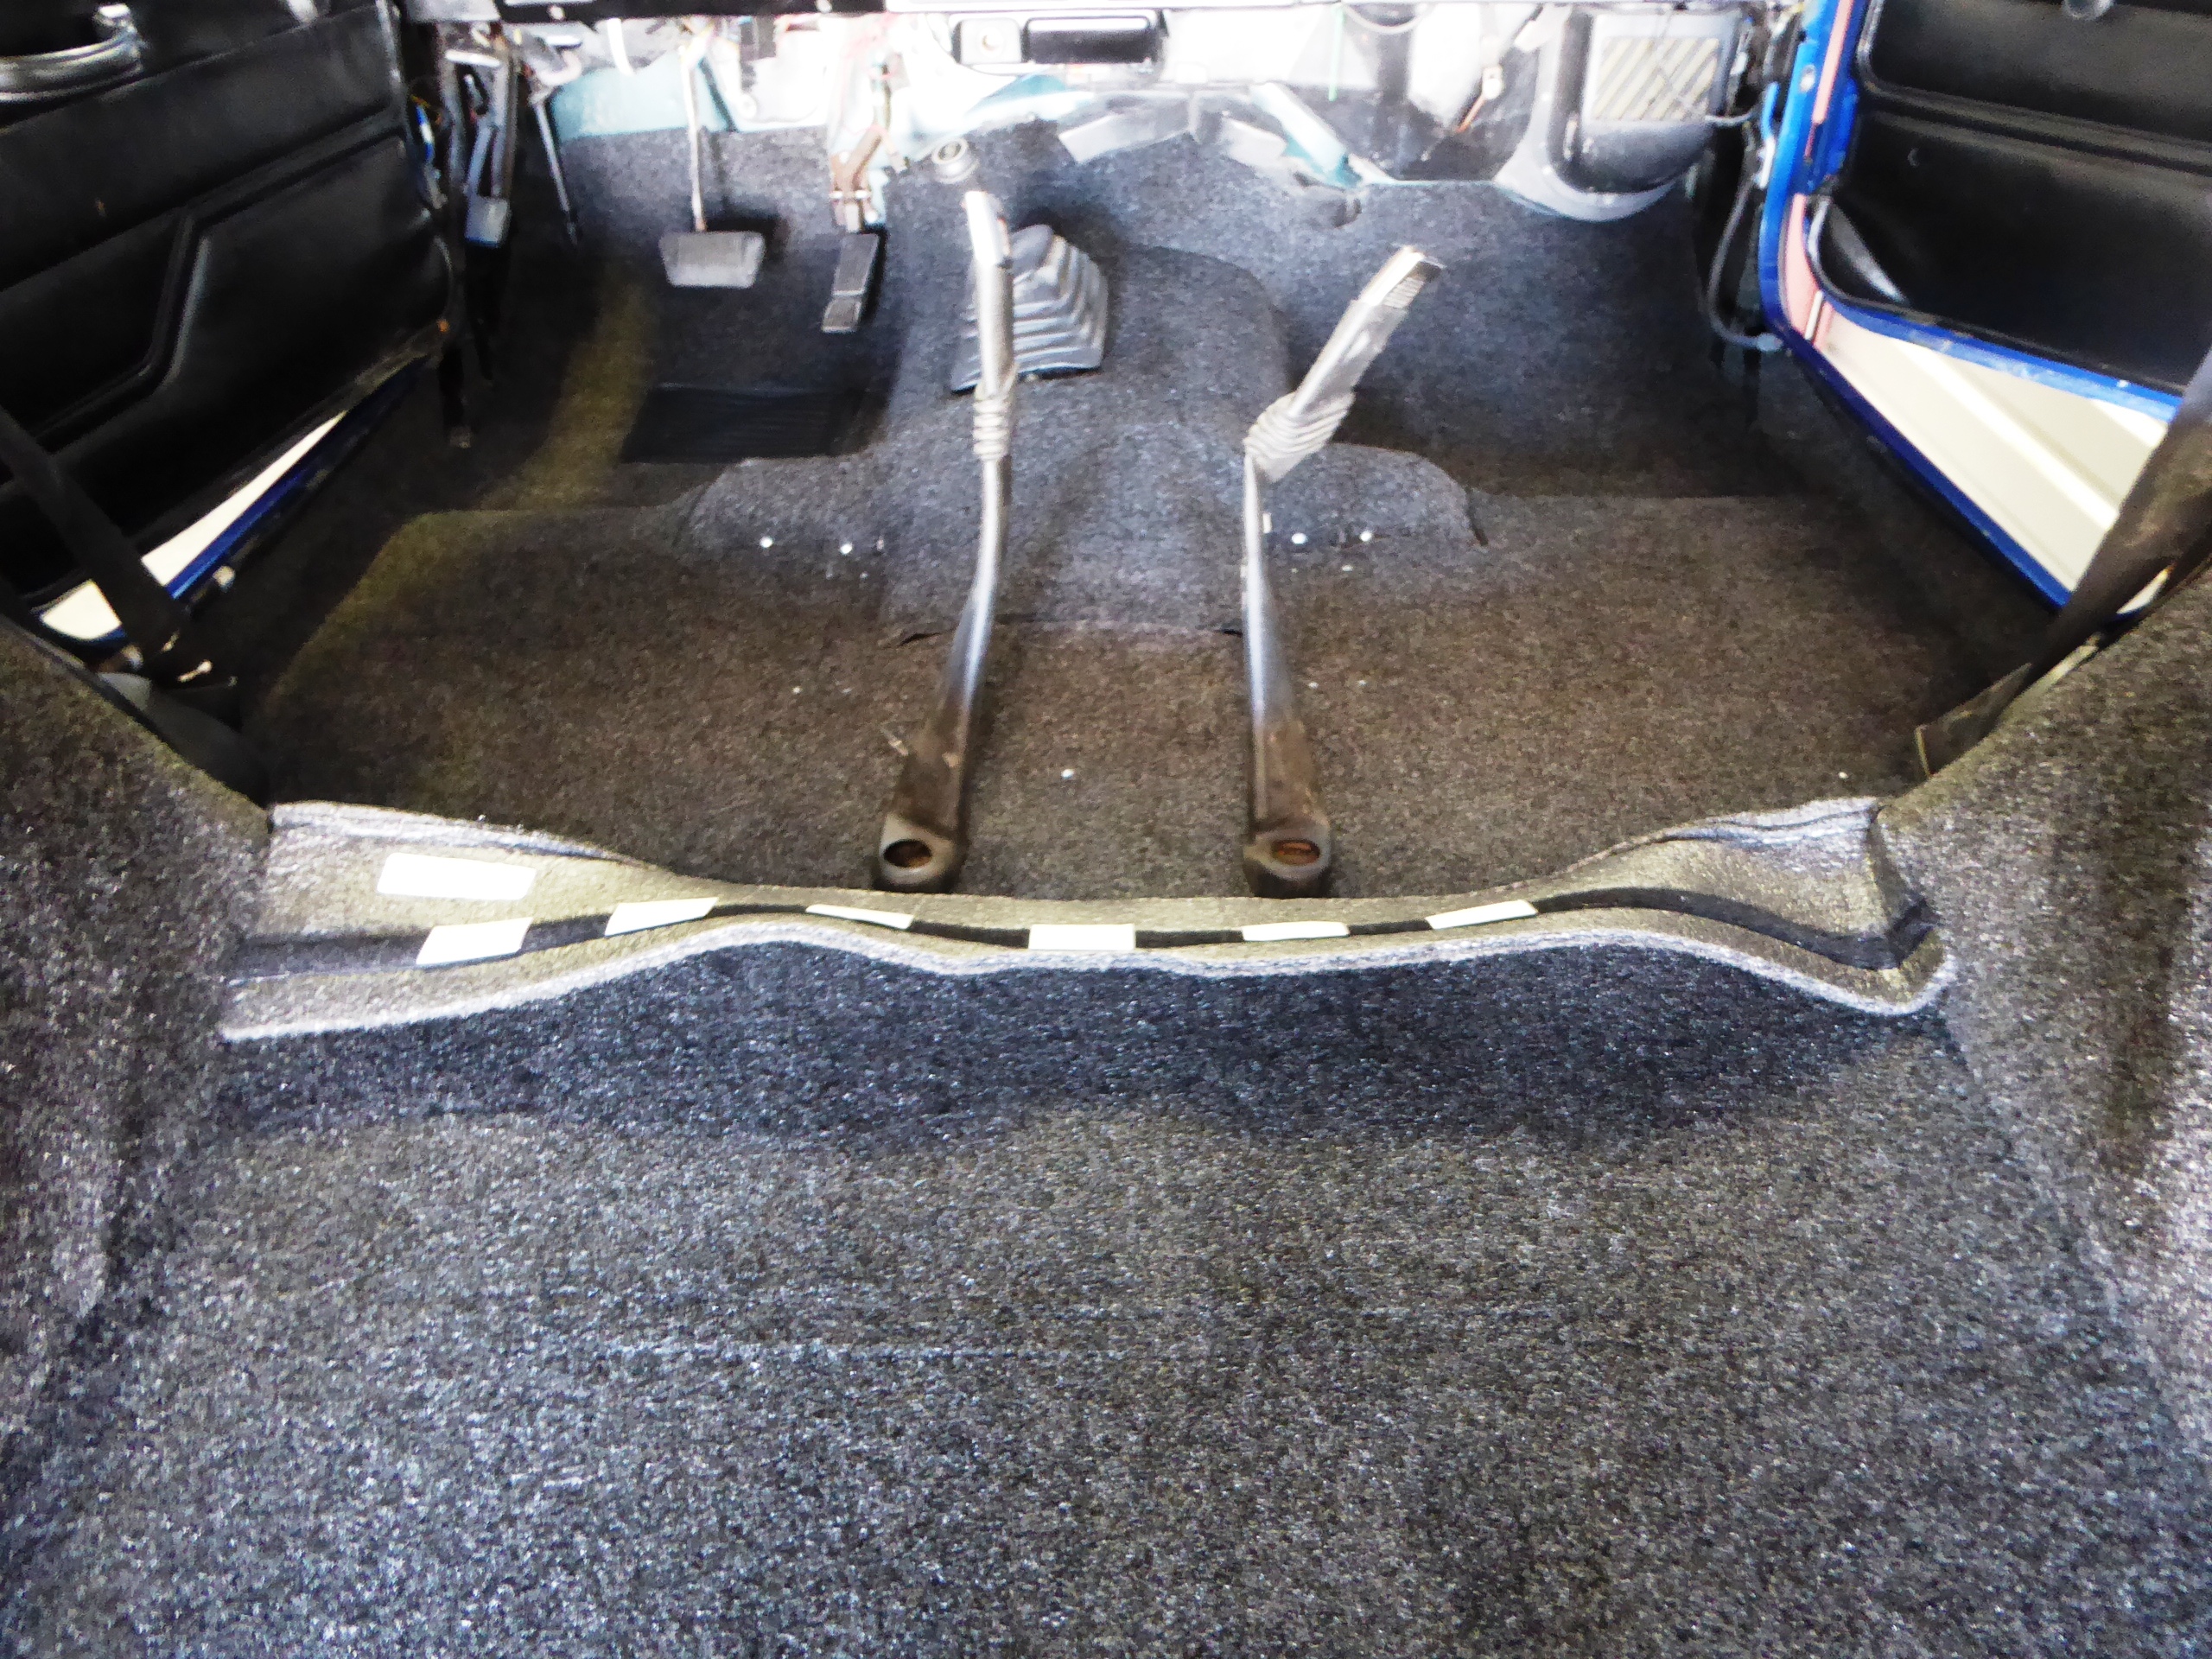
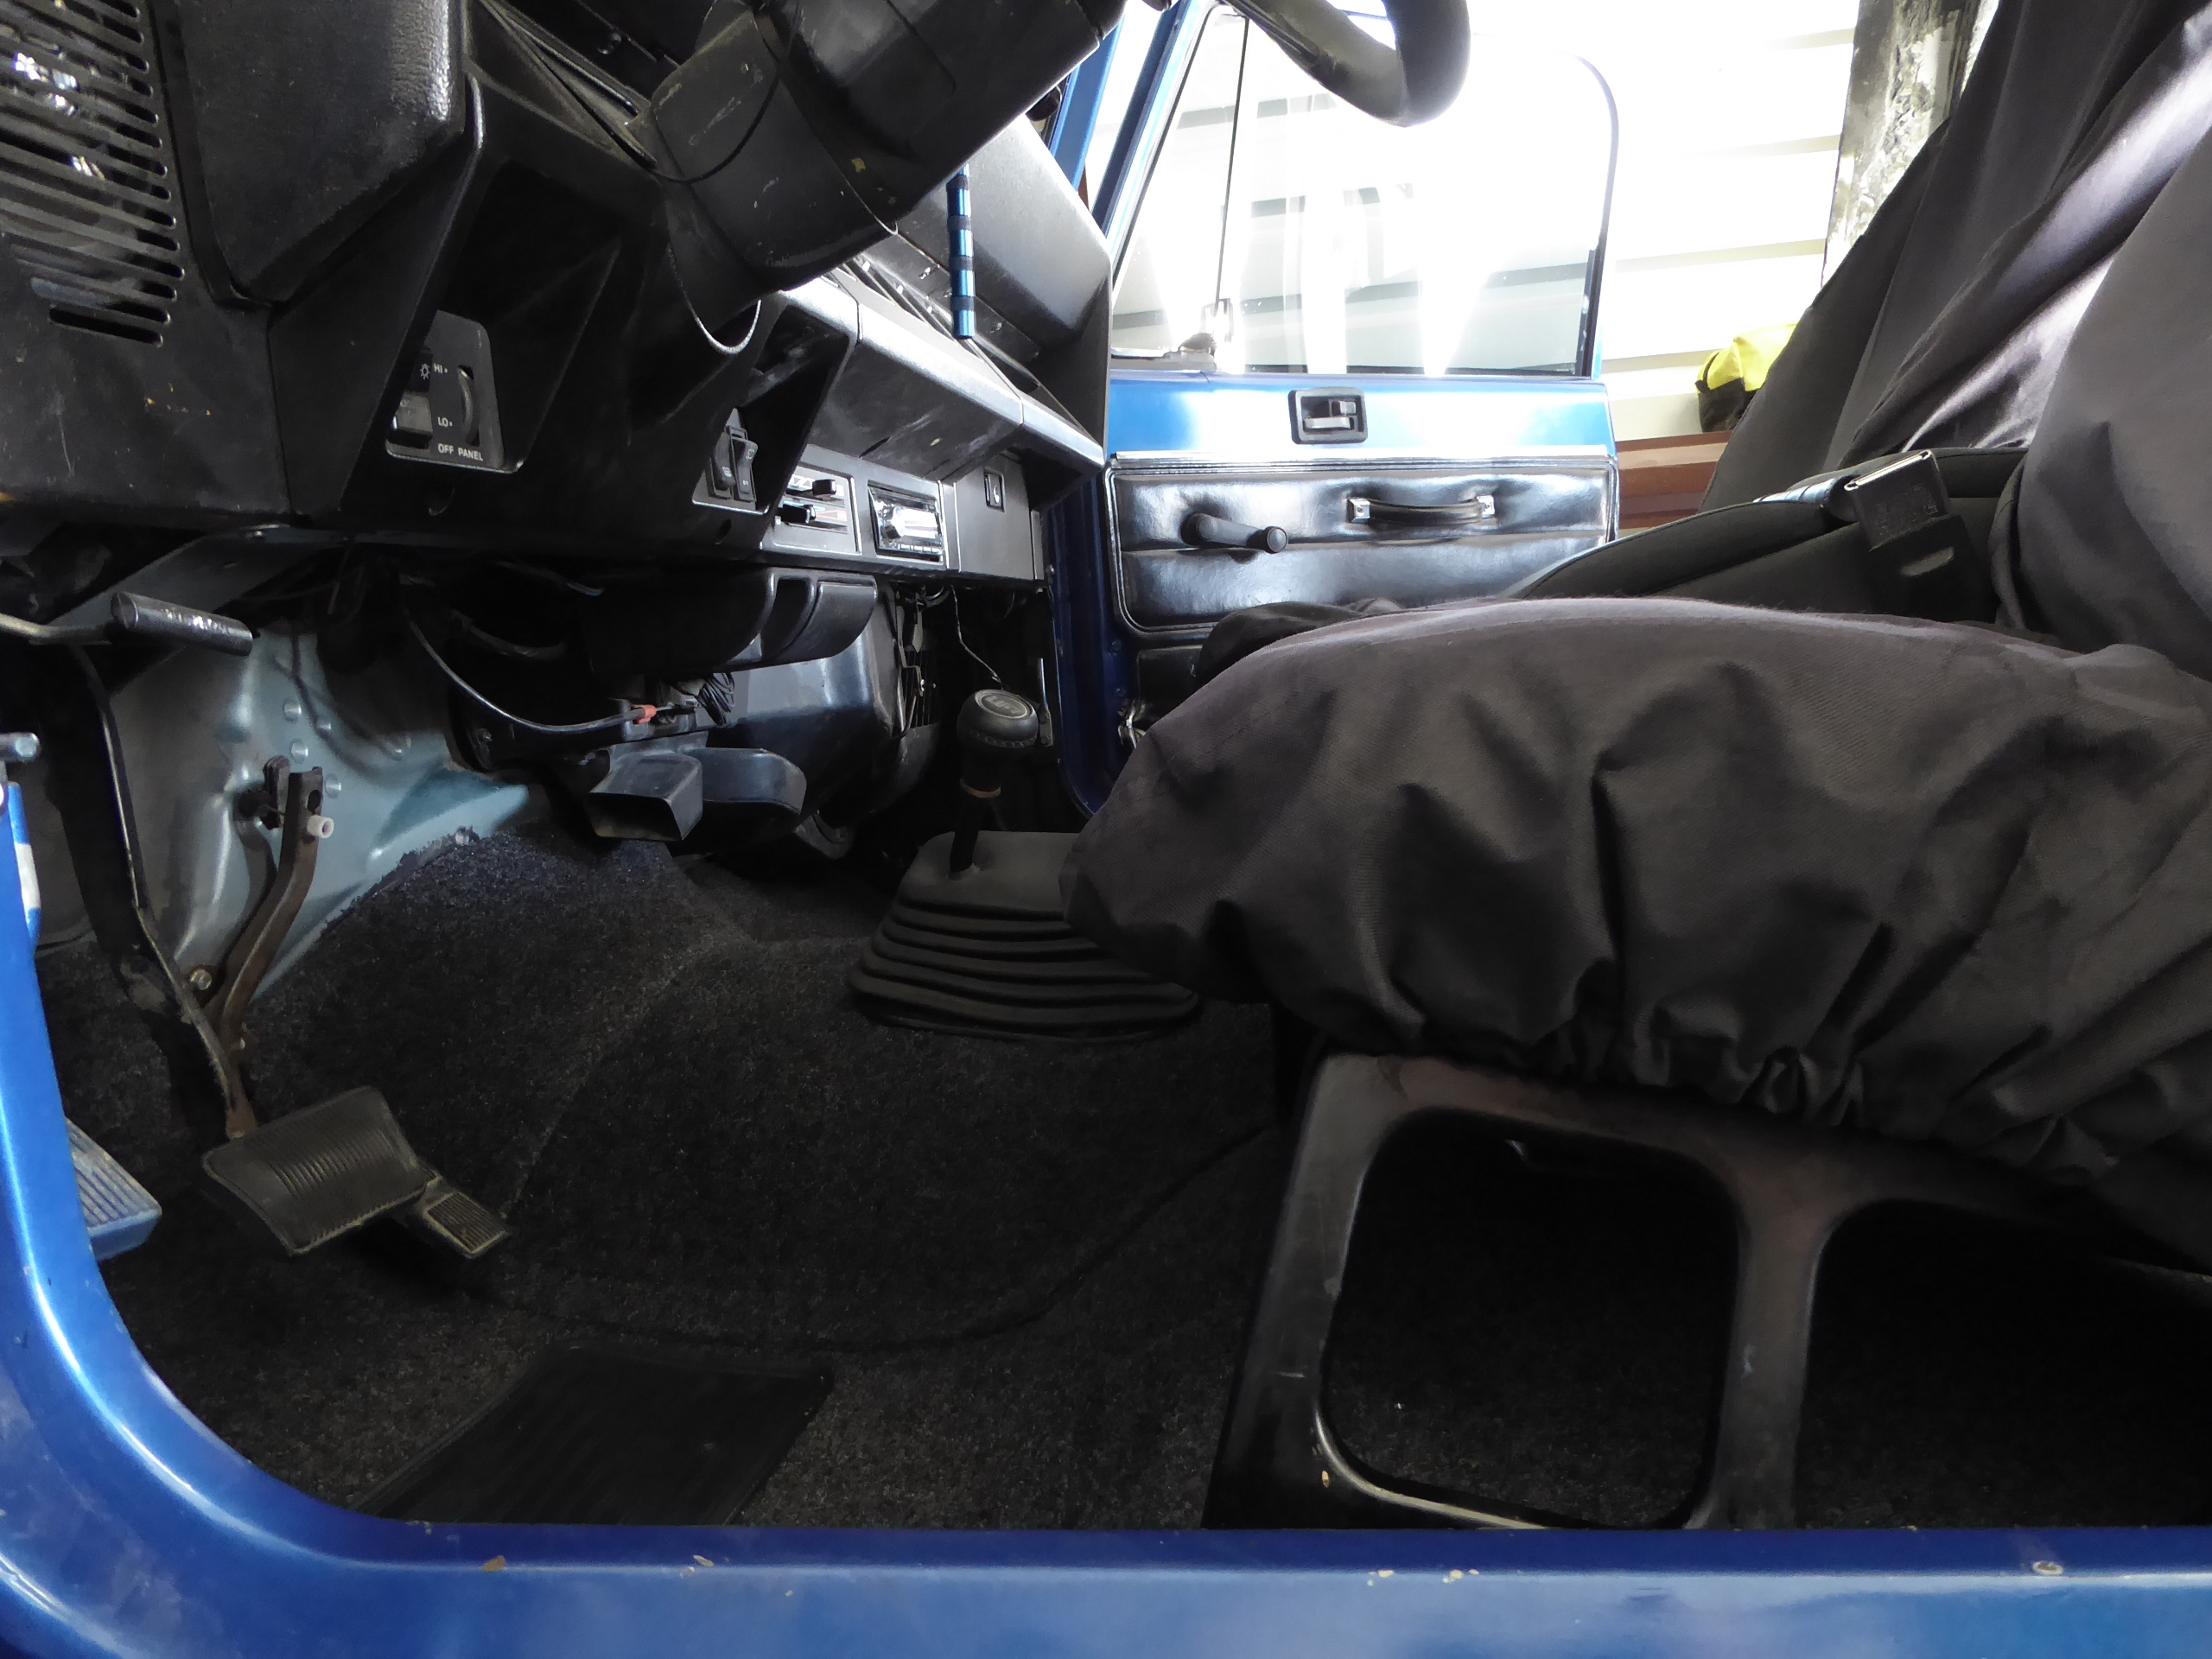
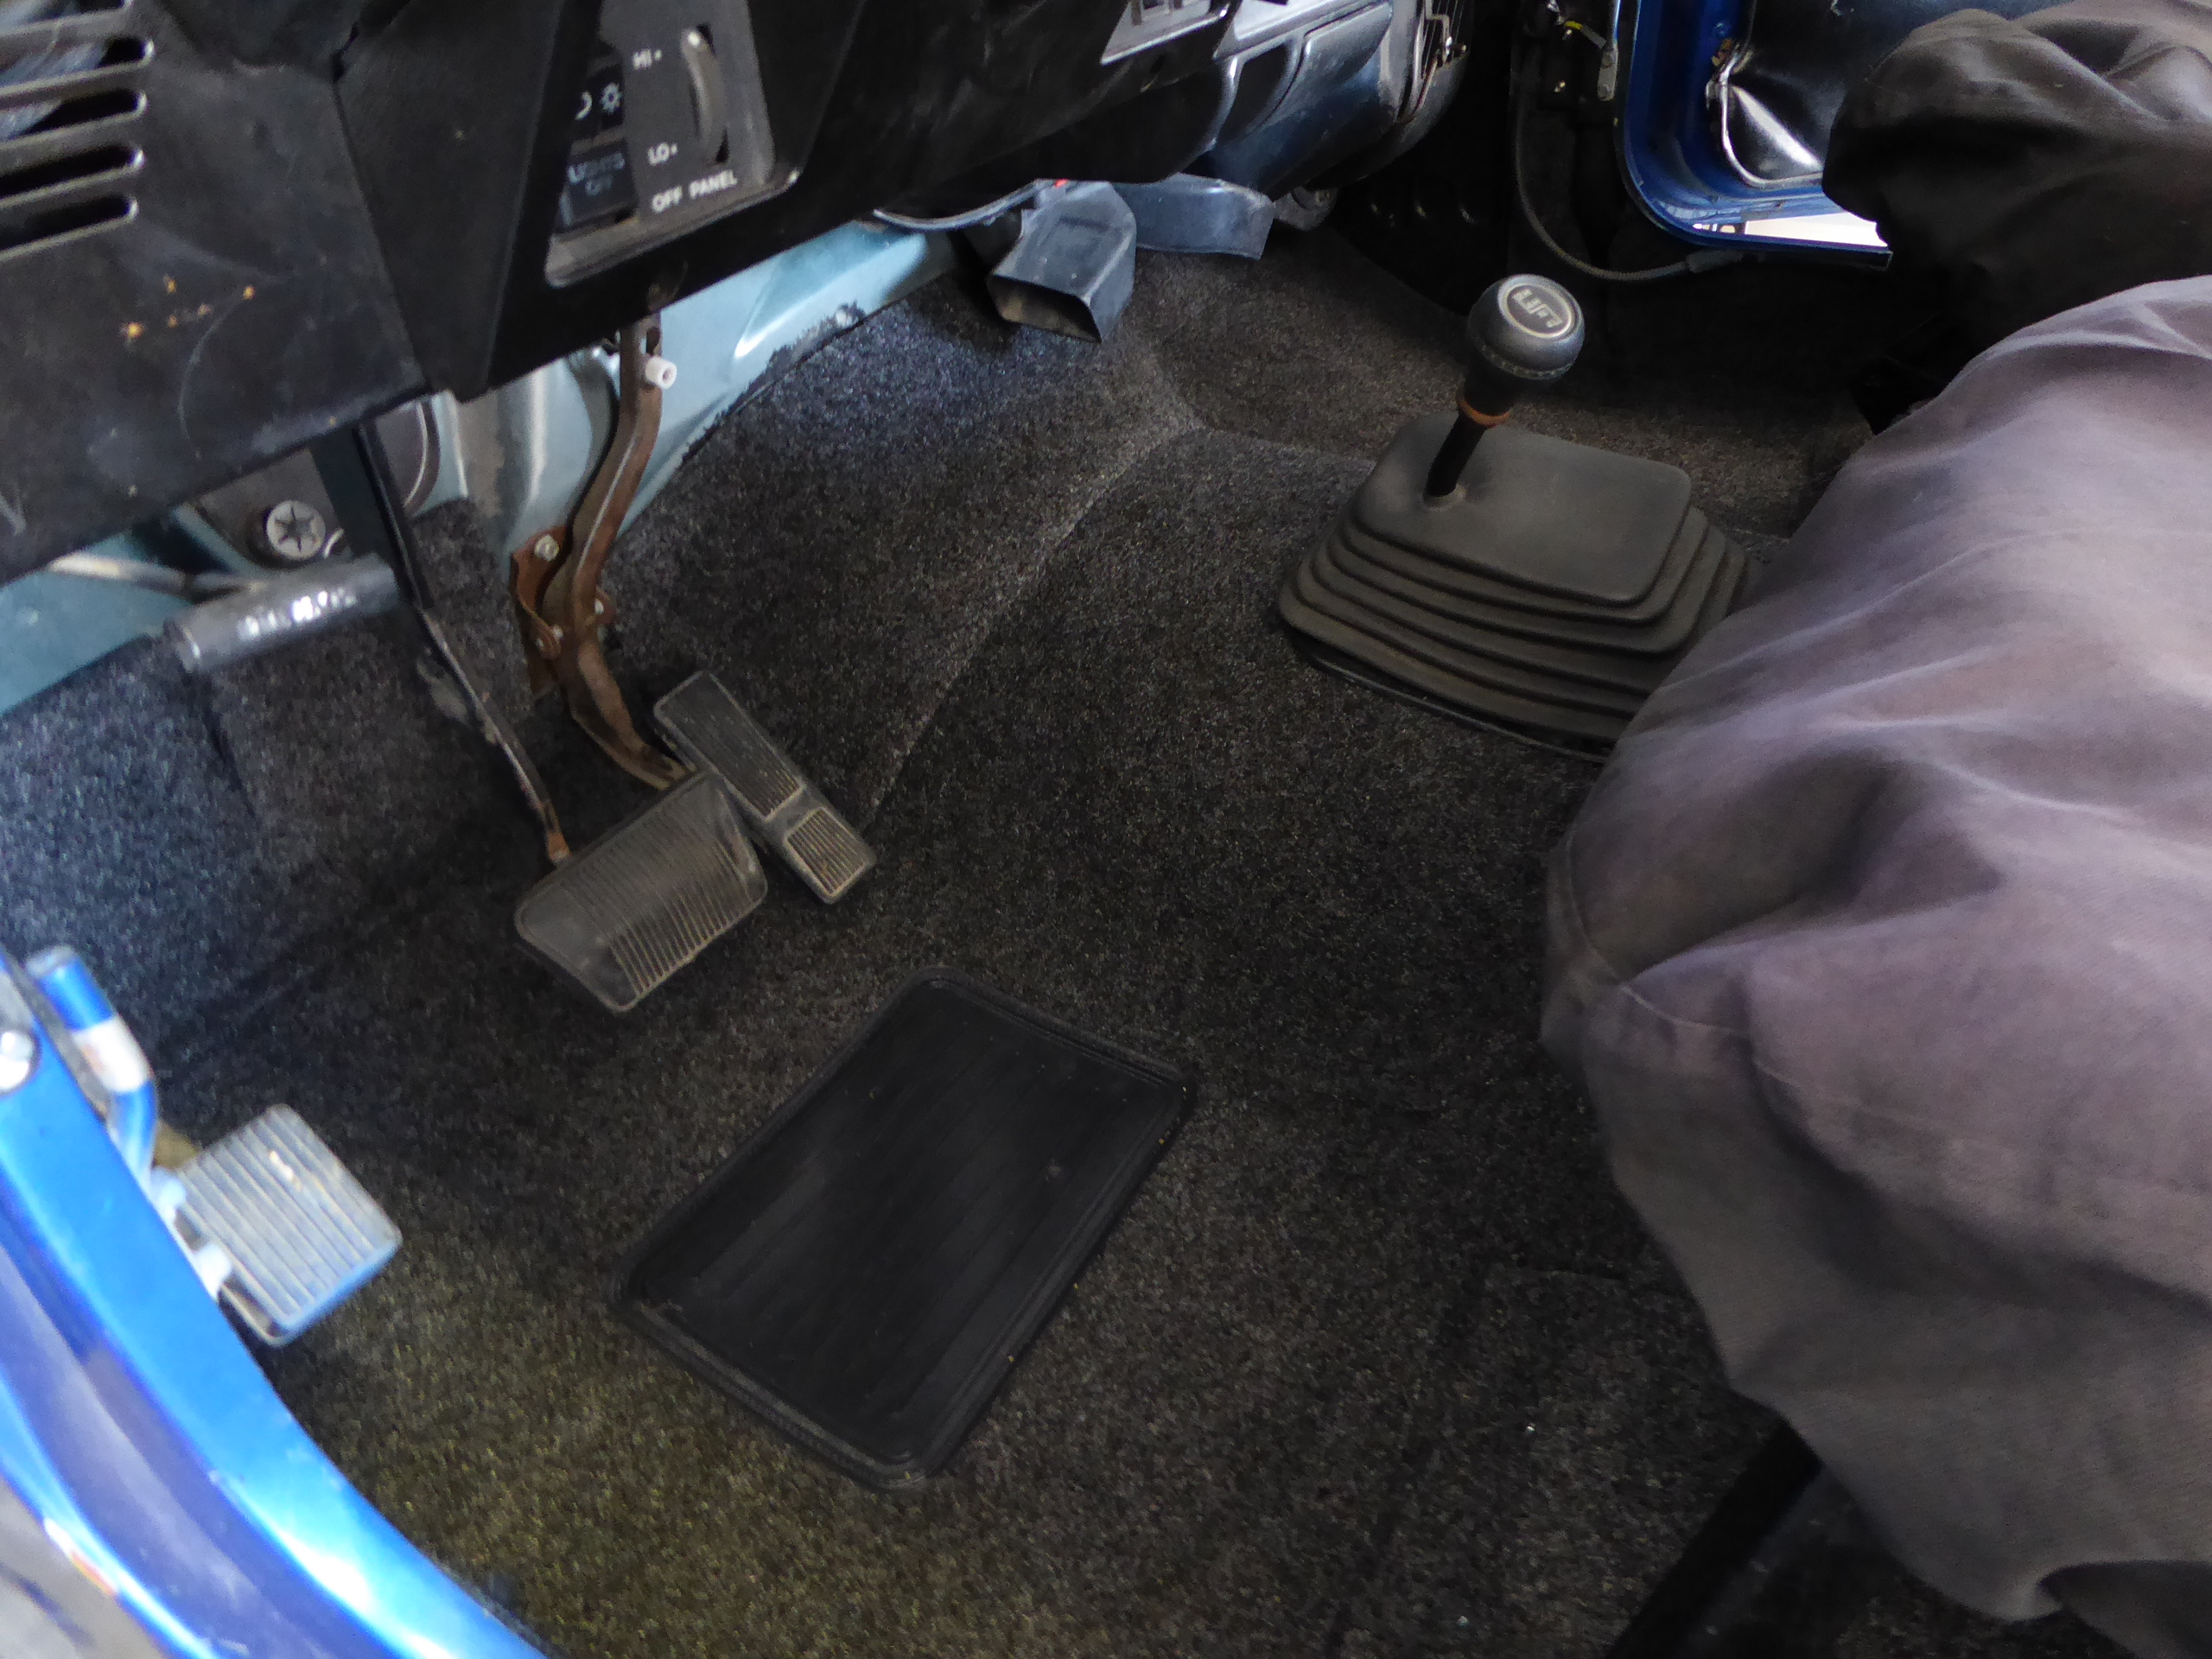
The process is pretty straight forward, we removed the console, seats and seat belts to make more room to work and make the installation easier. Detailed instructions are included with the kits (and written with the intent of leaving the interior in place). We removed the interior because we had some other things we planned to do under the dash while we had it in the shop, this gave us extra room to move while we reworked some of the wiring. With the components removed; we vacuumed the floor to pick up the larger particles and other dirt that had collected before we cleaned and prepped the floor for the next steps.
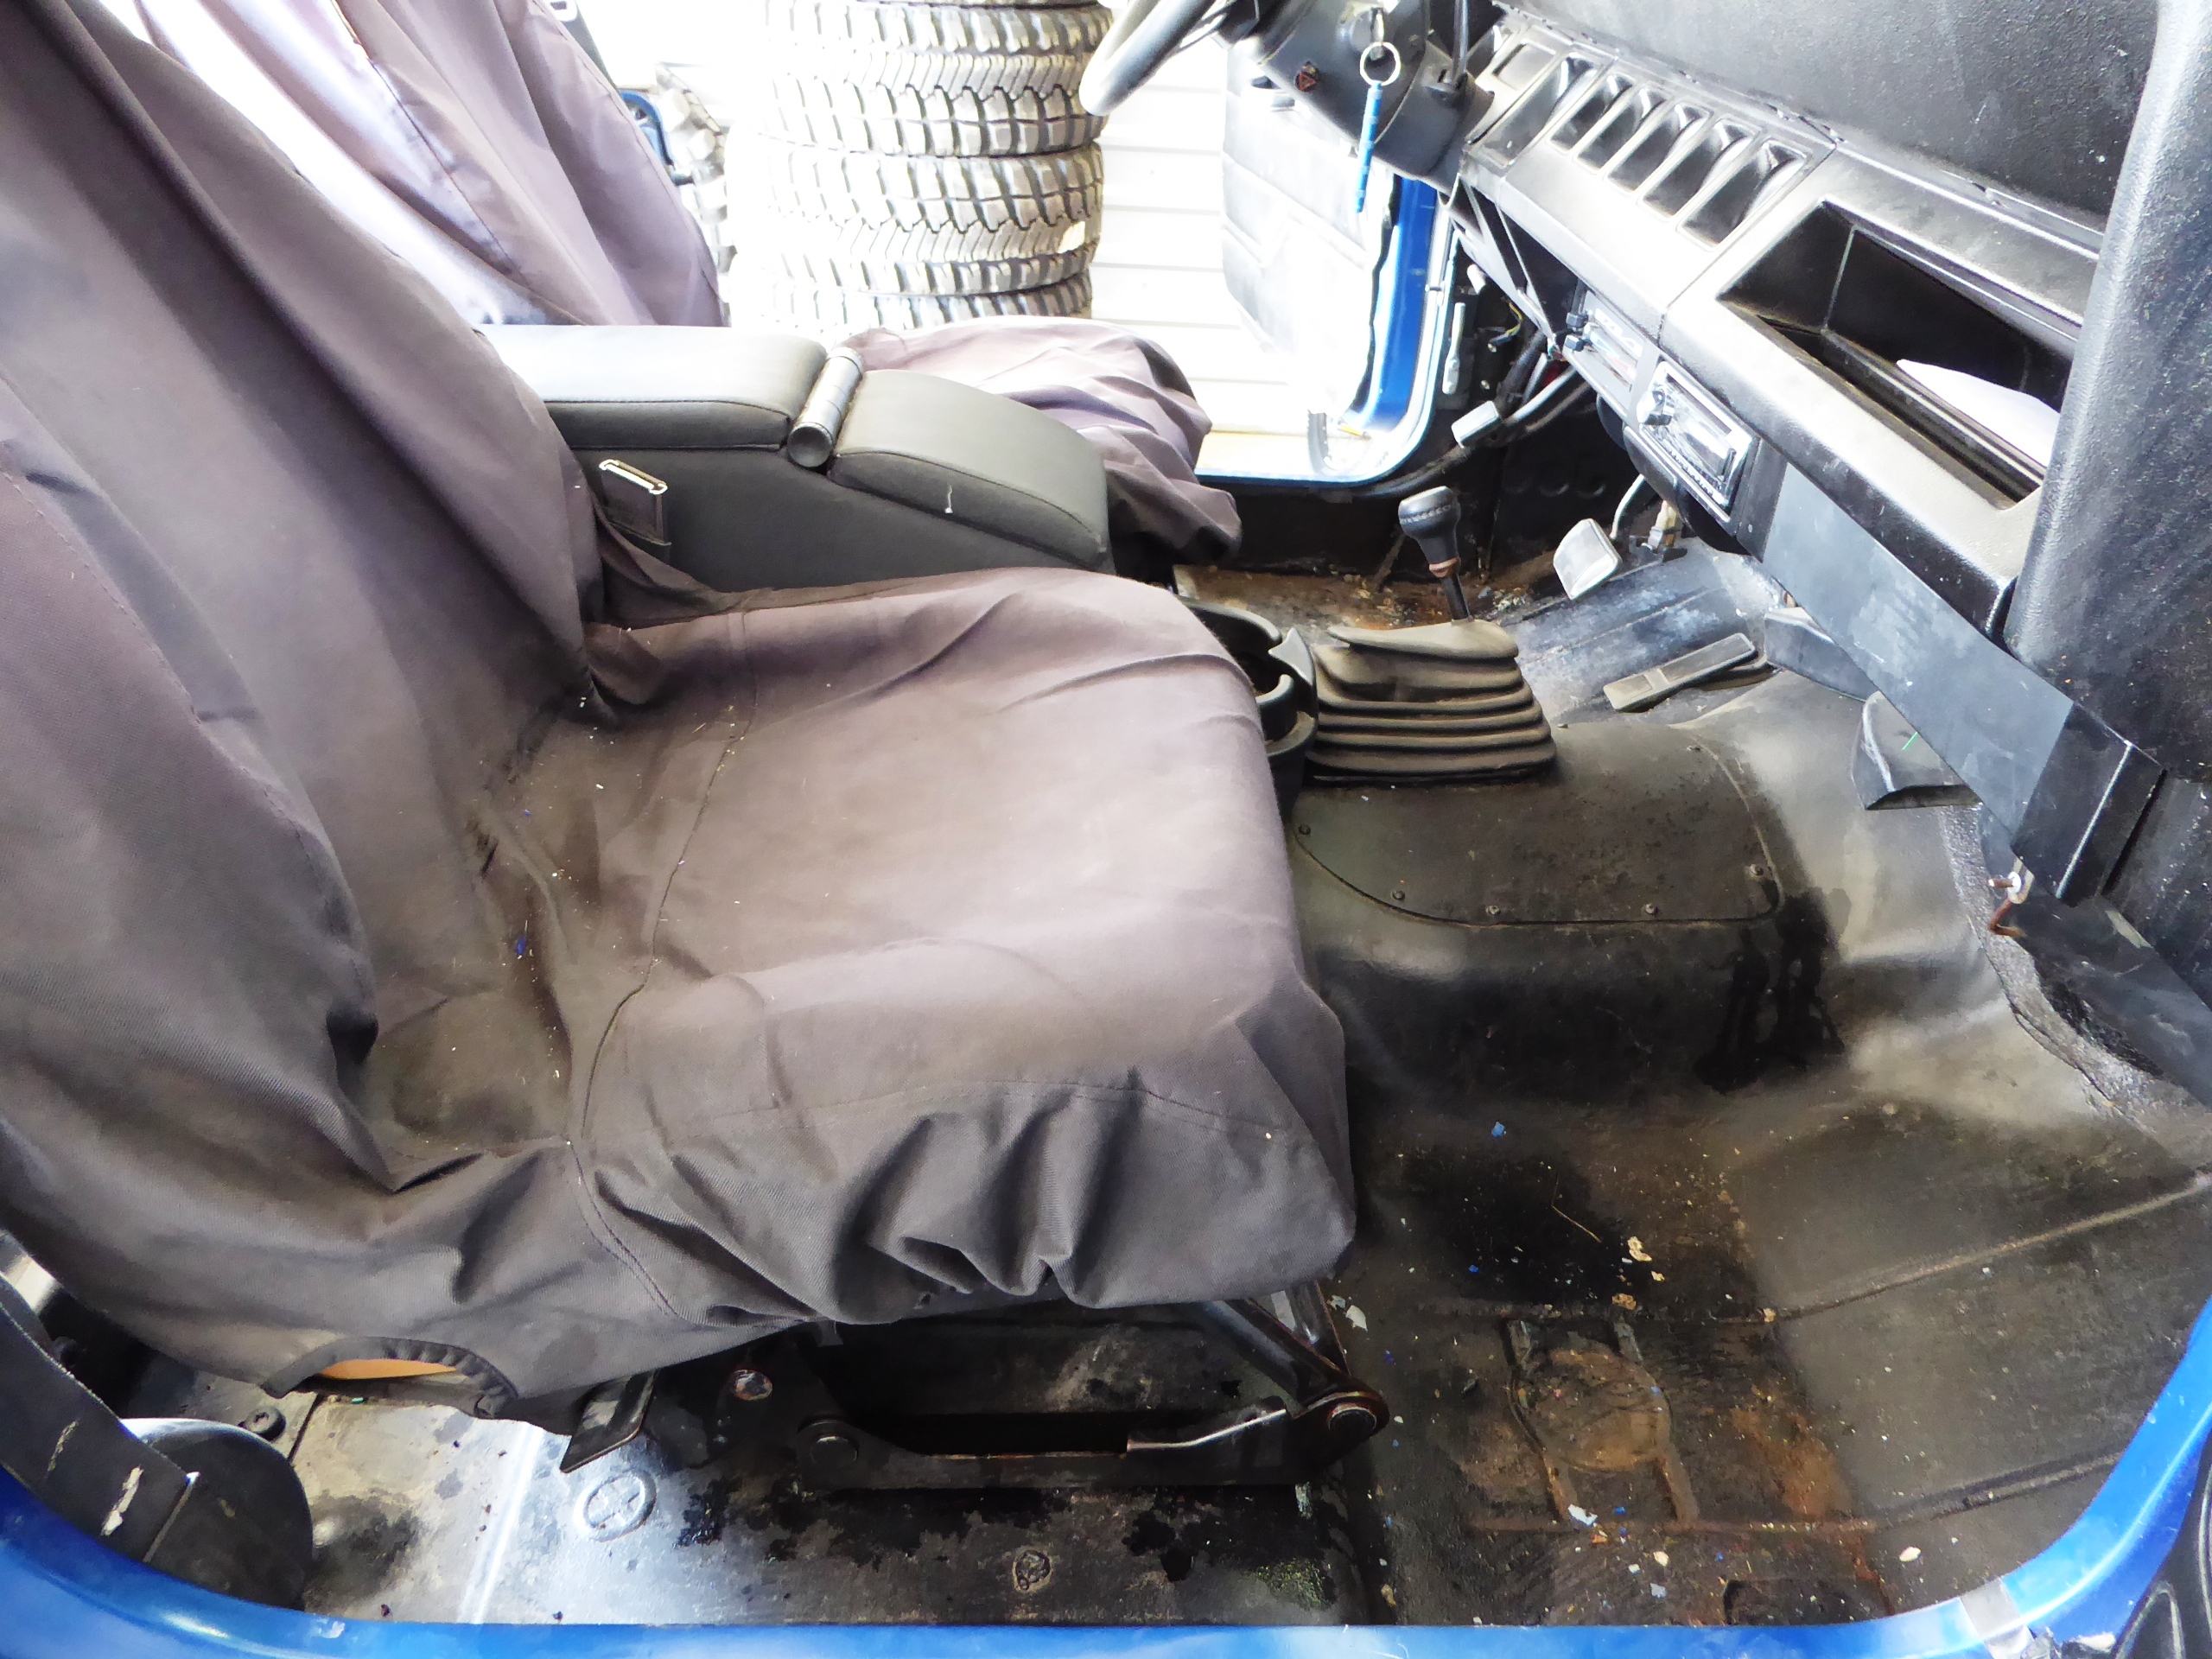

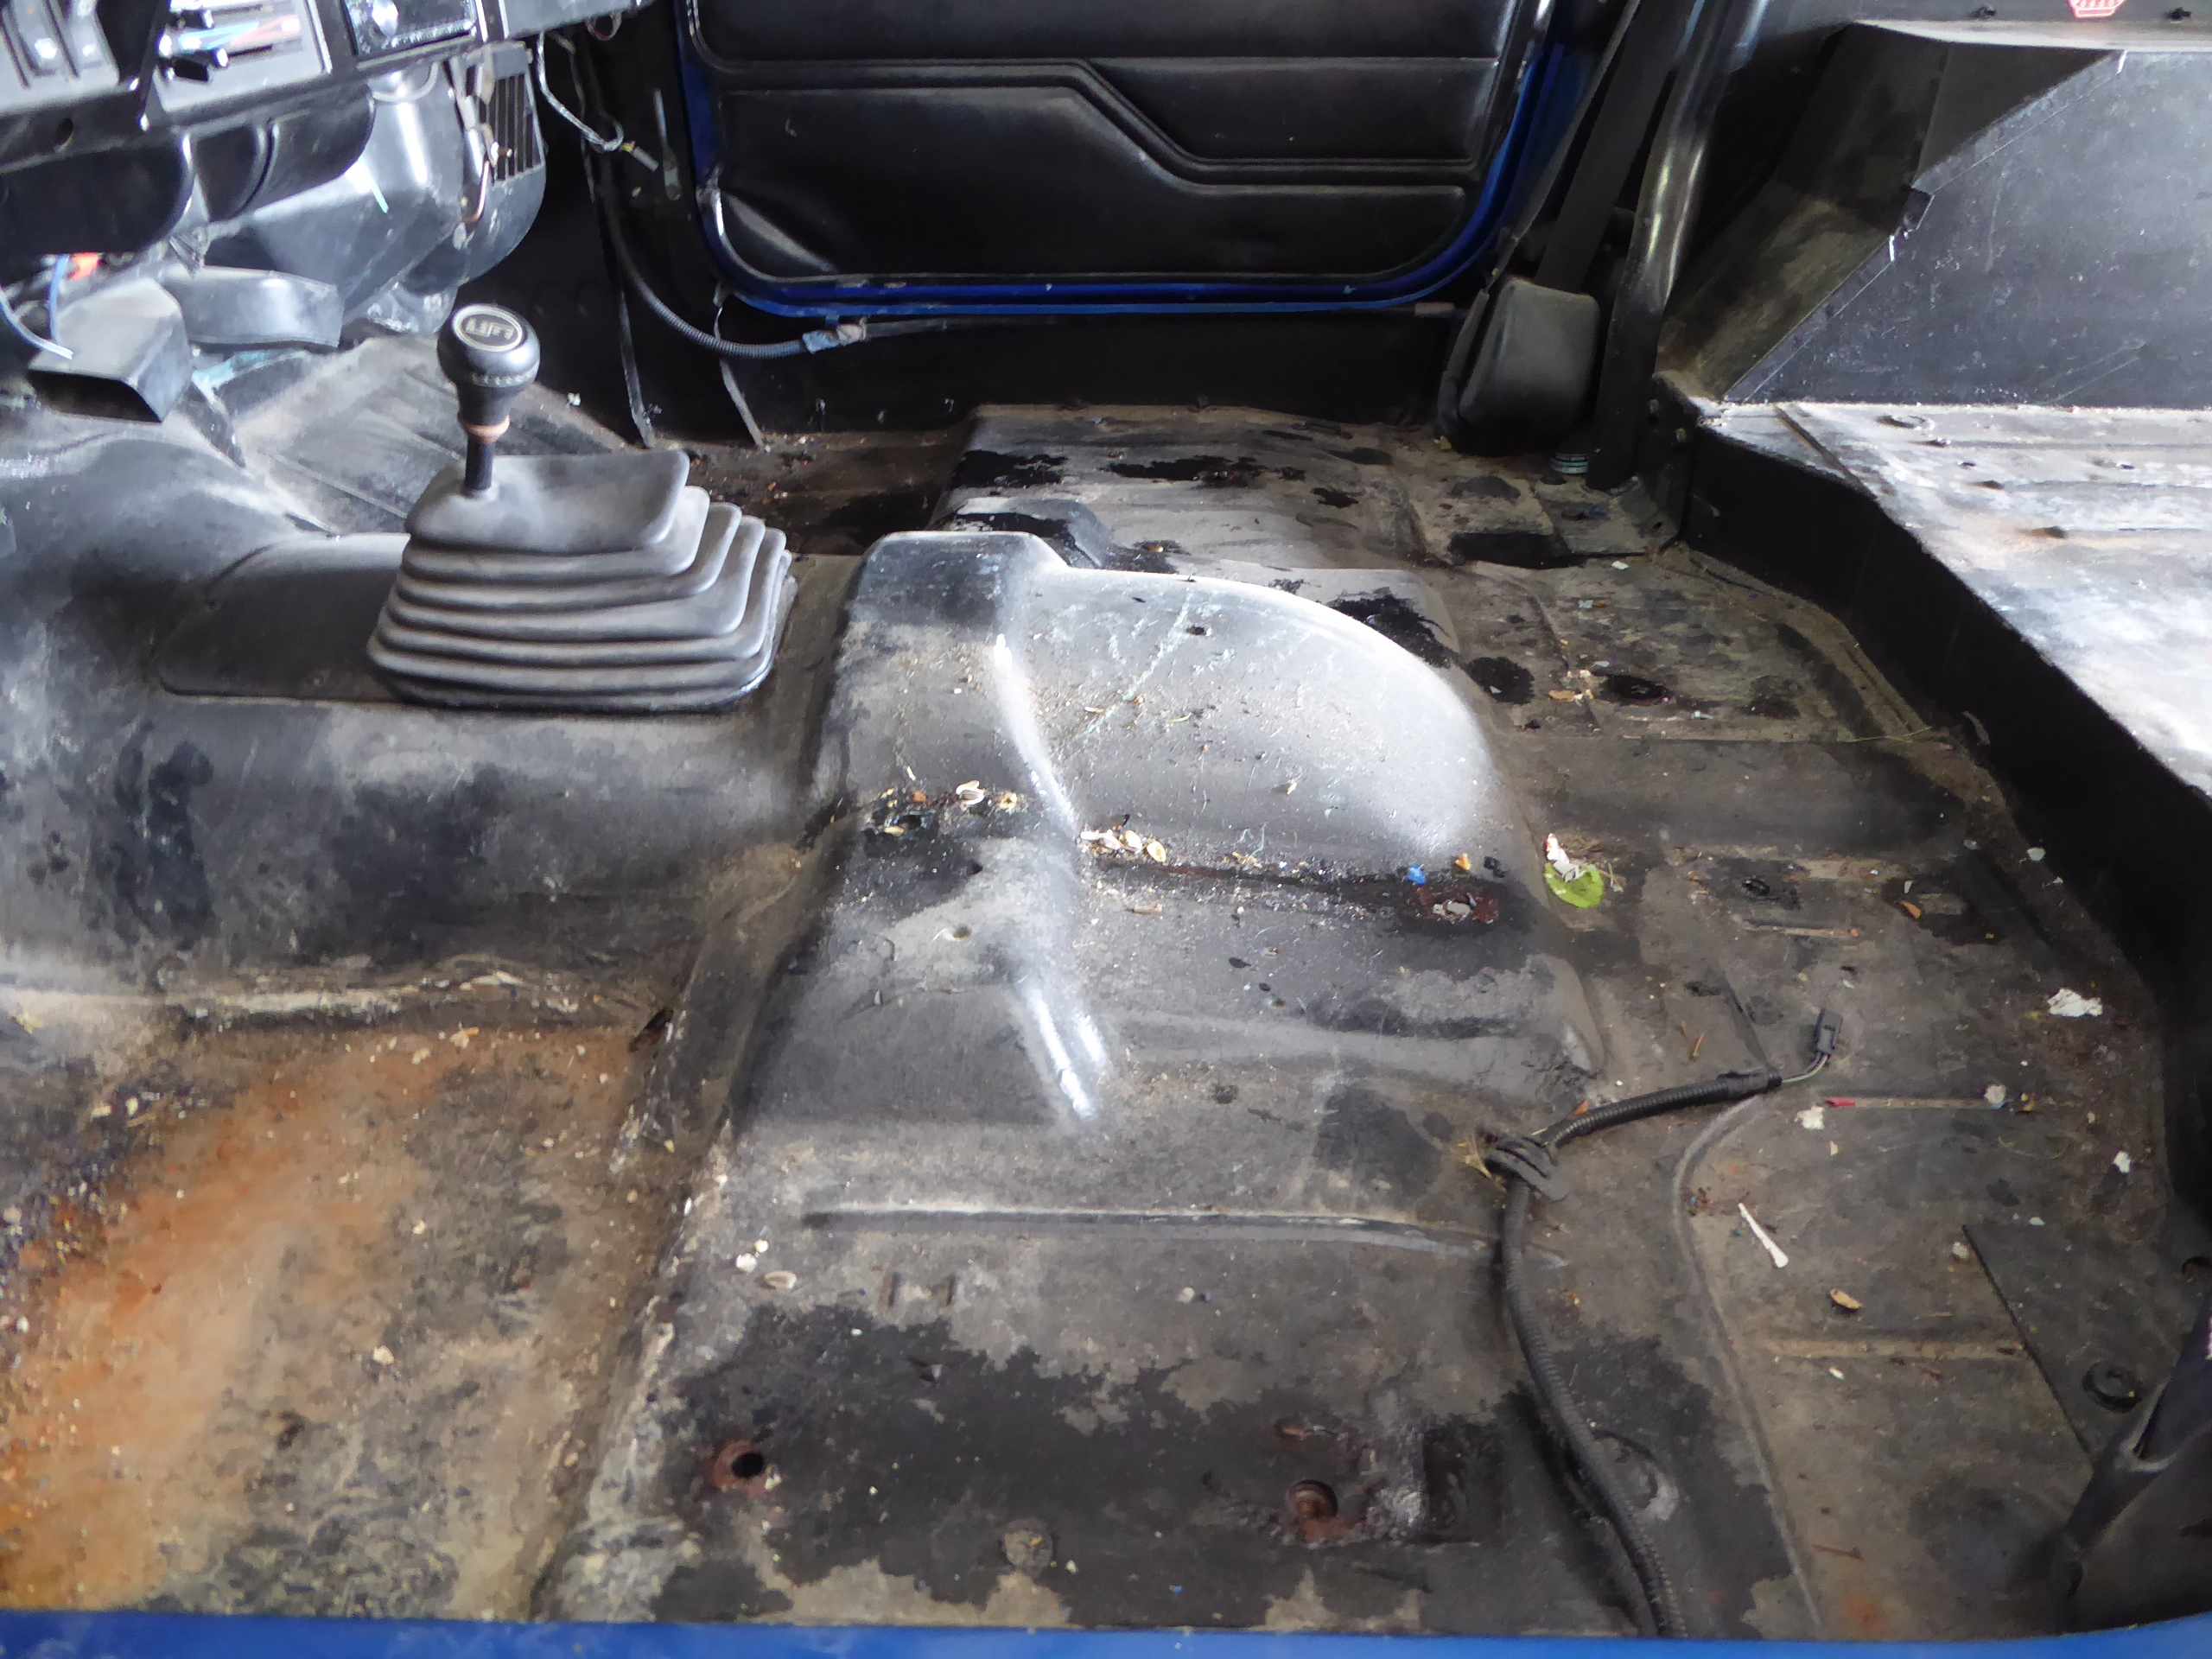
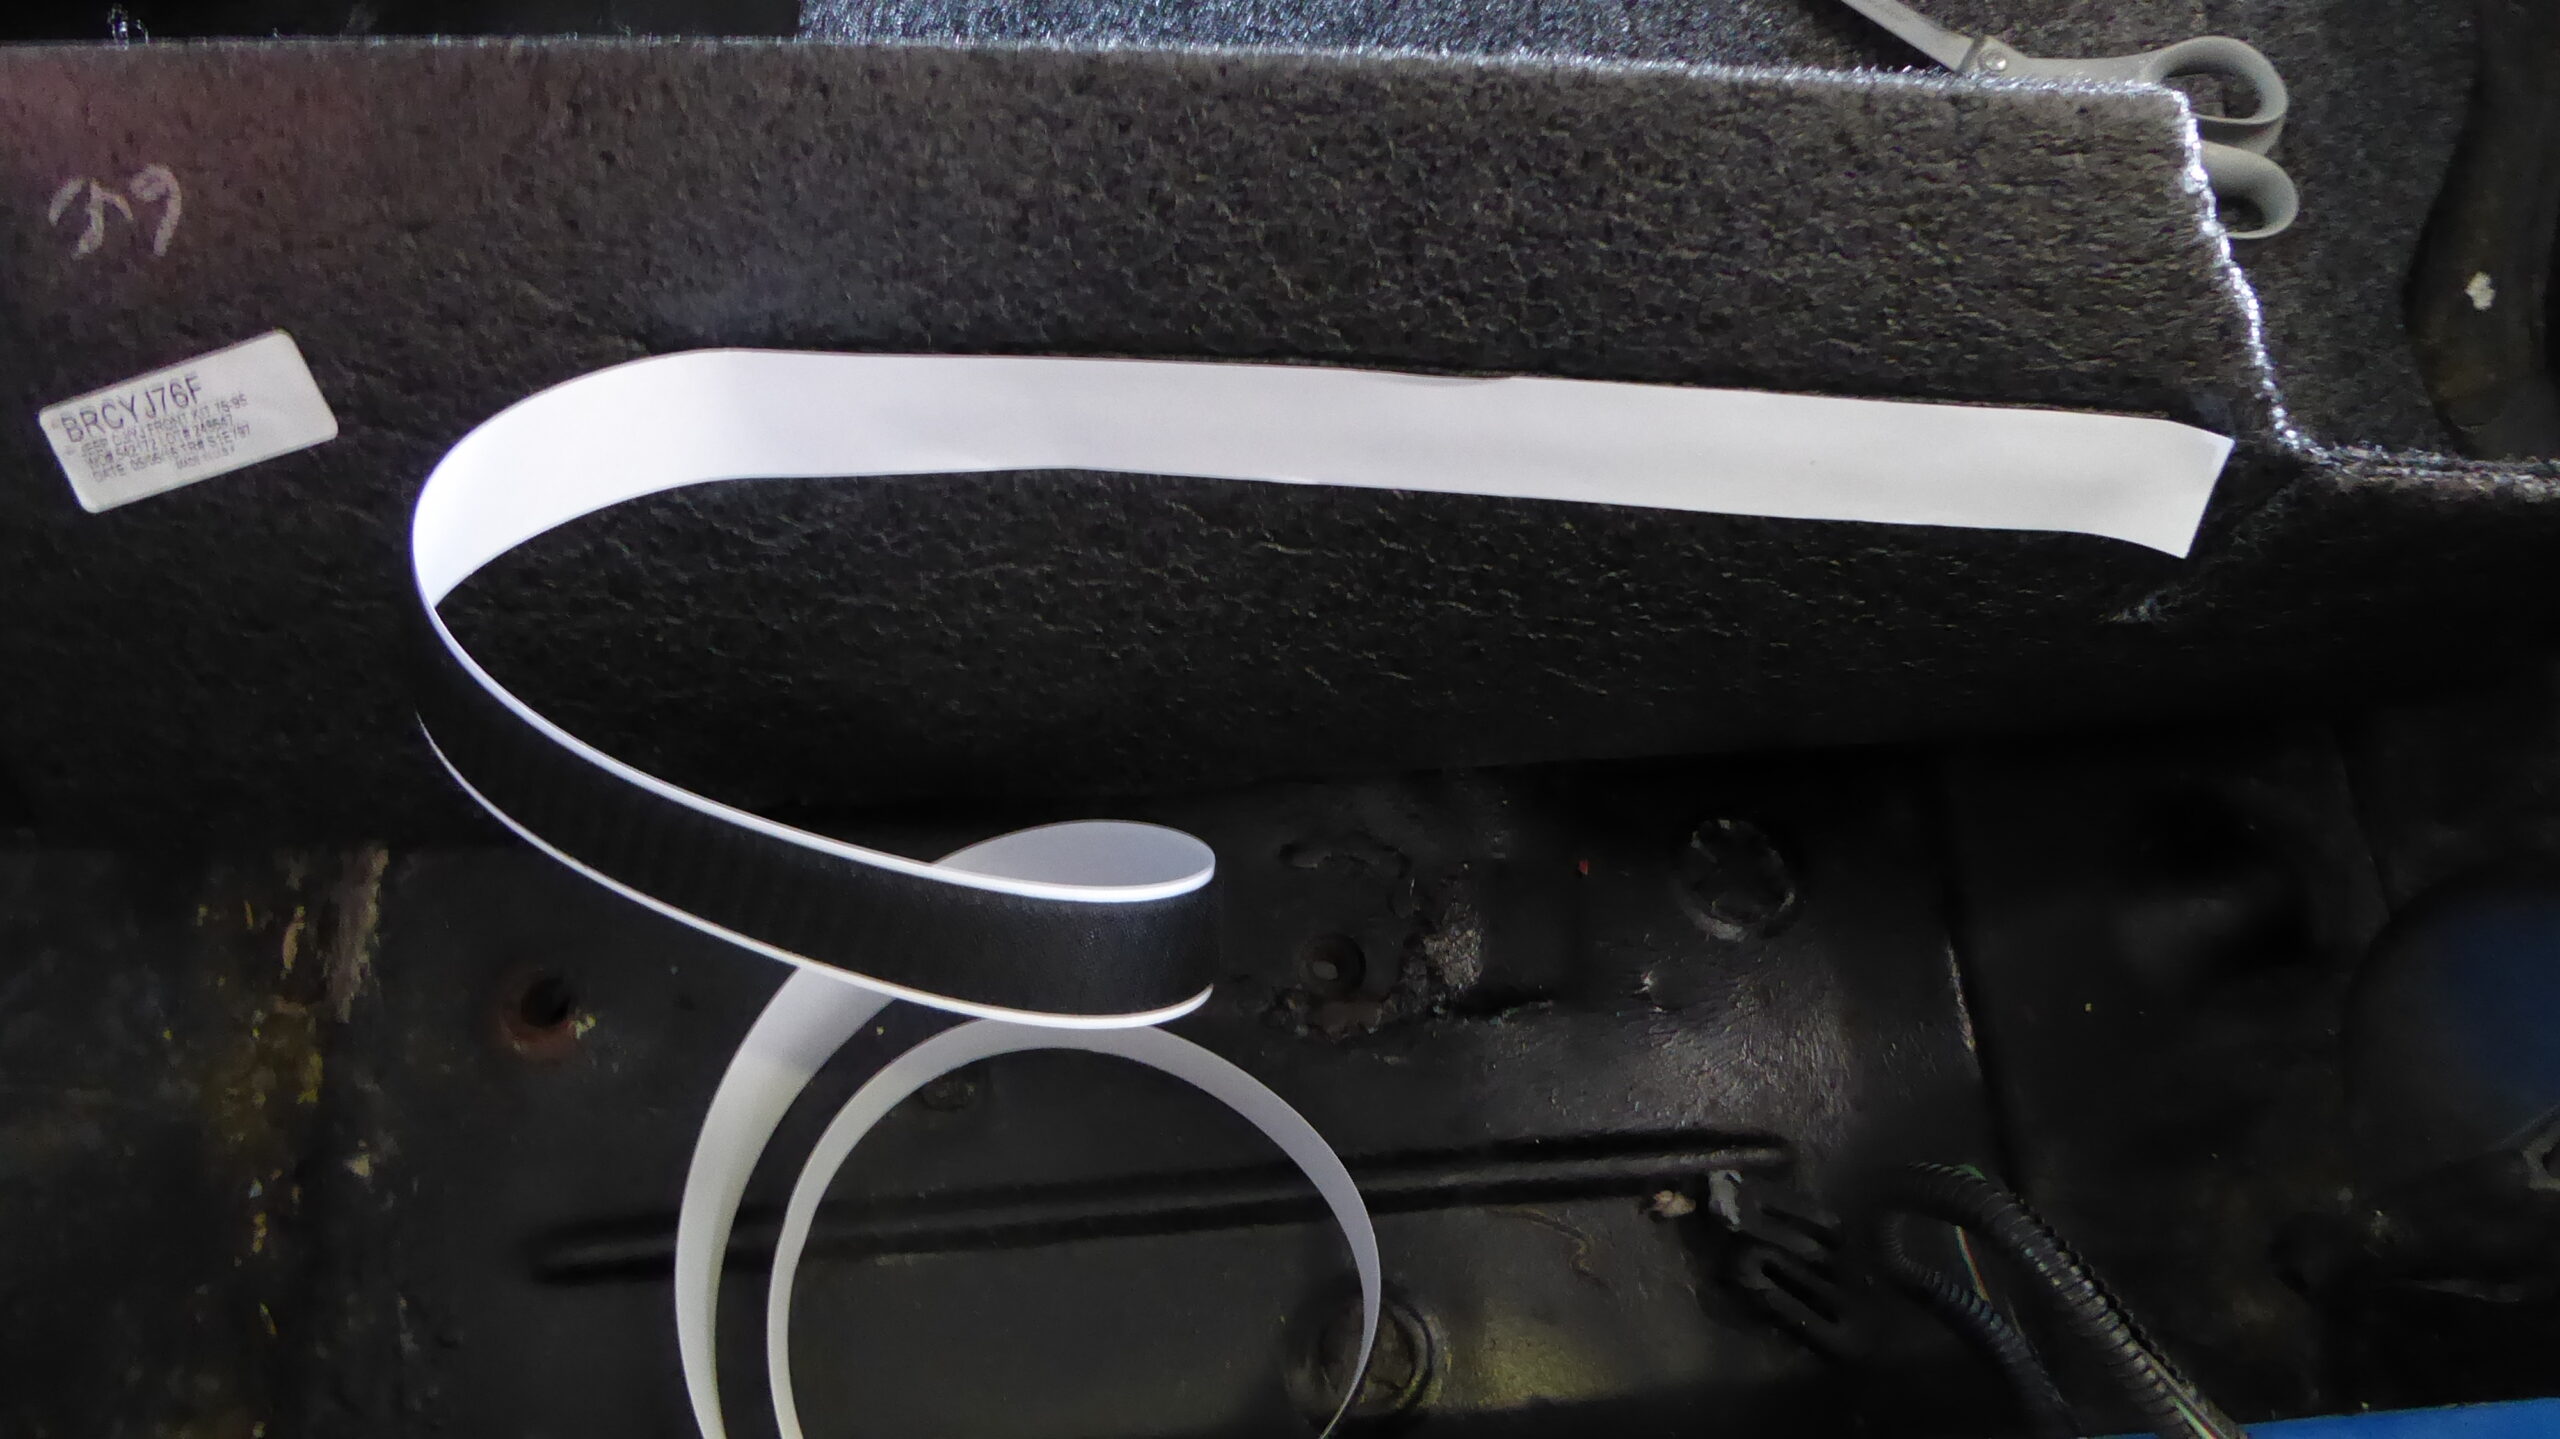
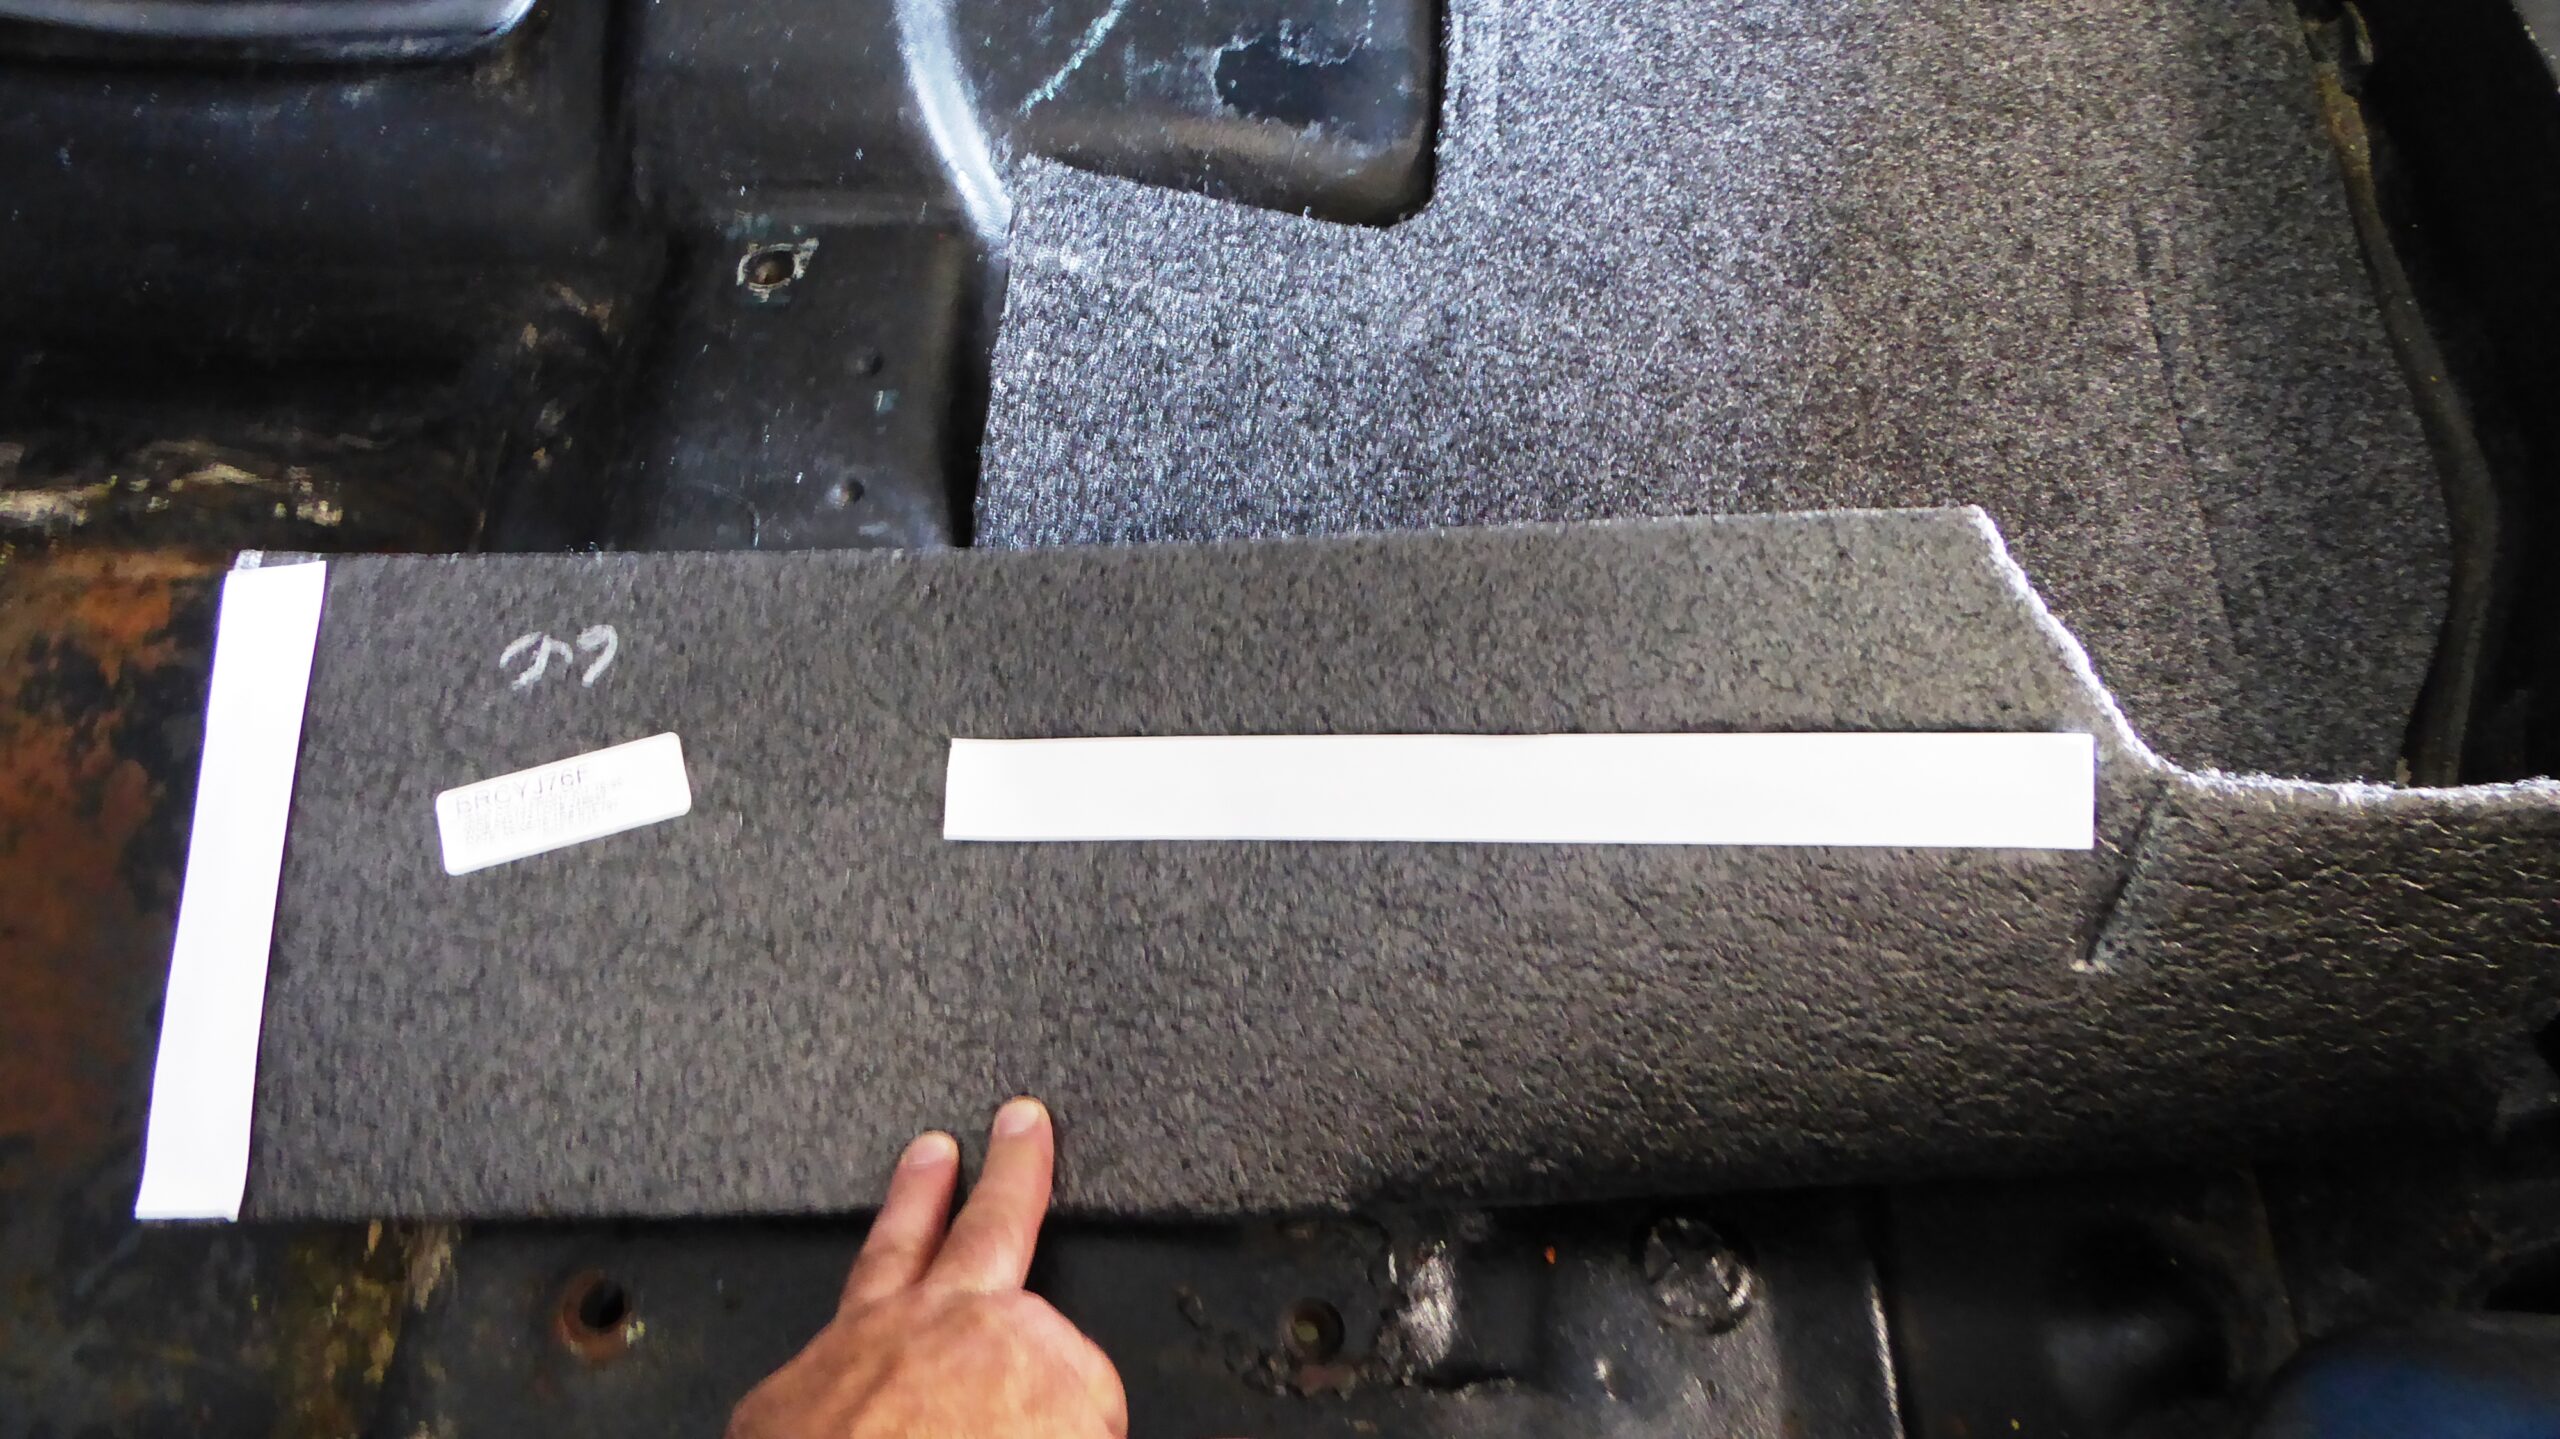
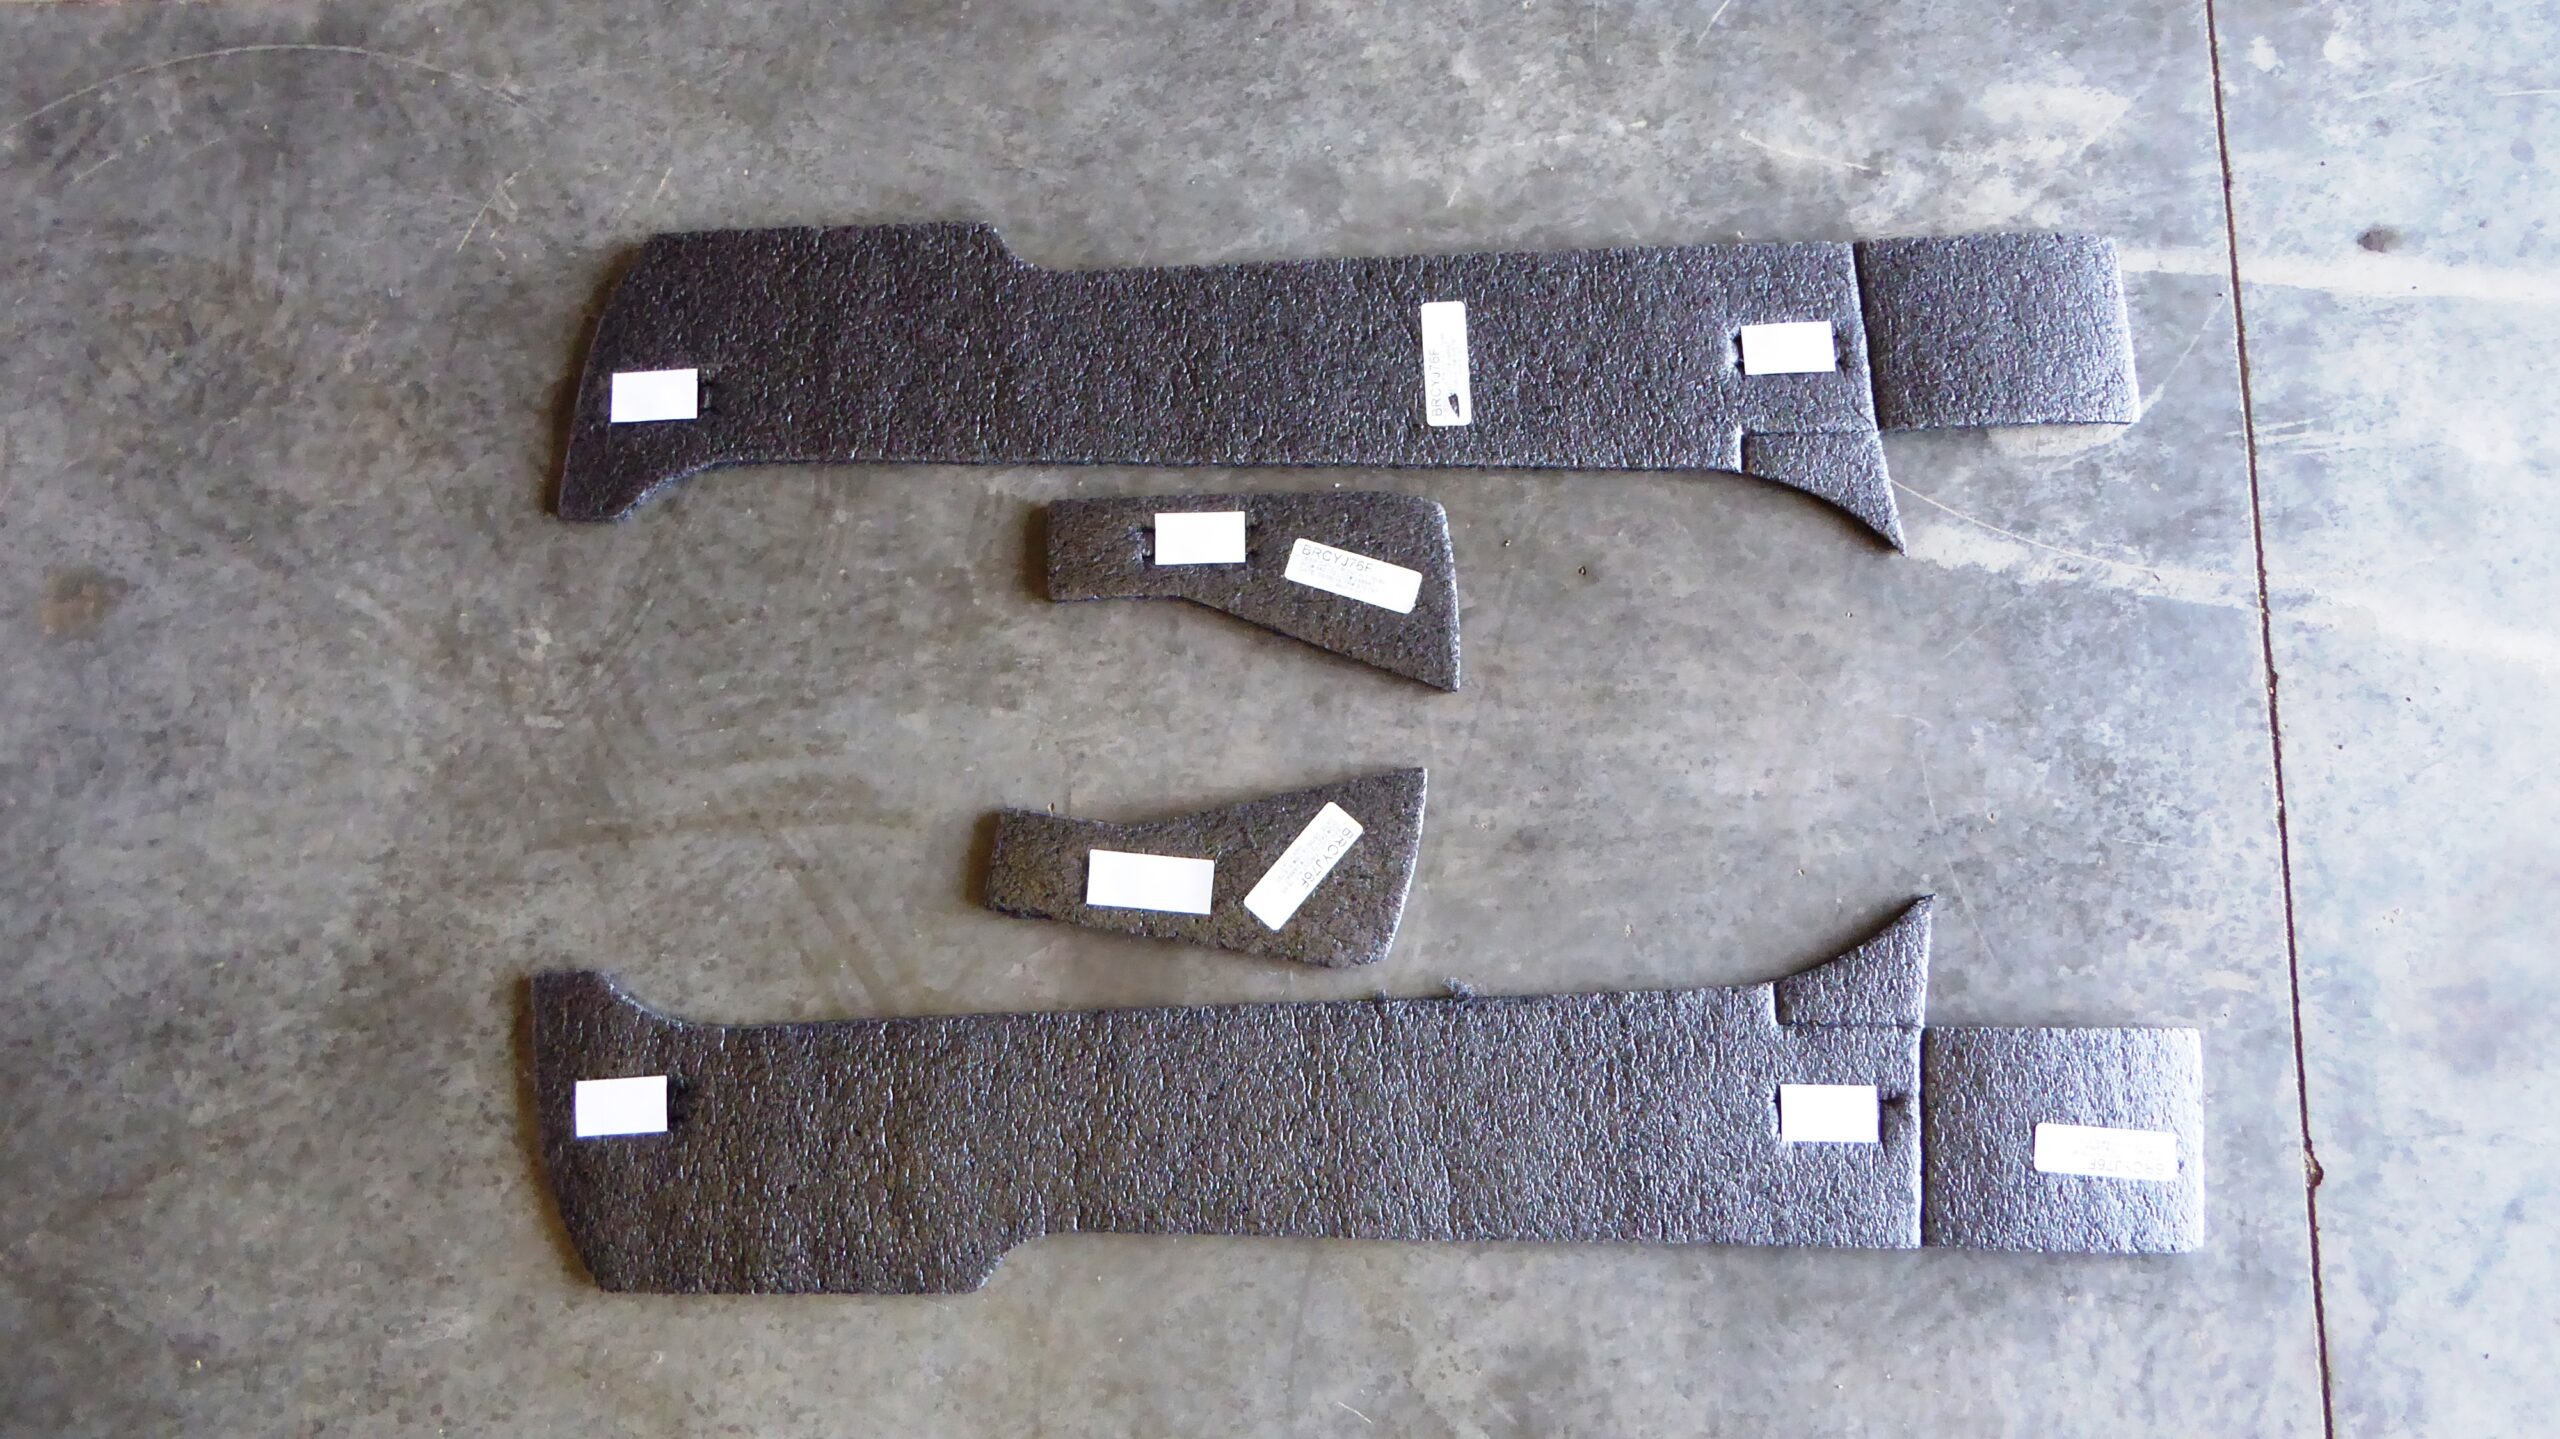
With the interior cleared out it was a matter of cleaning the floor surface and preparing it for the hook and loop adhesive system that holds the Bed Rug in place. We used rubbing alcohol and wiped the floor down. While we were in the process of cleaning we opened up the boxes and laid the rug pieces onto the floor so it would have a chance to flatten out before we got started. There are three adhesive heat shields that go under the driver and passenger mats as well as the front center piece. These mats are conveniently marked so you know exactly where the manufacturer intends for you to put the heat shields.
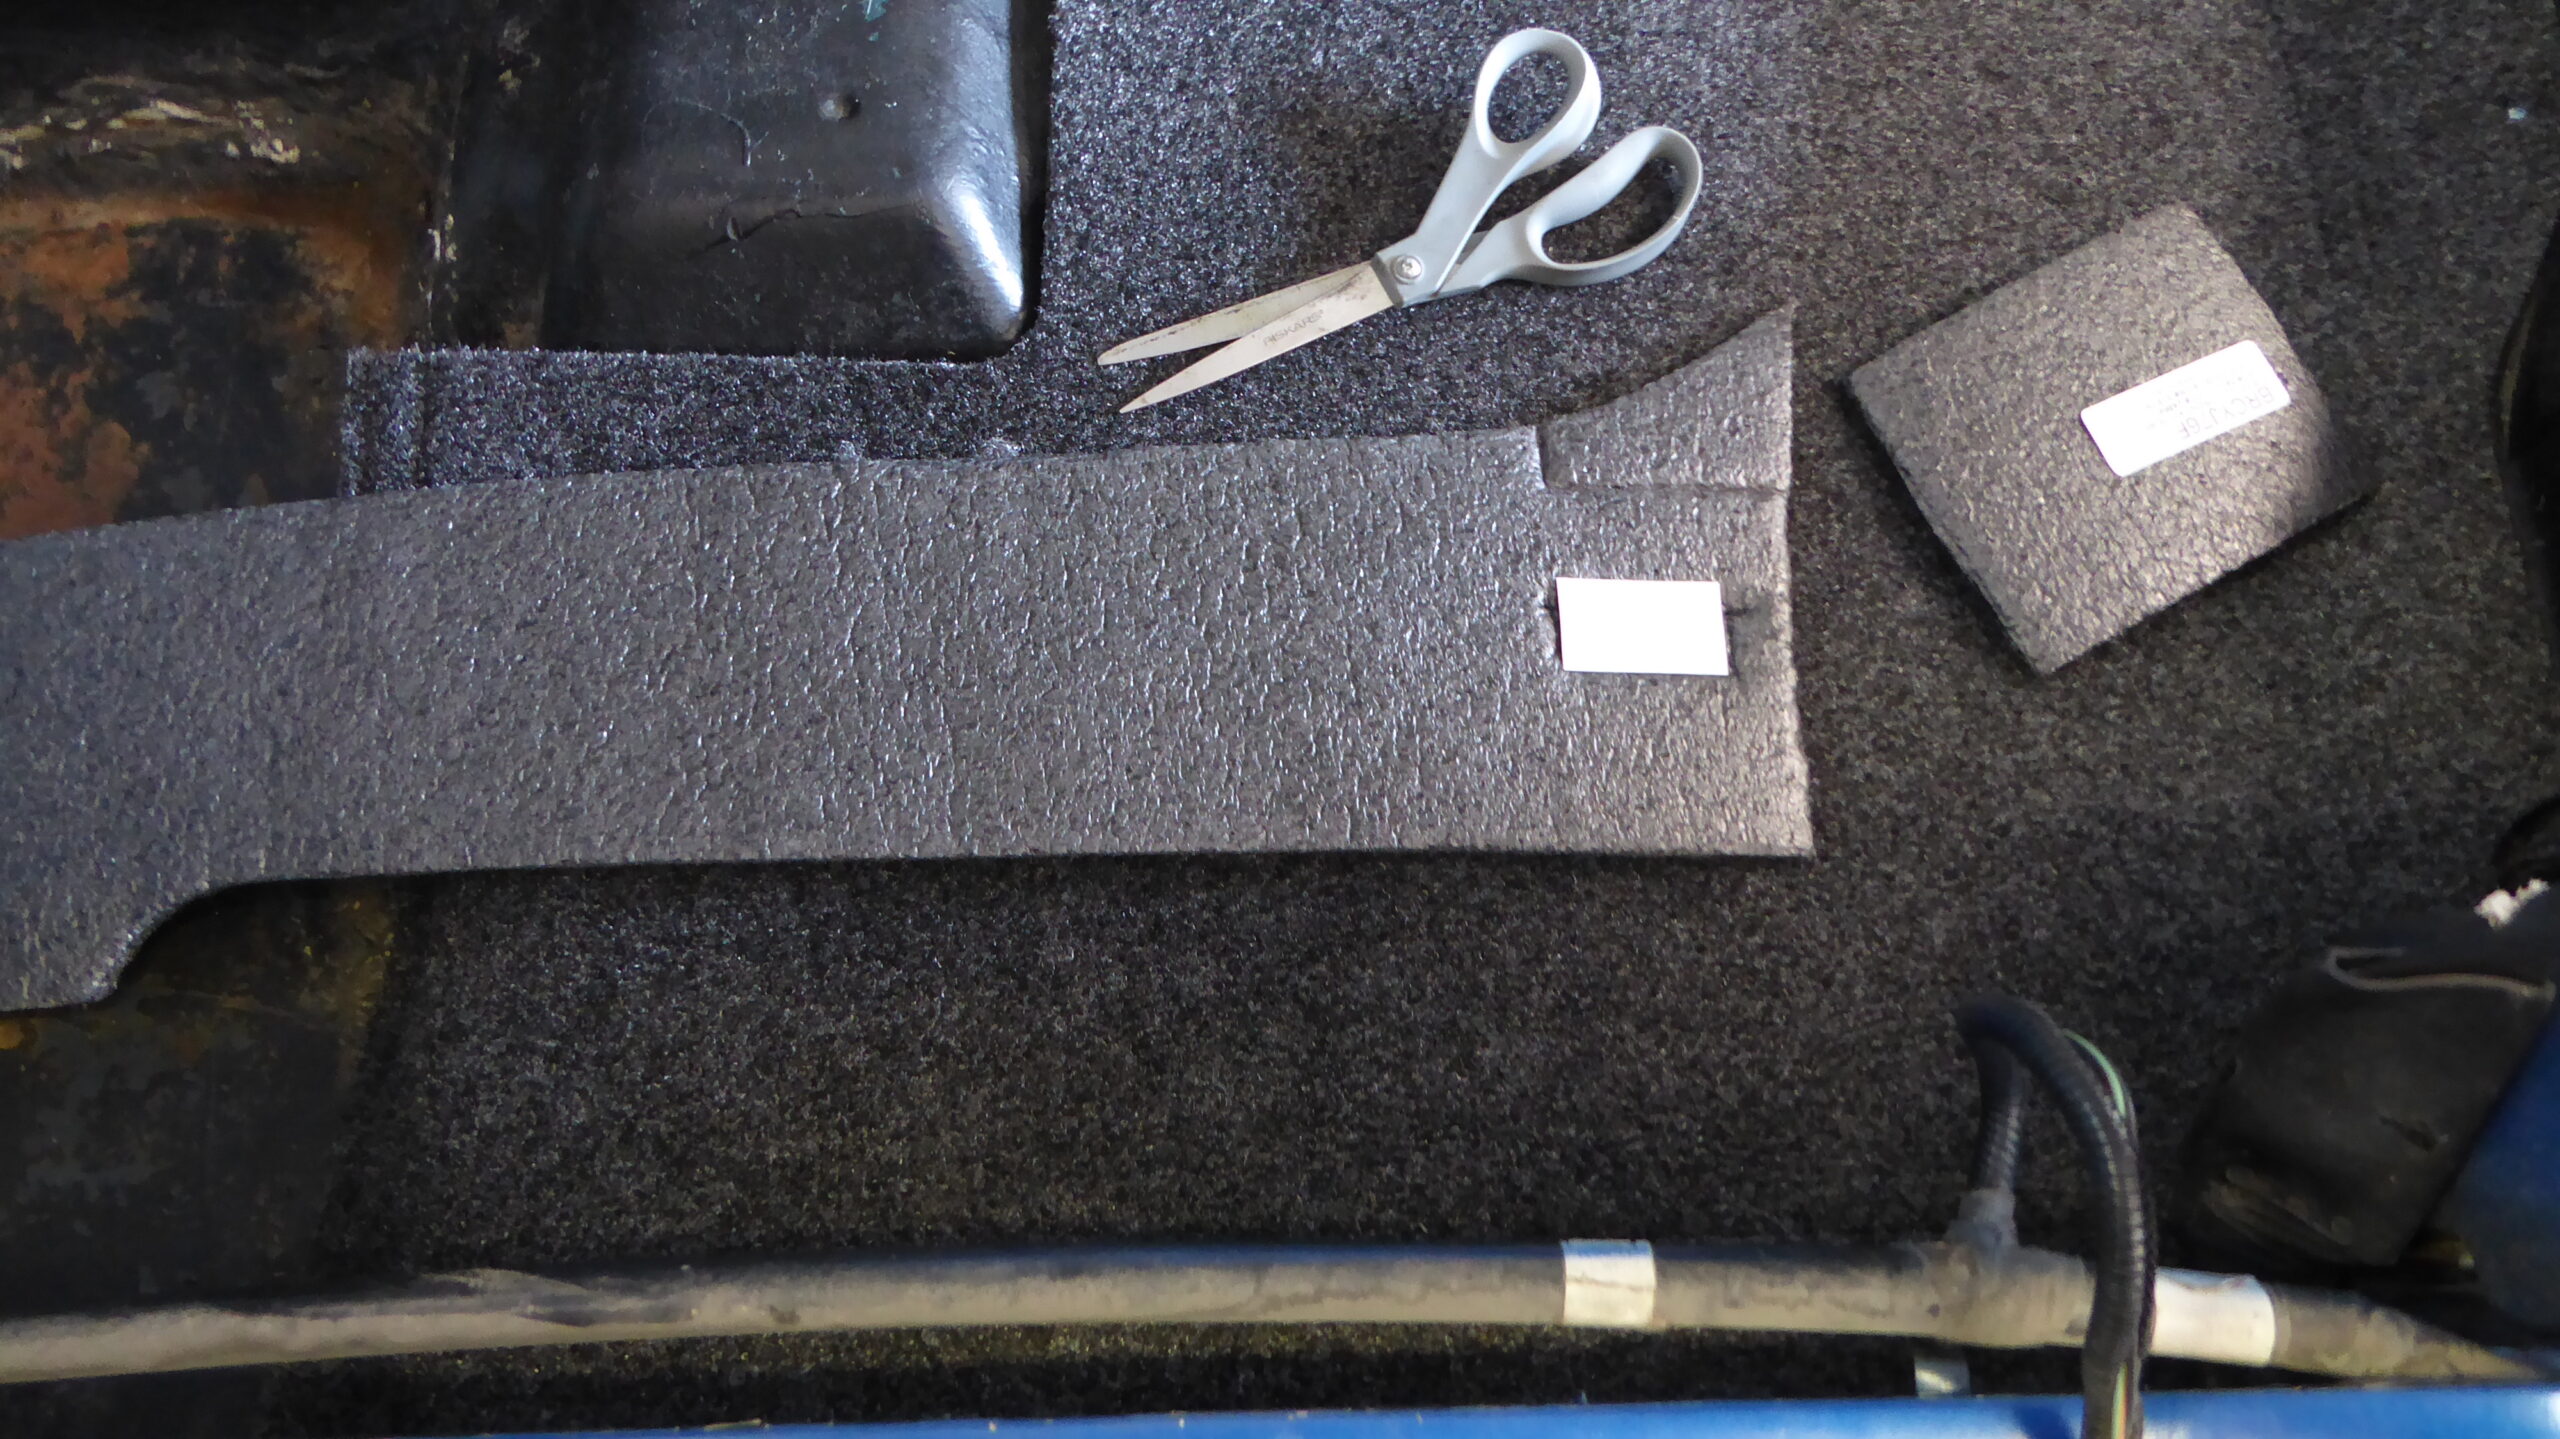
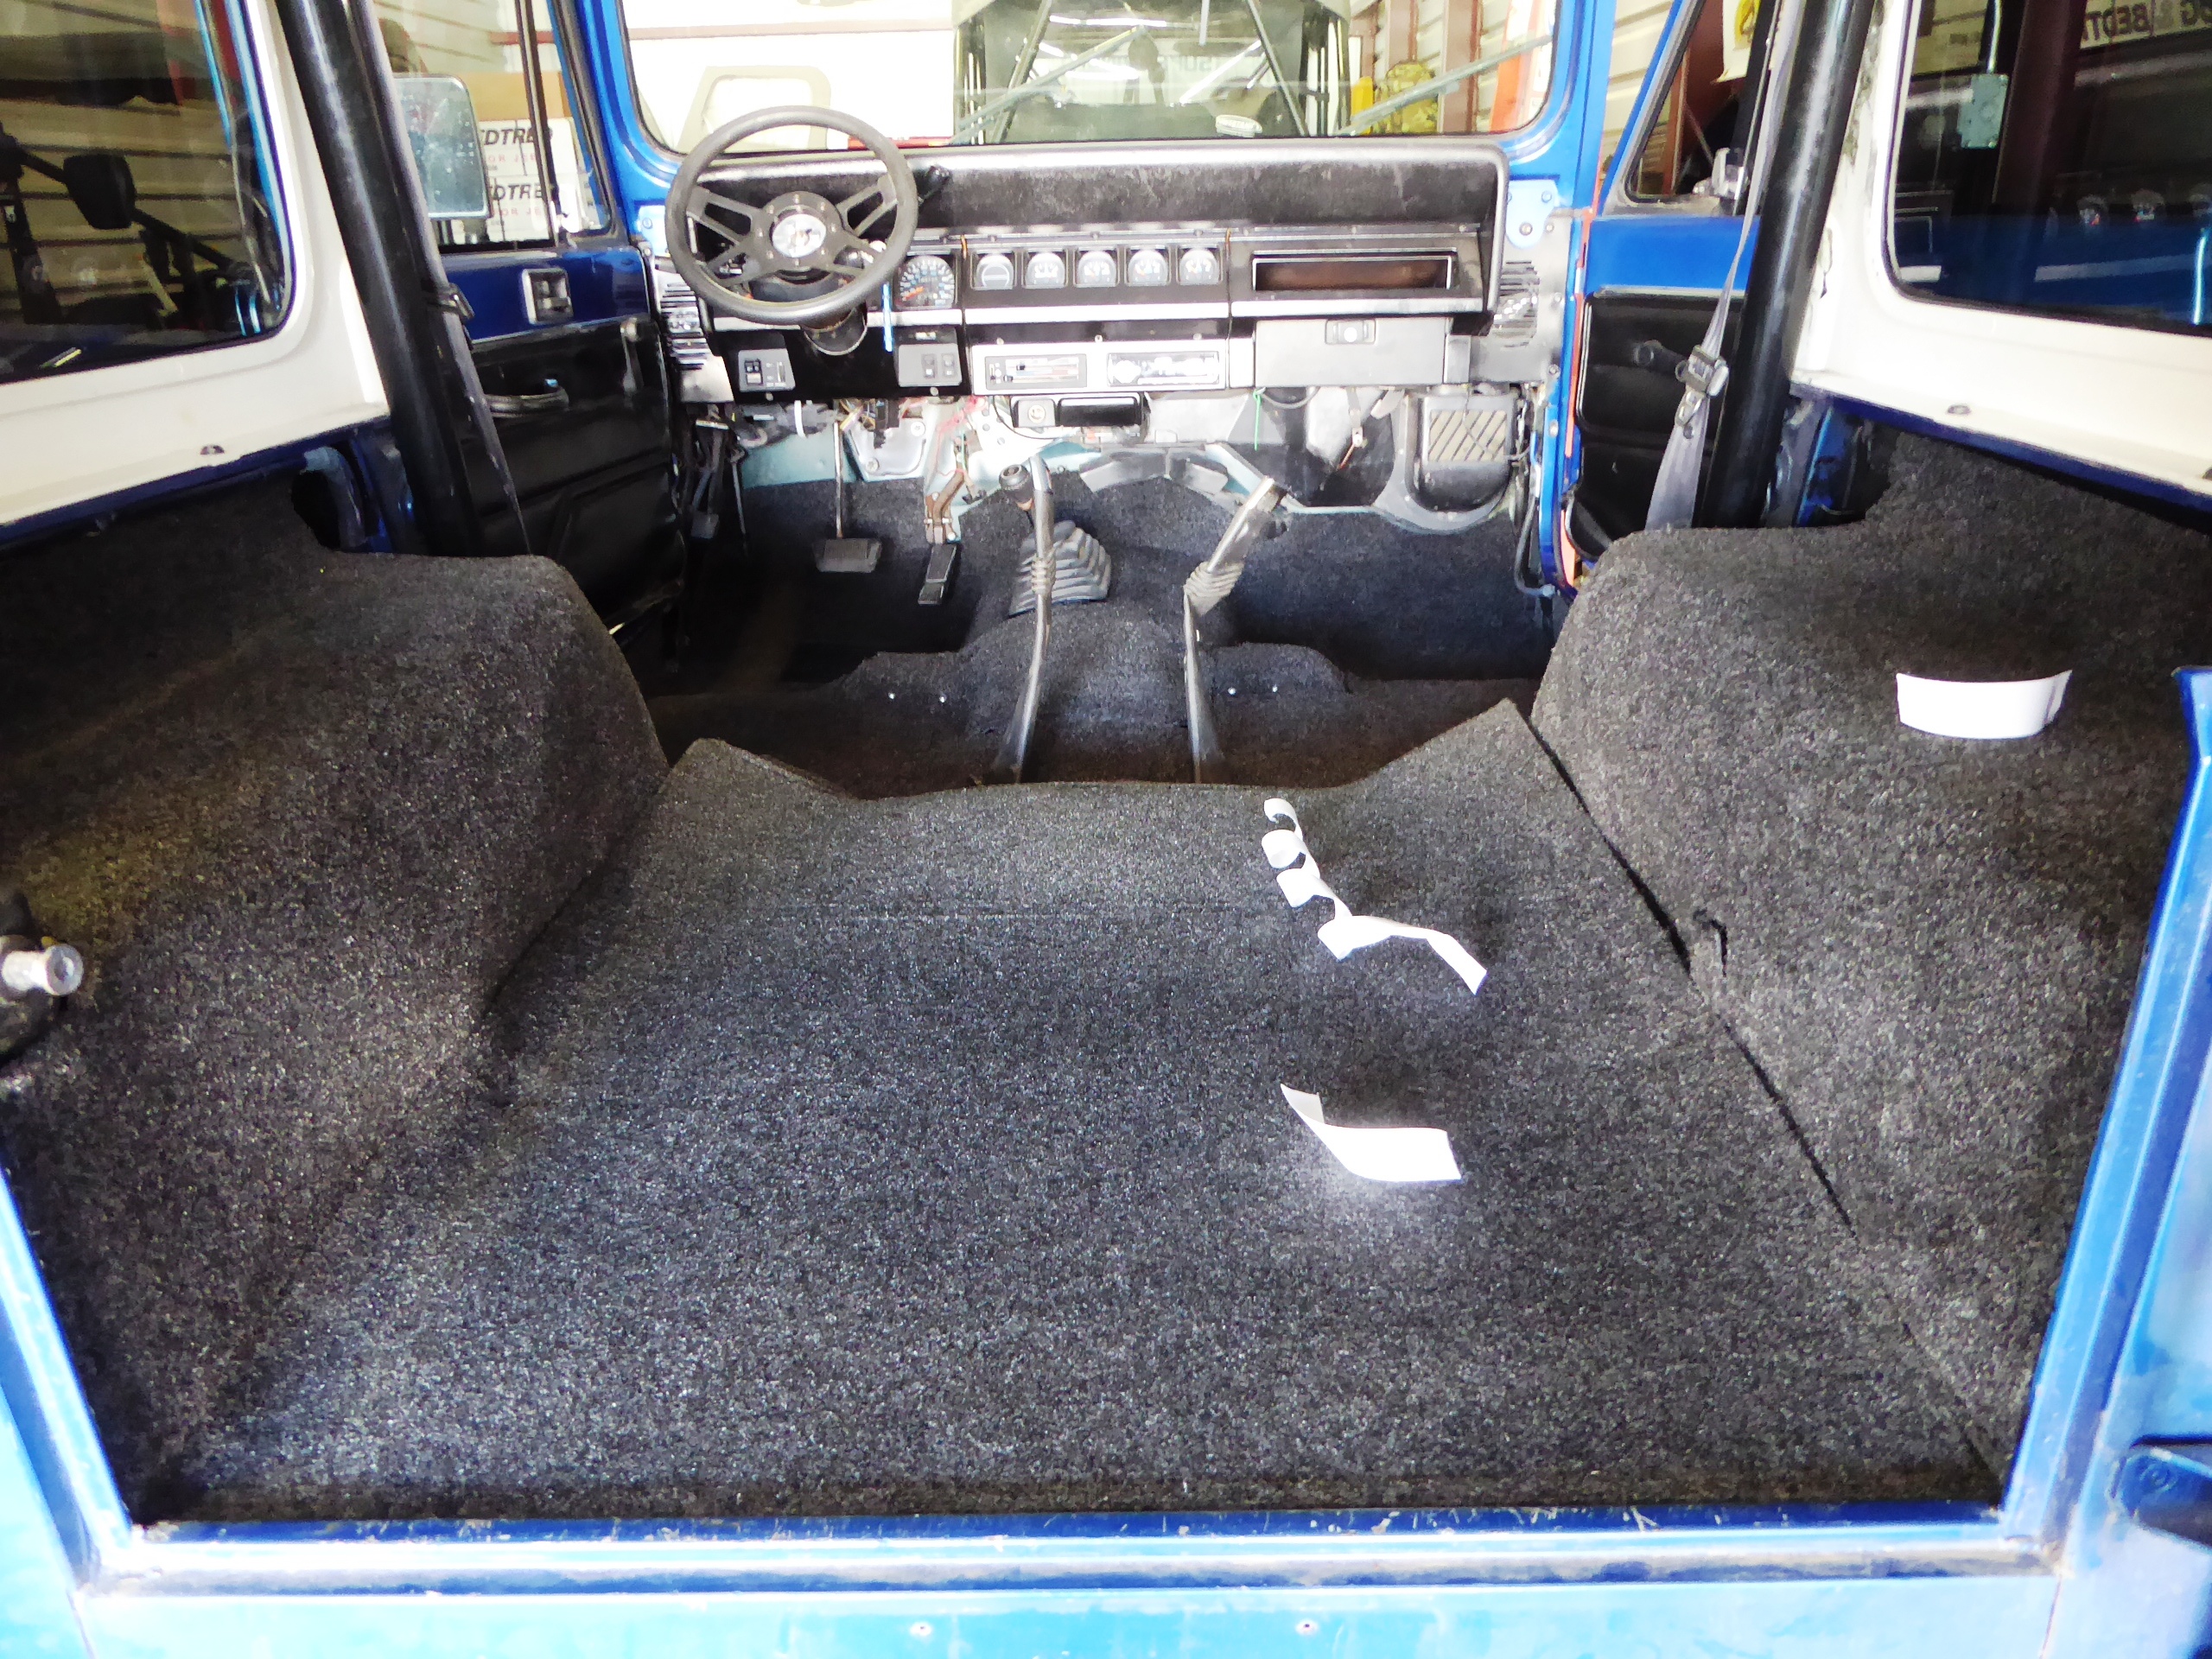
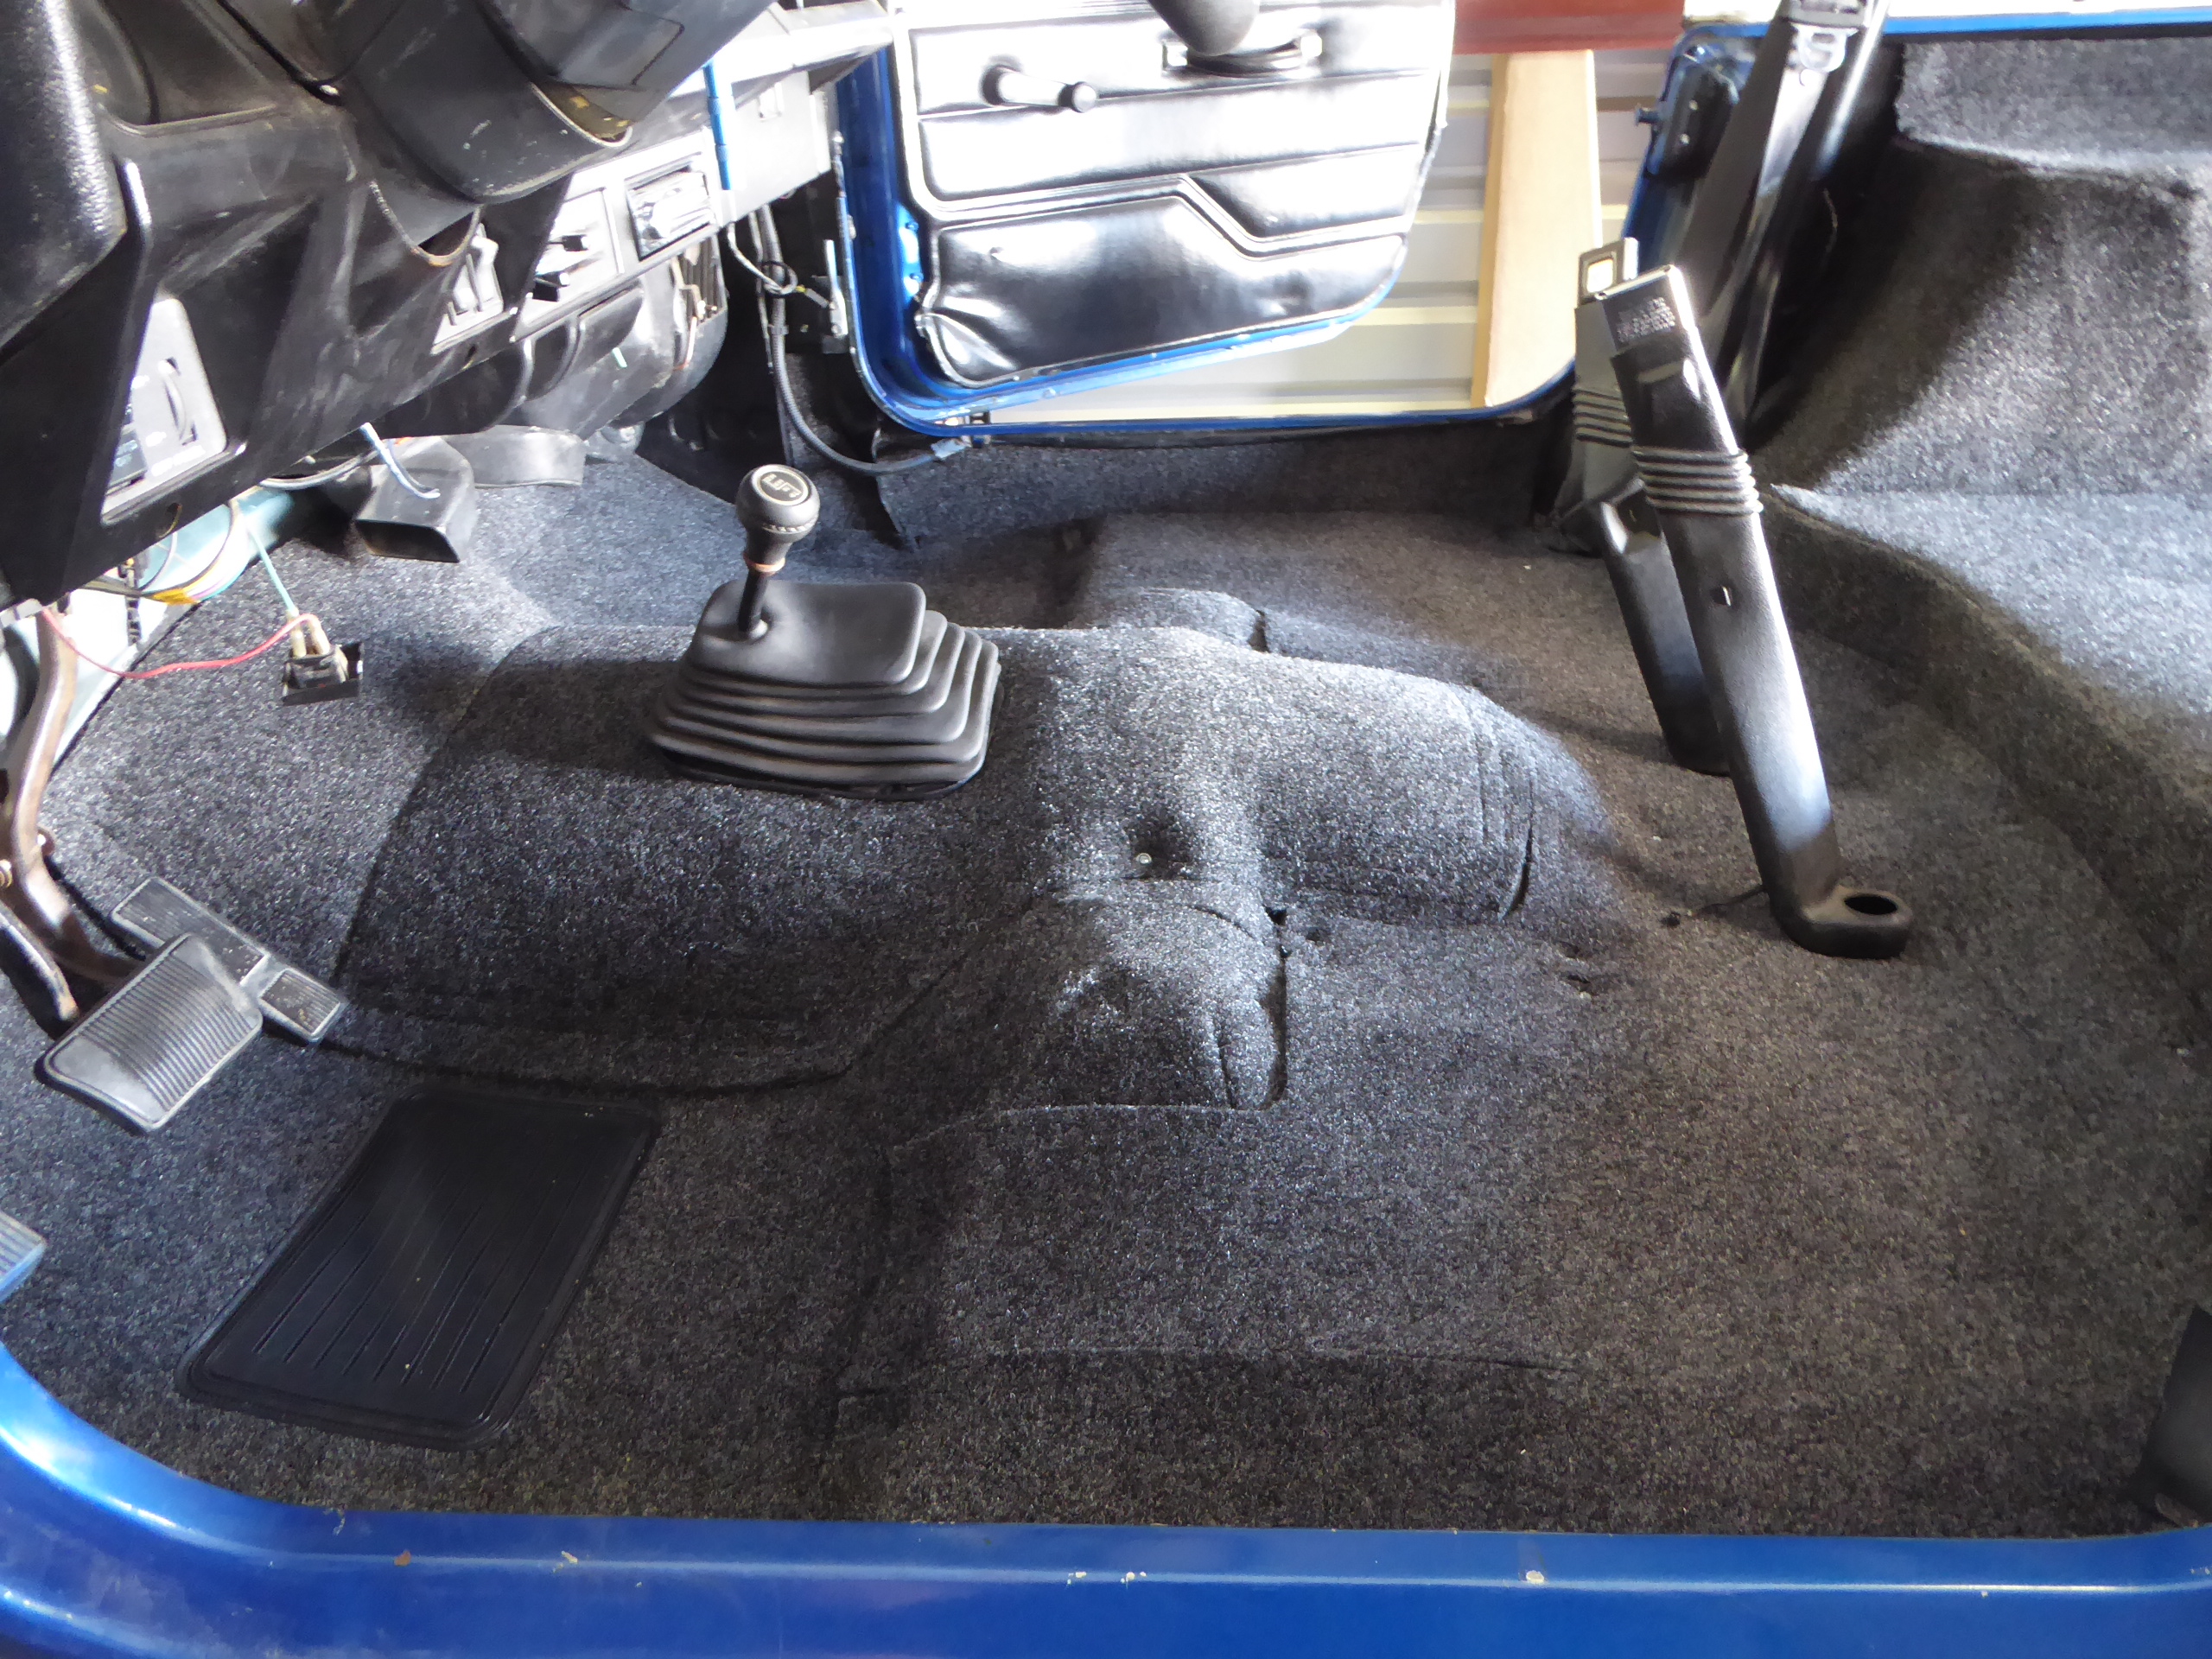
We started with the rear of the front passenger compartment and installed the first piece. Since this specific Bed Rug model is designed for the CJ-7 or the newer YJ Wrangler, there are various impressions on the underside of the rug to show where to cut specific portions out for the most optimum fit depending on which model you’re installing it in. Since this YJ has a roll bar, we had to trim the rug to accommodate that. A simple cut with a pair of scissors and it was ready to mount. With the small piece cut out we put the included hook and loop in place, trimmed it to fit, pulled the backing off and installed it by simply laying it into place.
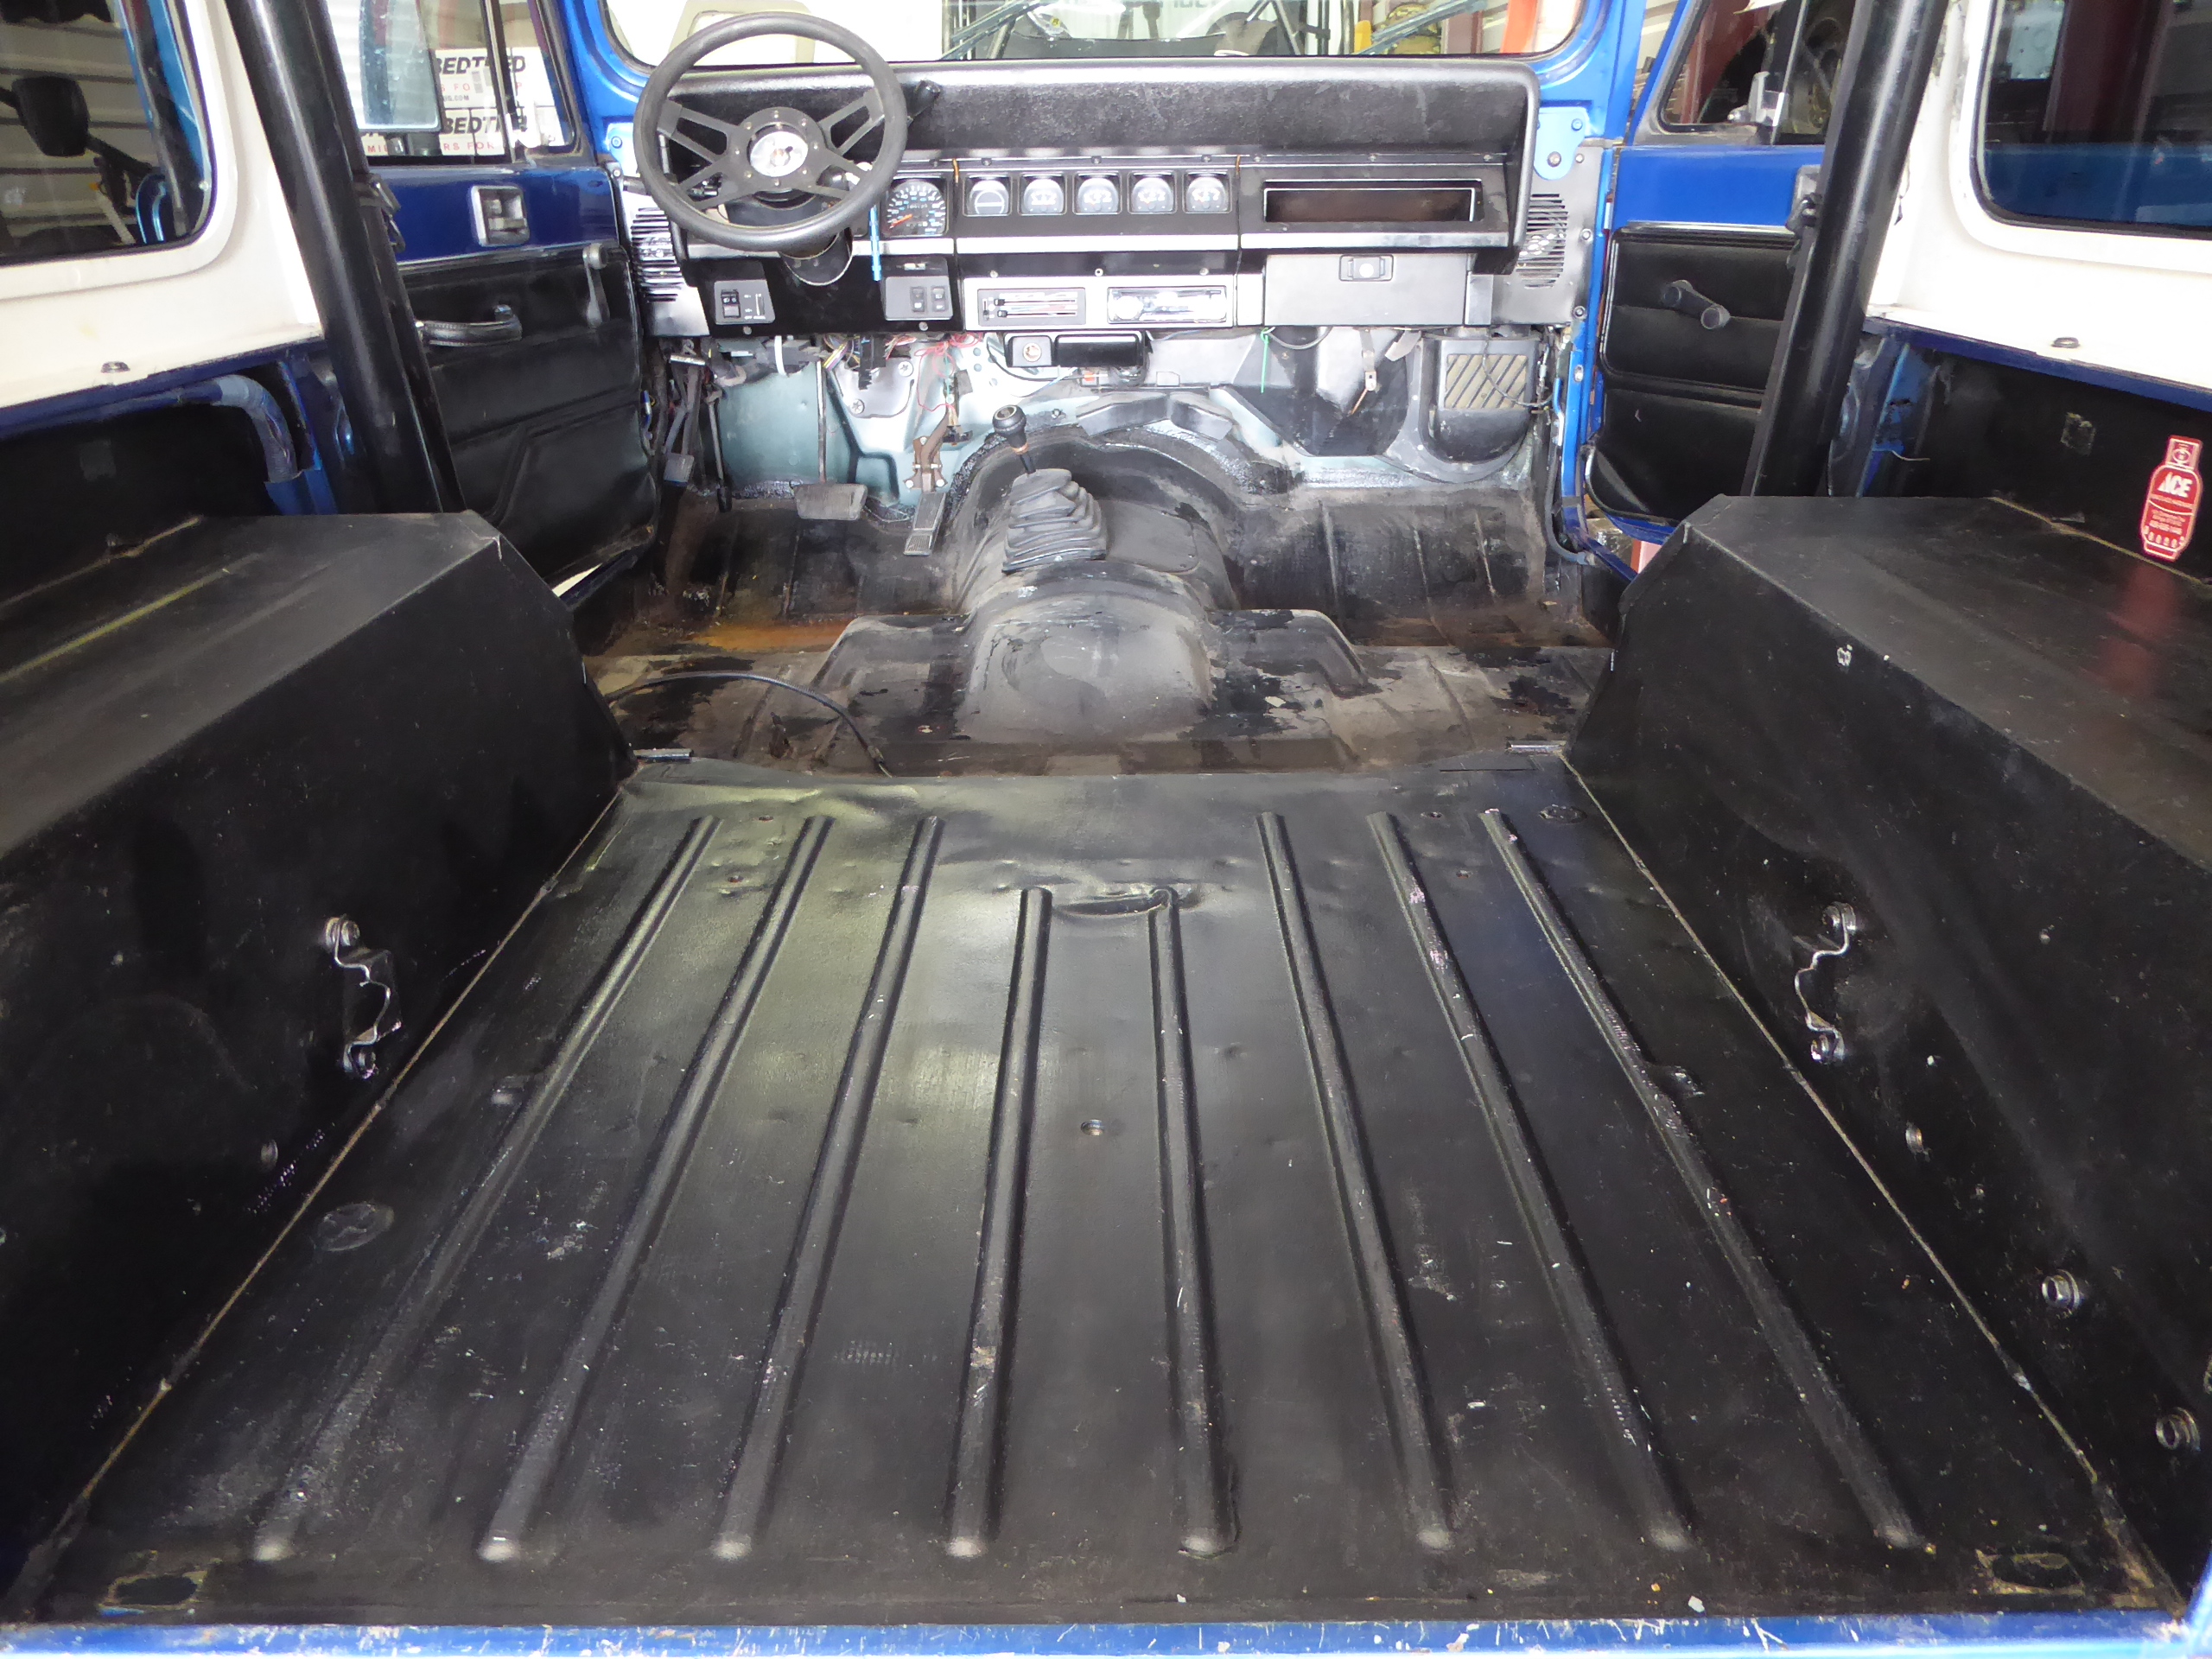
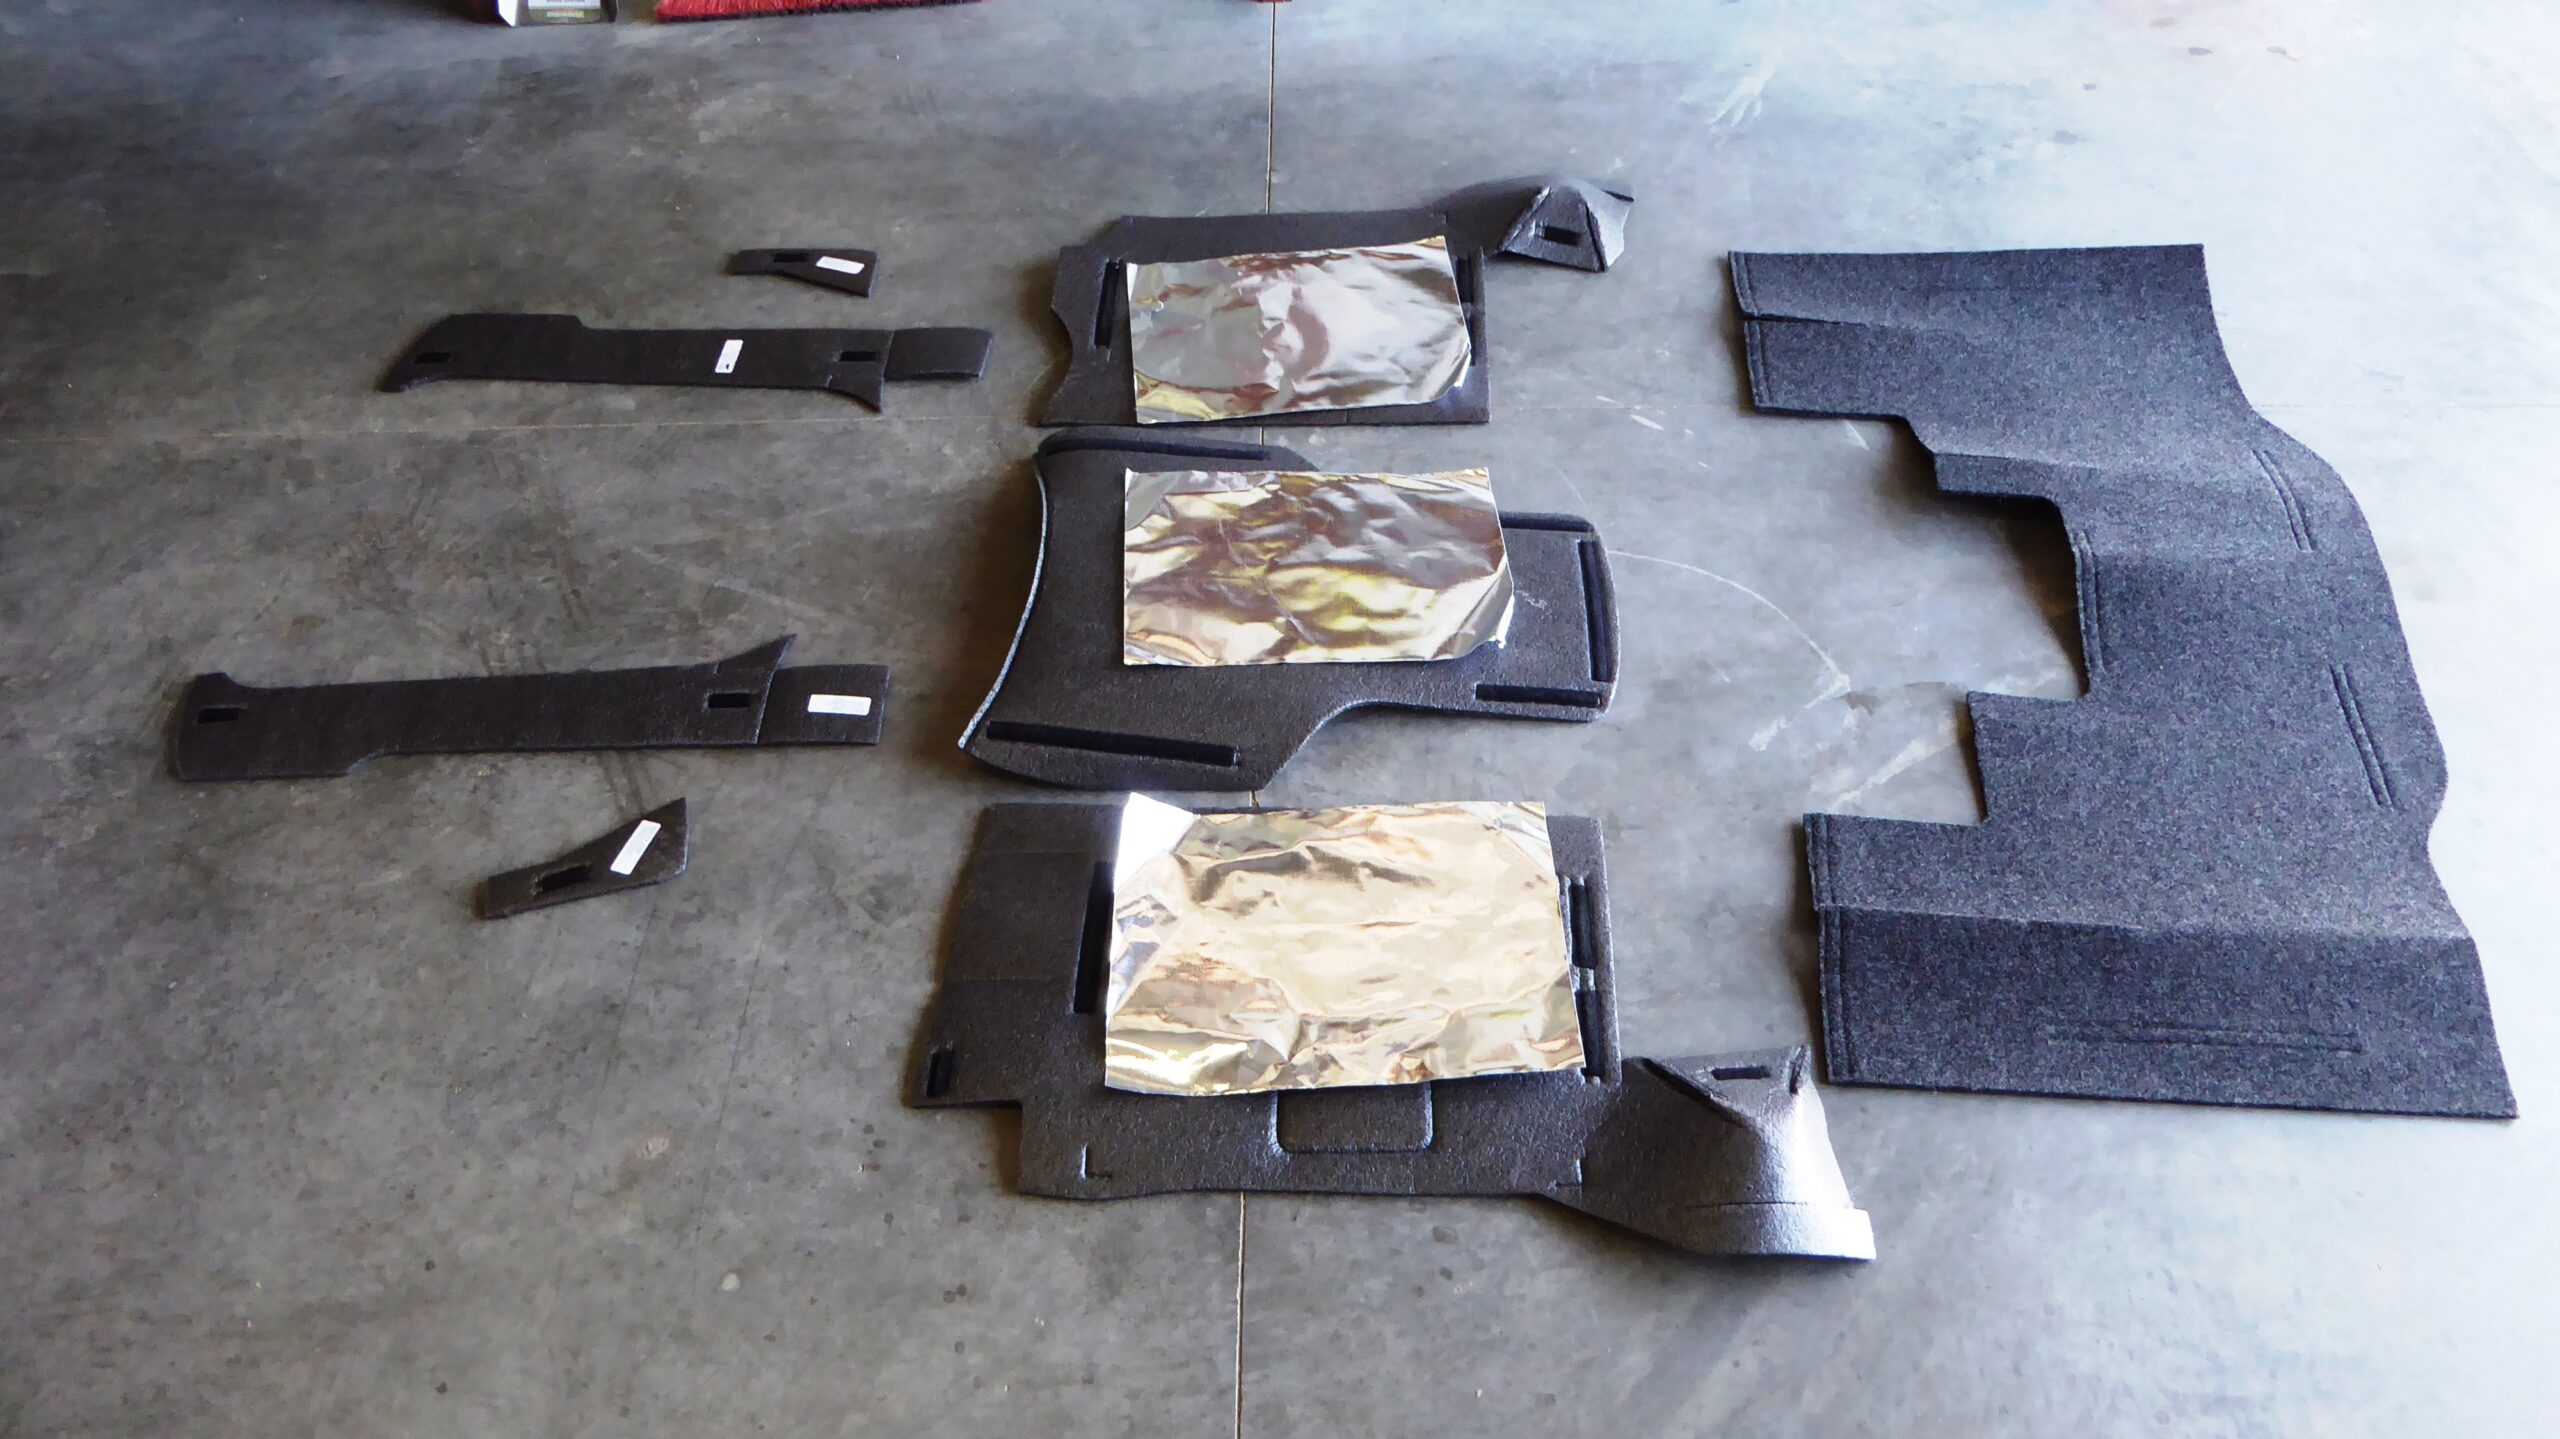
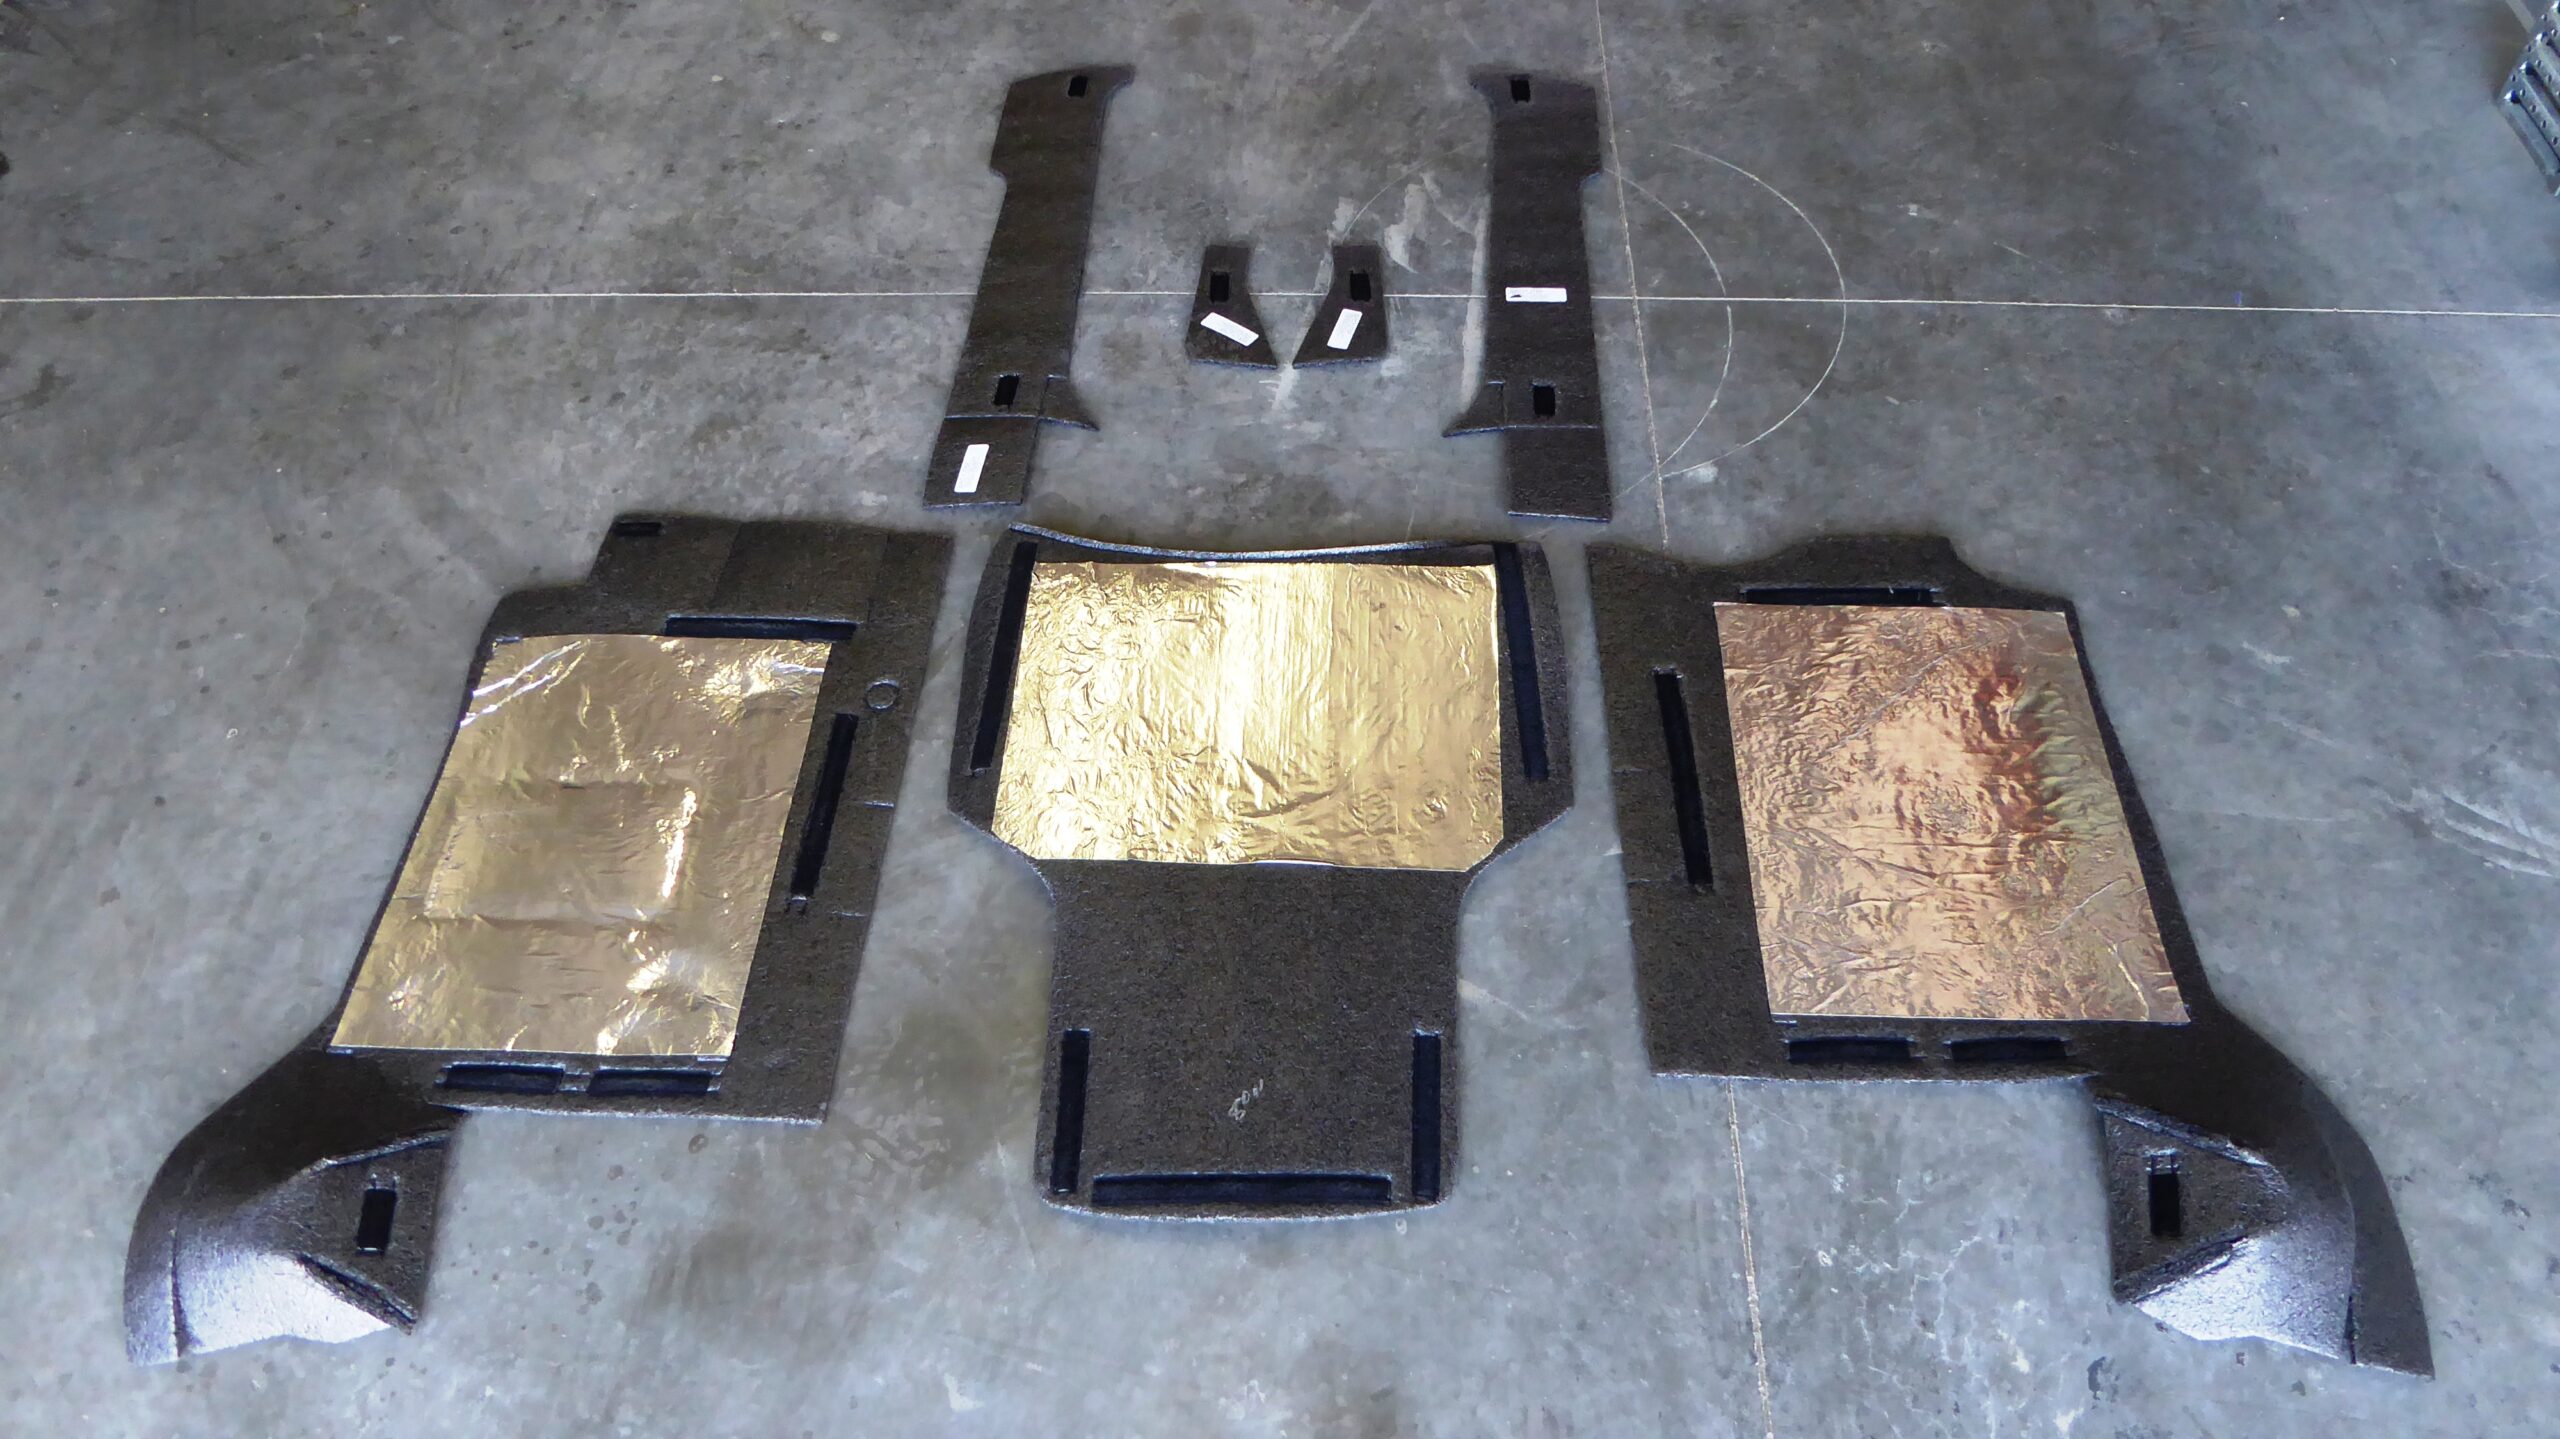


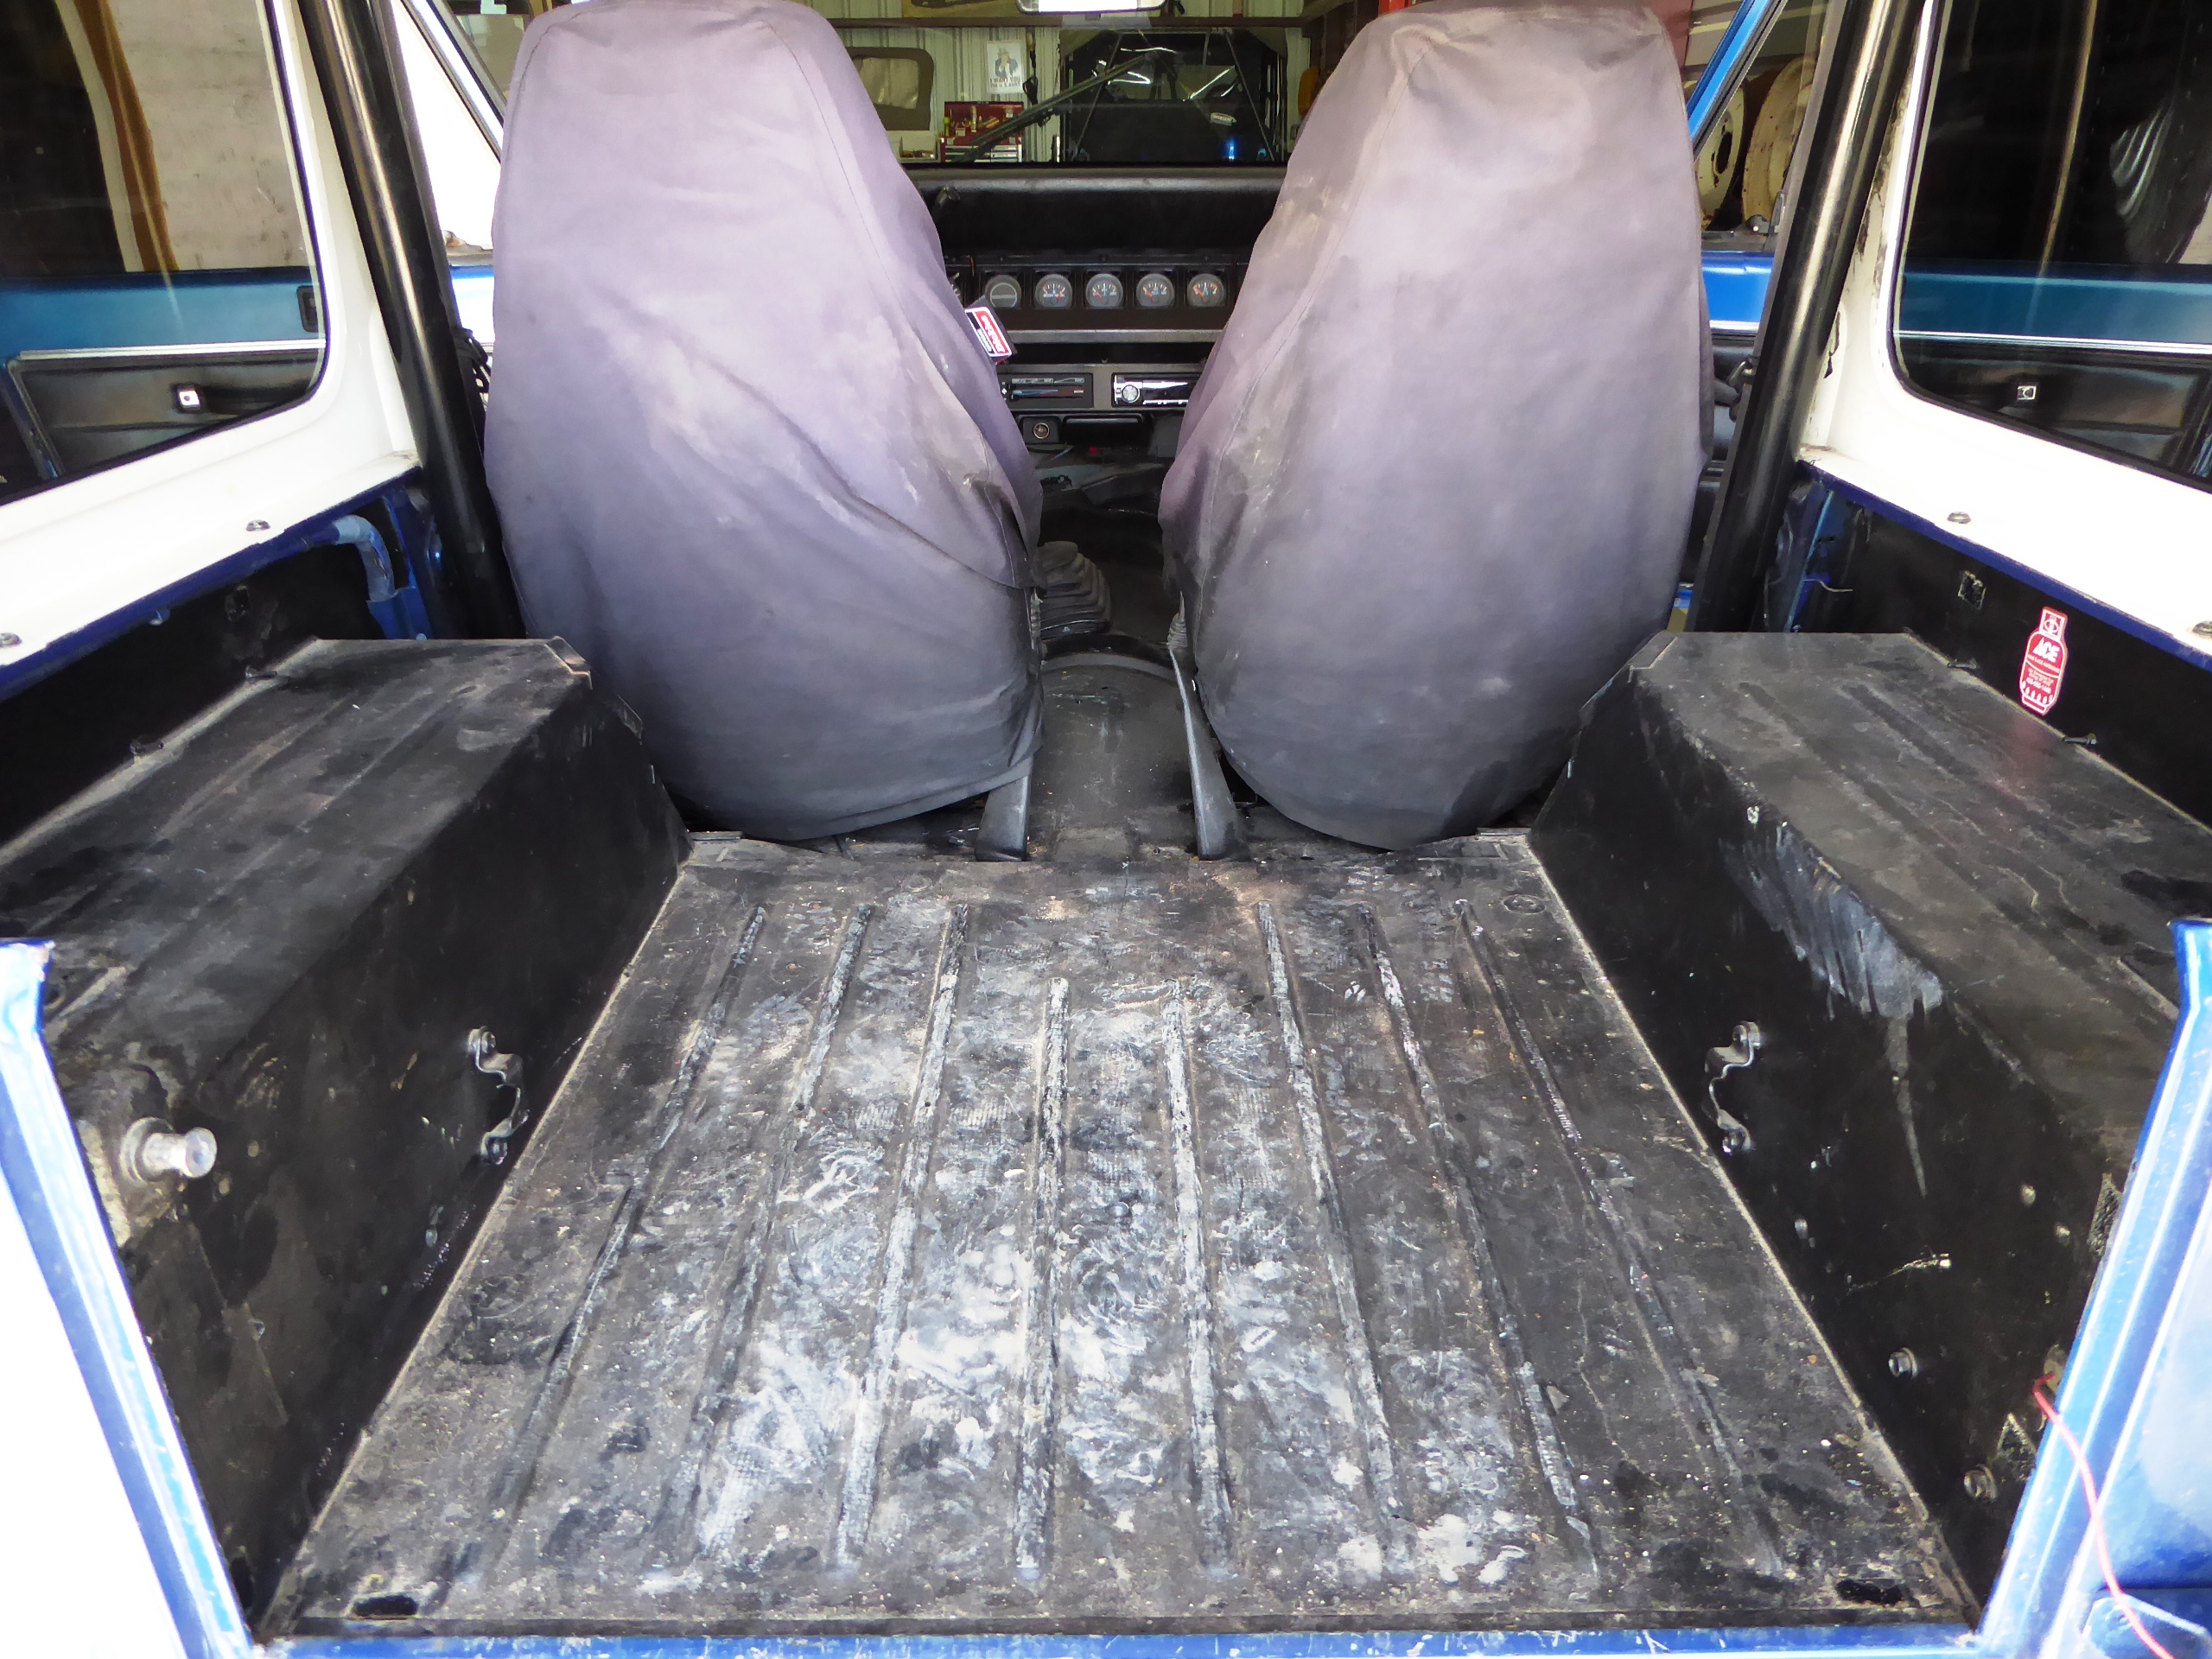
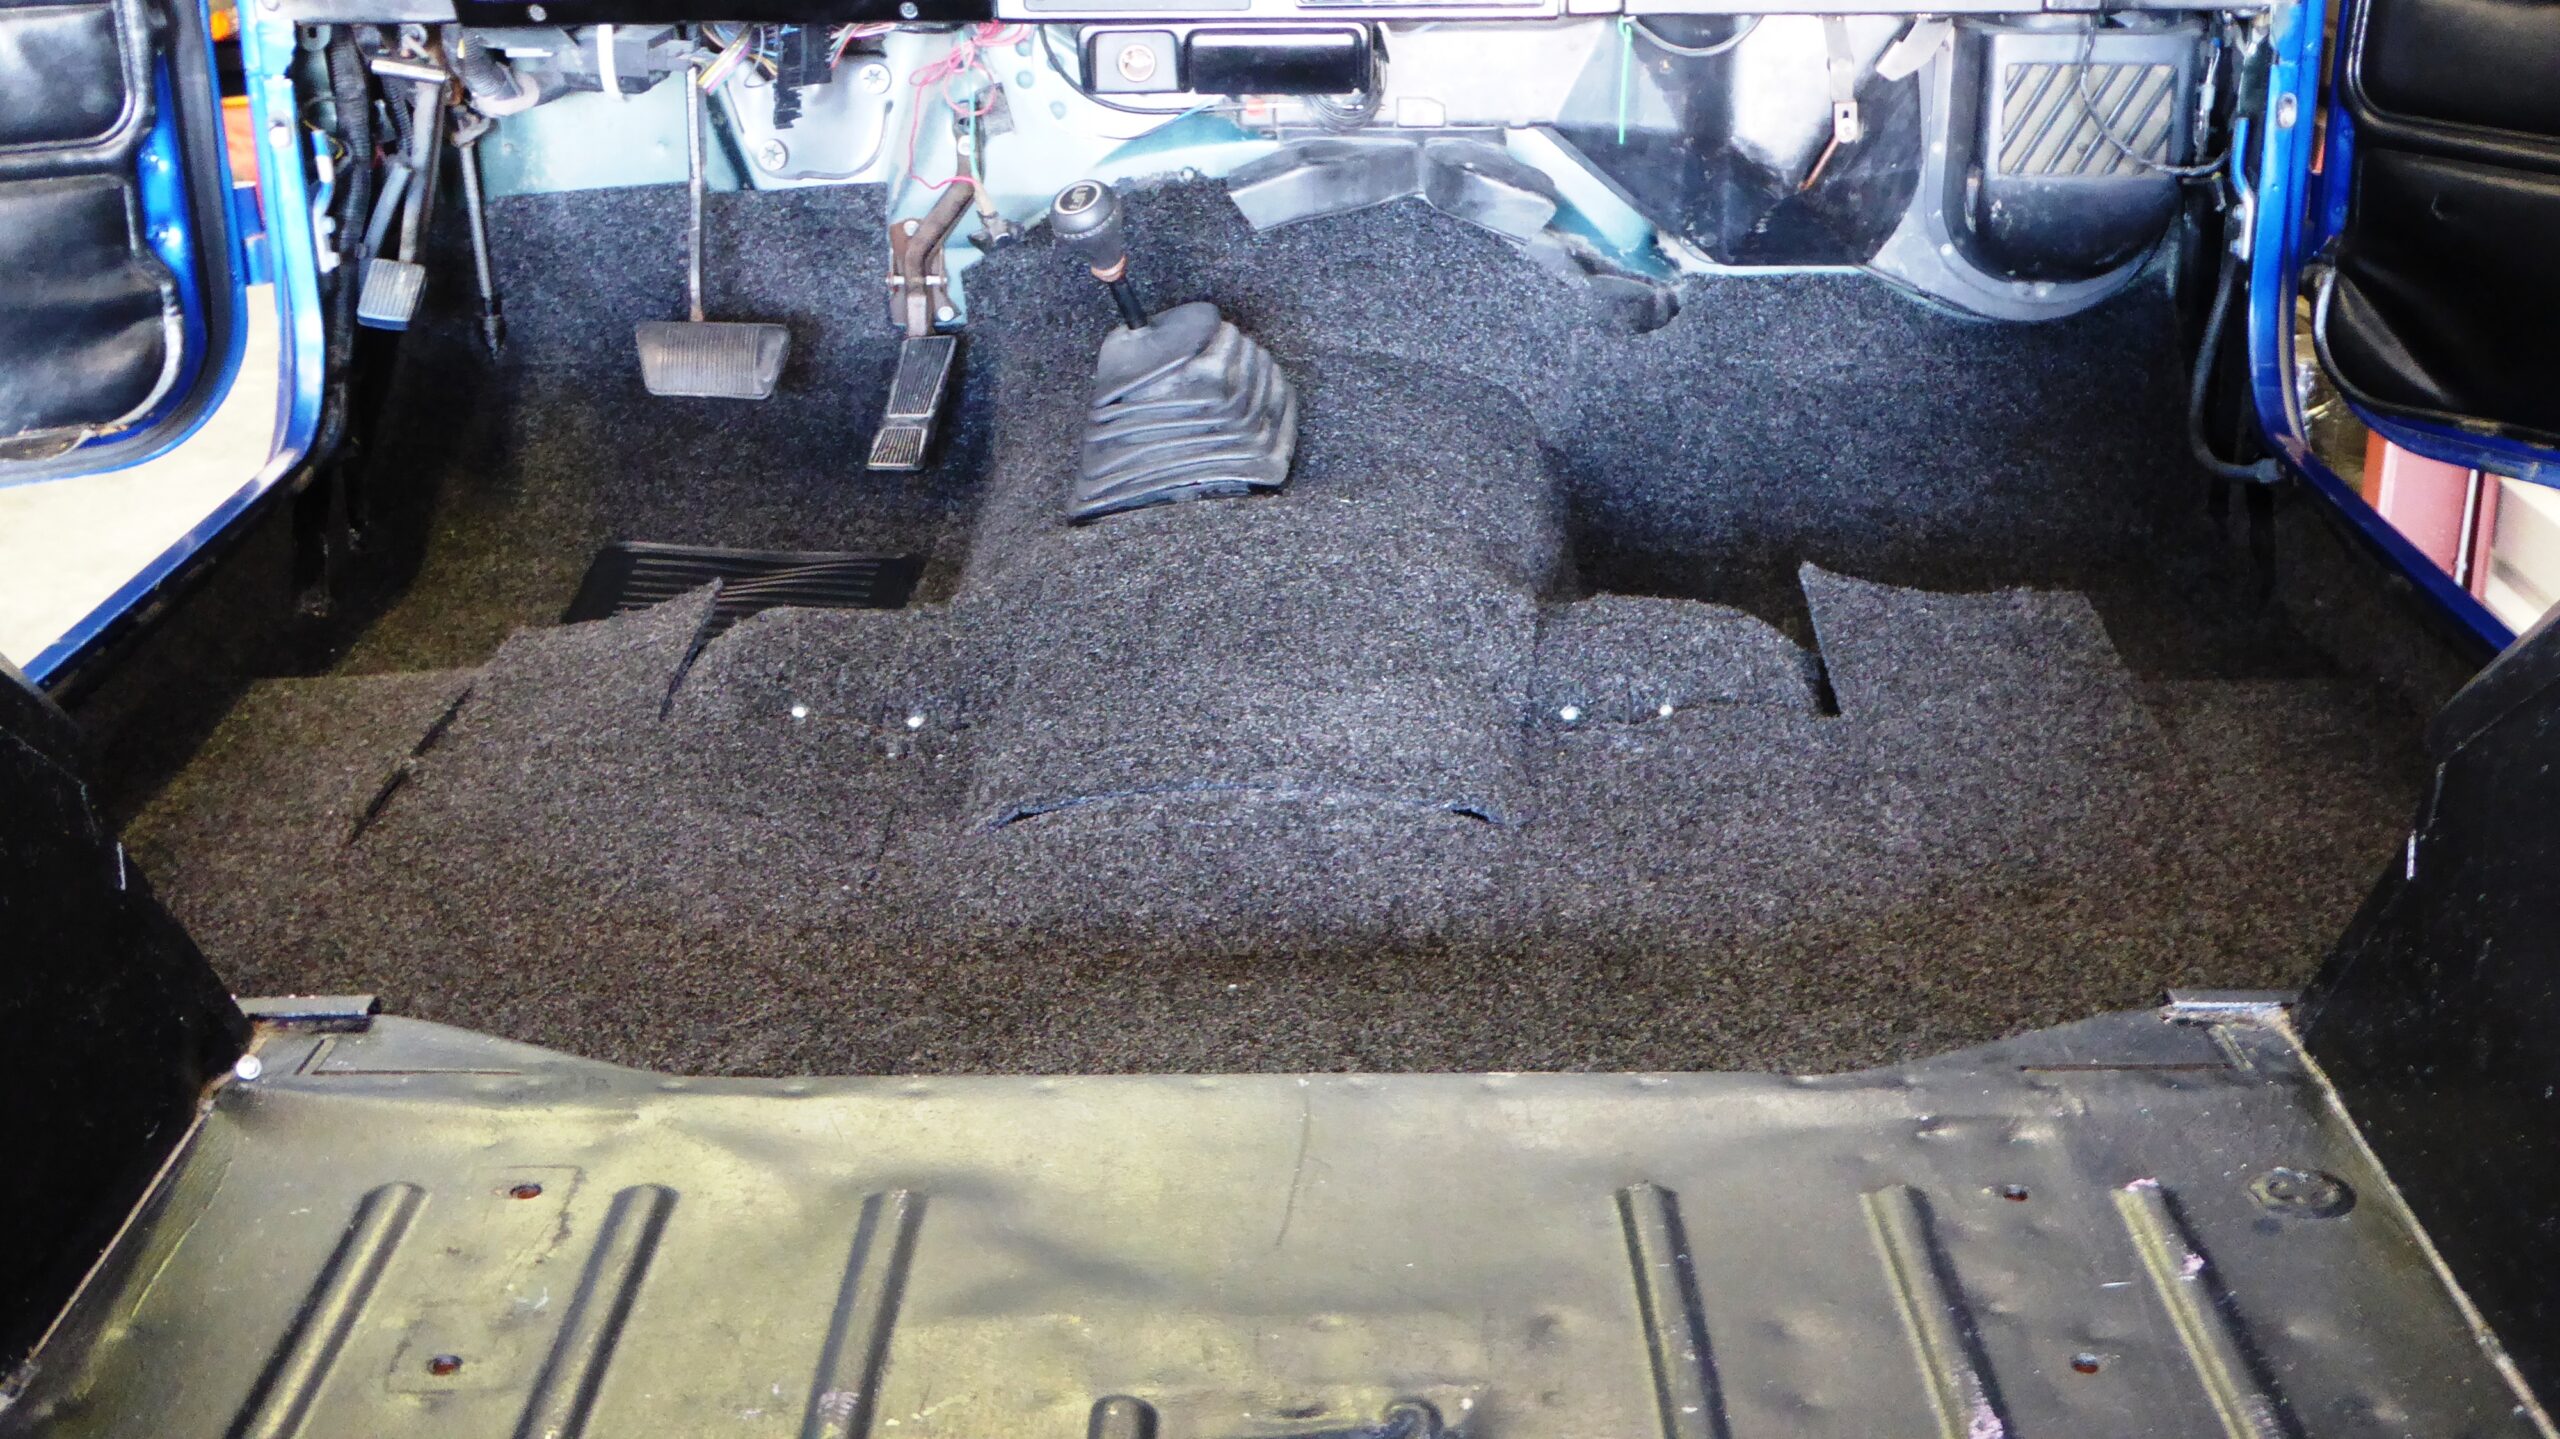
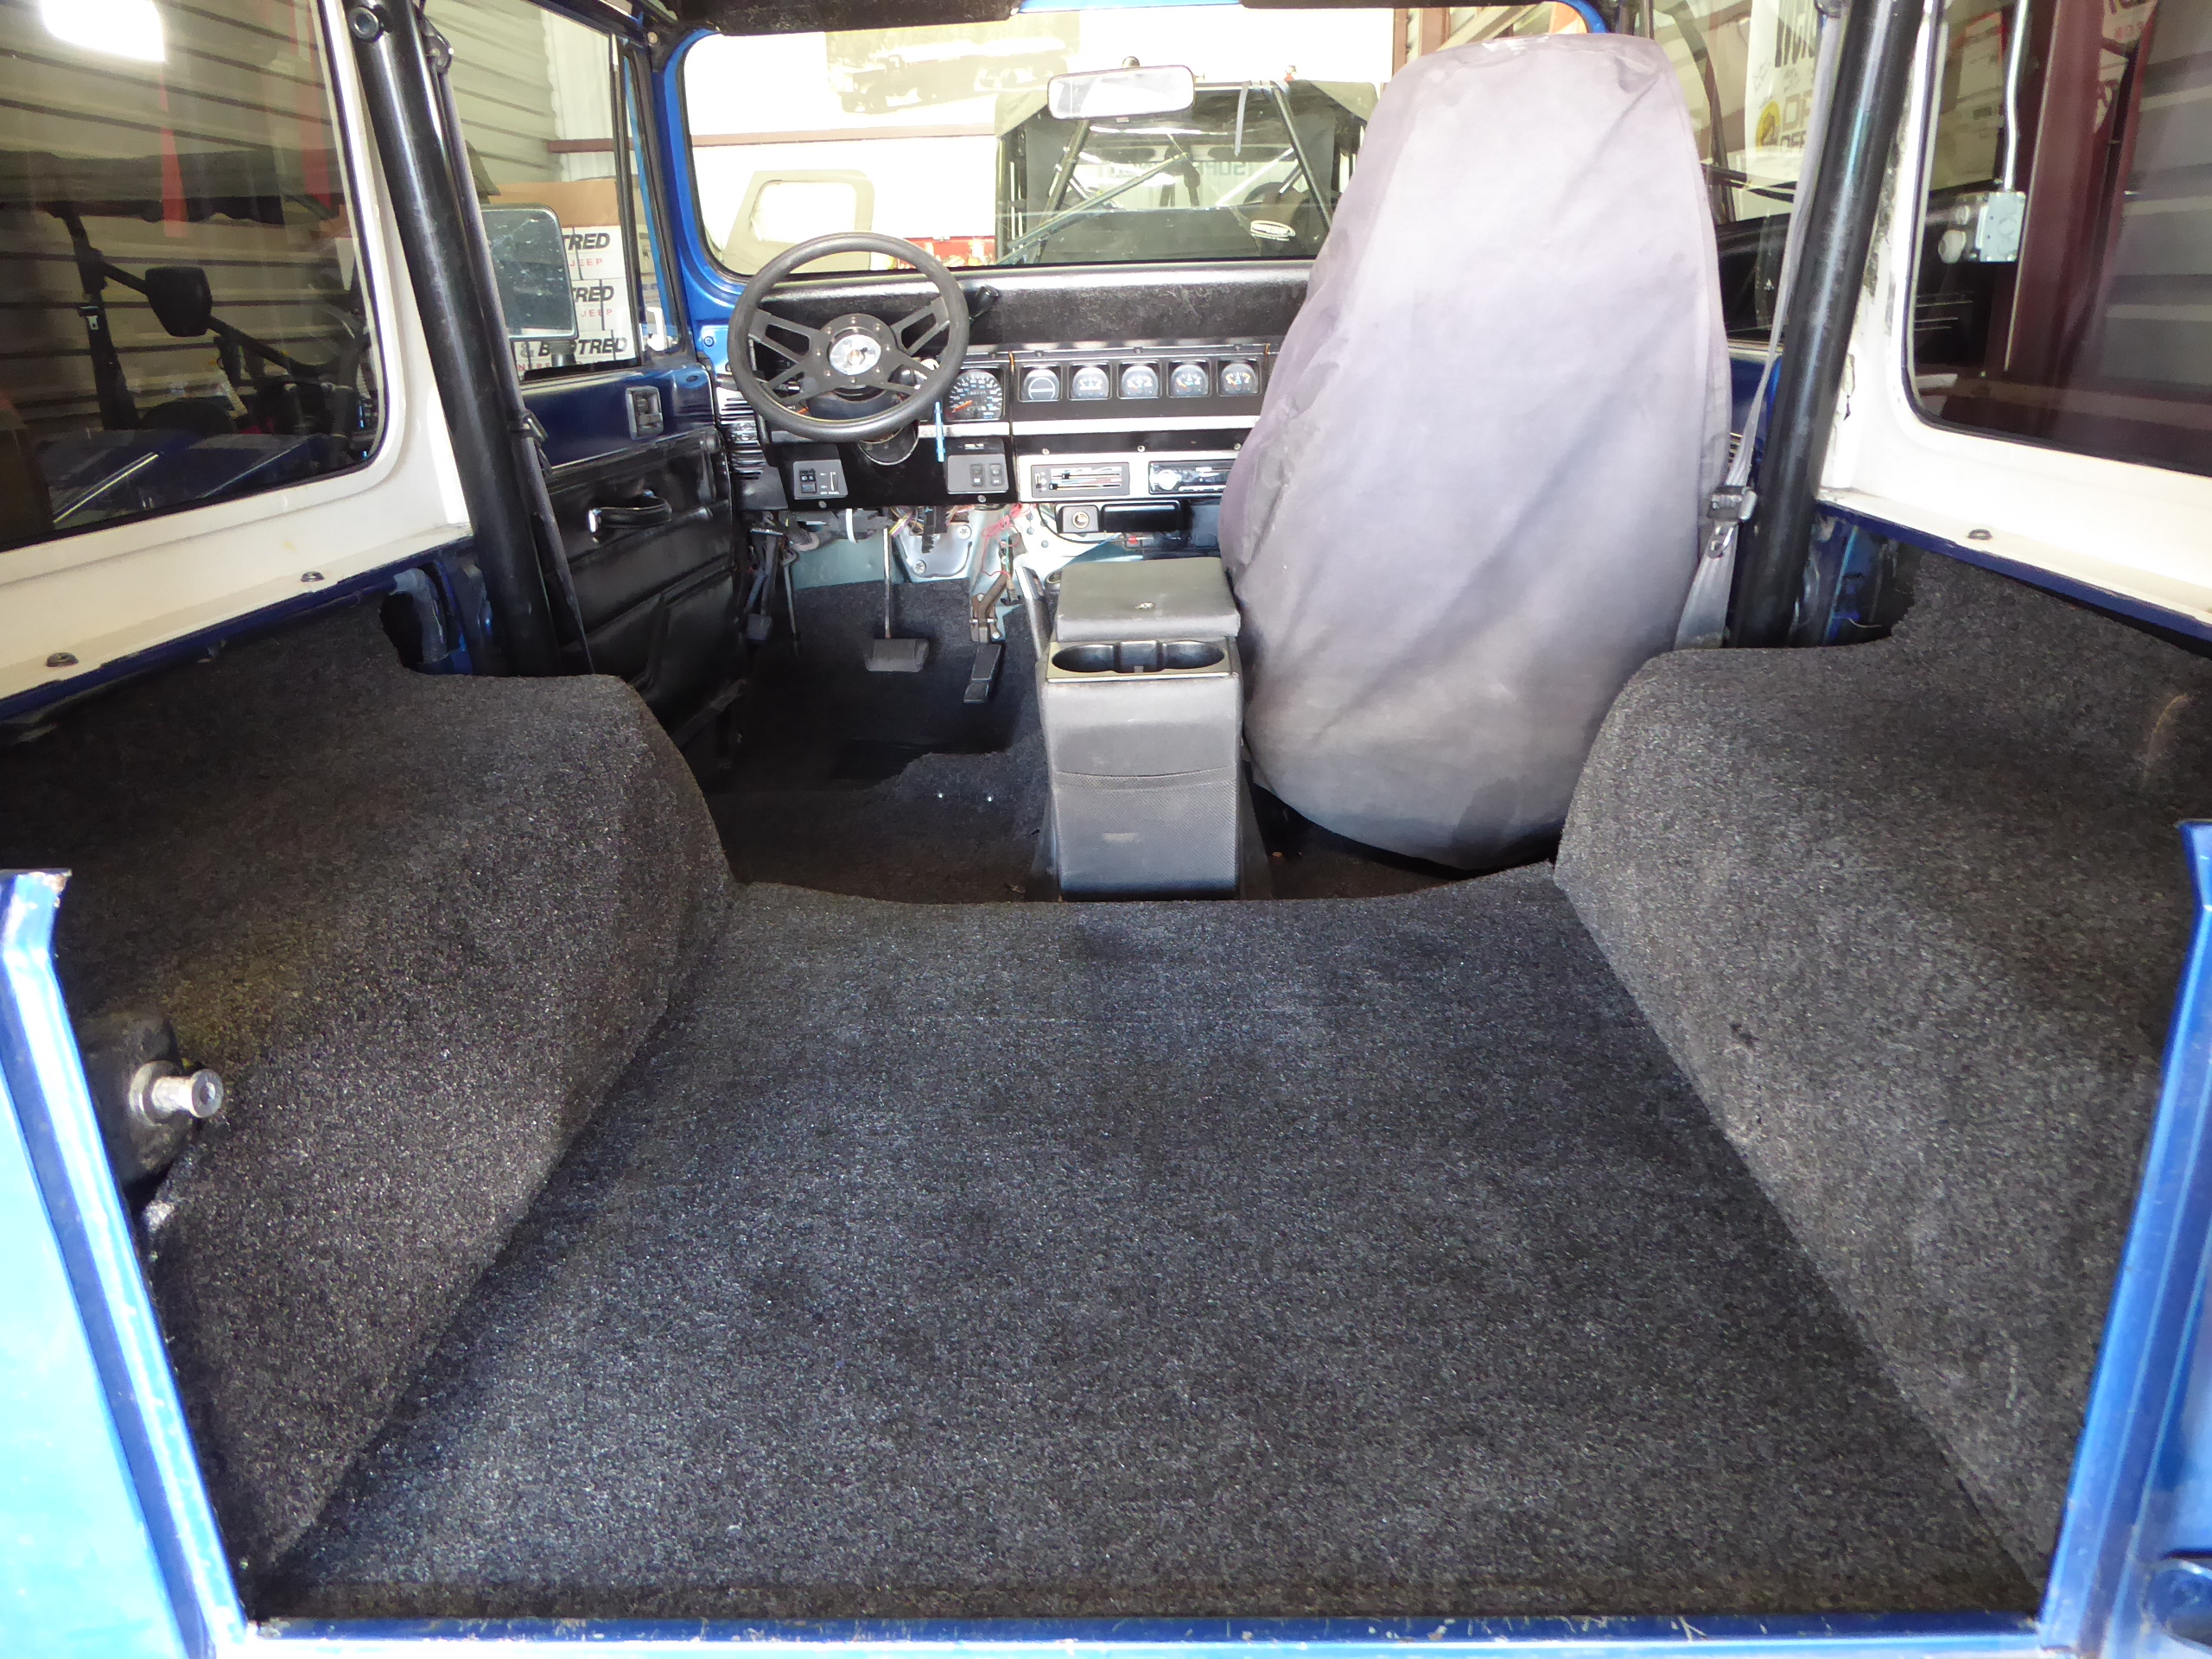
With the first piece in place we moved forward, trimmed where necessary and installed the four small pieces that go on the side of the tub under the doors. Next we installed the two outer sections that fit on the driver and passenger’s floor as well as the center section over the transmission tunnel. We used the same mounting procedure as with the other pieces, we tested them first so we would know where they fit best, trimmed what needed to be cut, installed the hook and loop adhesive and mounted them.
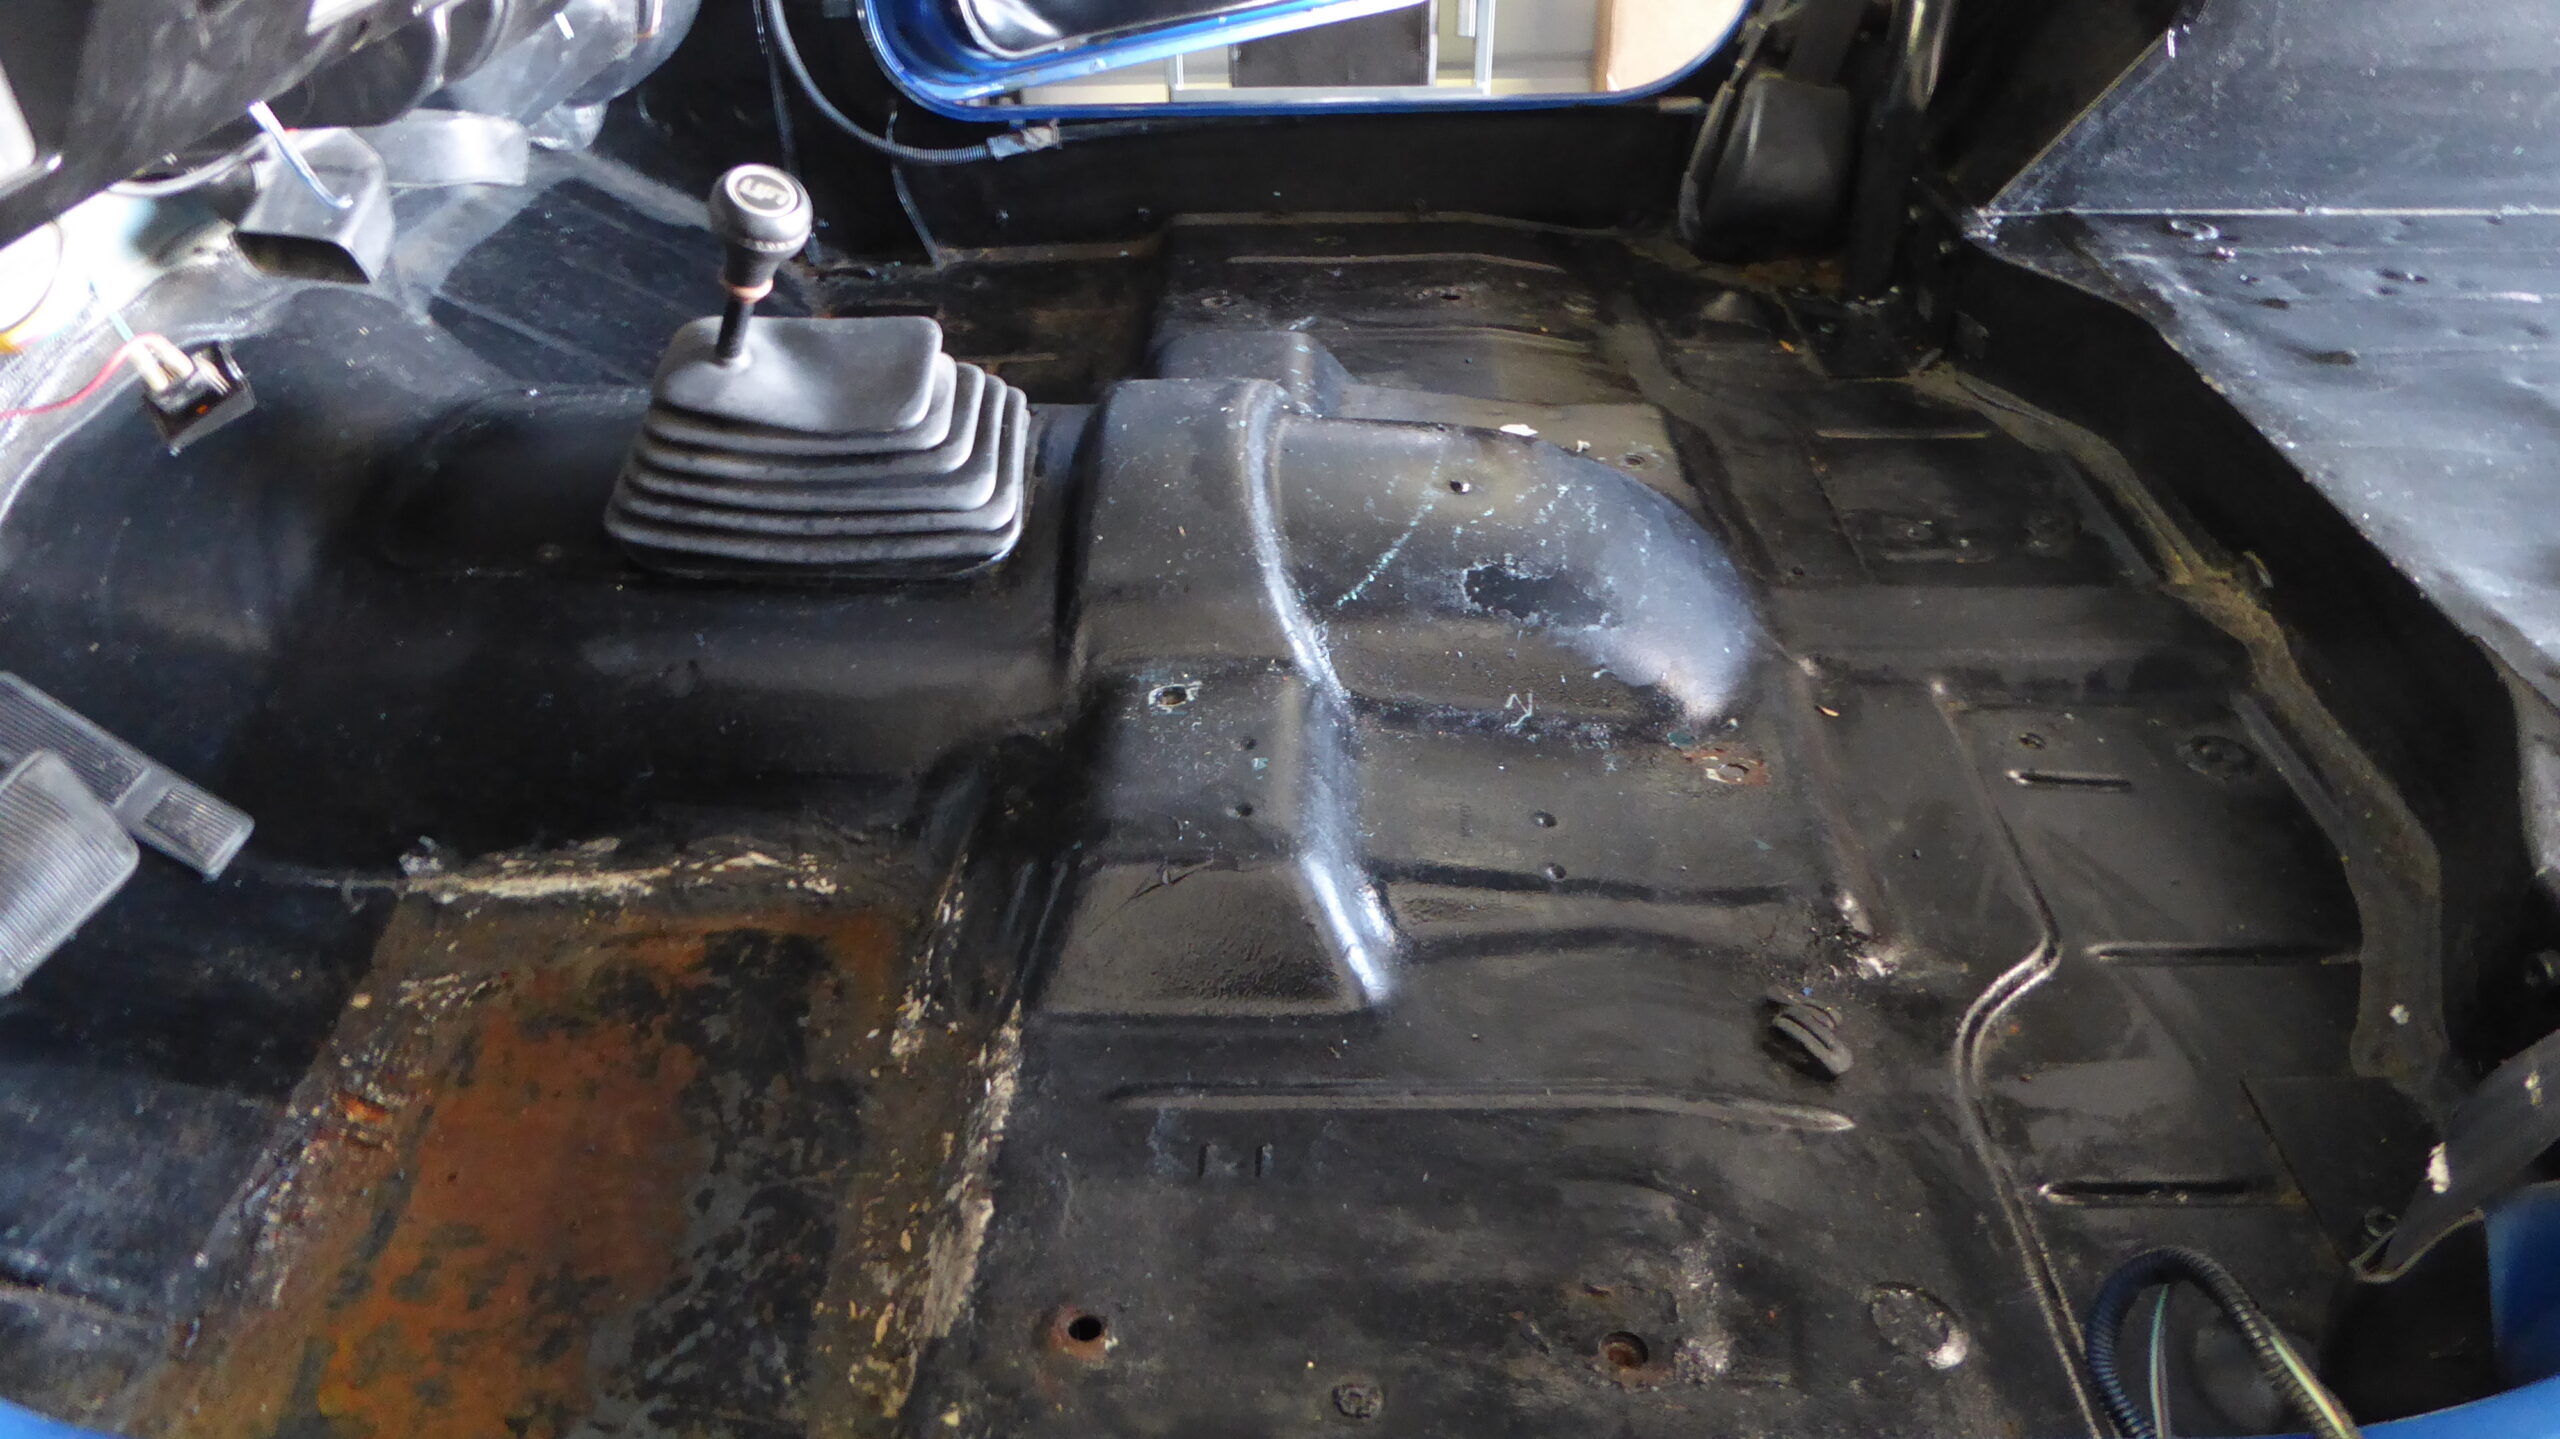
Due to the fact that a previous owner had painted a cheap roll on bed liner material, we had a couple of areas that didn’t want to adhere; we put a few self tapping screws in place to help hold the rug down in these troubled areas. This wasn’t a manufacturer issue; it was a previous owner who sloppily threw down a substandard floor covering instead of going with a Bed Rug.

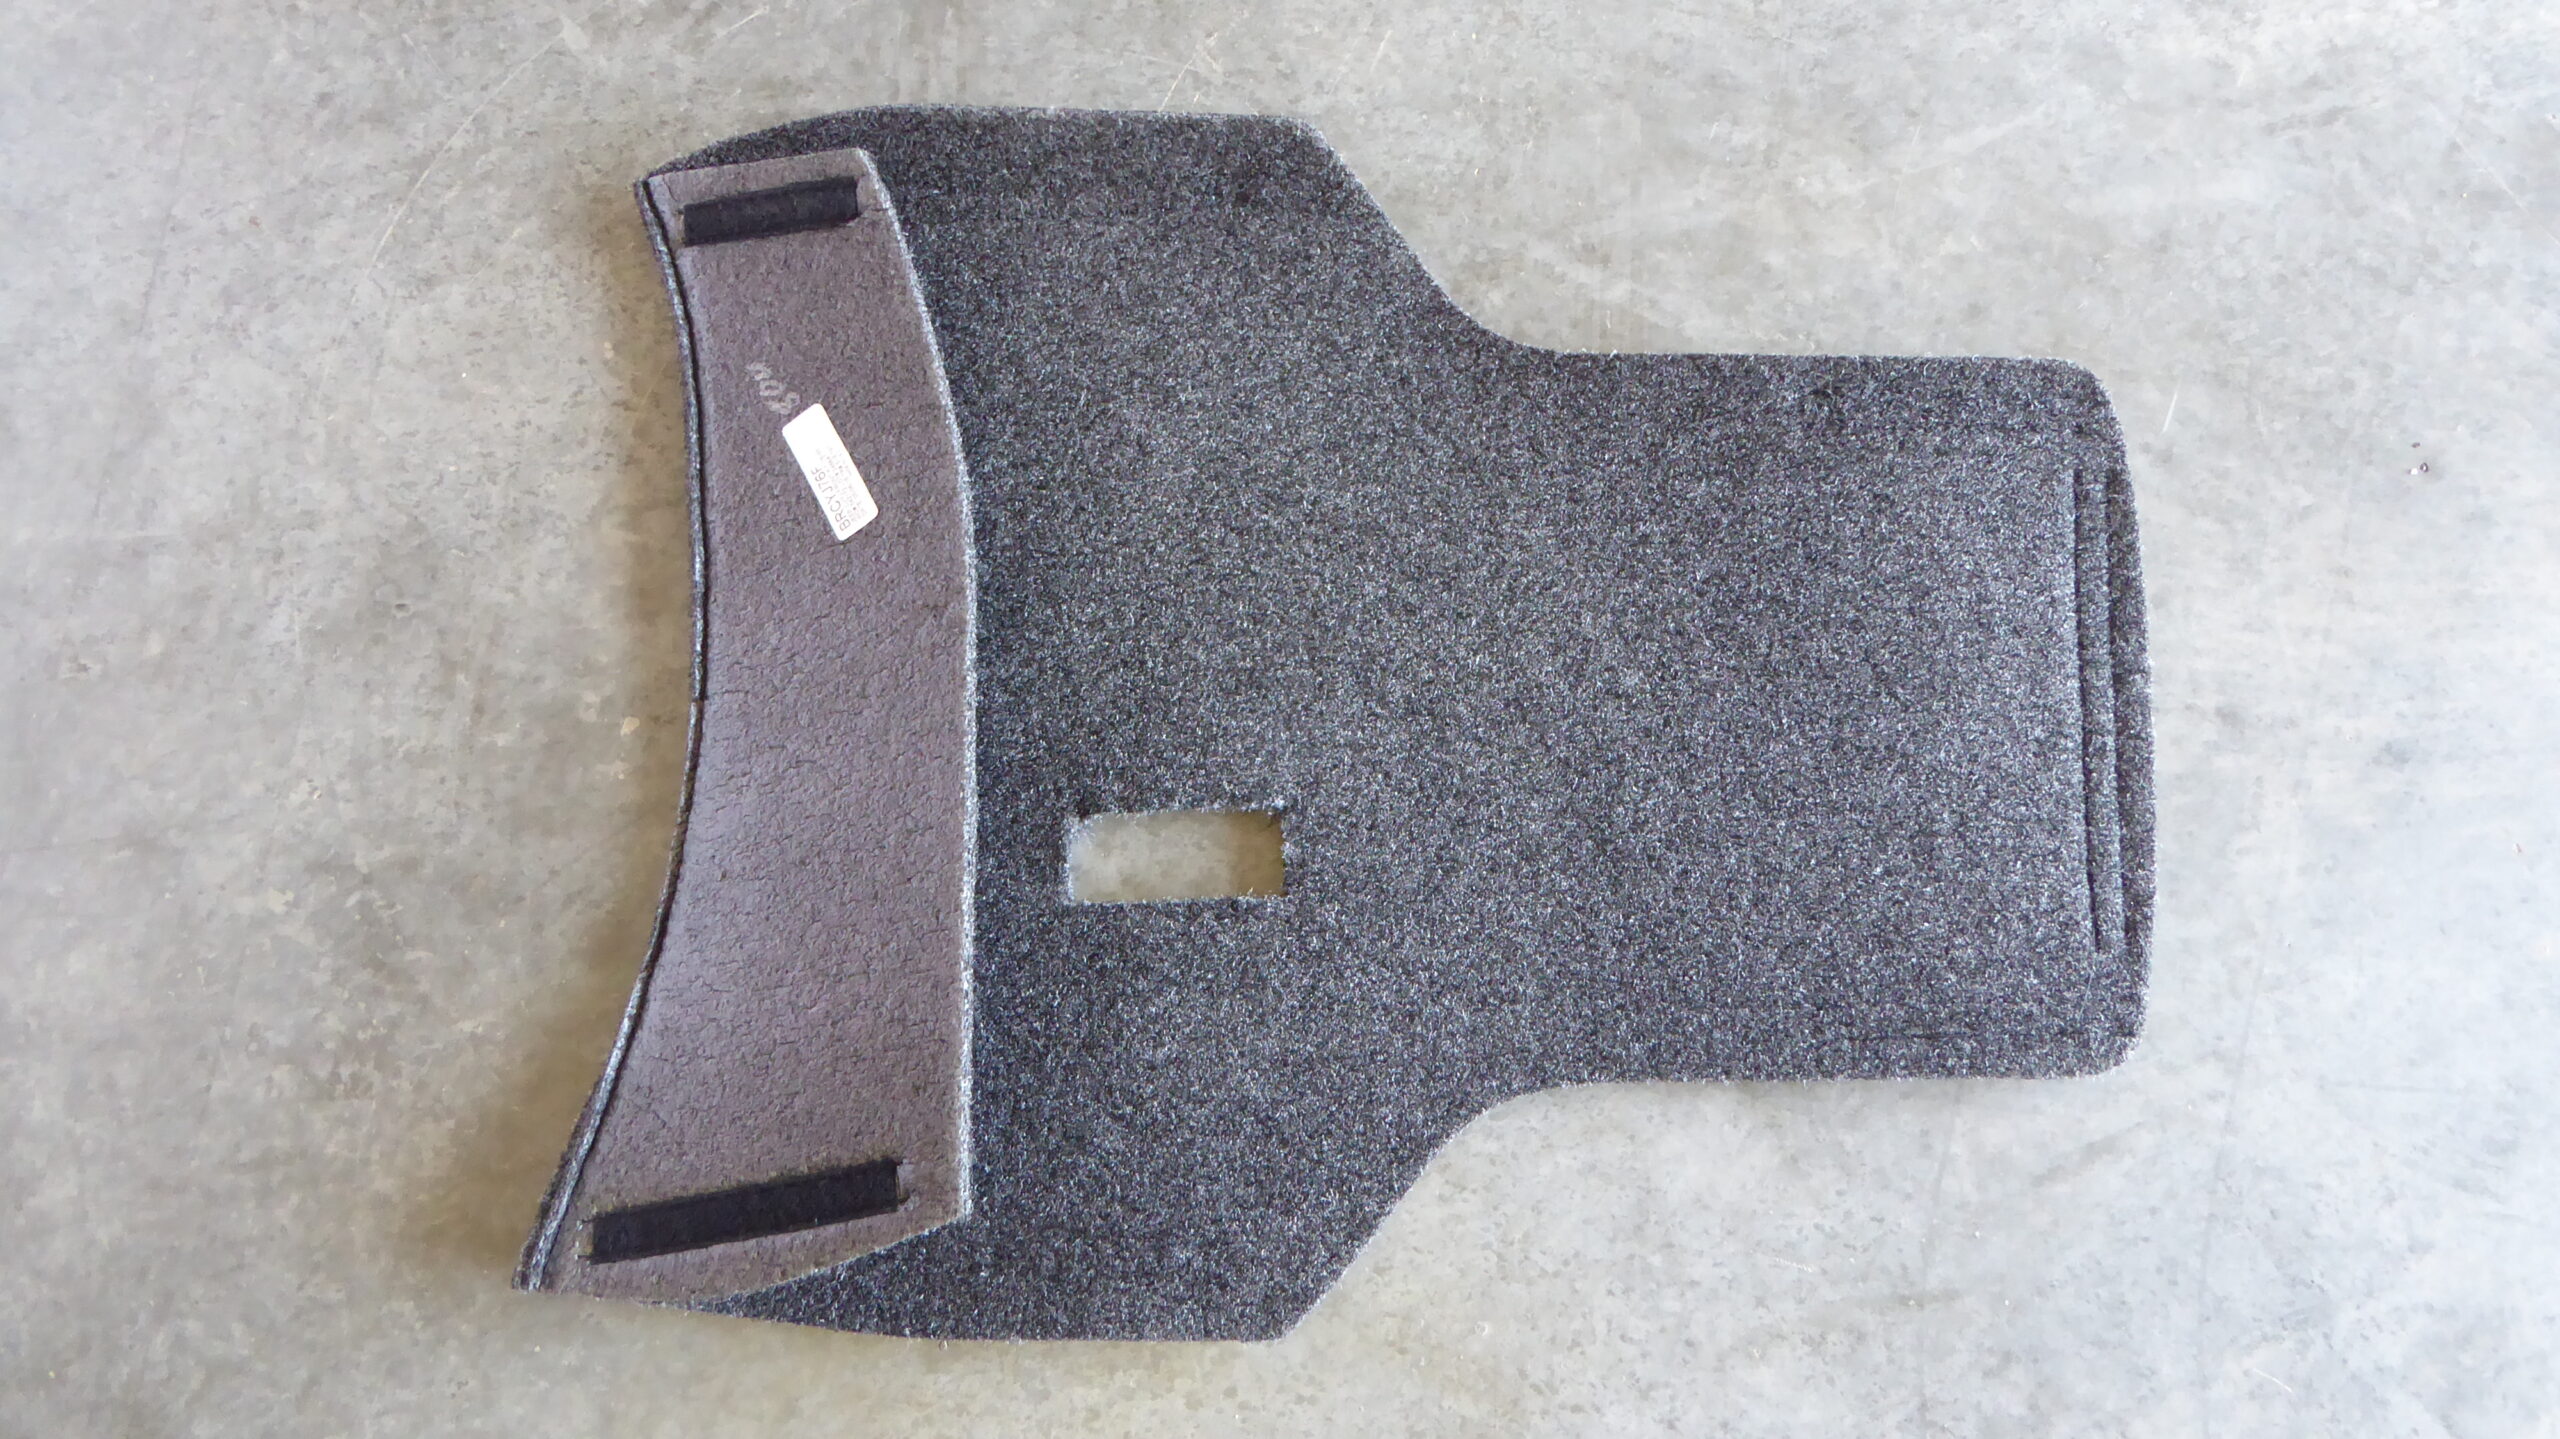
With the front completed we moved to the back, dug out our pieces and prepped the surfaces for the install. We started with the sides, on the back of the rug there is a template of where to cut for the roll bar so we trimmed it, stuck the adhesive and carefully mounted one side then the other. It did work best by starting at the floor and moving upwards so the bottom edge by the floor would be level all the way across. After the sides were installed the floor was next, same as before we just mounted the adhesive and lined things up where we wanted them and stuck it in place. The tailgate was probably the easiest piece and went on just as the rest did. With all pieces installed it was time to put the interior back together.


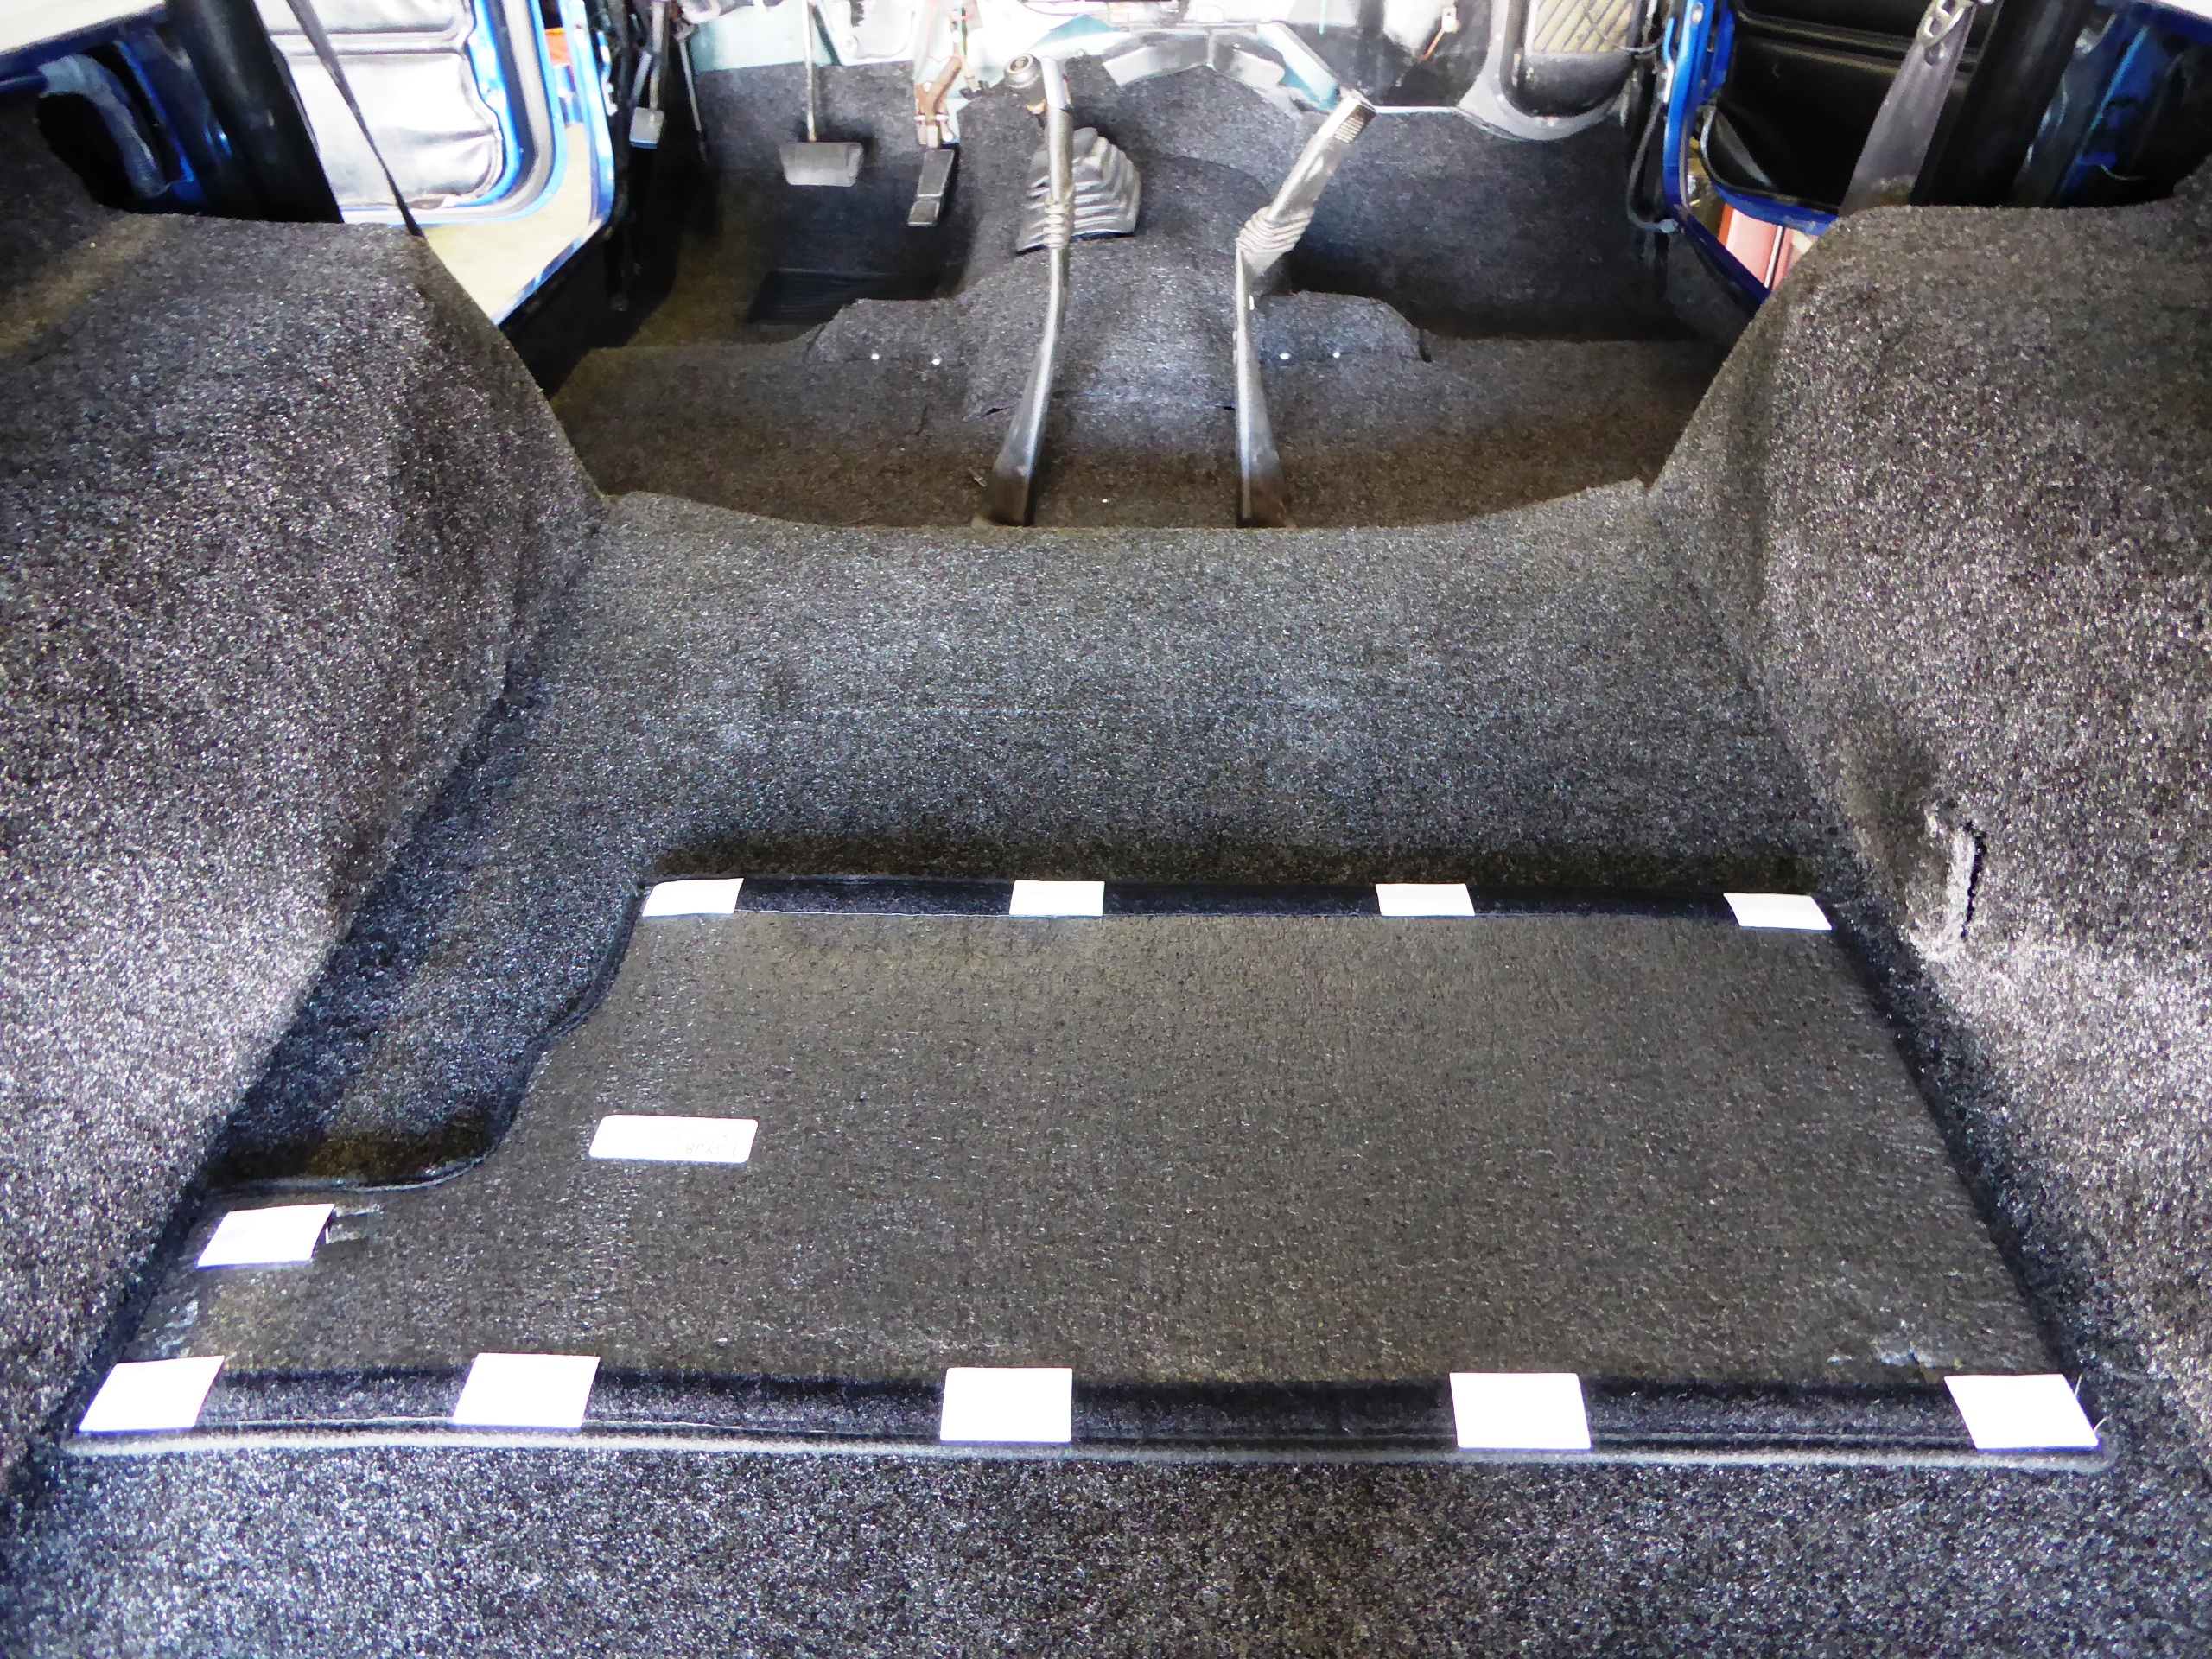

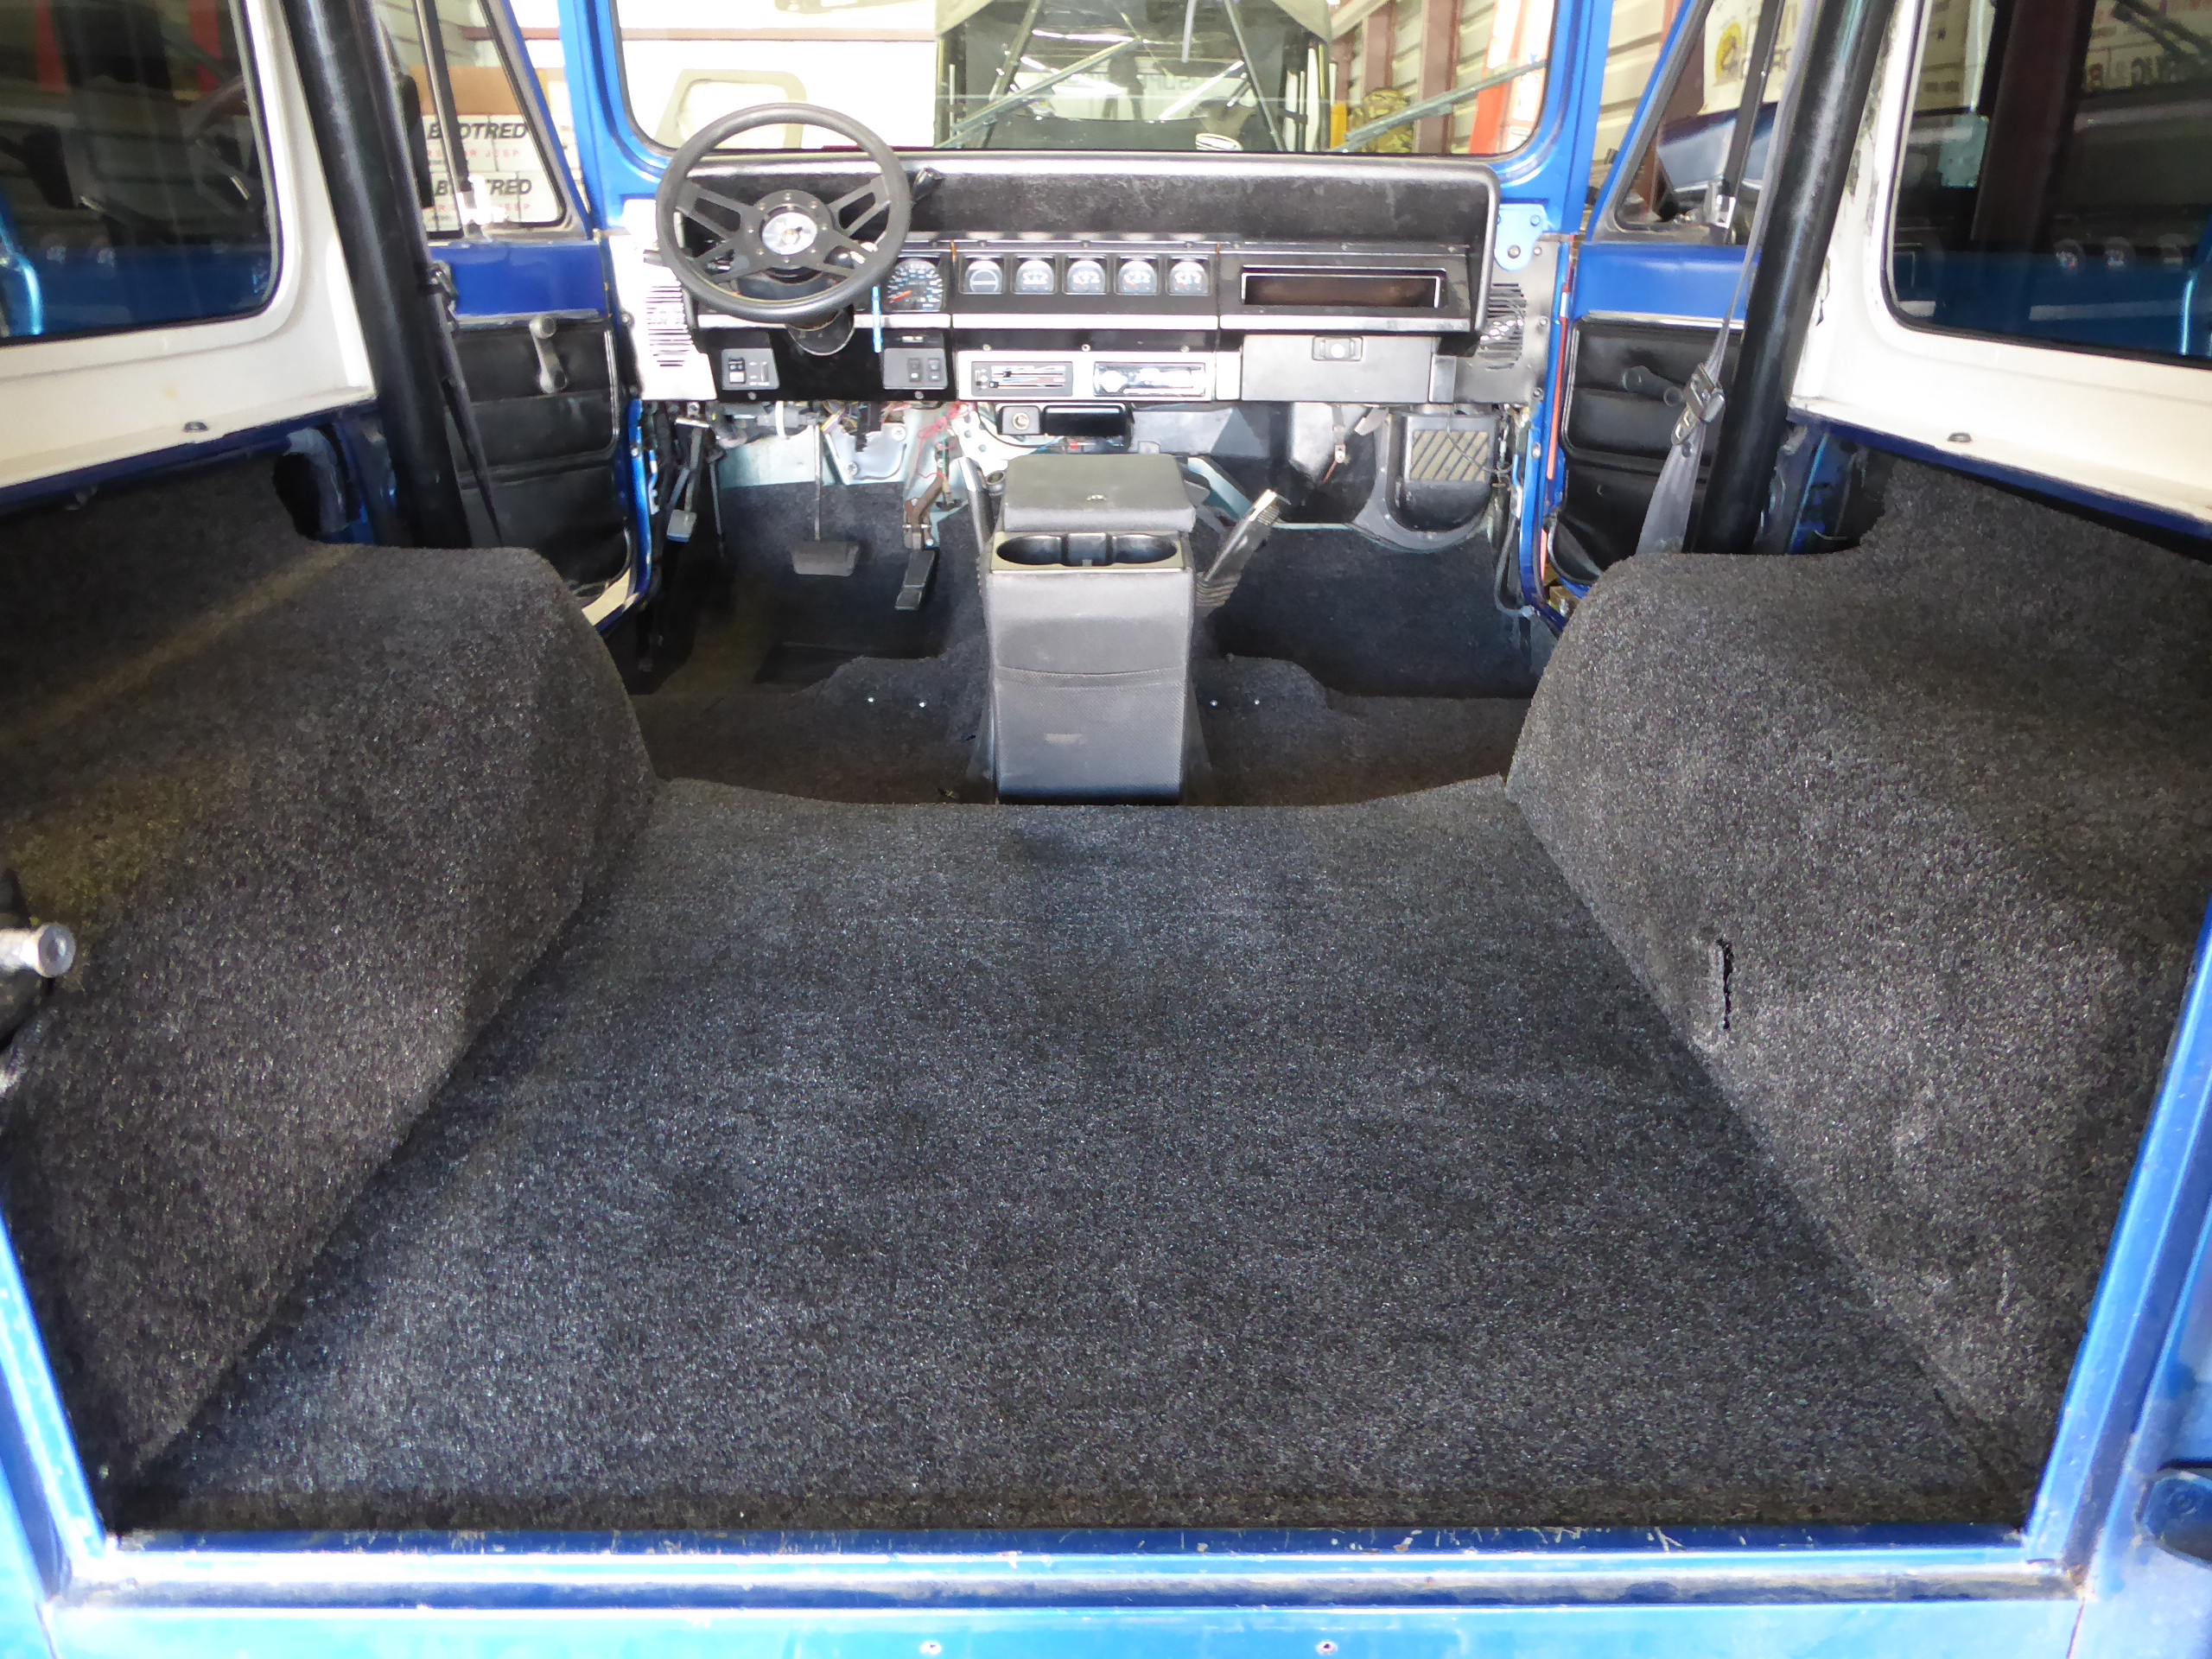
The center console is easiest to install with the seats out of the way so we mounted it then the seats. With those components back in place it pretty well wrapped up and ready to go. The manufacturer recommends that the seats do not mount on top of the Bed Rug so that the bolts can be tightened to factory torque specifications. They even have it trimmed so the base of the seats fit into the pre-cut slots.

The reason we chose to go with the Bed Rug for this project was for multiple reasons. As stated Jeep vehicles are such a great year around vehicle and will see more use and abuse when it comes to the elements. When the top is off it will see moisture from rain, mud may fly in and land on the floor in addition to the foot traffic from climbing in and out and with the top and doors off, the flooring will see more dust and dirt than a common work truck would see.
In our past experience, we have literally punished the Bed Rugs that we have had in trucks from hauling motors, firewood, quads and motorcycles in addition to countless other items. With all of that, we have never seen any other “carpet” type product that could handle the same abuse.
We love our Jeeps and they see a variety of elements way beyond the normal wear and tear many get, not only are we confident that the Bed Rug in the Wrangler will not only look great, it will continue to do so while we use the Jeep like it is meant to be used.