
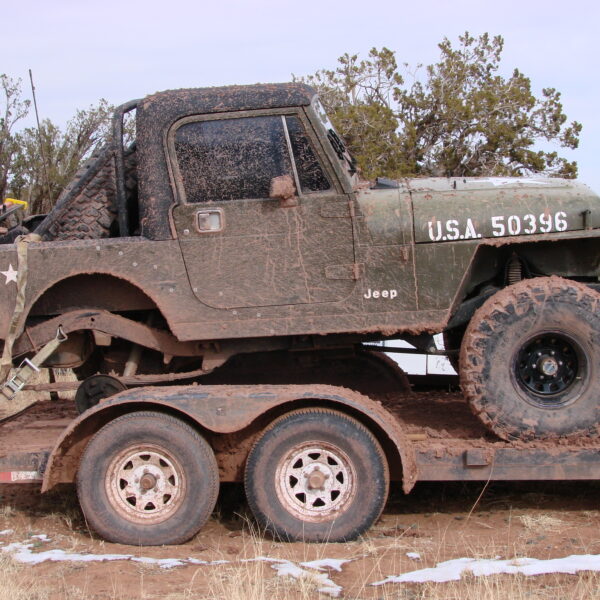
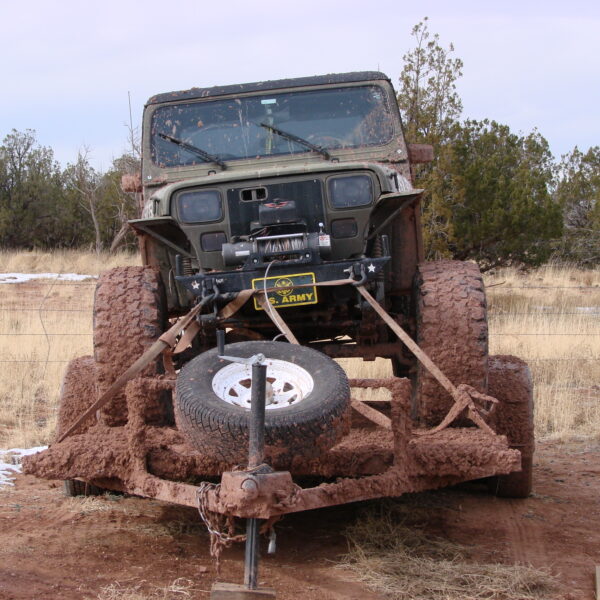
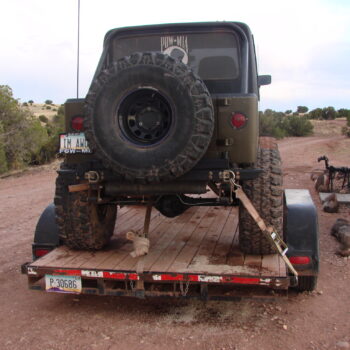
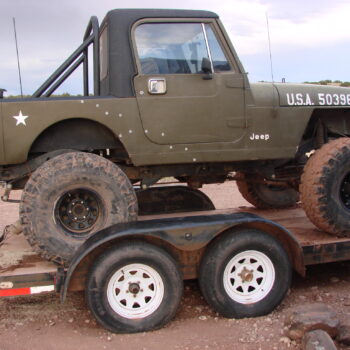
Ever have one of those days on the trail when things just happen? Well us too, here is one of the problems you occasionally have or run into……. a broken axle shaft. This happened while out playing in the NE area of Arizona. After spending a couple hours winching this up the shelf that it happened on and waiting for one of the group to get back with a truck and trailer we were able to get it on the trailer and home so the job could be done in an environment with better access to replacement parts and tools. Follow along and we will show you how we did the repairs in case you ever have to do a fix on your own rig should this ever happen to you.
Axle Shaft Installation:
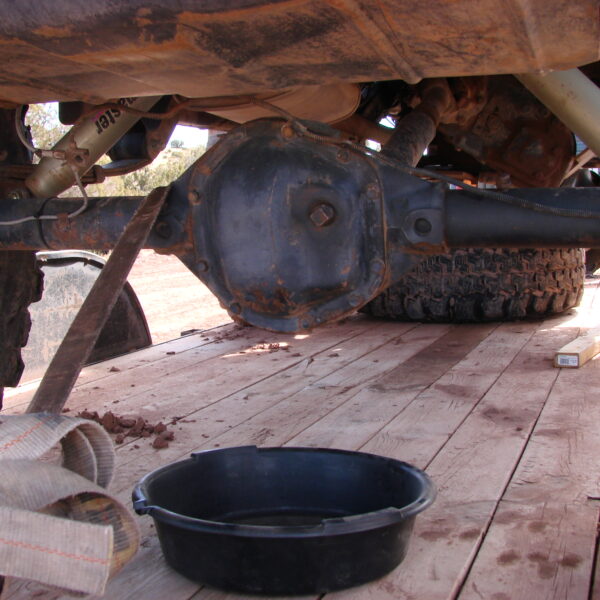
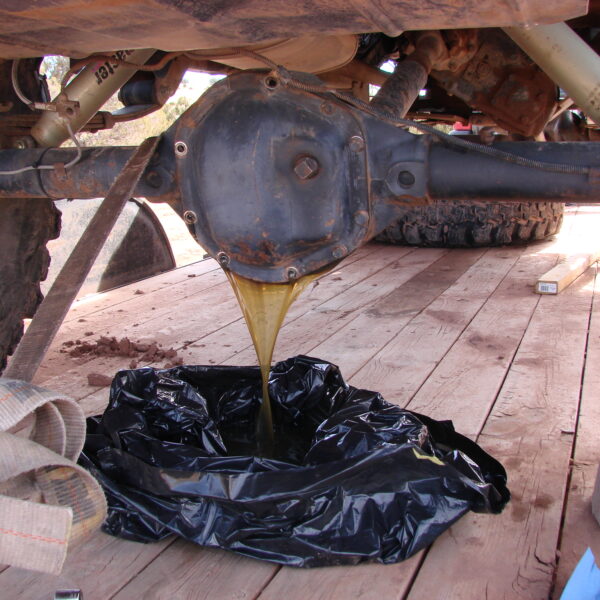
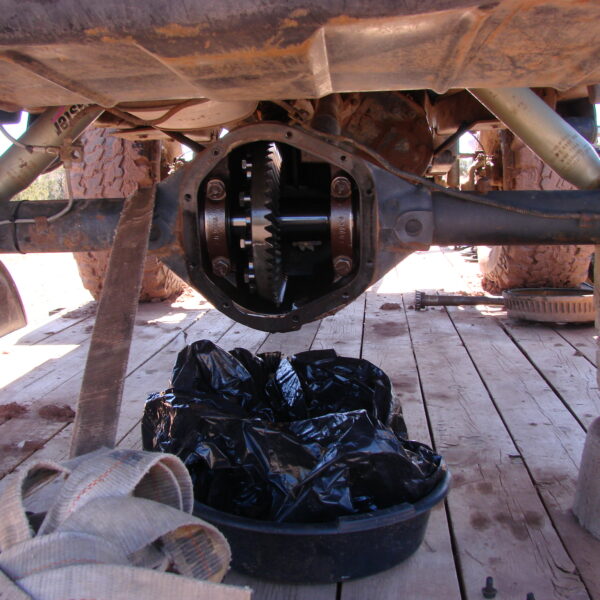
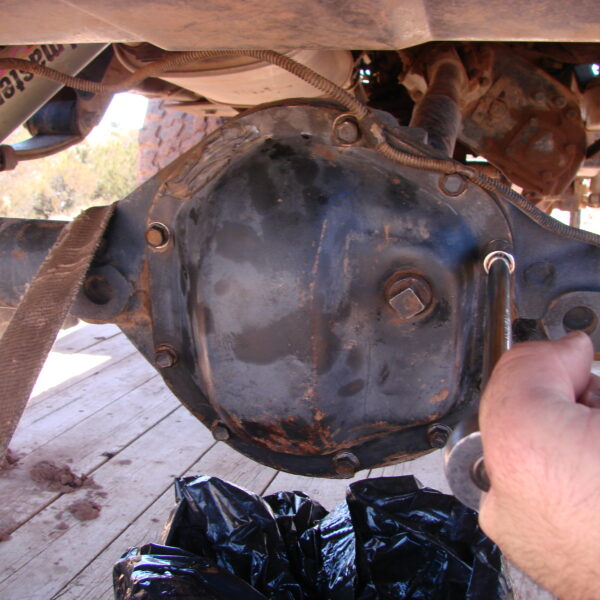
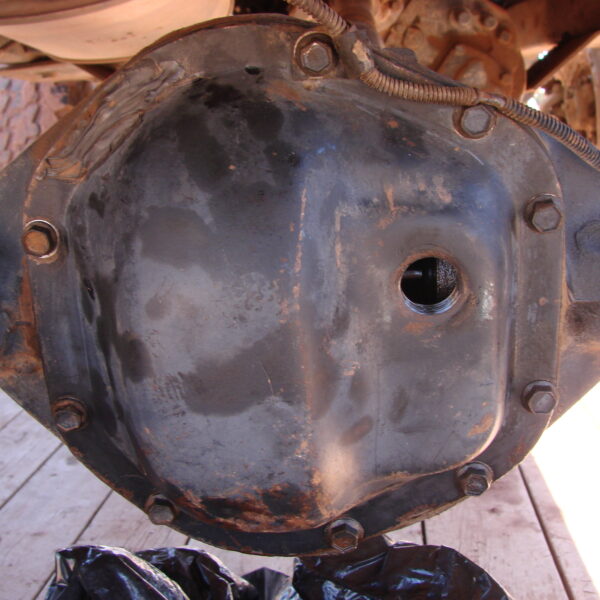
First off we made sure the vehicle was stable on the trailer and not going anywhere while we were doing the repairs. Safety is always first and foremost! We began by draining the oil from the rear differential; we simply removed the bolts on the differential cover after putting a drain pan under the diff and let the fluid drain. You don’t have to drain the fluid in all cases but since it had been awhile since this Jeep had a fluid change so it seemed as good of a time as any to do this maintenance too.
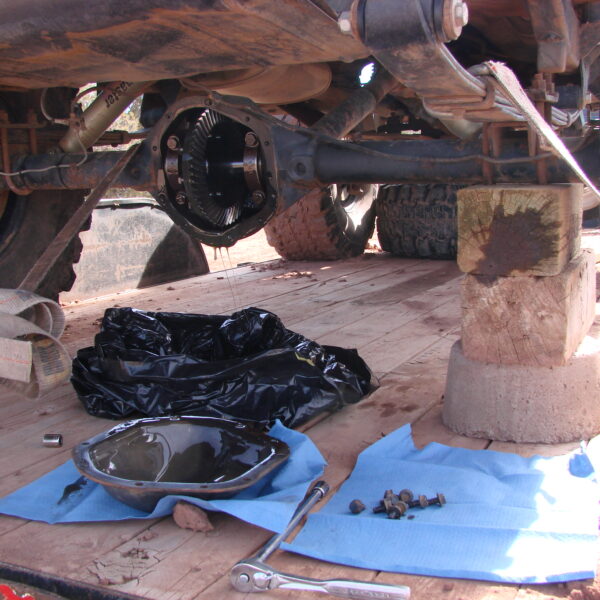
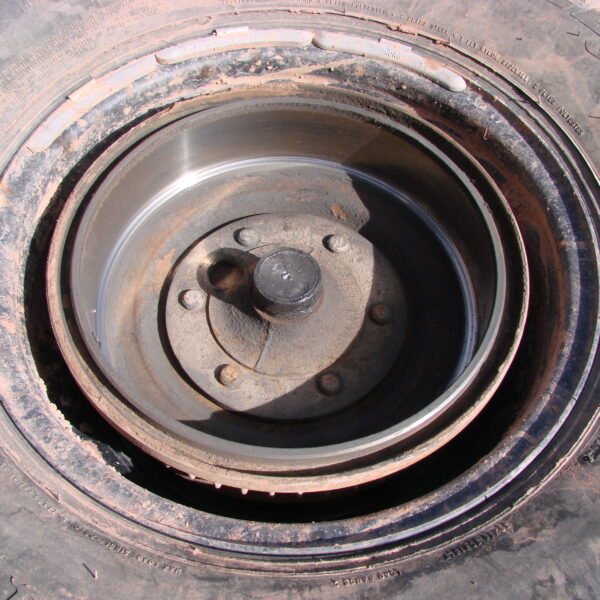
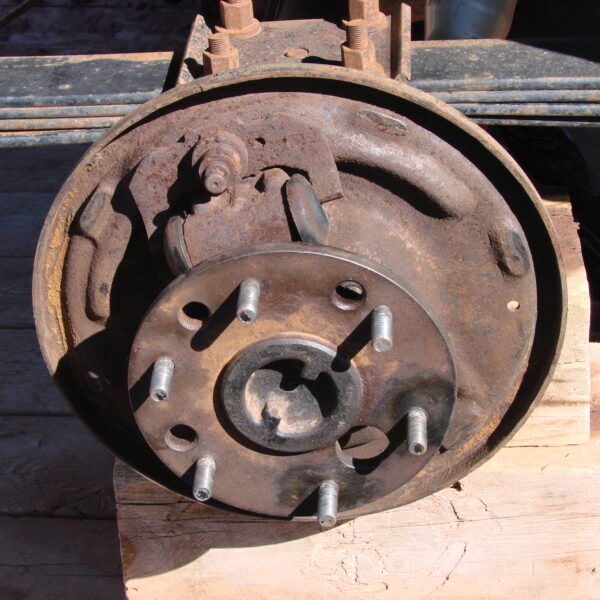
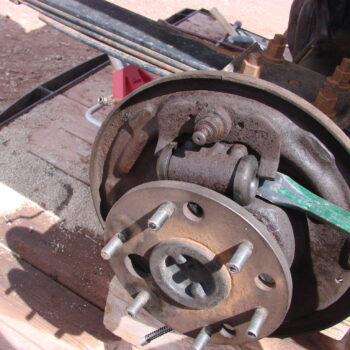
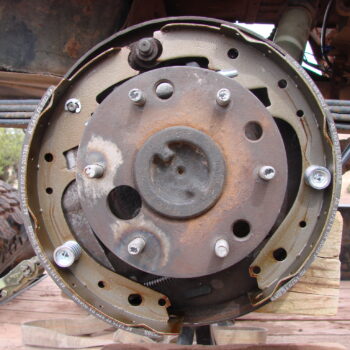
Once the oil was drained we removed the bearing keeper and the drum backing plate so we could access the broken axle and remove it.
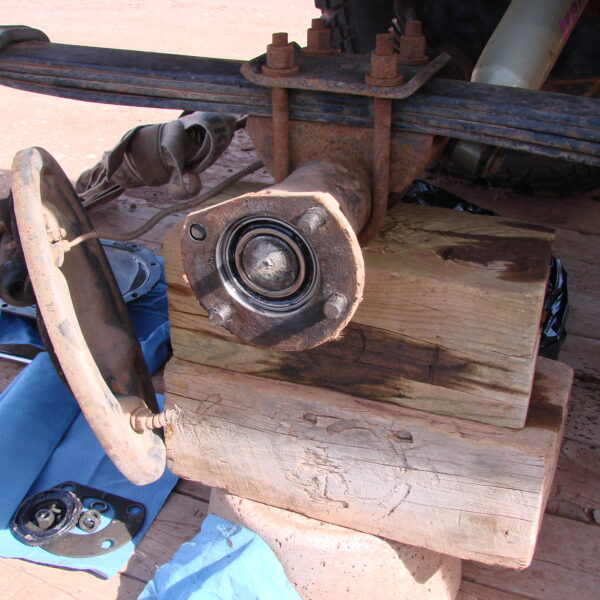
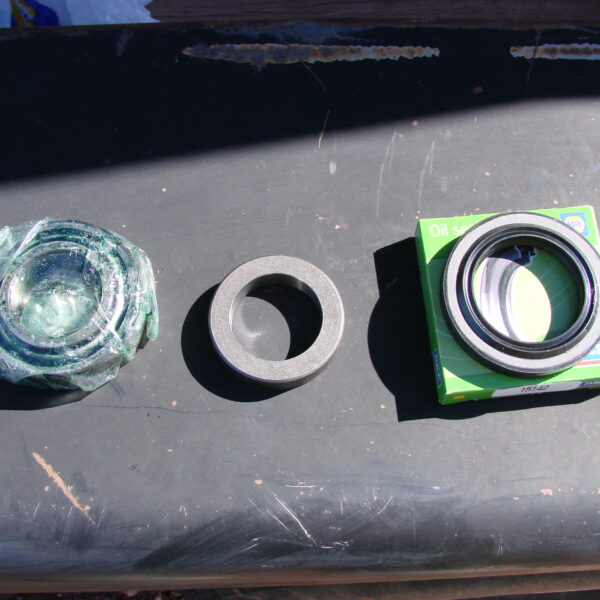
The axle simply slid out and we were ready to take the seal, bearing and keeper in to have them all pressed on. Since we didn’t have a press ourselves we took it to one of the shops in town that was able to get the old bearing off (since this axle came out of a salvage yard).
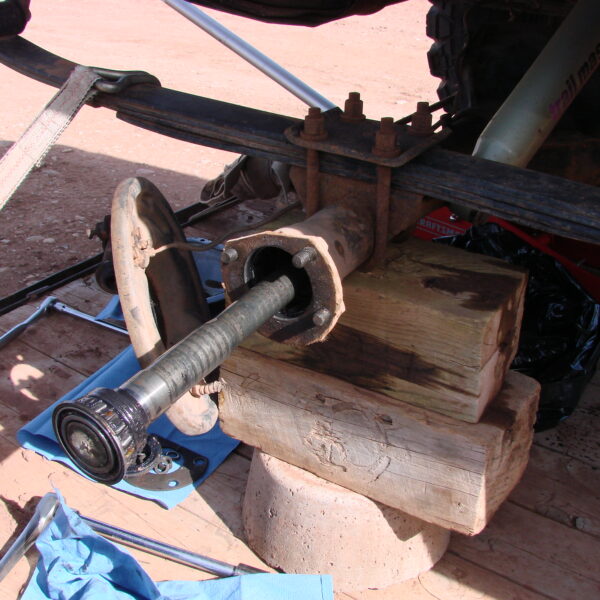
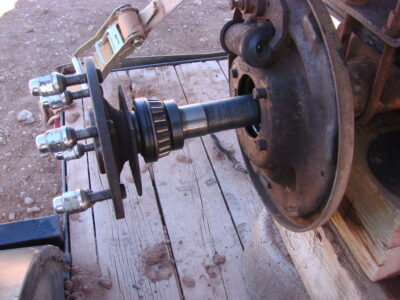
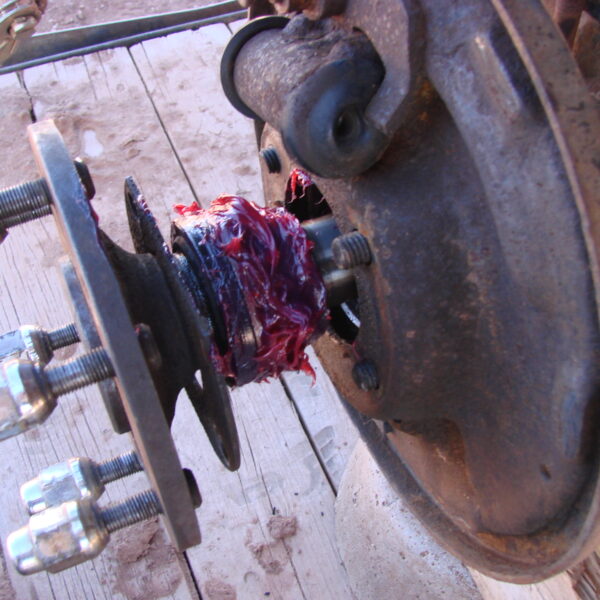
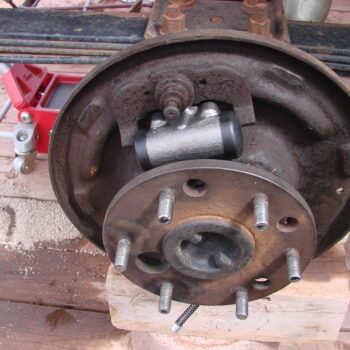
With that done we simply put the replacement axle shaft into the axle housing and slid it into the spool making sure the shaft was clean and free of debris. We wanted to make sure that there wasn’t any dirt or anything else that wasn’t supposed to be there put in when we did the swap. Be careful not to allow any foreign particles of dirt or sand or gravel inside of your differential when doing any kind of work to it.
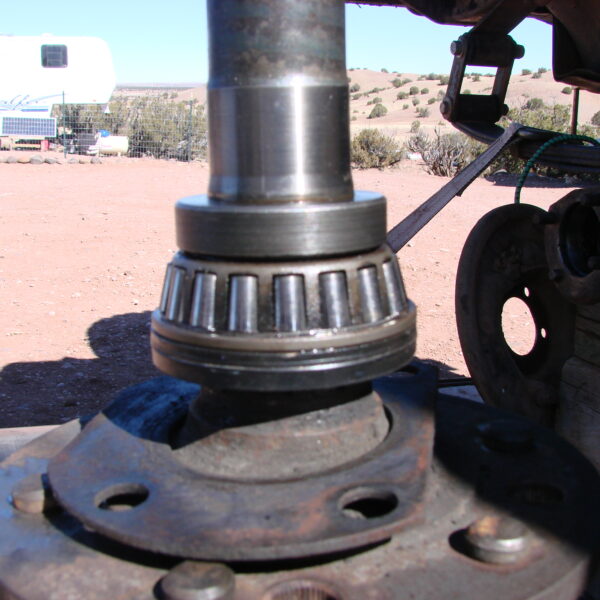
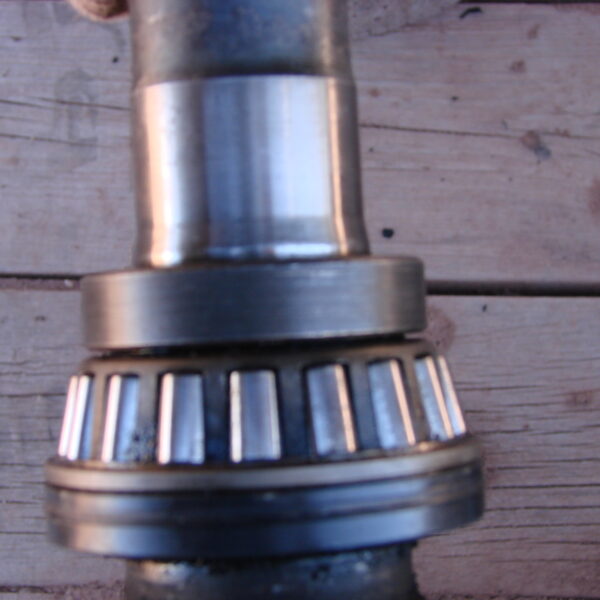
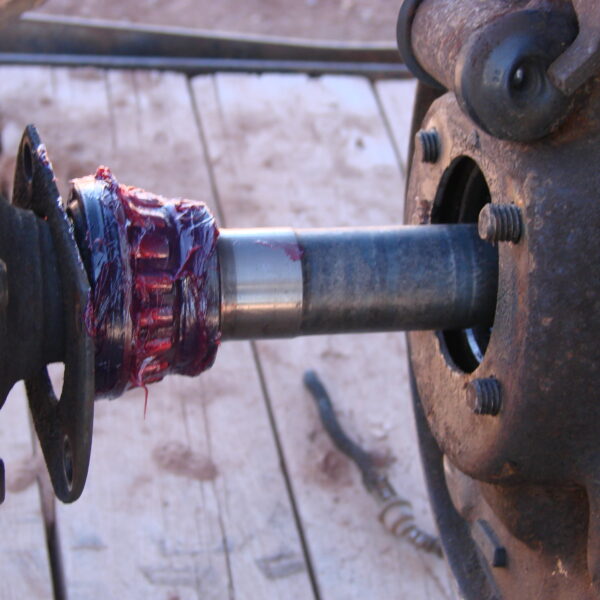
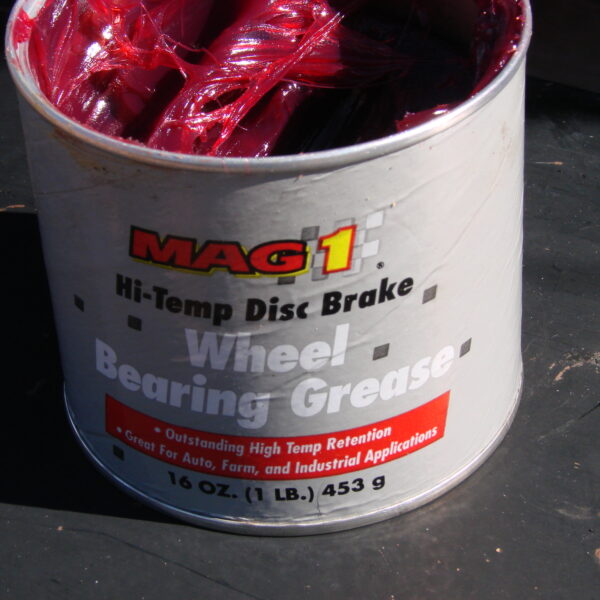
Before putting the shaft all the way in be sure you grease the bearings well with a good bearing grease that you should be able to find at any parts store. Liberally grease the bearing by rolling the bearings around getting not just the outside but some in the roller bearings as well.
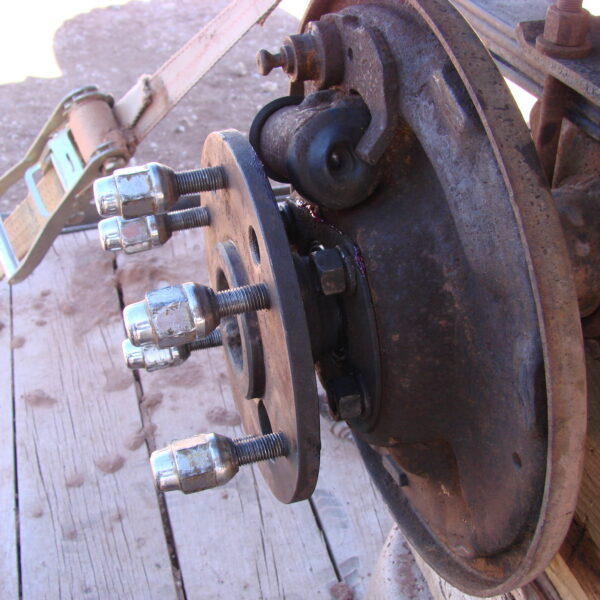
Now push the shaft in (depending on if you have lockers, a spool or an open diff this process may differ from application to application) since this has a spool it slid into the locker and then we put the bolts in the plate that holds the bearing in and the shaft in place and tightened them down.
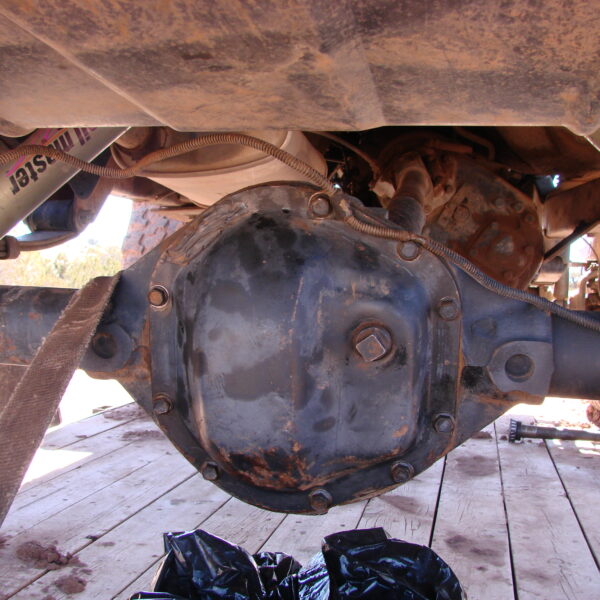
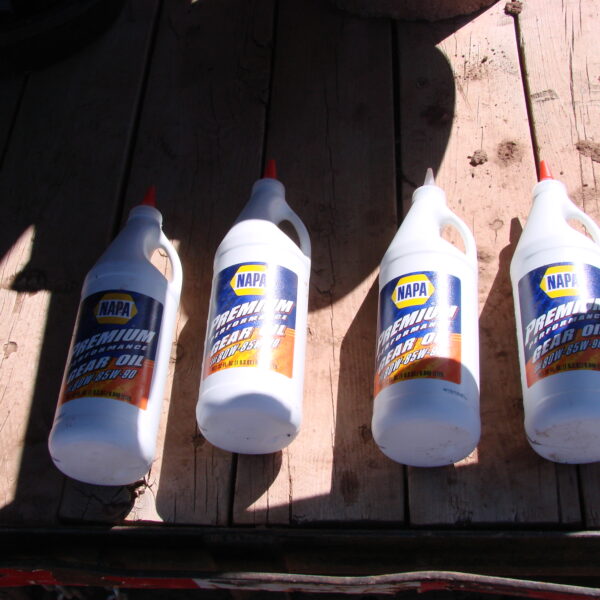
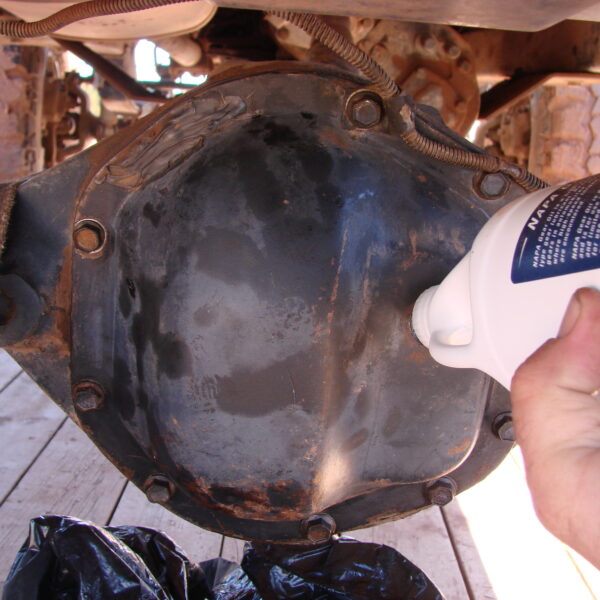
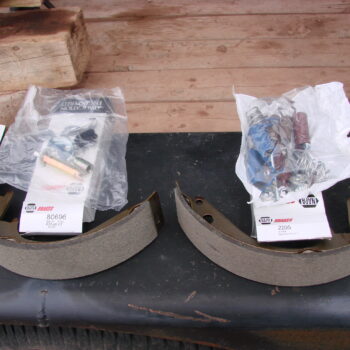
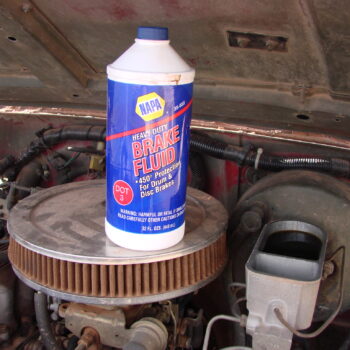
Now that we have the axle shaft back in place we can put the rear diff cover on and put the new gear oil in. We picked up a new gasket from our local NAPA Auto Parts as well as the gear oil that we will be putting. Make sure everything is clean on the cover, the rear diff and gasket before installing.

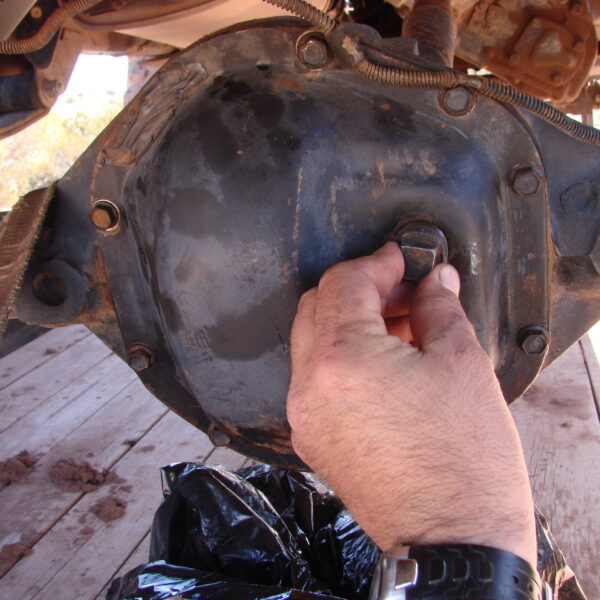
Put the bolts back in and tighten them down and then you will be ready to put the gear oil in.
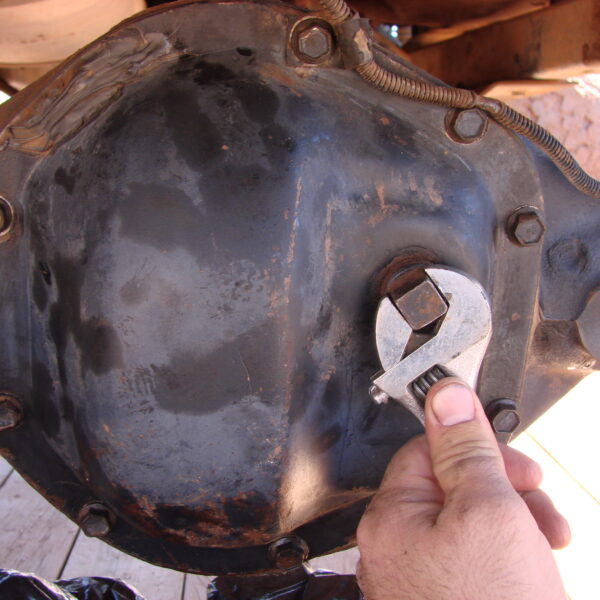
Take the plug out of the cover and begin by putting in the fluid and continuing to fill it until the fluid begins to drain out of the fill/check hole. You can put your finger in to gauge how close you are to having it topped off as you go. Once it is full replace the plug and tighten.
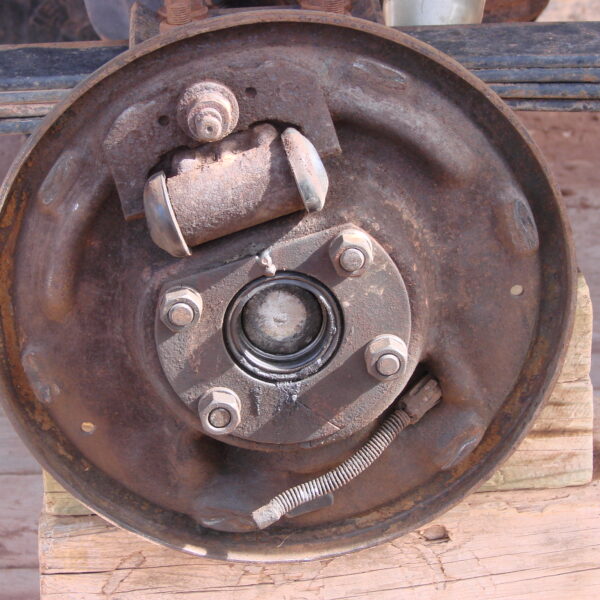
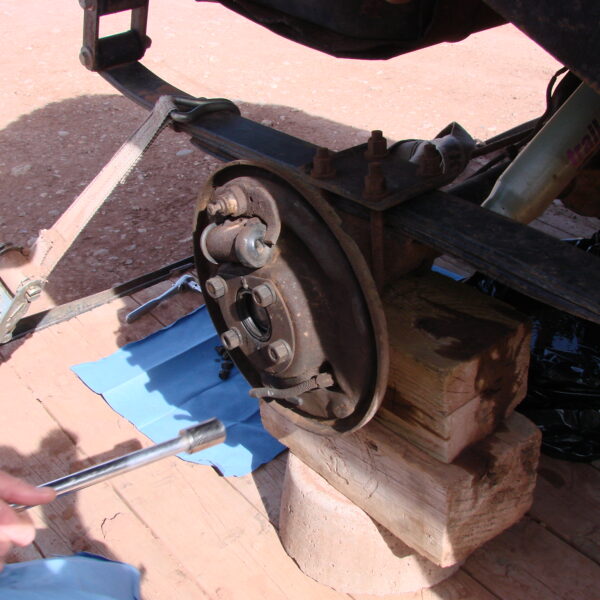
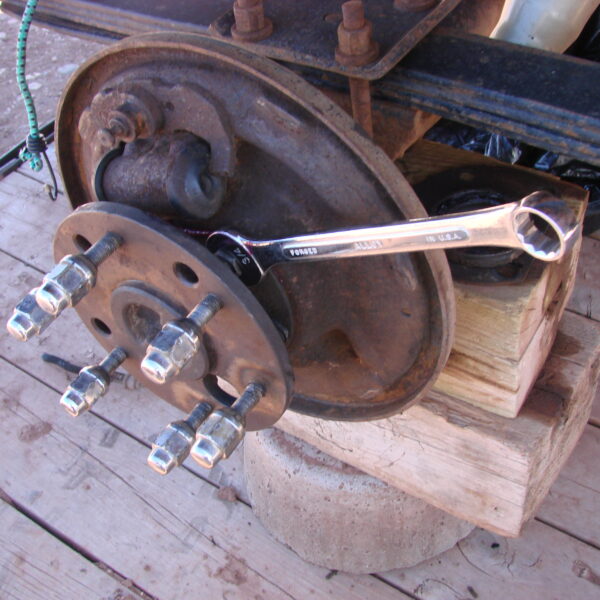
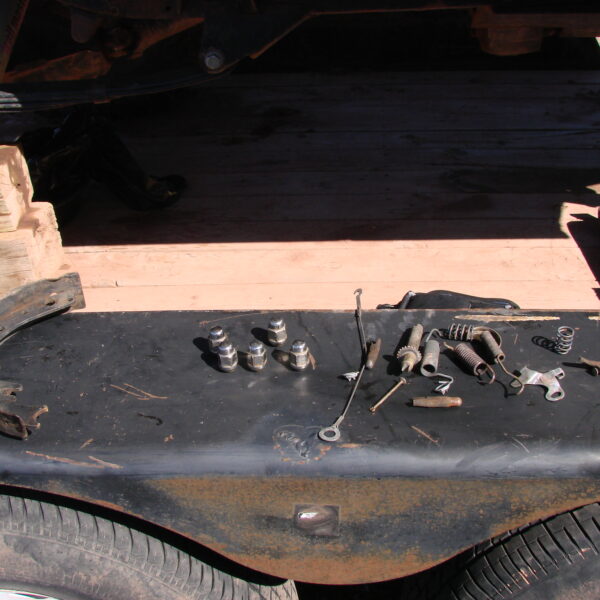
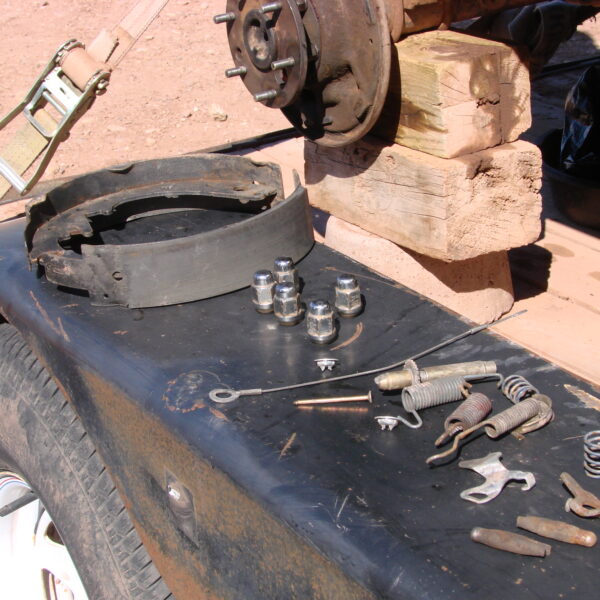
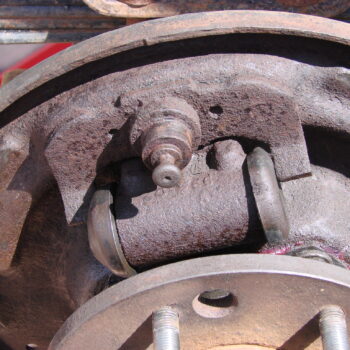
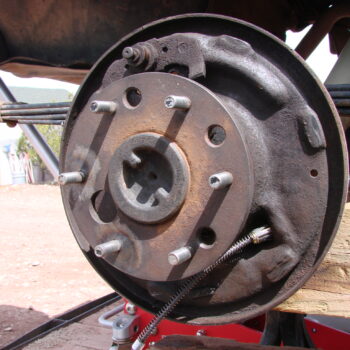
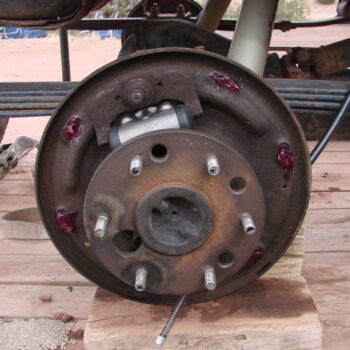
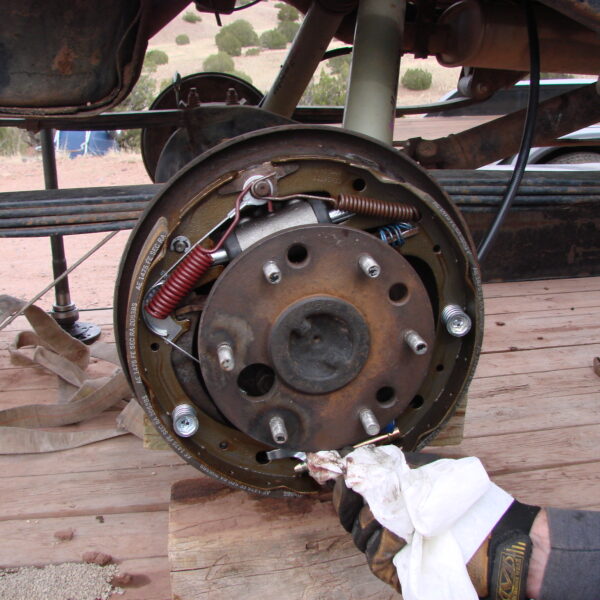
Now we are ready to reassemble the brakes, as you can see here things were pretty well destroyed and even some parts were missing so we are going to go ahead and replace everything brake related except for the drums. While we have this much of it apart, we might as well clean things up and have it working at its best.
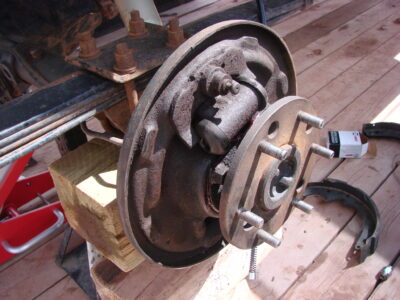
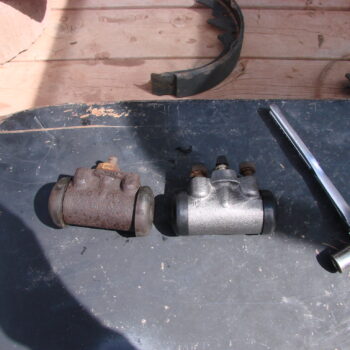
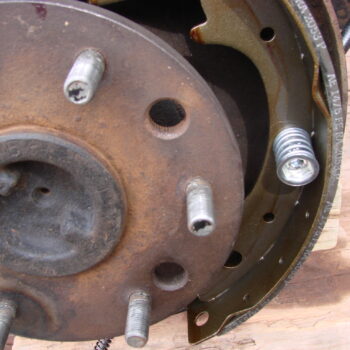
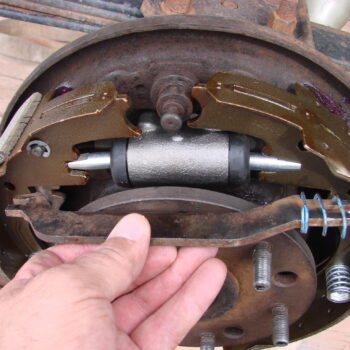
Here we are going to start by removing the wheel cylinder so we can replace it with a new one.
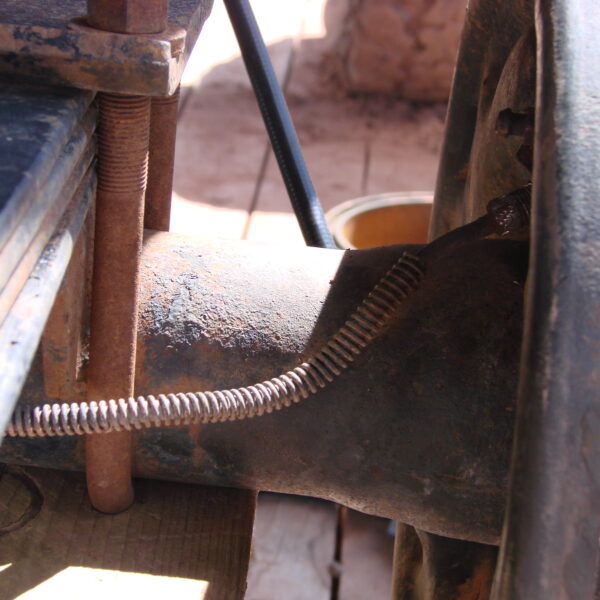
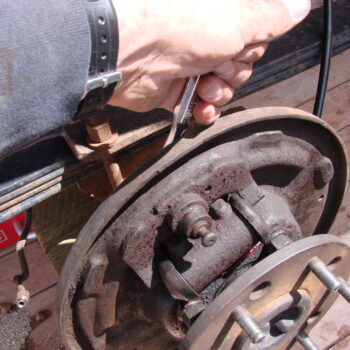
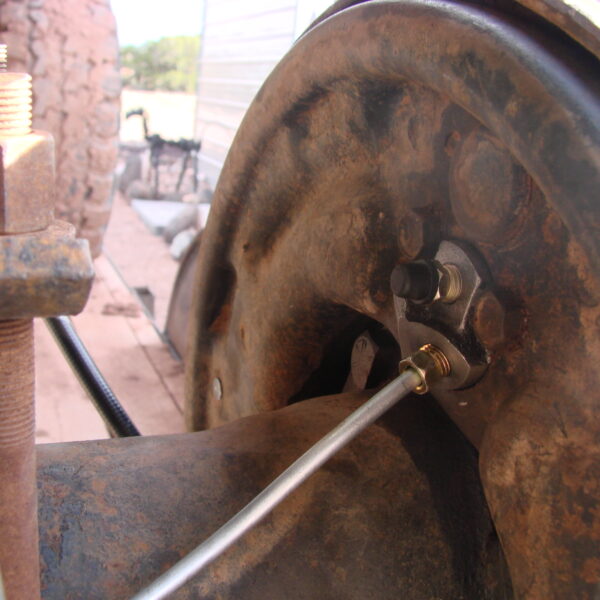
First we have to remove the brake line, unfortunately the fitting on this line had been rounded off by either the wrong size wrench being used or carelessness in the past so in order to remove it we had to use vice grips to get a good enough of a hold on it to break it loose. That being the case the choice was made to go ahead and completely remove the rear brakes lines and replace them too since the damage had been done. If the proper brake line wrench had been used in the past this may have been avoided. Hence the importance of using the right tool for the job.

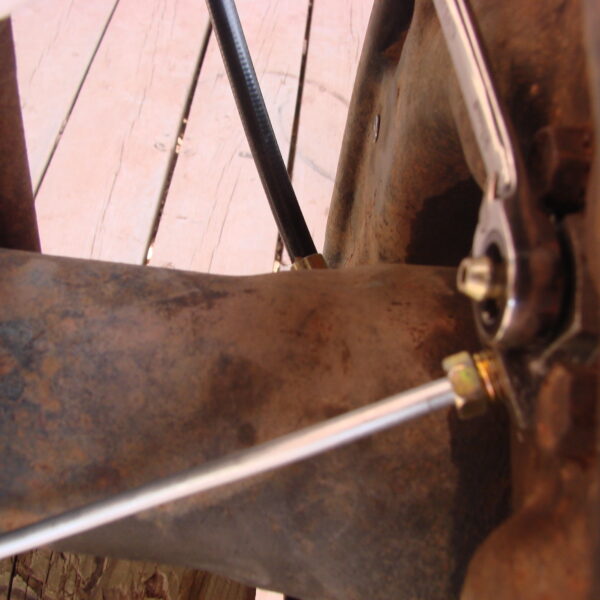
With the brake line removed we are ready to swap old for new, on the back of the drum are two bolts that hold the wheel cylinder in place. Simply remove them and get the old cylinder out and replace with the new. We also went ahead and replaced the old e-brake cables while we had this much torn down and were replacing everything else with new components.


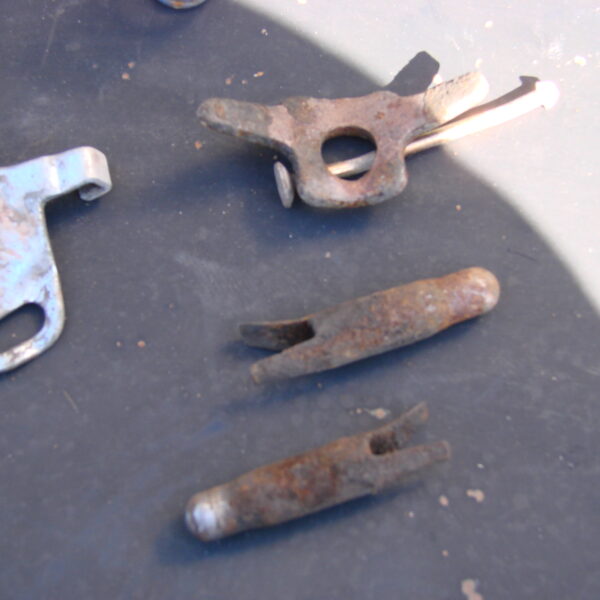
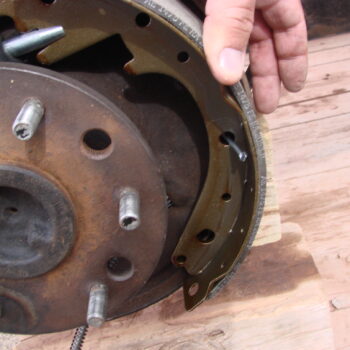
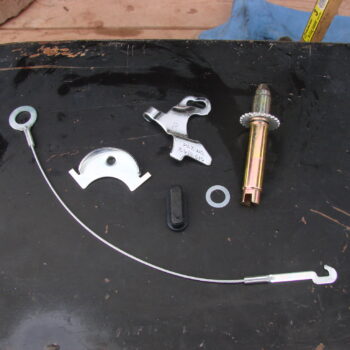
We are now ready to put the new springs, cables and other replacement brake parts in. It’s always a good idea to do one side at a time so you have a reference to look at in case things get a little confusing. Since we have better pictures from the opposite side we will have better shots of how the parts look once in place.
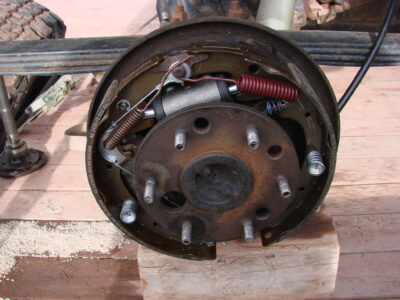
Here is the drivers side, essentially we just took off the old brakes parts and cleaned things up, put some grease on the contact points and put it back together.

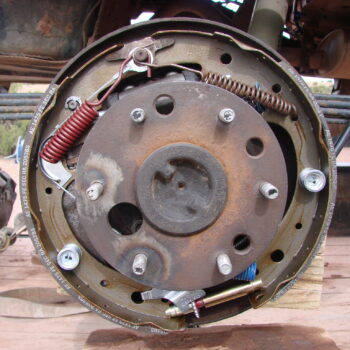
Once everything was in place we wiped the components clean, set the adjusting screw and the shoes and replaced the drum. You want the shoes adjusted out so the drum will slip over the shoes with the least amount of space there for the shoes to have to move but without any drag or resistance from the drums. Other adjusting can be done from the back of the drum through the small oval, rubber plug in the back of the drum on the bottom. Make sure the brake line is tight.
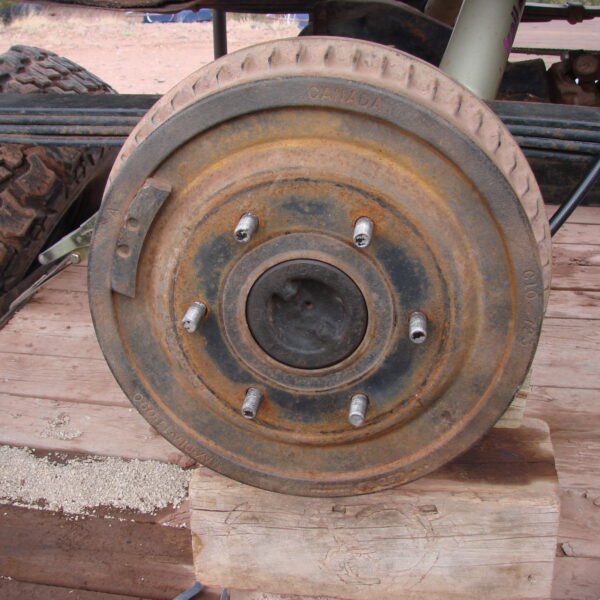
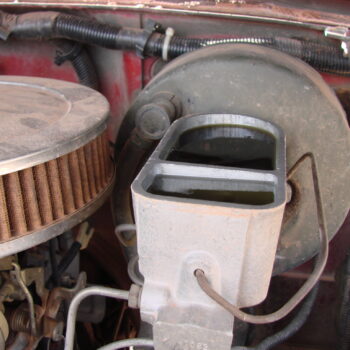
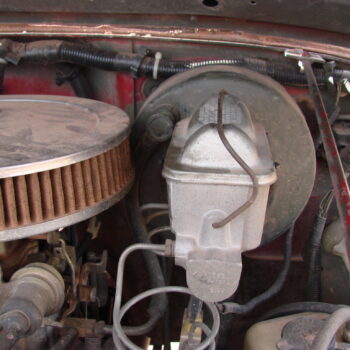
With all of that completed it would be a good idea to give things a once over and make sure things are as they should be before you put the wheel back on. If all is good go ahead and put the wheel on and add some brake fluid to the master cylinder and you can bleed the brakes and hit the trails again.
As with all of our examples and how to section we advise that you consult a Chilton’s or other repair manual as well. If you are not confident or fully understand the process by how we did it we would suggest you take your vehicle to a competent mechanic so you don’t run the risk of doing the repairs incorrectly.