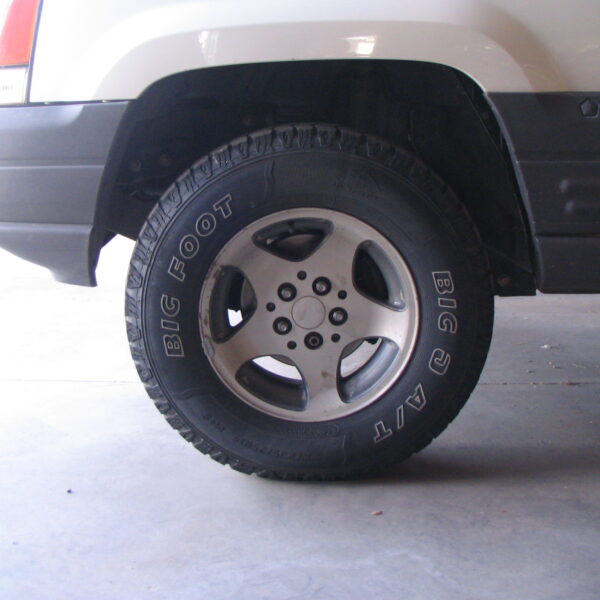
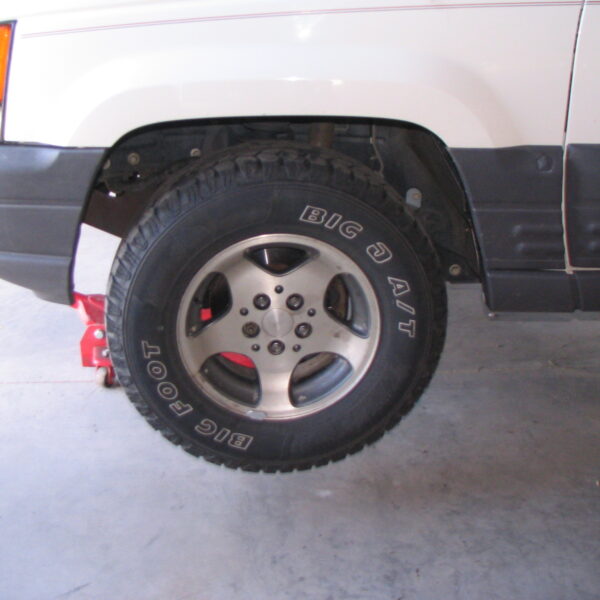
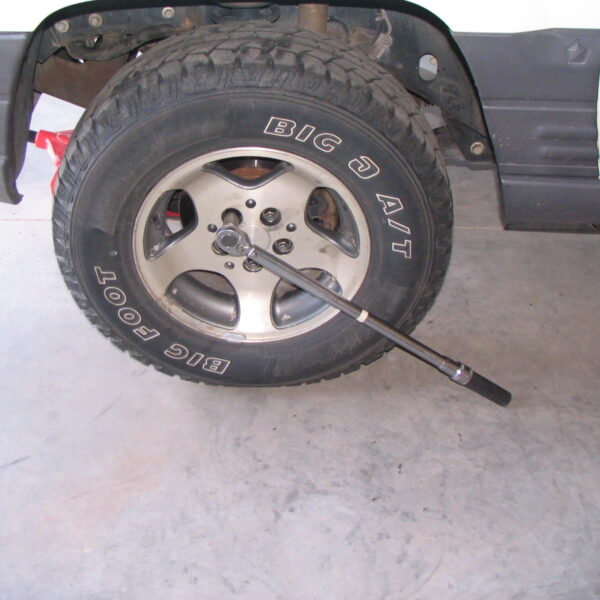
First you will want to make sure the Jeep is in park and that the rear wheels are chalked and the emergency brake is on. Loosen the lug nuts on the wheel, raise the front end off the ground and remove the wheel and tire.

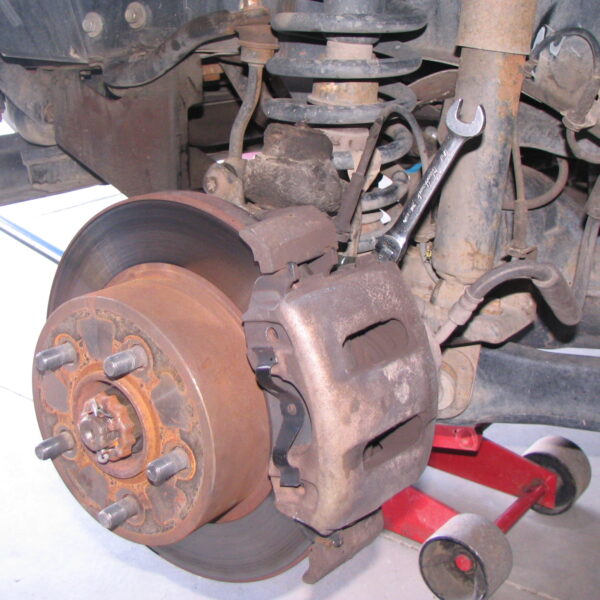
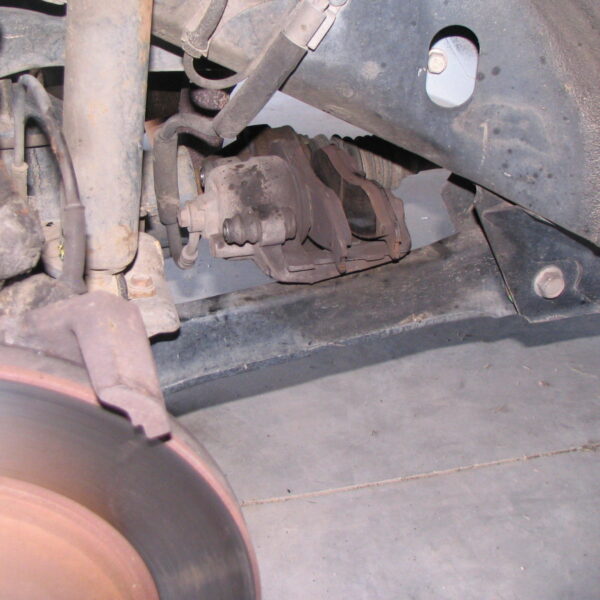
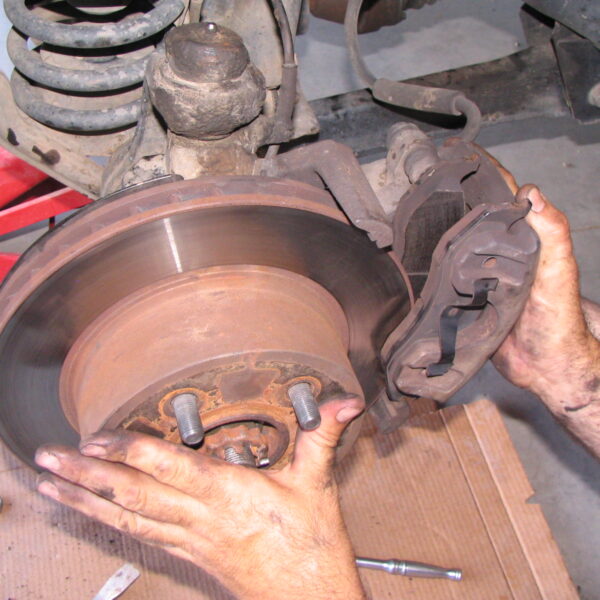
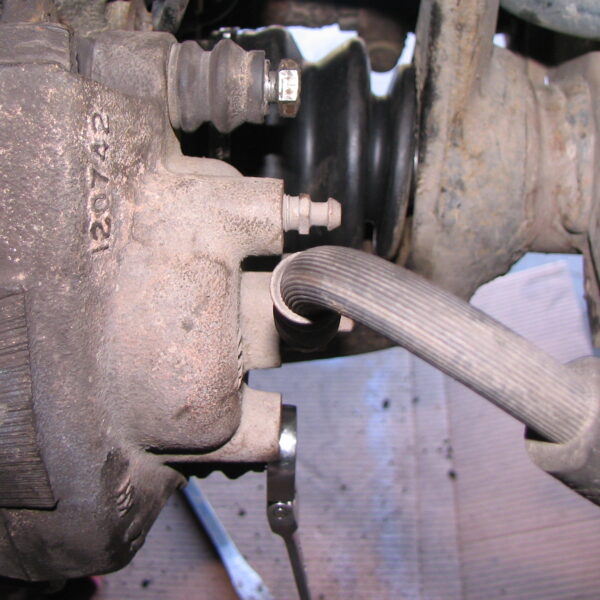
Next you will need to remove the two bolts located on the back side of the brake calipers, once those are removed pull the top of the calipers towards the rear of the vehicle and straight up to remove them. Set them off to the side in a place that the brake line will not be supporting the weight.
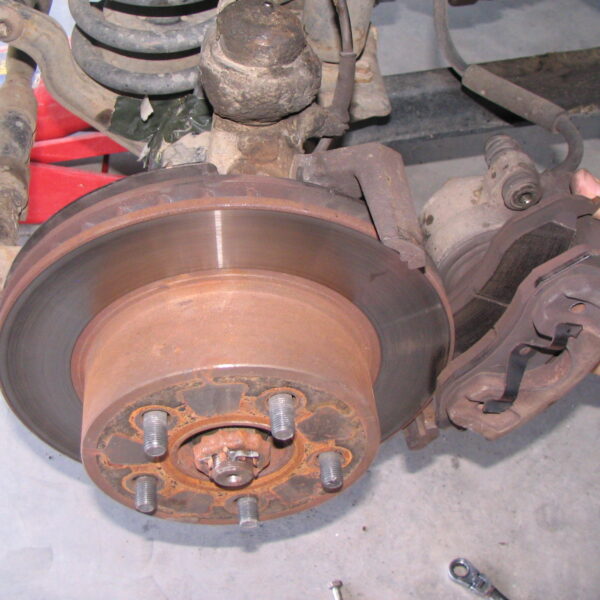
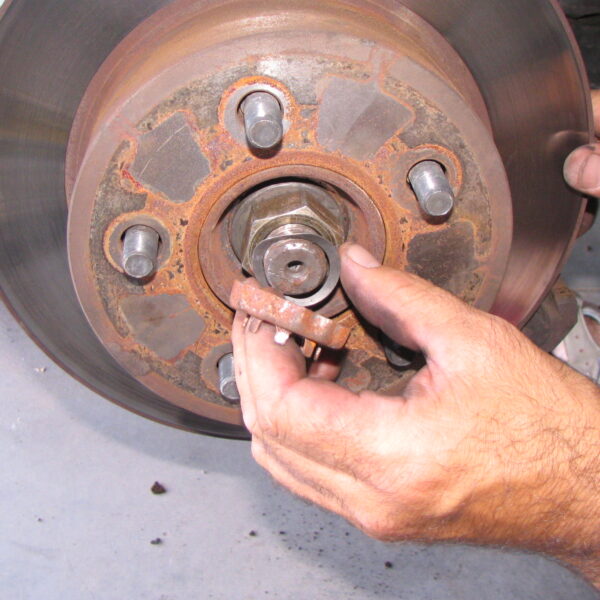
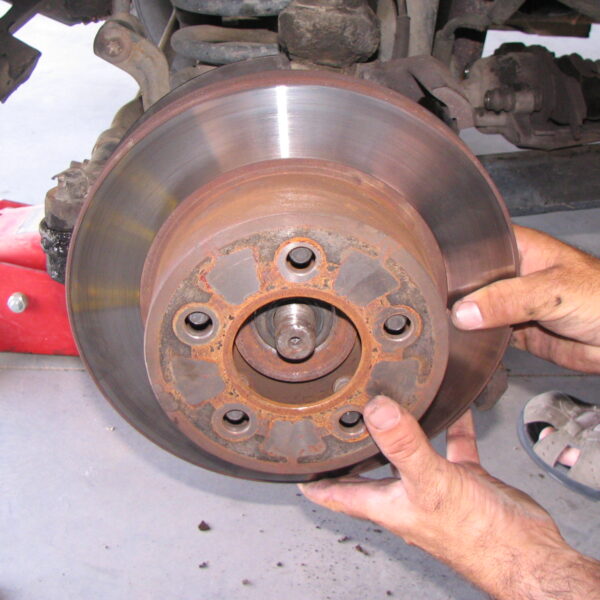
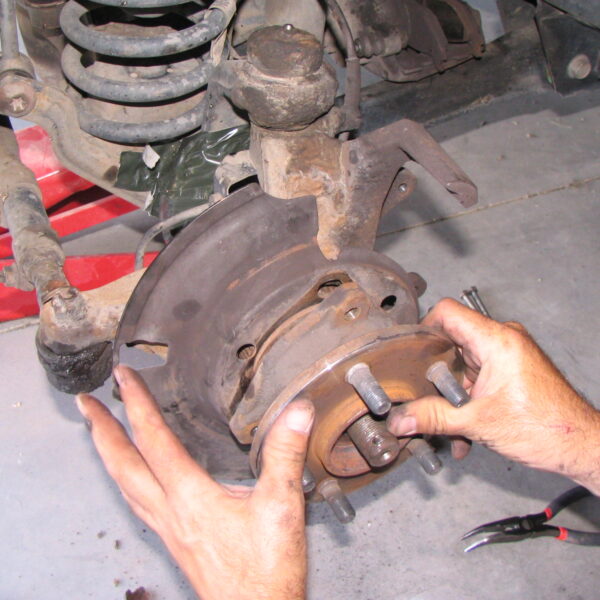
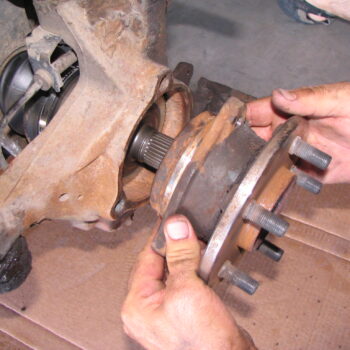
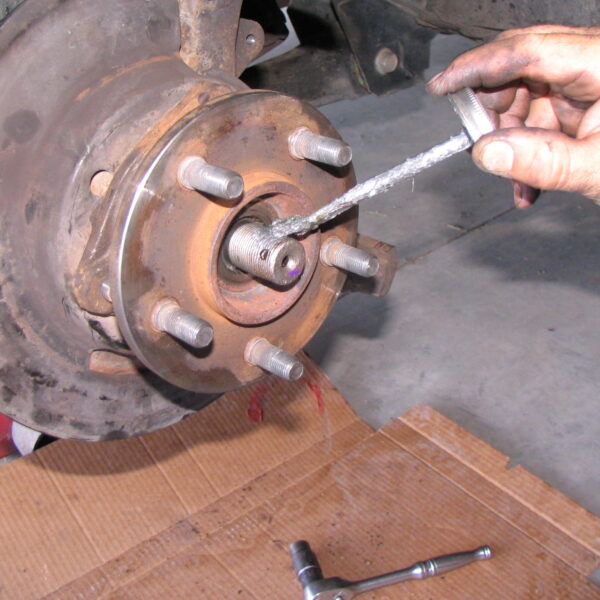
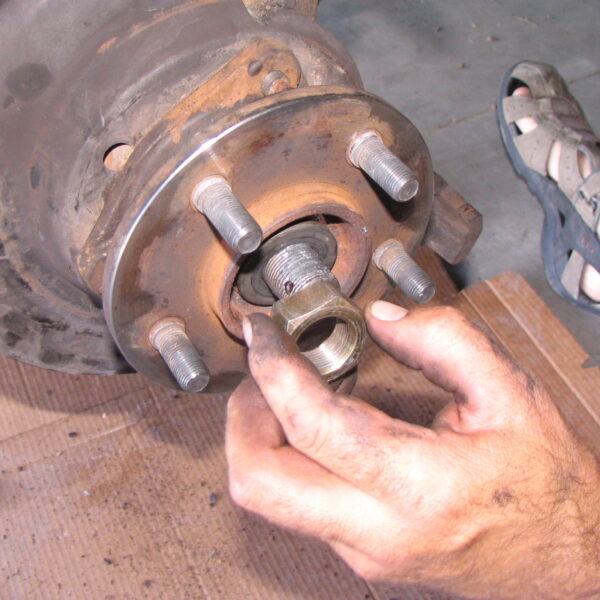
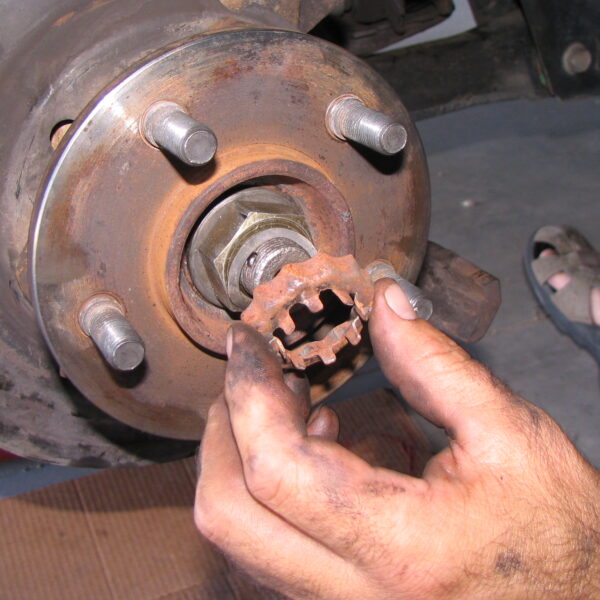
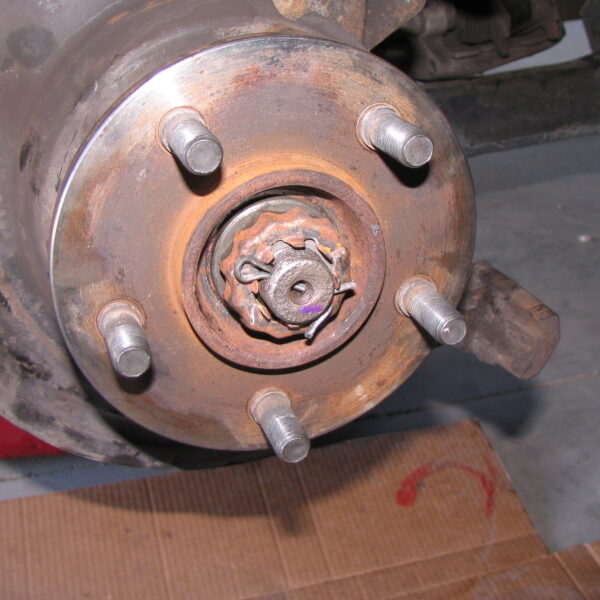
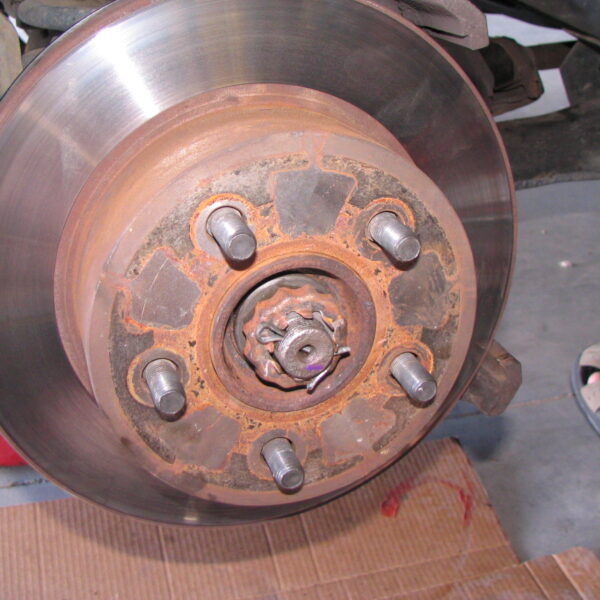
Next you will want to remove the cotter pin and retainer cap over the axle nut (make sure to keep the small, thin washer that is curved in shape for re-installation…. This is used to keep the cap from rattling); with those out of the way you will see the axle nut. Remove the axle nut and washer as well as the brake rotor (the brake rotor can be removed as soon as the calipers are removed if you choose to do so).
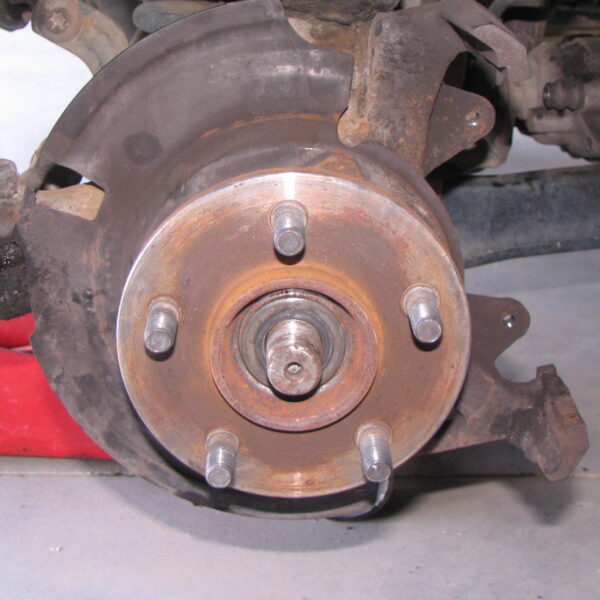
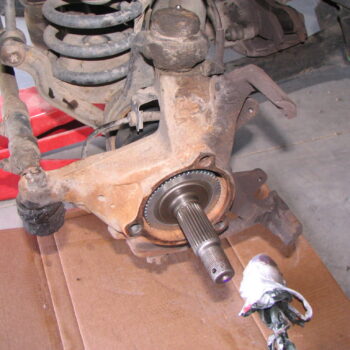
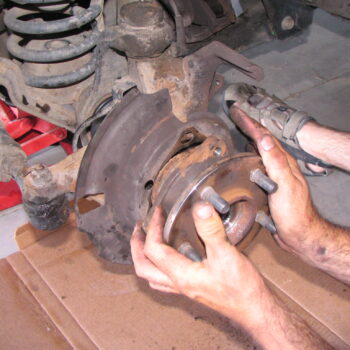
There are 3 bolts on the back side of the knuckle that hold the hub assembly on, remove the 3 bolts and remove the hub assembly and dust shield.
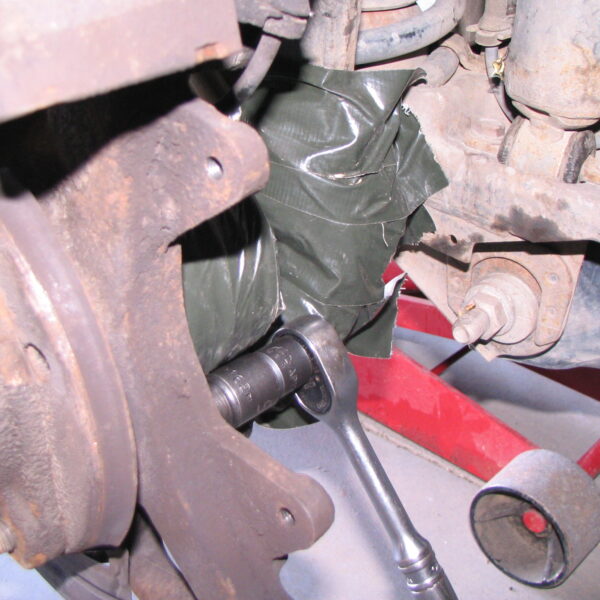

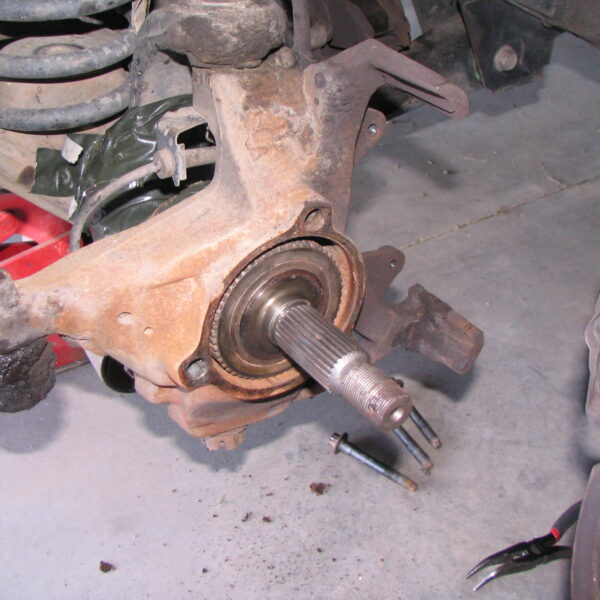
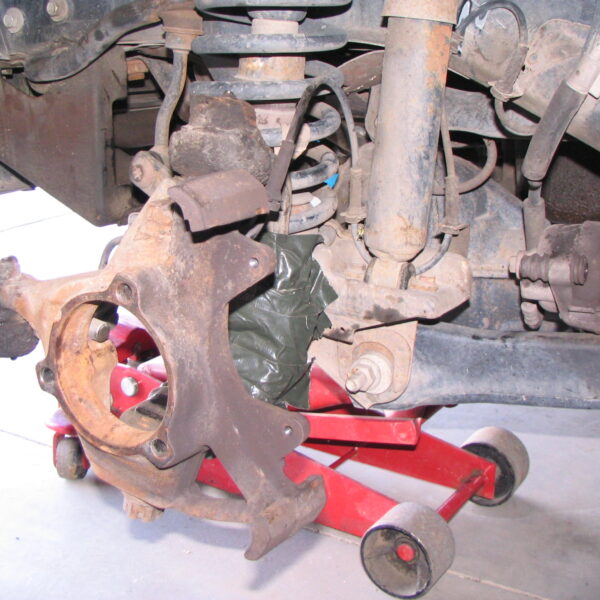
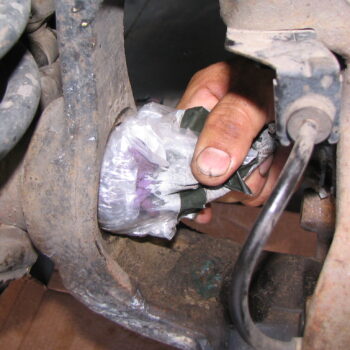
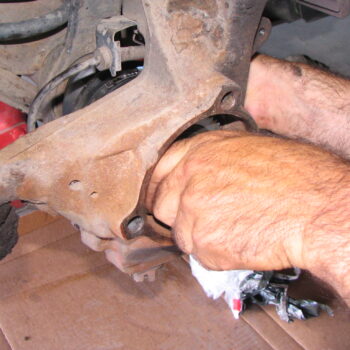
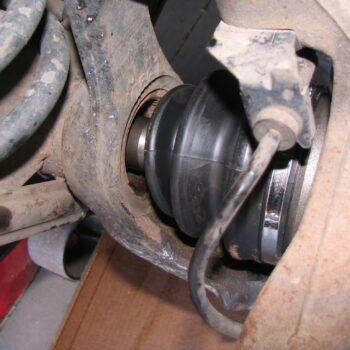
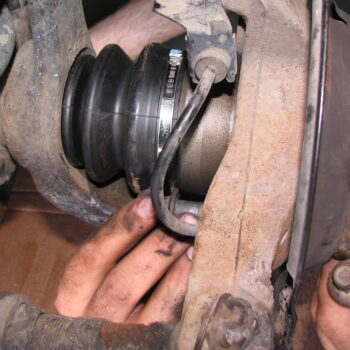
The axle is ready to pull straight out (it will help to have the wheels straight to allow you to pull the axle straight out). You will see in the pictures that the axle tube is sealed with duct tape; this is because this was an axle replacement after a trail fix was done to get the Jeep off of the trail (at the end of this write up I will detail how we used the outer axle to get us home).
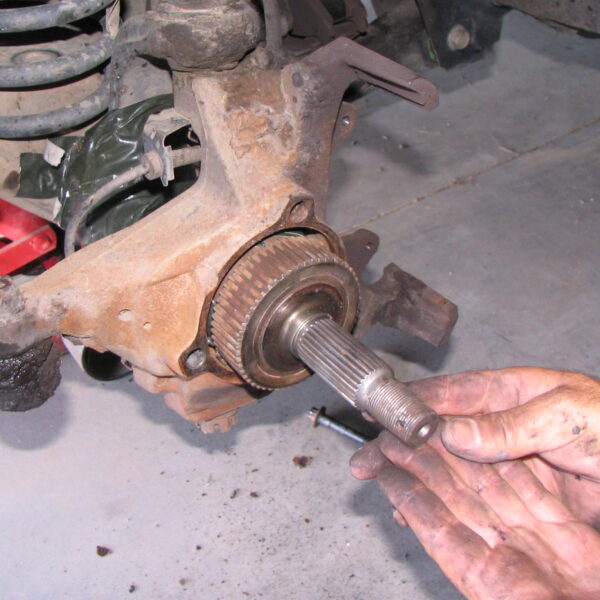
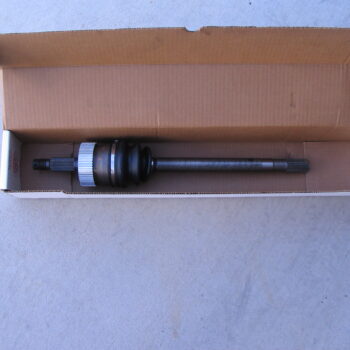
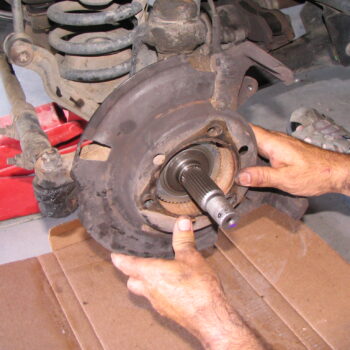
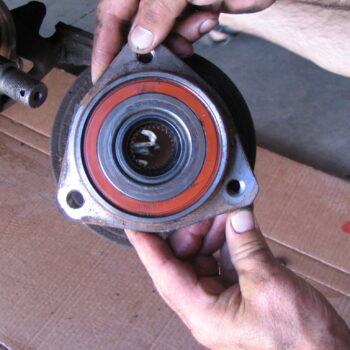
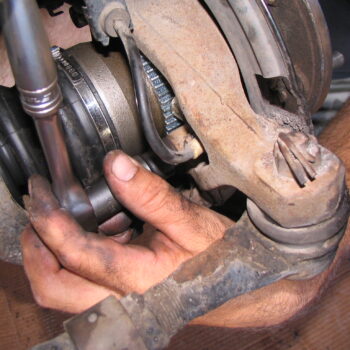
Prepare the new axle, hub assembly and axle tube for installation of the new CV axle by whipping any access dirt, debris or grease out of the way and making sure that things are clean (at this point the plastic bag we used to keep the axle tube clean with was removed by removing the tape and pulling it out). Now is a good time to visually inspect other parts to make sure there are no additional parts that may need replaced. With things cleaned and ready simply slide the new axle into place and turn it until the inner splines line up and slide into place inside the differential.
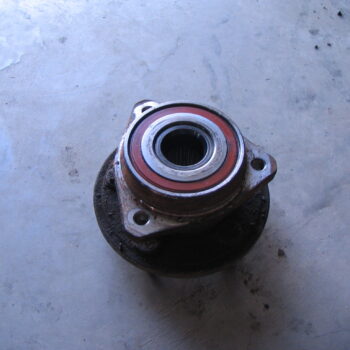
Now reinstall the dust shield, hub assembly and reinstall the 3 bolts that hold them in place and tighten.
It doesn’t hurt to put a little anti seize onto the axle to help with removal of the axle nut should you have to replace it in the future. With that done, install the washer followed by the axle nut and tighten followed by the rattle clip, cap and cotter pin.
Install the brake rotor, calipers and the two bolts that mount it all together thru the back of the calipers (you have to put the bottom of the calipers in first to make them fit into place).
Put the wheel back on (do not tighten the lug nuts completely until the vehicle is one the ground), lower the vehicle and torque the lug nuts to manufacturers recommended specifications.

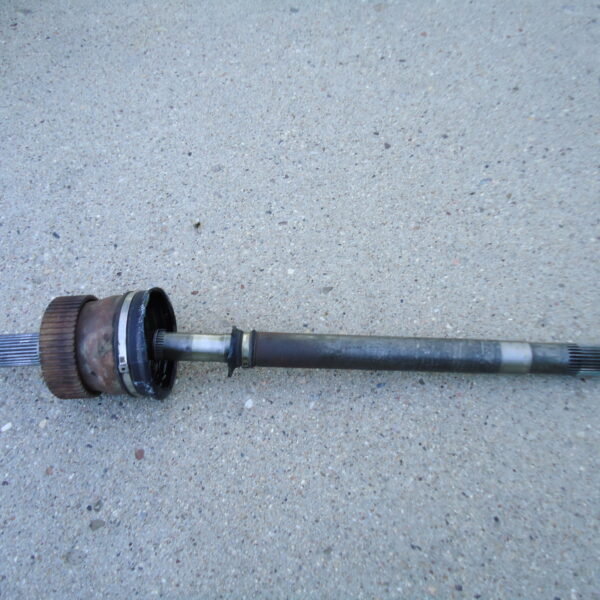
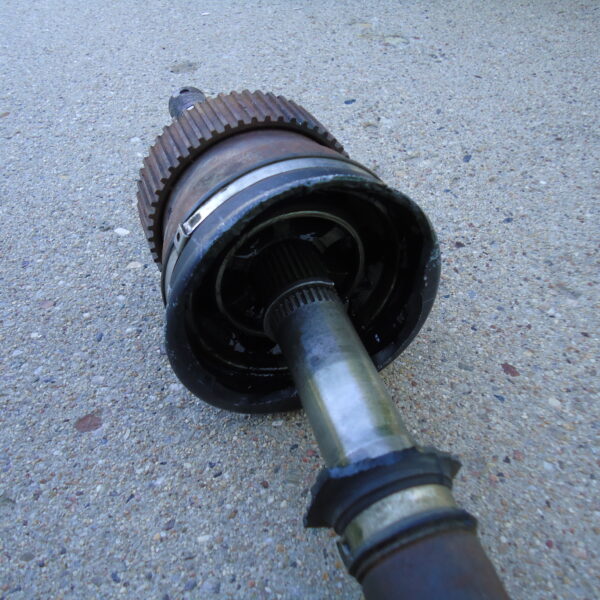
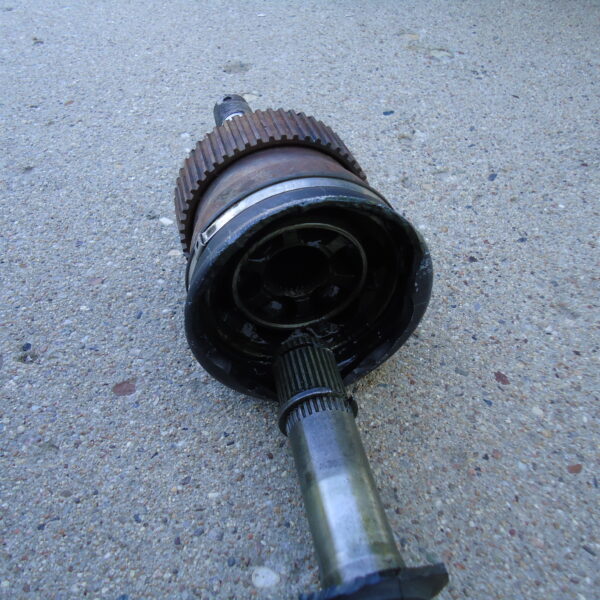
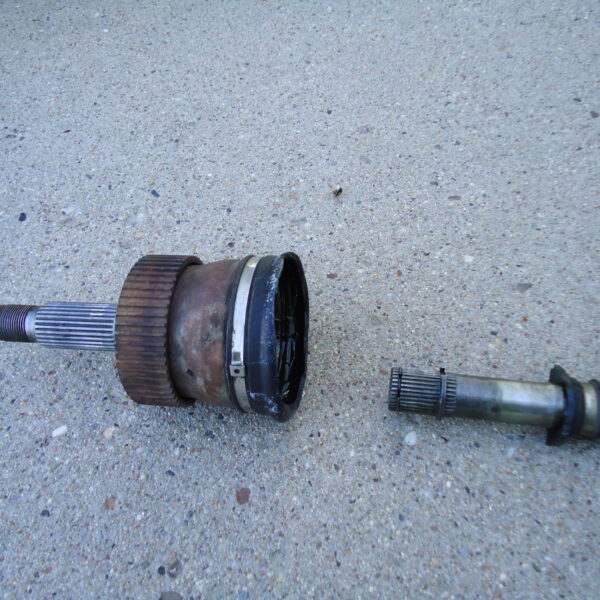
This repair came after a breakage on the trail, should you run into this scenario and need to get off the trail you can do so as long as you have the tools to get the axle apart and out. Once the axle is out you have to cut the rubber boot apart (clean some of the grease out if possible or it will sling everywhere when driving out), take a pry bar and pry the main axle shaft from the CV joint by prying by the C-clip. It will take a little work but they will come apart, once they are separated you can tape off the back side of the outer portion of the axle to reuse and keep as little of the grease from spreading as possible while driving out. Plug the axle tube with rags or a plastic bag and tape closed if possible to keep dirt and contaminants out of the axle tube.
Install the outer part of the axle as you normally would to keep the wheel bearing preload so you can bolt everything together to get off of the trail. Keep the inner portion of the axle as you will need it for a core when buying the replacement.