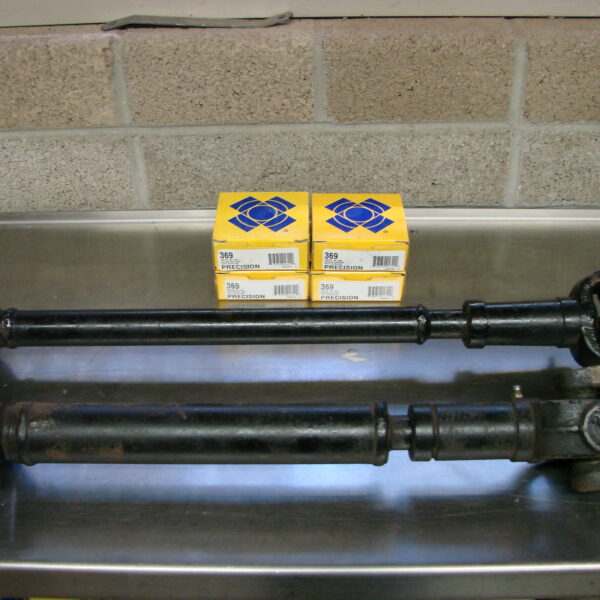
Replacing a u-joint is a common and relatively easy task; since we have the drive lines out of our old flat fender we figured now would be a great time to change the u-joints. Having the right tools makes the job easier, safer and will help ensure that you don’t mess up the new parts you are trying to replace the old with or damage other parts in the process.
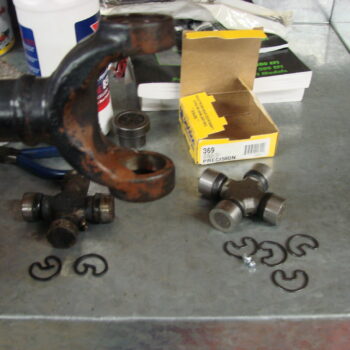
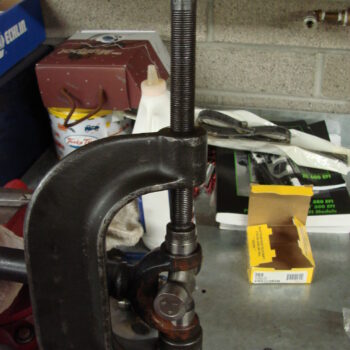
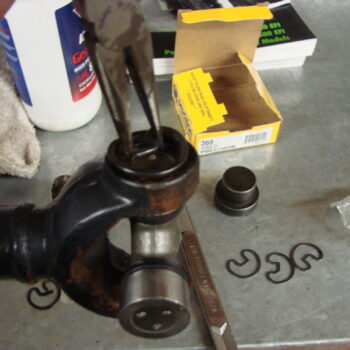
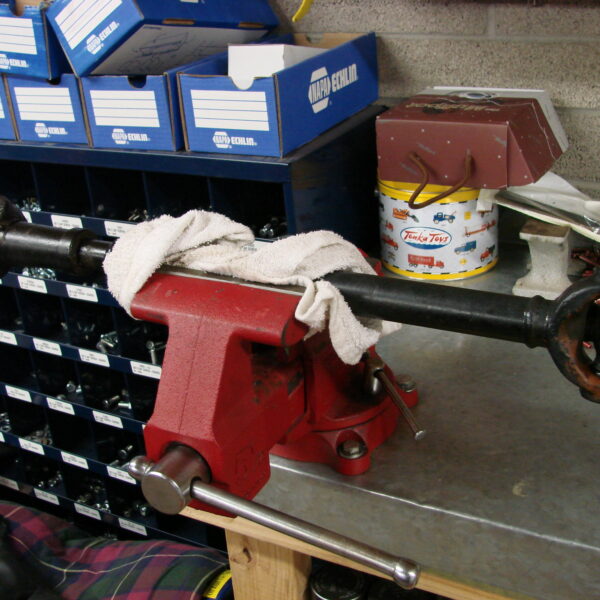
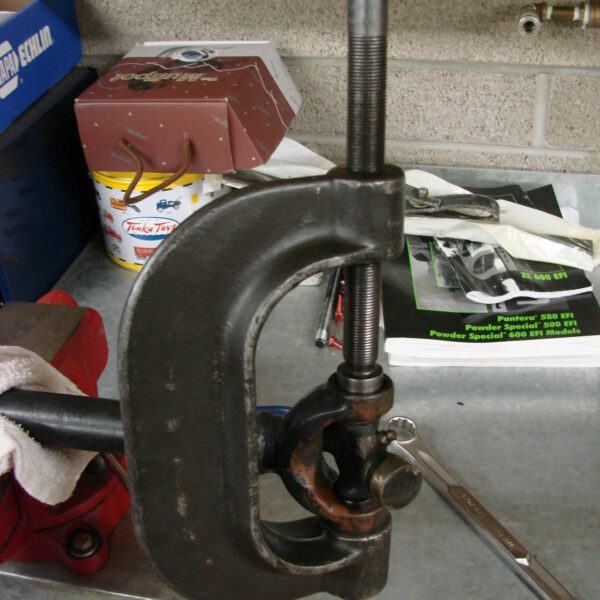
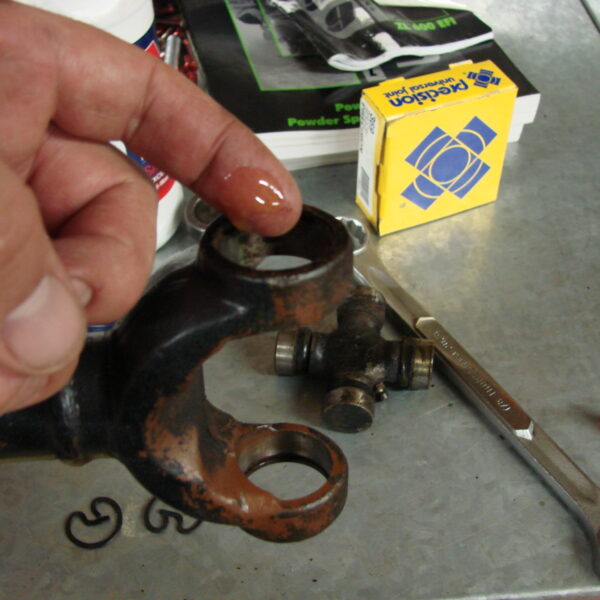
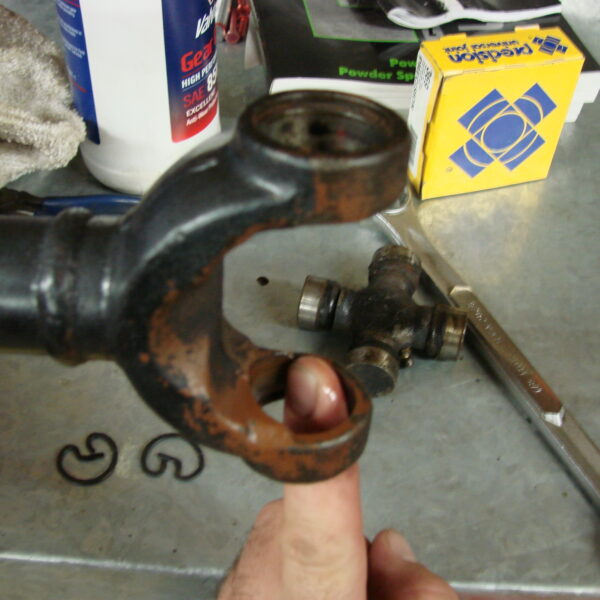
Securing the drive-line in a vice will help hold things in place while you are trying to remove the old u-joints. With the drive-line secured in the vice you simply remove the clips on either side of the yoke with a pair of needle nose pliers.
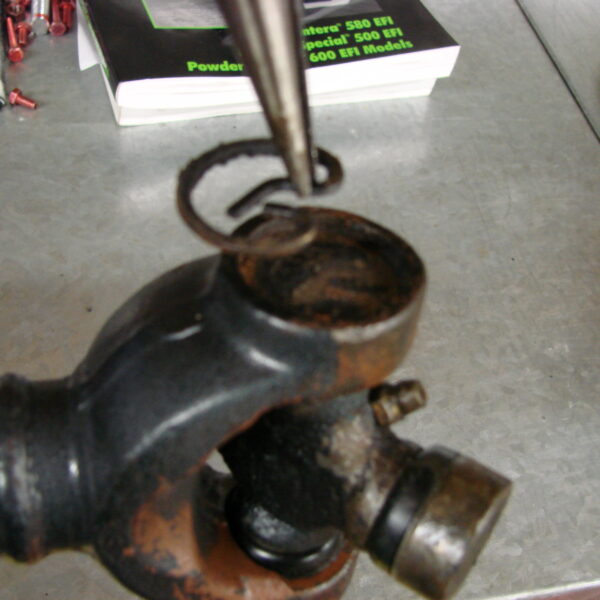
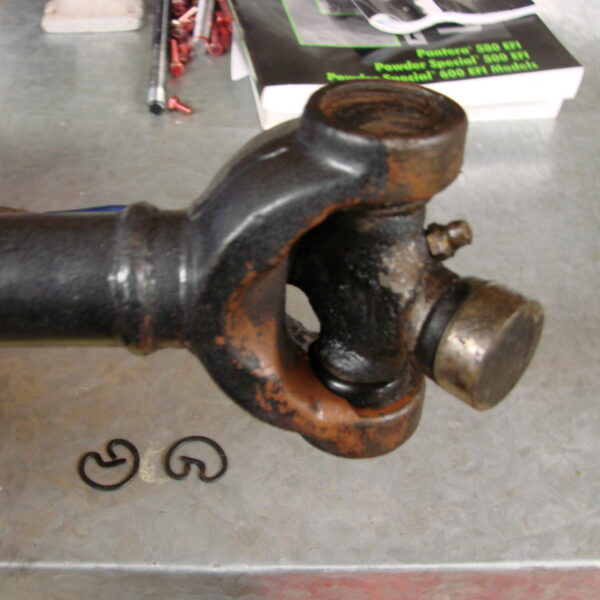
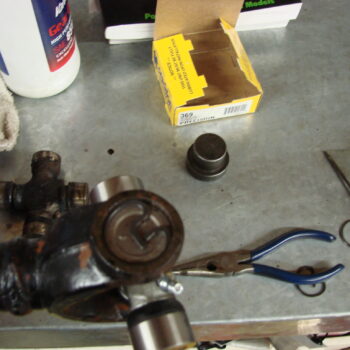
With the clamp we have we just tighten it down and the u-joint gets pressed towards the opposing side of the yoke. If you don’t have access to one of these clamps used to press u-joints out you can use a brass drift or a hardened socket (like an impact socket) to drive the old one out. Once the u-joint has slipped out of the yoke you just need to remove one of the needle bearing caps and the u-joint can be removed from the yoke.
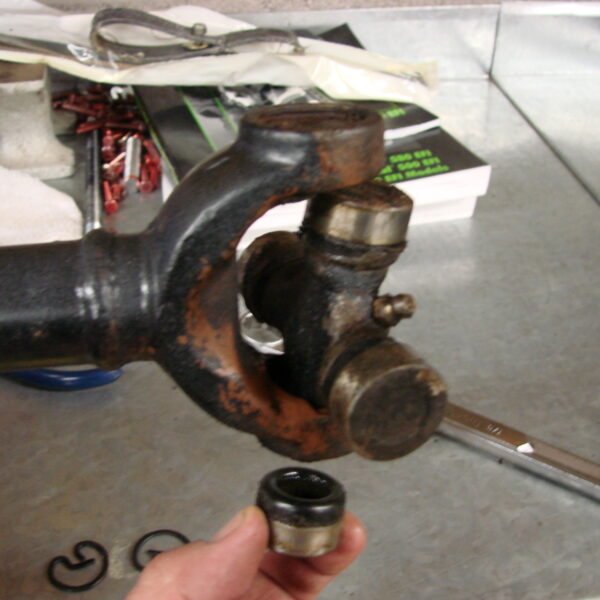
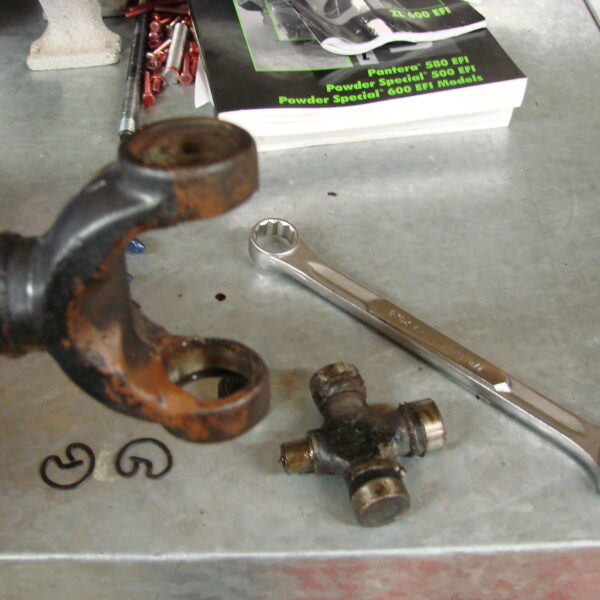
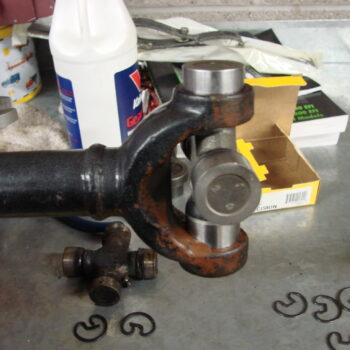
Once the old joint has been removed it is good to clean out the yoke and slightly lube it to assist in installing the new one.
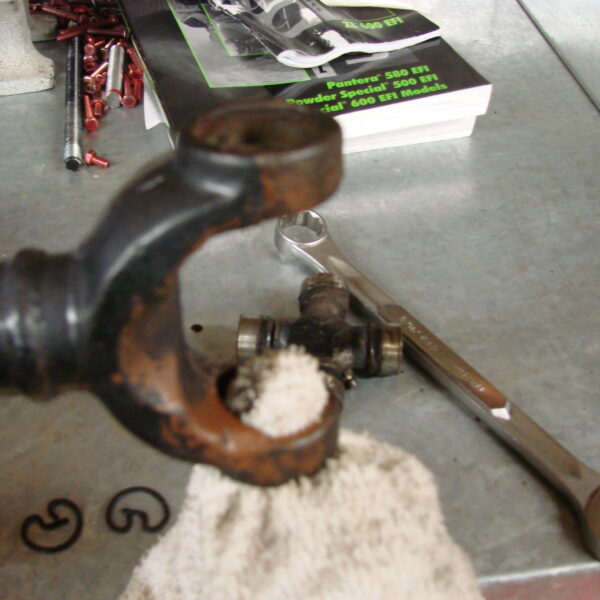
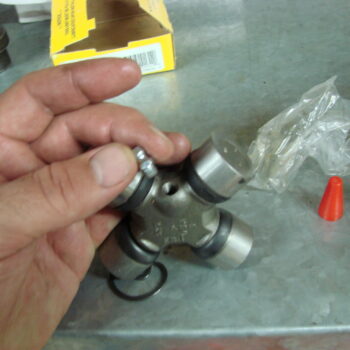
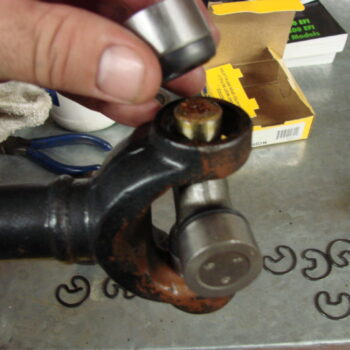
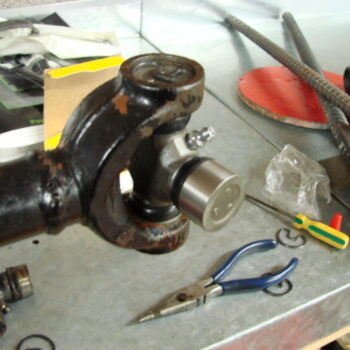
Our u-joints were supplied by NAPA Auto Parts and with the old one out it is time to put the new in. Most u-joints will come with new clips. These are greasable joints and will have grease zerks that will need to be screwed in during the installation. The install is reverse of the removal, place the u-joint in and put the cap over the one end that had to be removed in order to place it in the yoke and simply press it back into the yoke; install the new clips and you’re ready to go. Don’t forget to grease the u-joint.