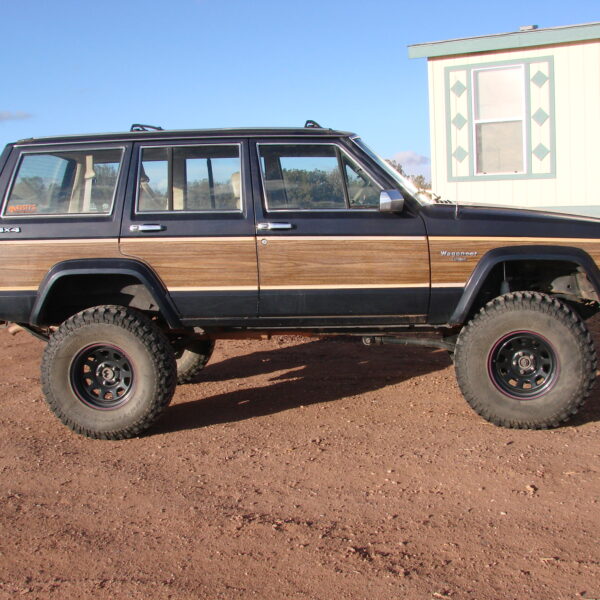
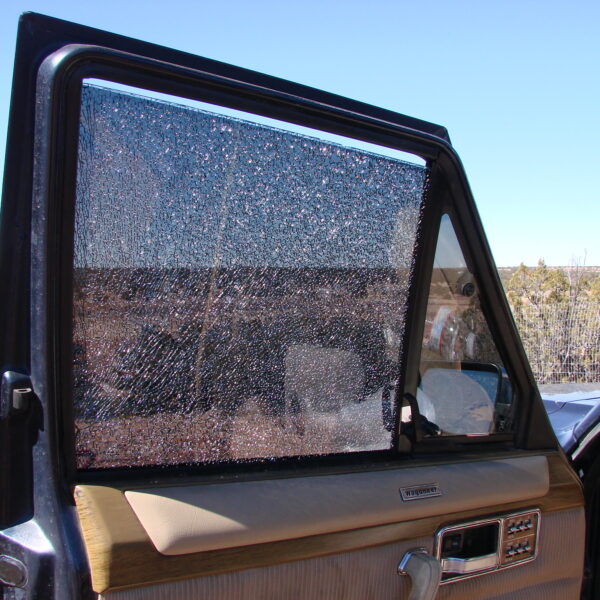
Sometimes when you’re out wheeling things happen, sometimes you blow a tire, pop a bead, break an axle… This time a rock broke my window but not bad enough that the glass came flying in at me. Follow along and we’ll show you how to tint a window should this happen to you or if you’re just in the mood to tint your windows for a little reprieve from the summer heat.
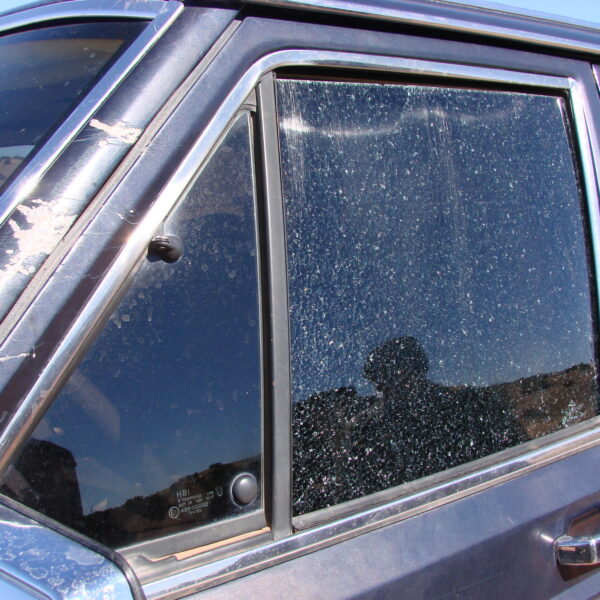
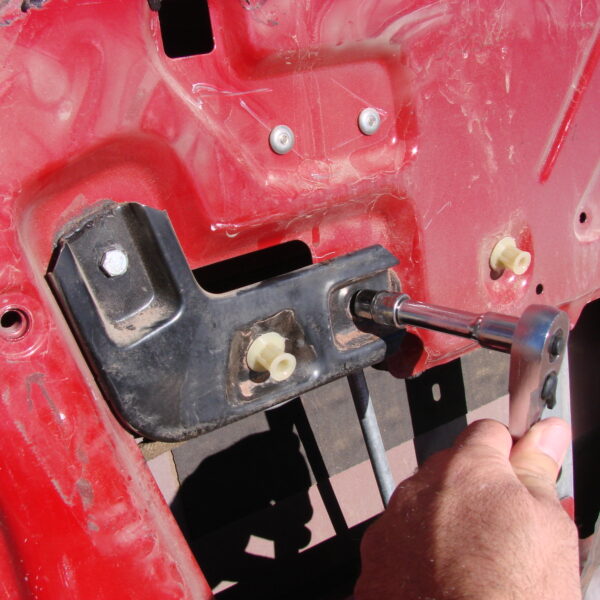
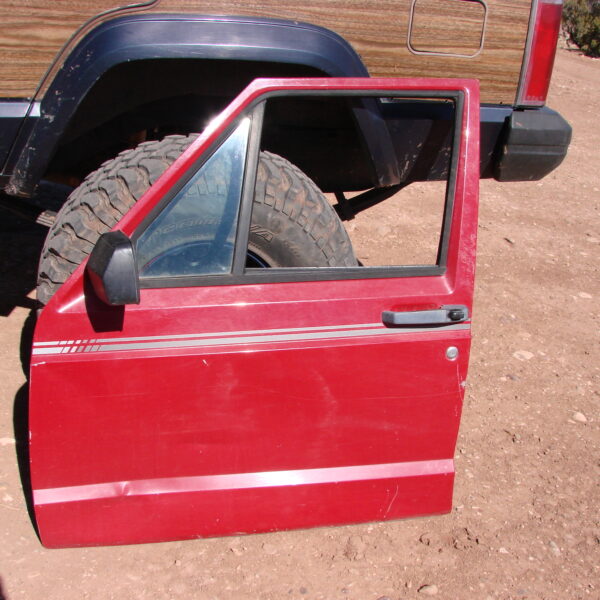
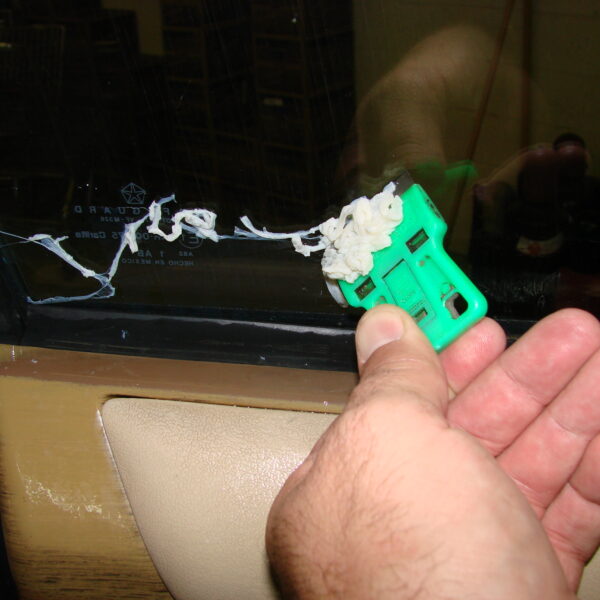
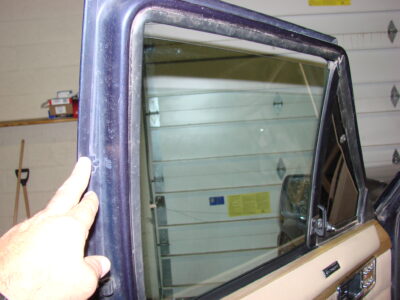
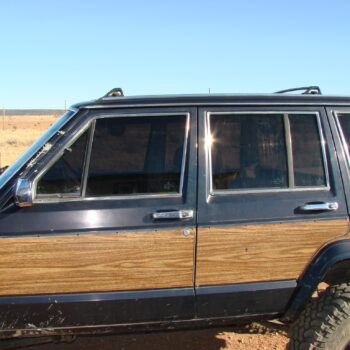
First the old glass had to come out so the new could go in, I found a donor window and pulled the replacement glass from it.
With the replacement glass out and ready it was time to start the tinting process.
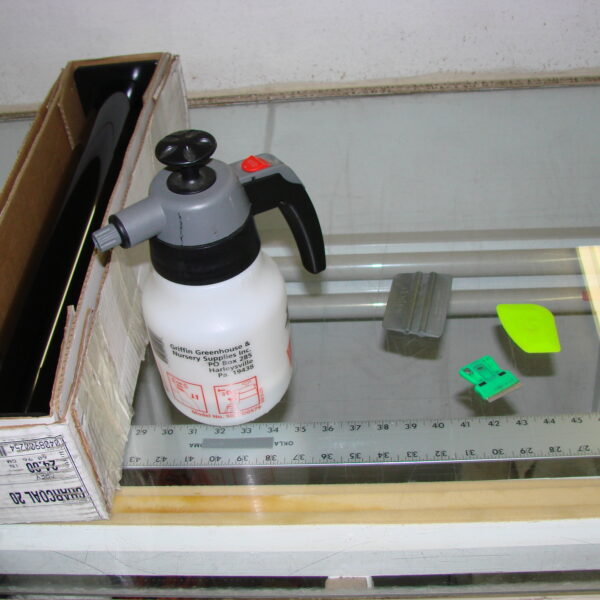
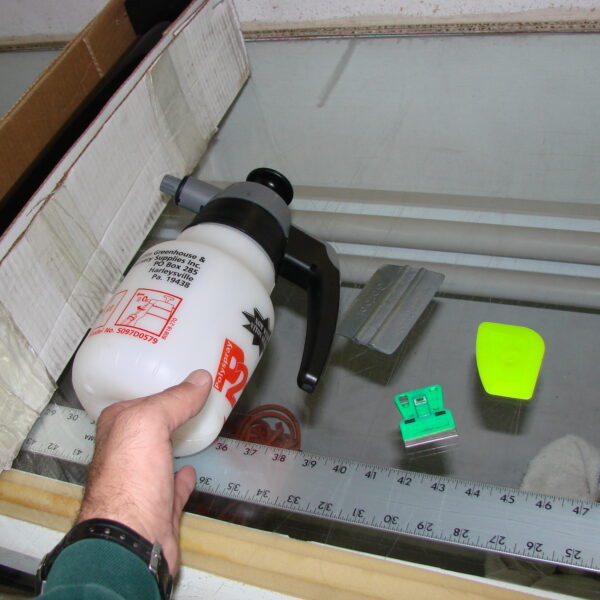
There are a few tools you will need for tinting, most of which will come with a tinting kit if you buy it from one of the local automotive parts retailers, otherwise you can buy them individually. A good utility knife, scraper, a spray bottle, some common dish washing soap and tinting squeegees. Note: Make sure your squeegees are smooth, use 1000 grit sand paper to take any rough edges off so you don’t scratch the tint when you’re doing the install.
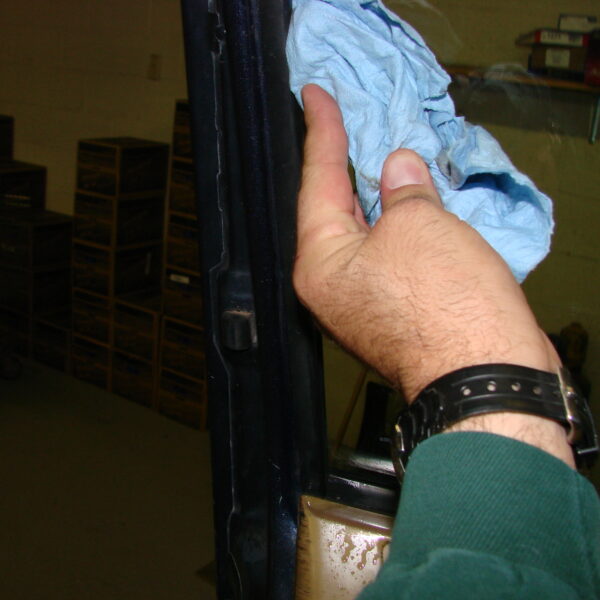
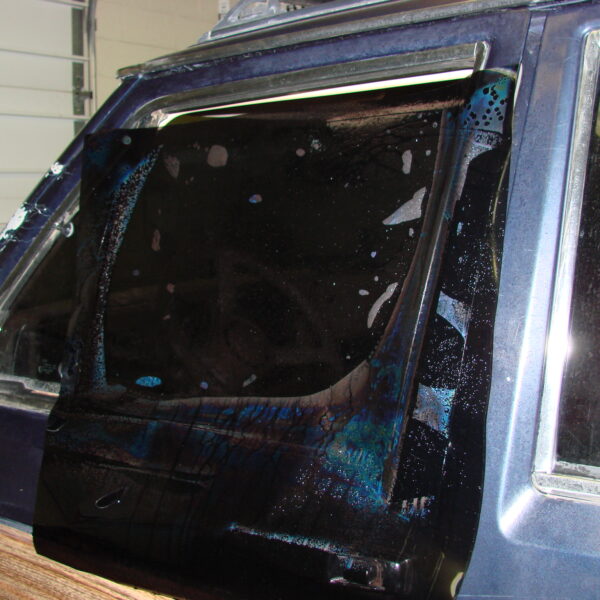
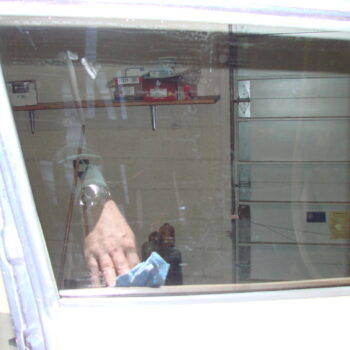
Next you’ll want to clean the window to make sure that there is no dirt or debris that will show up under the tint to create a flaw. This window had tint on it previously so we had to scrape the old glue (even though you can’t see it) off before we would be able to install the new tint. For this process you will want to wet the window with a solution of water and a few drops of dish washing soap. This will soften the old glue and allow you to scrape it off and prep the window for the new tint. Make sure that you clean all of the old glue up and out of the way so it doesn’t wind up interfering with the install of the new. Be sure to clean in and around the weatherstrip too, it has a tendency to hold a lot of dirt that will show up in the edges of your tint and ruin your efforts so clean it thoroughly before attempting to tint the window.
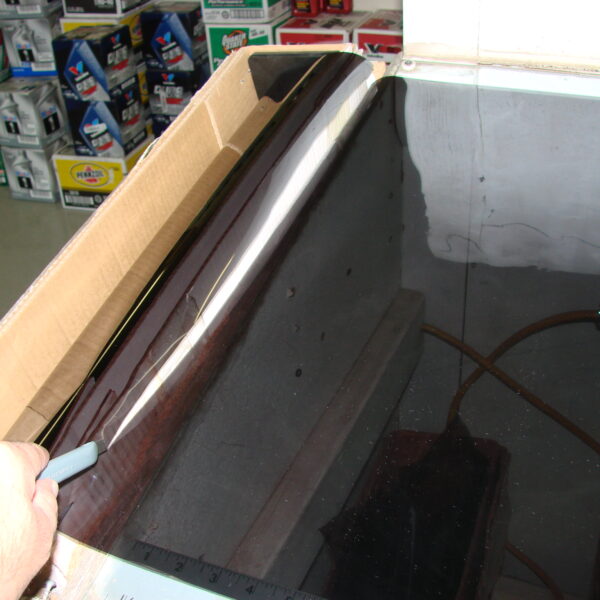
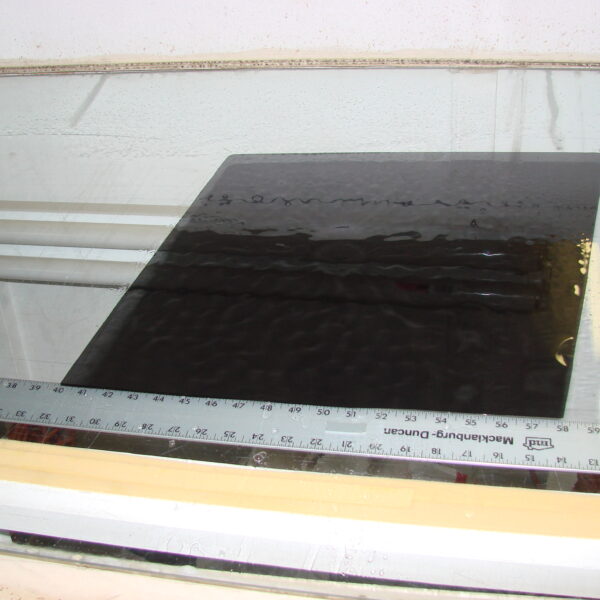
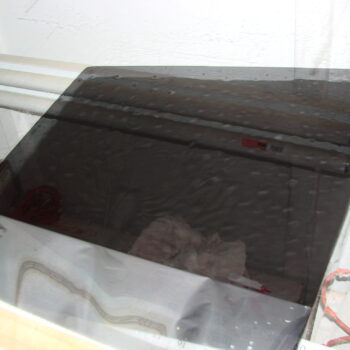
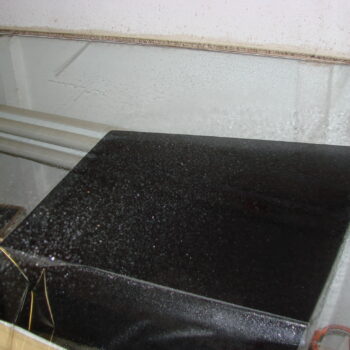
Now it’s to make the pattern for your window, if you wet the outside of the window and put the tint on it you can make the pattern much easier. Make sure you squeegee to the edge of the window before you cut or it will be too small and once you cut it there’s no going back. For this step you will want to identify which side has the glue (it will be the side that has the clear layer). The reason for this is because if you have it backwards you will be making a pattern for the opposite window.
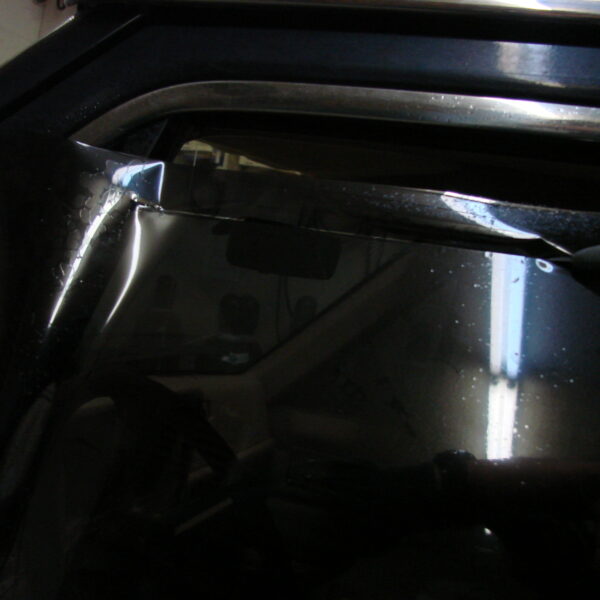
Once you have the pattern cut clean up the edges. It does help if you have a decent table to work on, trimming will help prevent any rouge edges grabbing the weatherstripping and peeling the tint if you roll the windows up or down. You also want to round or square off the corners for the same reason. When you first cut the patter you should leave it a little long so it will be able to be tucked under the bottom weatherstrip which will protect it from hitting the bottom edge when rolling the window up and down causing it to peel.


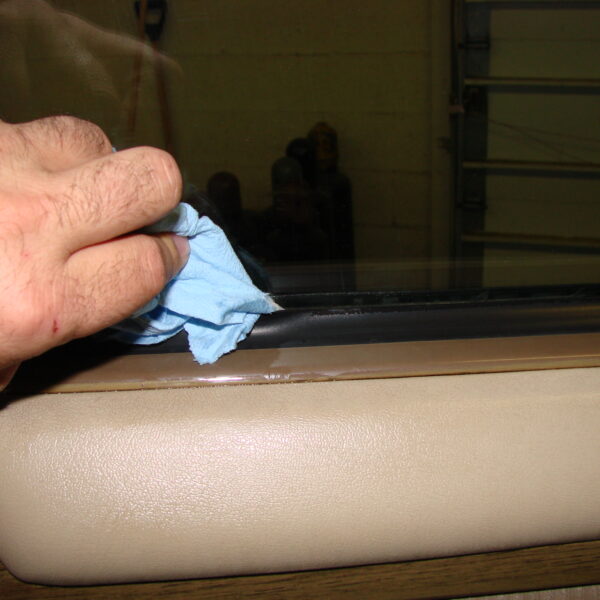
Before you apply the tint that you have just cut on the inside of the window make sure it is cleaned one more time in case there are dust or dirt particles floating around in the air that may have landed on it. Blue shop towels work great for cleaning since they don’t leave lint like a regular paper towel does.
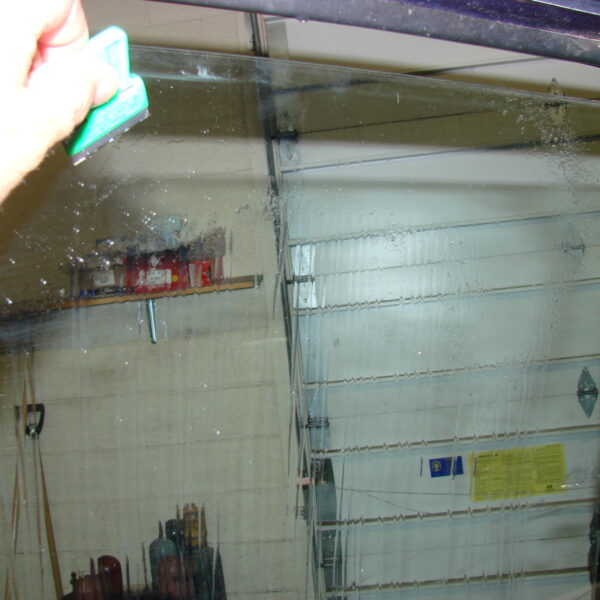
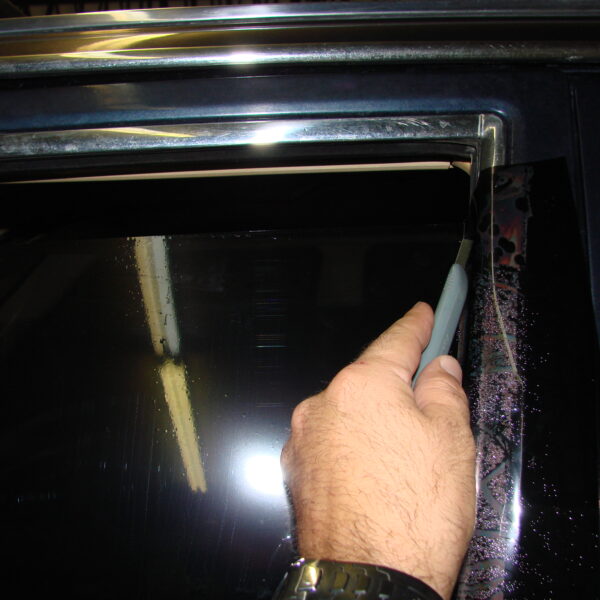
Now that it’s time to tint, use your knife and peel back a small corner on one of the upper edges and wet it with your soap and water solution. This will make it easier to grab and peel after you wet the glass in preparation for tinting. When tinting you want to move fairly quick since there is always a certain amount of dust particles floating around in the air and you don’t want them on the glass in between your tint.

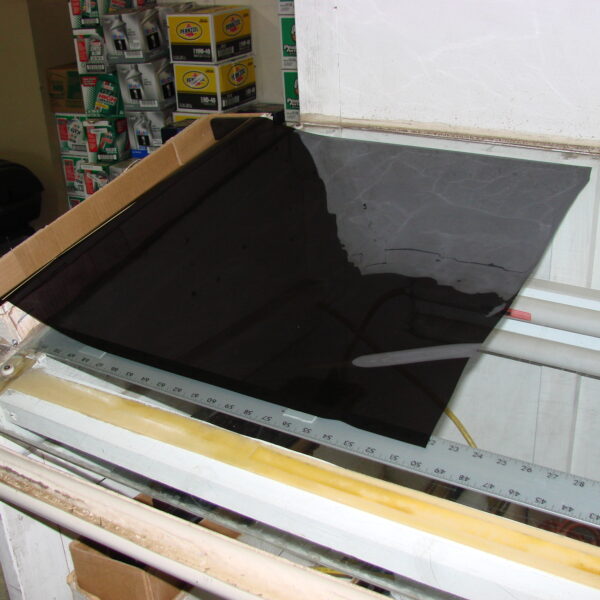
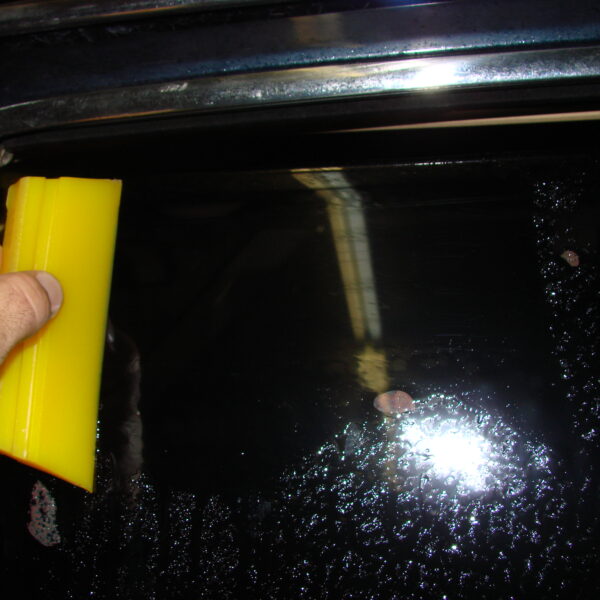
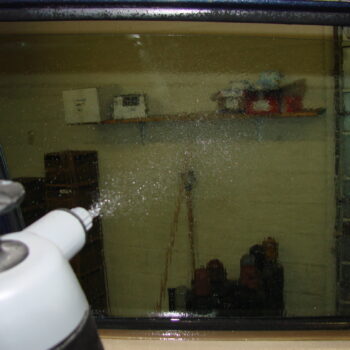
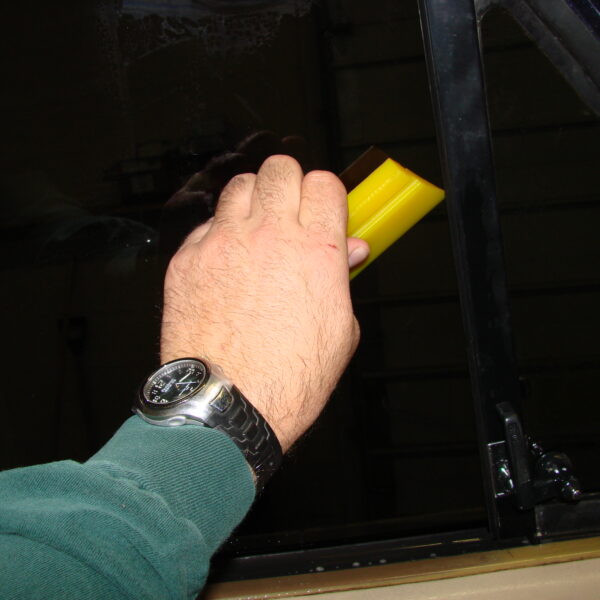
Now that you window is clean and you have the edge ready on your tint go ahead and liberally spray the window with your soap and water solution. It works best if you spray from the center out so you don’t flush any debris into the area you will be tinting. Once the glass is wet peel the clear liner on the tint about two thirds of the way down and wet the tint to activate the glue. With the window and tint both wet put the glue side on the glass and slide it into place, you will want a small gap on the top of the window to seat the tint so it isn’t hanging over the top edge creating a edge that can catch on the weatherstrip and get peeled off when rolling the window up. At this point (or any time your squeegeeing) make sure the surface is also wet. It will allow the squeegee to slide and not grip the tint and wrinkle it while you are trying to remove the water from in between the tint and the glass.
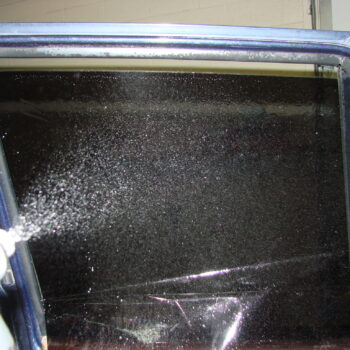
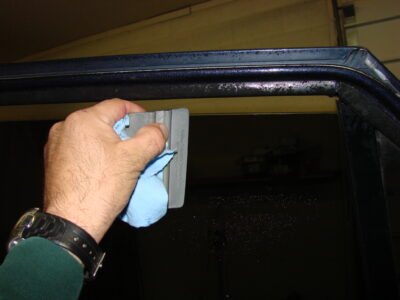
Once you have gone over the tint and gotten it into place with a soft squeegee use a hard one to attach it more firmly. As you squeegee your intent is to push the excess water out and the now activated glue will adhere to the glass. Be careful not to squeegee too hard as the glue will not be set and the tint may slide or wrinkle. You want to be firm with it but not too agressive or it will ruin your tint.
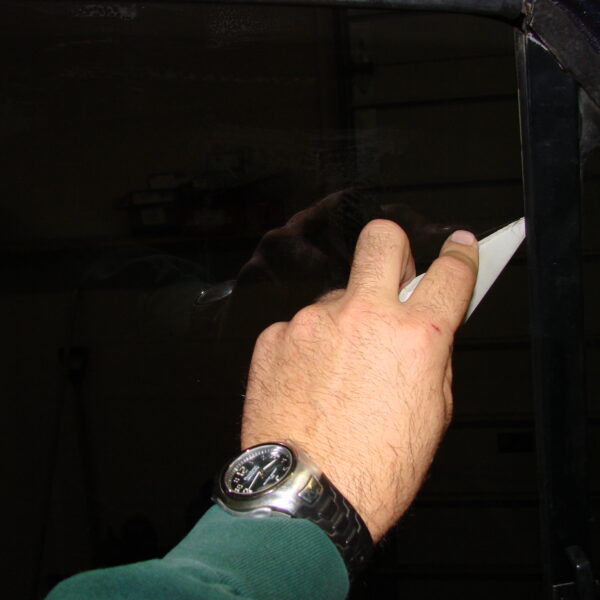
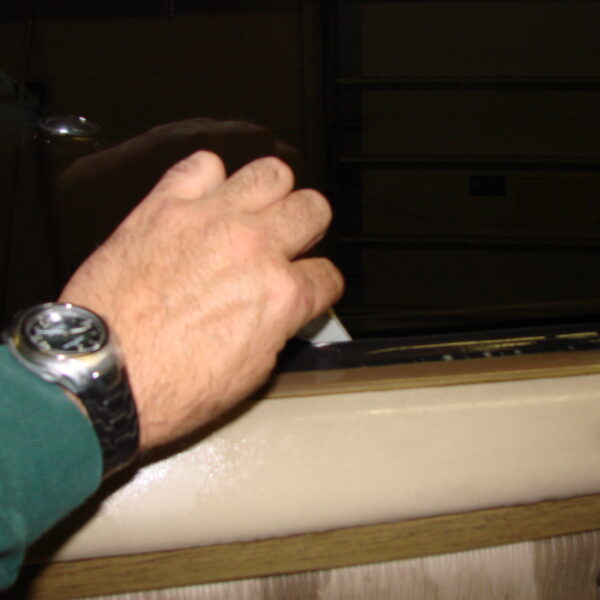
Gently wipe away any water that may be at the top edge of the window and carefully roll the window up in preparation for tinting the remainder of the glass. With the window rolled up you will want to flush out the bottom half of the glass in case there was any dirt washed into the lower portion of the glass. With the surface good and wet you will want to carefully remove the remaining clear liner and wet the now exposed tint. When you first cut the patter you should have left it a little long so it would be able to tuck under the bottom weatherstrip once again protecting it from hitting that edge when rolling the window up and down which will cause it to peel.
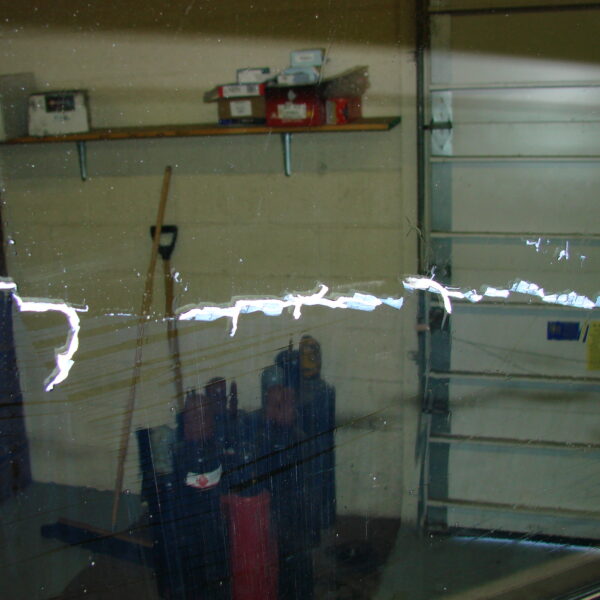
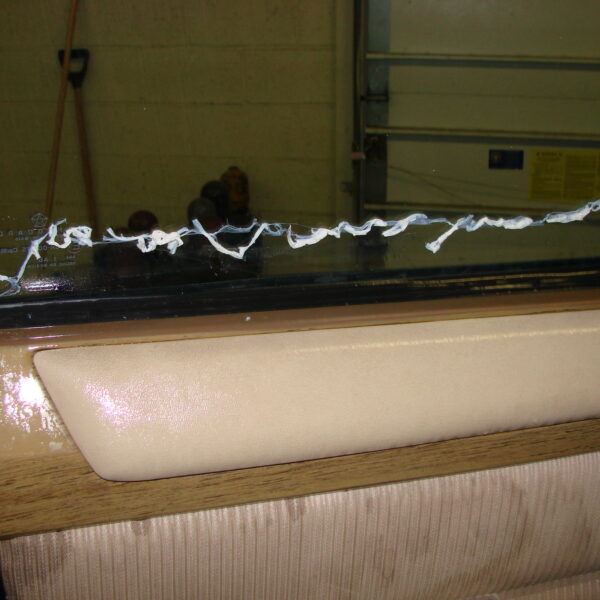
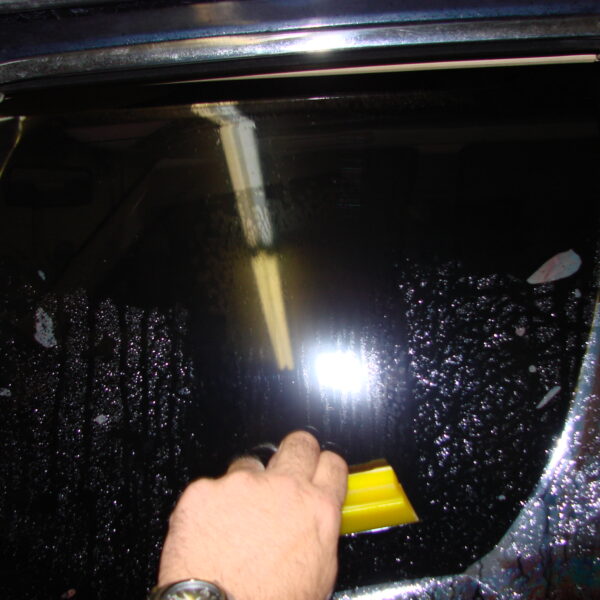
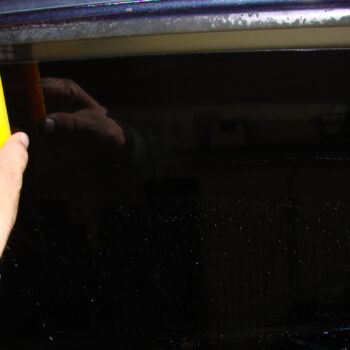
With the tint now in place you will want to squeegee all of the remaining water out from under the tint. You will want to use the soft squeegee once or twice and then follow up with the hard squeegee to get all of the remaining water out. If you can get your hands on a “windshield bone” from a glass shop it will help you tuck the tint into the edges and manipulate the weatherstrip.
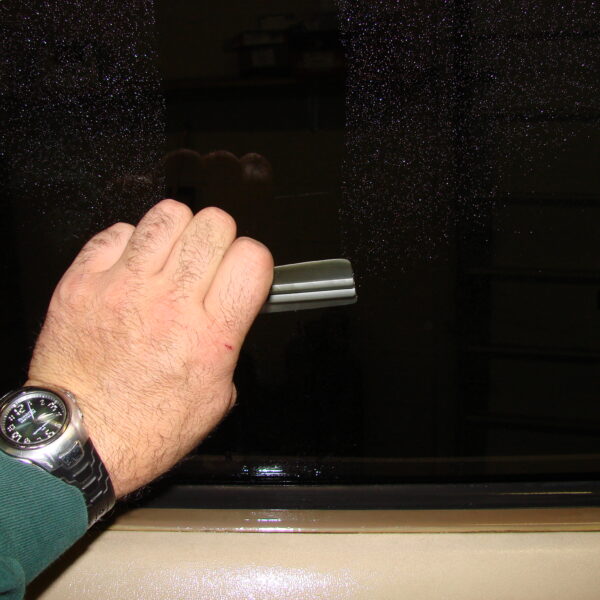
Make sure you squeegee all of the water past the edges of the tint and not just to the edge of the glass otherwise you will be left with bubbles in your tint and an improperly adhered piece of tint. With that done you can VERY GENTLY clean the tint. It will take about 10 days for the tint to fully adhere so park it out in the sun if you can and this will help the drying process. DO NOT roll down your windows for 48 hours to allow the tint to fully adhere to the glass. During the drying process you will see a hazy look to the tint, that is normal and is just the glue that will dry and become transparent.
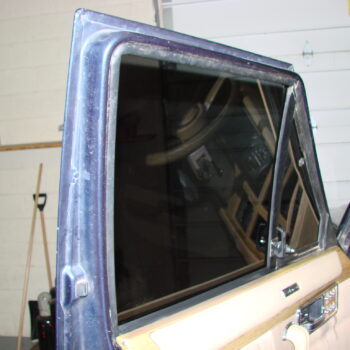
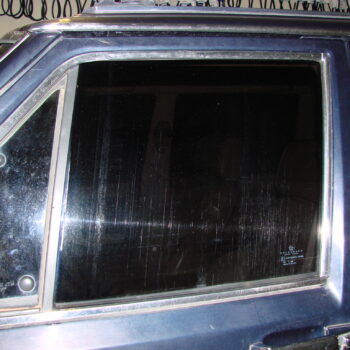
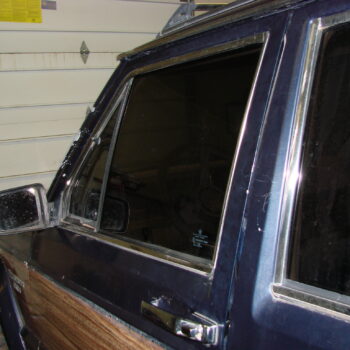
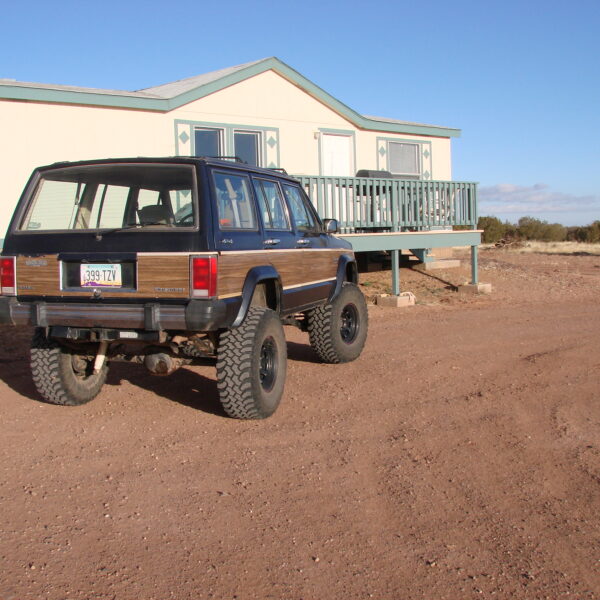
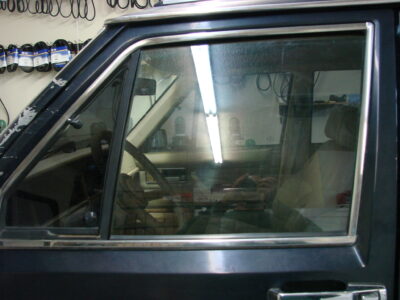
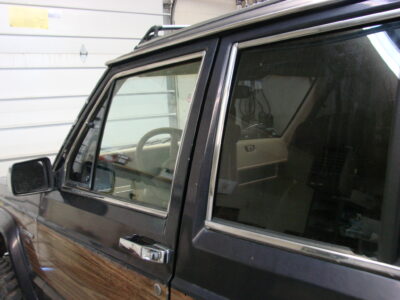
This tutorial was for the repair of one window, below are a few pictures showing the complete before and after when we originally tinted this Jeep.