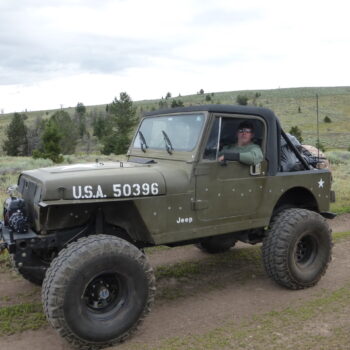
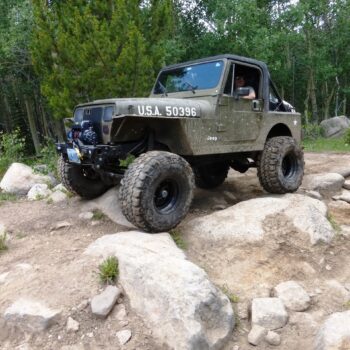
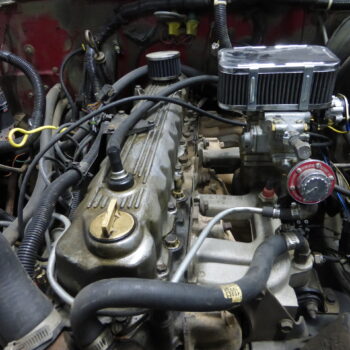
If you’re driving an old CJ or possibly an early YJ, there’s a good chance you’re still running the stock carburetor and fuel system. If so, and you travel to different elevations or stuff it into extreme angles, you may be dealing with the familiar affects of altitude or angle choking the life out of it.
This was a common occurrence with one of my old Wranglers, a 1988 YJ. Most of the emissions from the factory had been hacked by previous owners over the years as we commonly see on Jeeps of this era. After deliberating on whether I should spend the money to go with fuel injection or, (what was closer to my budget) a “better” carburetor that could handle the angles and elevation. In the end I took the (perceived) affordable route and went with what was supposed to be an upgrade in carburetion, a Weber.
After running the new carb for a year and still dealing with many of the same issues, overcome by frustration, I decided to take the leap and get a fuel injection system. With so many options to choose from I opted for the Howell system since they have been in the game as long as they have and a positive reputation for quality.
“The Install”
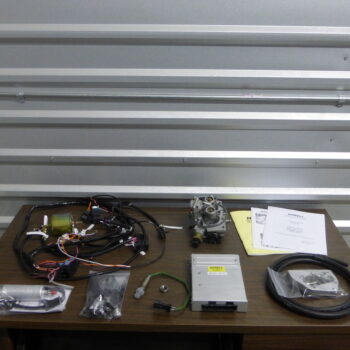
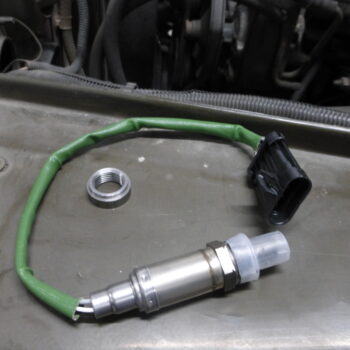
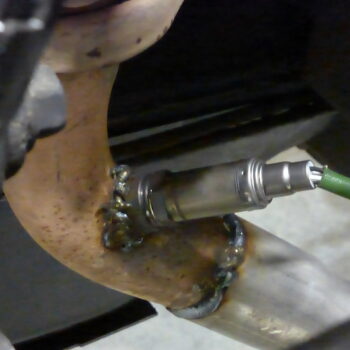
In order to install the new EFI system we obviously had to remove the old carburetor and associated components. Before dismantling things we had one small step that we wanted to do while the Jeep was still mobile. After spreading all of the components out from Howell to confirm everything was there, we took the Jeep to the exhaust shop to weld in the new Oxygen Sensor bung.
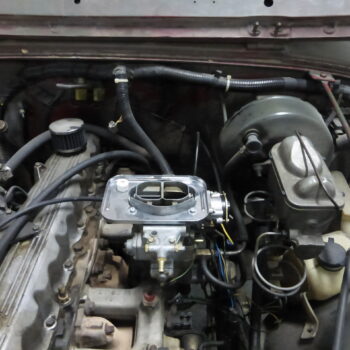
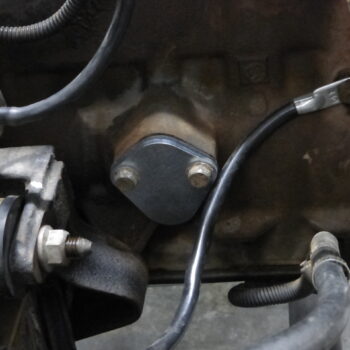
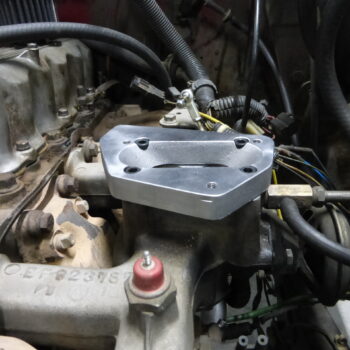
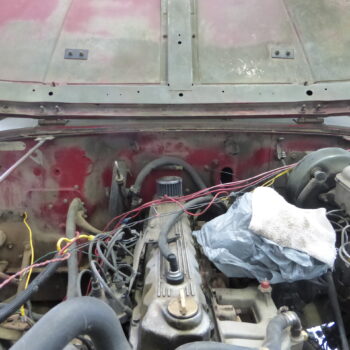
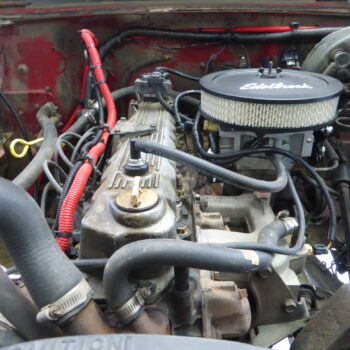
The removal was a pretty straight forward process; we took the air cleaner, carburetor, fuel pump and lines off first. With those out of the way, we installed the mounting plate for the new throttle body. (During the short time the intake manifold was open we taped it off so nothing would fall in that we may have to fish out later).
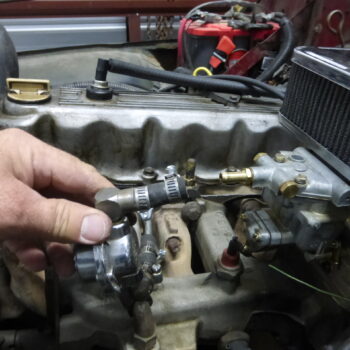
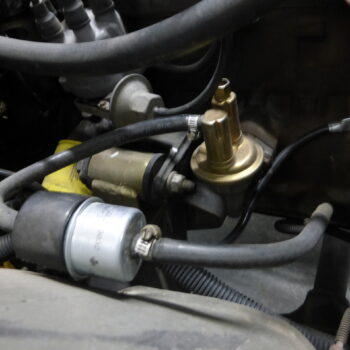
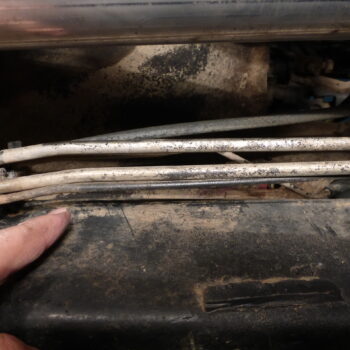
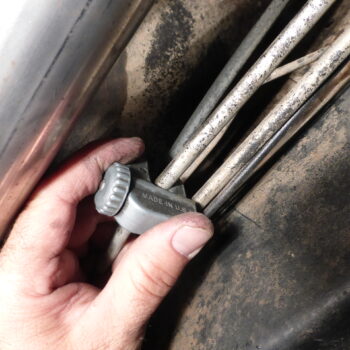
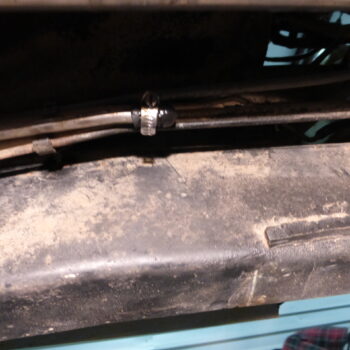
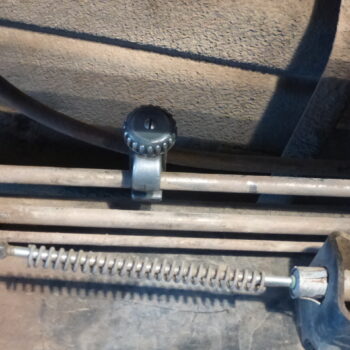
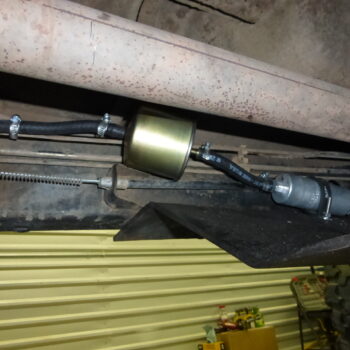
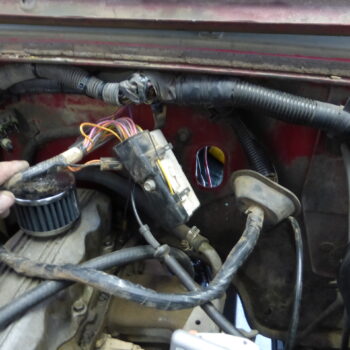
Next we removed a section of the fuel supply line as well as the return line to the fuel tank. With a small pipe cutter, we pulled the lines away from the frame far enough to allow the cutter room to move. Once the supply line was cut, we capped it and cut the return line per the instructions. We mounted the new electric fuel pump, filter and reconnected the two lines to the new throttle body.
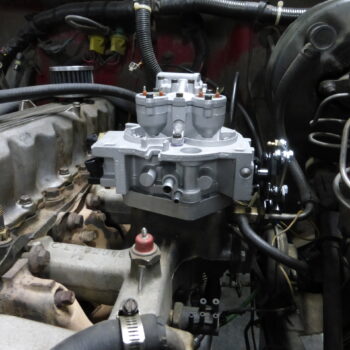
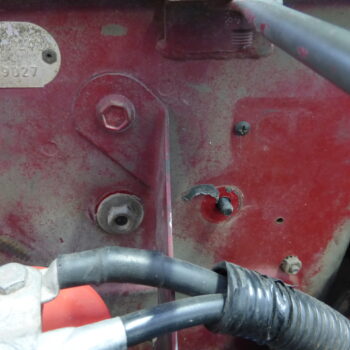
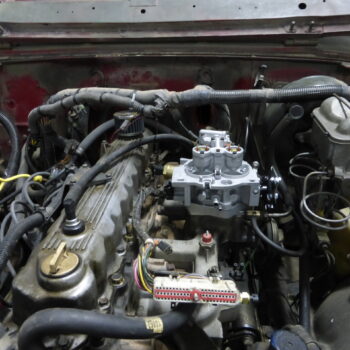
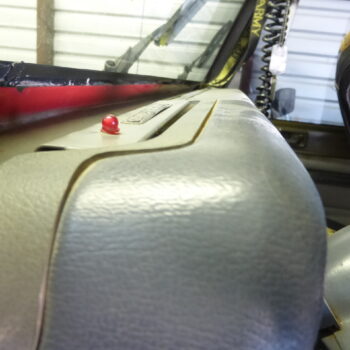
The following step we did in stages, with the throttle body mounting plate mounted to the intake we added a few globs of RTV Sealant. It needed to be mounded slightly on top of the mounting bolts so it would assist in sealing the plate and throttle body (notice the red arrows in the picture where the sealant was added). We let the sealant dry for a few hours before mounting the throttle body so it would have enough time to set up.
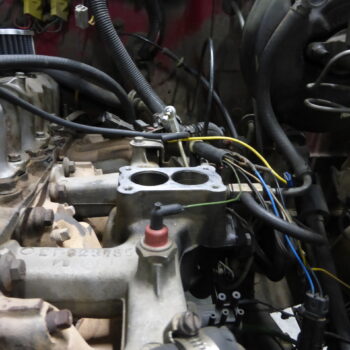
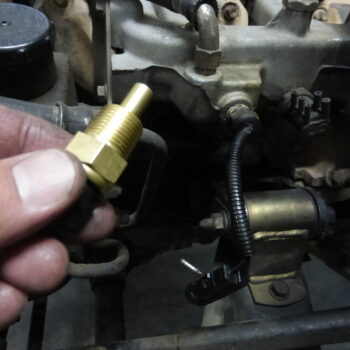
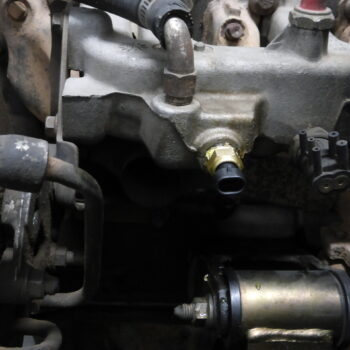
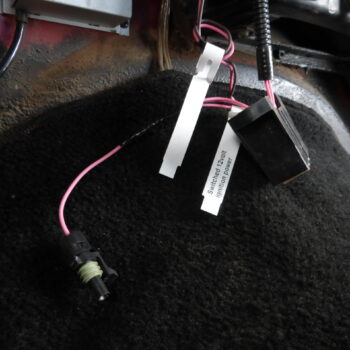
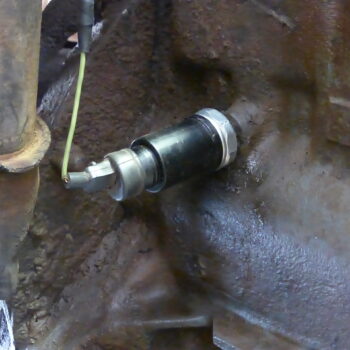
While waiting for the RTV to set up, we removed the old coolant temperature sensor and installed the new one. With the new sensor in place we gathered and wrapped up the wires we unhooked from the carburetor. We marked and saved a few of the existing wires since they would be utilized in addition to the new wiring harness from Howell.
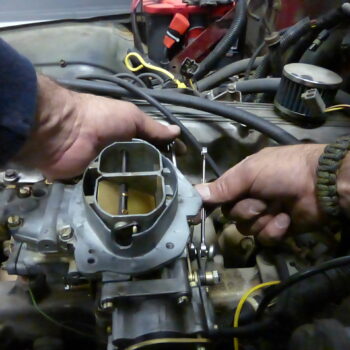
Once the RTV had set up, we mounted the throttle body and put a rag in place to ensure we didn’t drop anything into it that would cause up problems later.

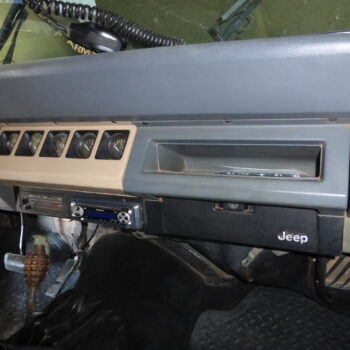
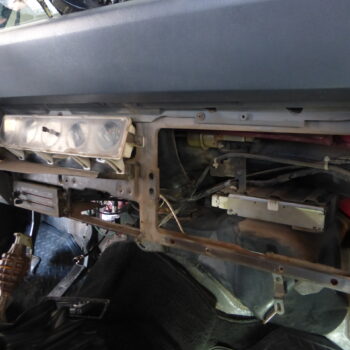
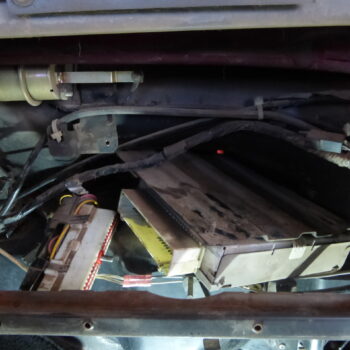
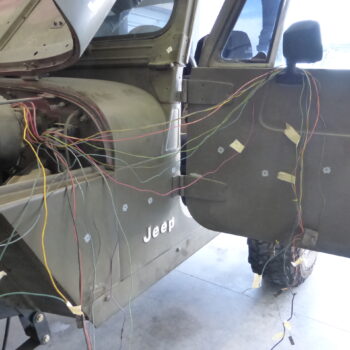
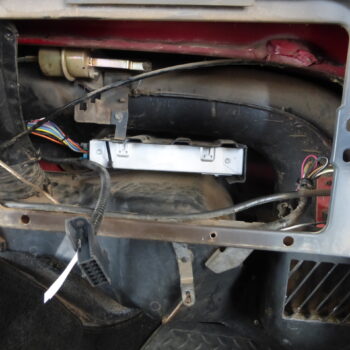
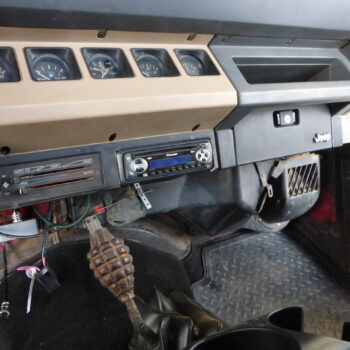
Next was the not so fun part, working on these older Jeep vehicles it is a good idea to brush up on your yoga to help with the folding of the body required to access some of the screws and clips. Portions of the dash and glove box needed to be removed so we could access the factory ECM and wiring harness.
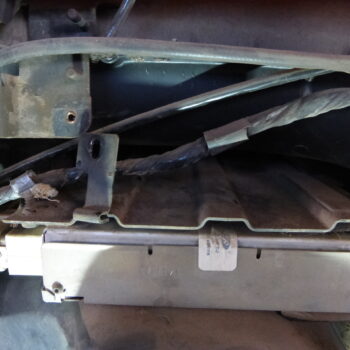
The instructions from Howell forewarned us that we would need to make room behind the defrost duct work in order to get the factory wiring harness out, and the new one in. With the removal of a few screws here and a couple of bolts there; we had everything out of the way and removed the factory unit.
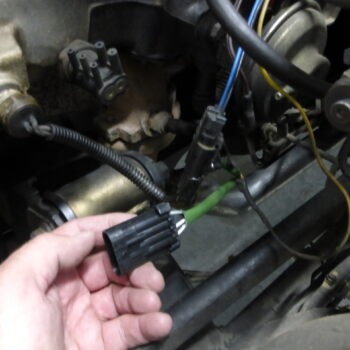
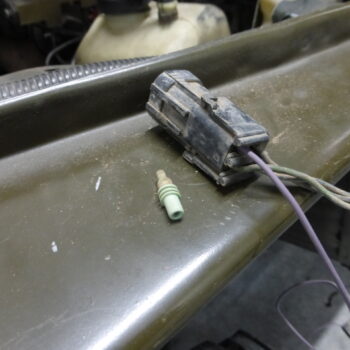
There was also an existing plug in the engine compartment that needed a new supply wire from the new harness. Again, all identified in the instructions and weatherproof adapters for the wire connections were provided.
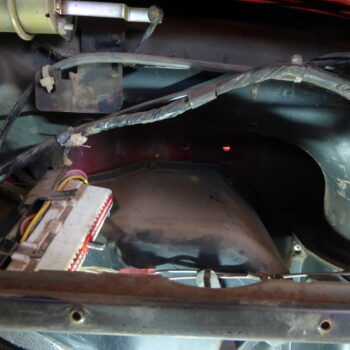
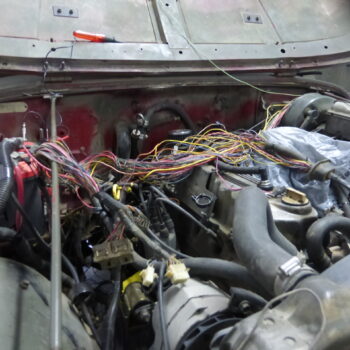
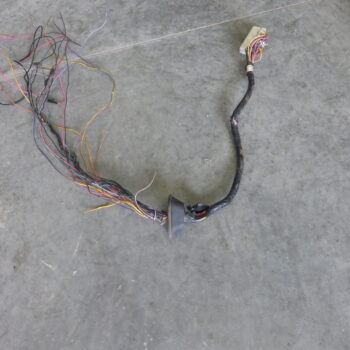
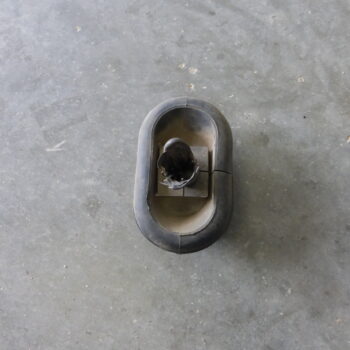
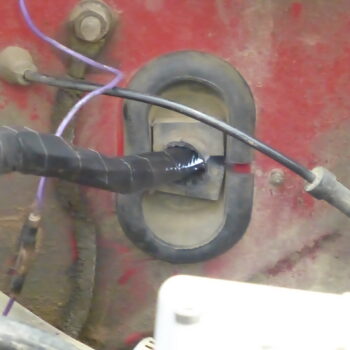
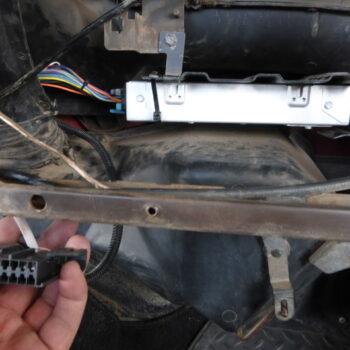
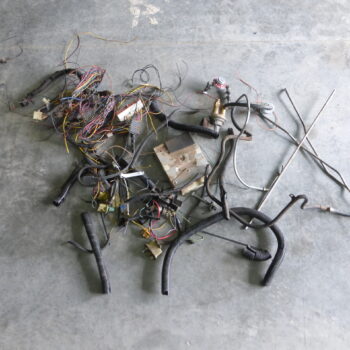
Once the factory wiring from the original ECM was removed and pulled into the engine compartment, we separated the wires we needed to keep and hung them off to the side. Next we pulled the wires to be permanently removed from the engine compartment and pulled the rubber grommet from the firewall so we could reuse it.
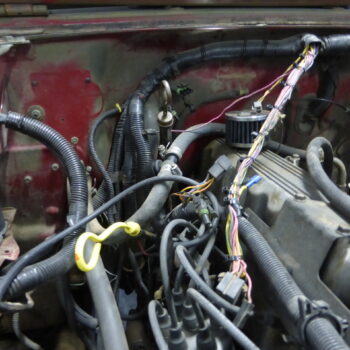
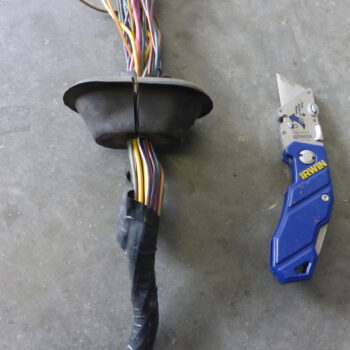
We sliced one side of the grommet, removed it and installed it on the new harness. With the wires that would stay in the engine compartment separated, we fed the new harness through the firewall and separated the plugs that needed to be mounted with the new ECM, from those that would be closer to the driver’s side of the cab and routed them accordingly.

One of the portions of the new harness is a diagnostics port, we routed that with the plug for the new ECM and mounted it for easy access should we need to scan or diagnose it down the road. After that we were able to begin reassembling the dash.
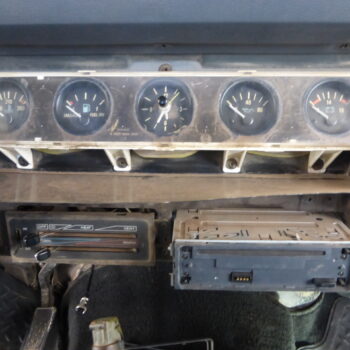
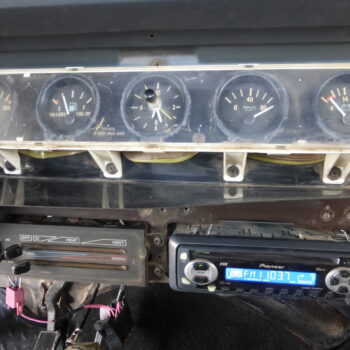
It’s always a good idea on projects like this to confirm that everything including the gauges all work before completely putting it all back together. We did this and sure enough, the oil pressure gauge for some reason was pegged out. After a little diagnosing and really getting no definitive answers we went down to the local parts store, picked up a new oil pressure sending unit, swapped it out and low and behold… It worked fine again.

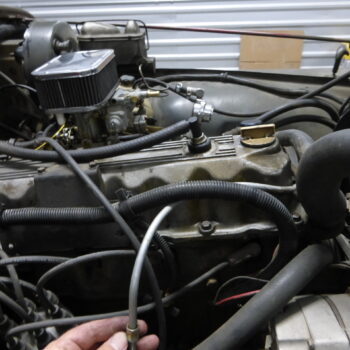
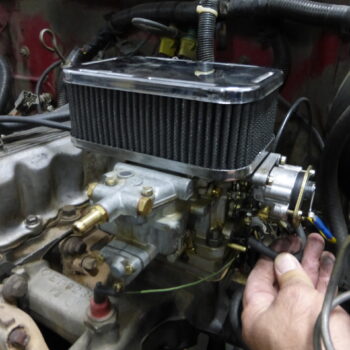
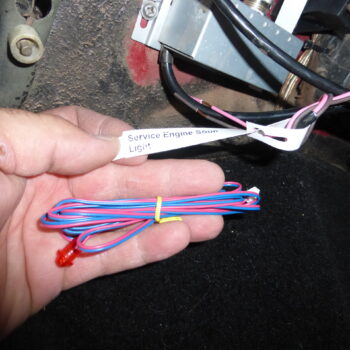
The last couple of steps were to mount the fuse block in the cab and install the check engine light which is a simple 12v light. I grabbed one from a local stereo installer that had an extra he hadn’t used on a car alarm. Lastly we wrapped up the wire loom so it was clean, away from any heat sources or moving parts that may cause any damage and cleaned up the excess wire that we removed, topped it off with an Edelbrock 10″ air filter. Then of course, we had to fire it up, check everything and drive it a little bit to see how it ran. So with baited breath and crossed fingers, we turned the key and waited for a response…

In a matter of seconds and with a single turn of the key we had ignition. We gave it a little warm up time to adjust and learn before jumping in and bombing around the neighborhood.
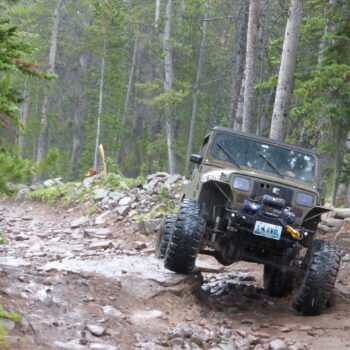
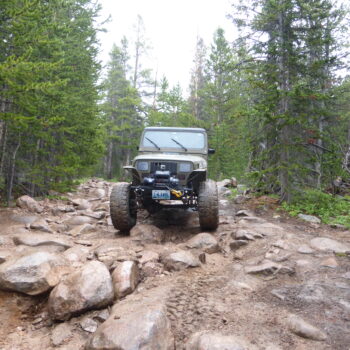
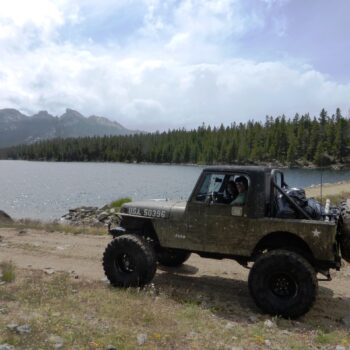
It didn’t take long for us to get things loaded up and headed to higher ground for a weekend of wheeling. We went from just over five thousand feet in elevation to over ten thousand and the Howell system performed flawlessly. There were a few things we had to dial in afterwards like the transmission kick down but other than small adjustments everything worked great. I am pleased with how the instructions match up with the install process and the ease of installation. In hindsight, I wish I had made the decision to go with fuel injection sooner instead of wasting time and money on other carburetors.