Every now and then a little extra traction helps to get through a certain obstacle or up and over a rock pile; this extra traction can come in many different forms from spools to automatic and selectable lockers.
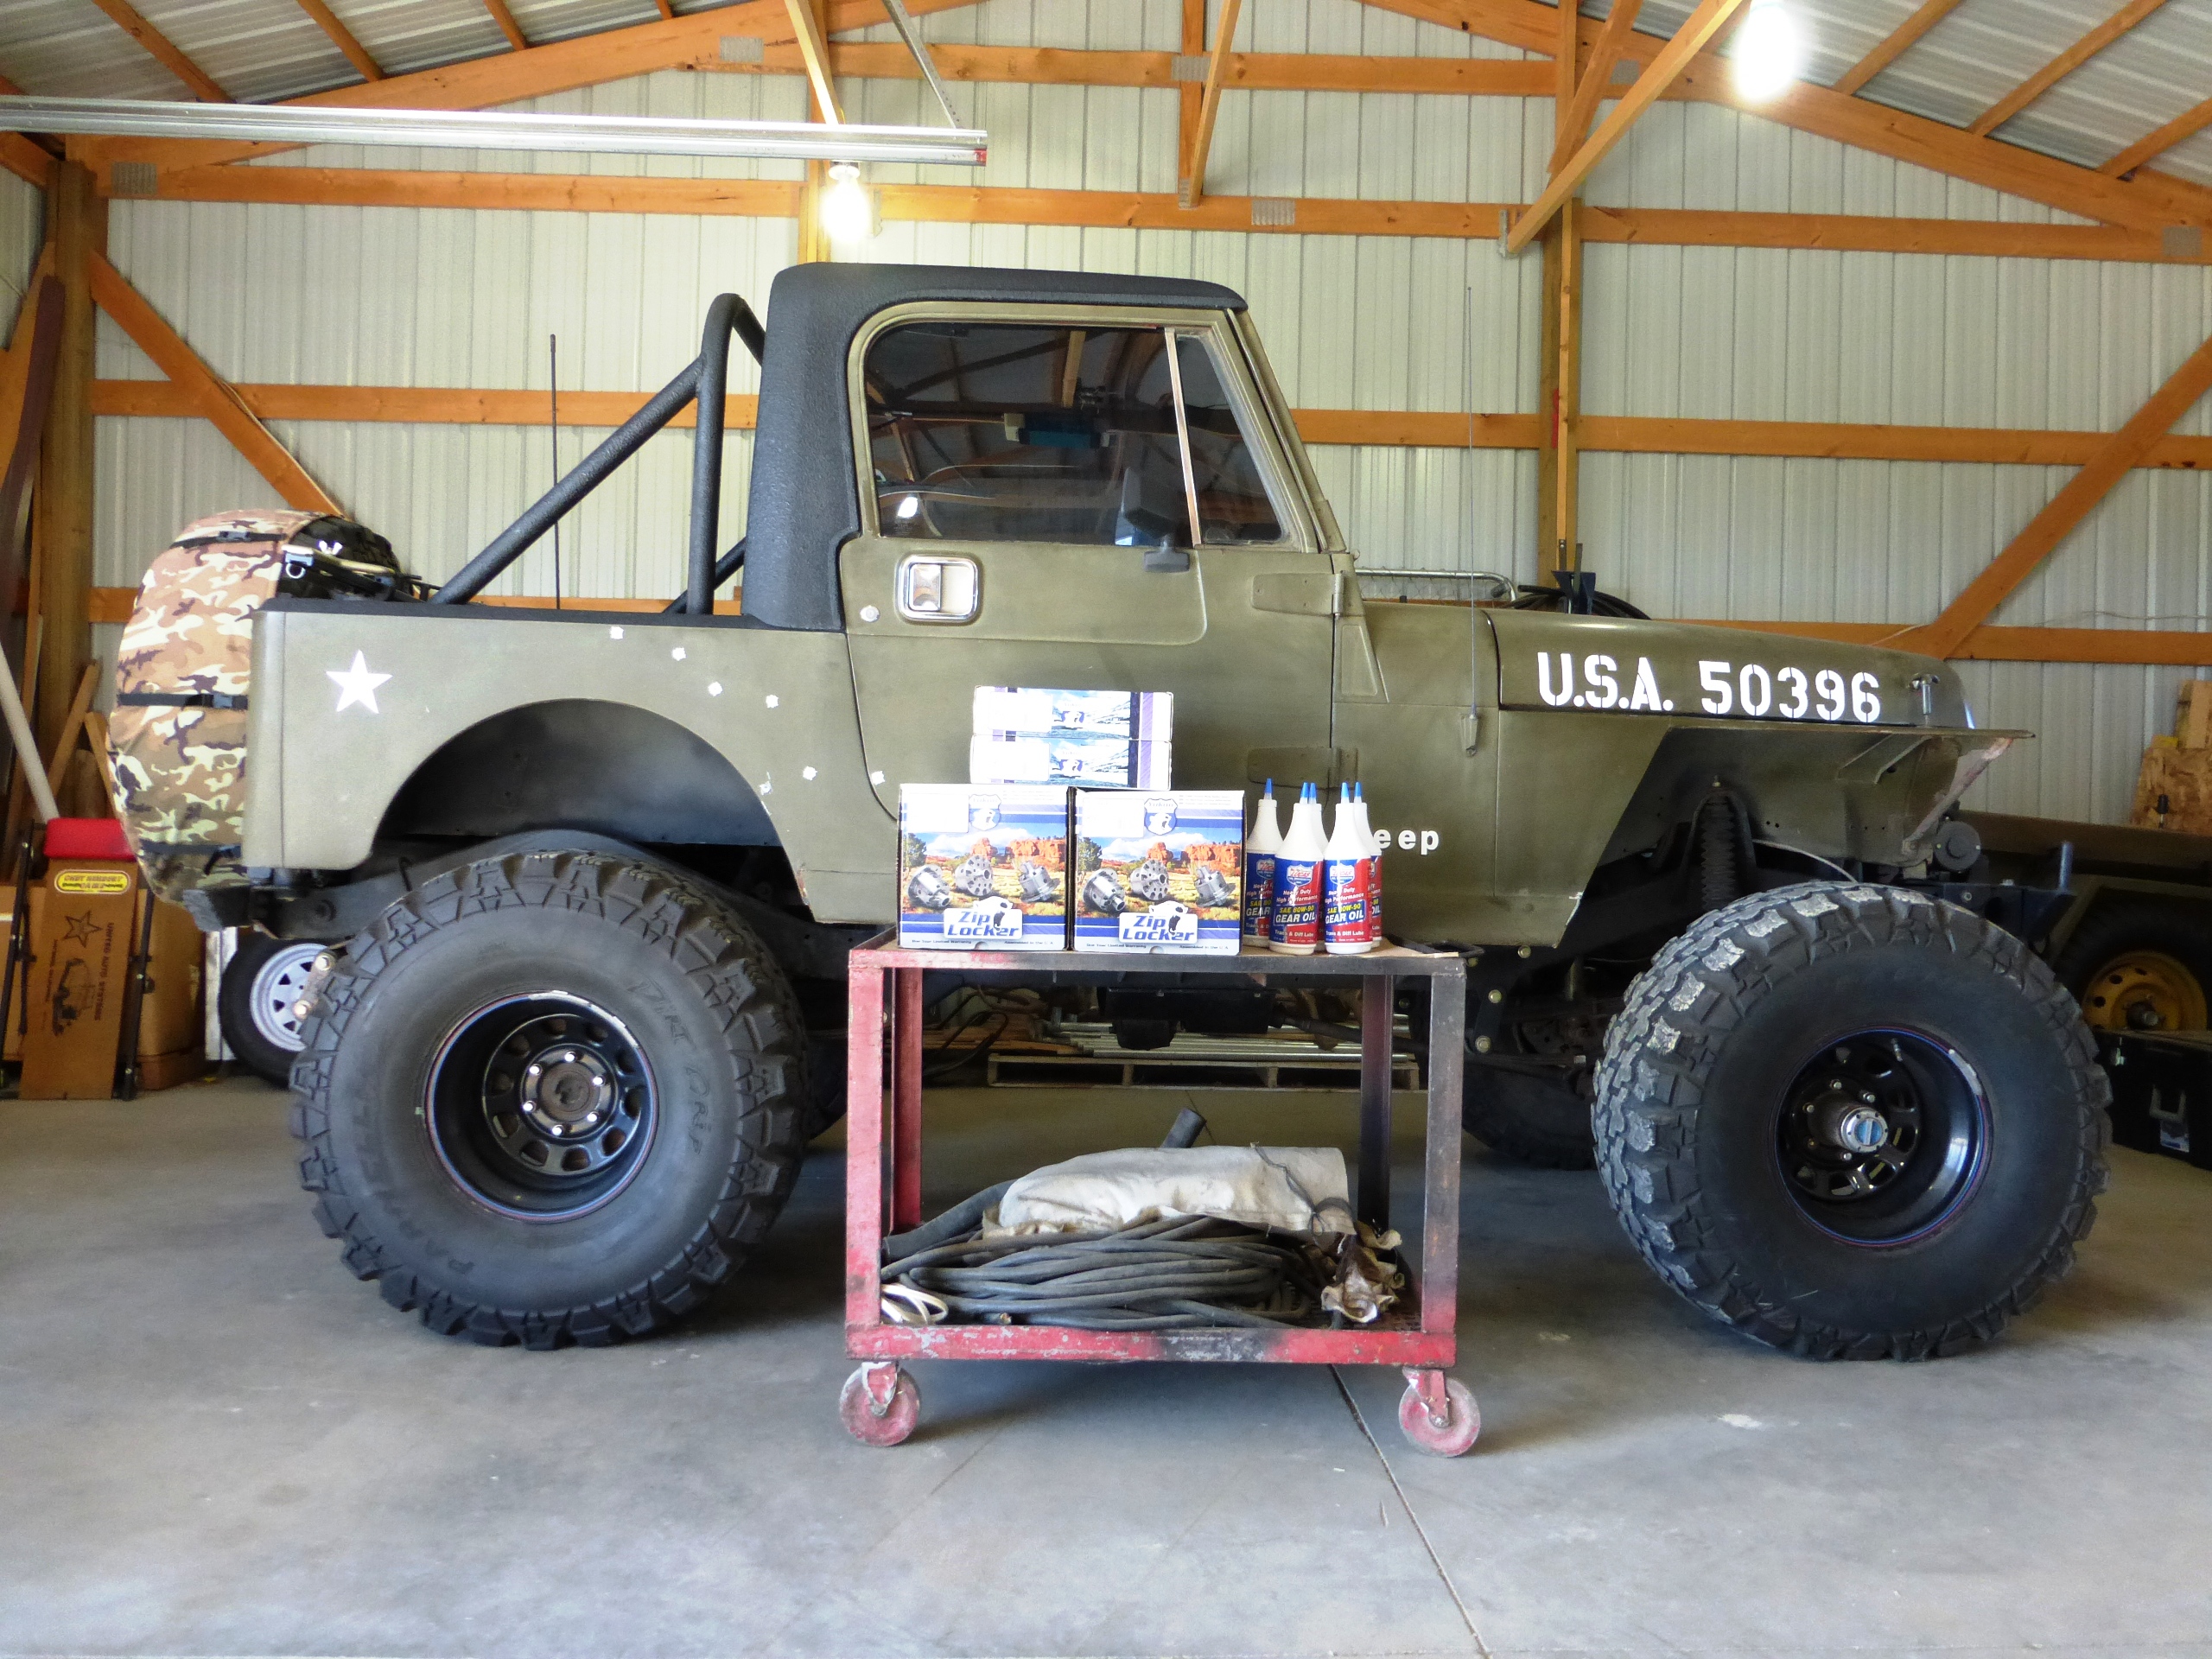
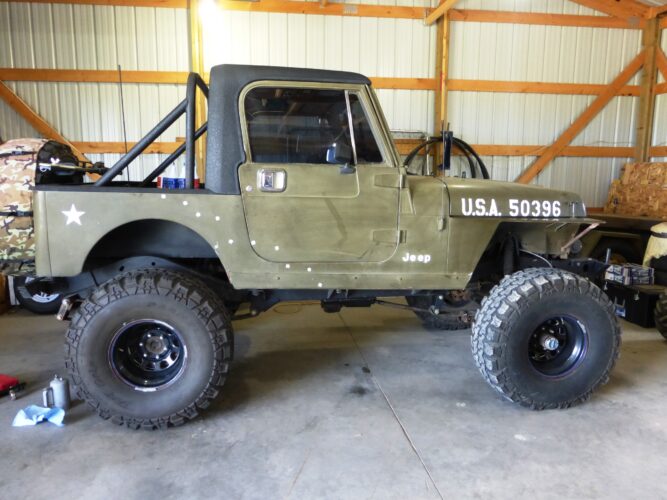
We were recently in a position of retiring one of our older Jeep vehicles from full-time trail use with intentions of putting it into more of a daily driver role. The goal was to keep the functionality while still being able to use it on the trails when desired, yet we wanted to make sure we could drive it around town comfortably on a daily basis.
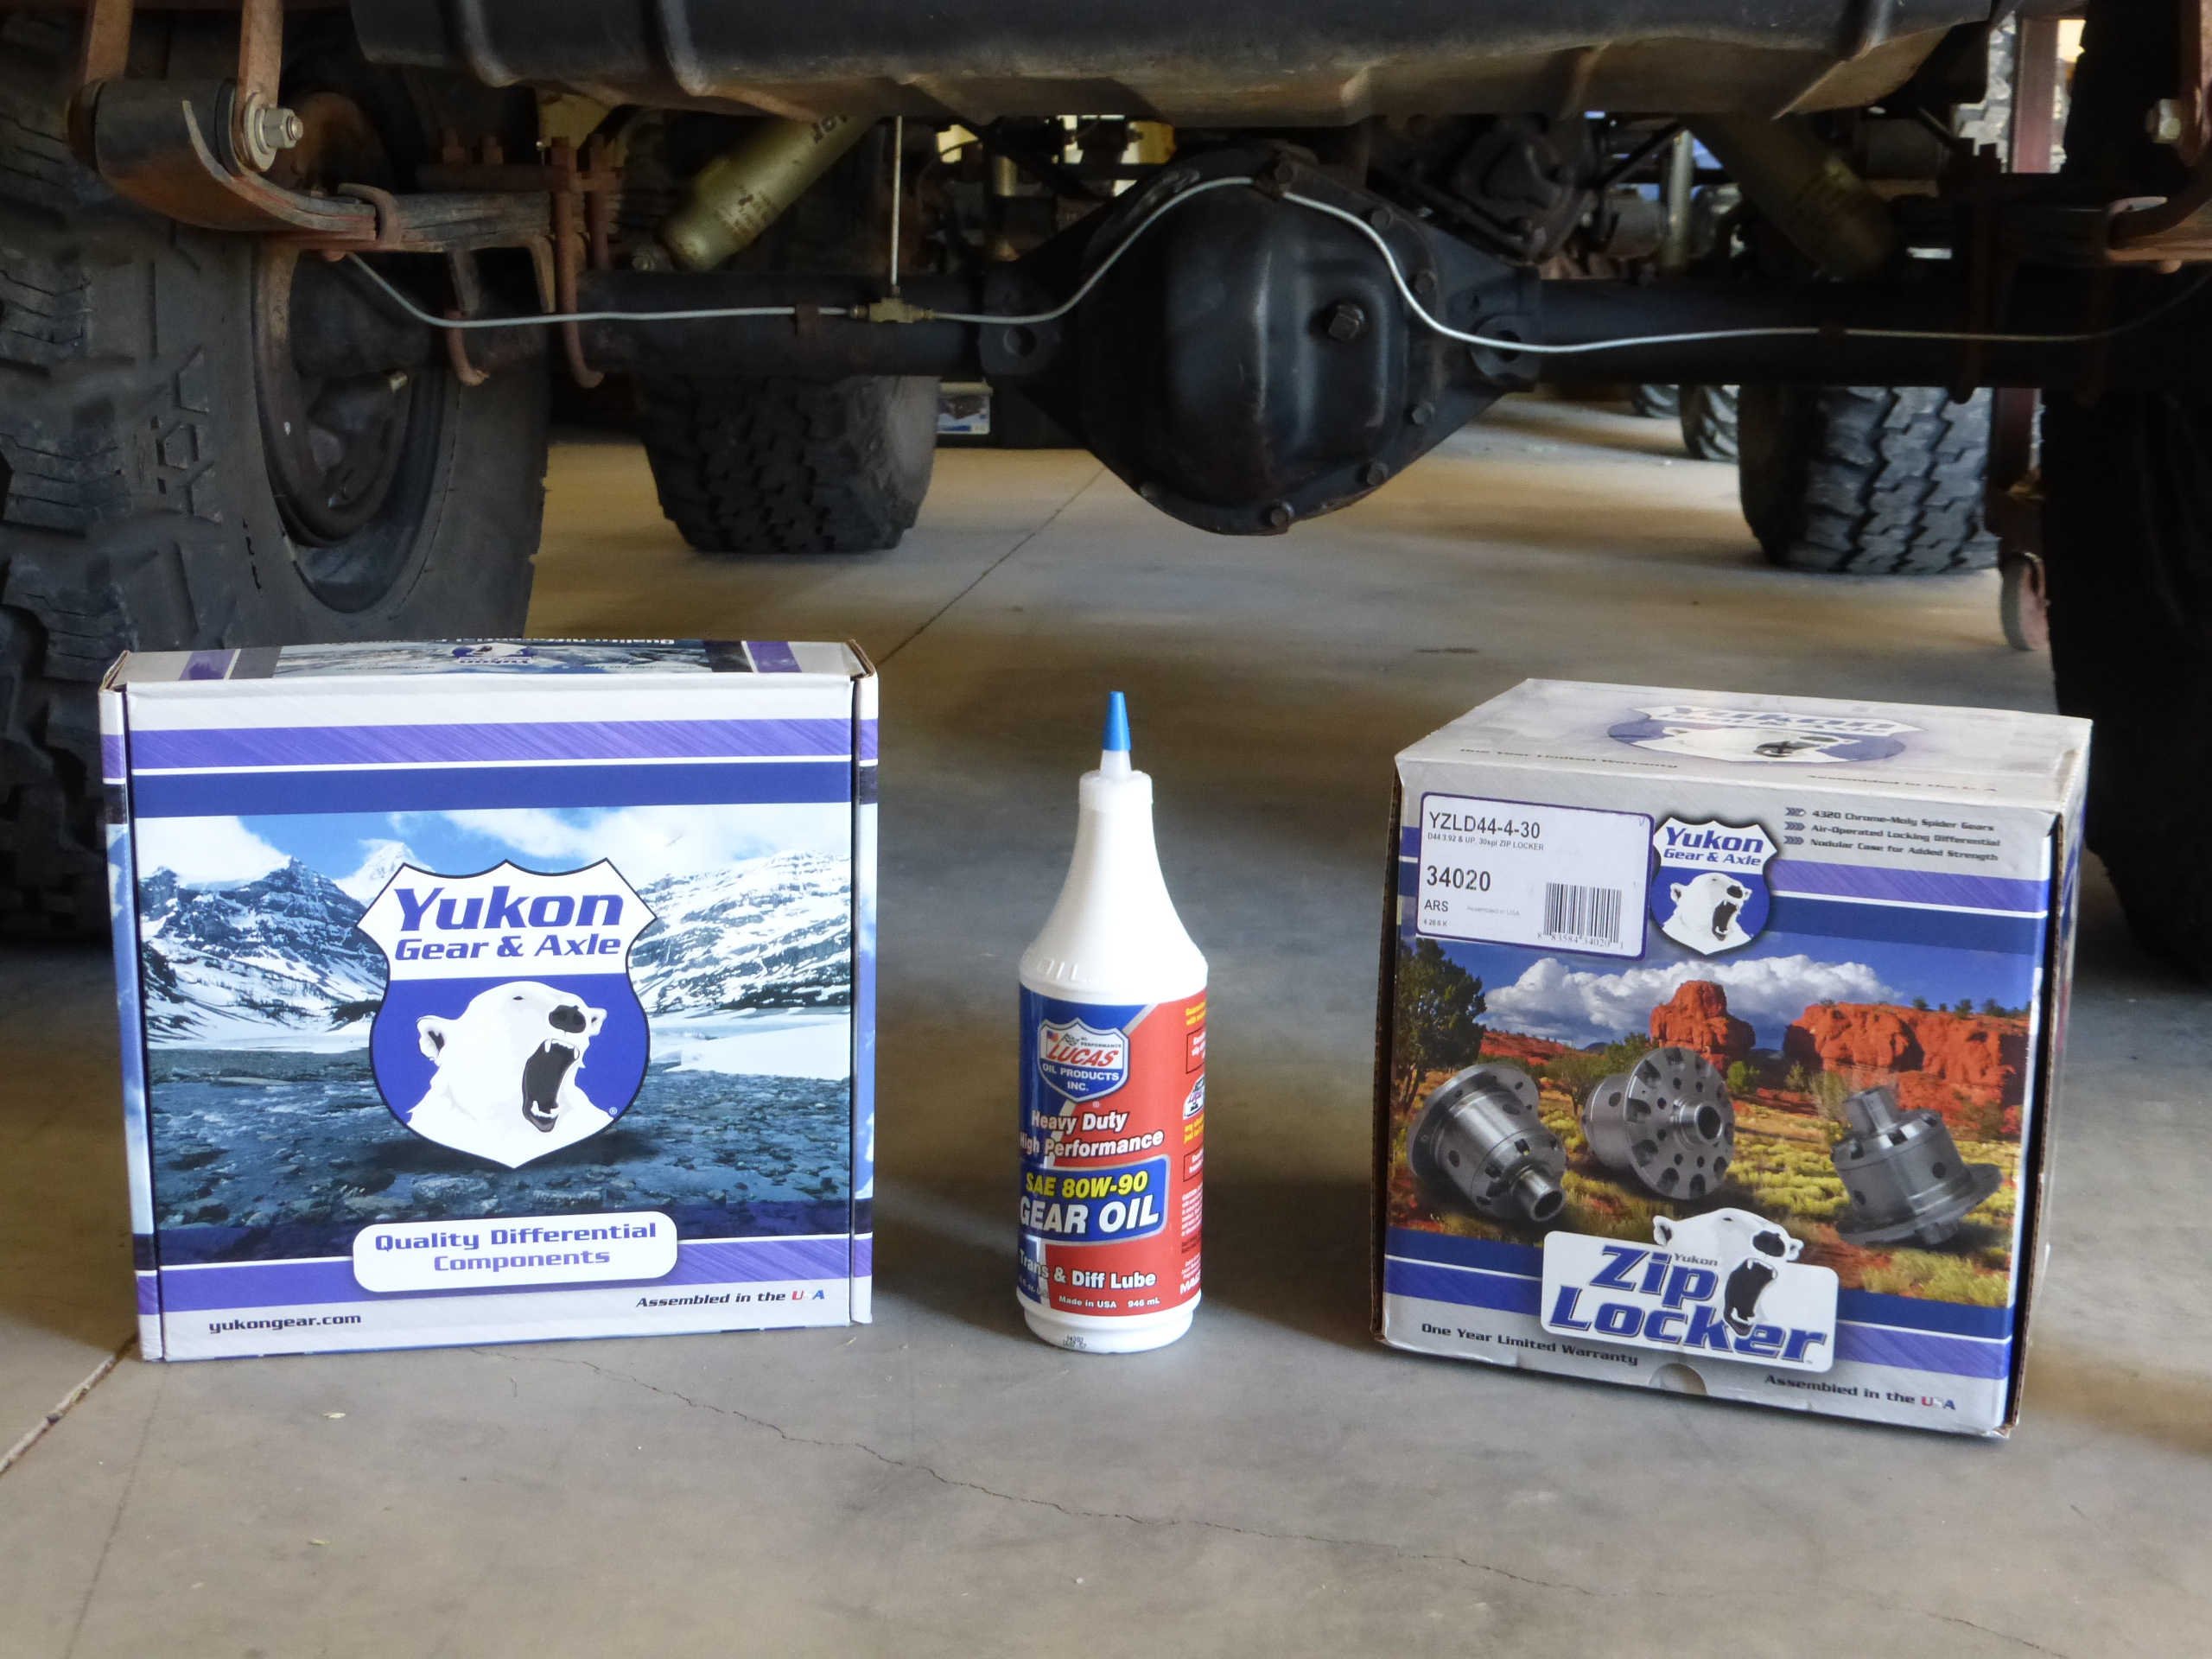
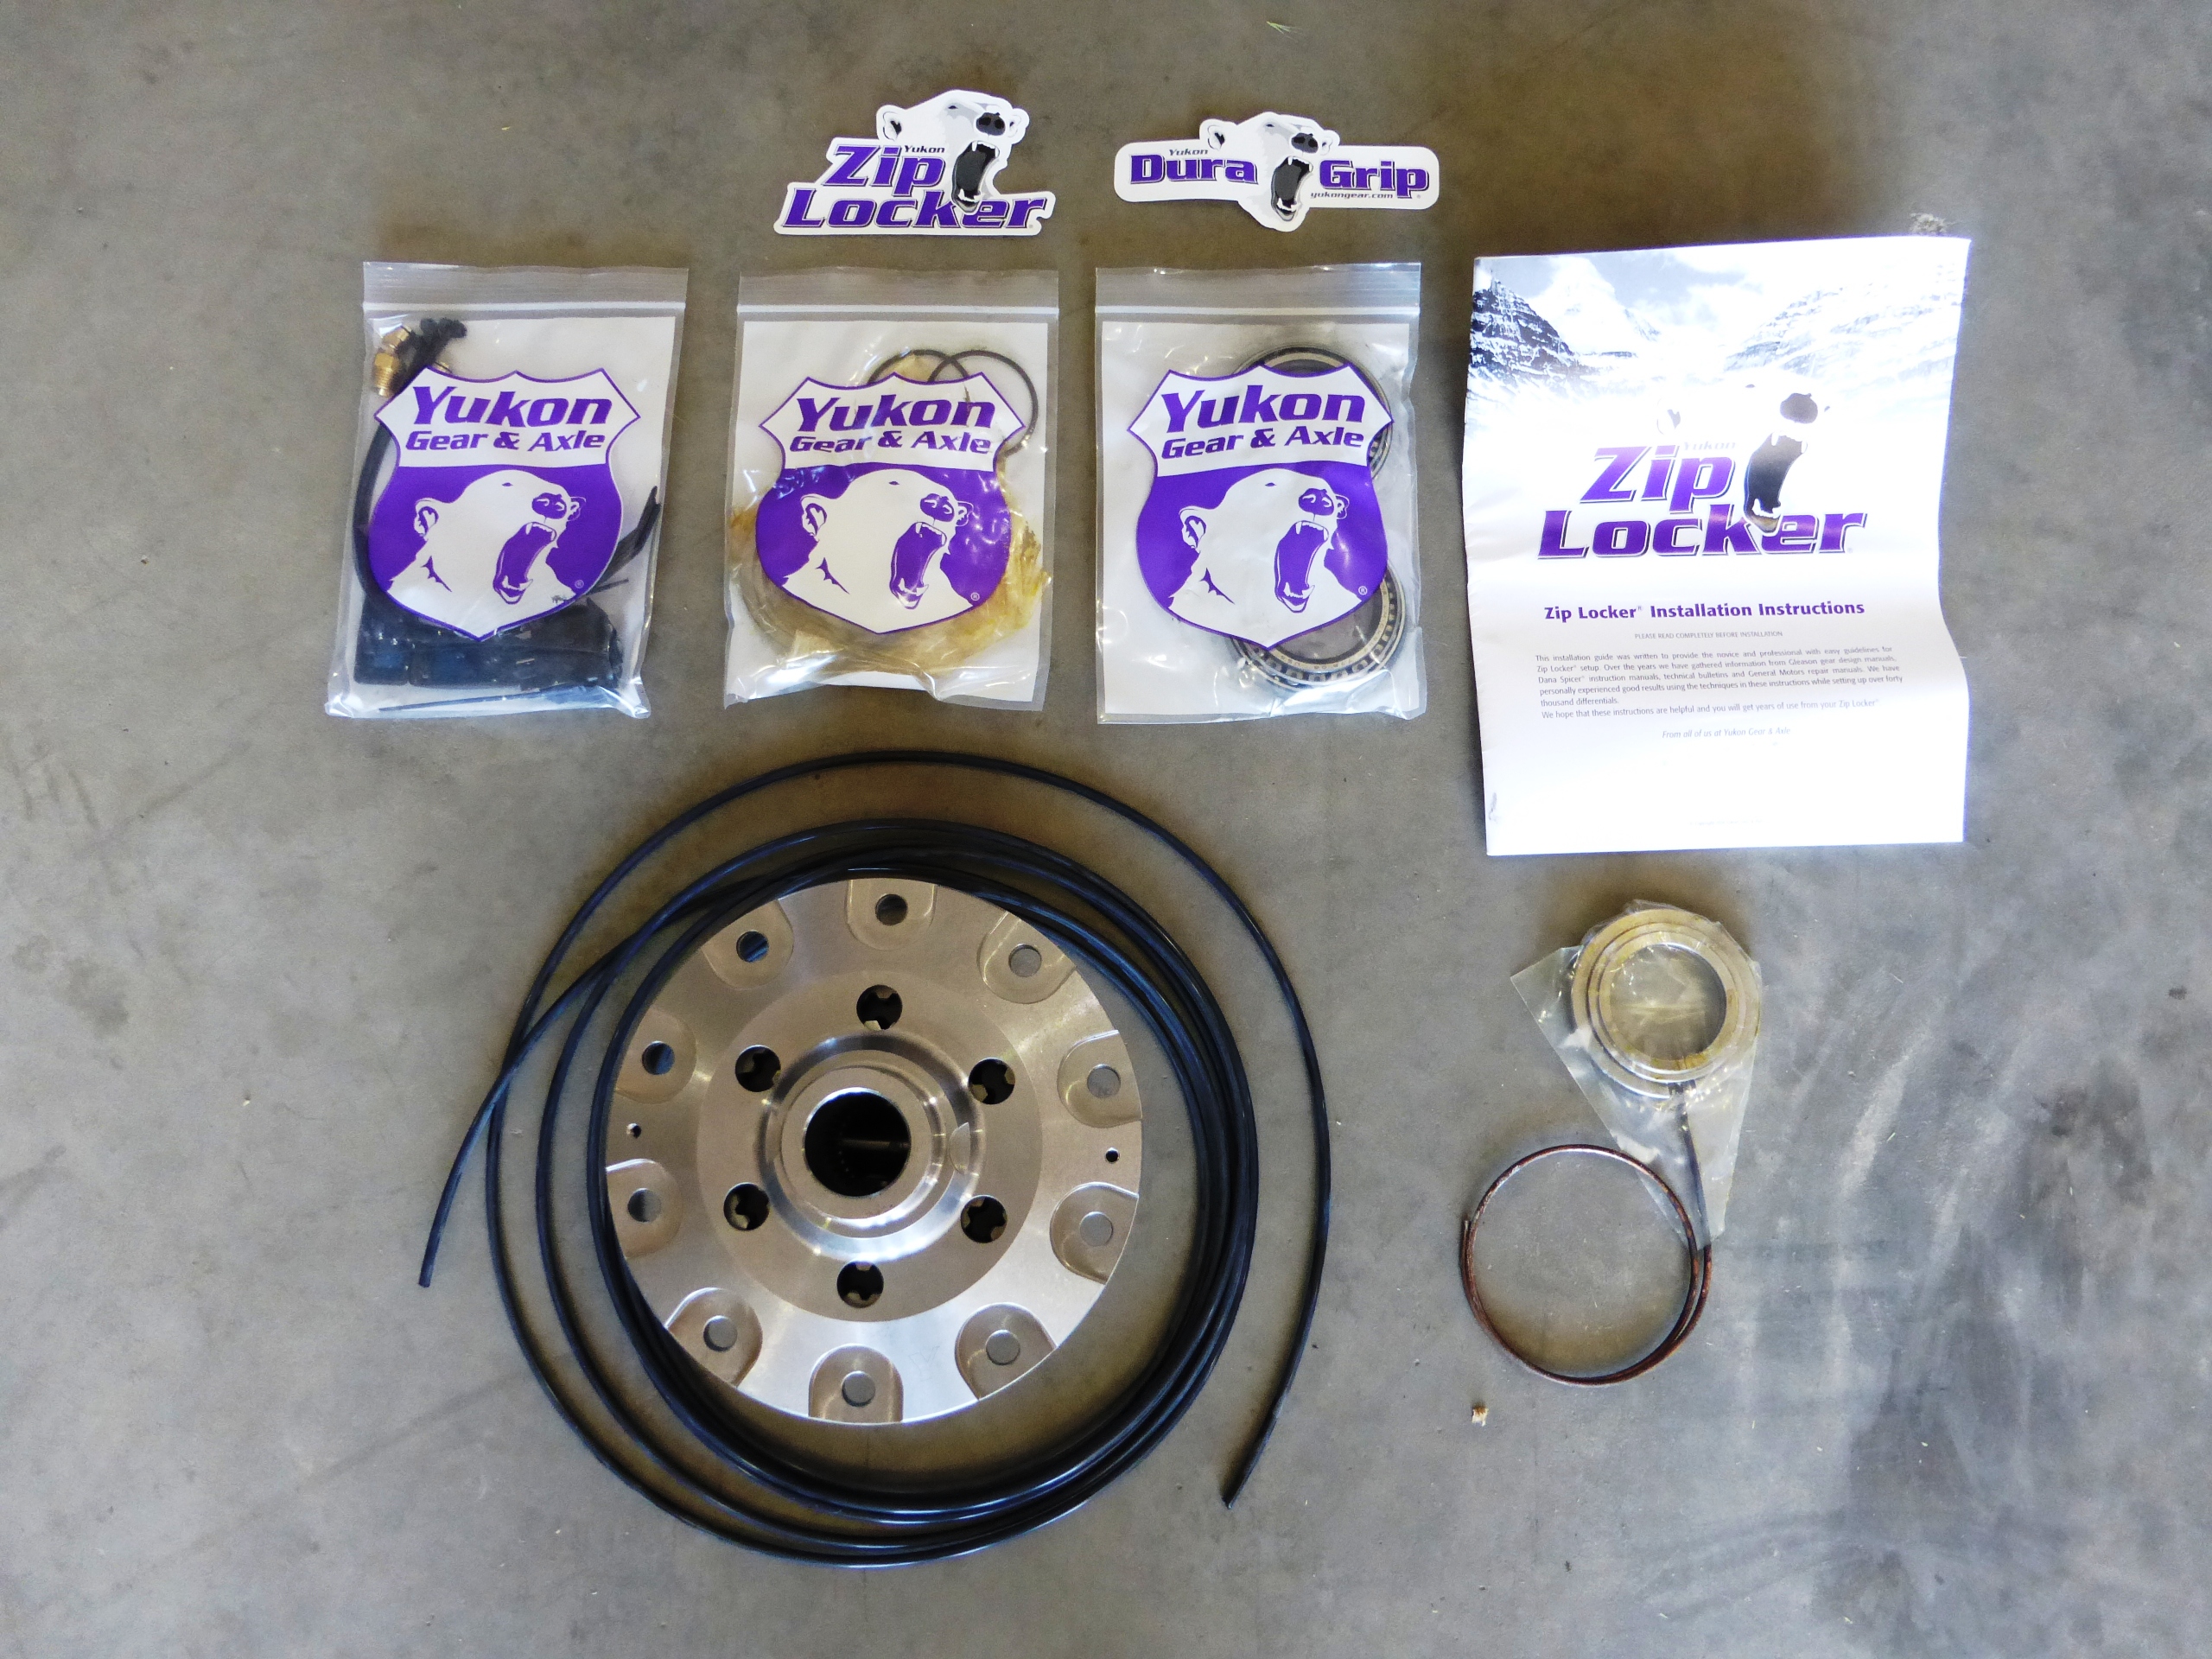
Since this specific Jeep YJ Wrangler was equipped with a spool in the rear and an automatic locker up front, the plan was to replace both with selectable lockers. This option will allow the functionality of lockers, yet reduce the stress on the axles, tires and other components by removing the spool. After searching out various options while trying to decide which would be the best fit; we looked at lockers with a cable style actuation, various manufacturers of electric and air lockers and opted for the air lockers. Over the years we have utilized Yukon Gear & Axle for several of our projects and have always had good experiences with their products so, we contacted Yukon and got a set of their popular air locking Zip Lockers and master rebuild kits for both axles in route.
Before we could install the new air lockers, we had to remove the old components; we started with the rear since it had the spool and priority. Follow along and we’ll show you what it takes to install the Zip Locker.
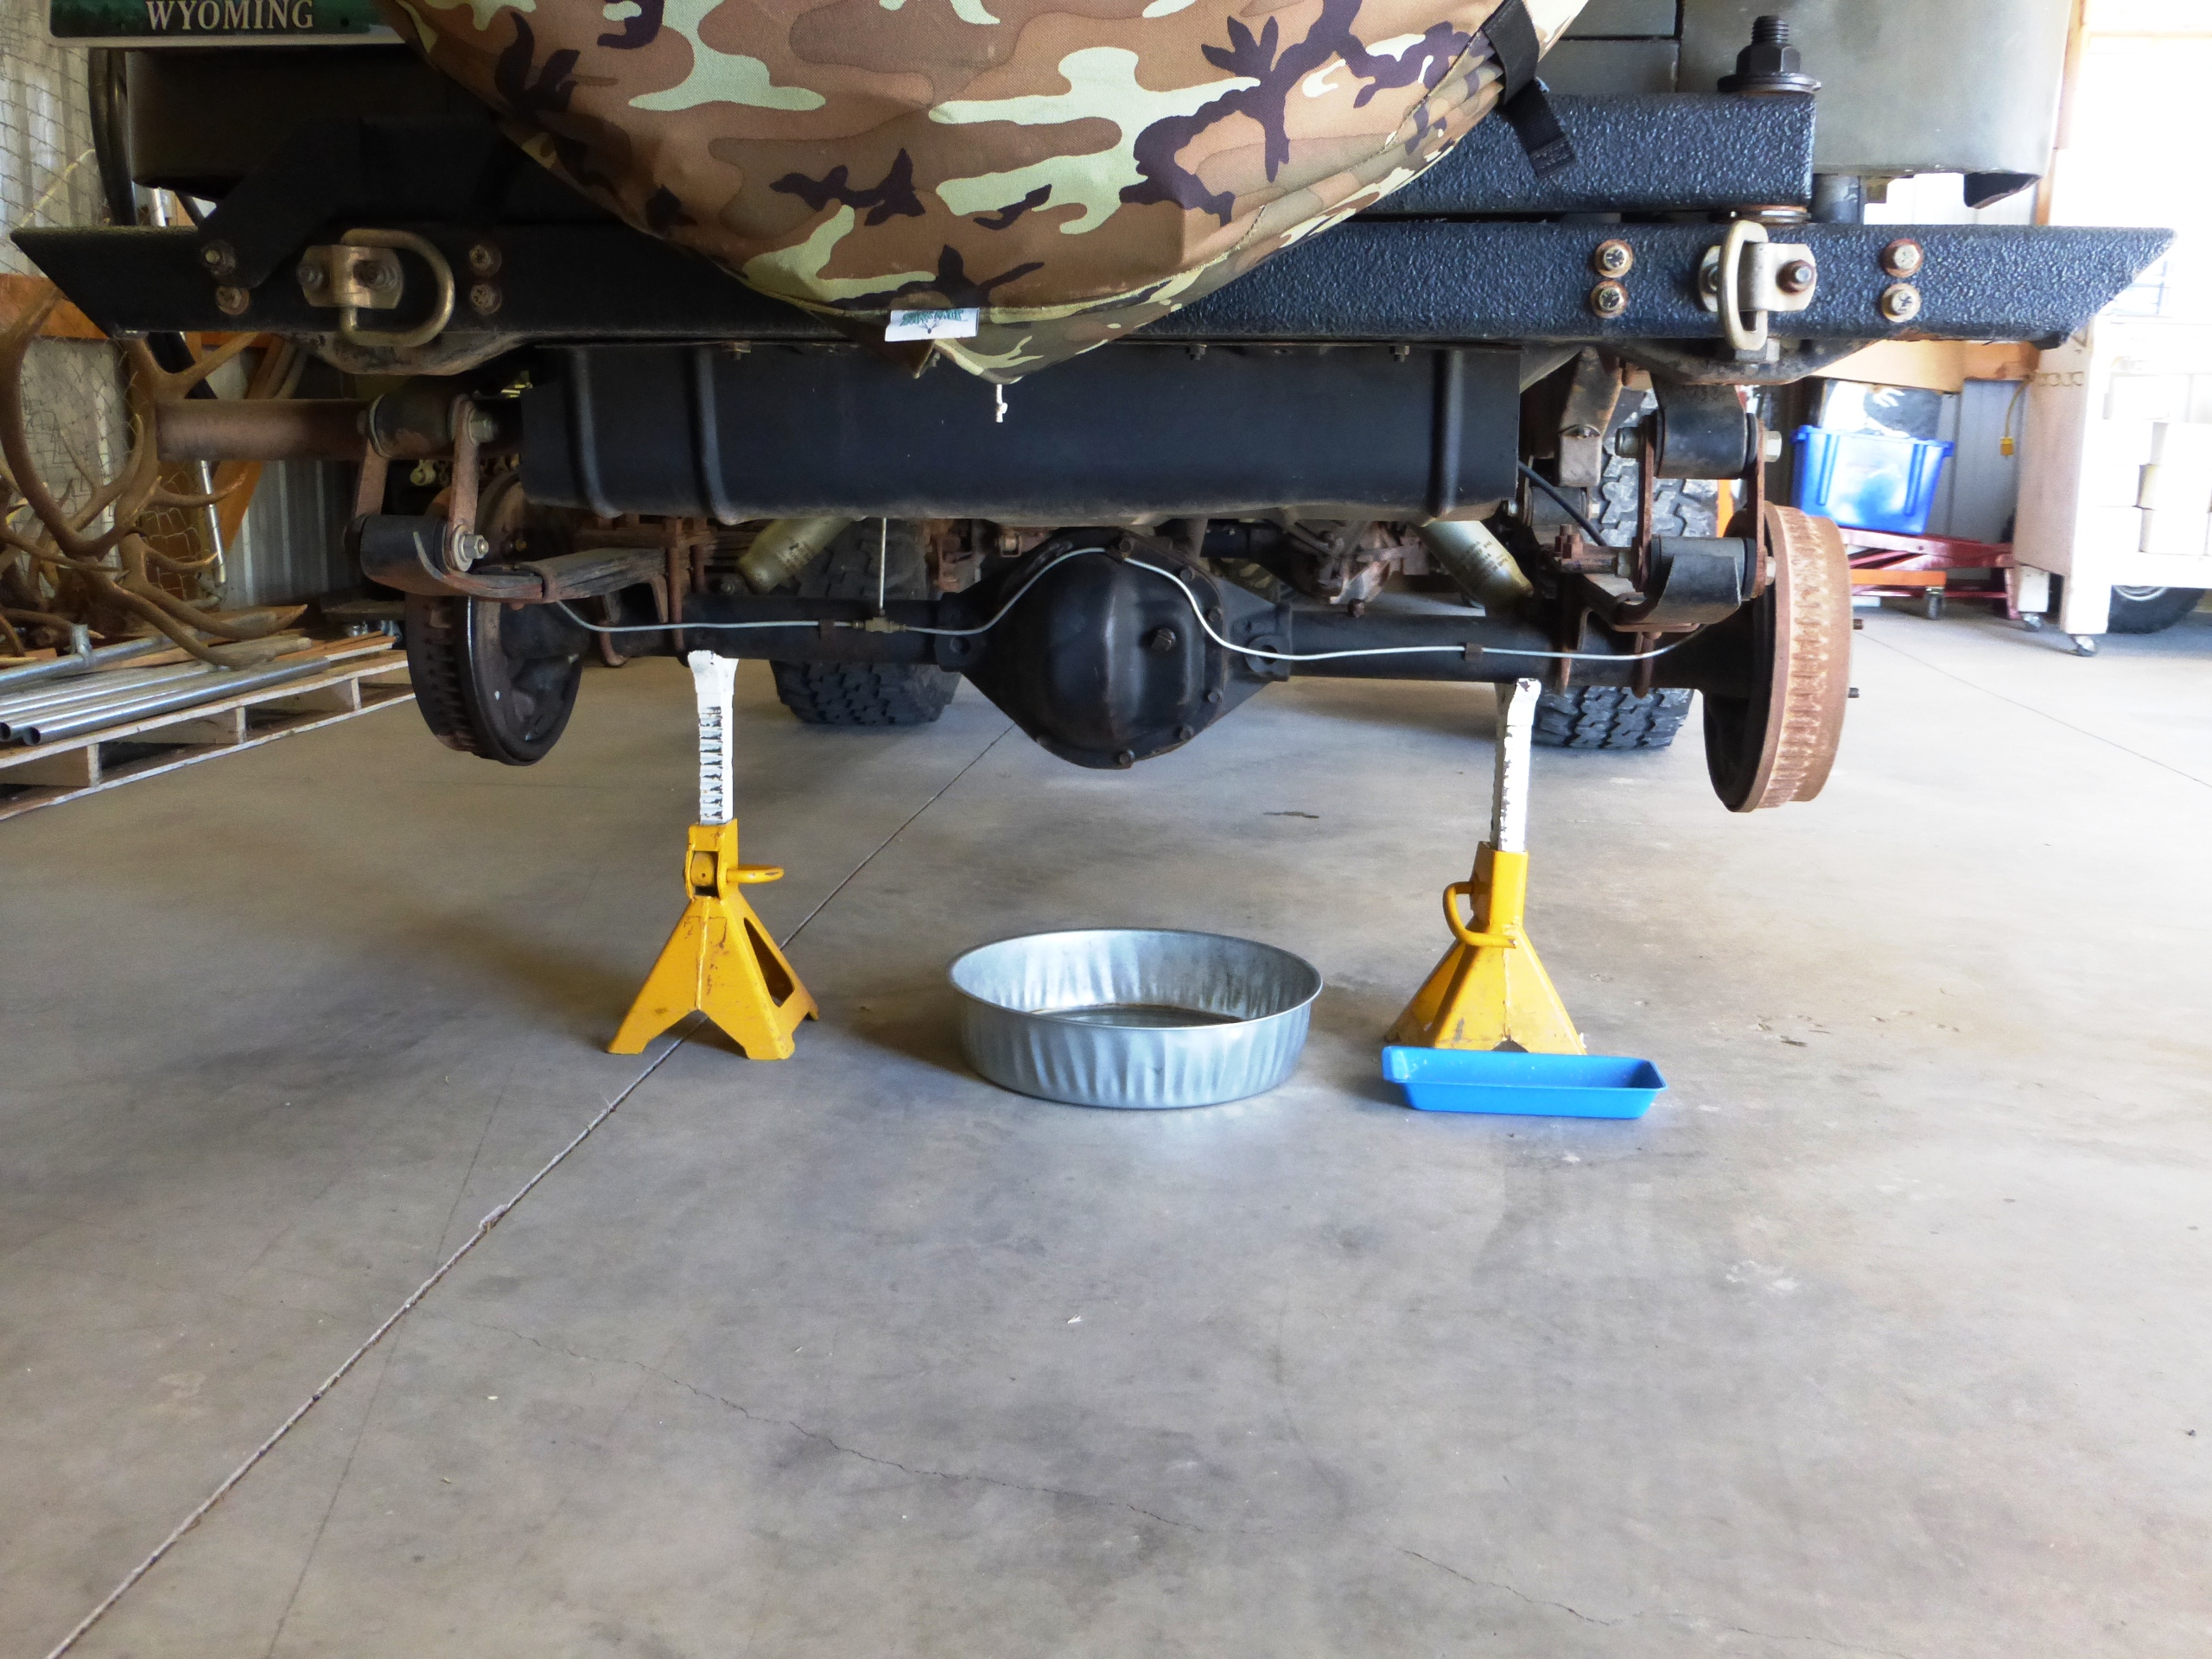
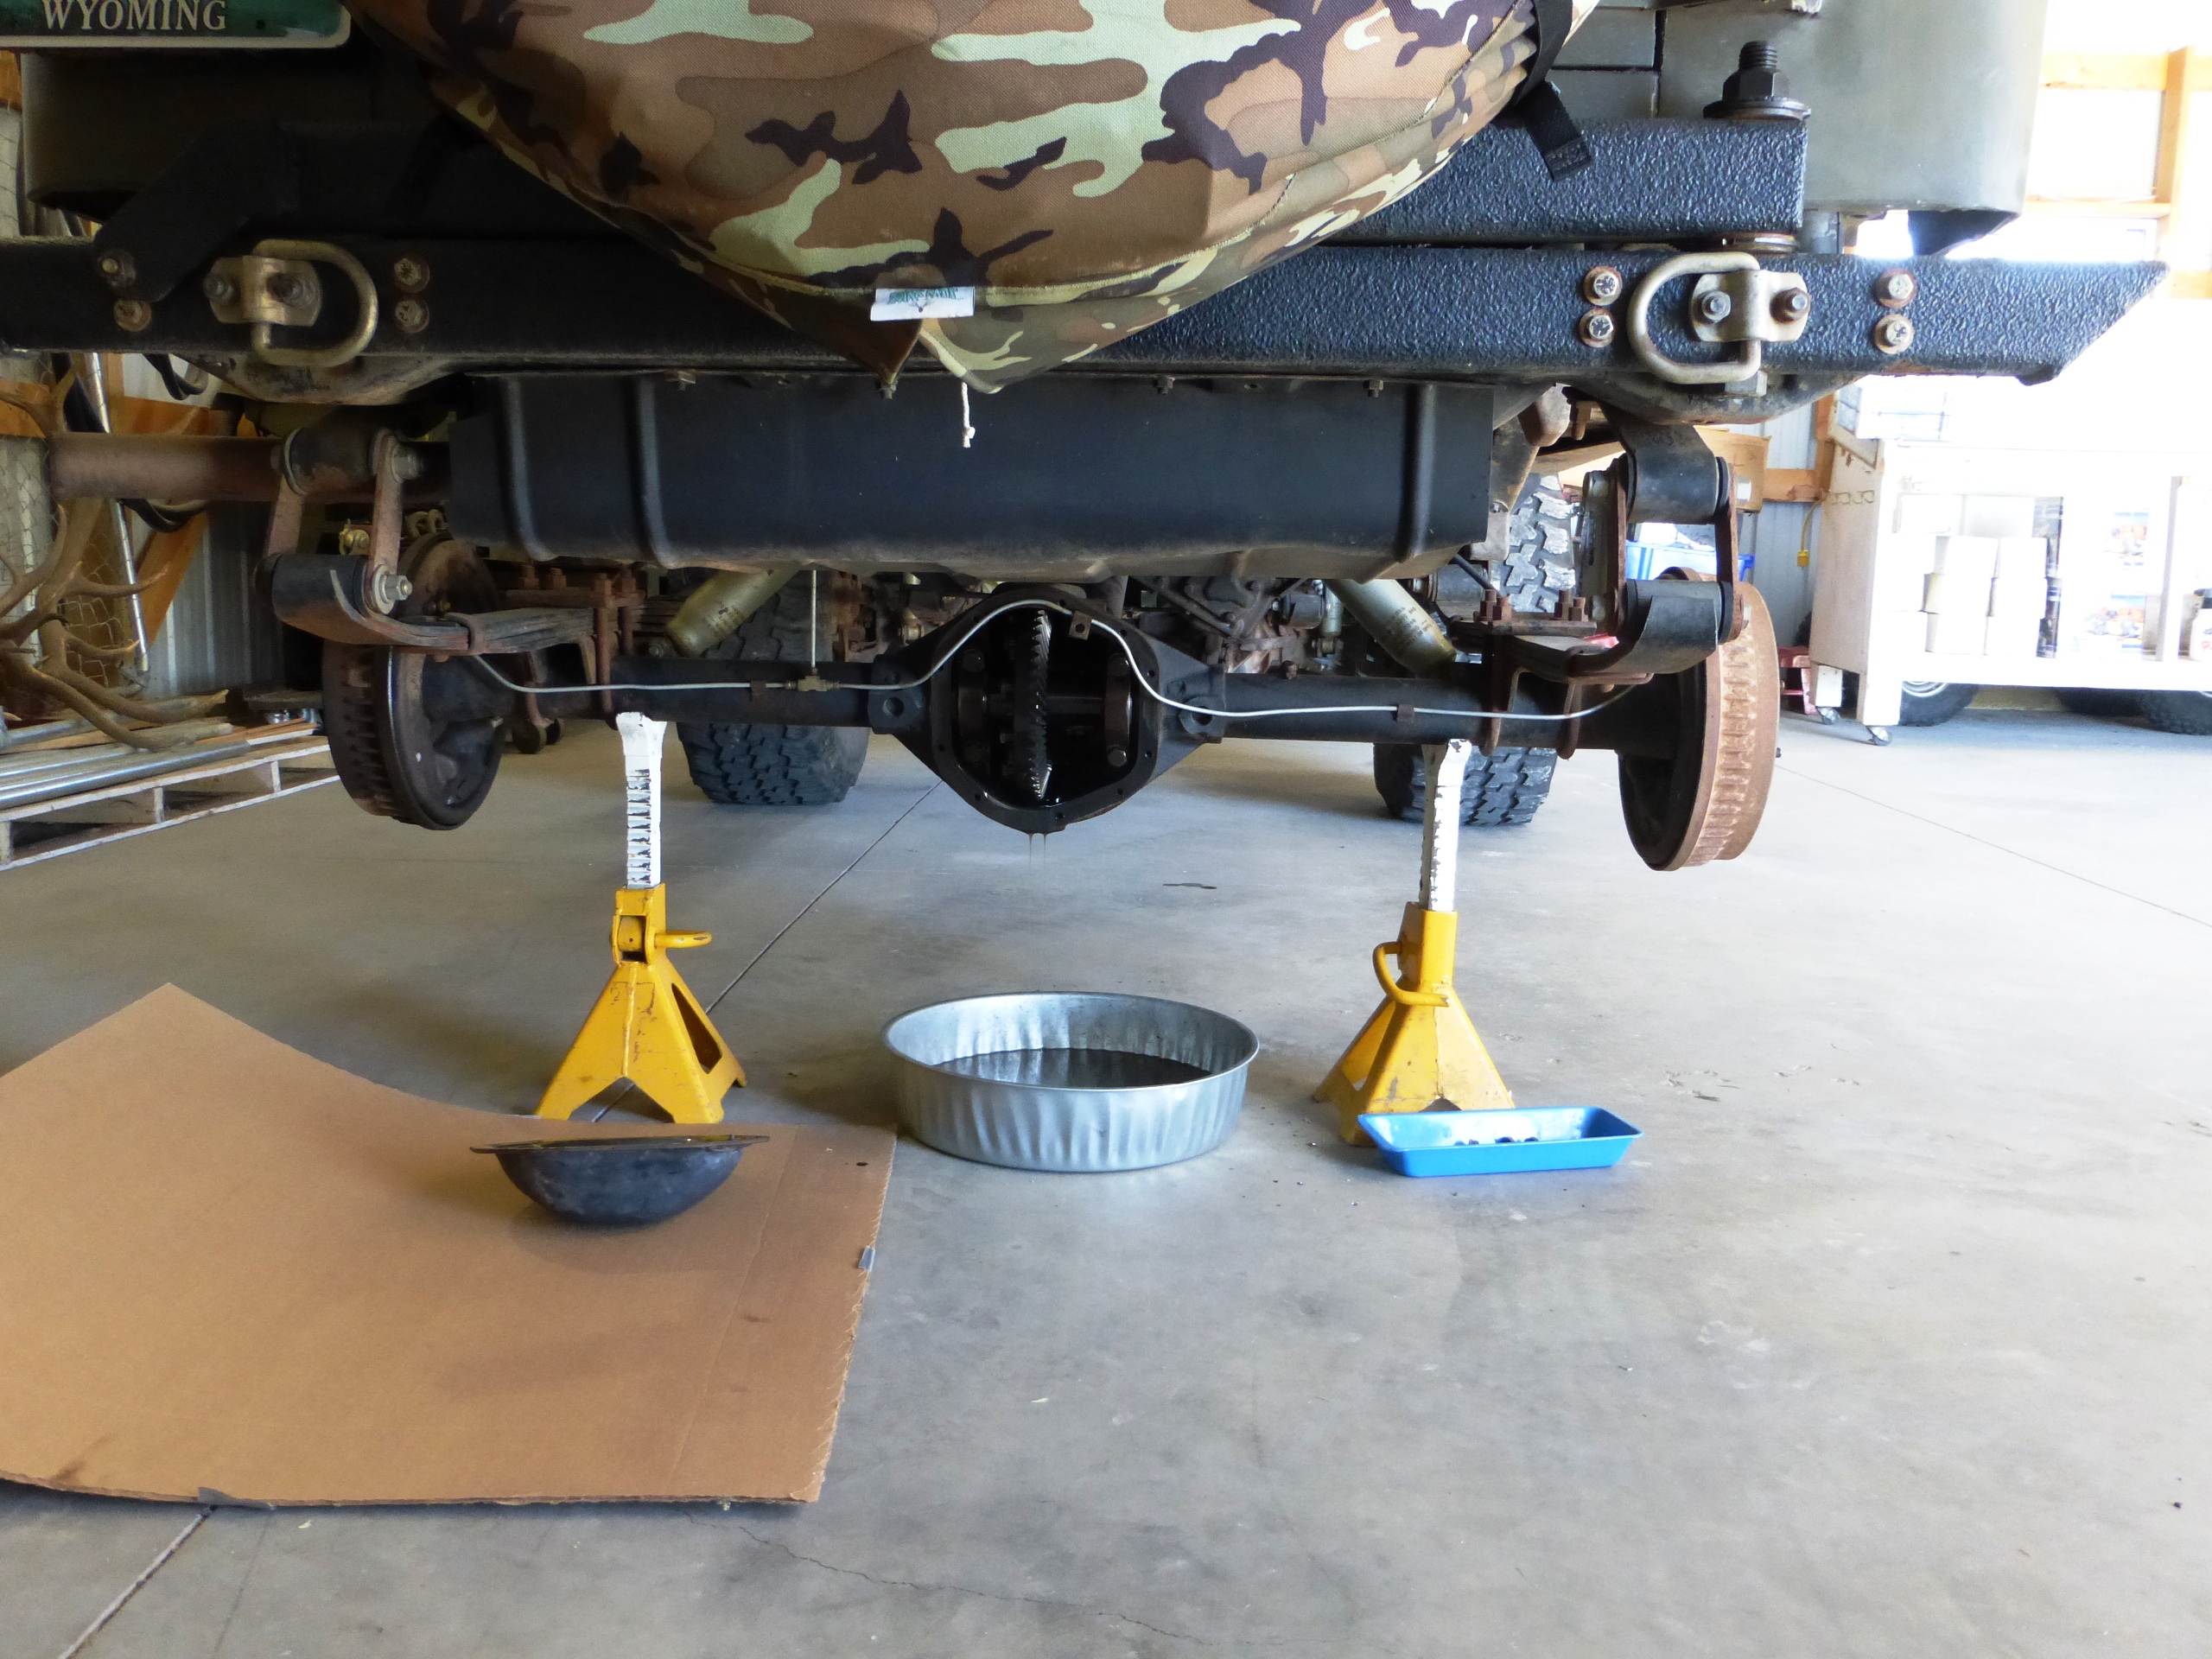
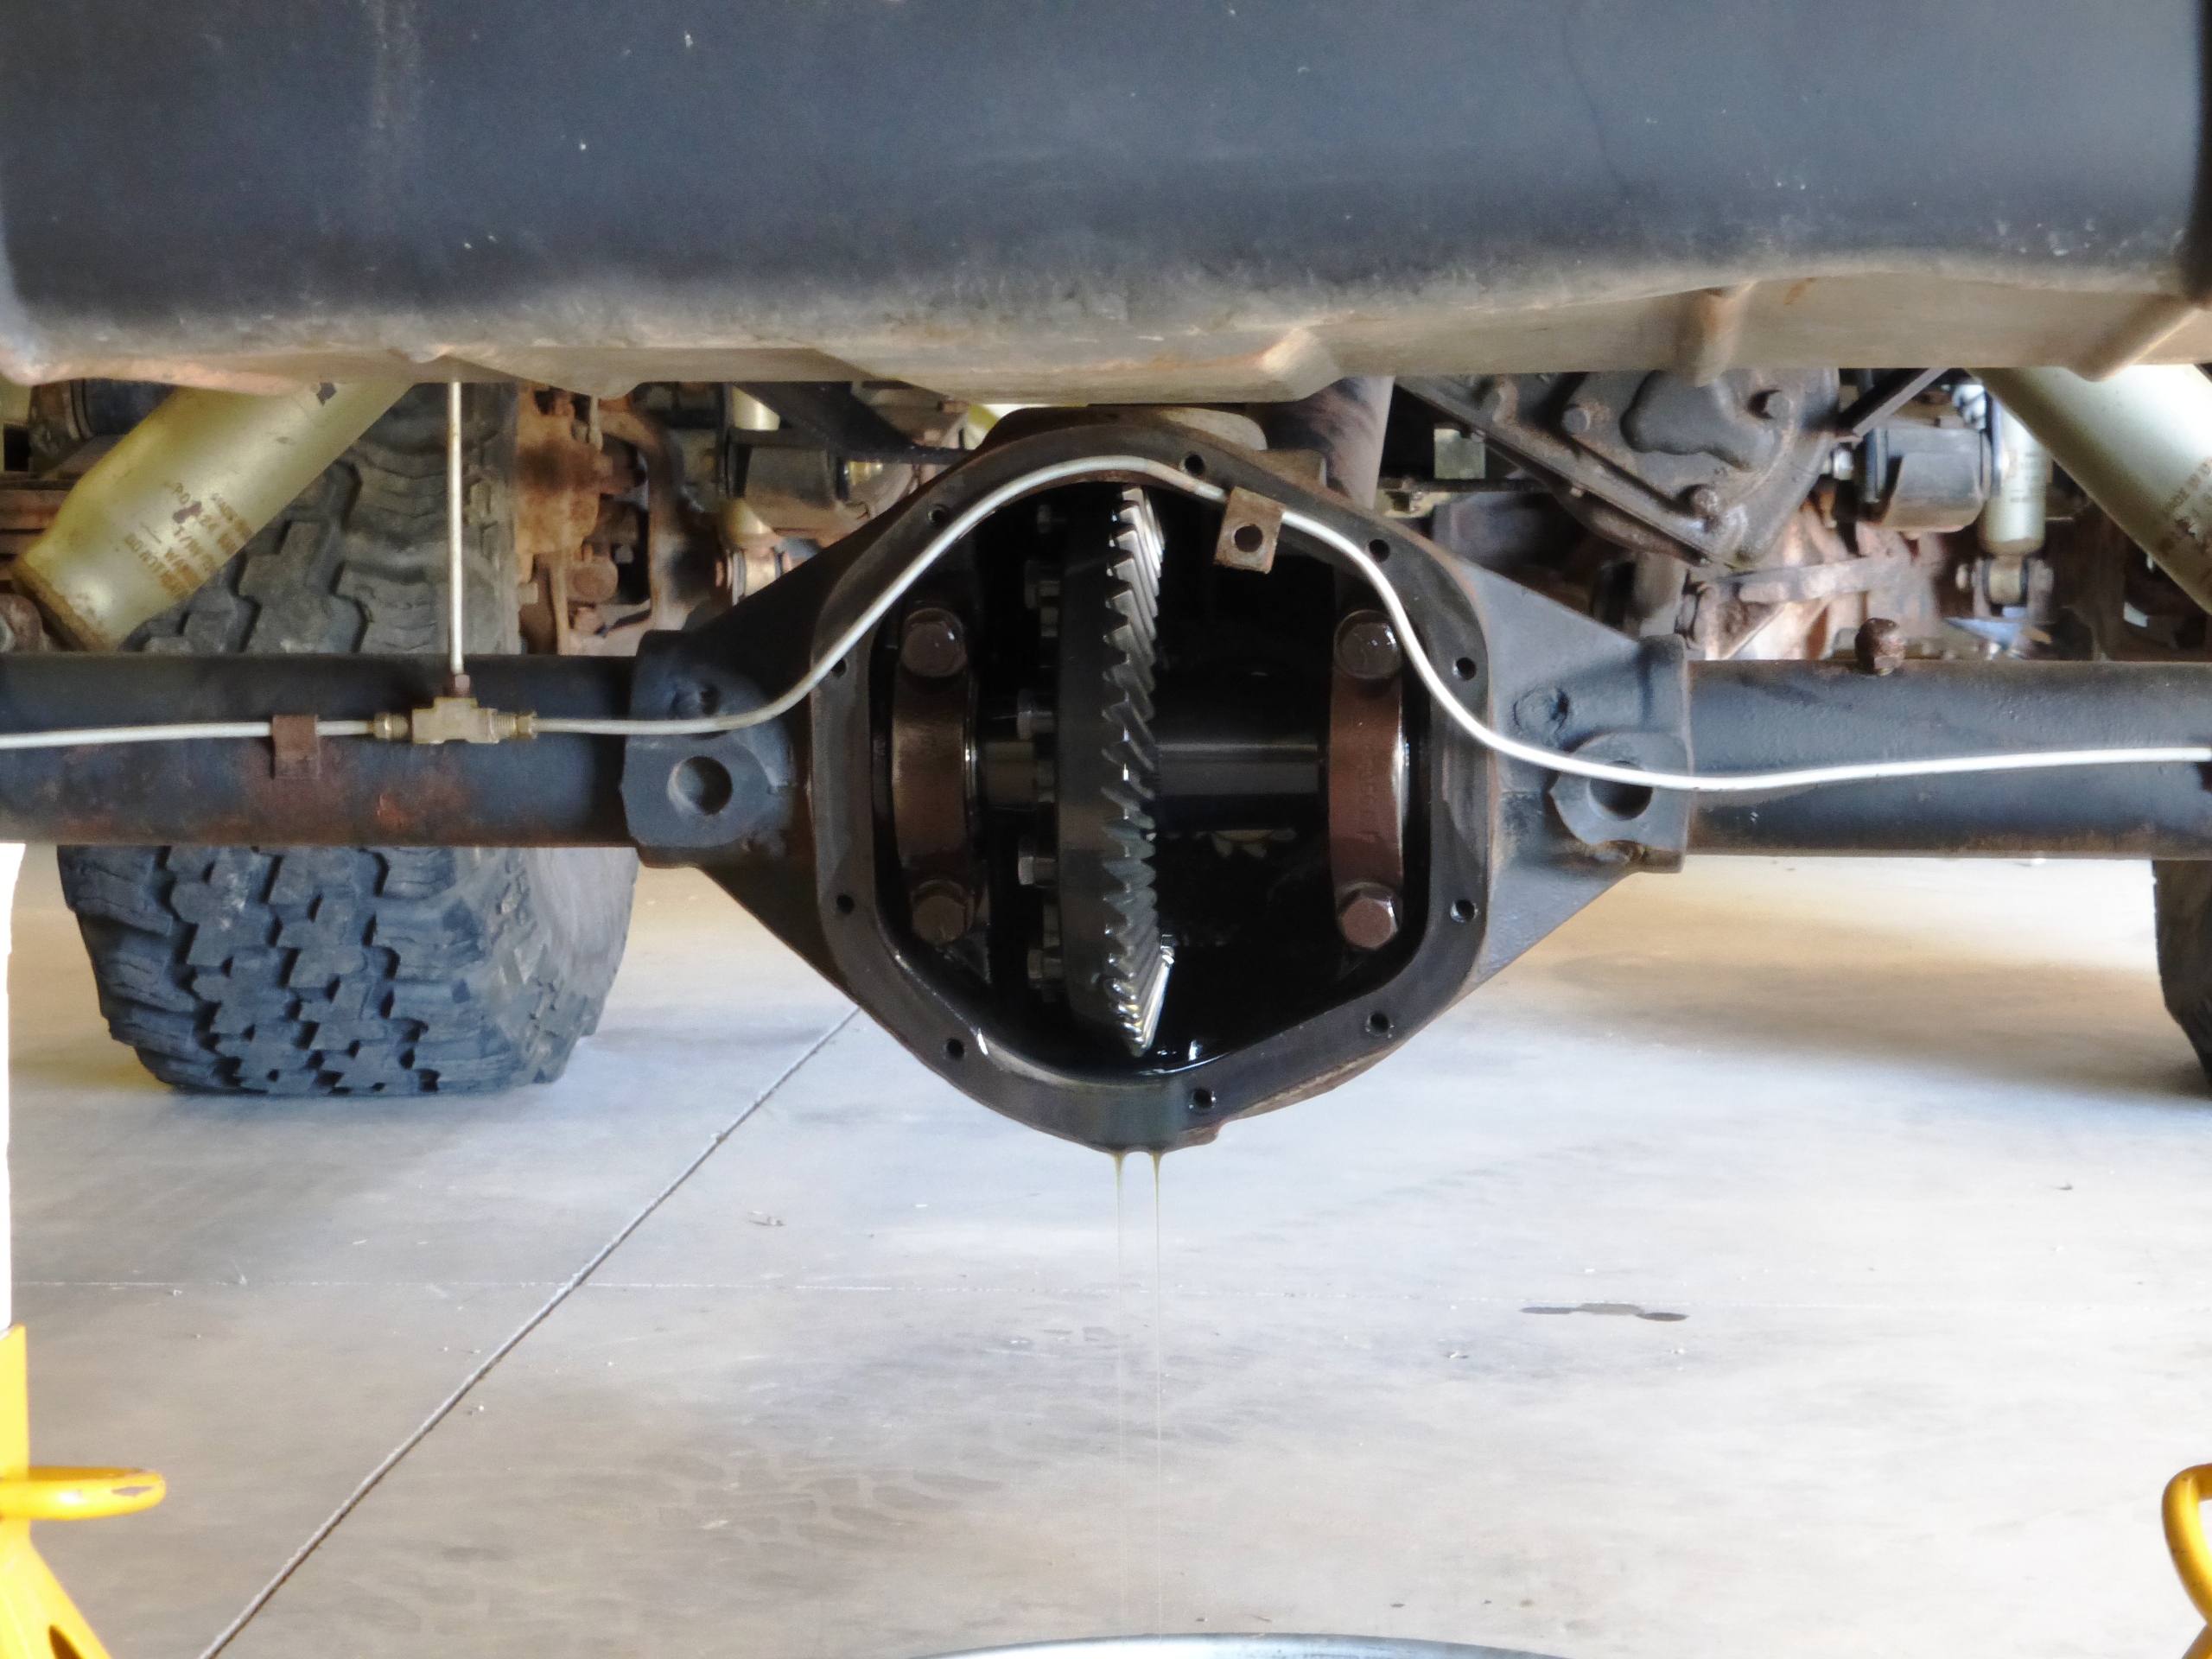
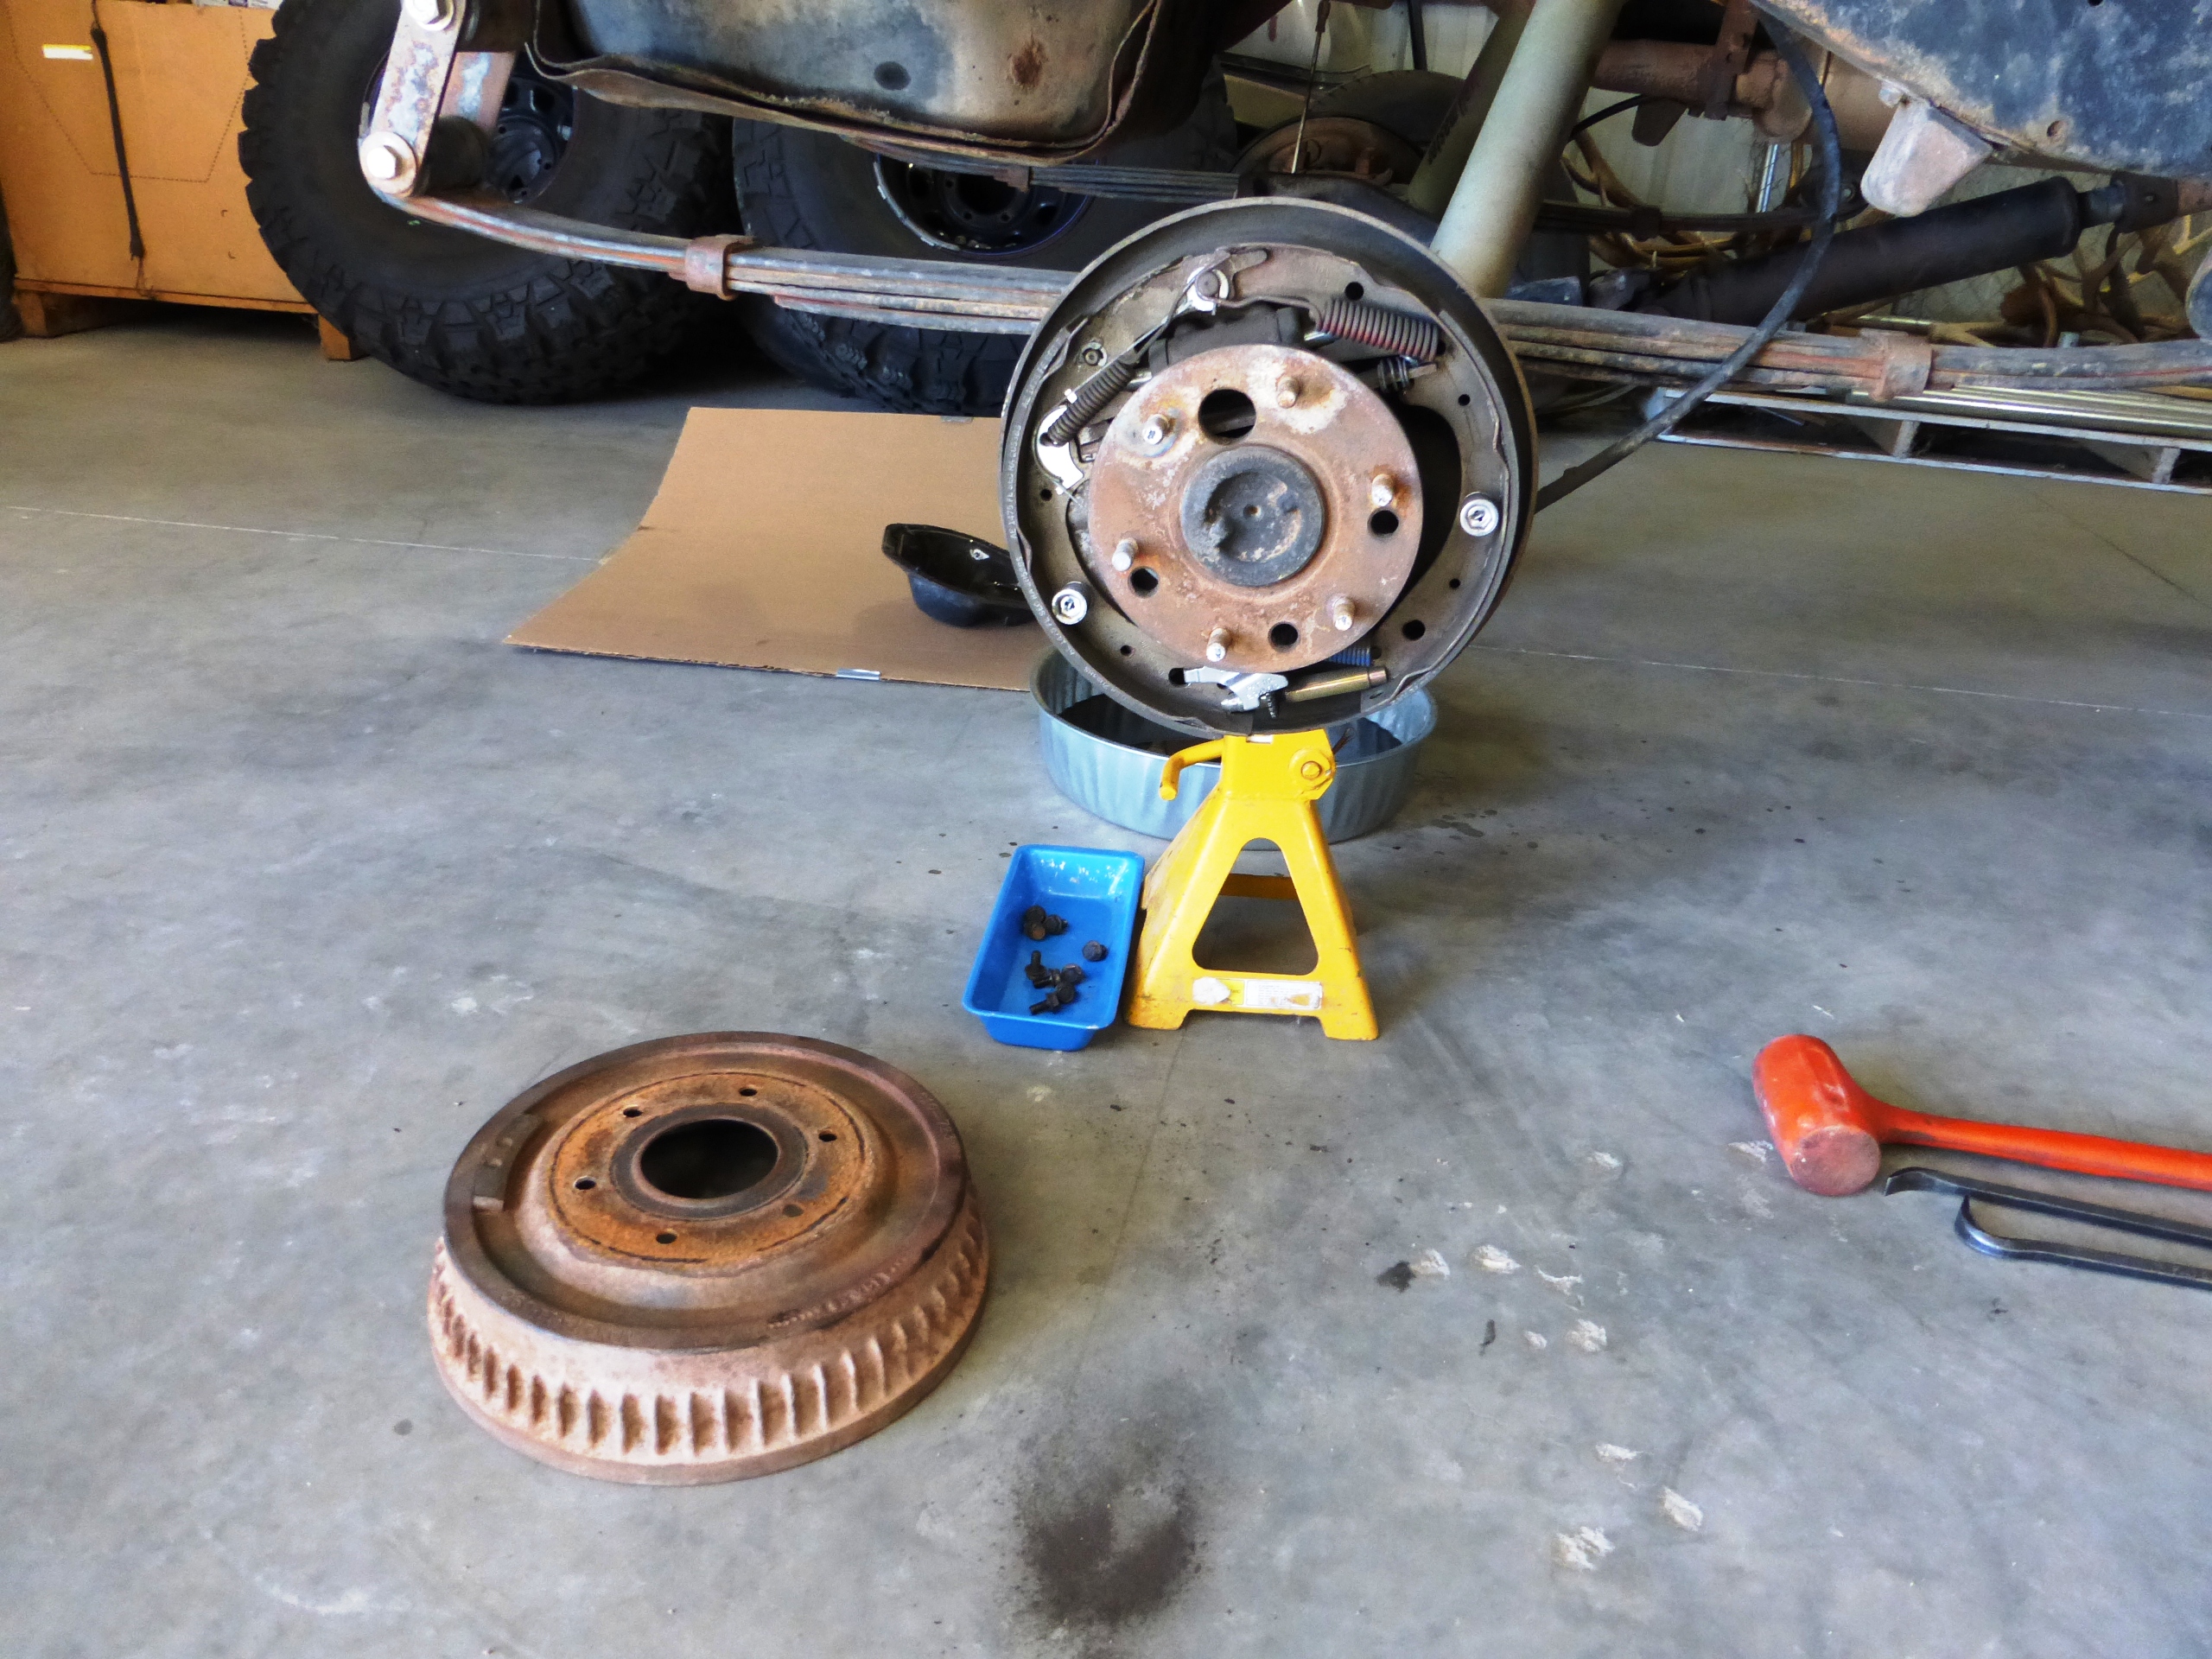
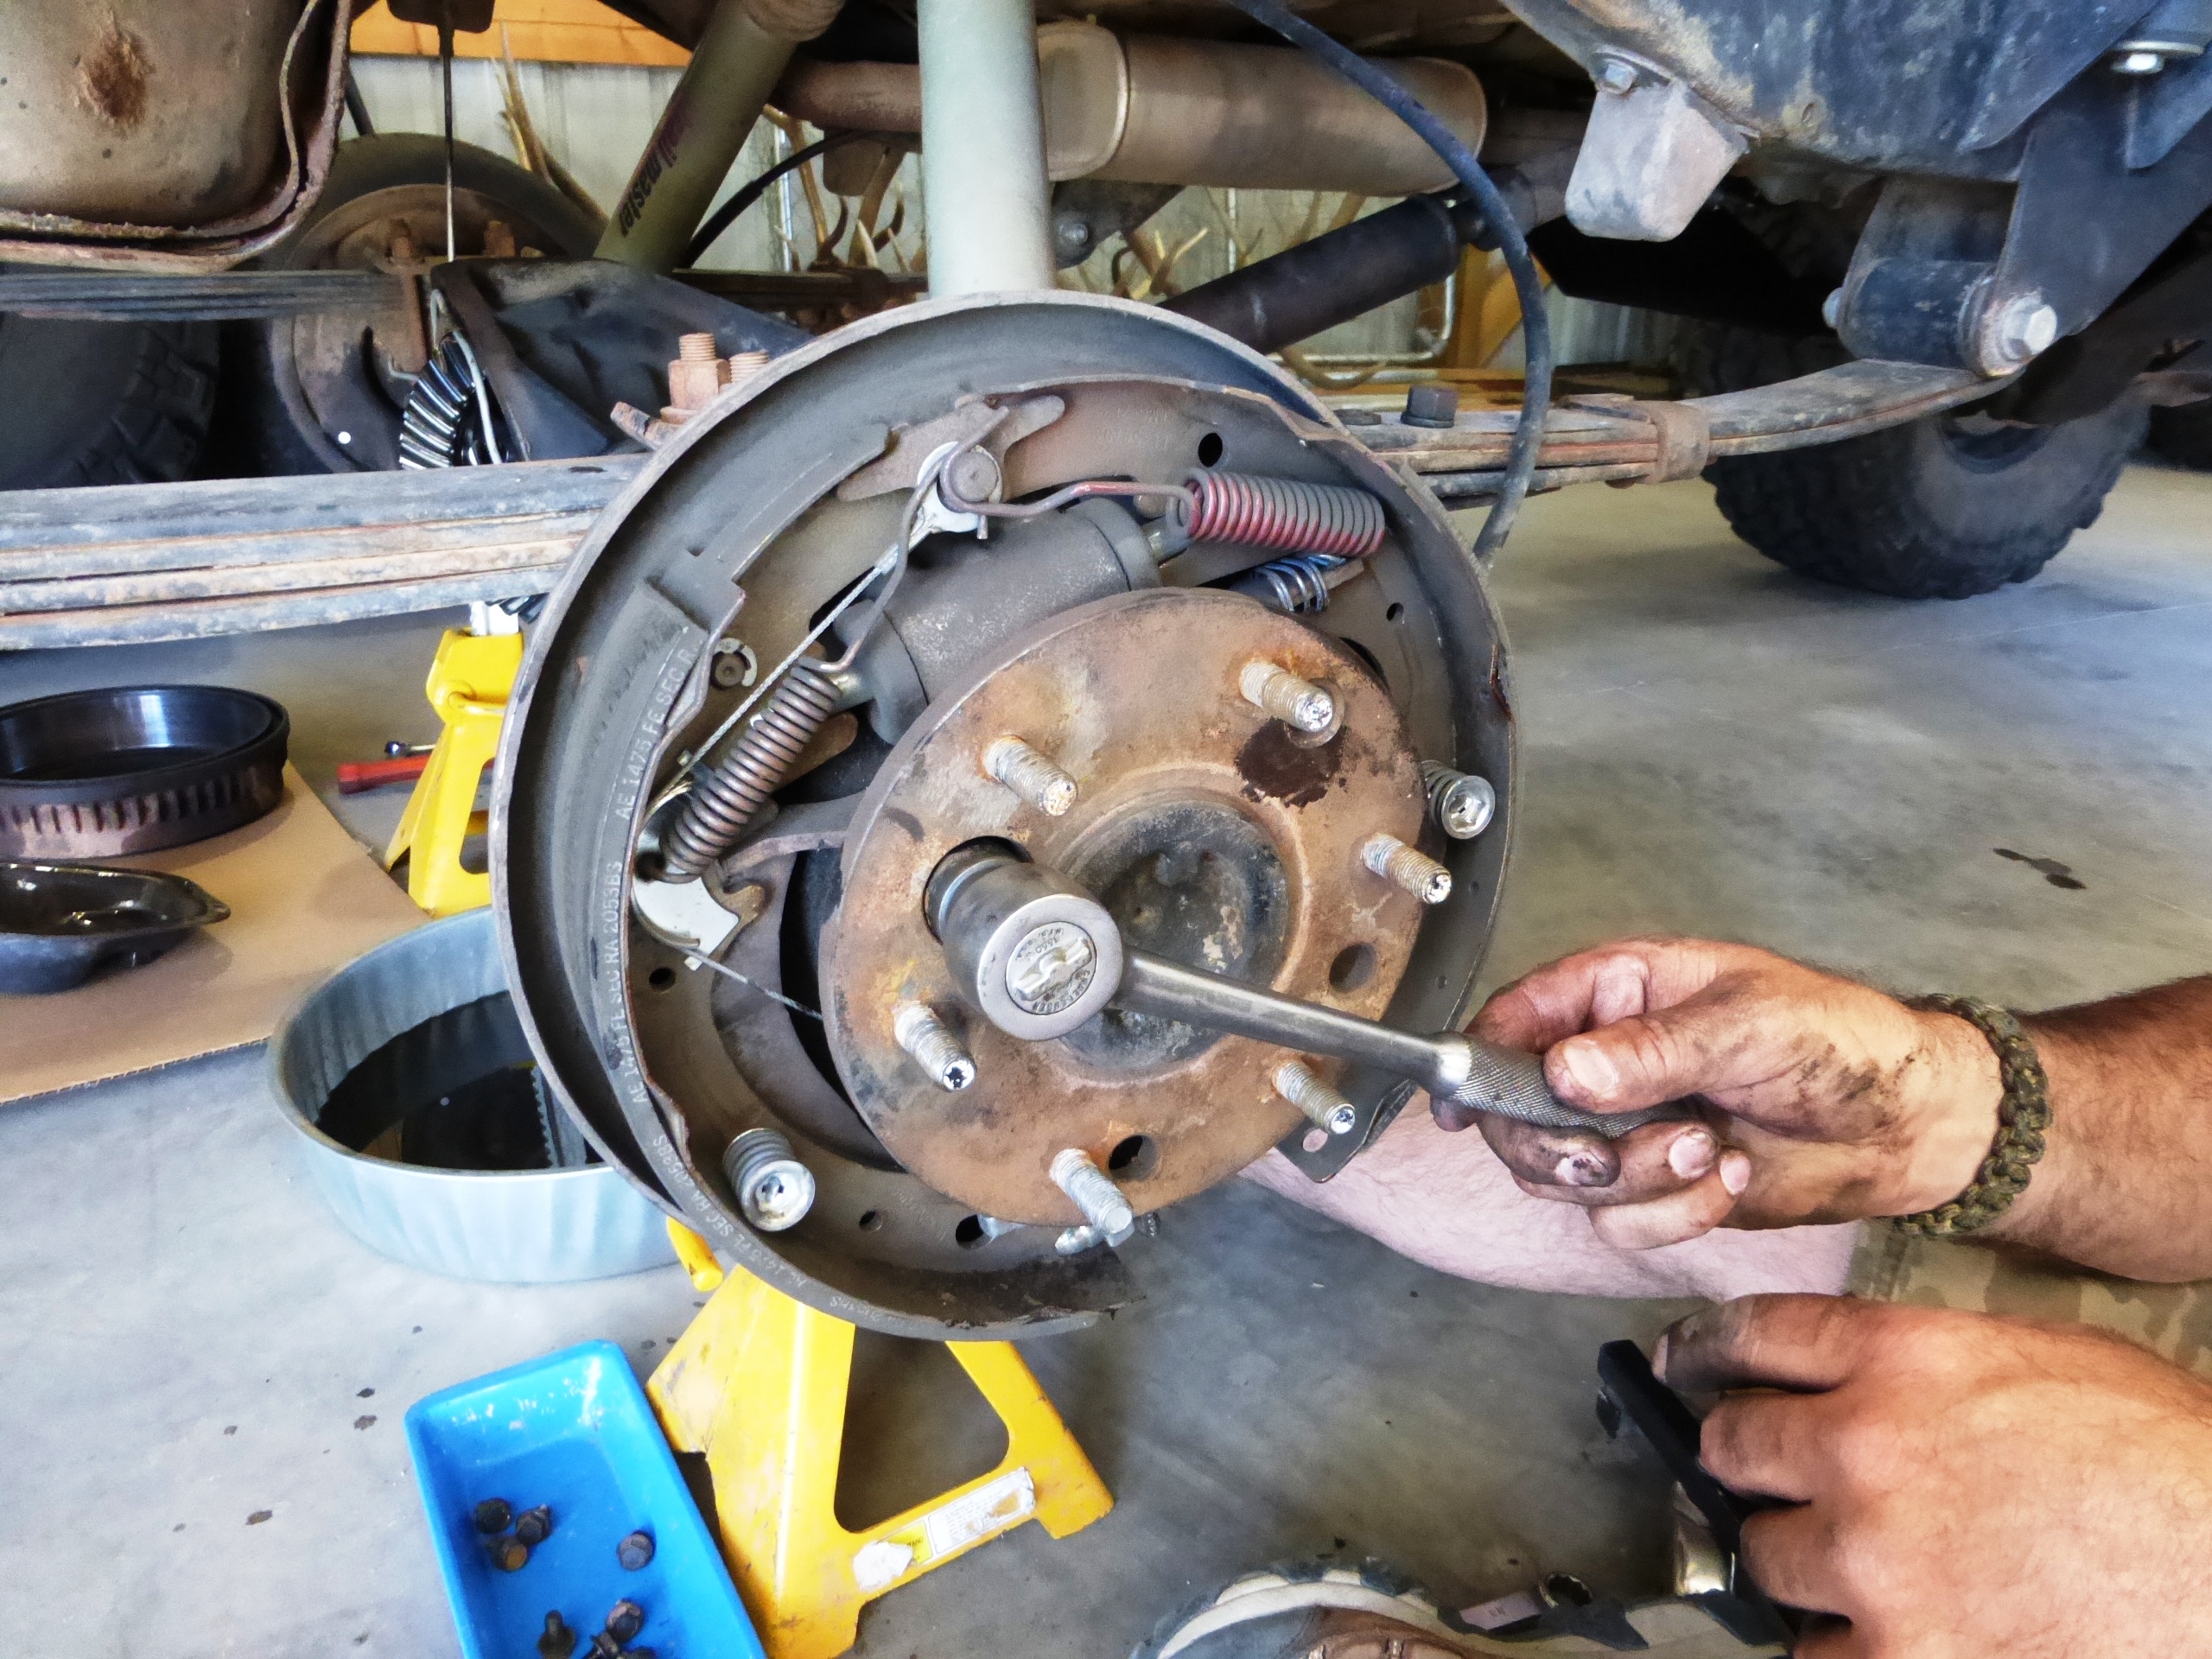
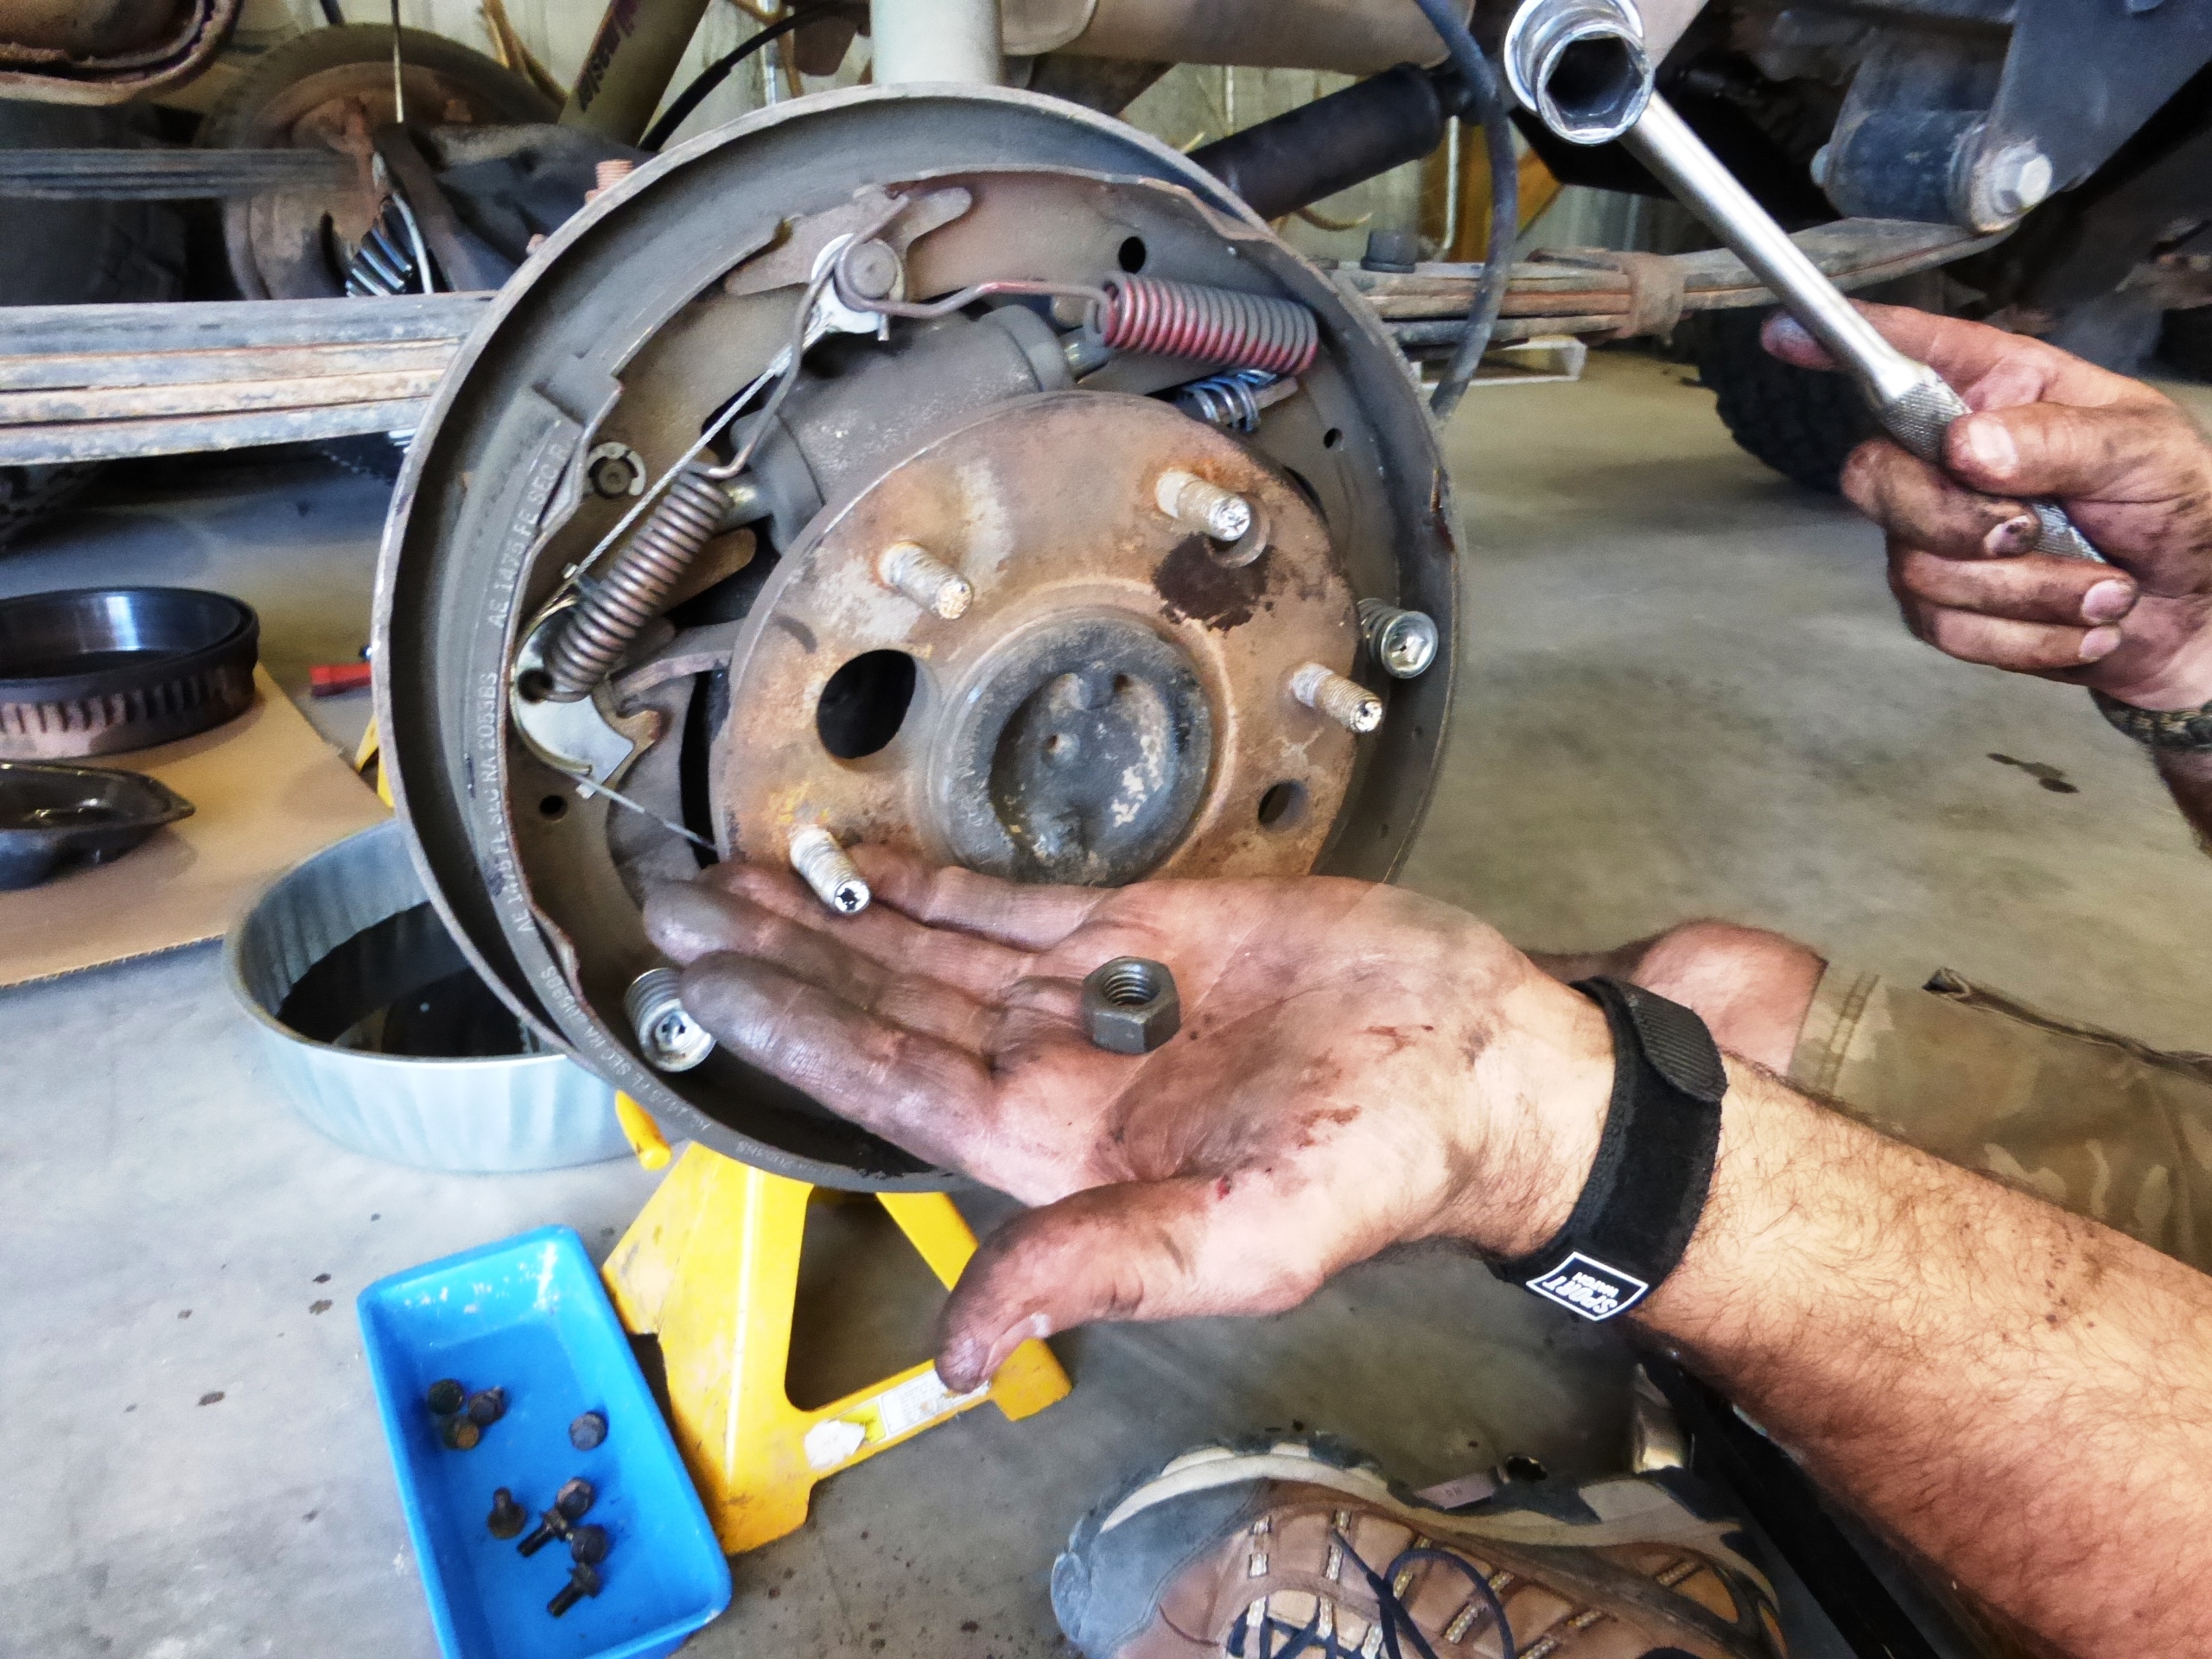
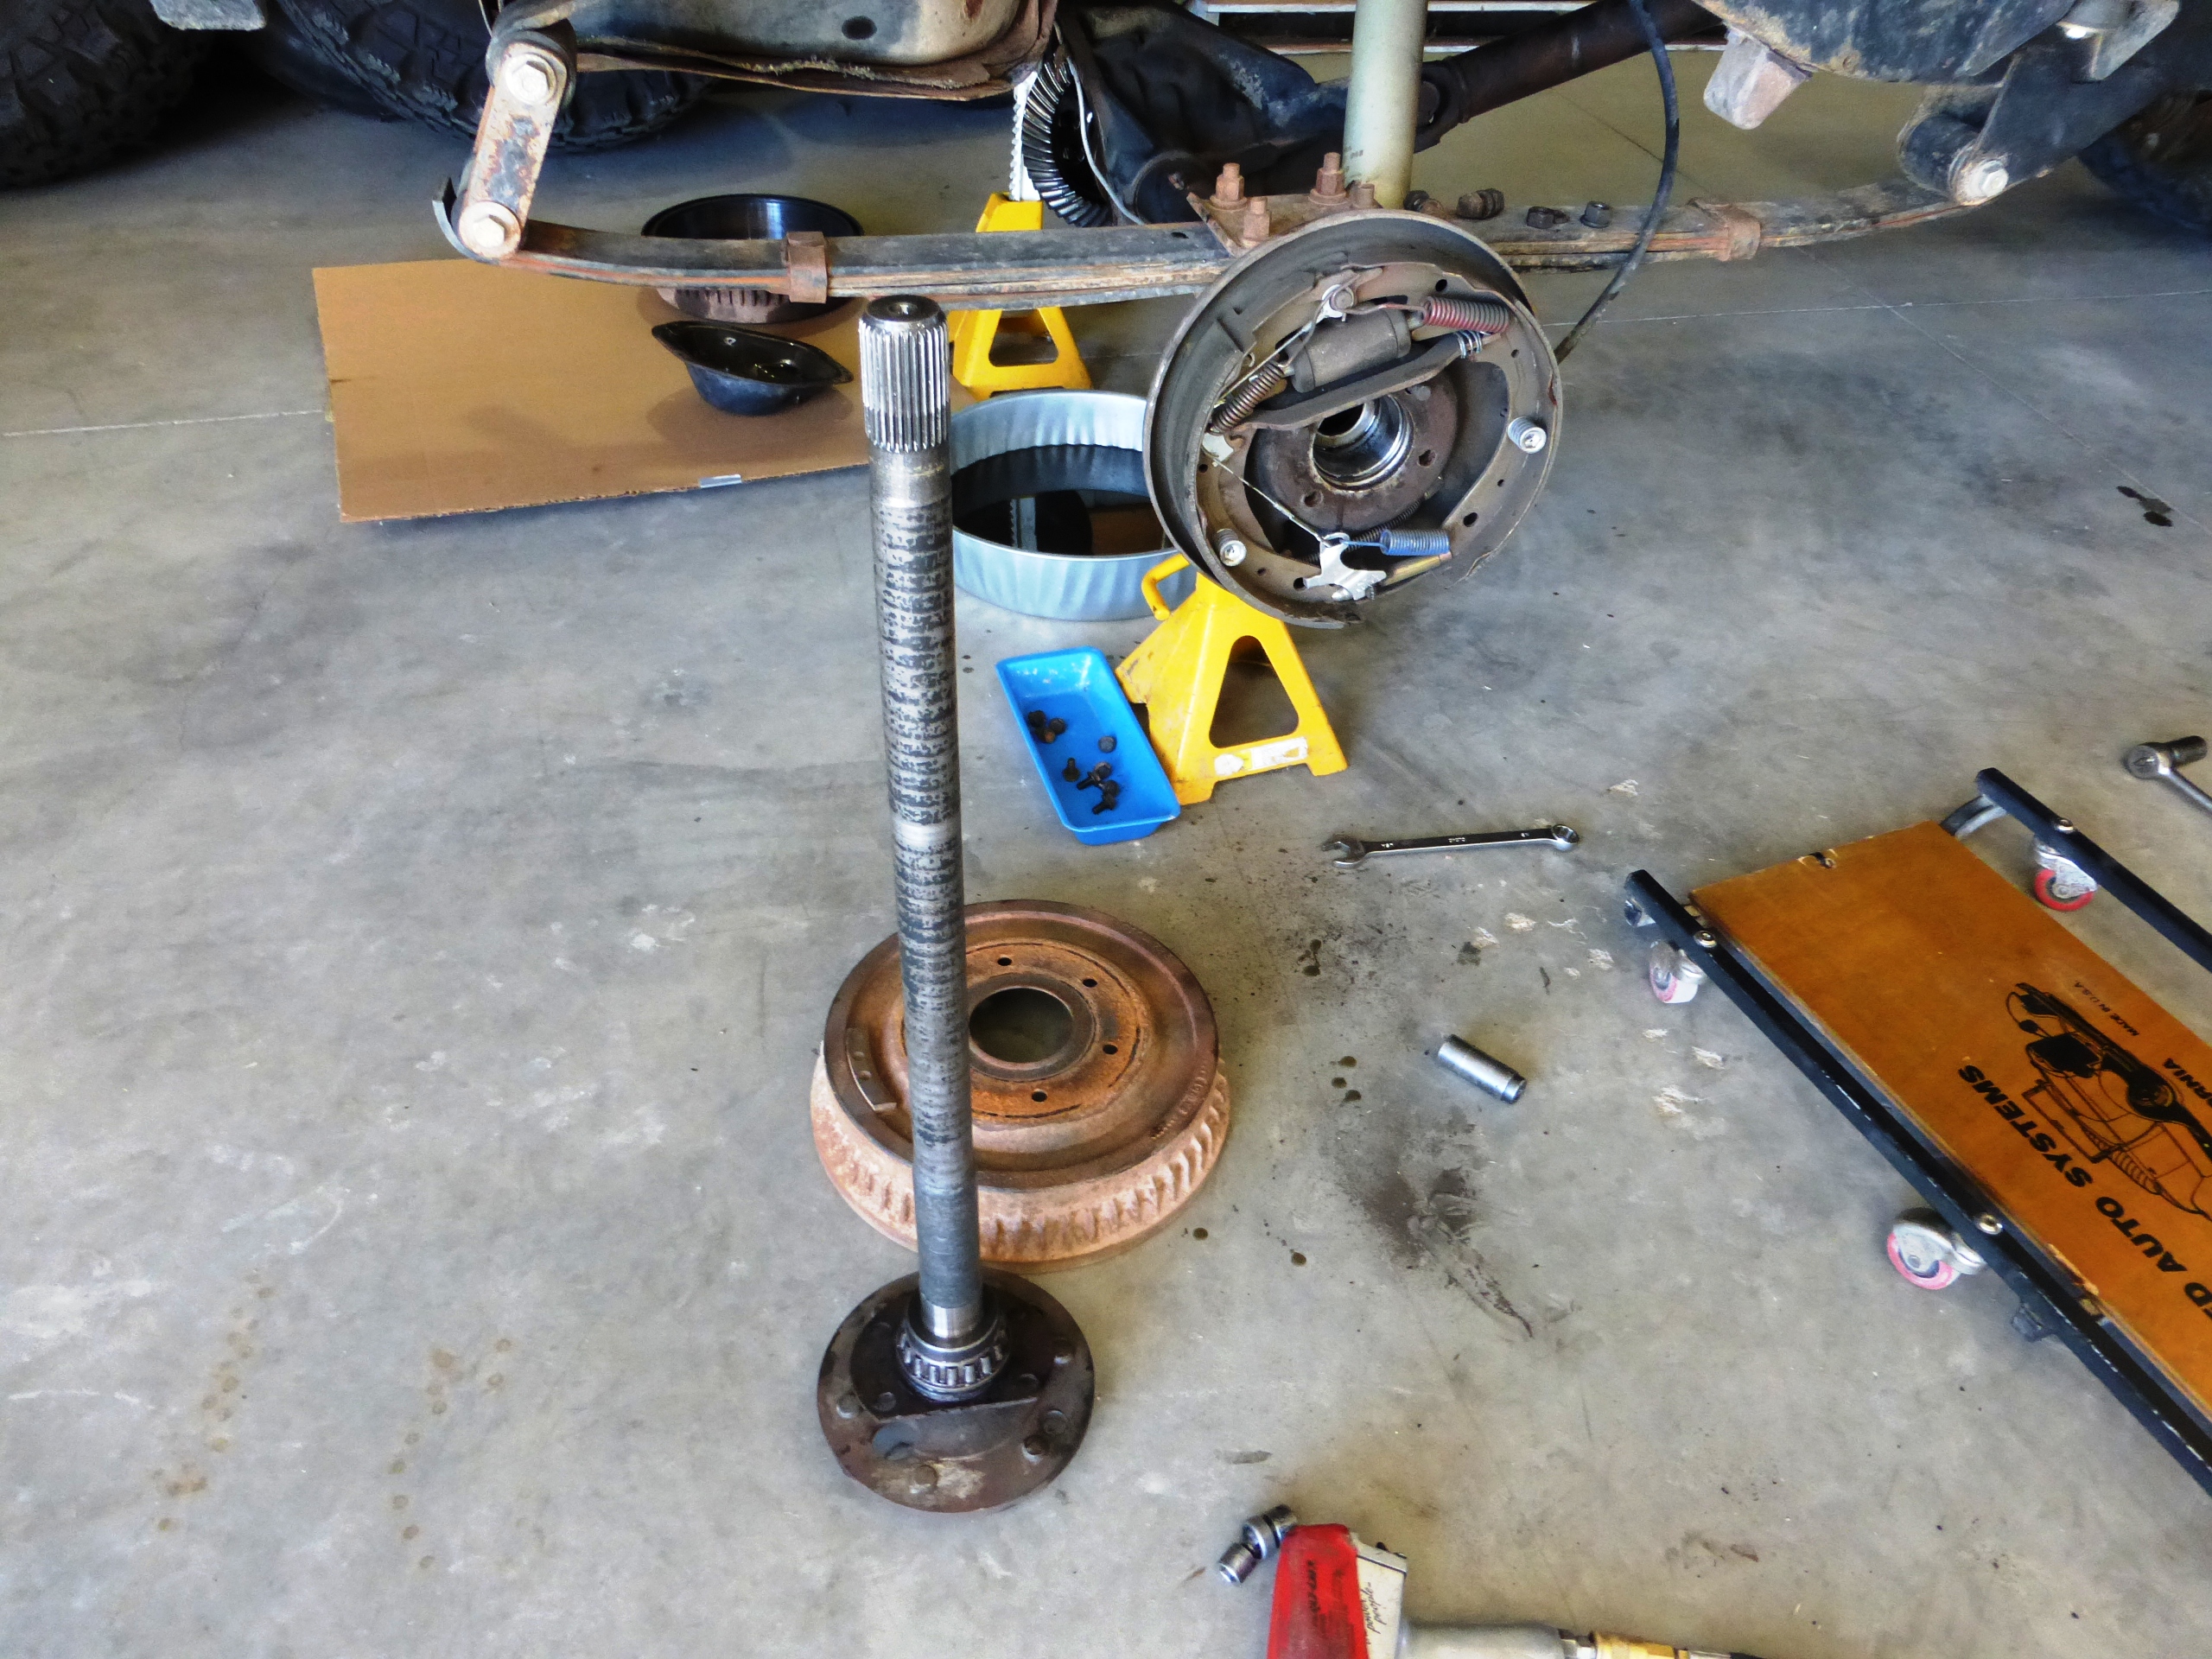
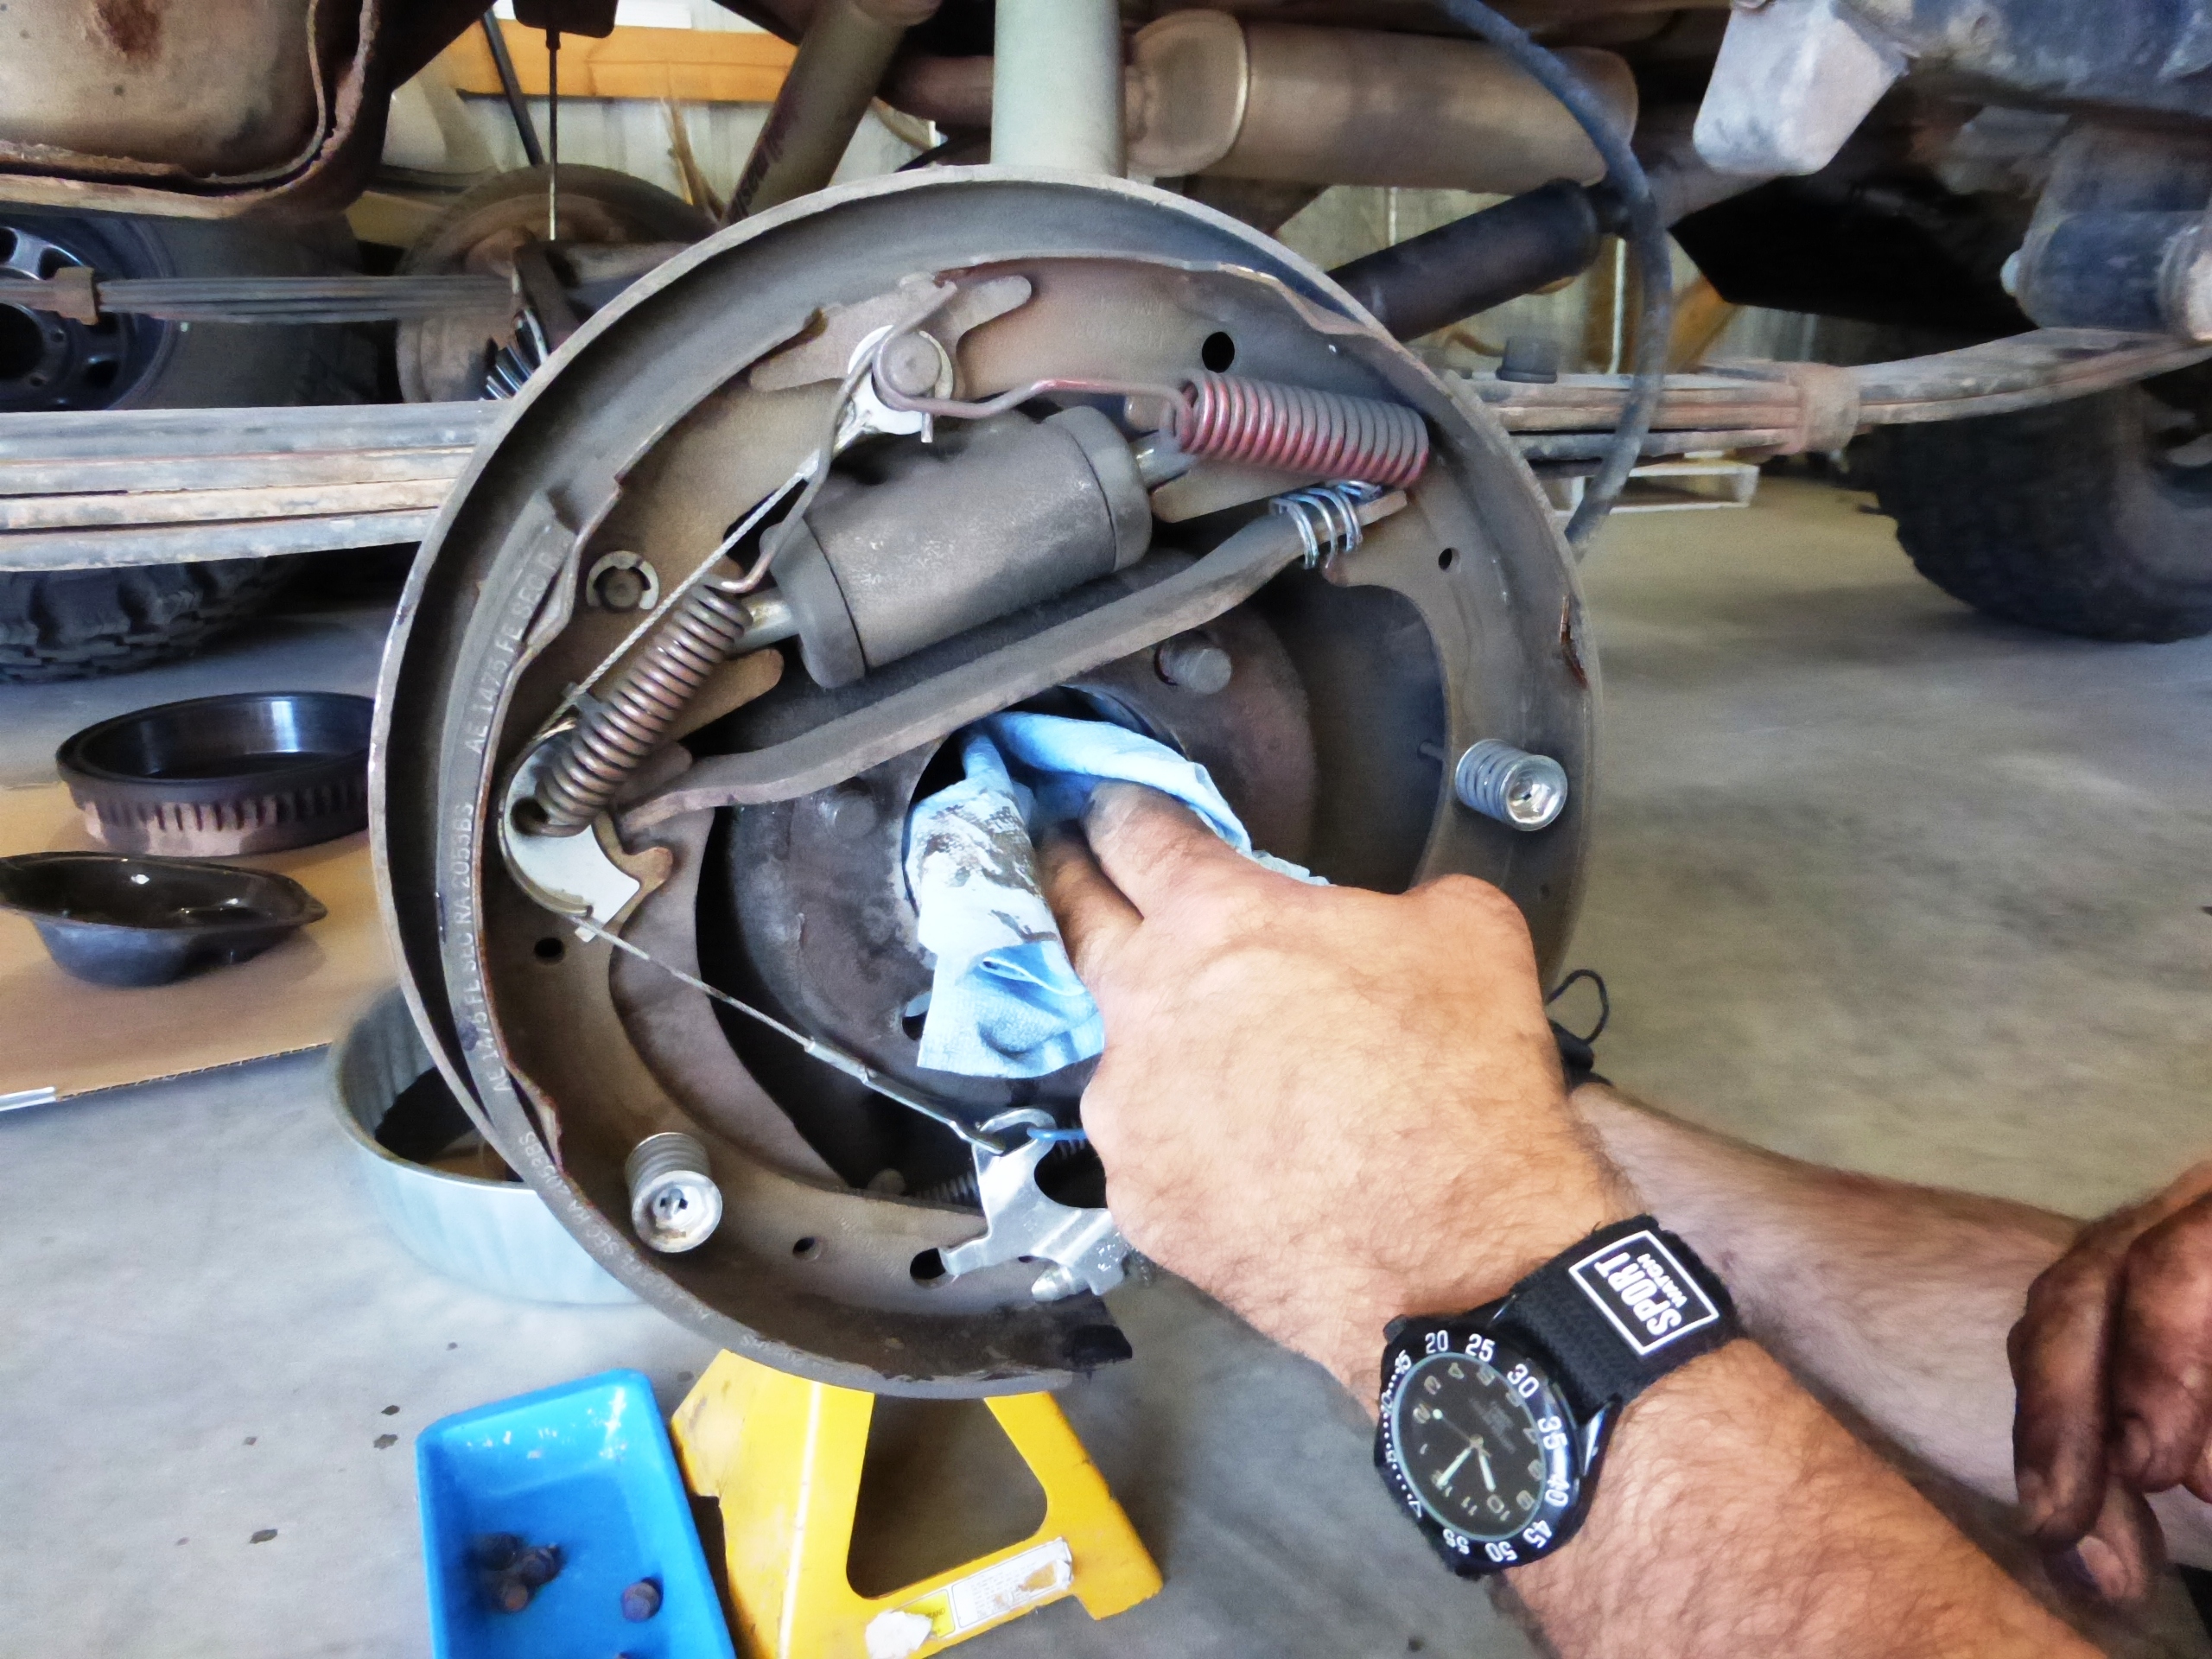
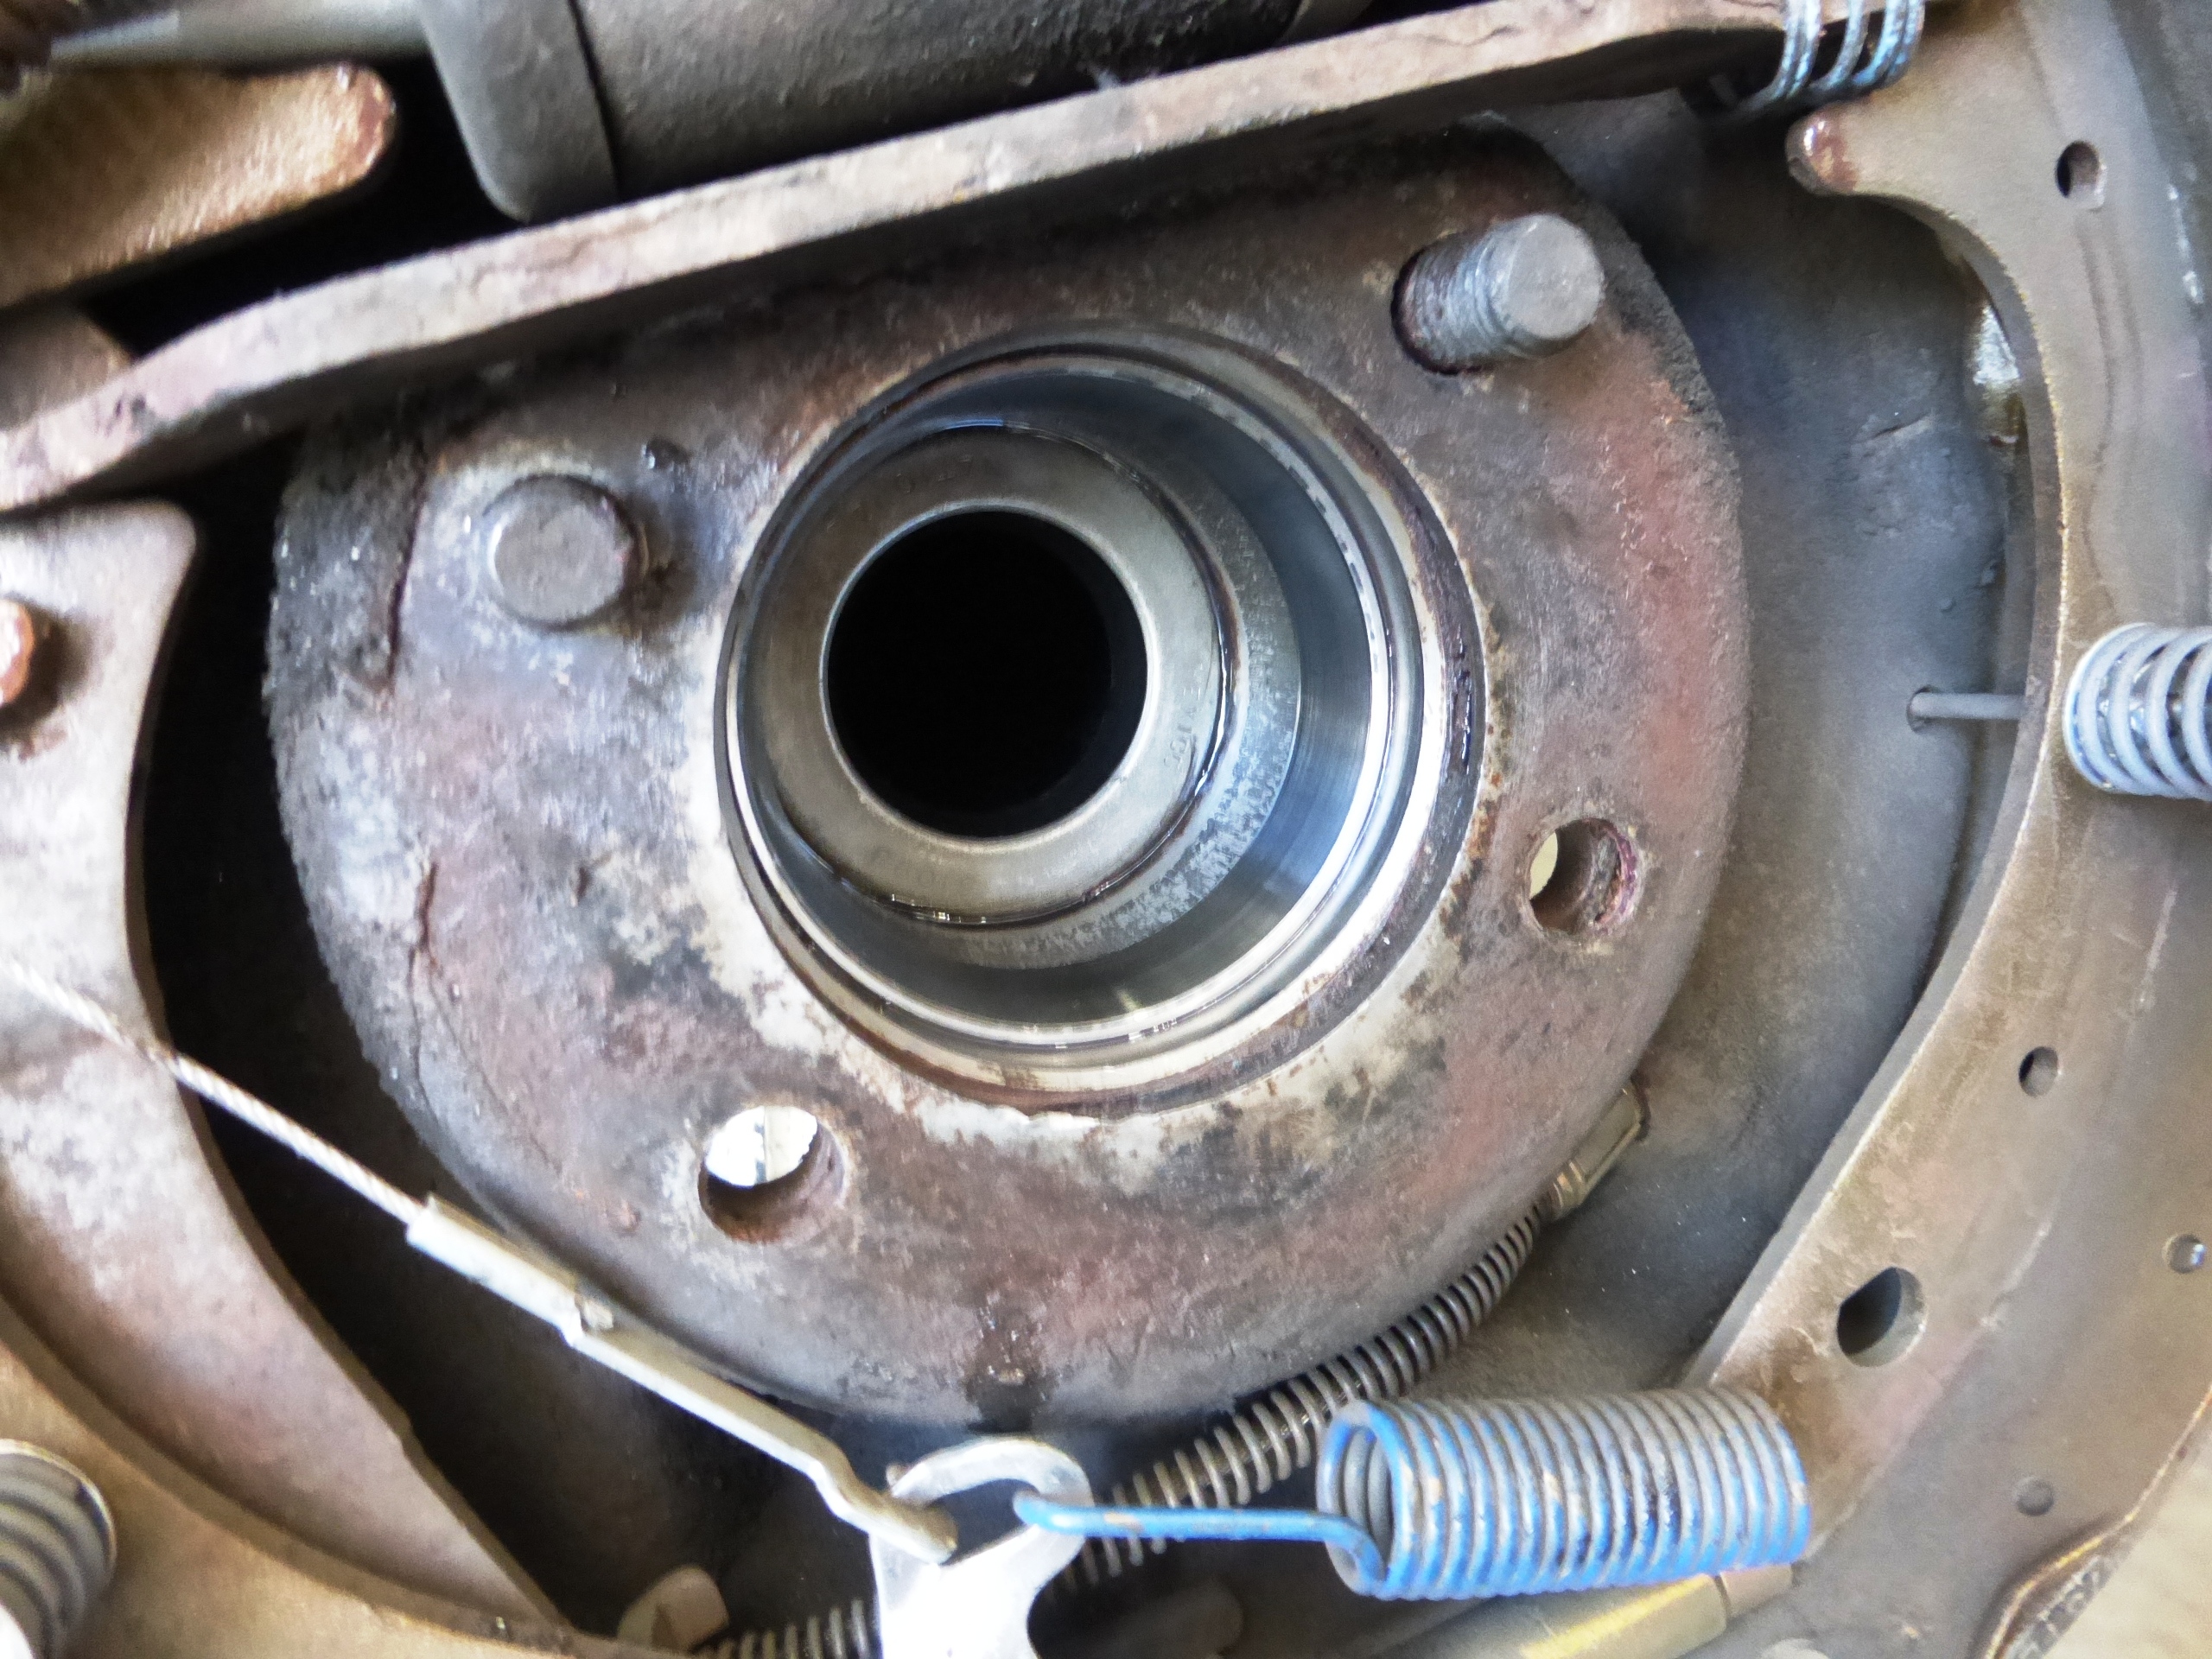
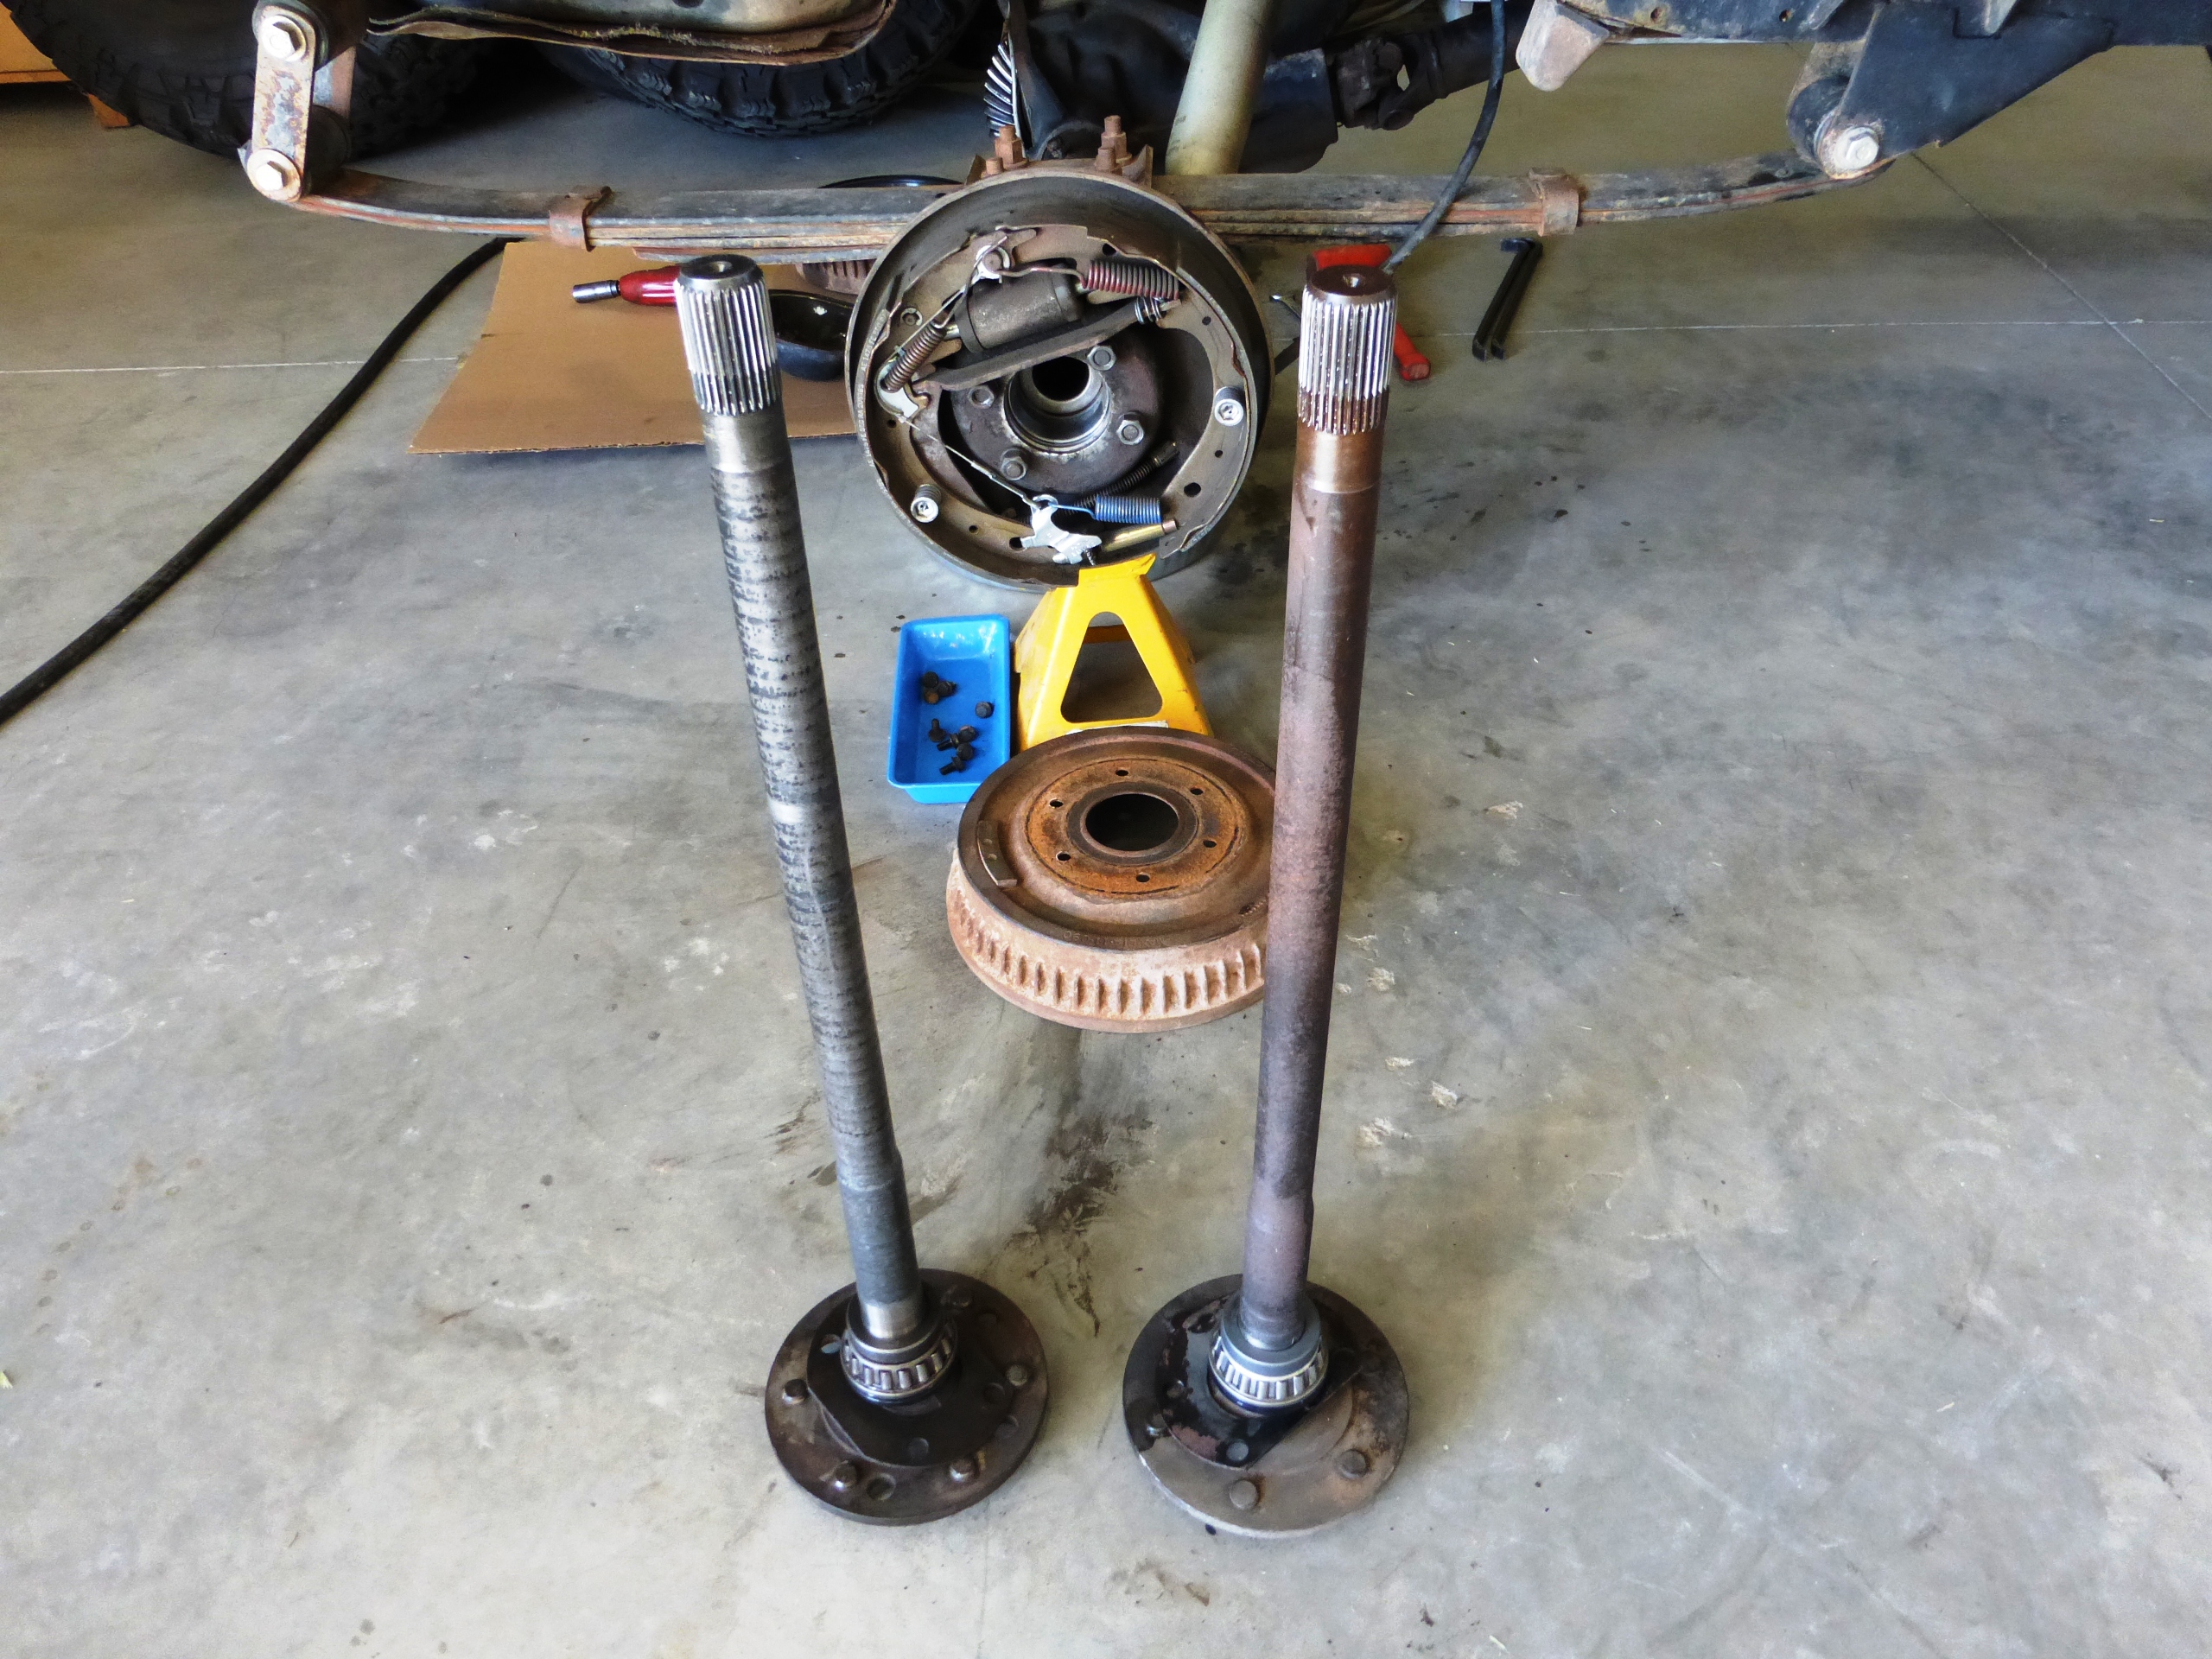
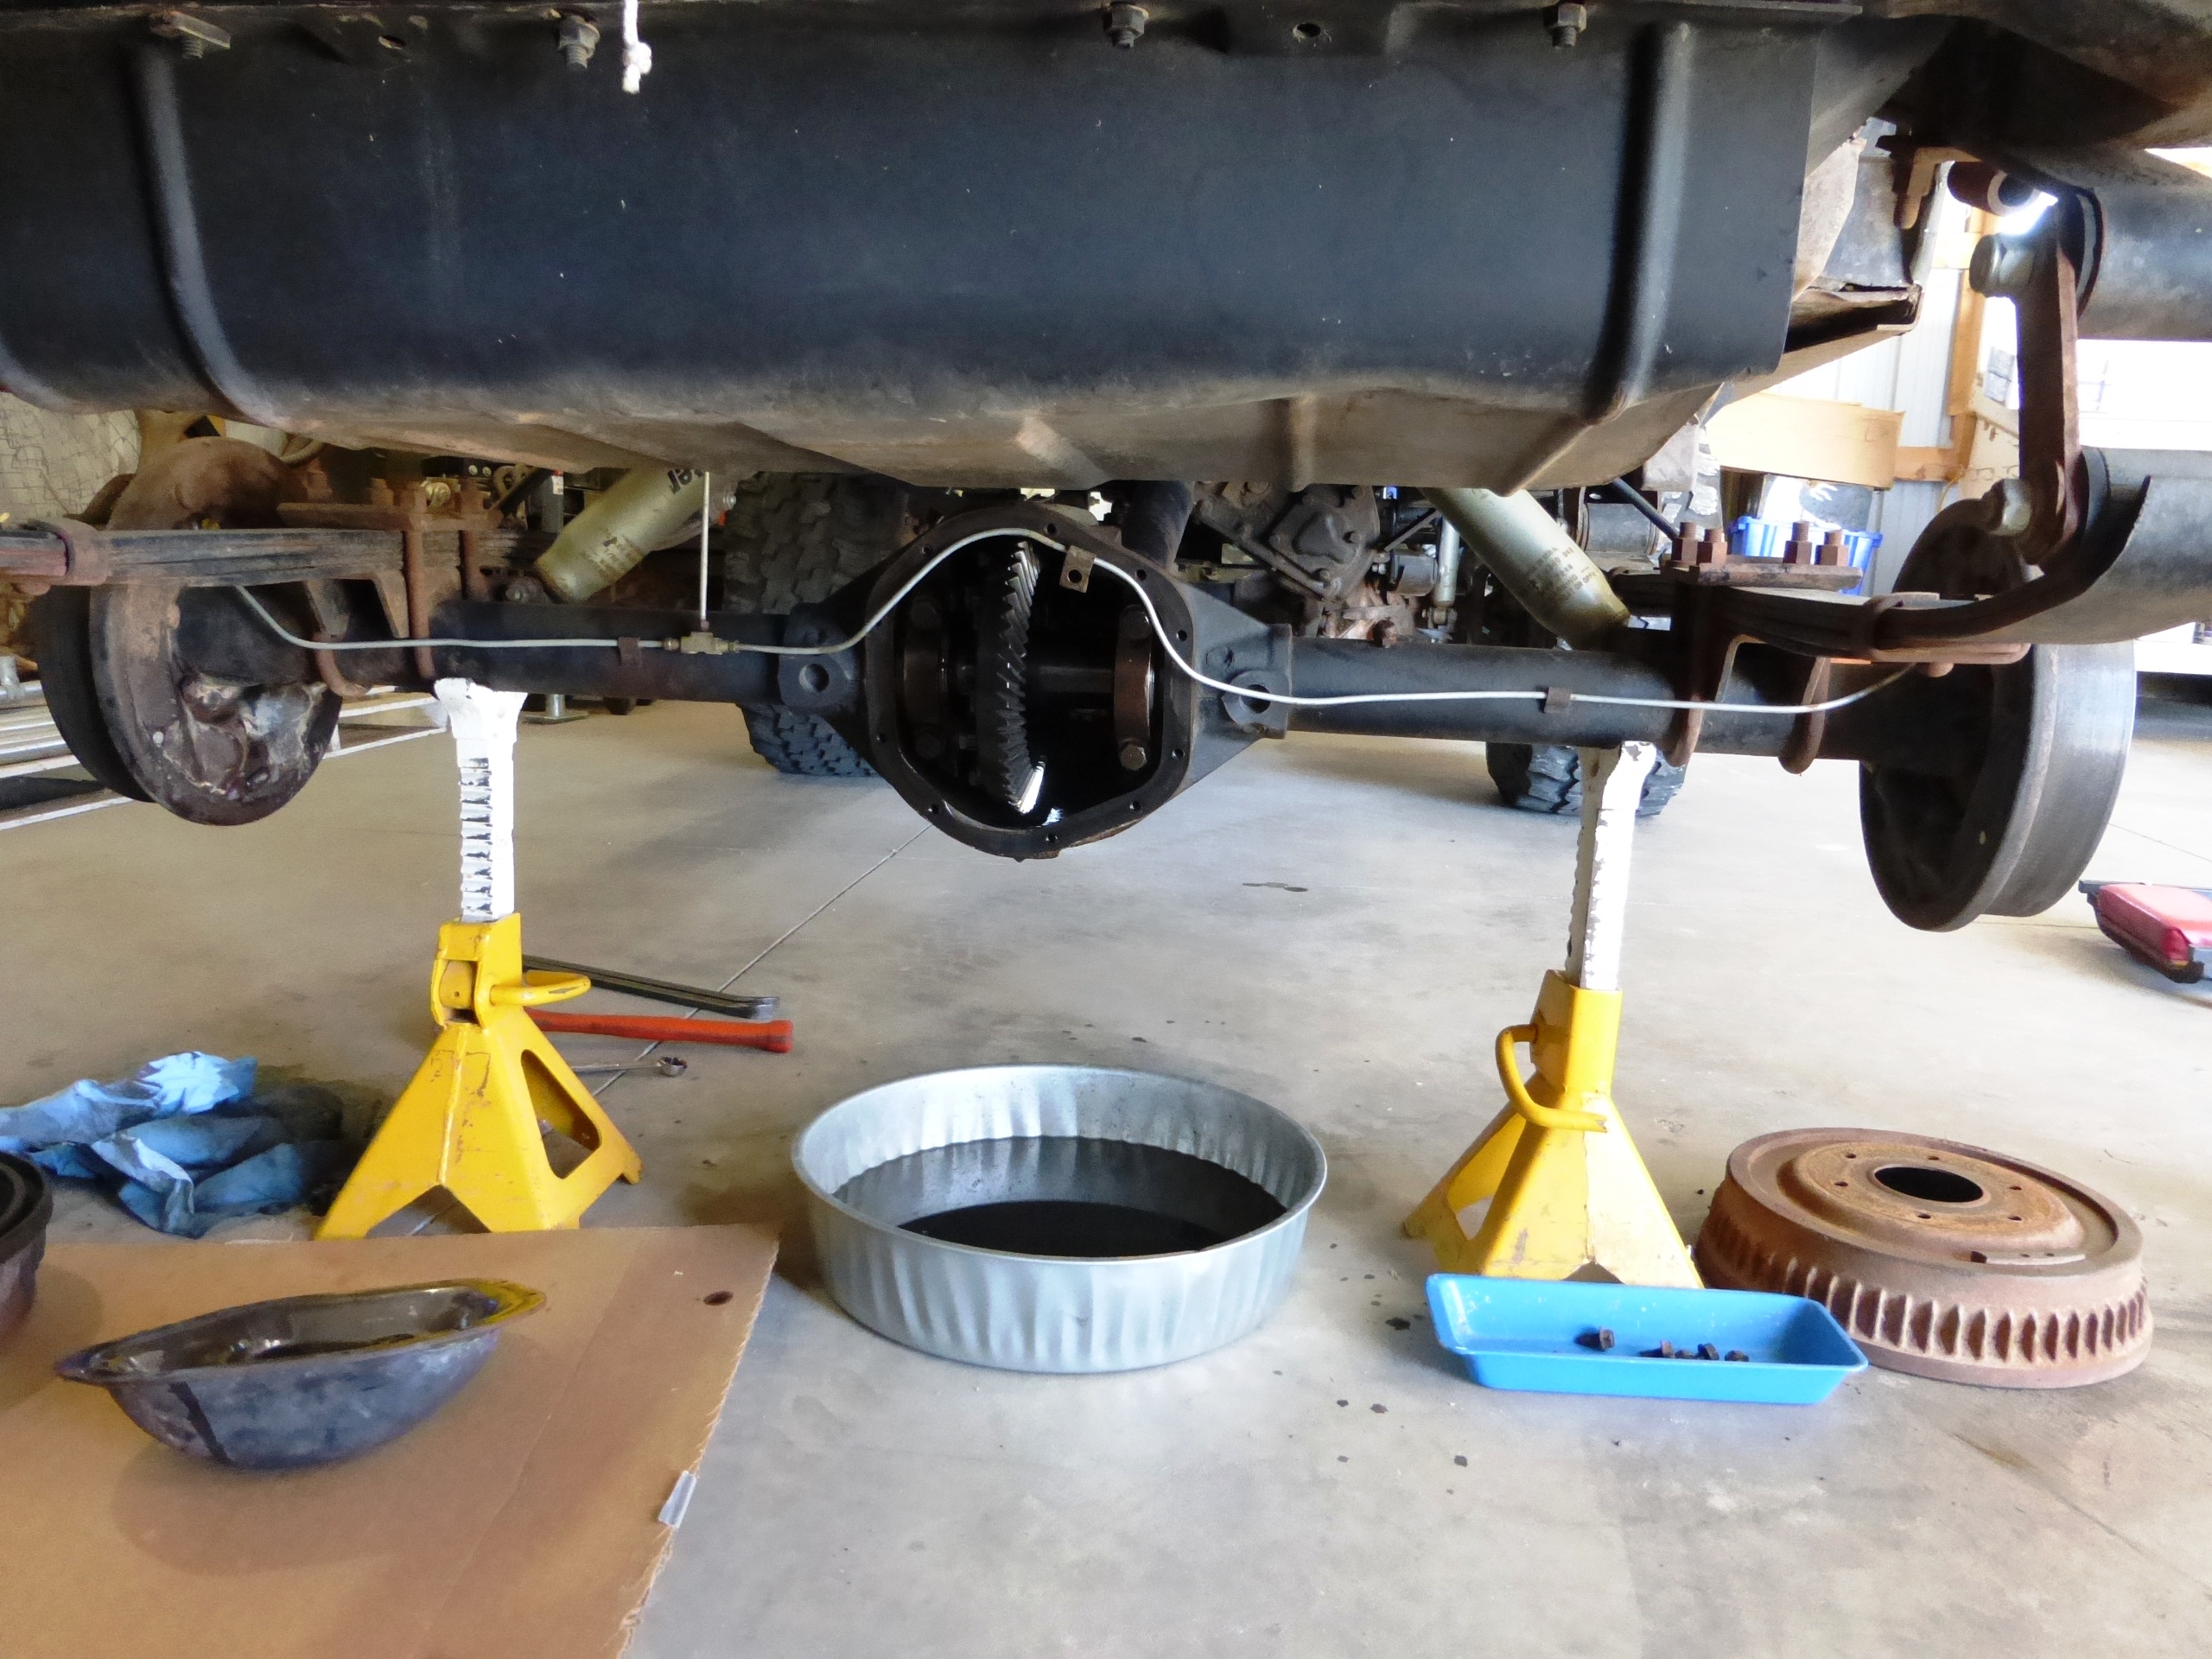
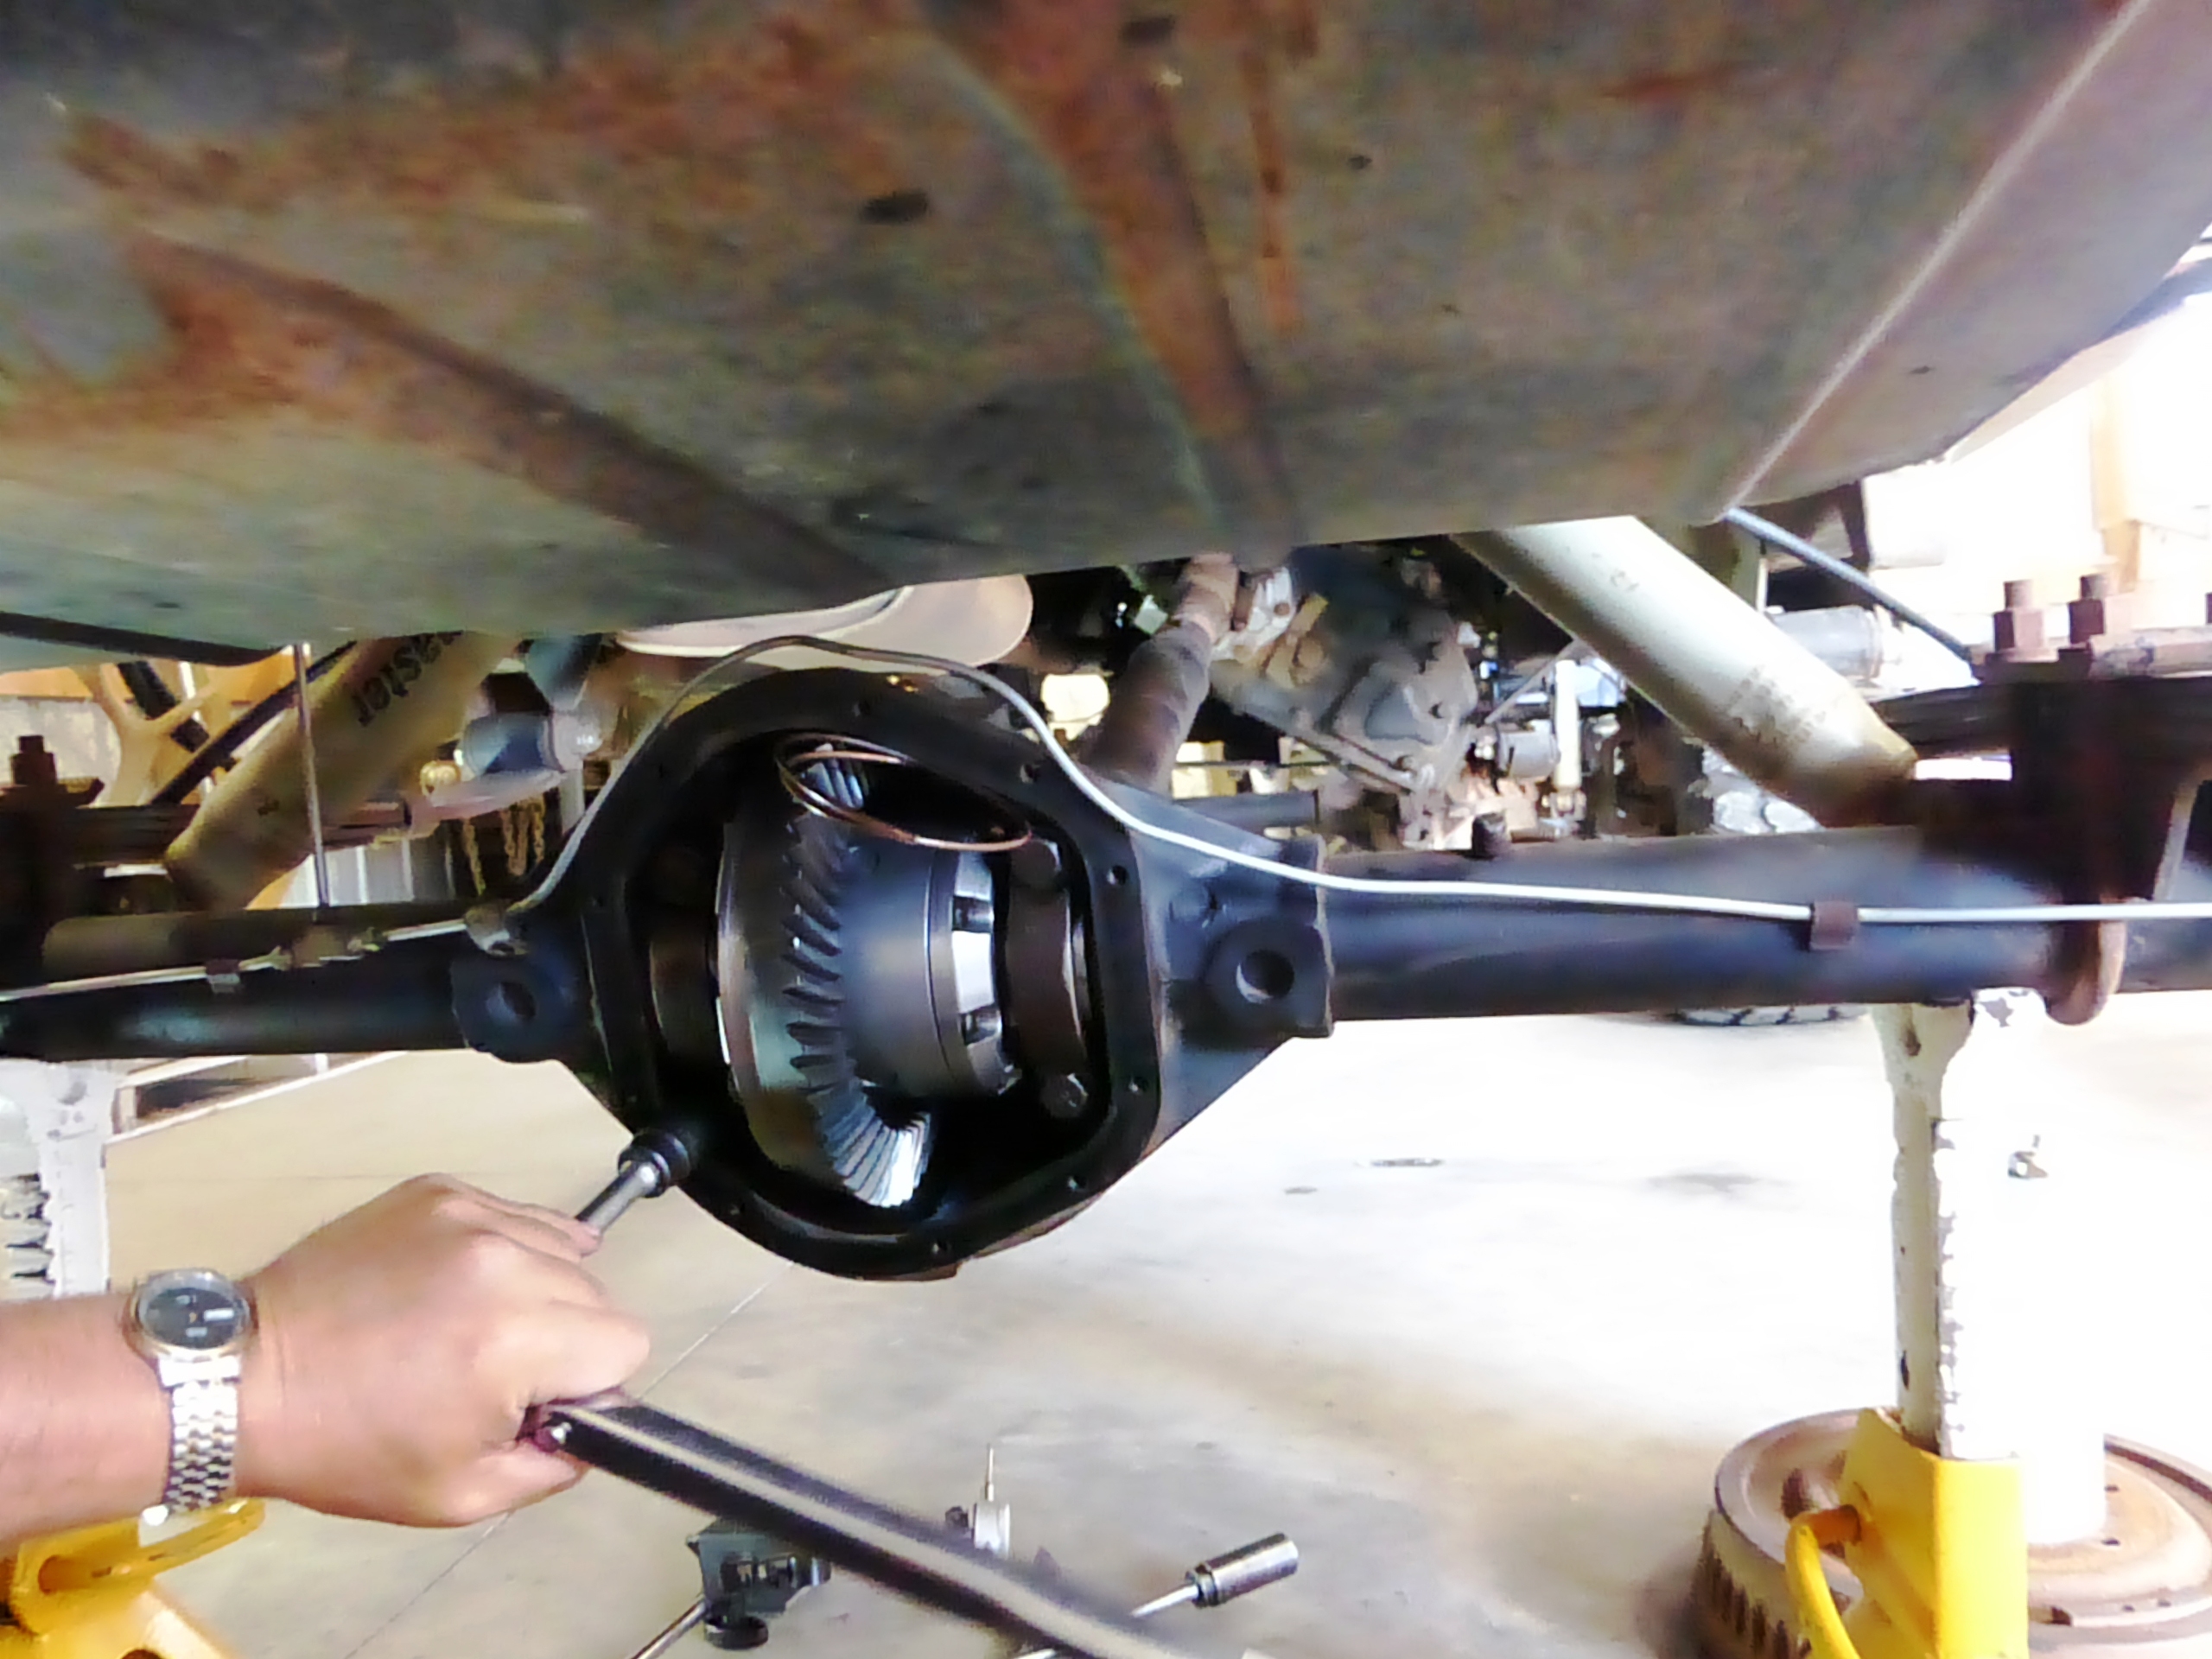
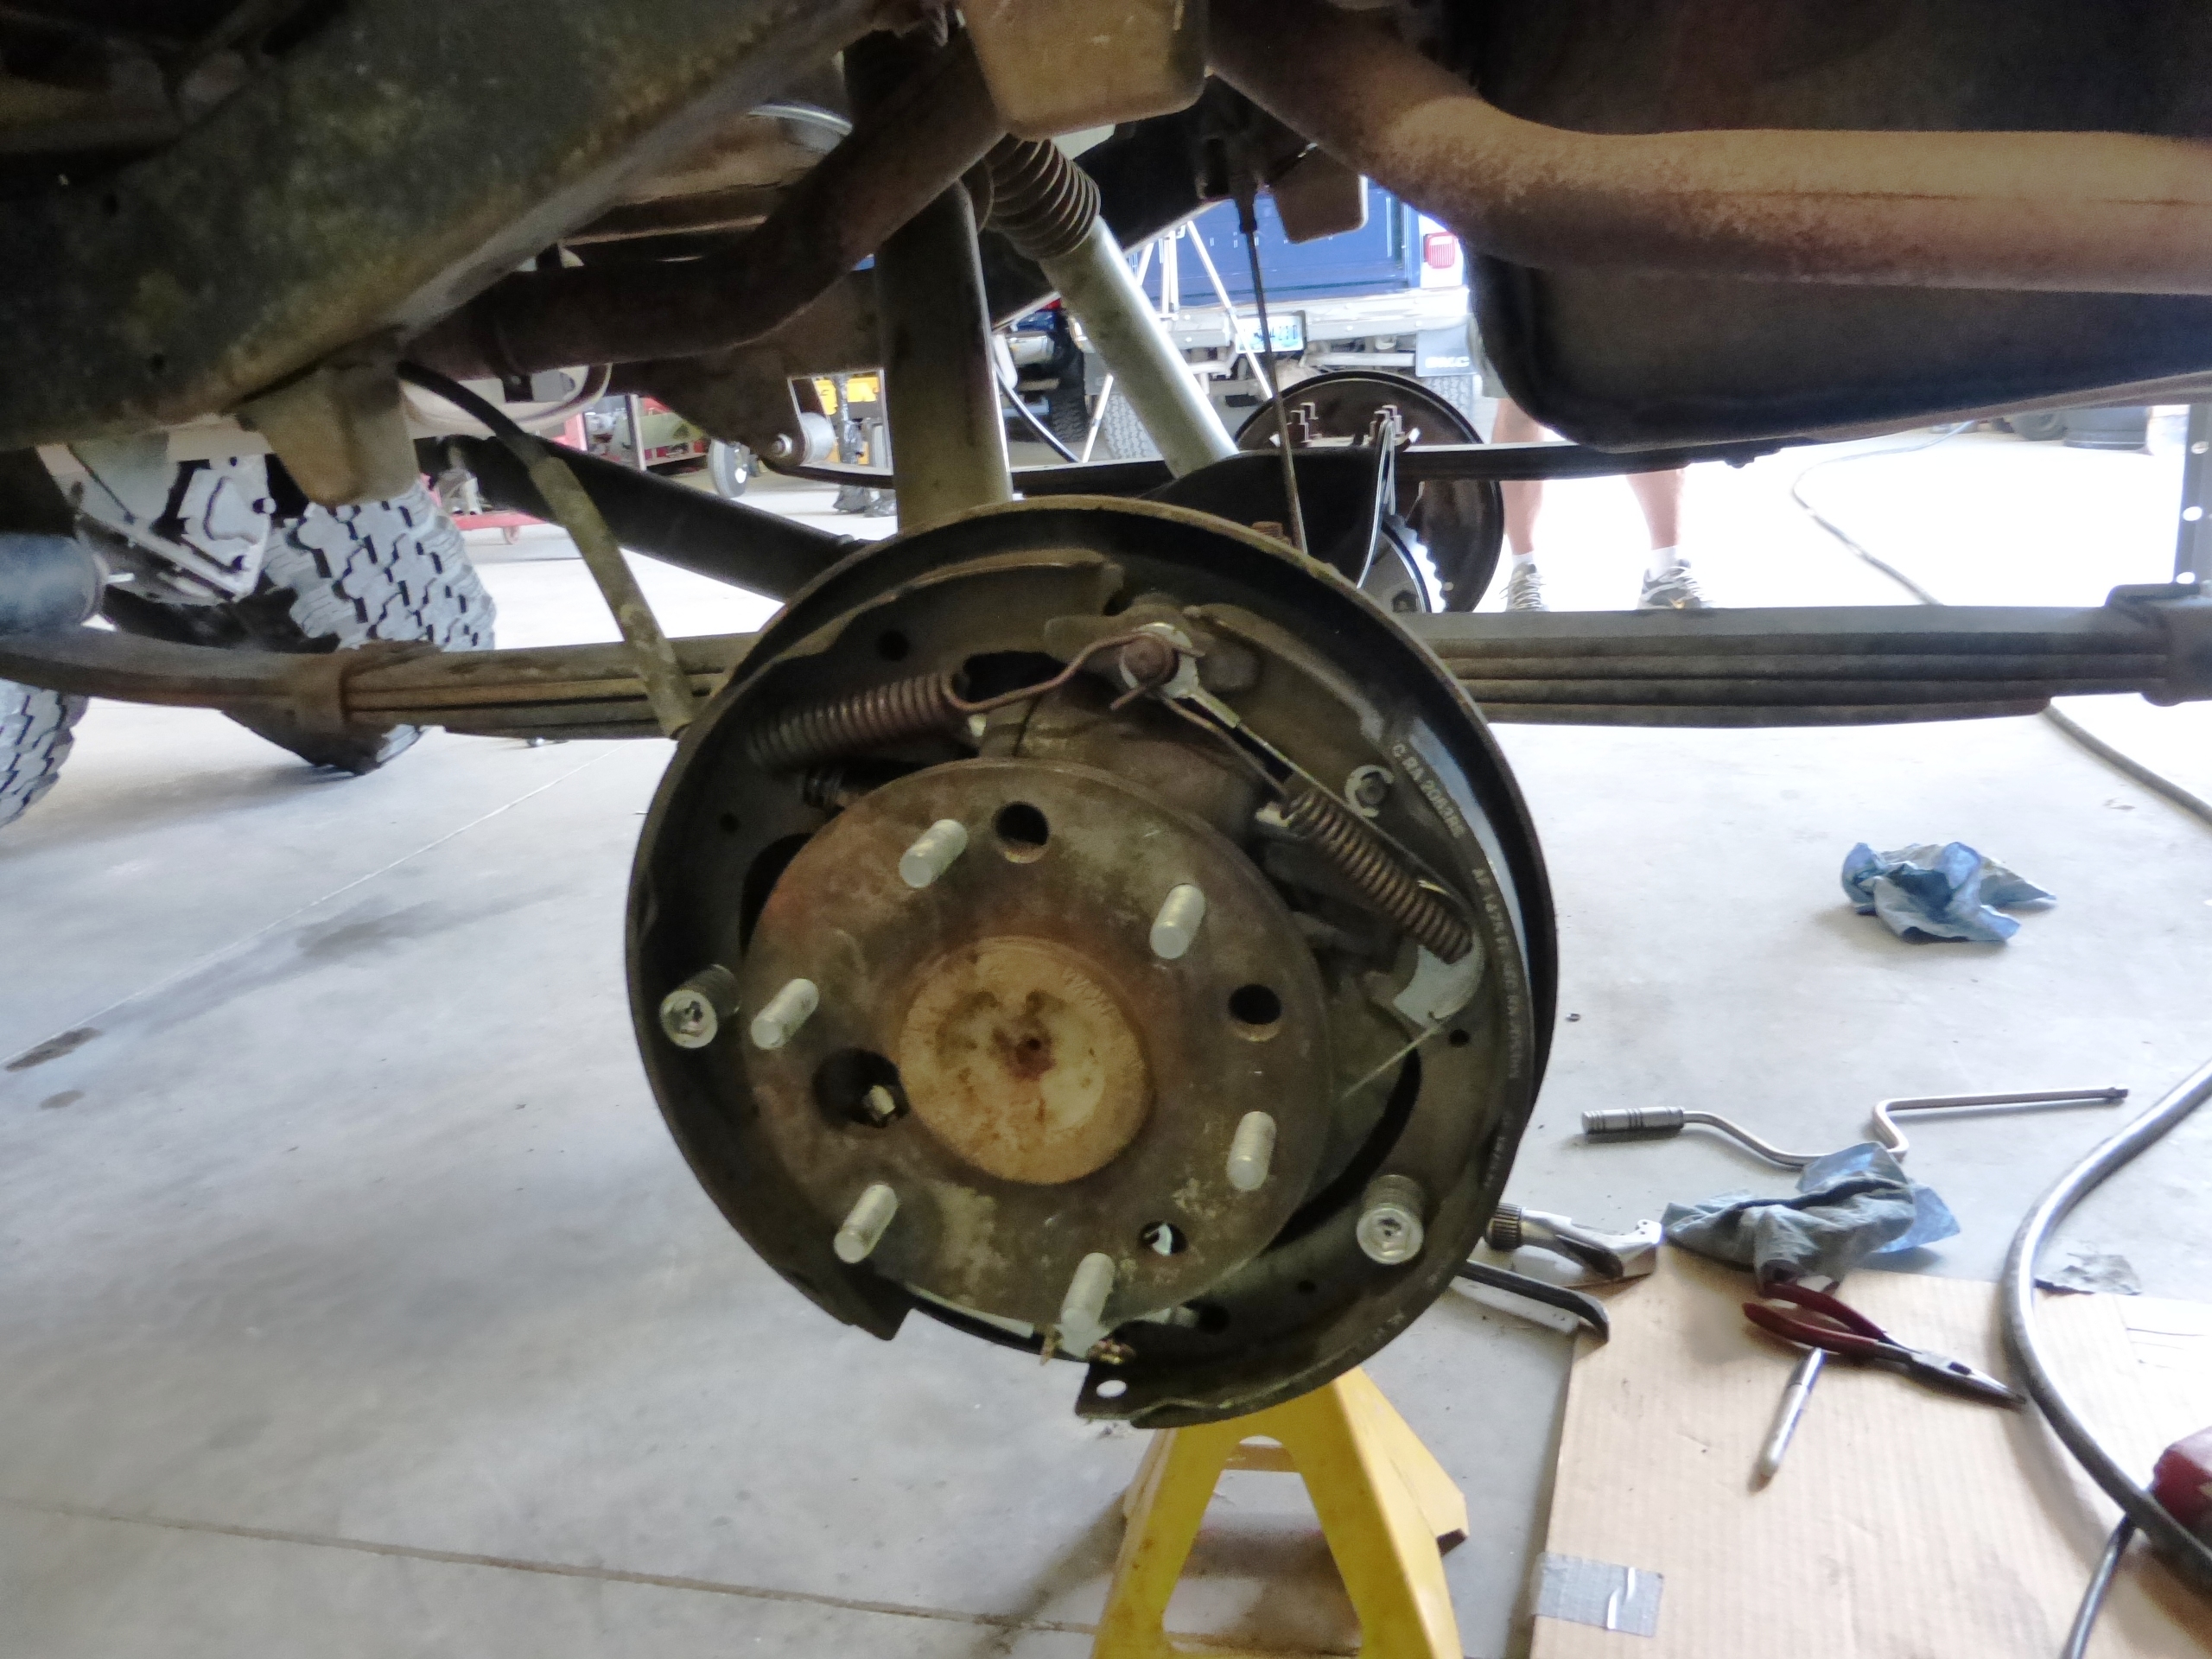
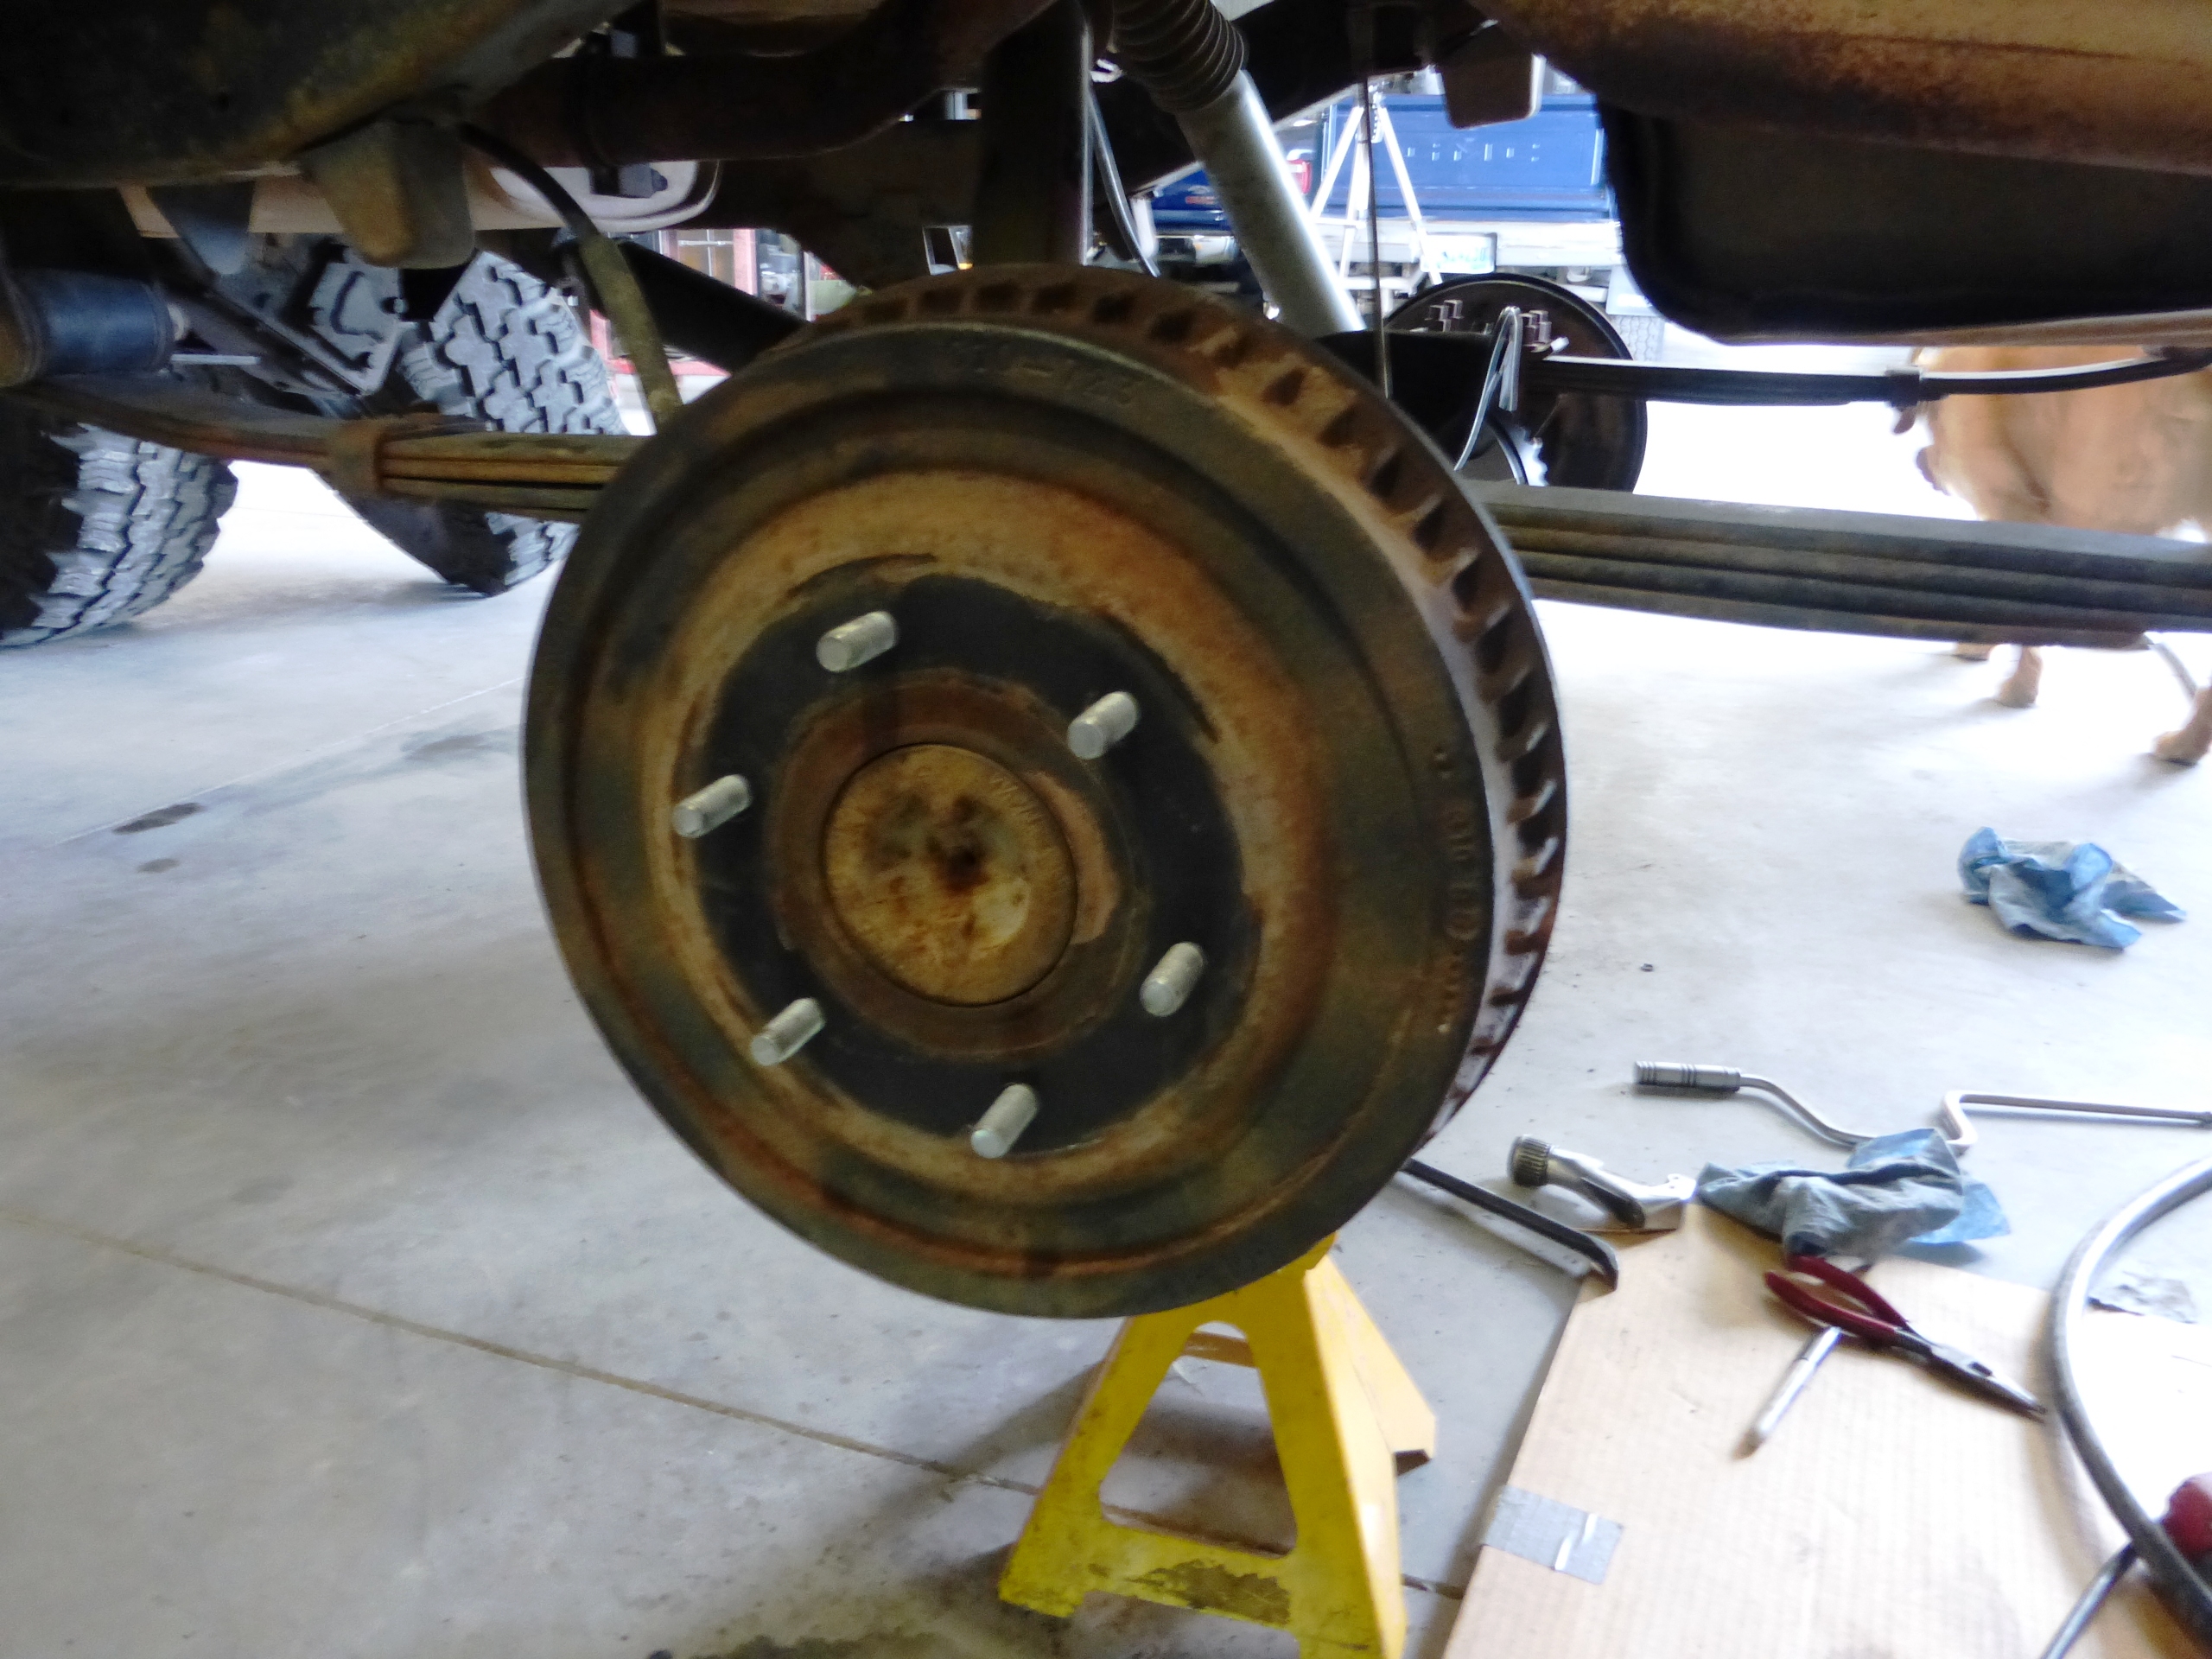
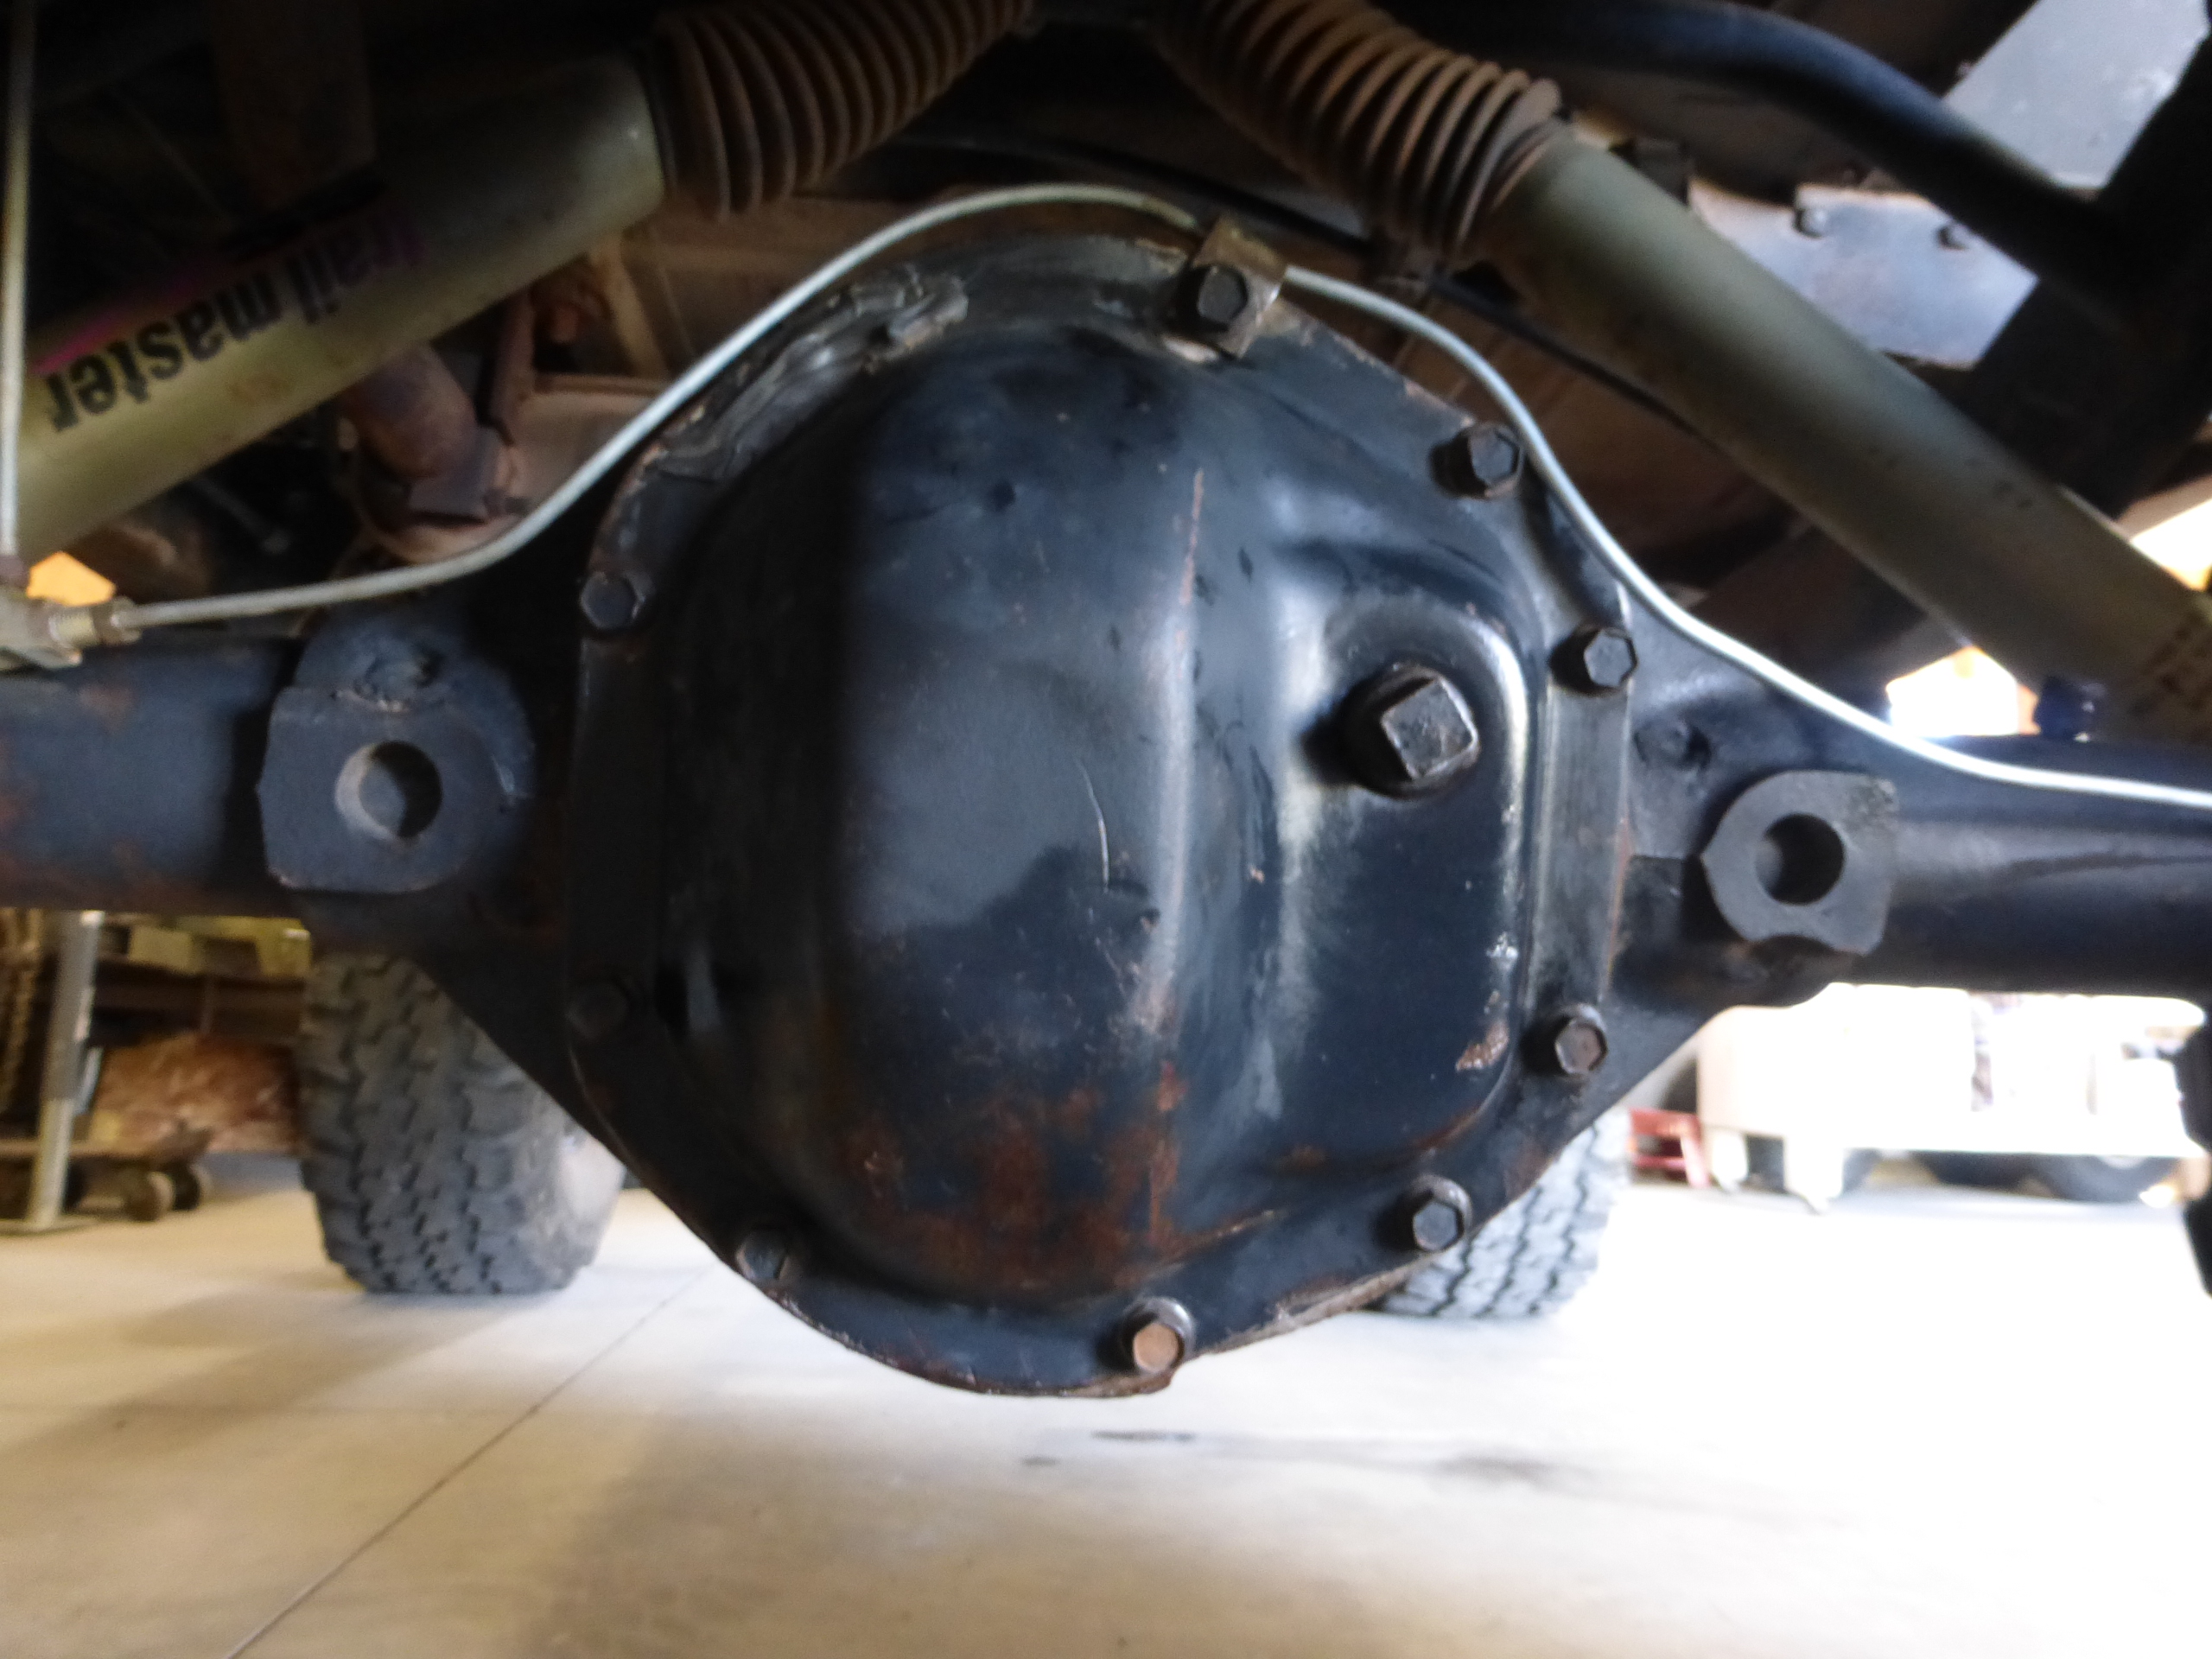
With the Jeep in park and the parking brake set, we made sure the Jeep would not roll or move while we were getting it set on the jack stands. First the wheels and tires were removed; the brake drums had to come off in order to access the axle shafts that needed to be removed in order to pull the spool out of the differential. While we were removing the axle shafts, the differential cover was taken off so the oil could drain before removing the old components.
Once the oil was drained, we went ahead and started removing the bearing caps. This is an important area to note exactly which way each cap is installed, it’s a good idea to mark them so you know which is left, which is right as well as top and bottom to ensure the correct placement during the installation process.
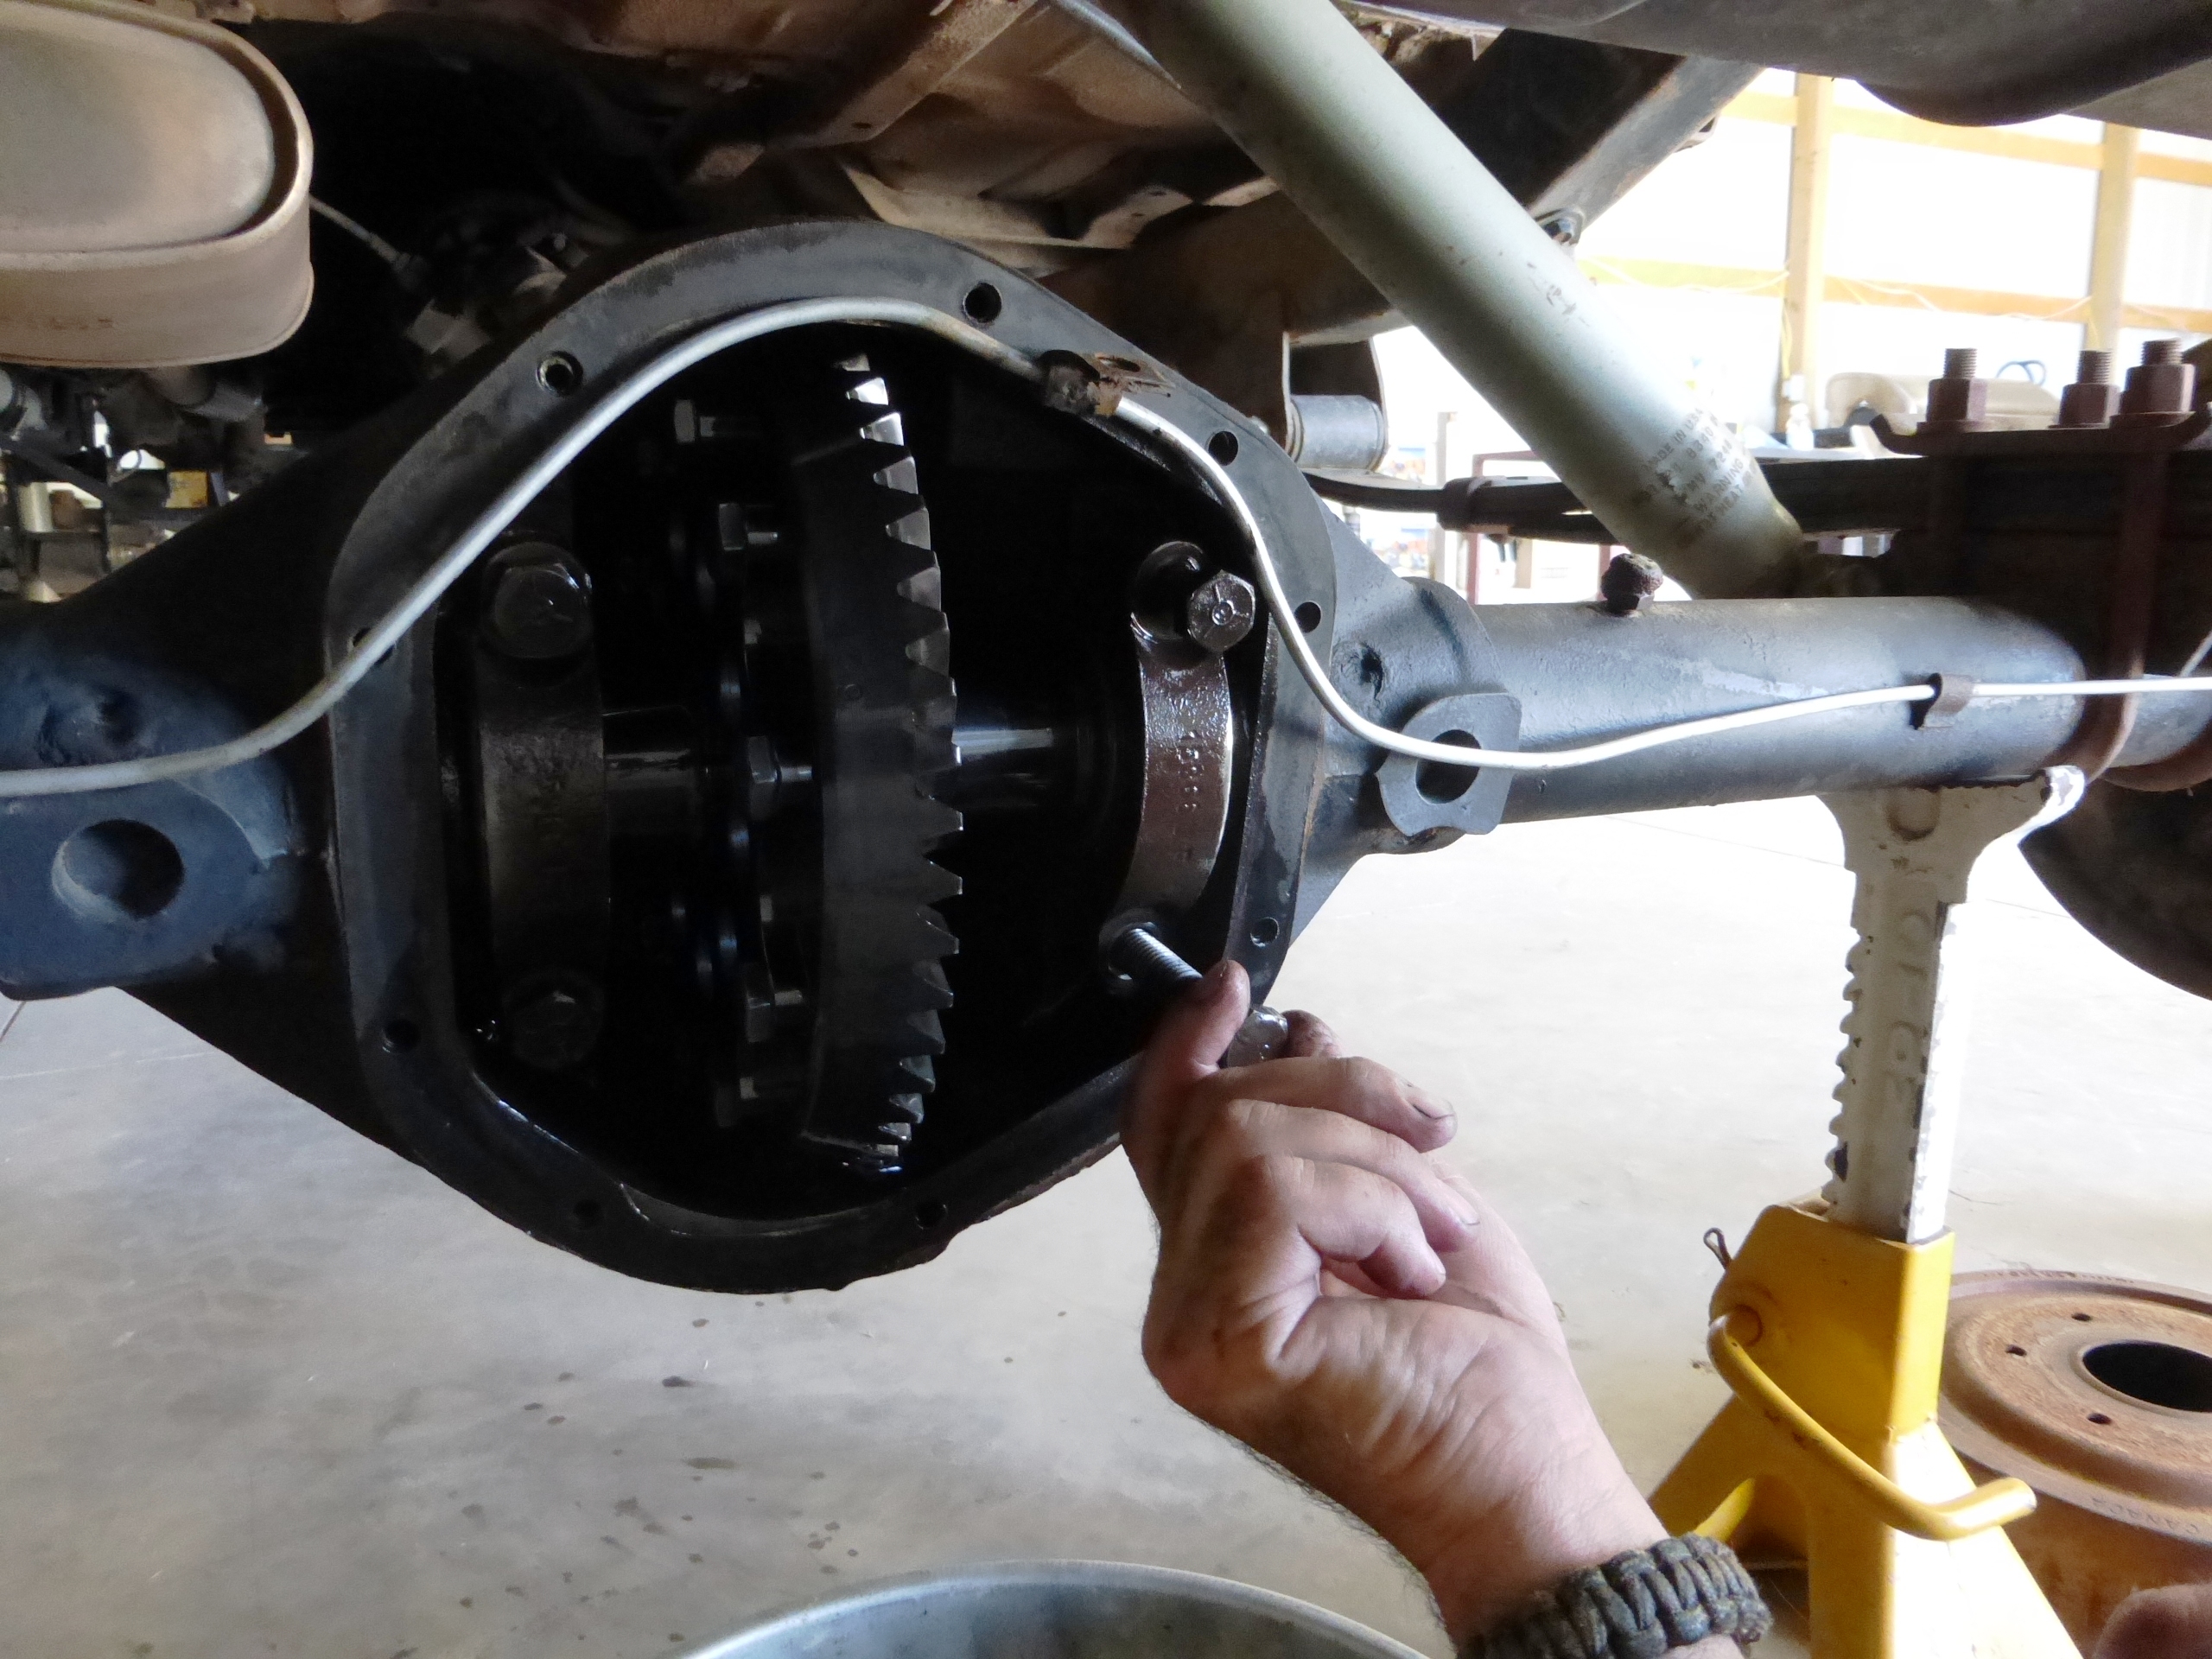

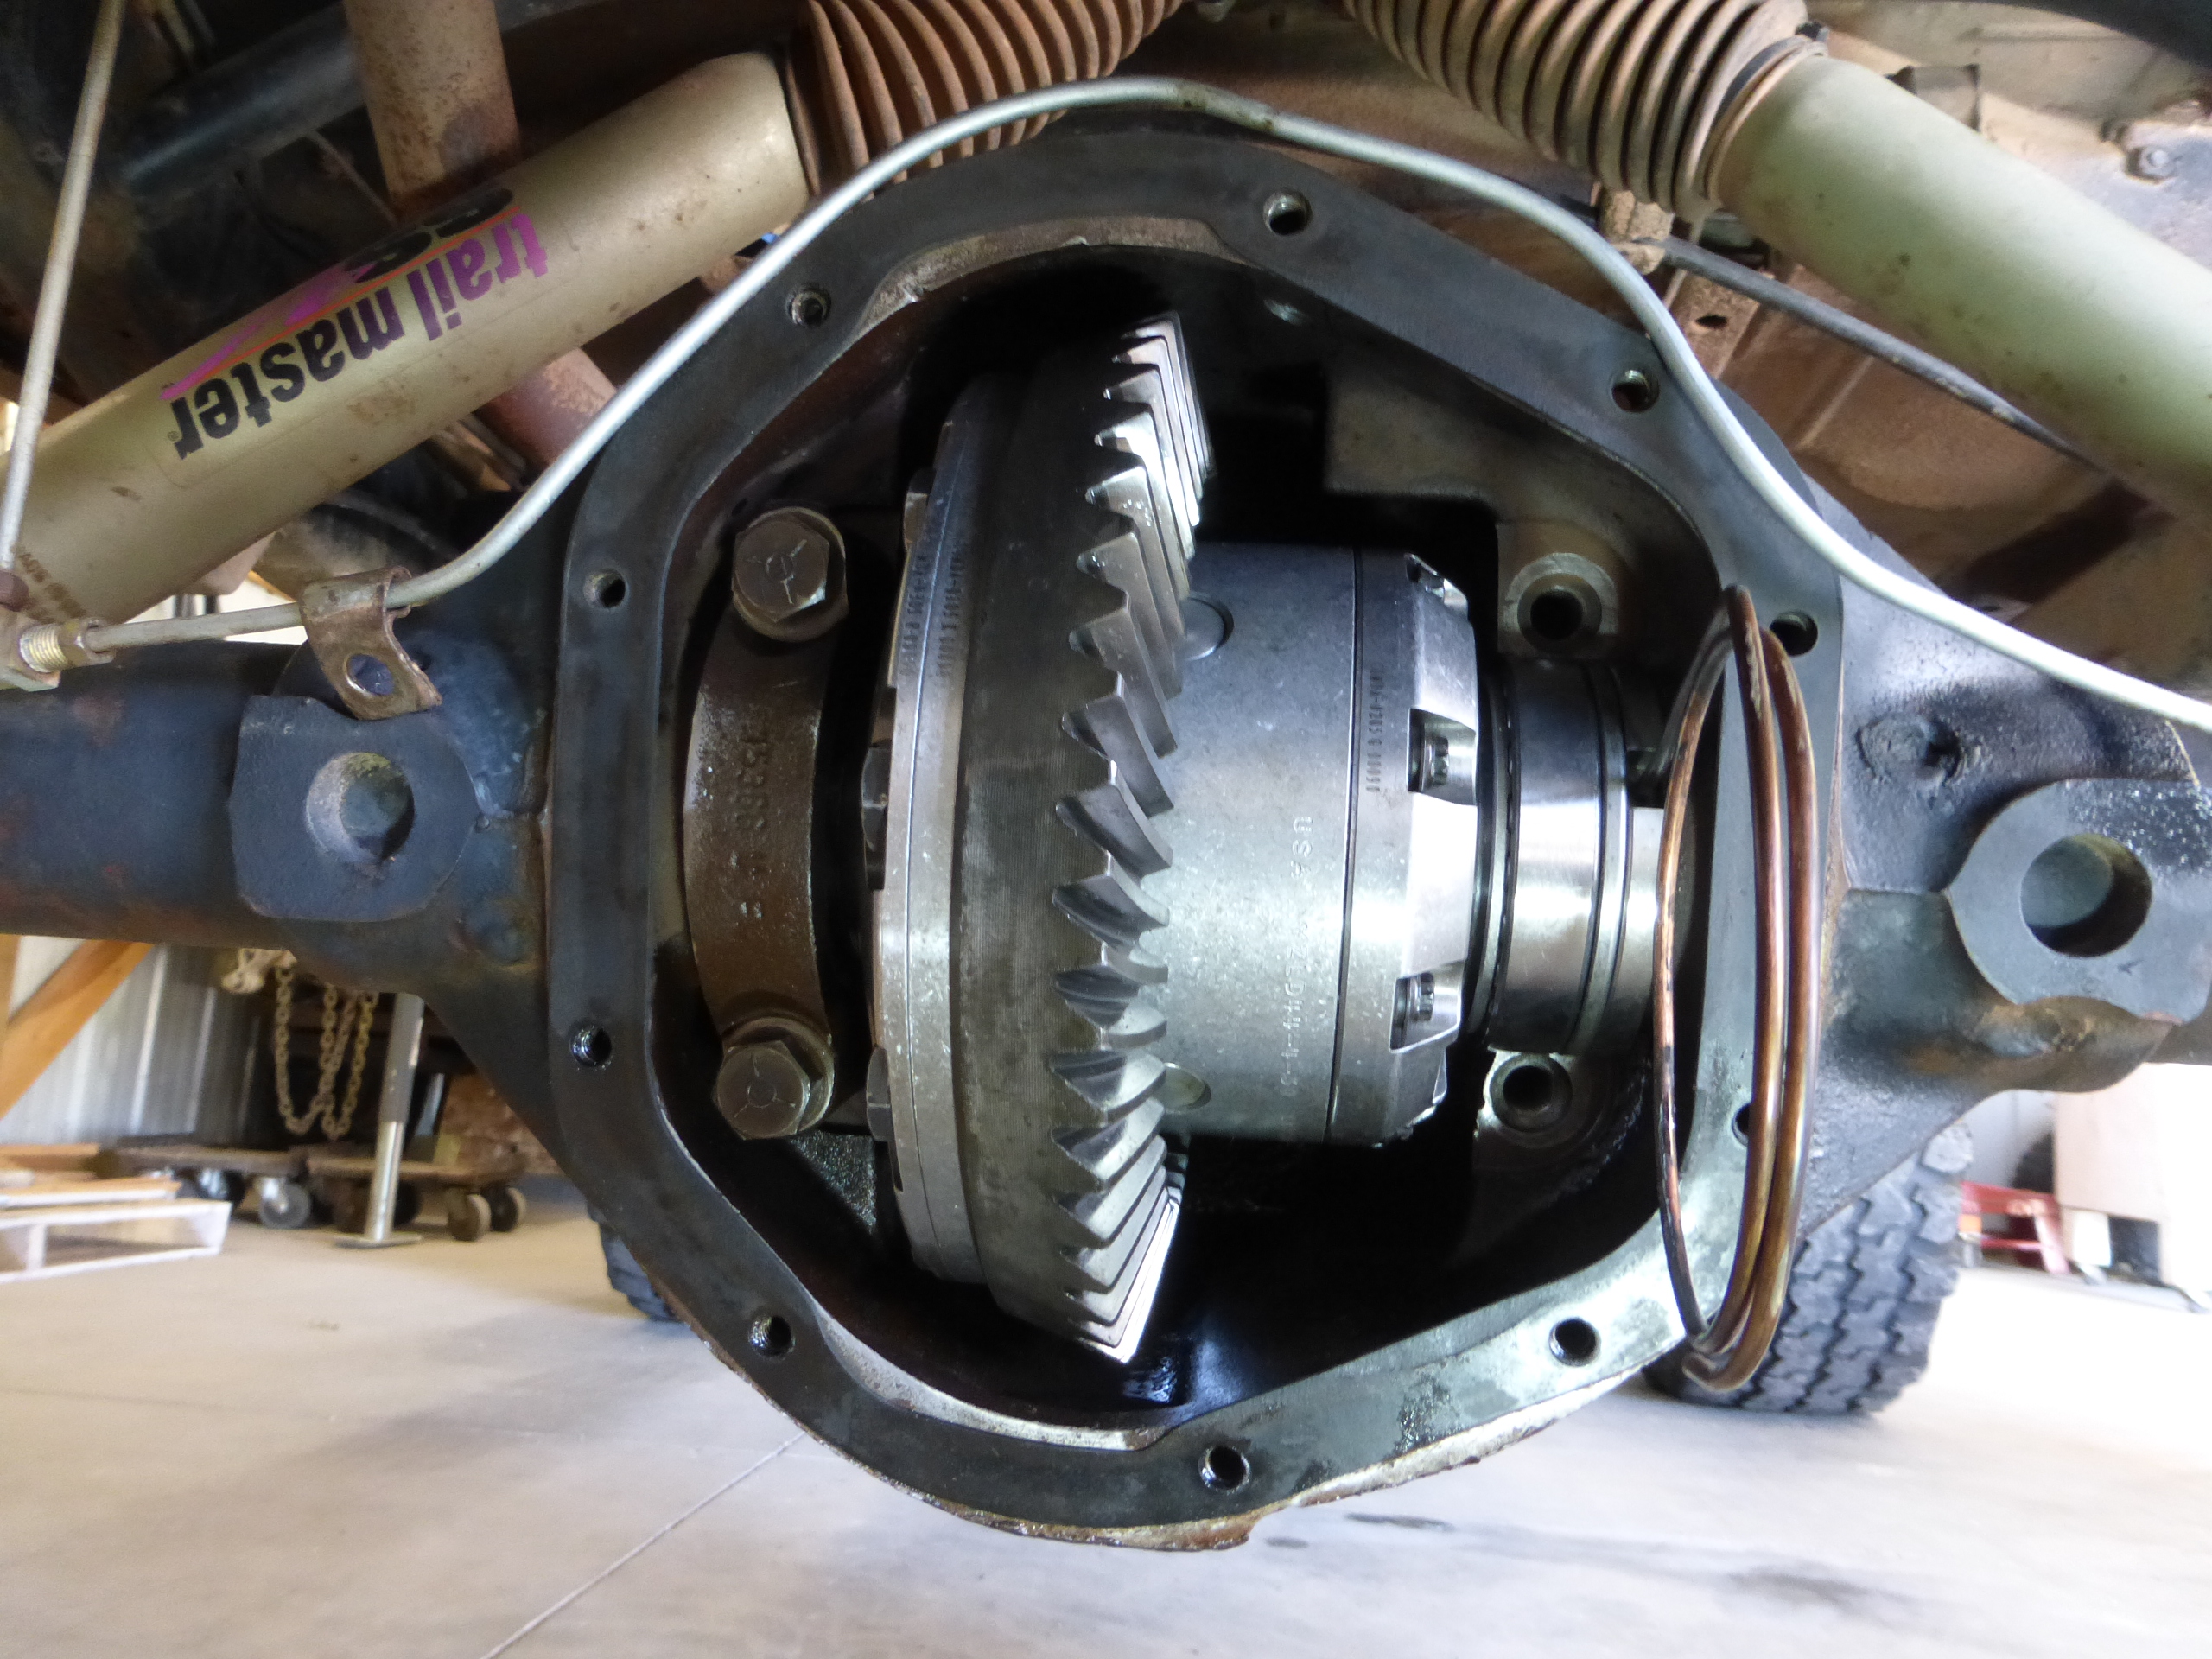
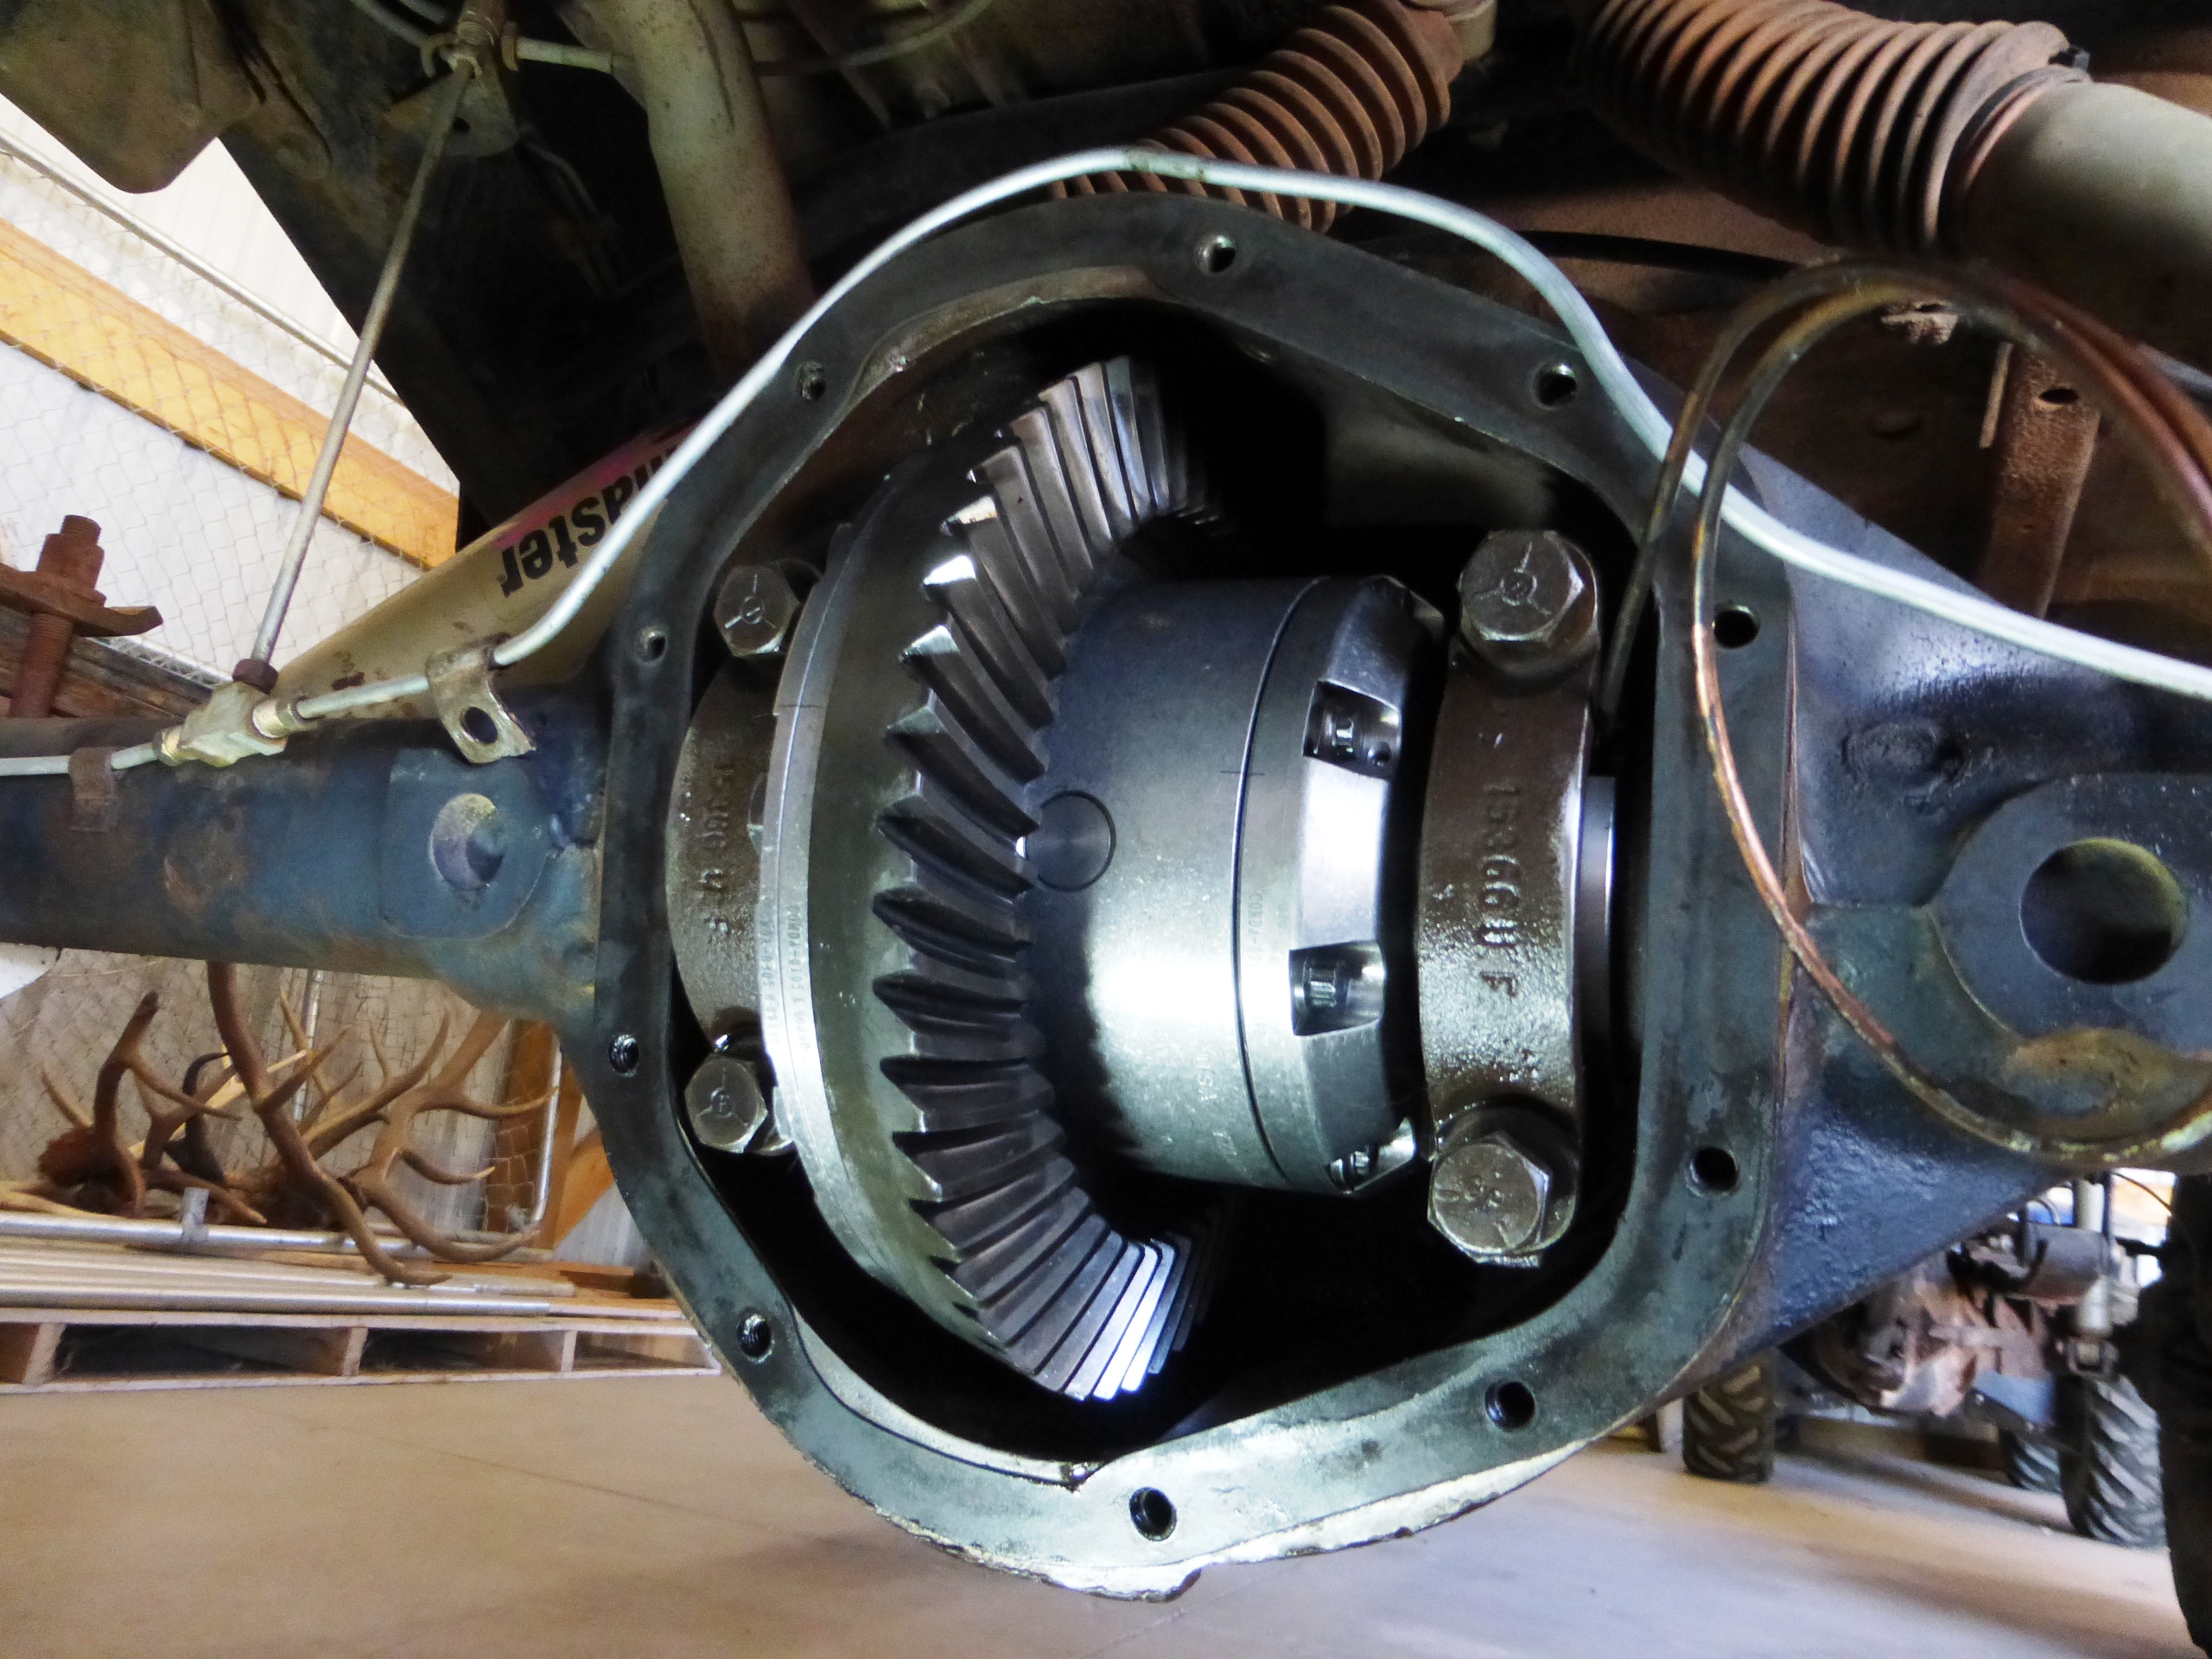
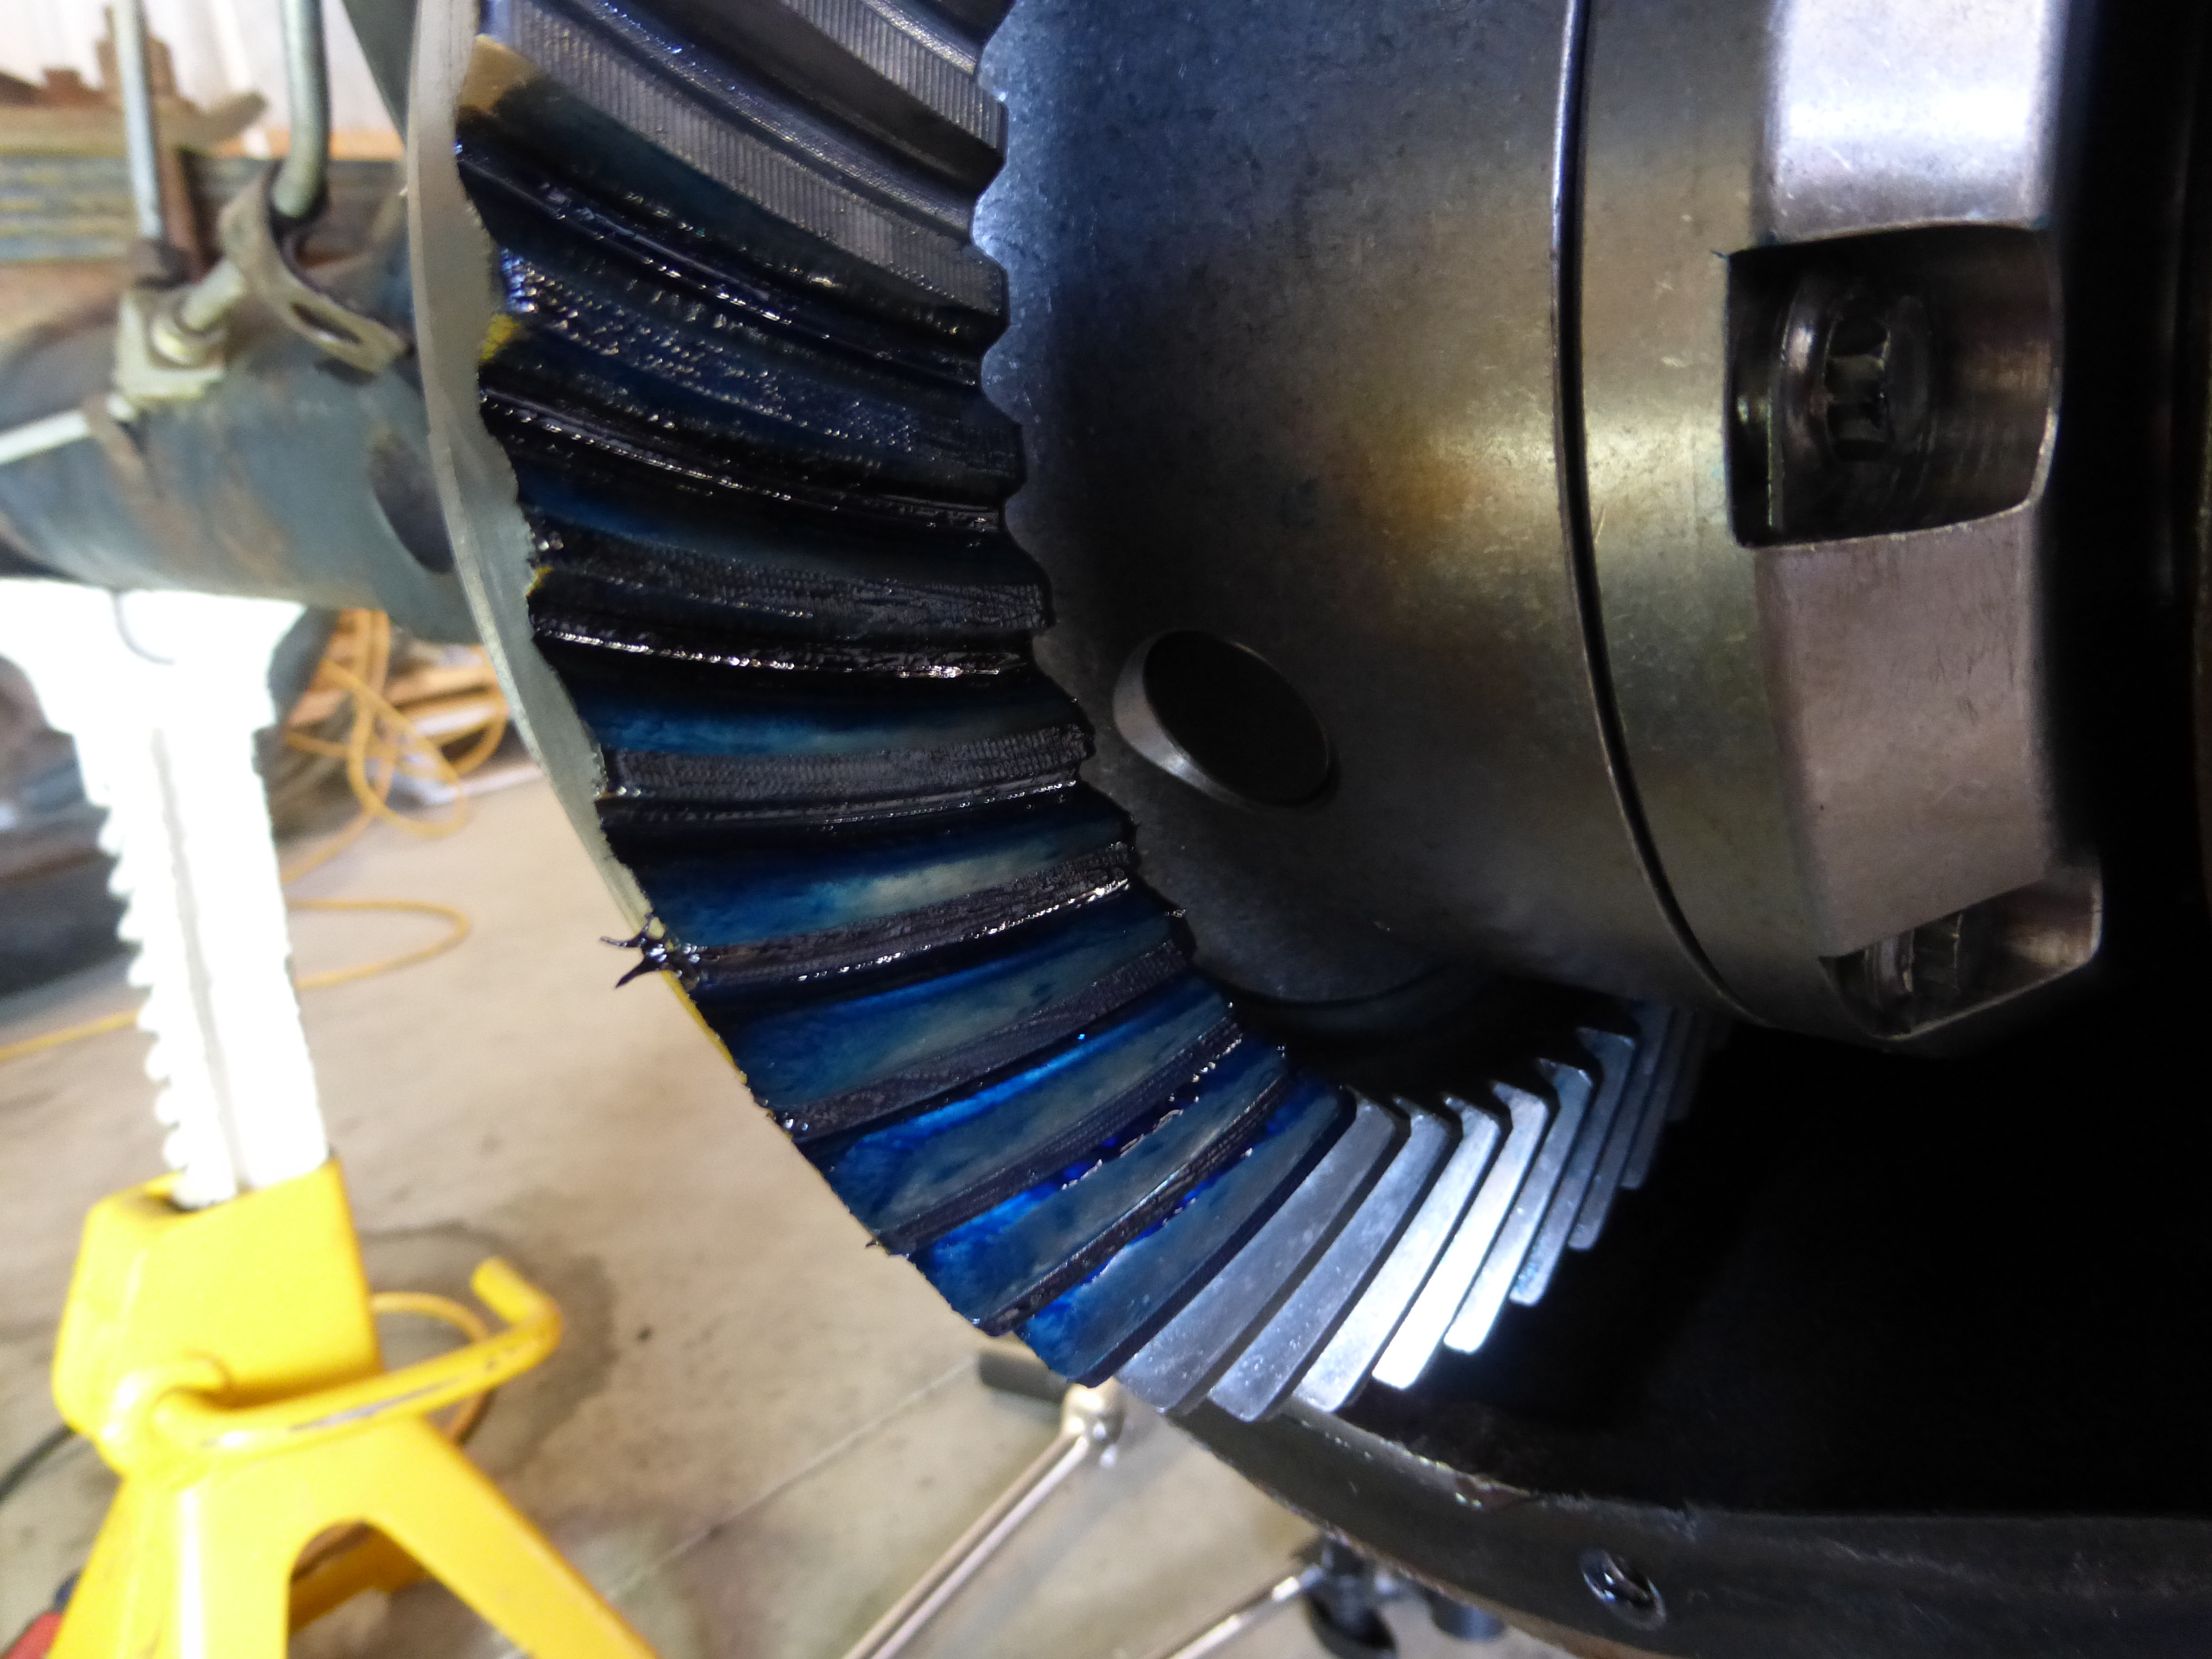
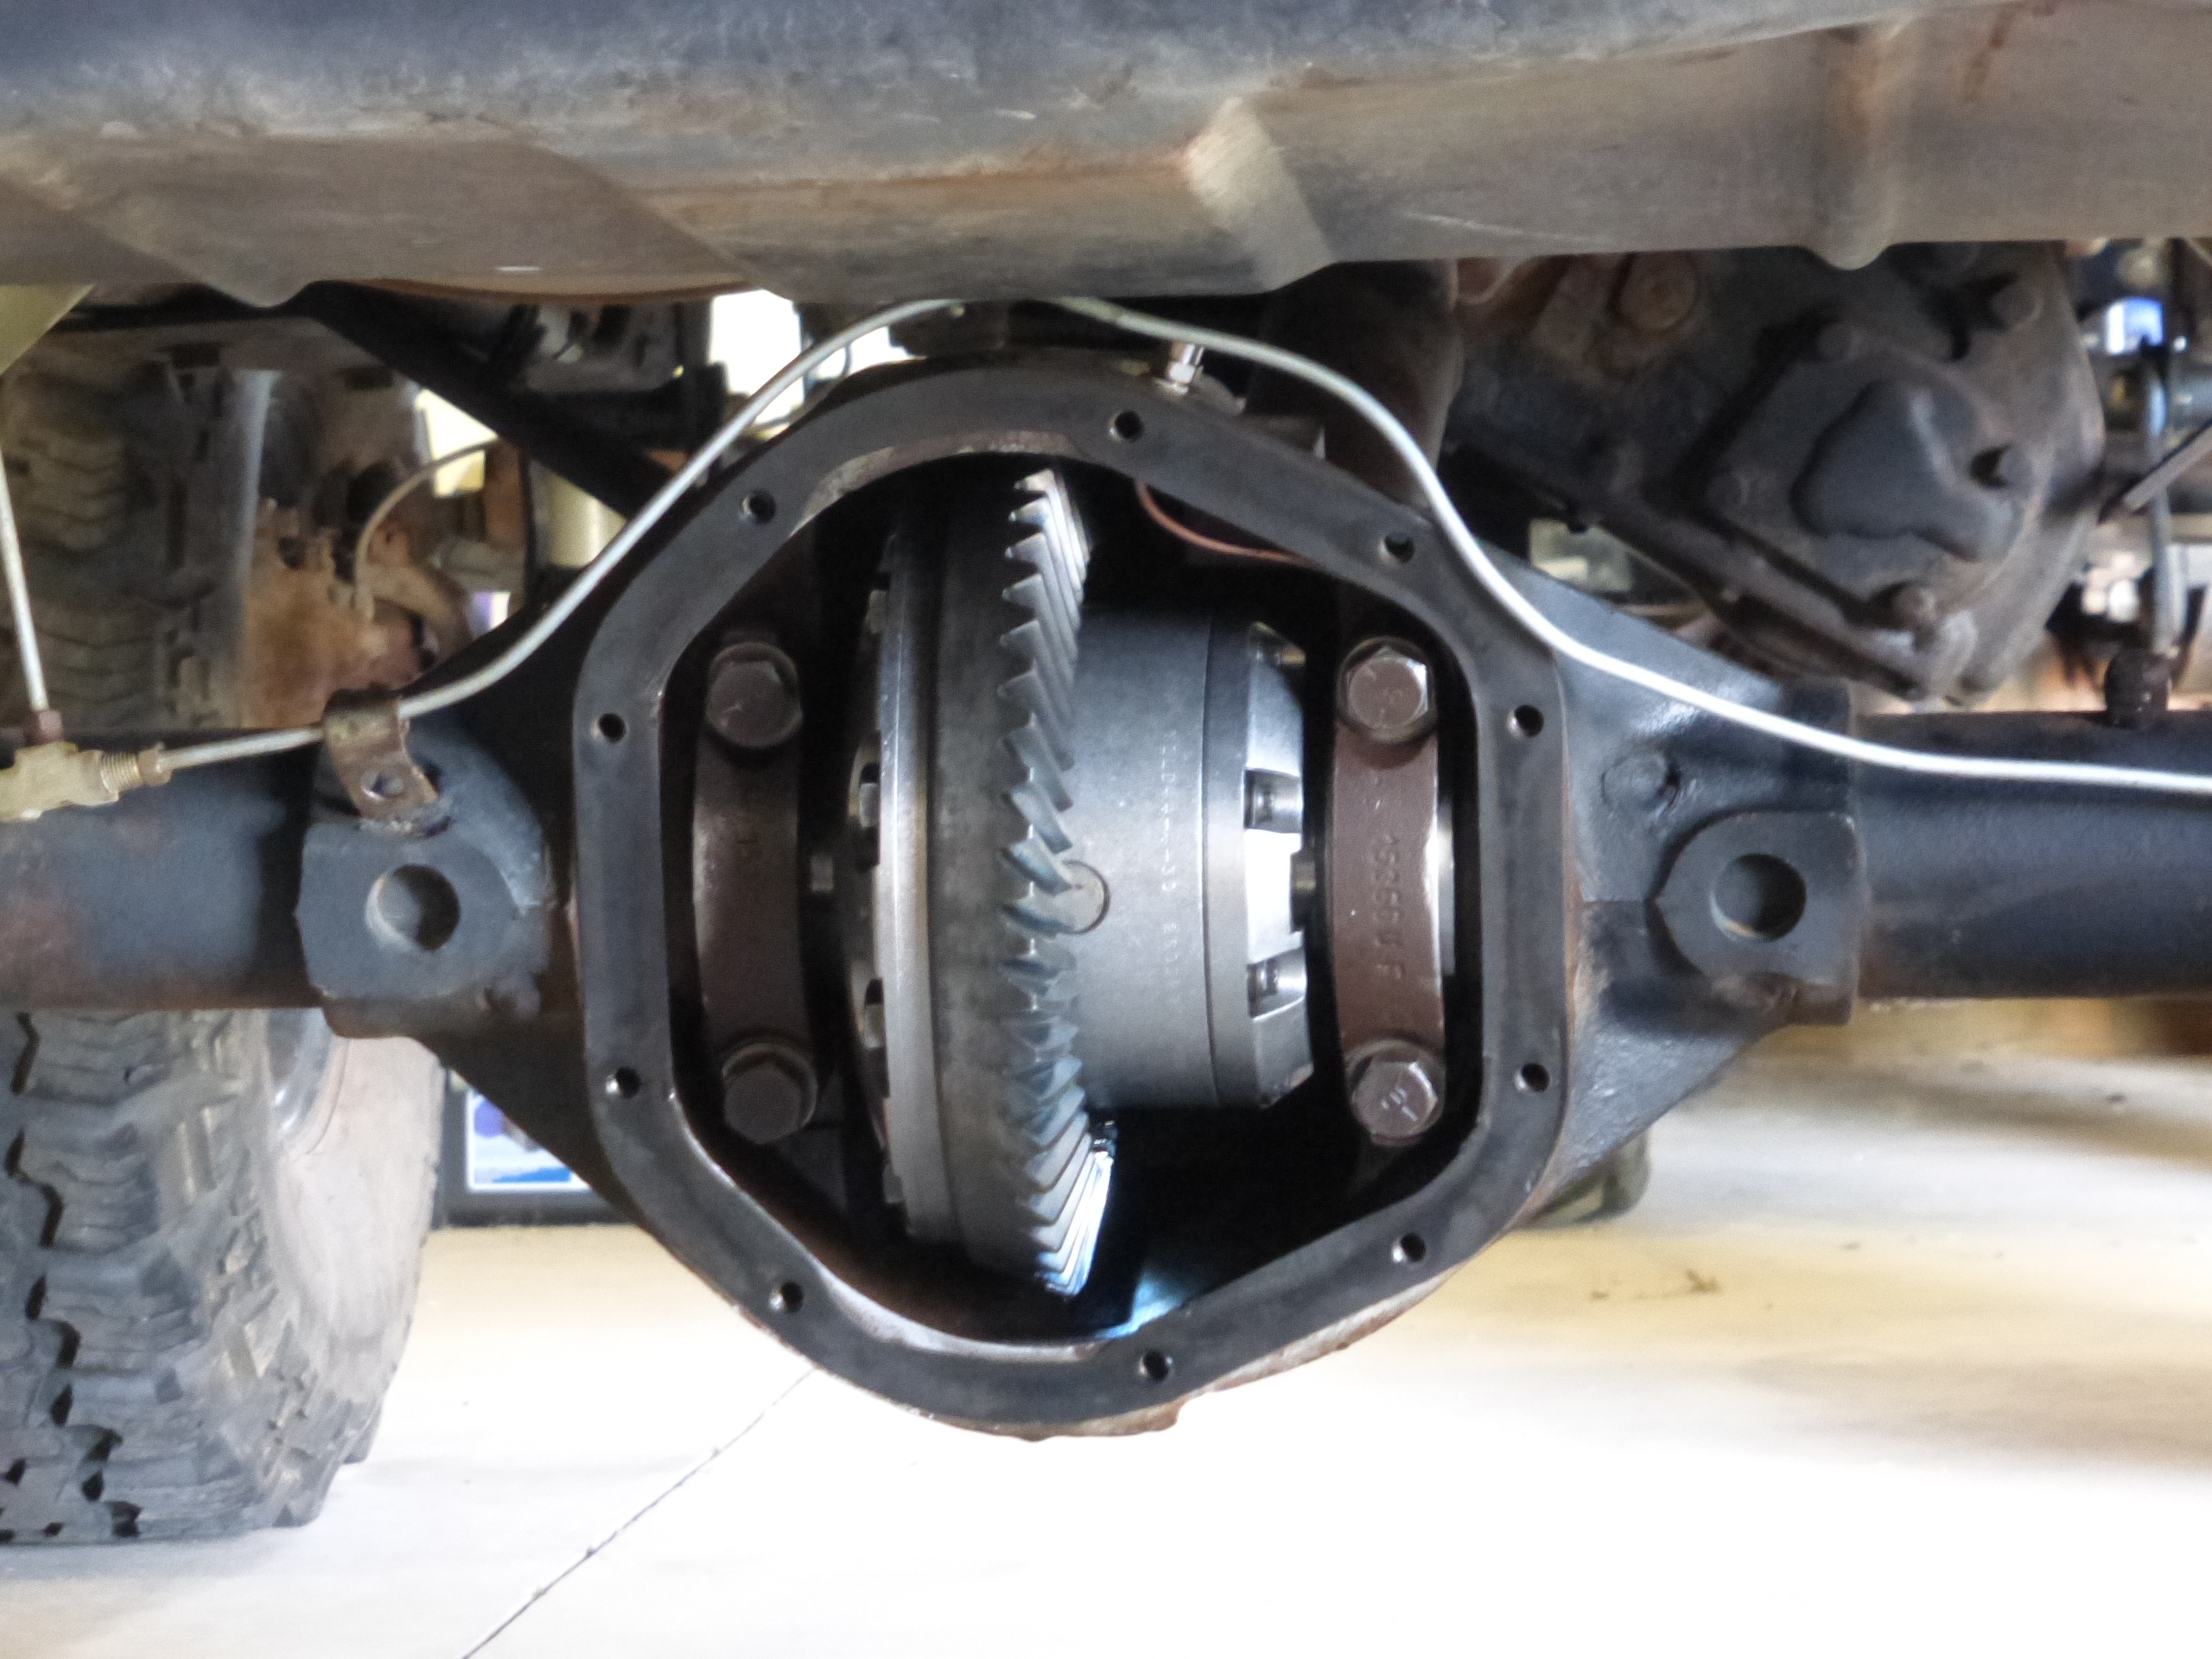
With the bearing caps removed the spool was ready to come out, it took a little wiggling and slight prying but it popped right out so we could inspect and remove the ring gear.
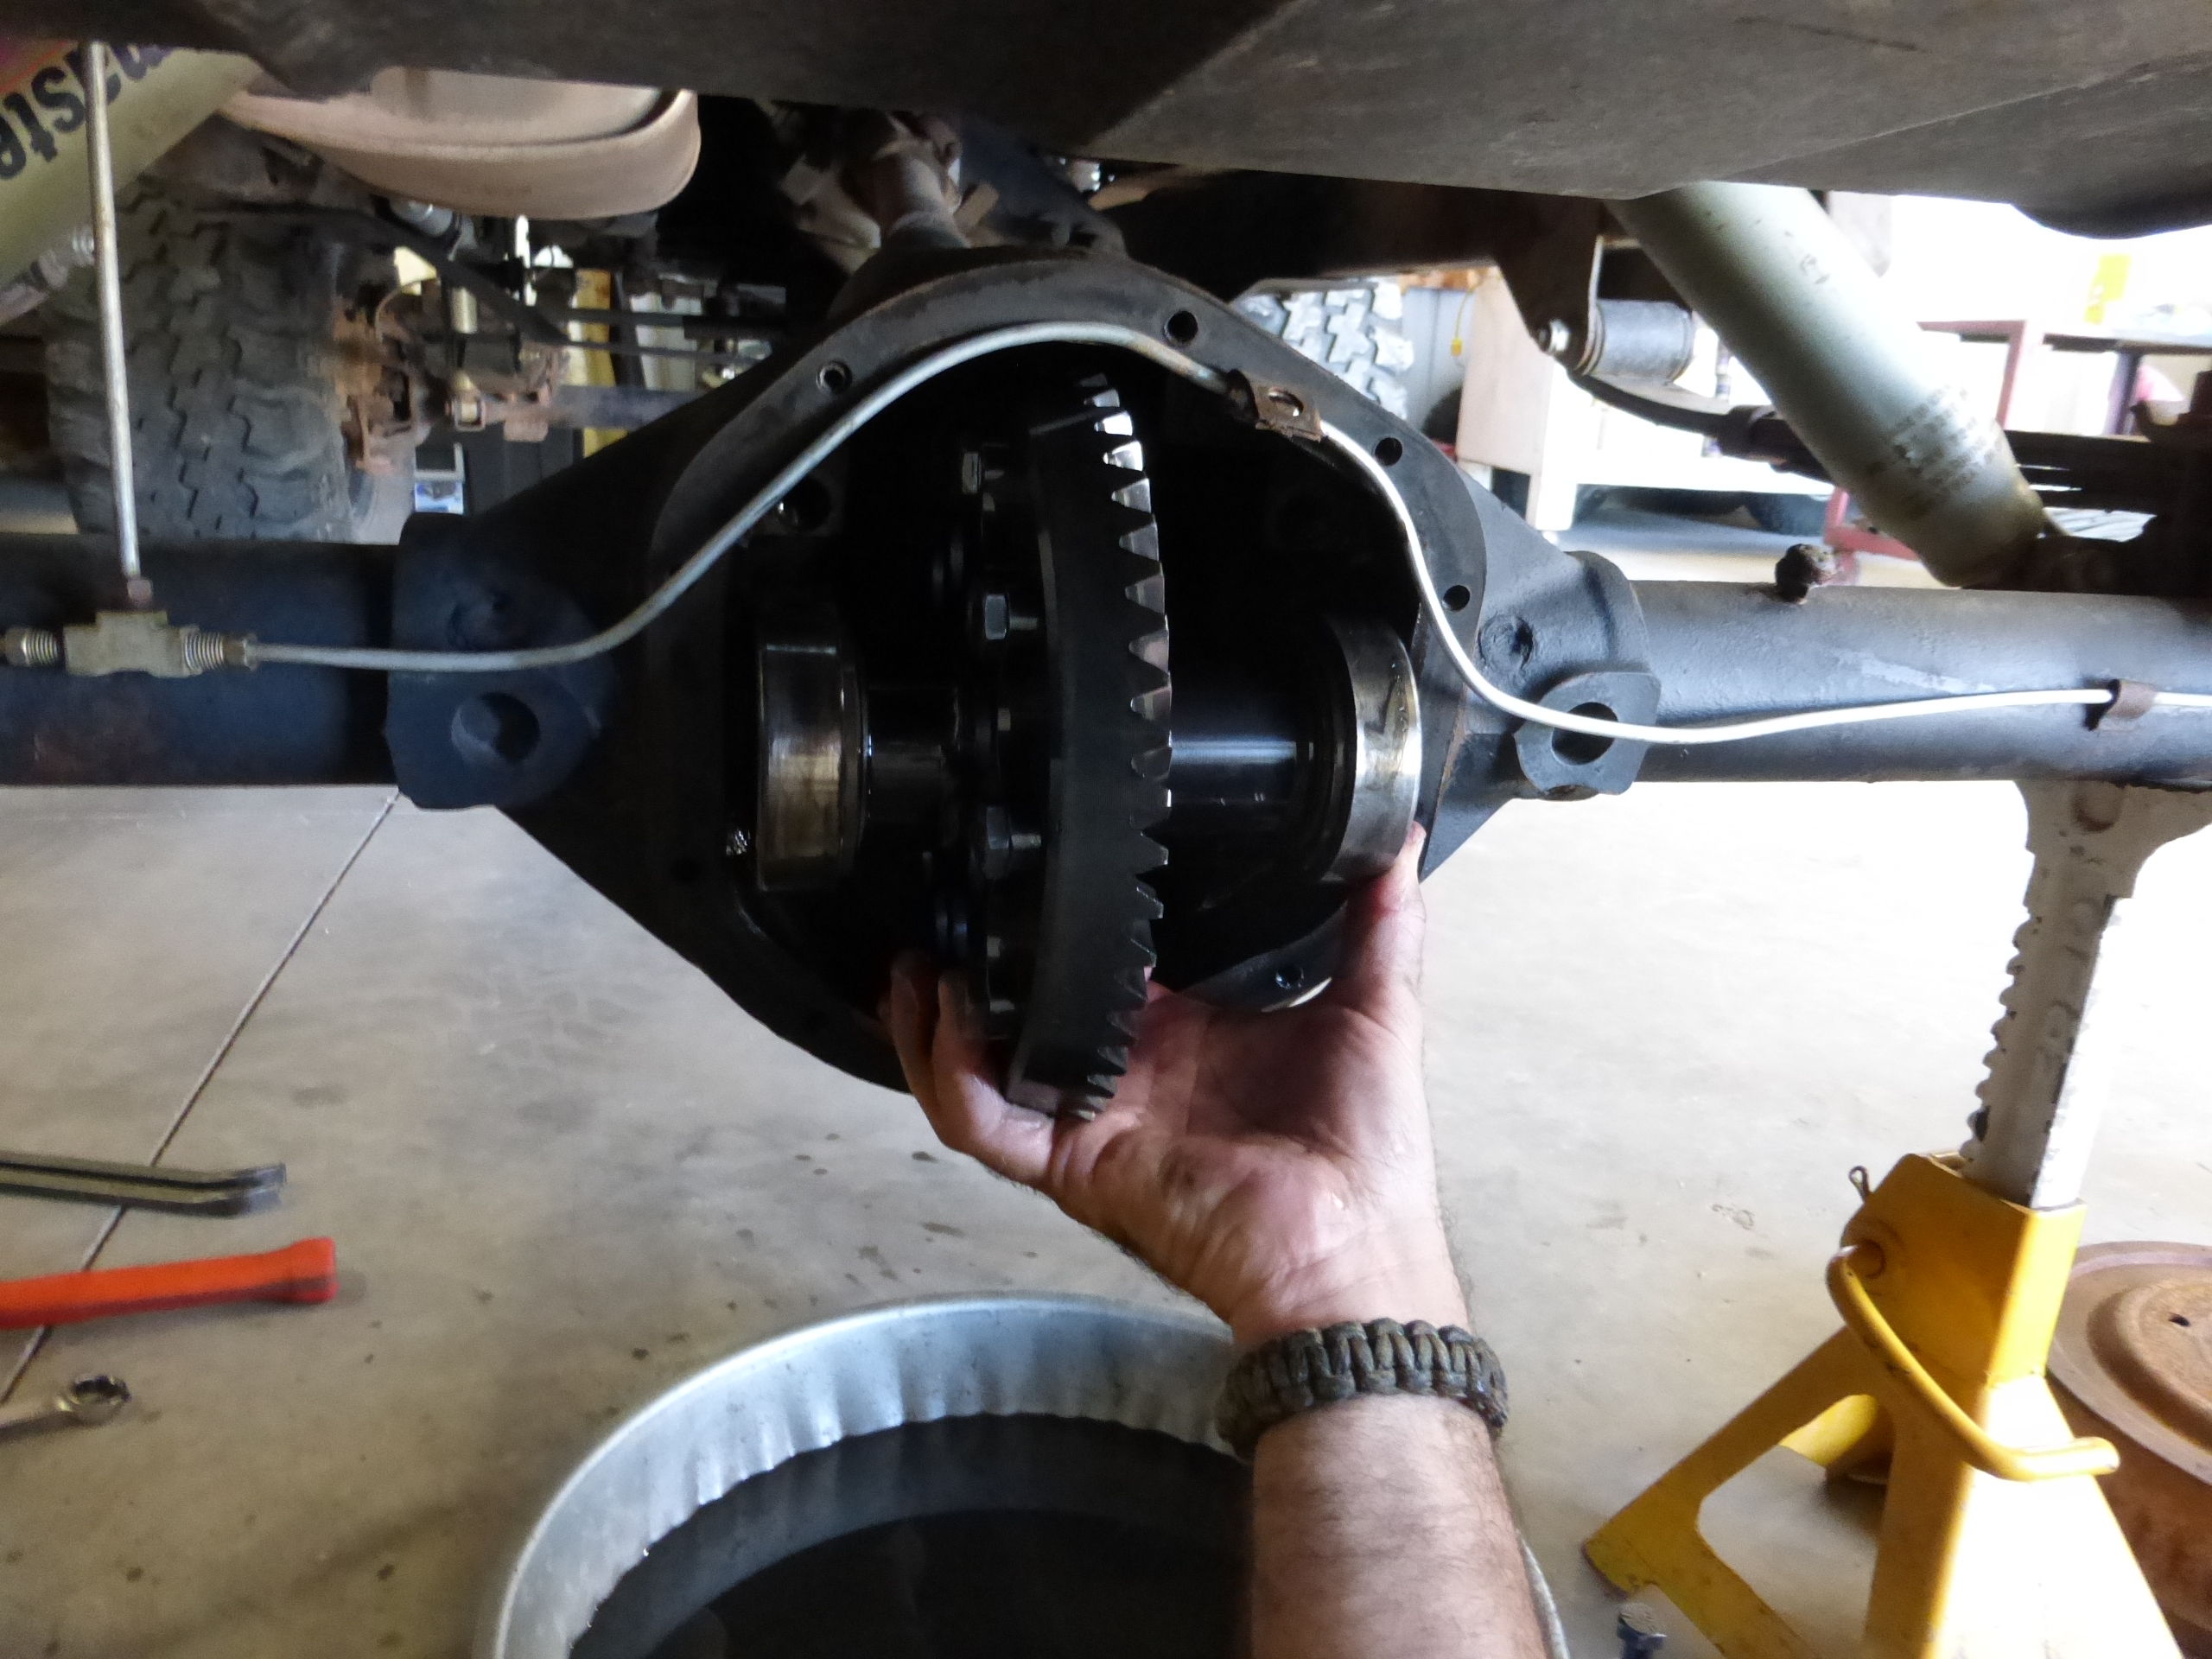
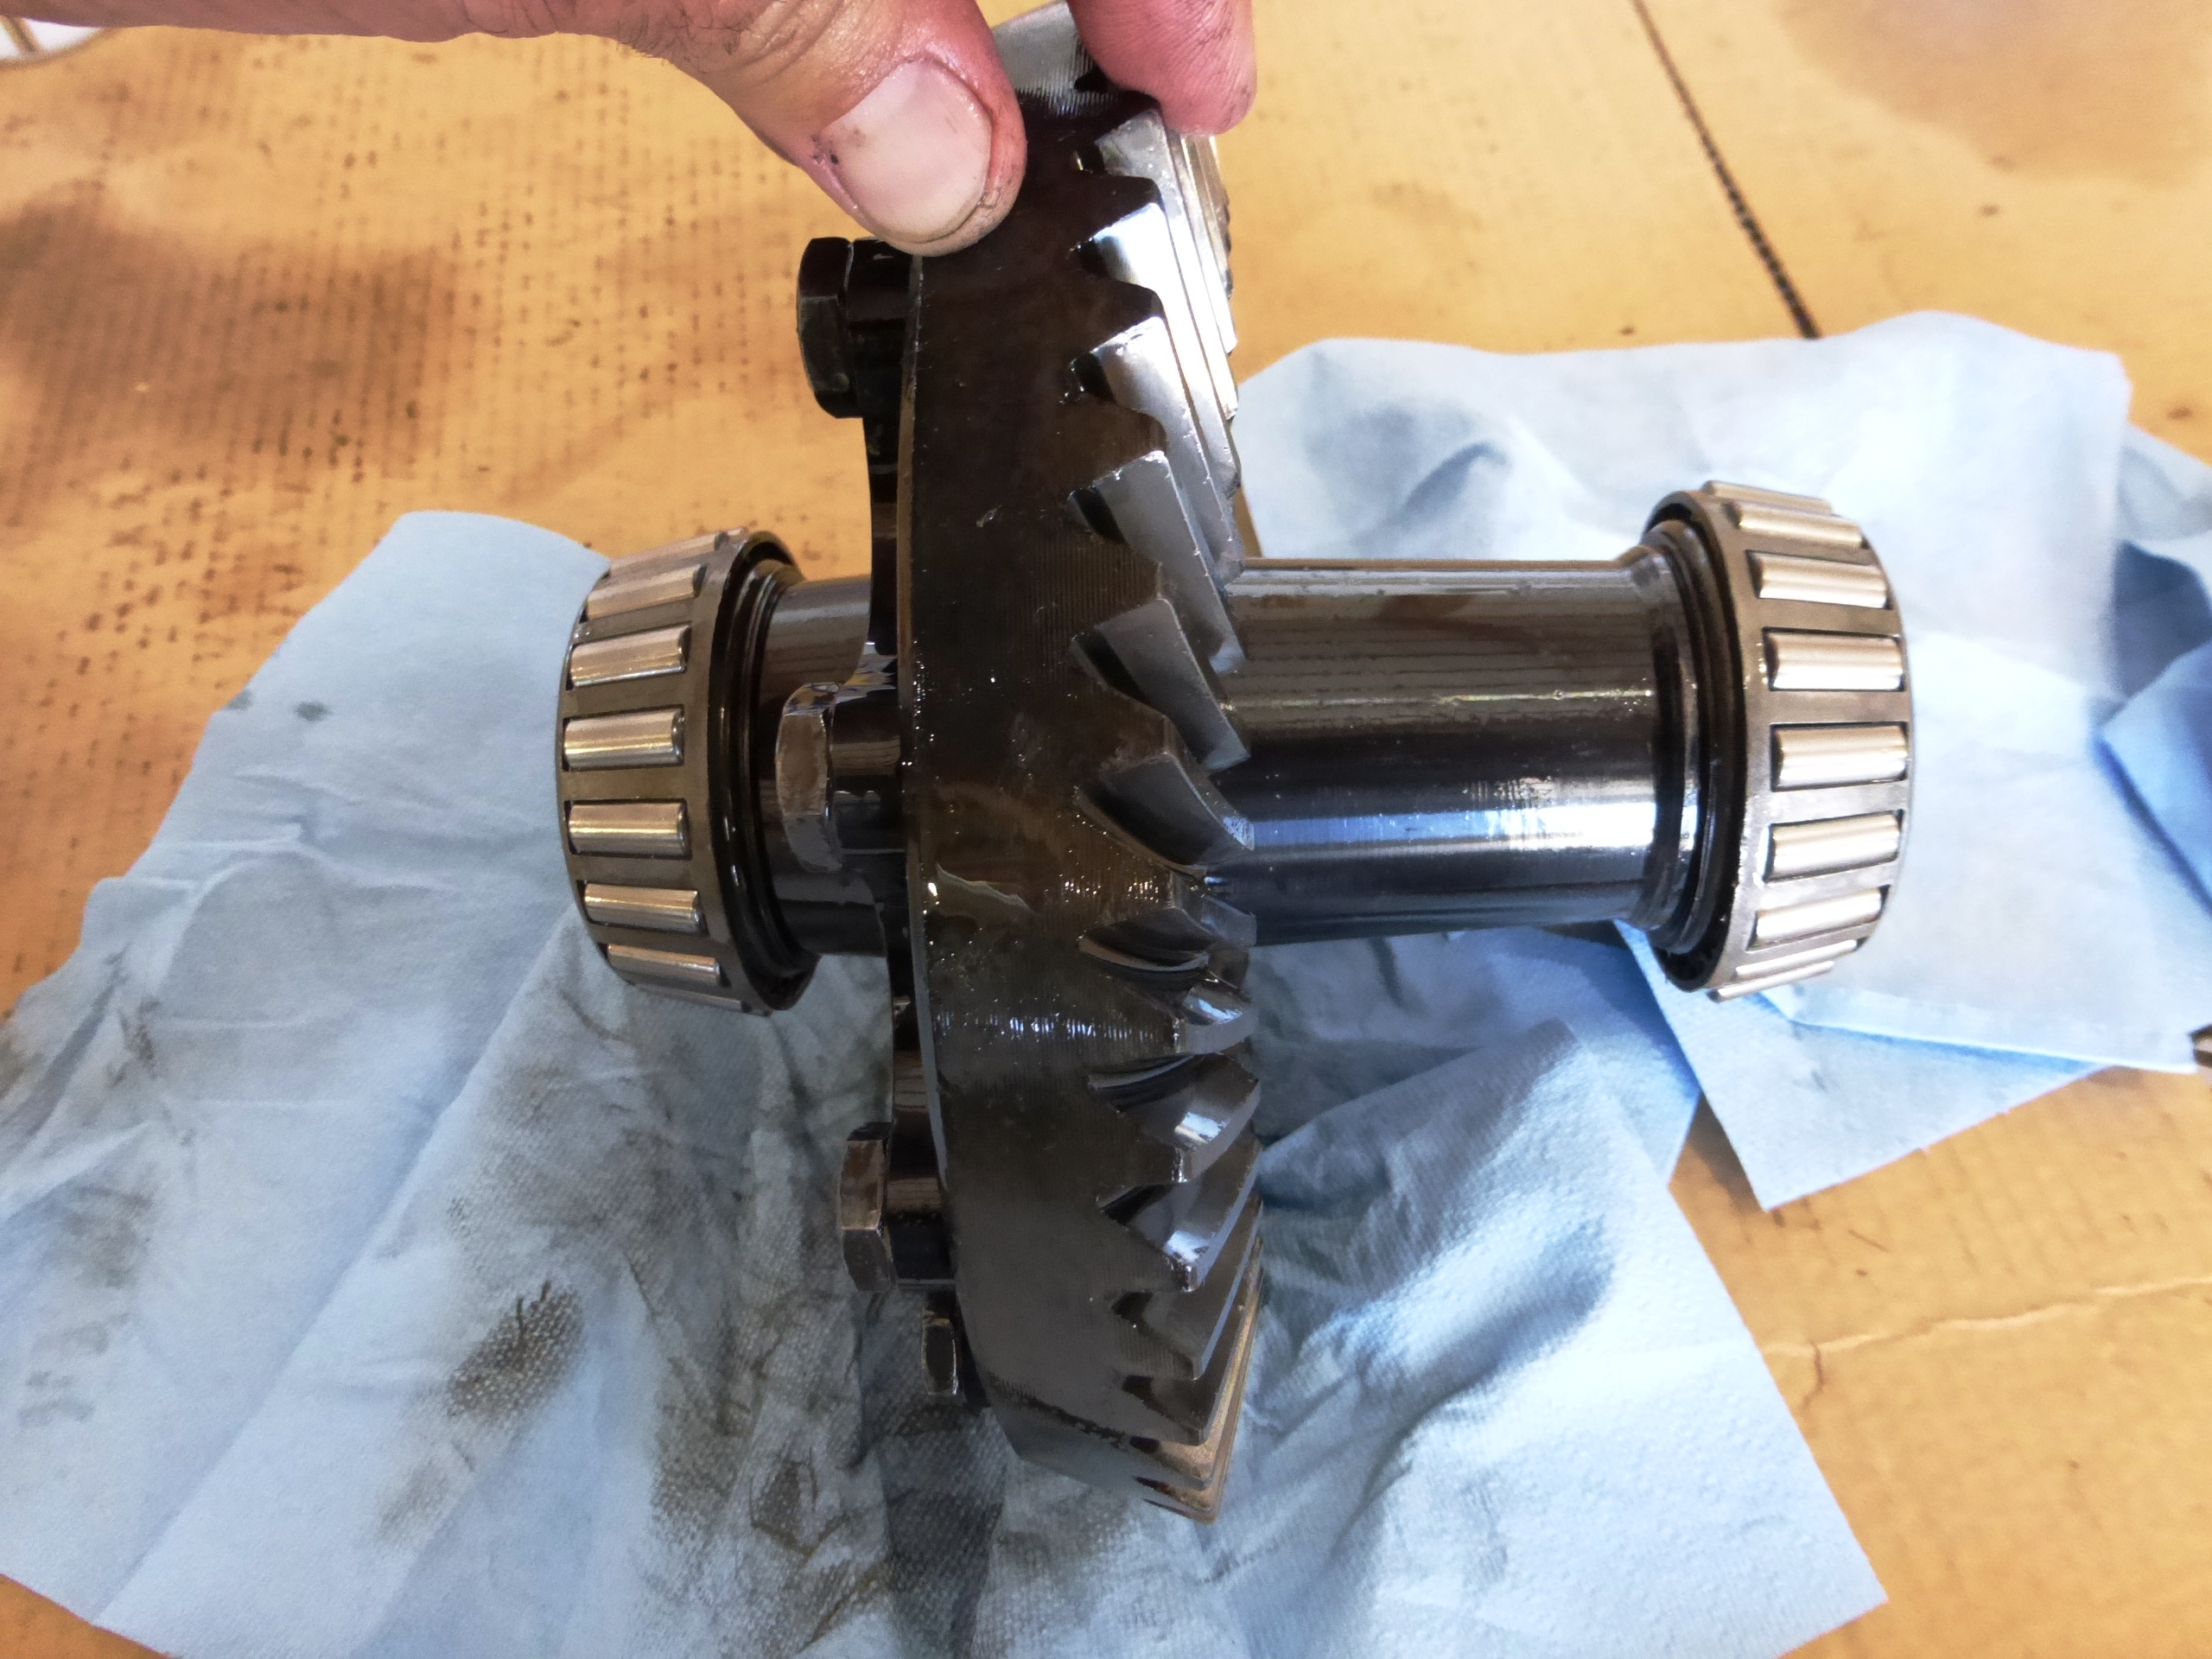


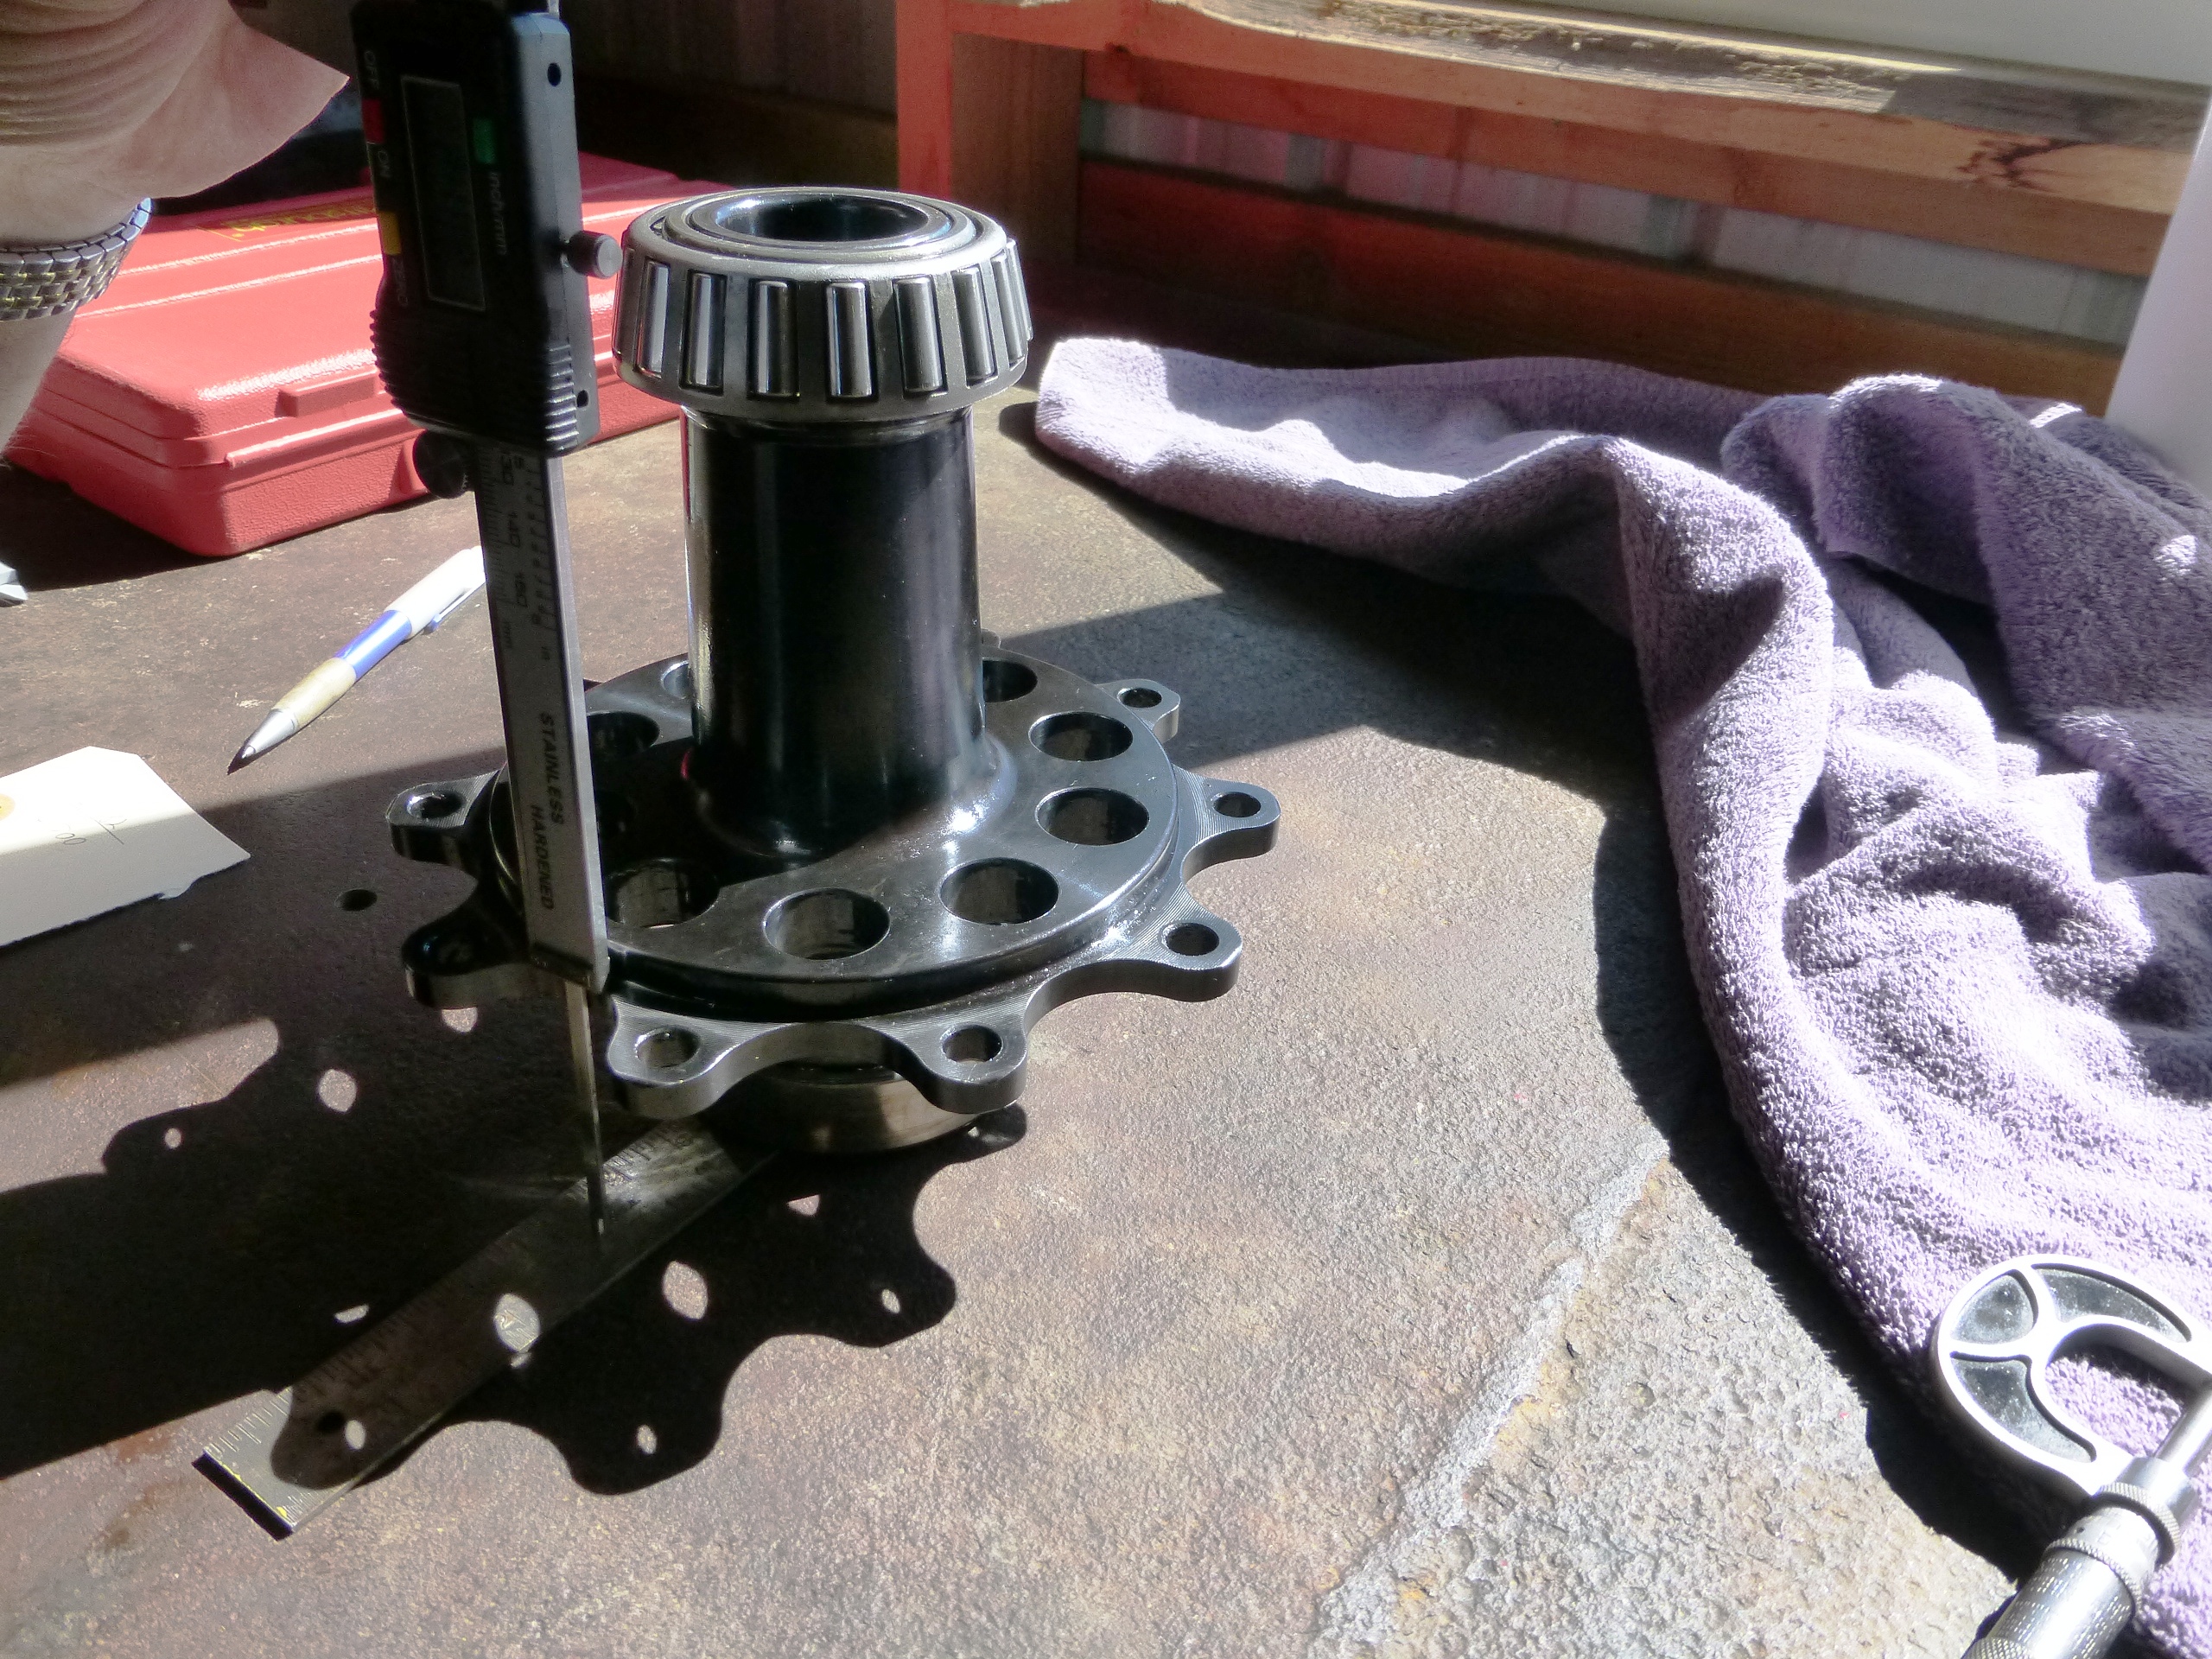
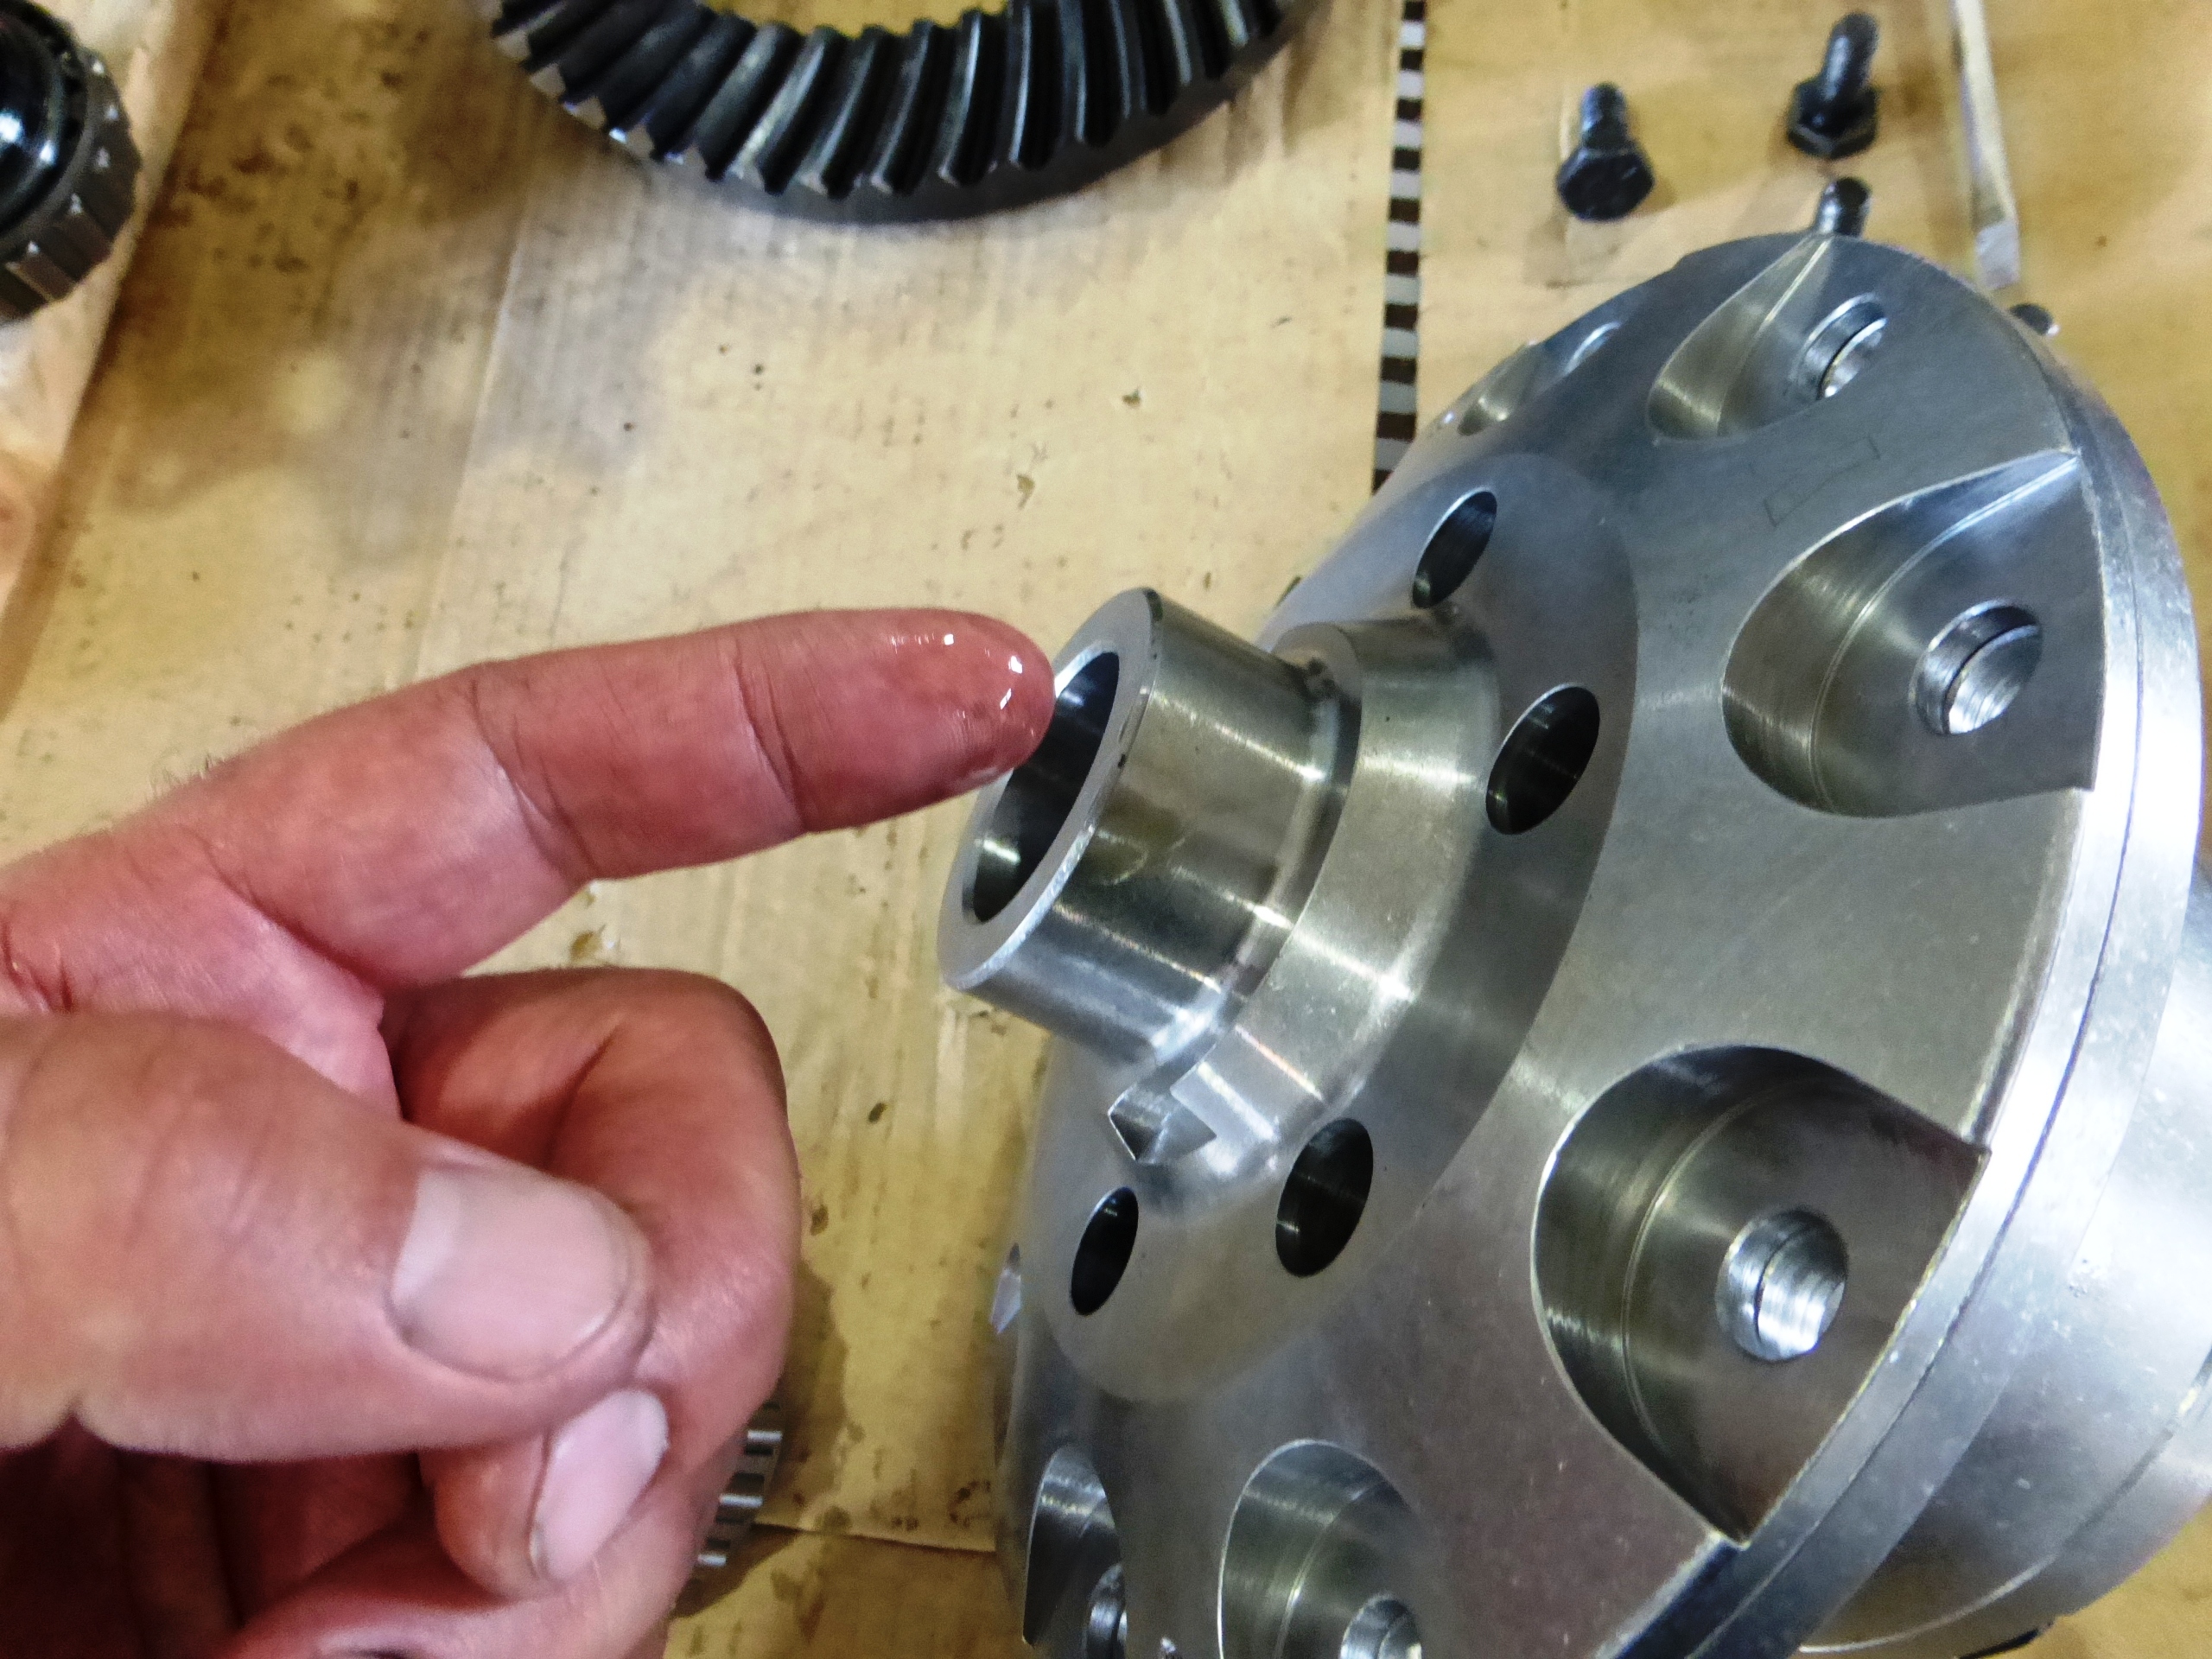
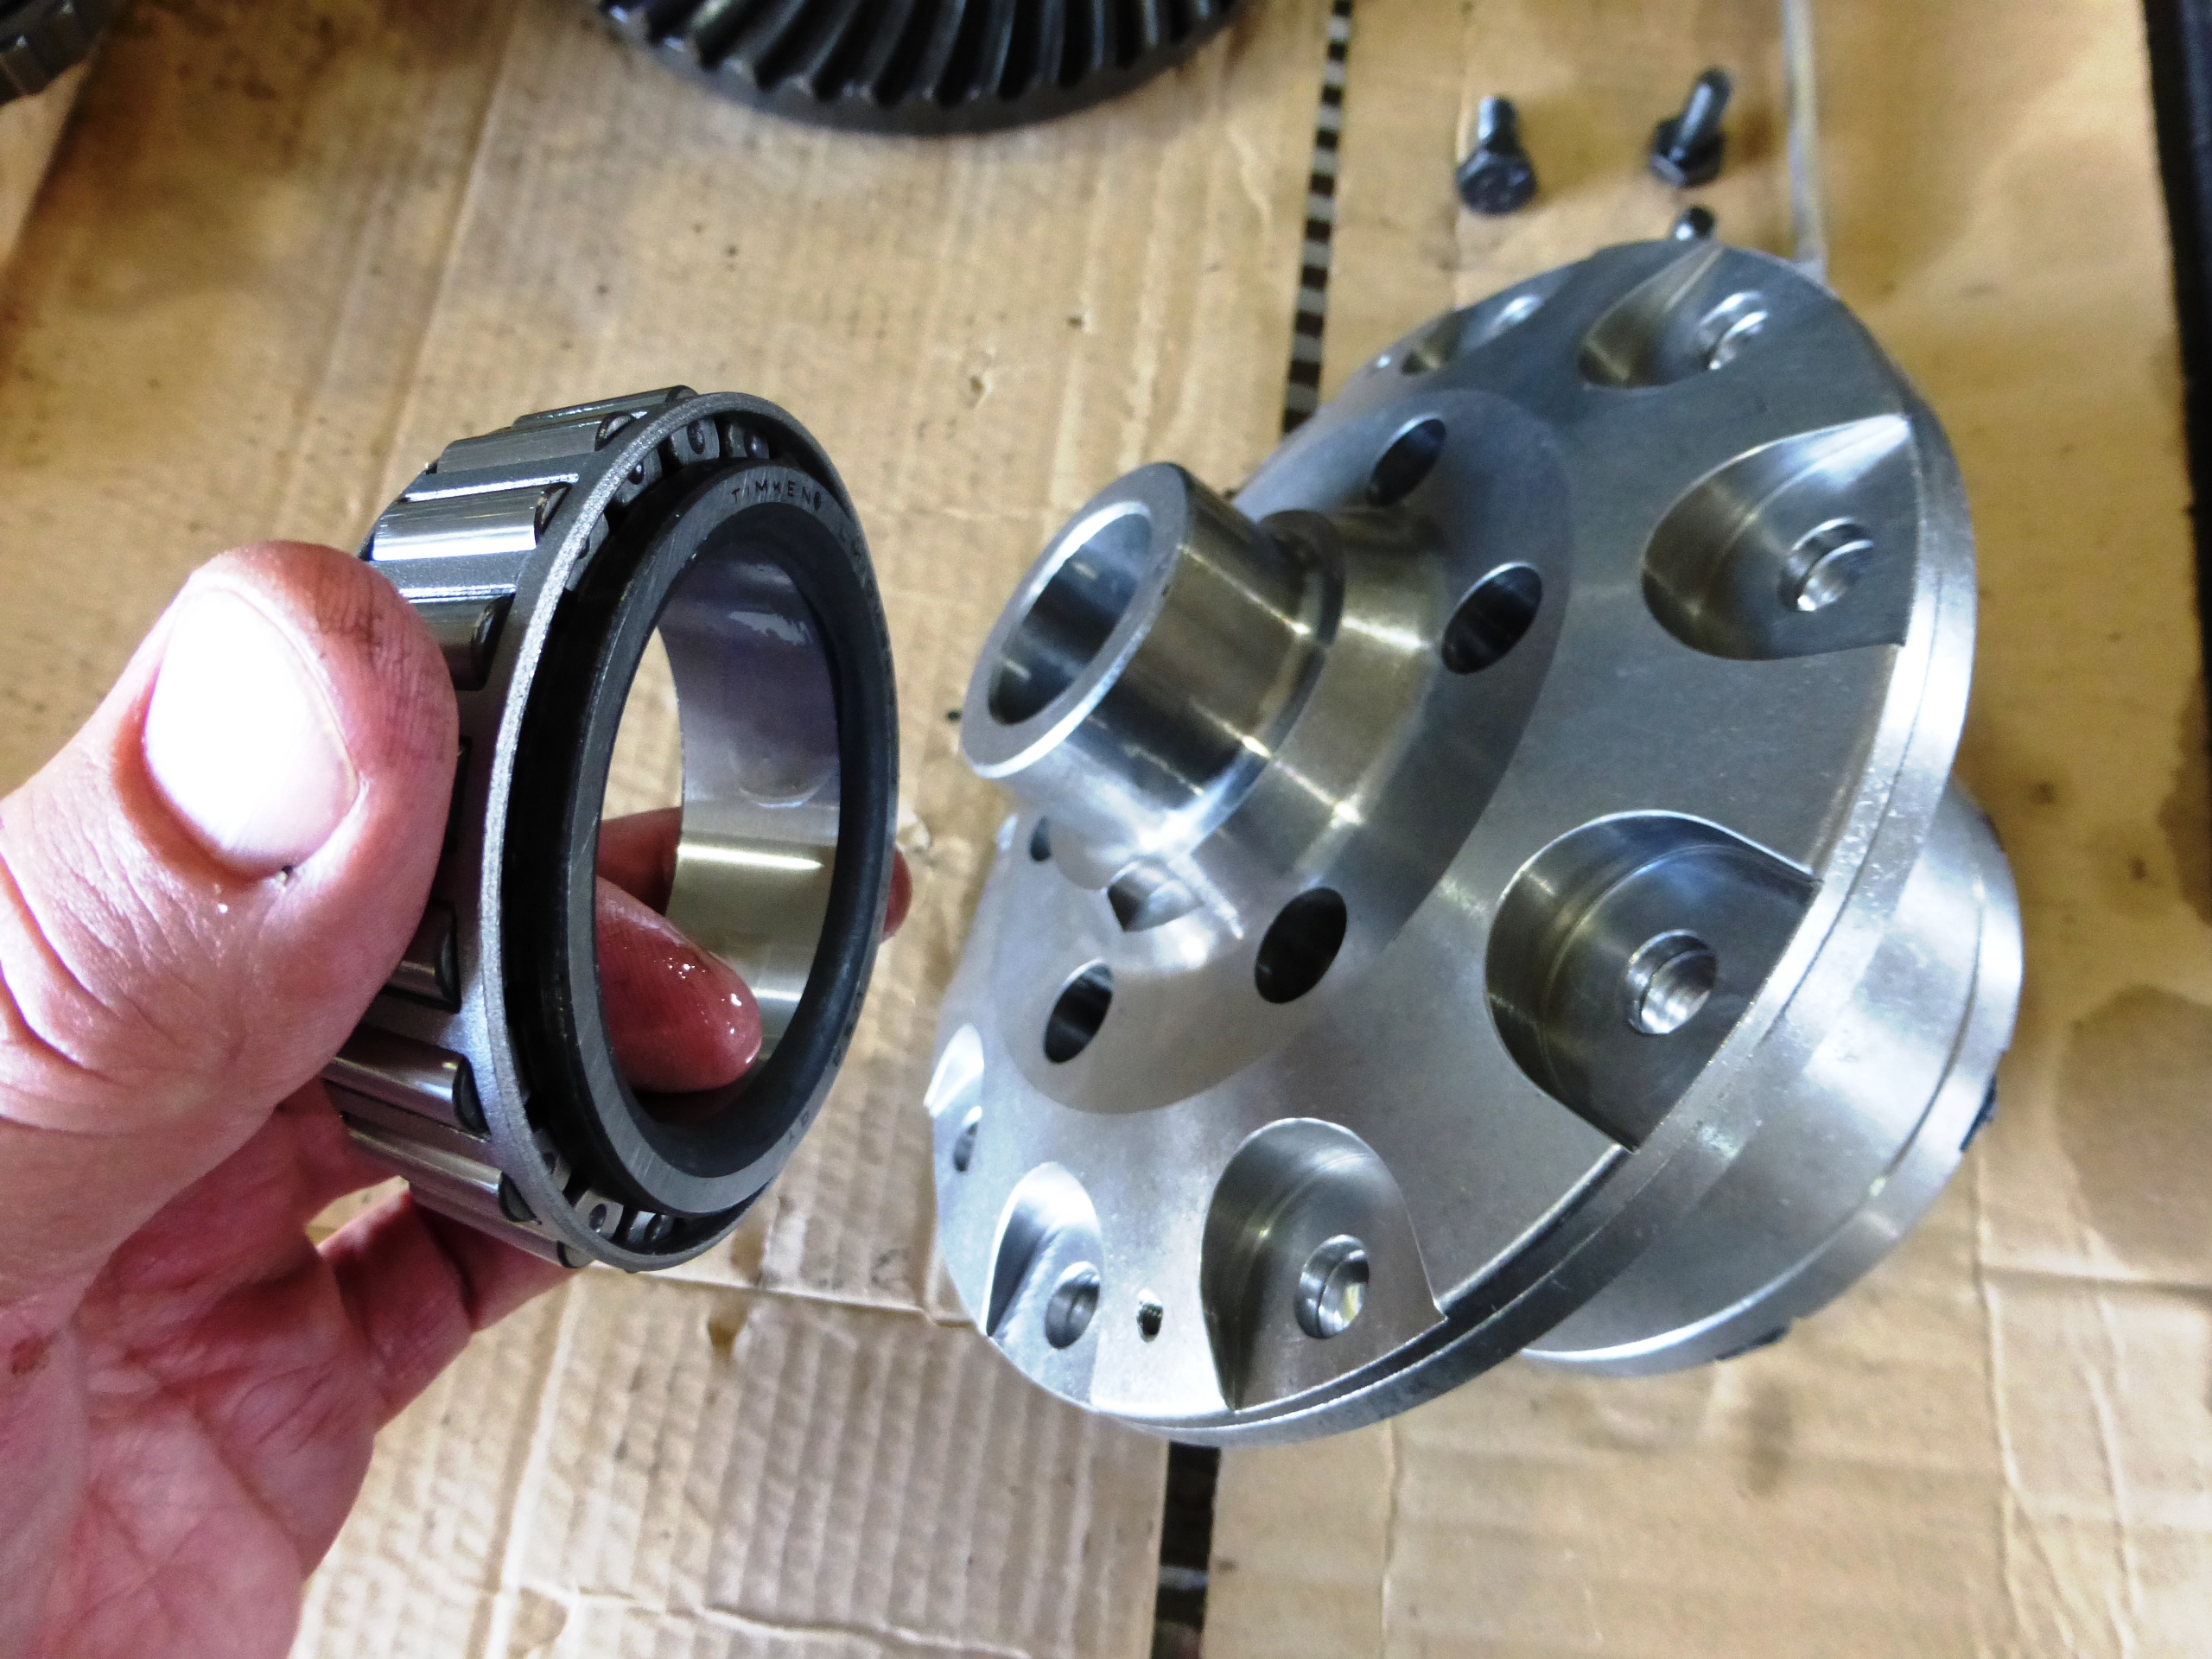
Once the spool was out we removed the ring gear. A measurement from the backside of the spool to the outside of the old bearing and race was needed in order to do the initial set up of the shims. This information gave us a place to start when setting the backlash. Once the new bearing was placed on the new Zip Locker, we used that information to calculate how much shimming we needed to start with.

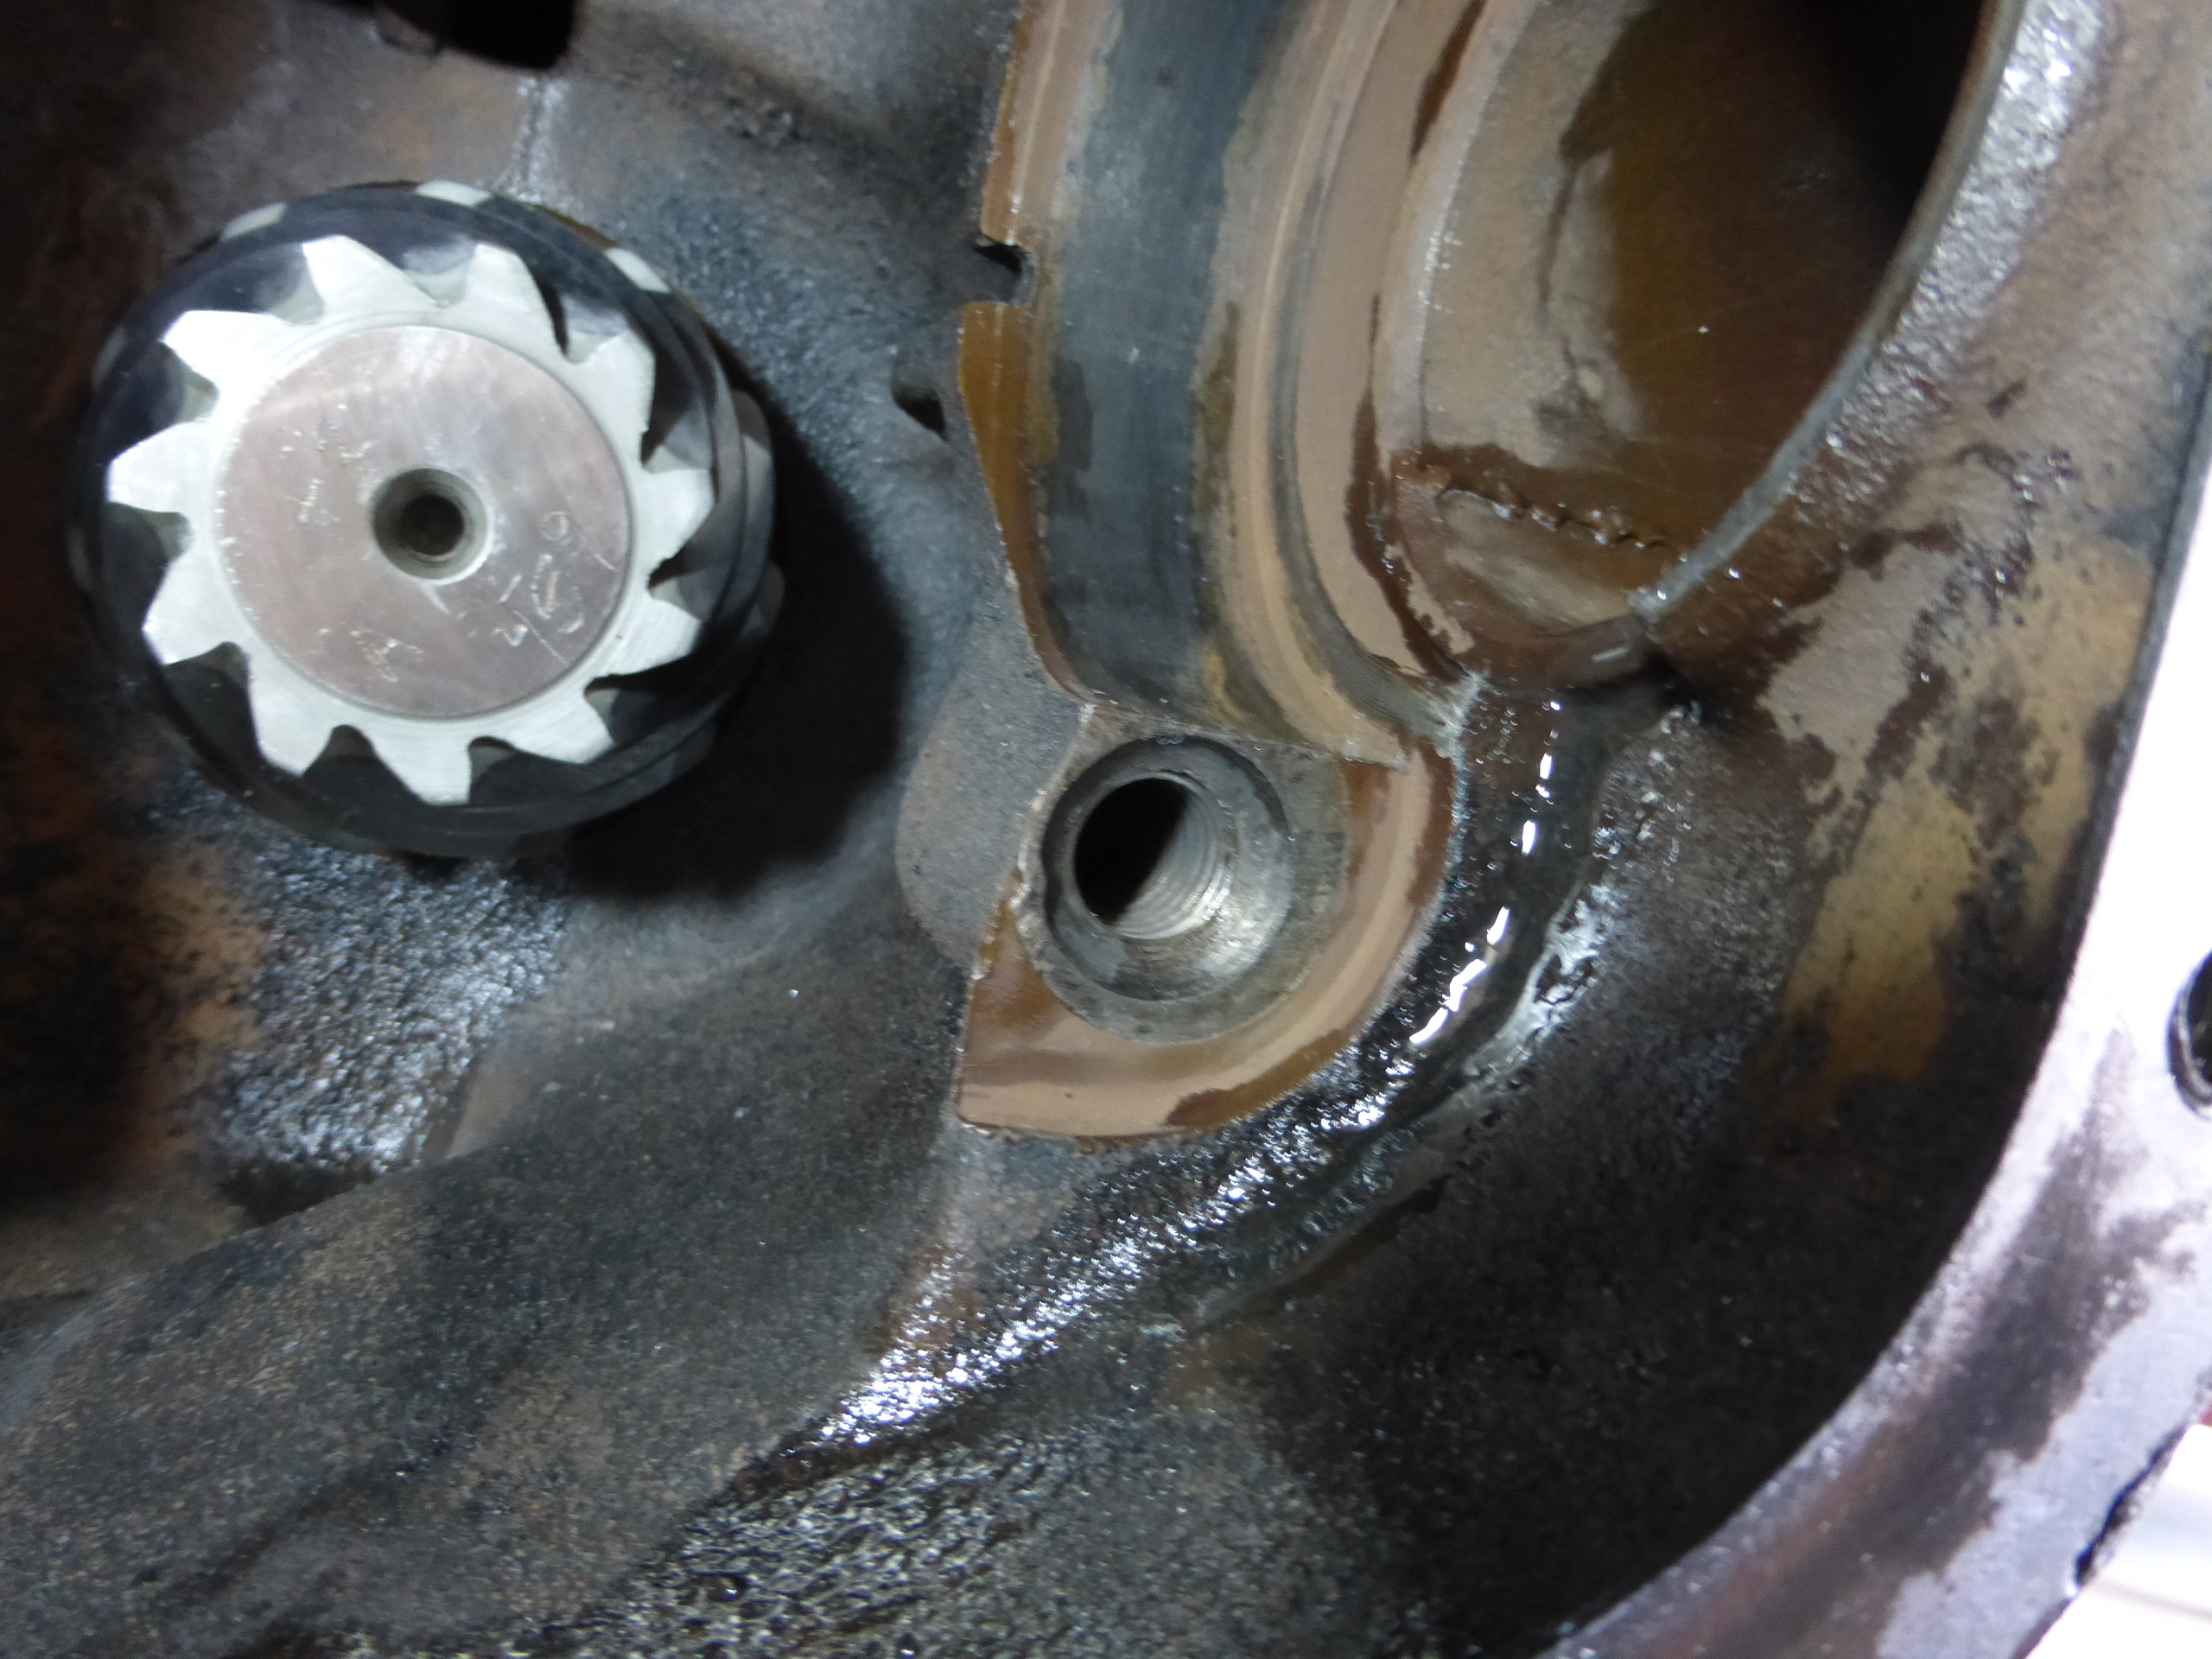
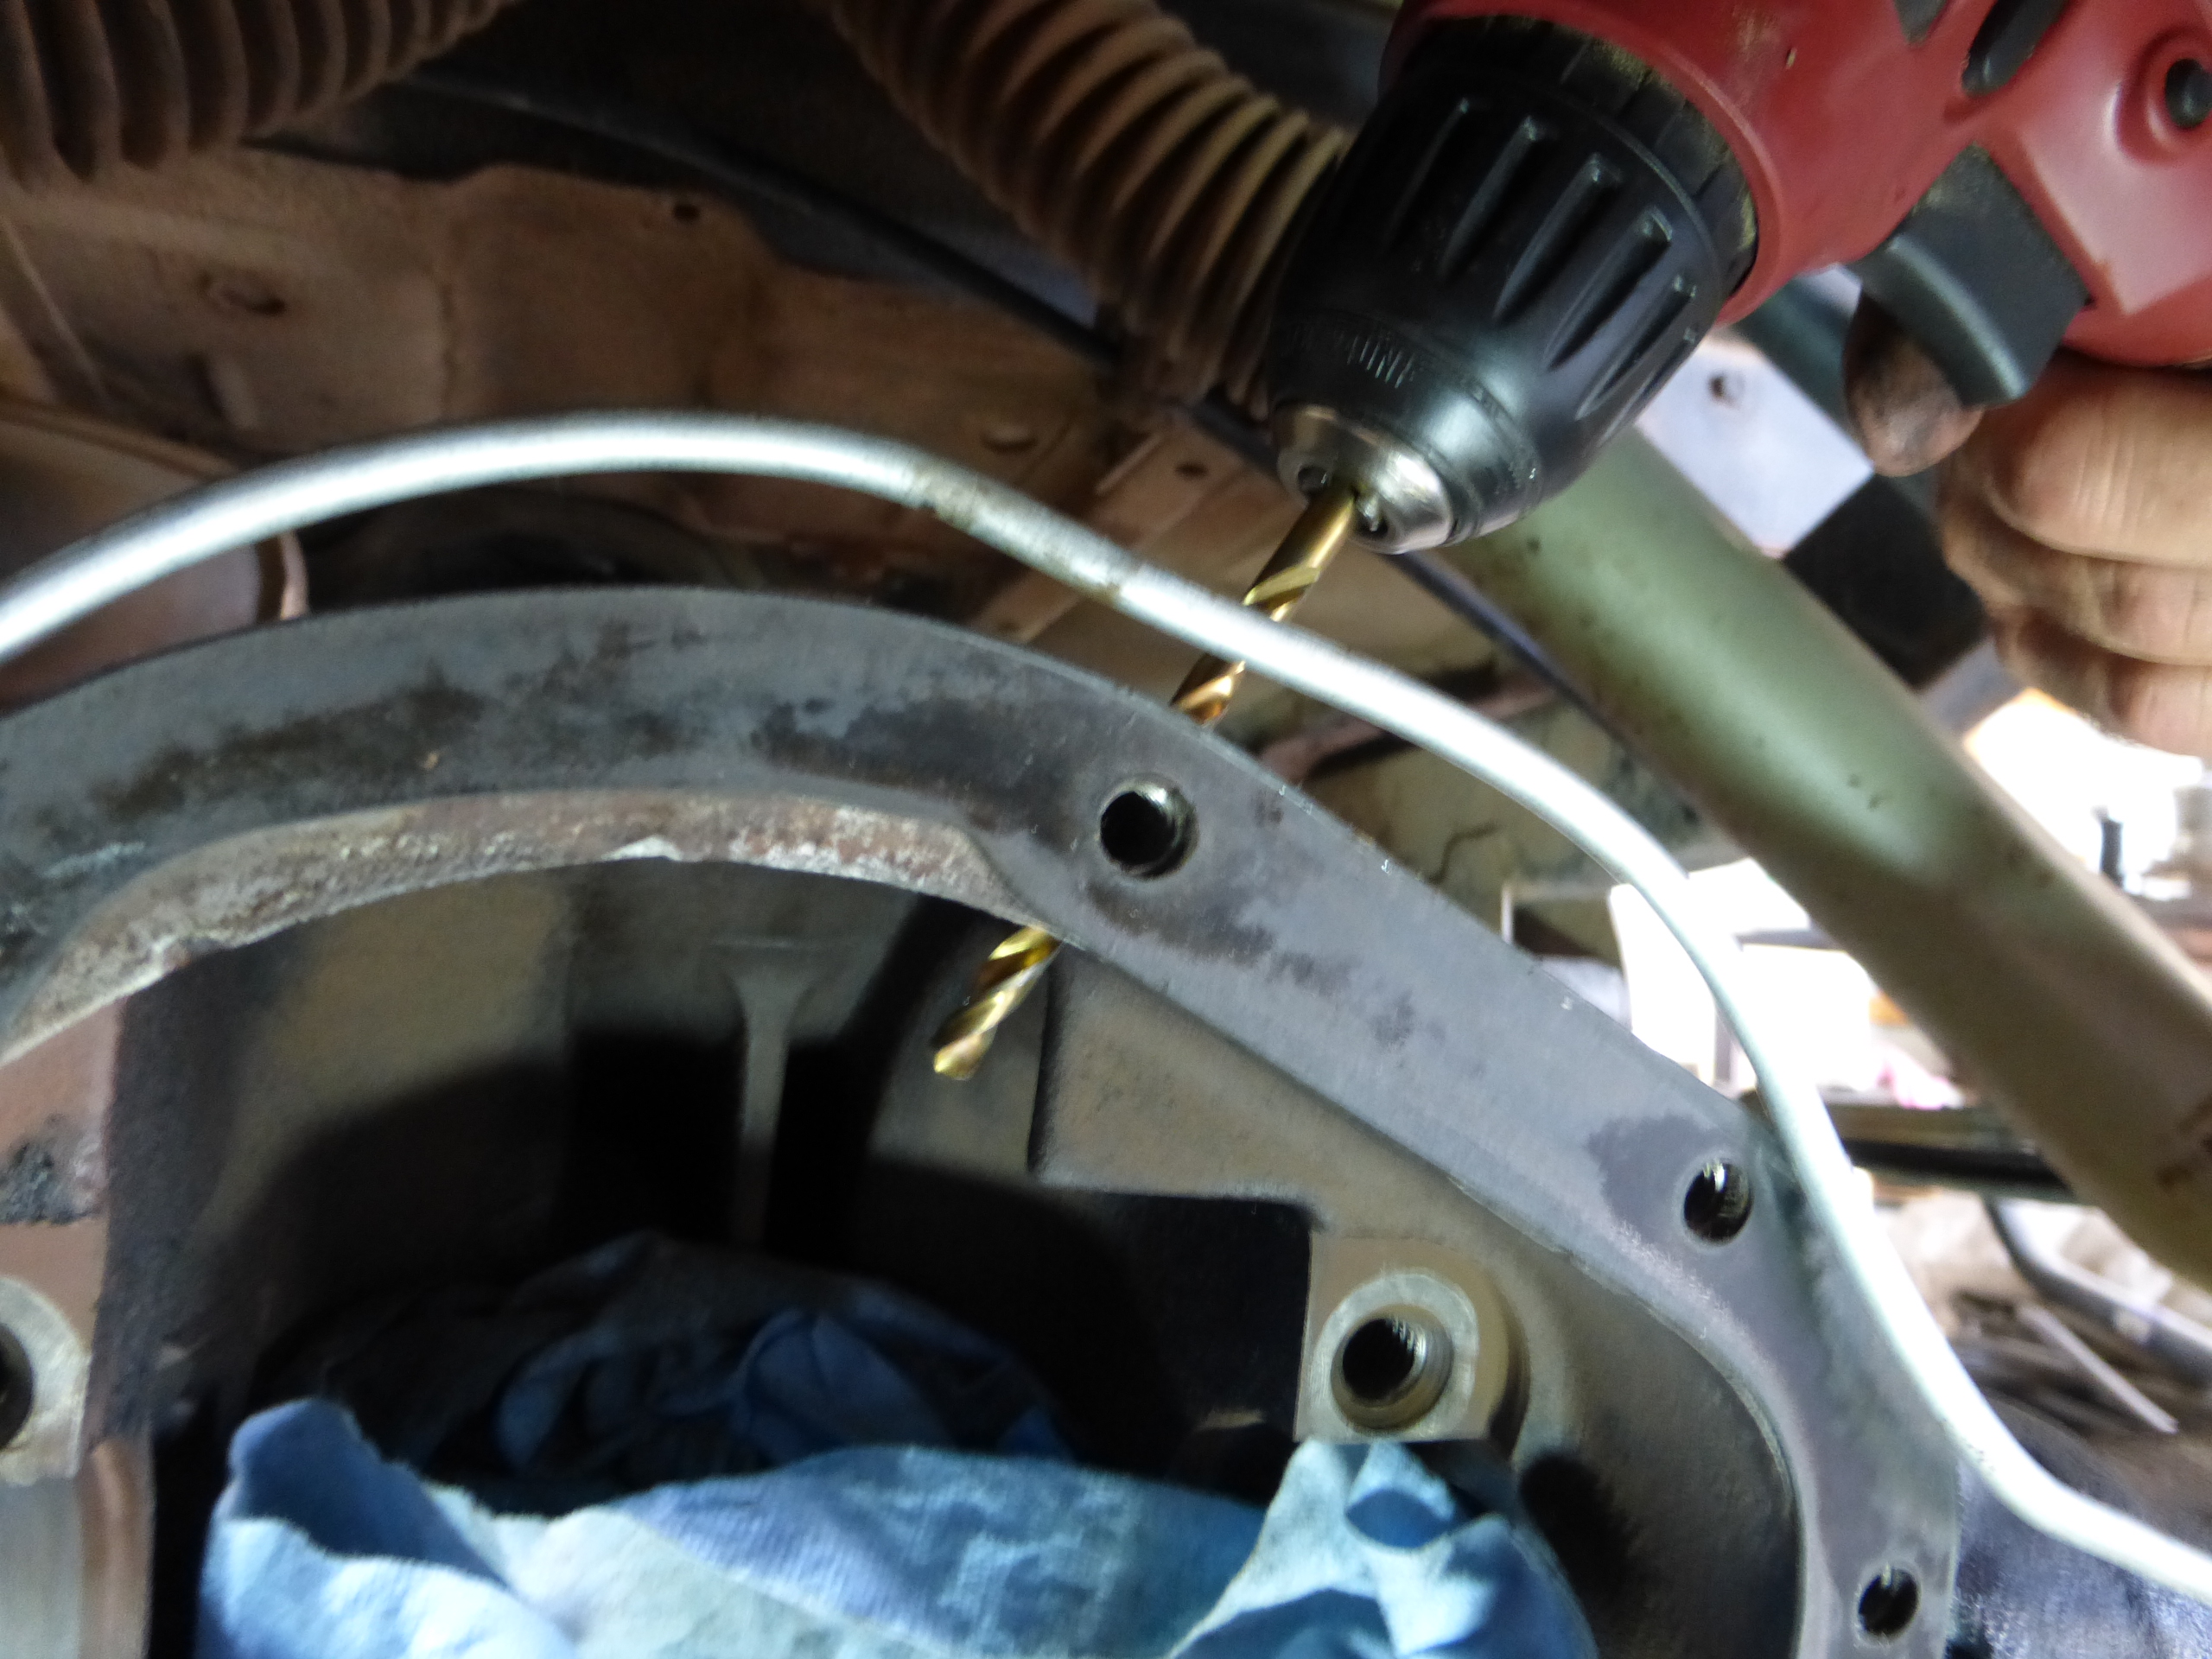
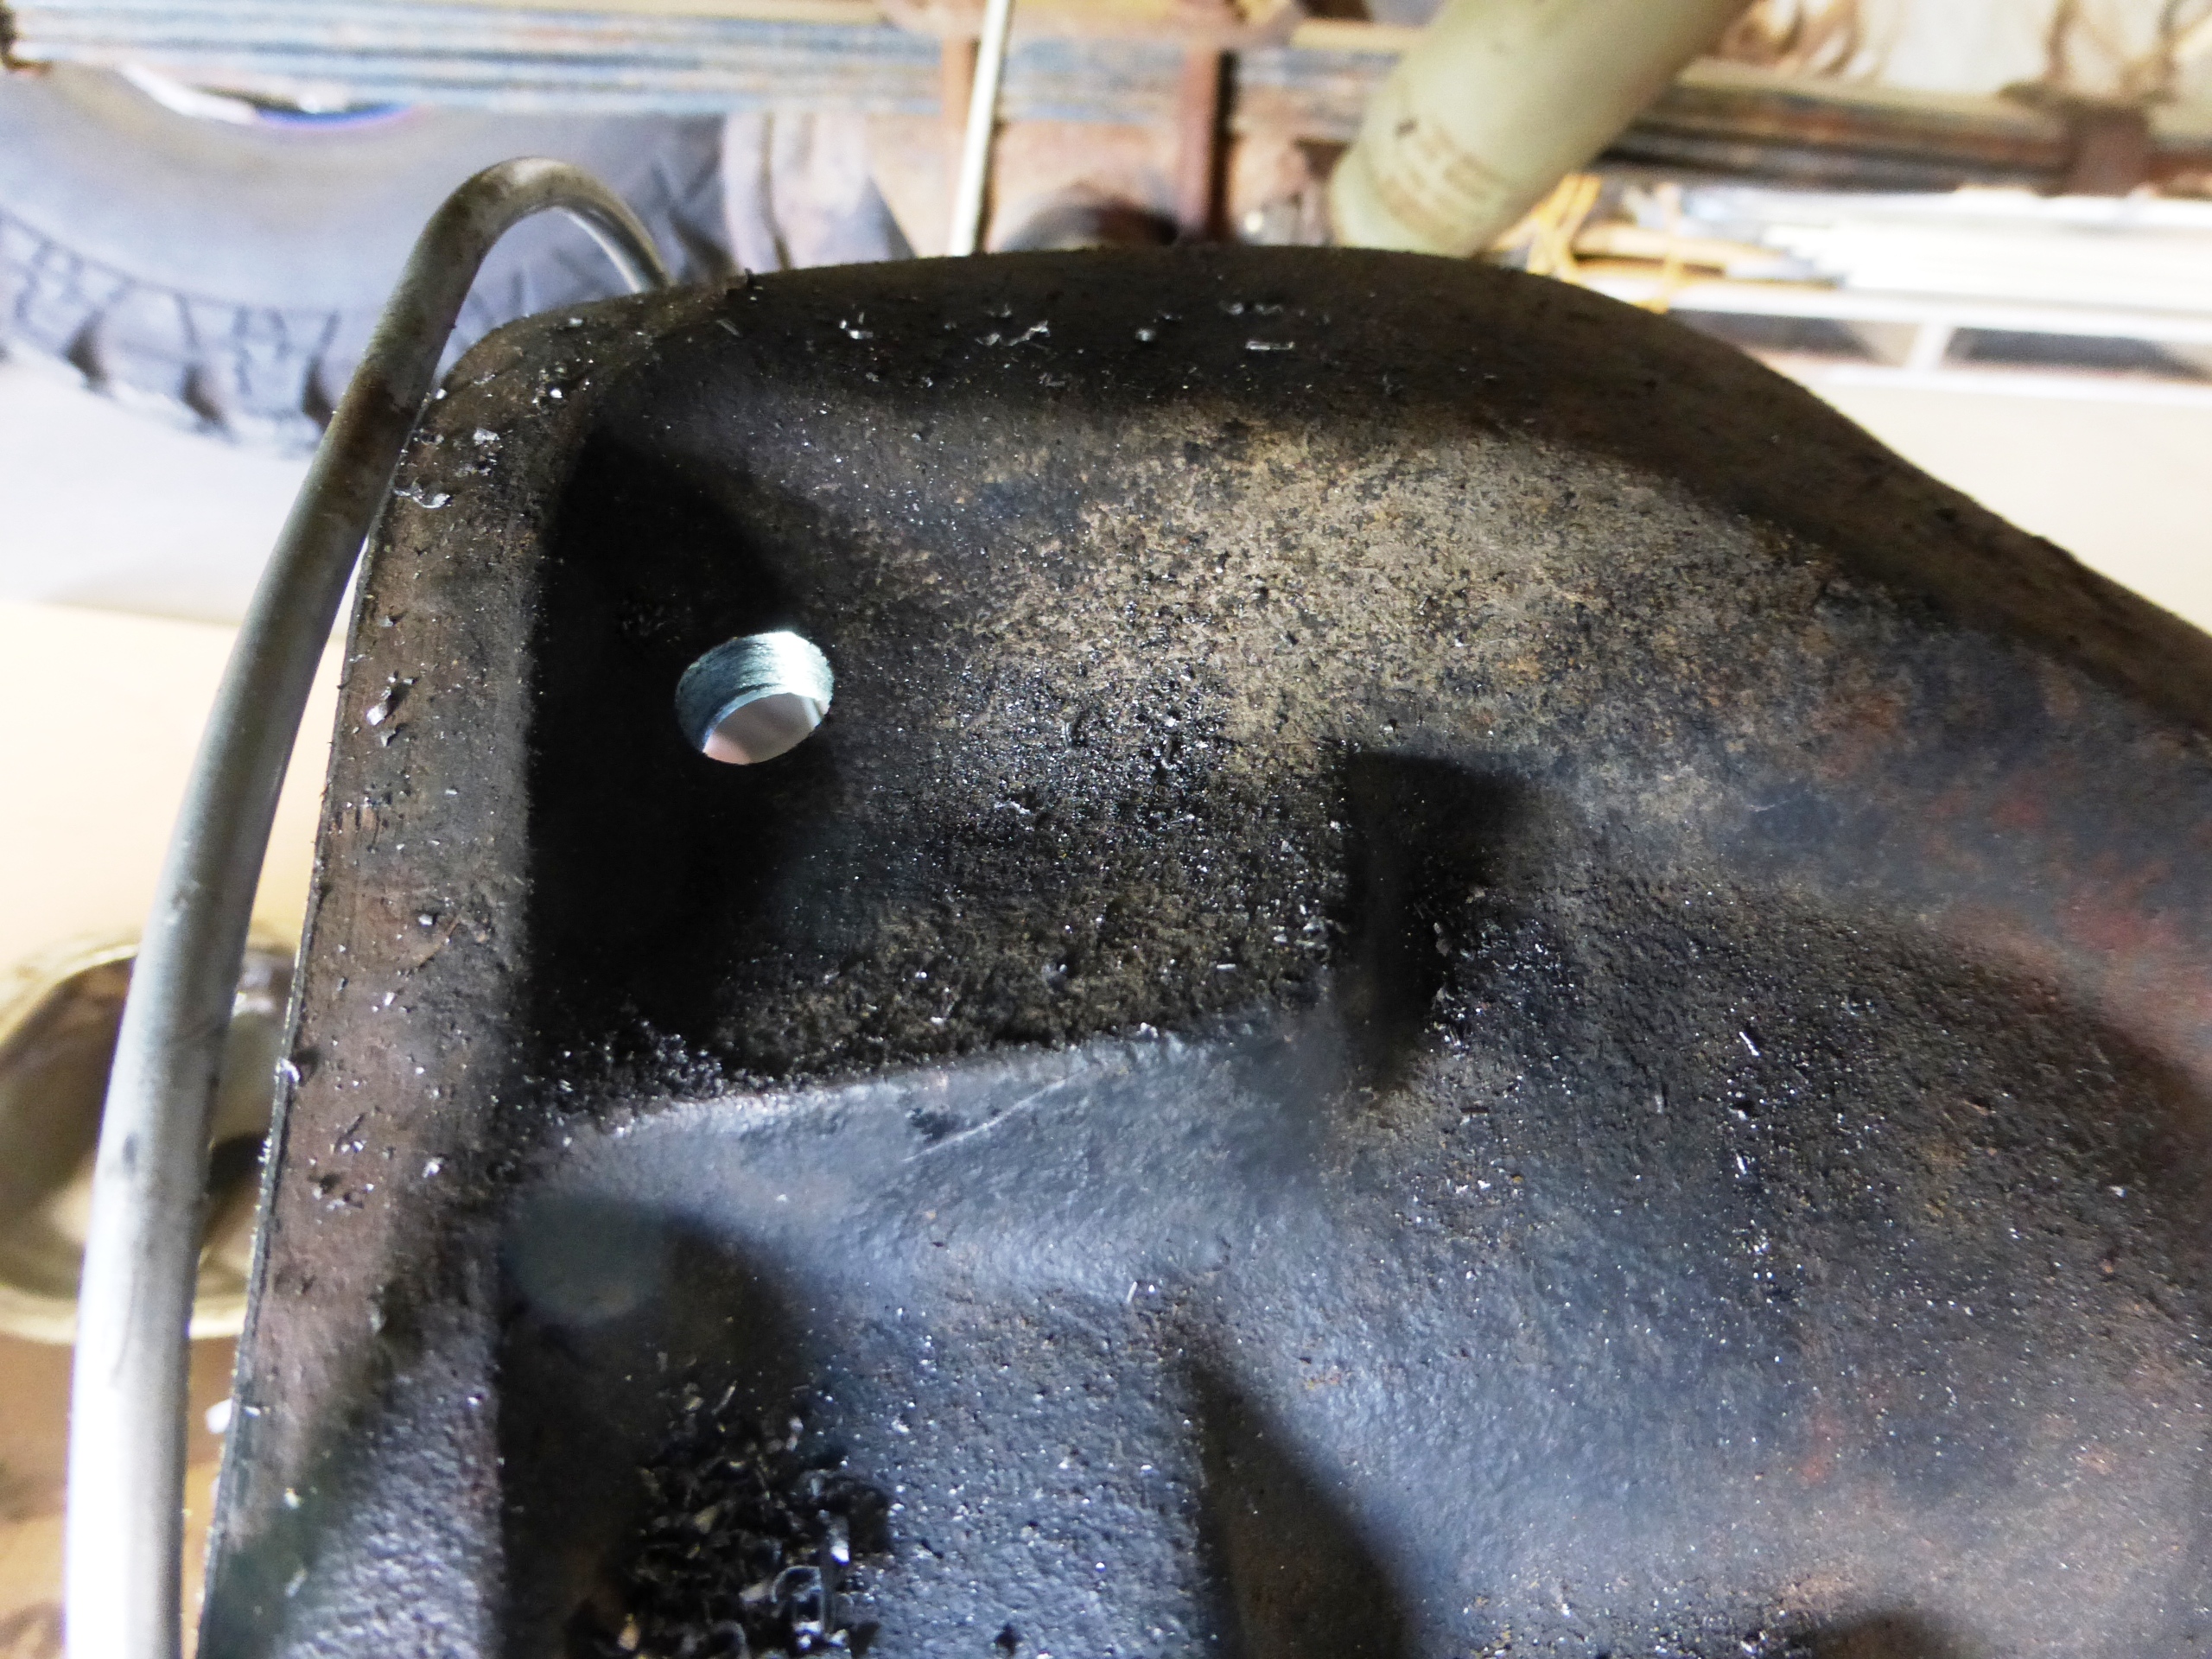
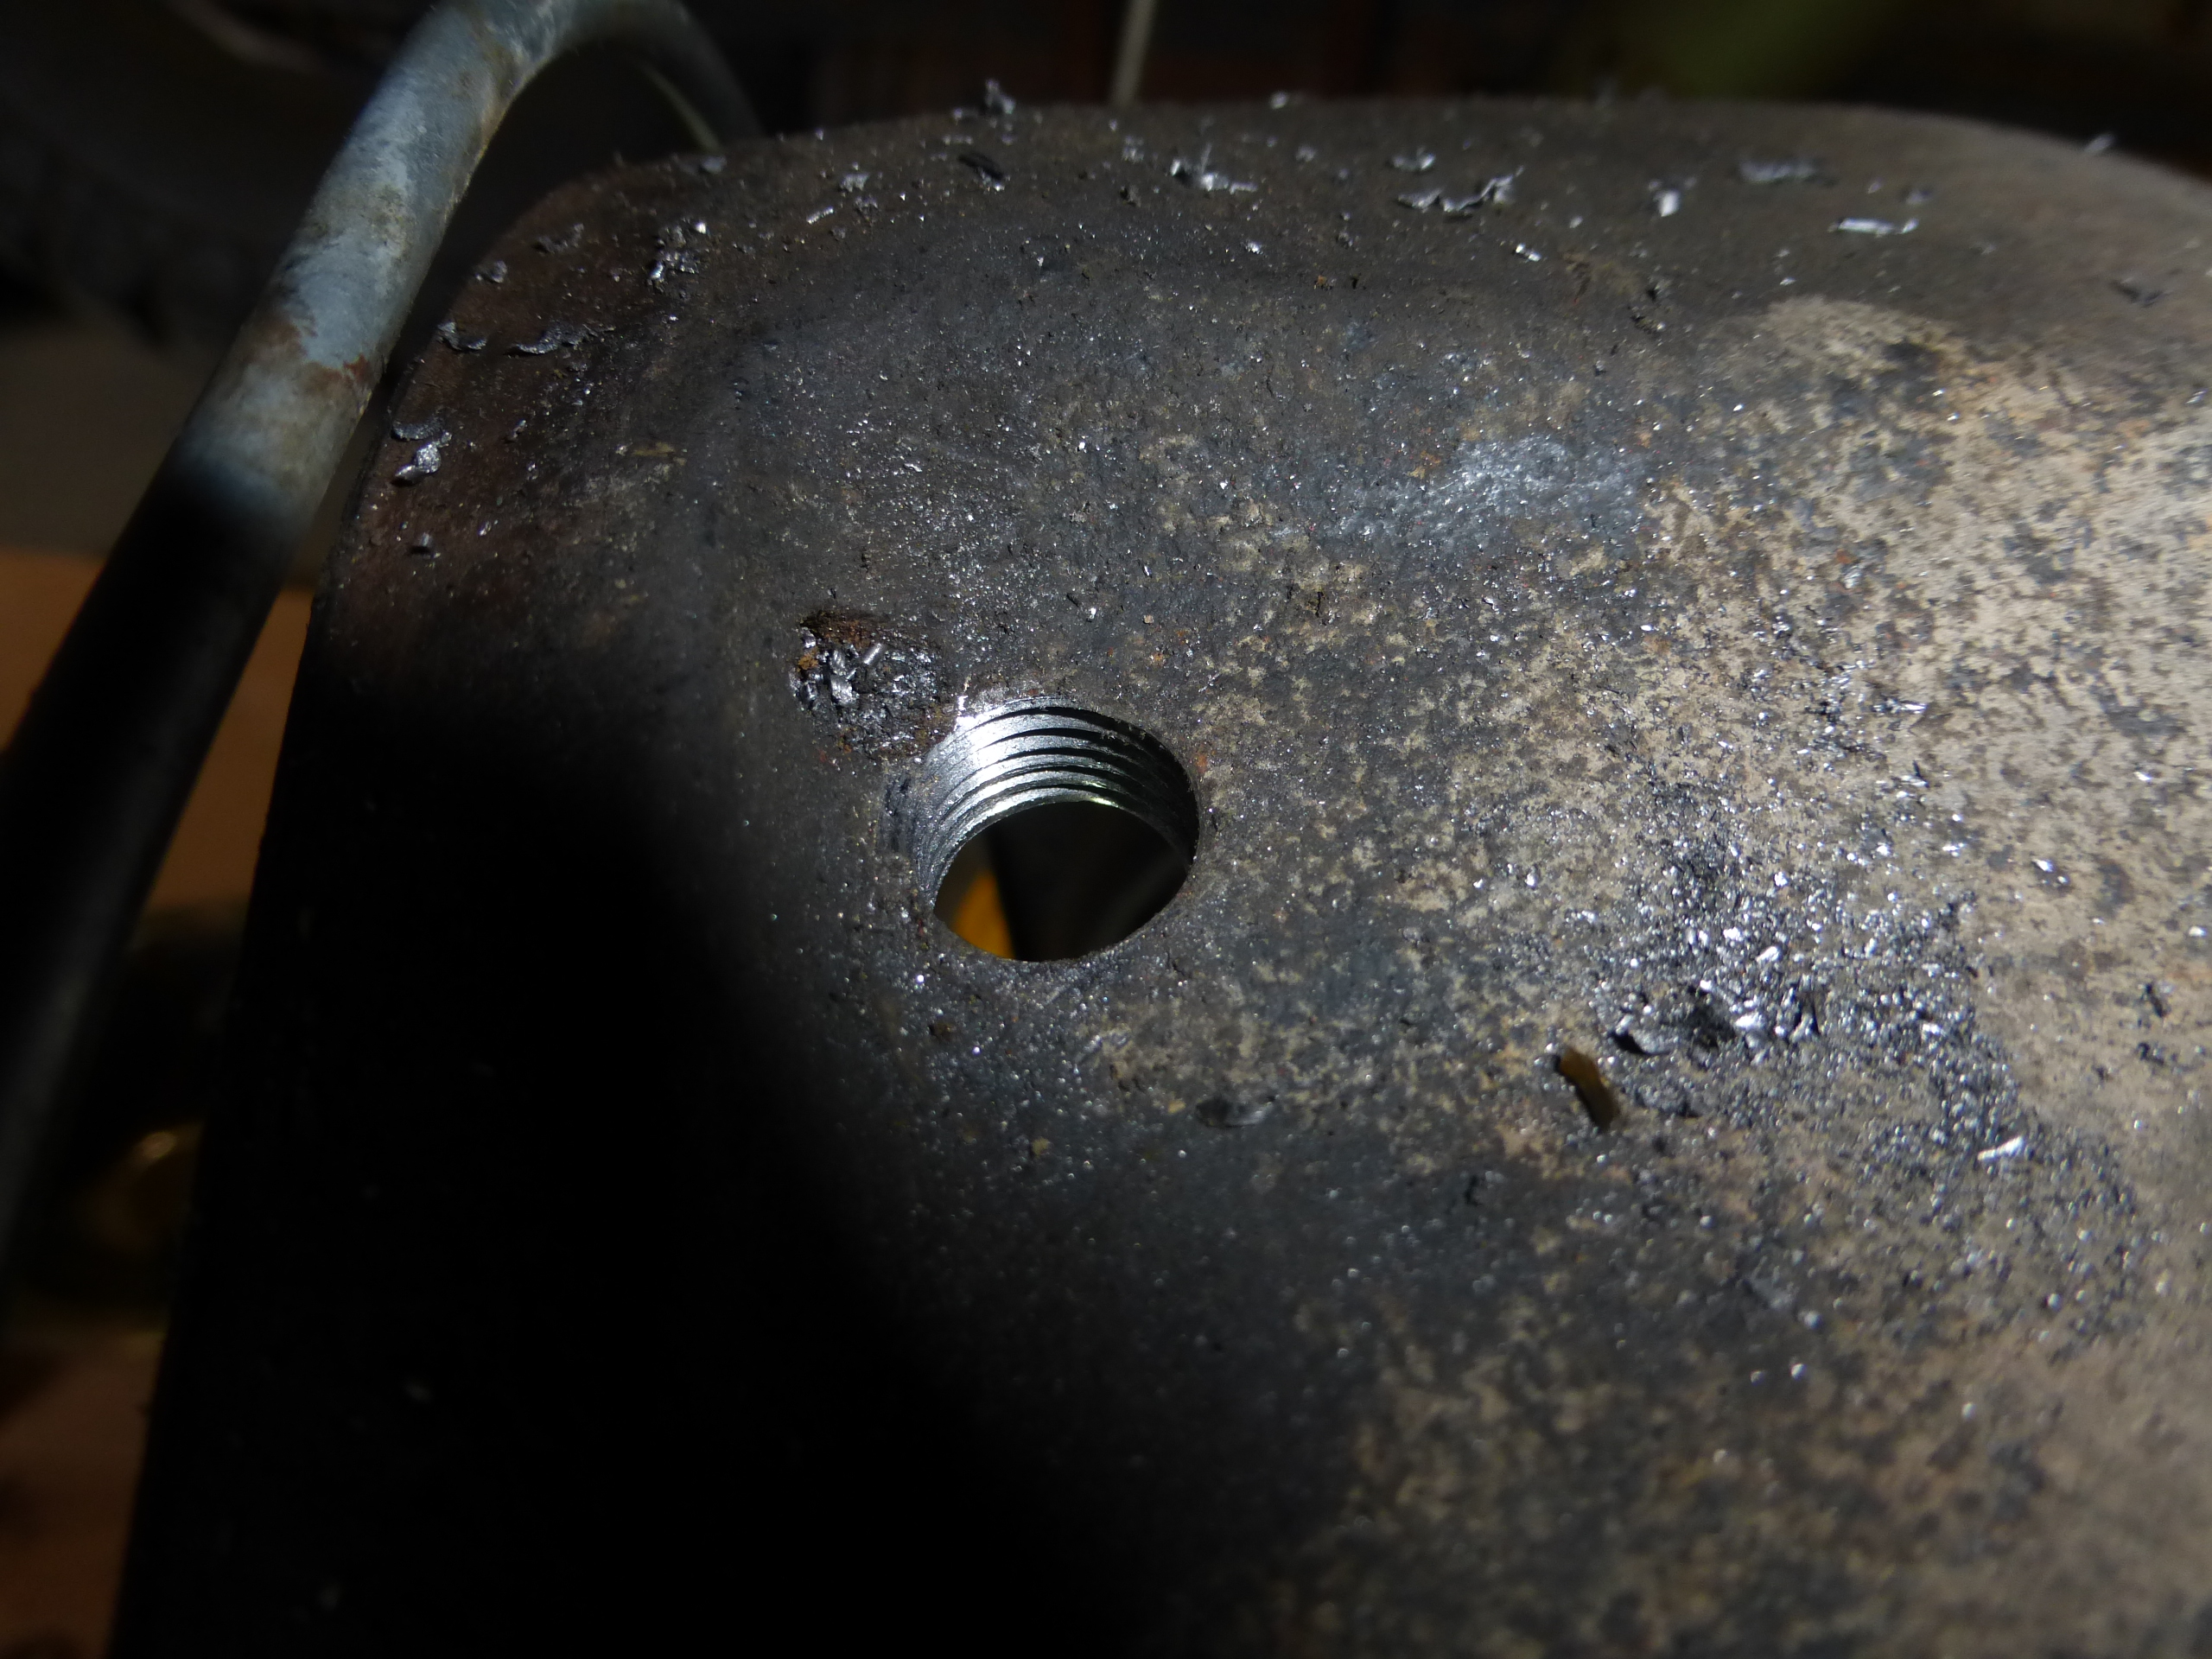
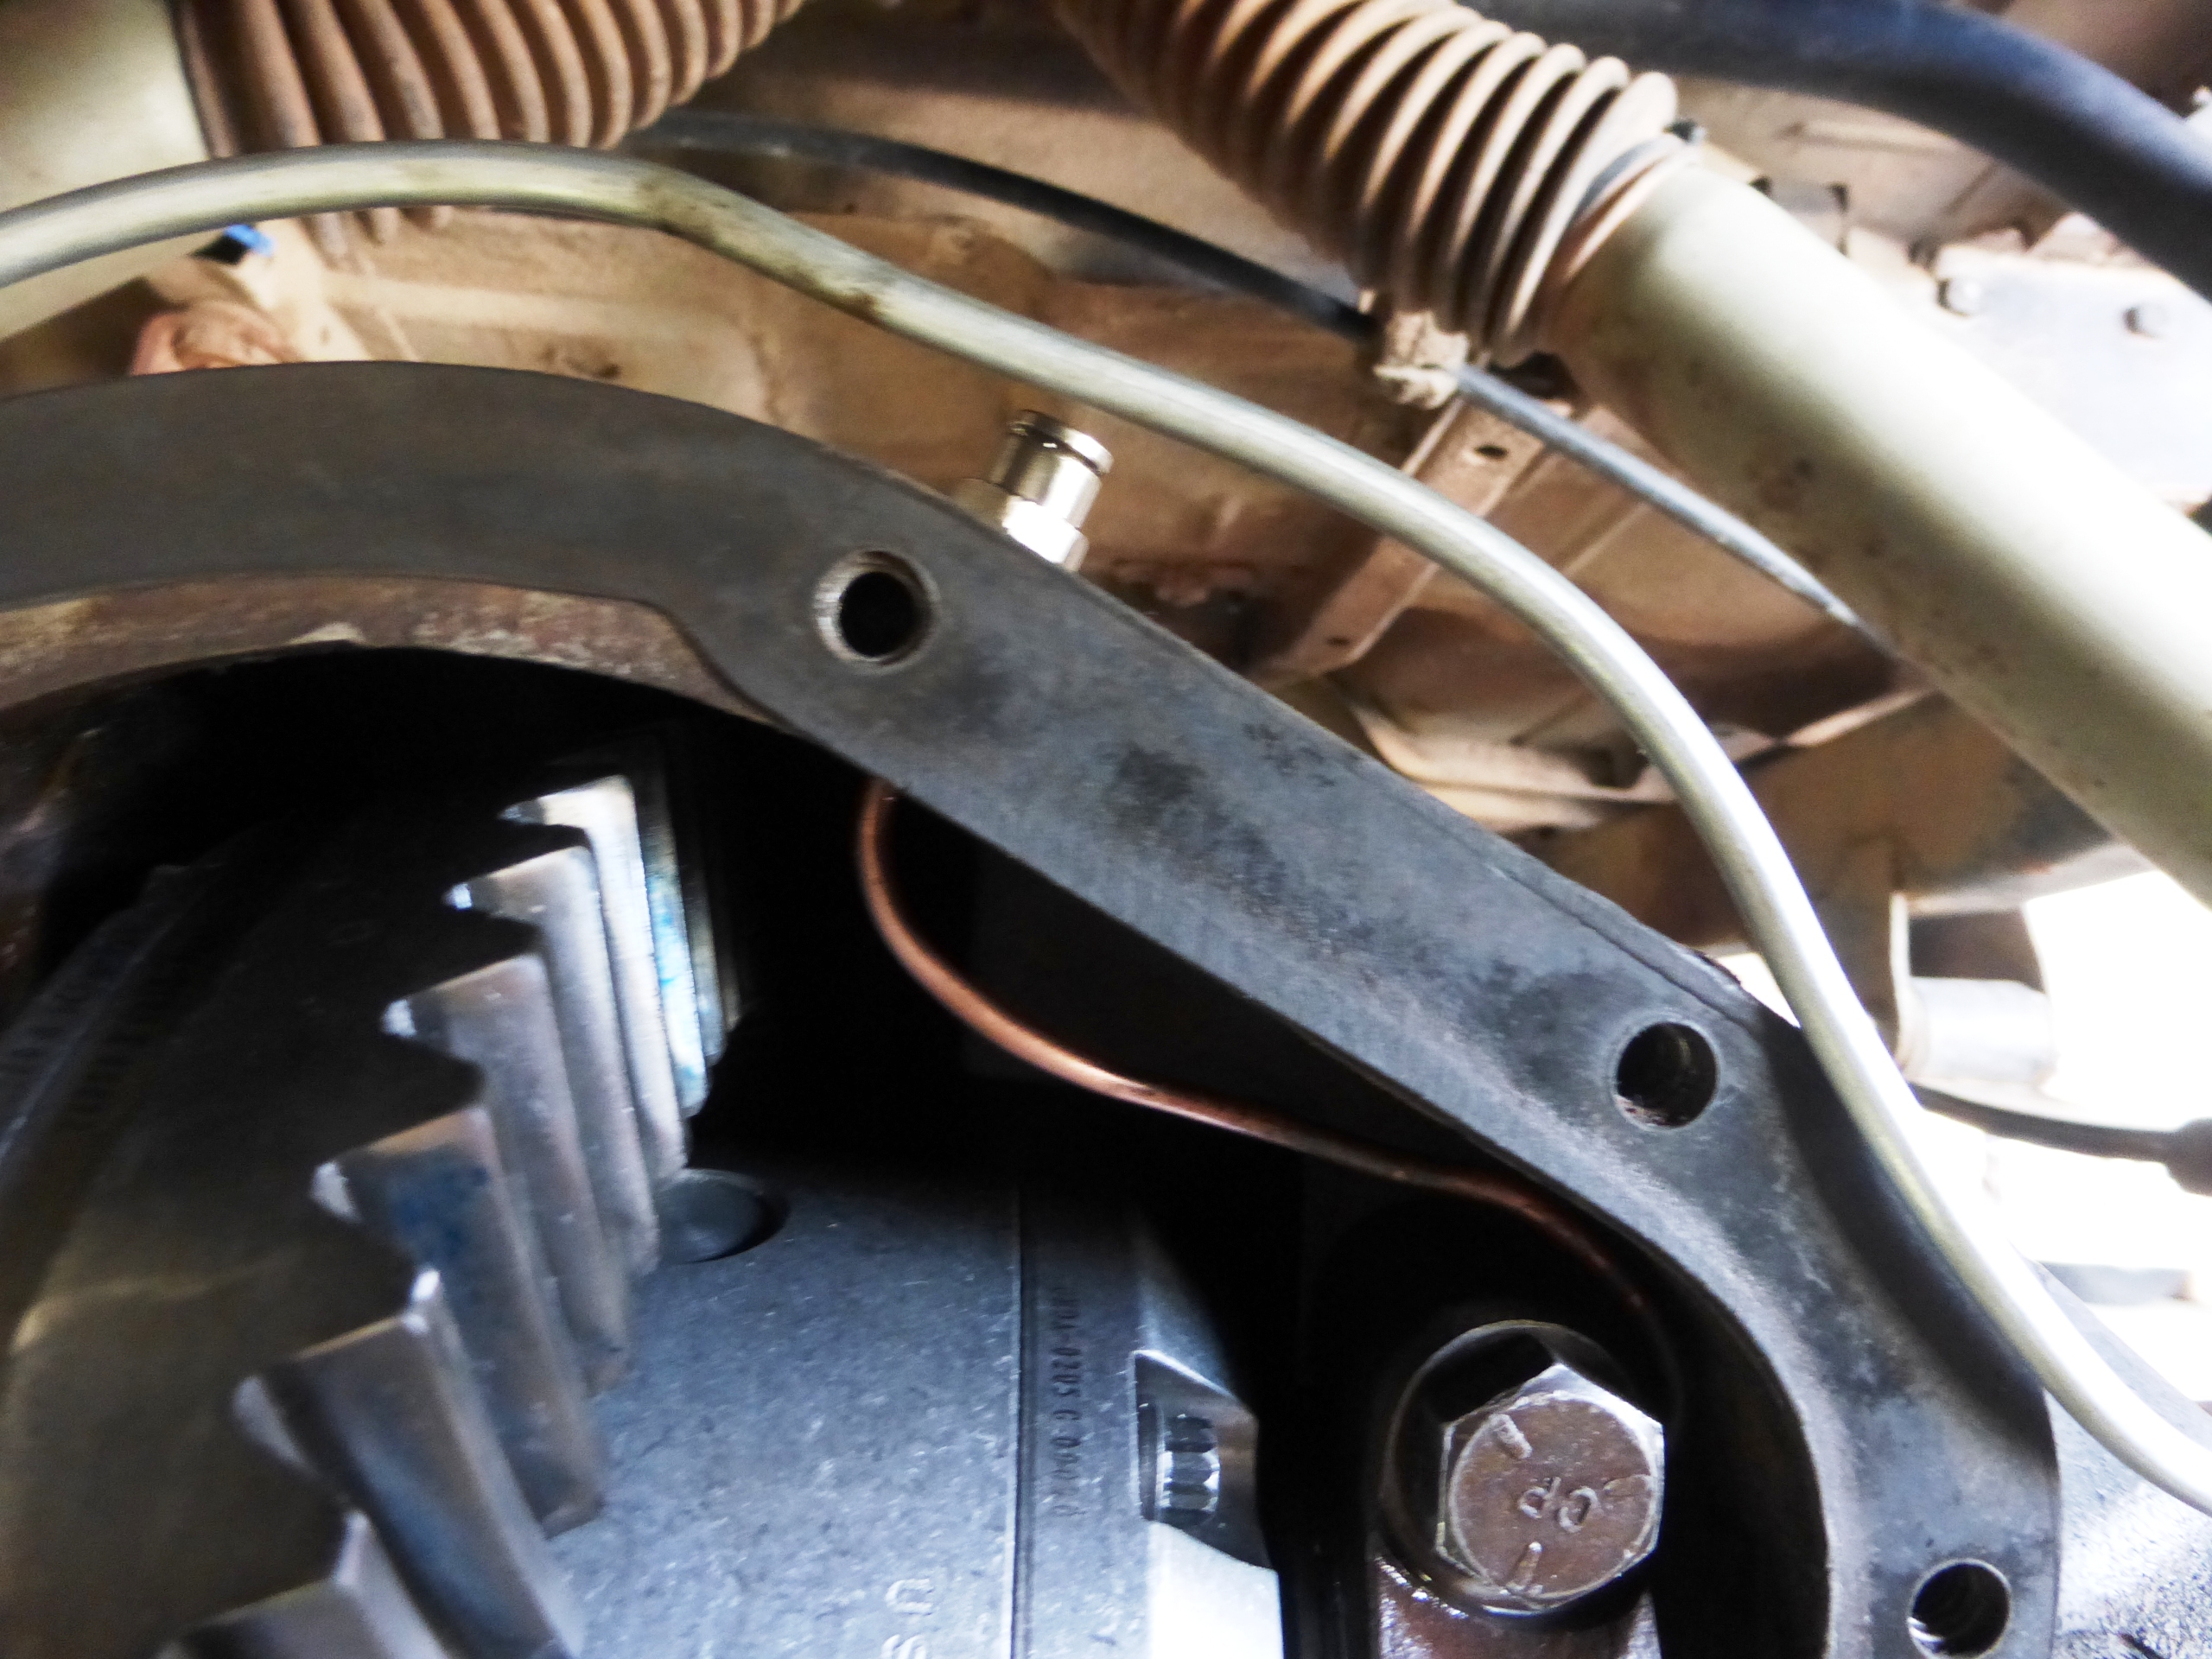
Before mounting the ring gear and setting the new locker in place, we needed to drill a hole in the top of the differential for the air line to be routed through. Since the housing was empty it was a good time to get the hole drilled and everything cleaned up before starting the installation process.
In the instructions, Yukon gave a recommendation on where to route the air line within the differential case, we picked a spot to drill the hole, tapped it and cleaned the housing out so we could move forward.

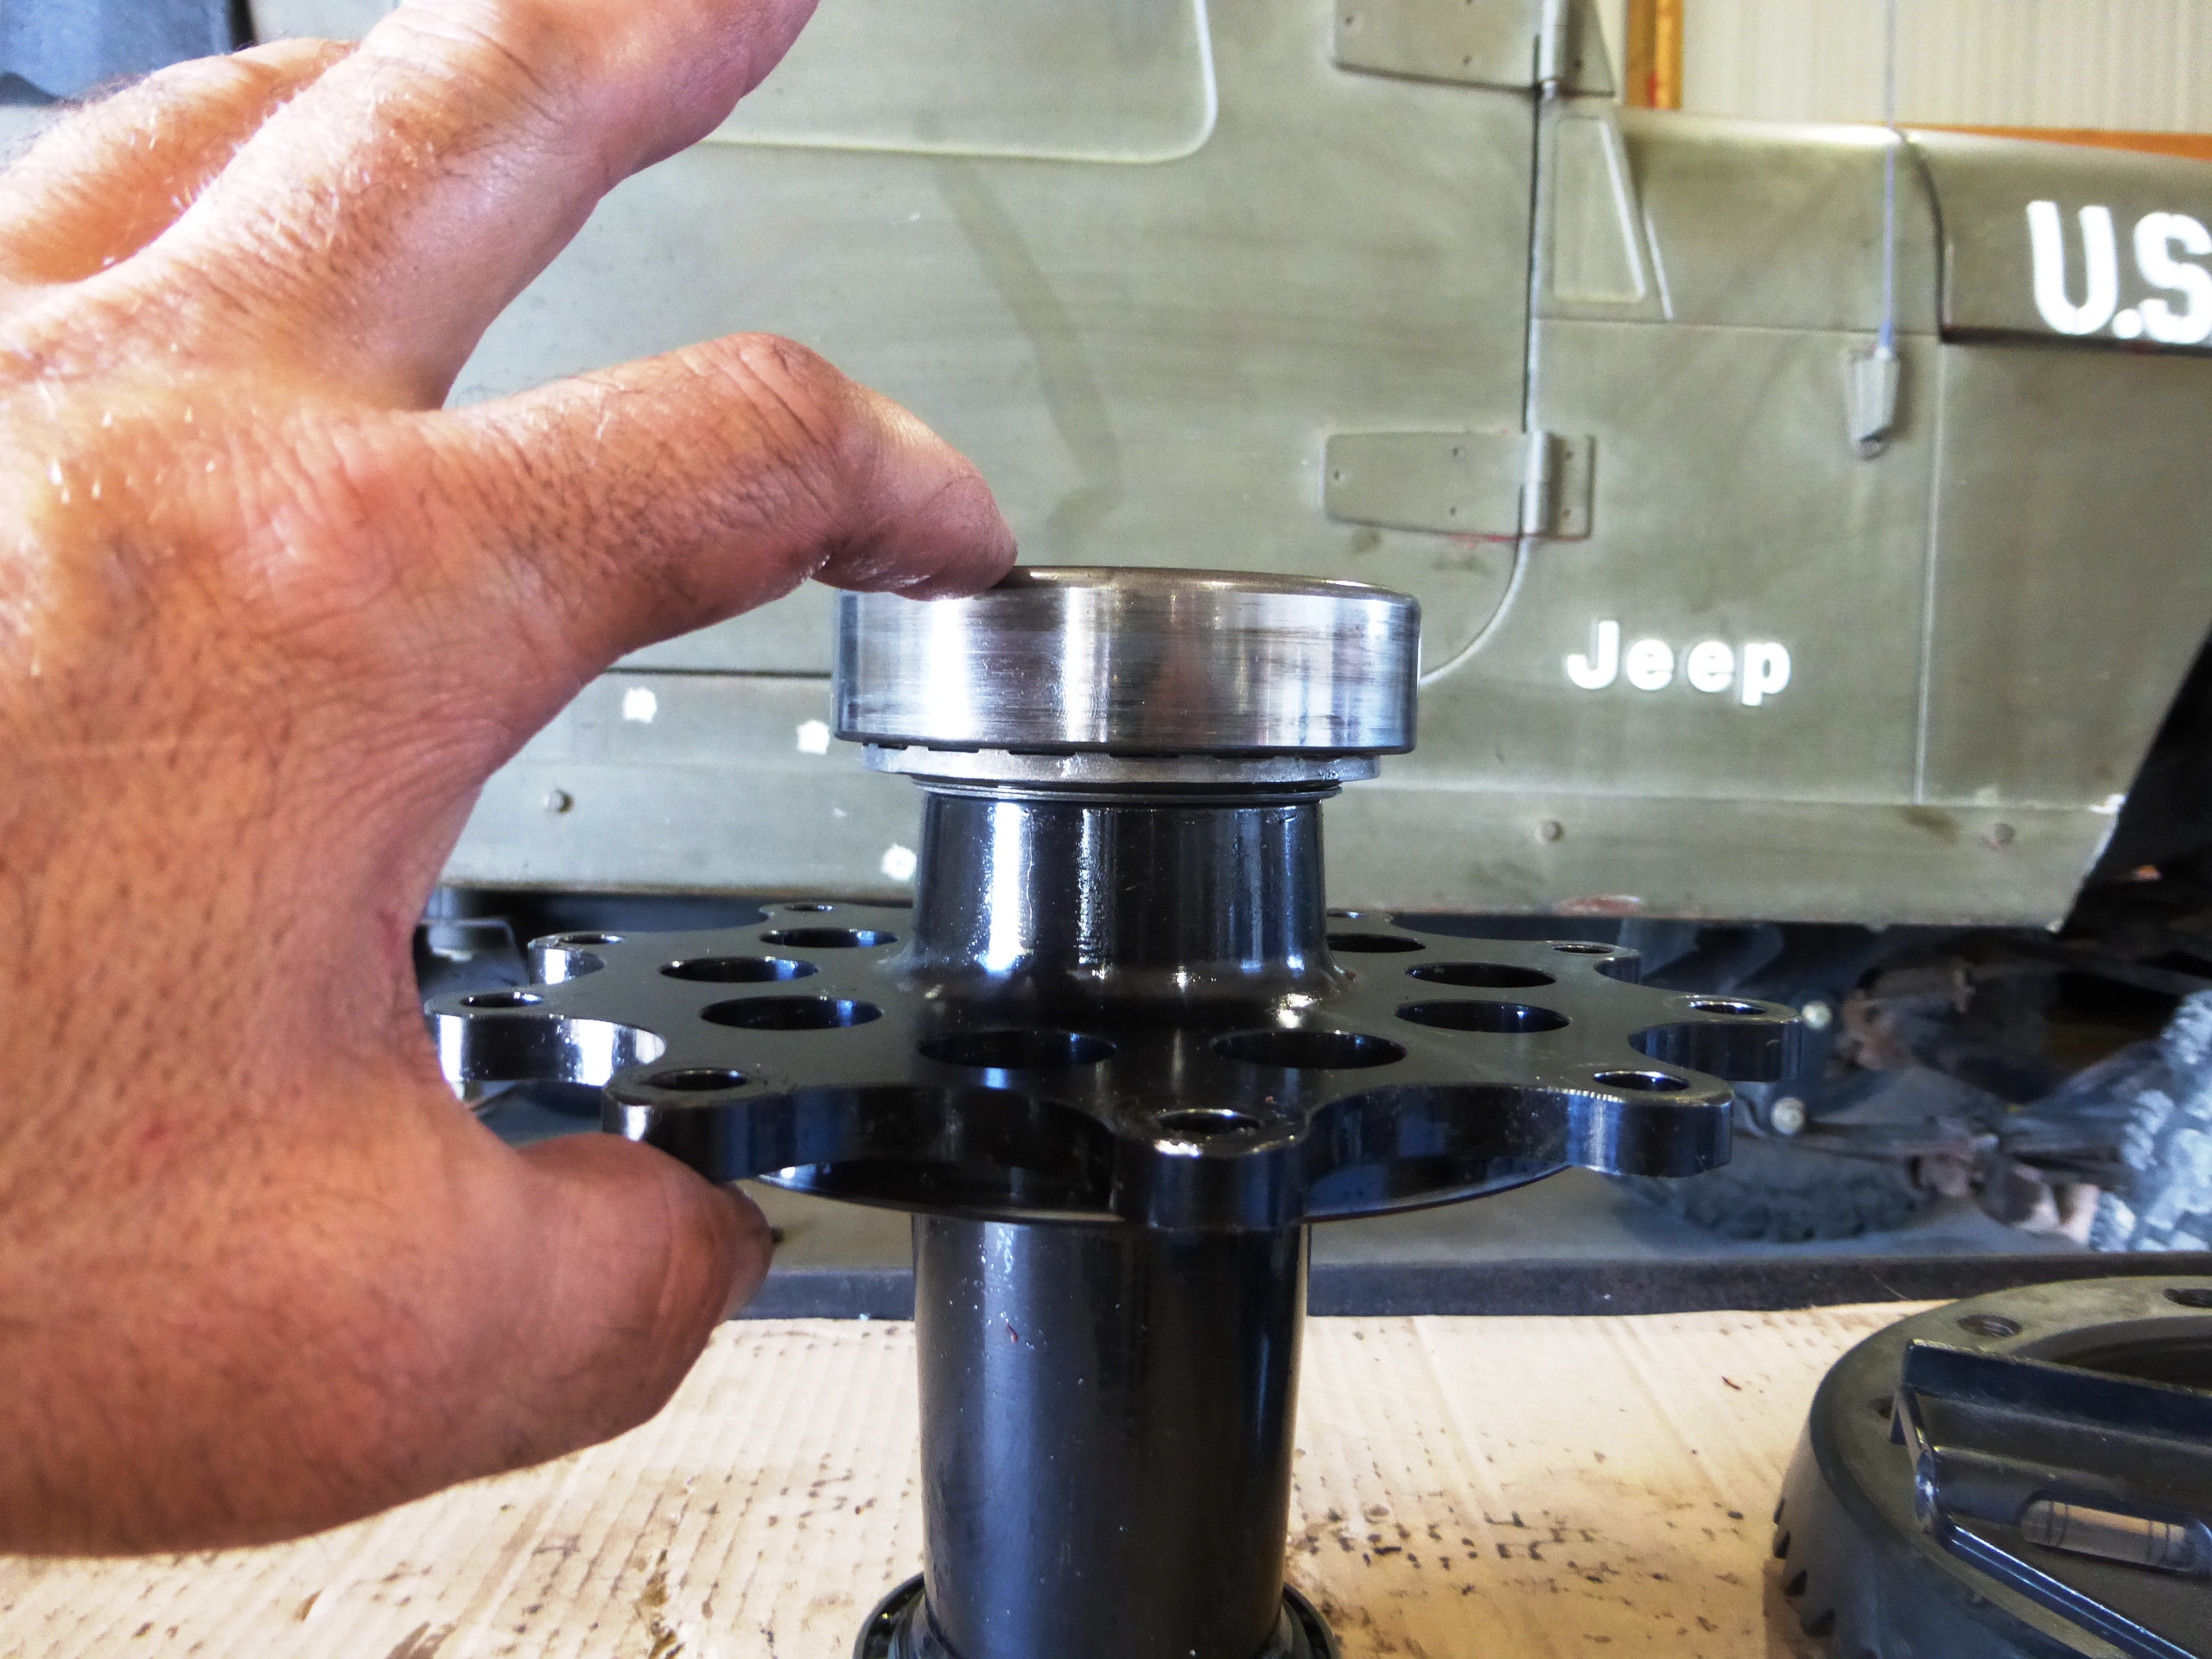
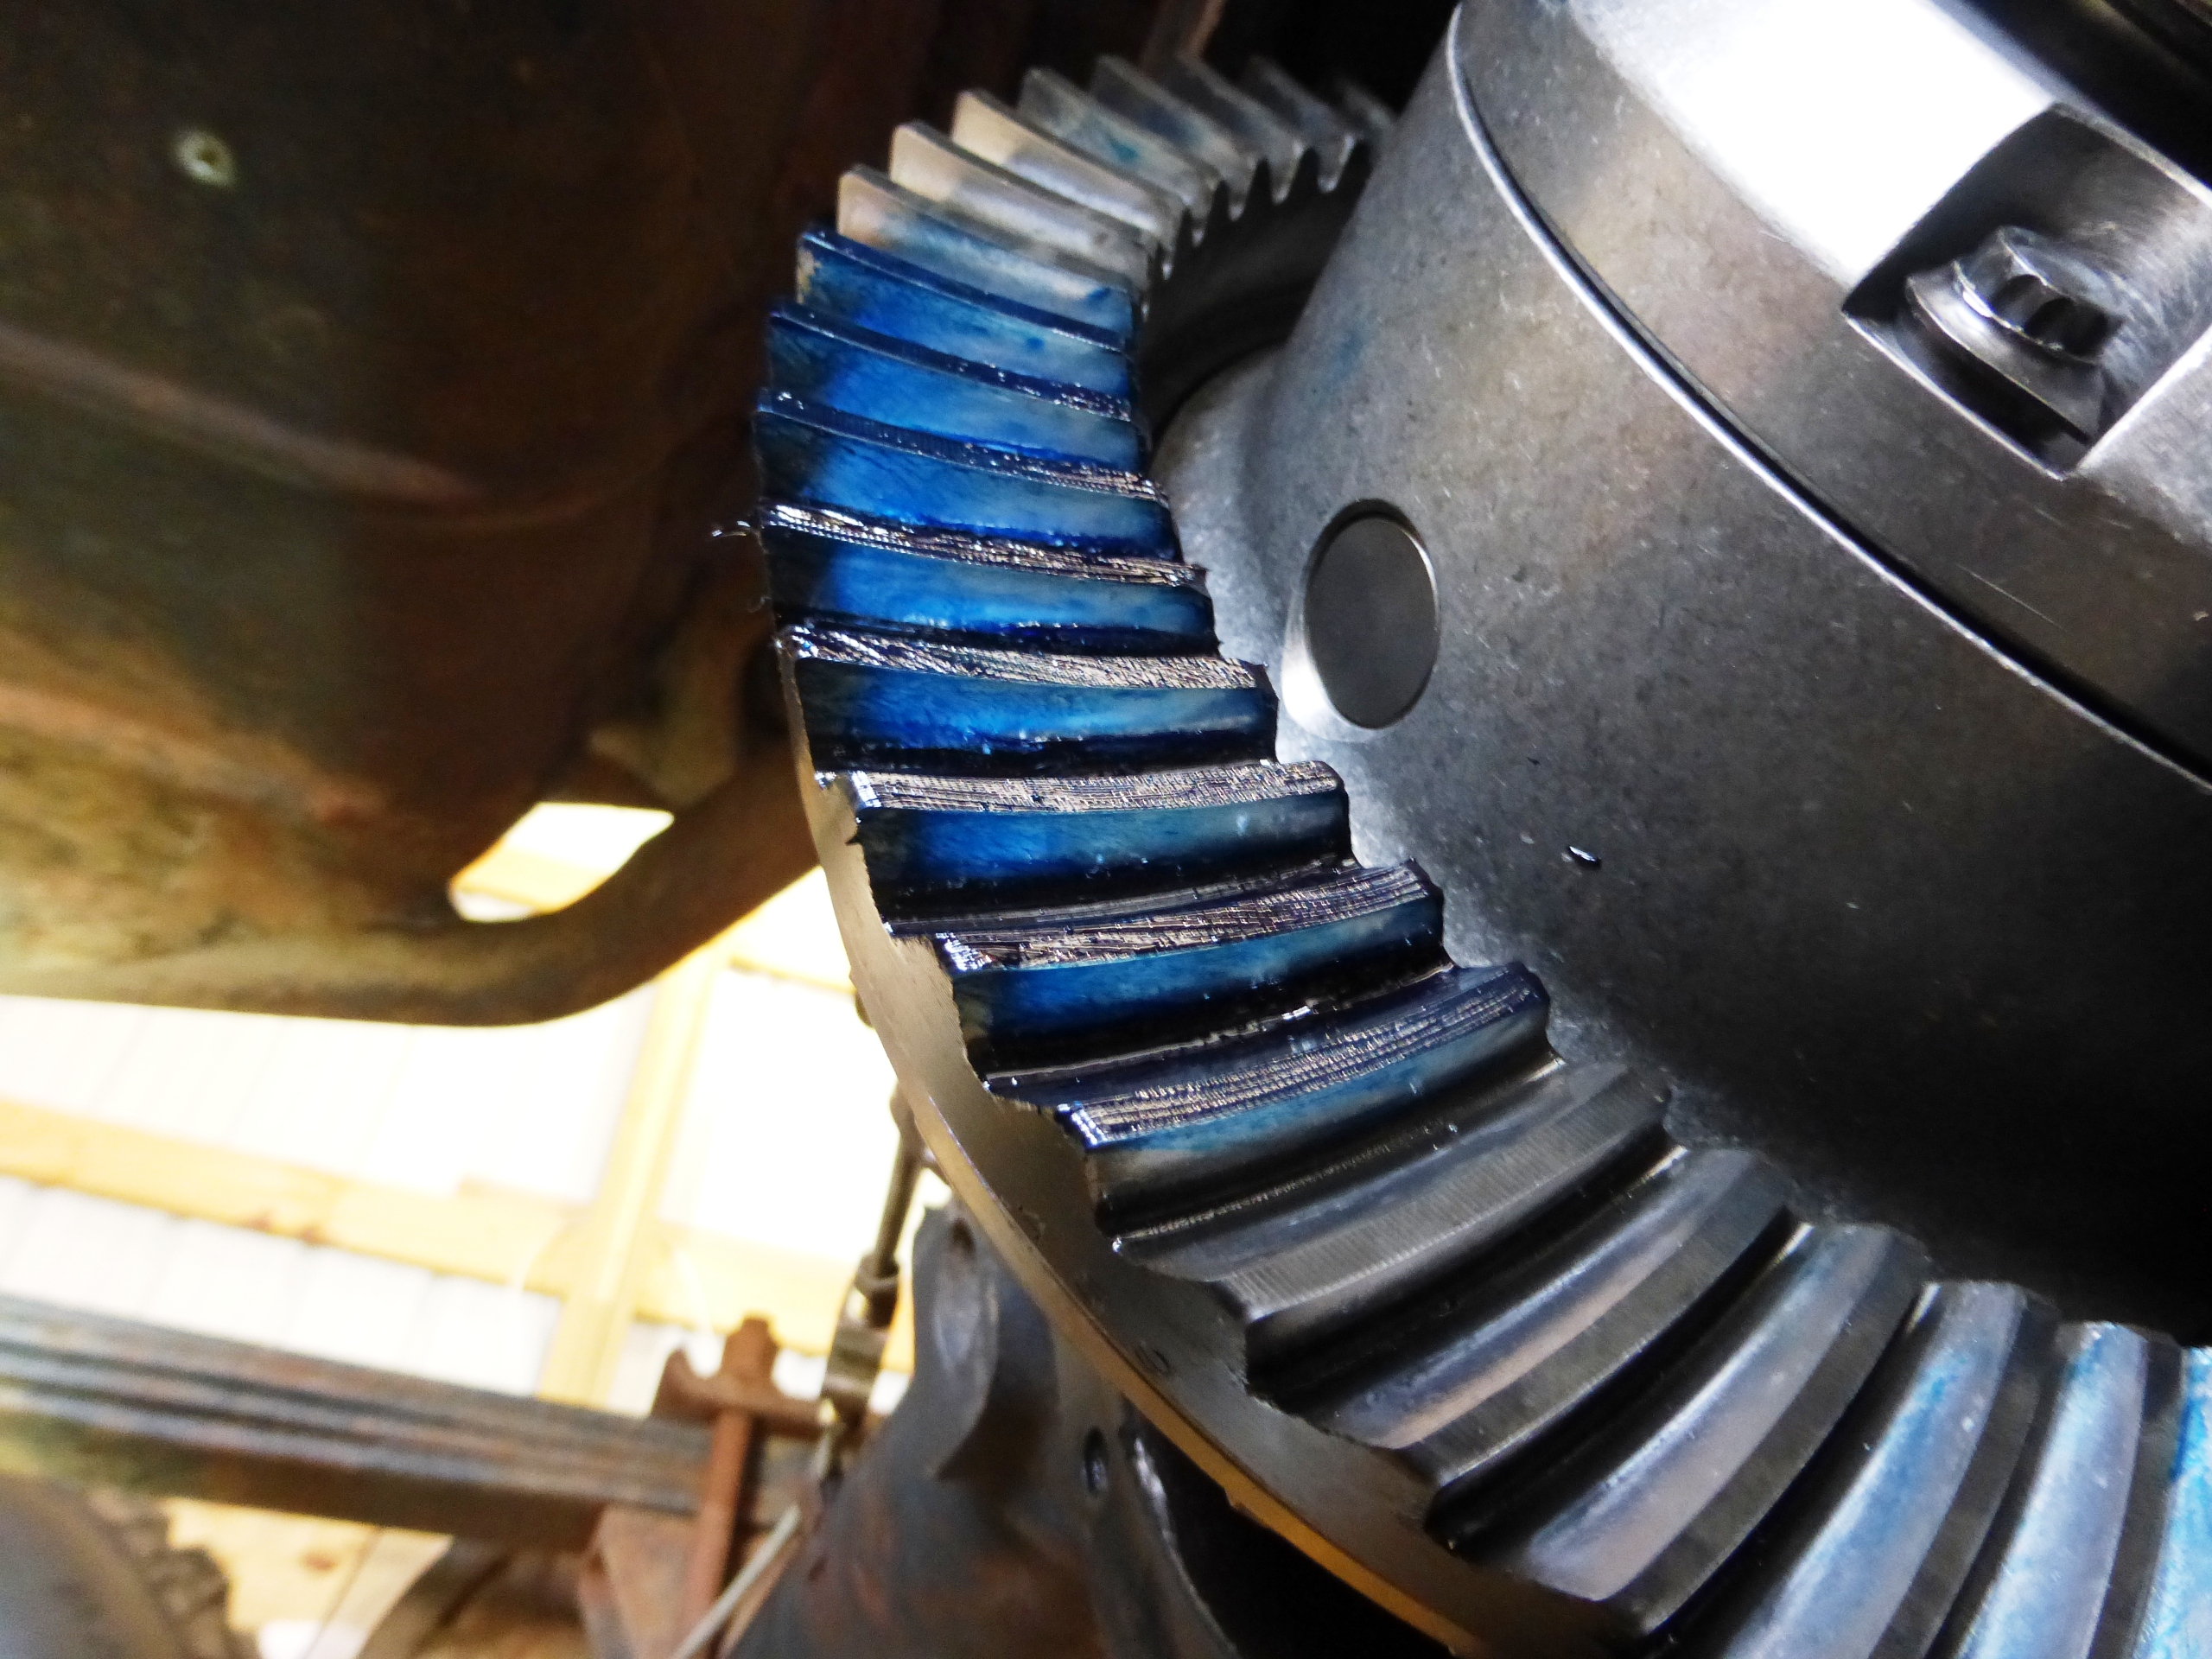
With the hole drilled and tapped, the ring gear set on the new locker and the shims ready to go, we set the locker in place so we could check and adjust our carrier bearing preload. We made sure to be gentle while setting the locker in place and pulling it back out as we set the backlash in order to get the correct pattern and tolerance, which we checked and confirmed with our dial indicator and gear paint.

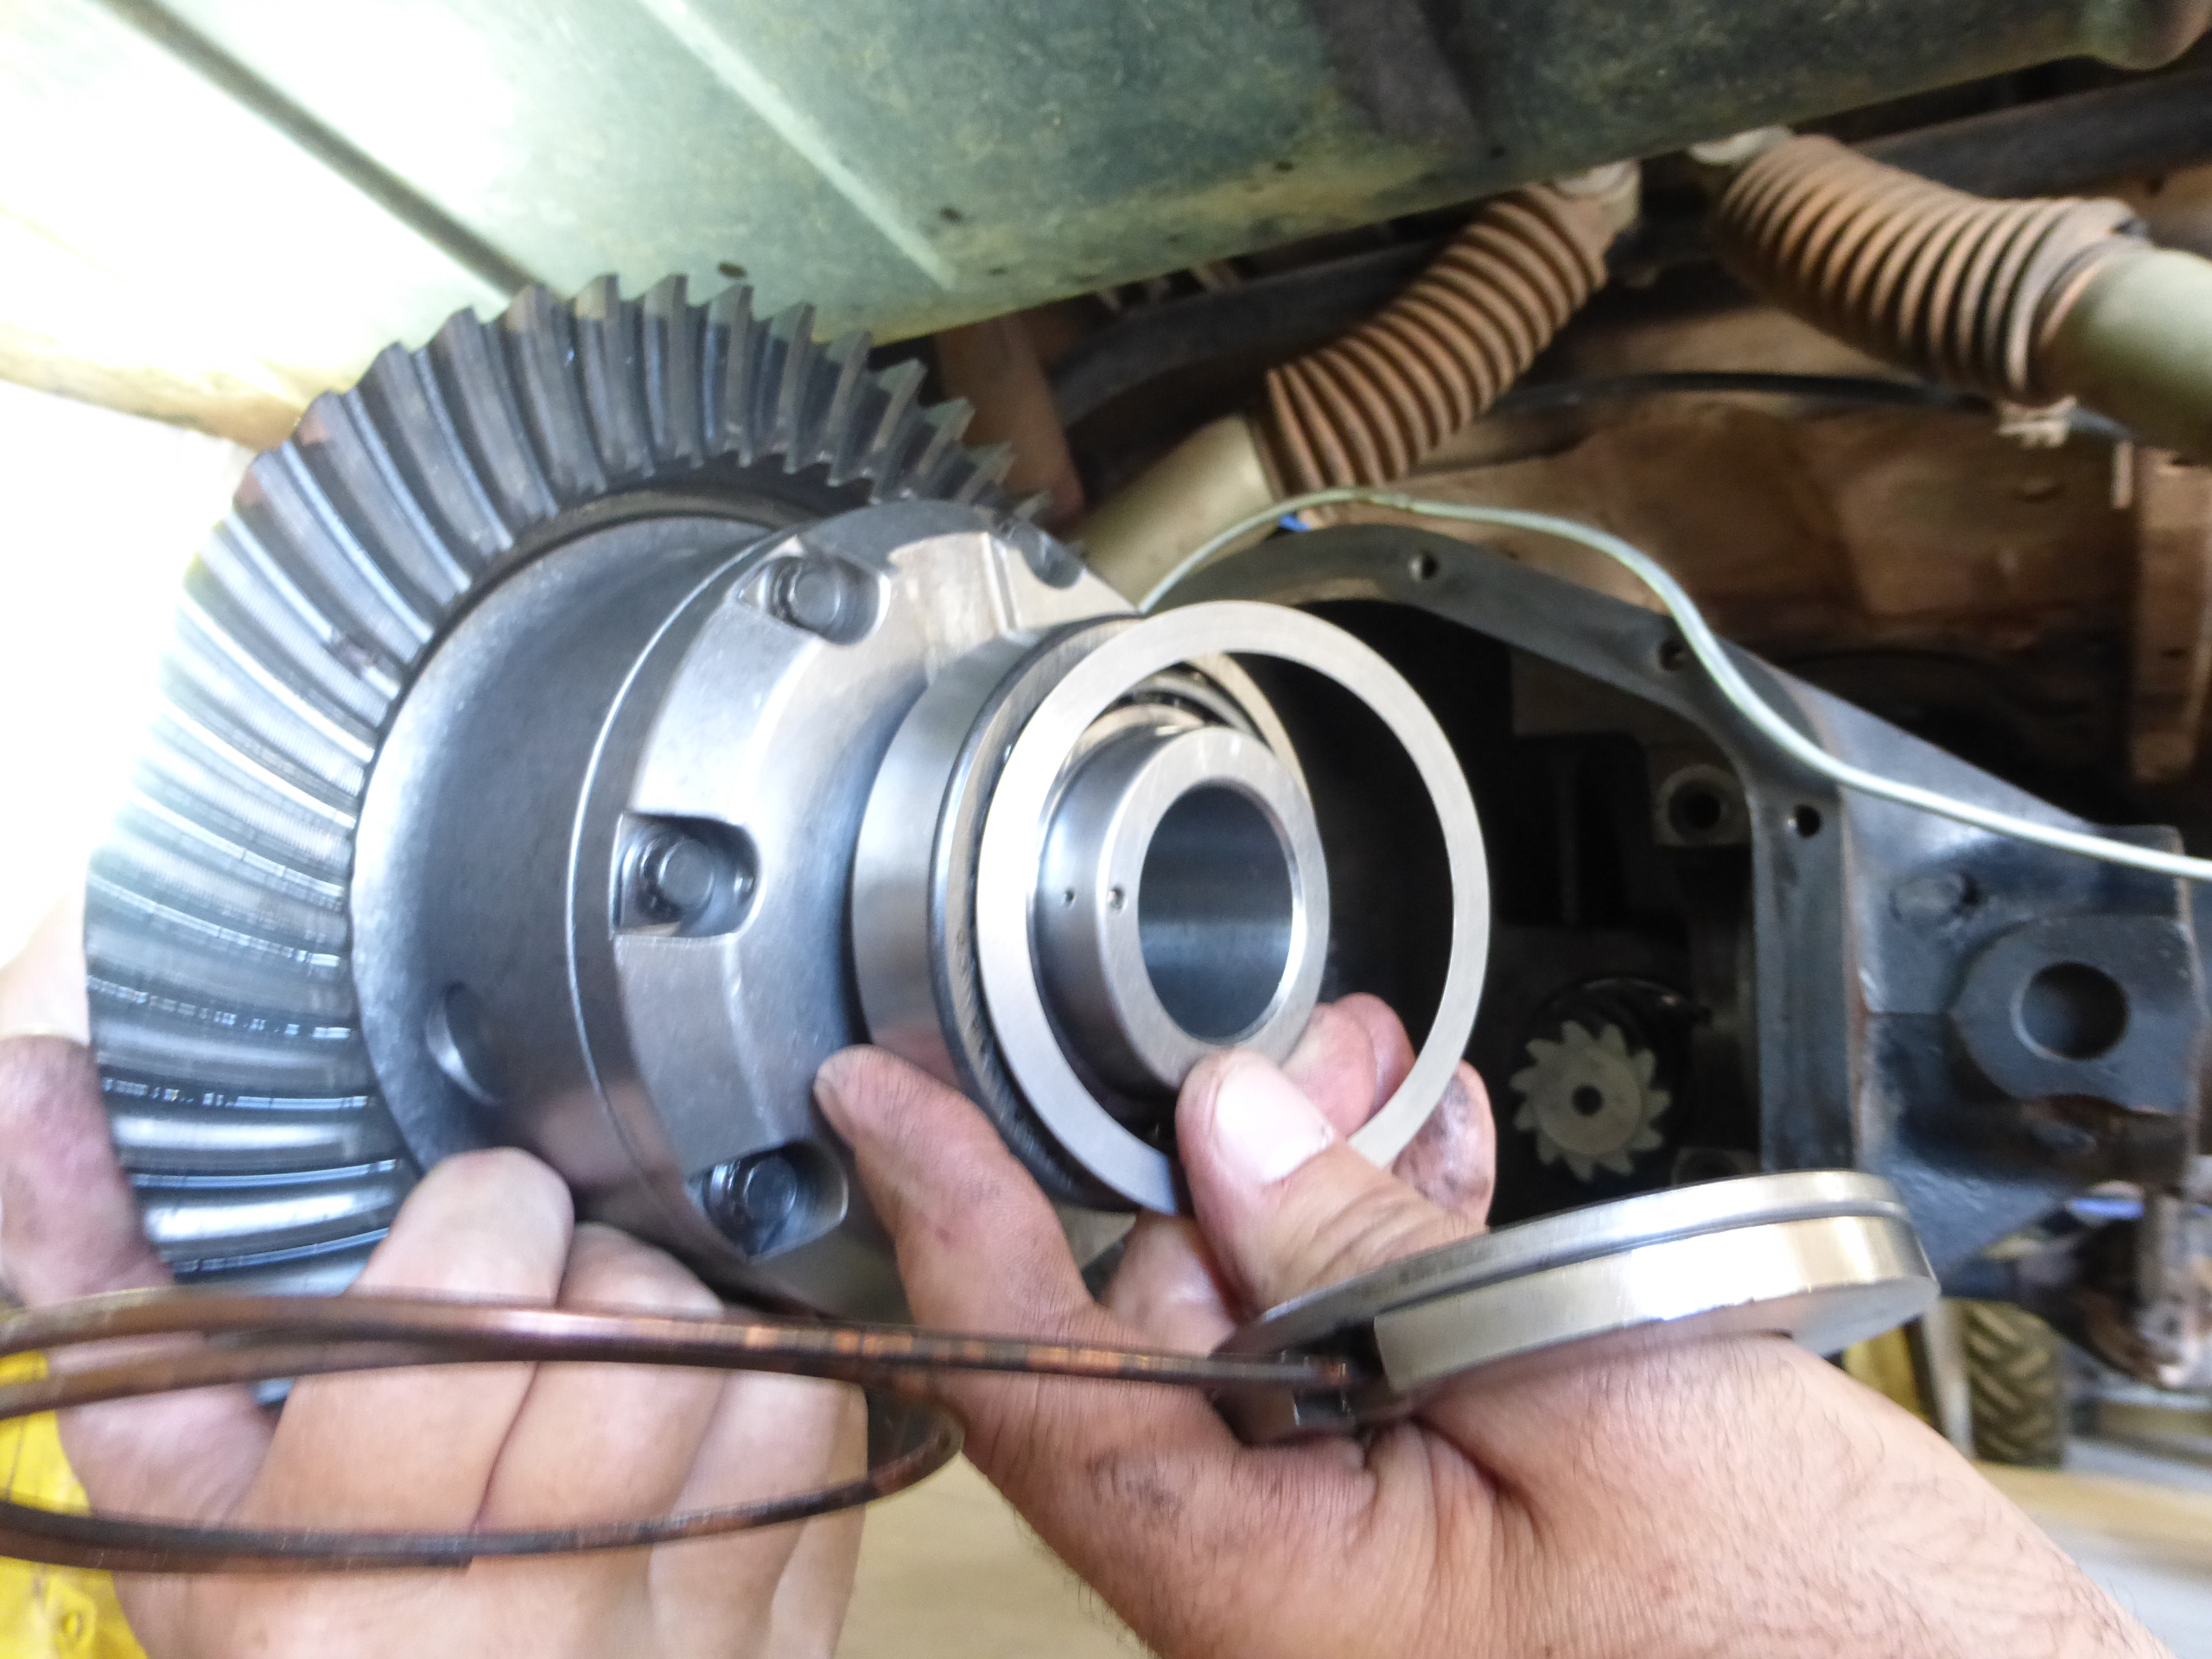
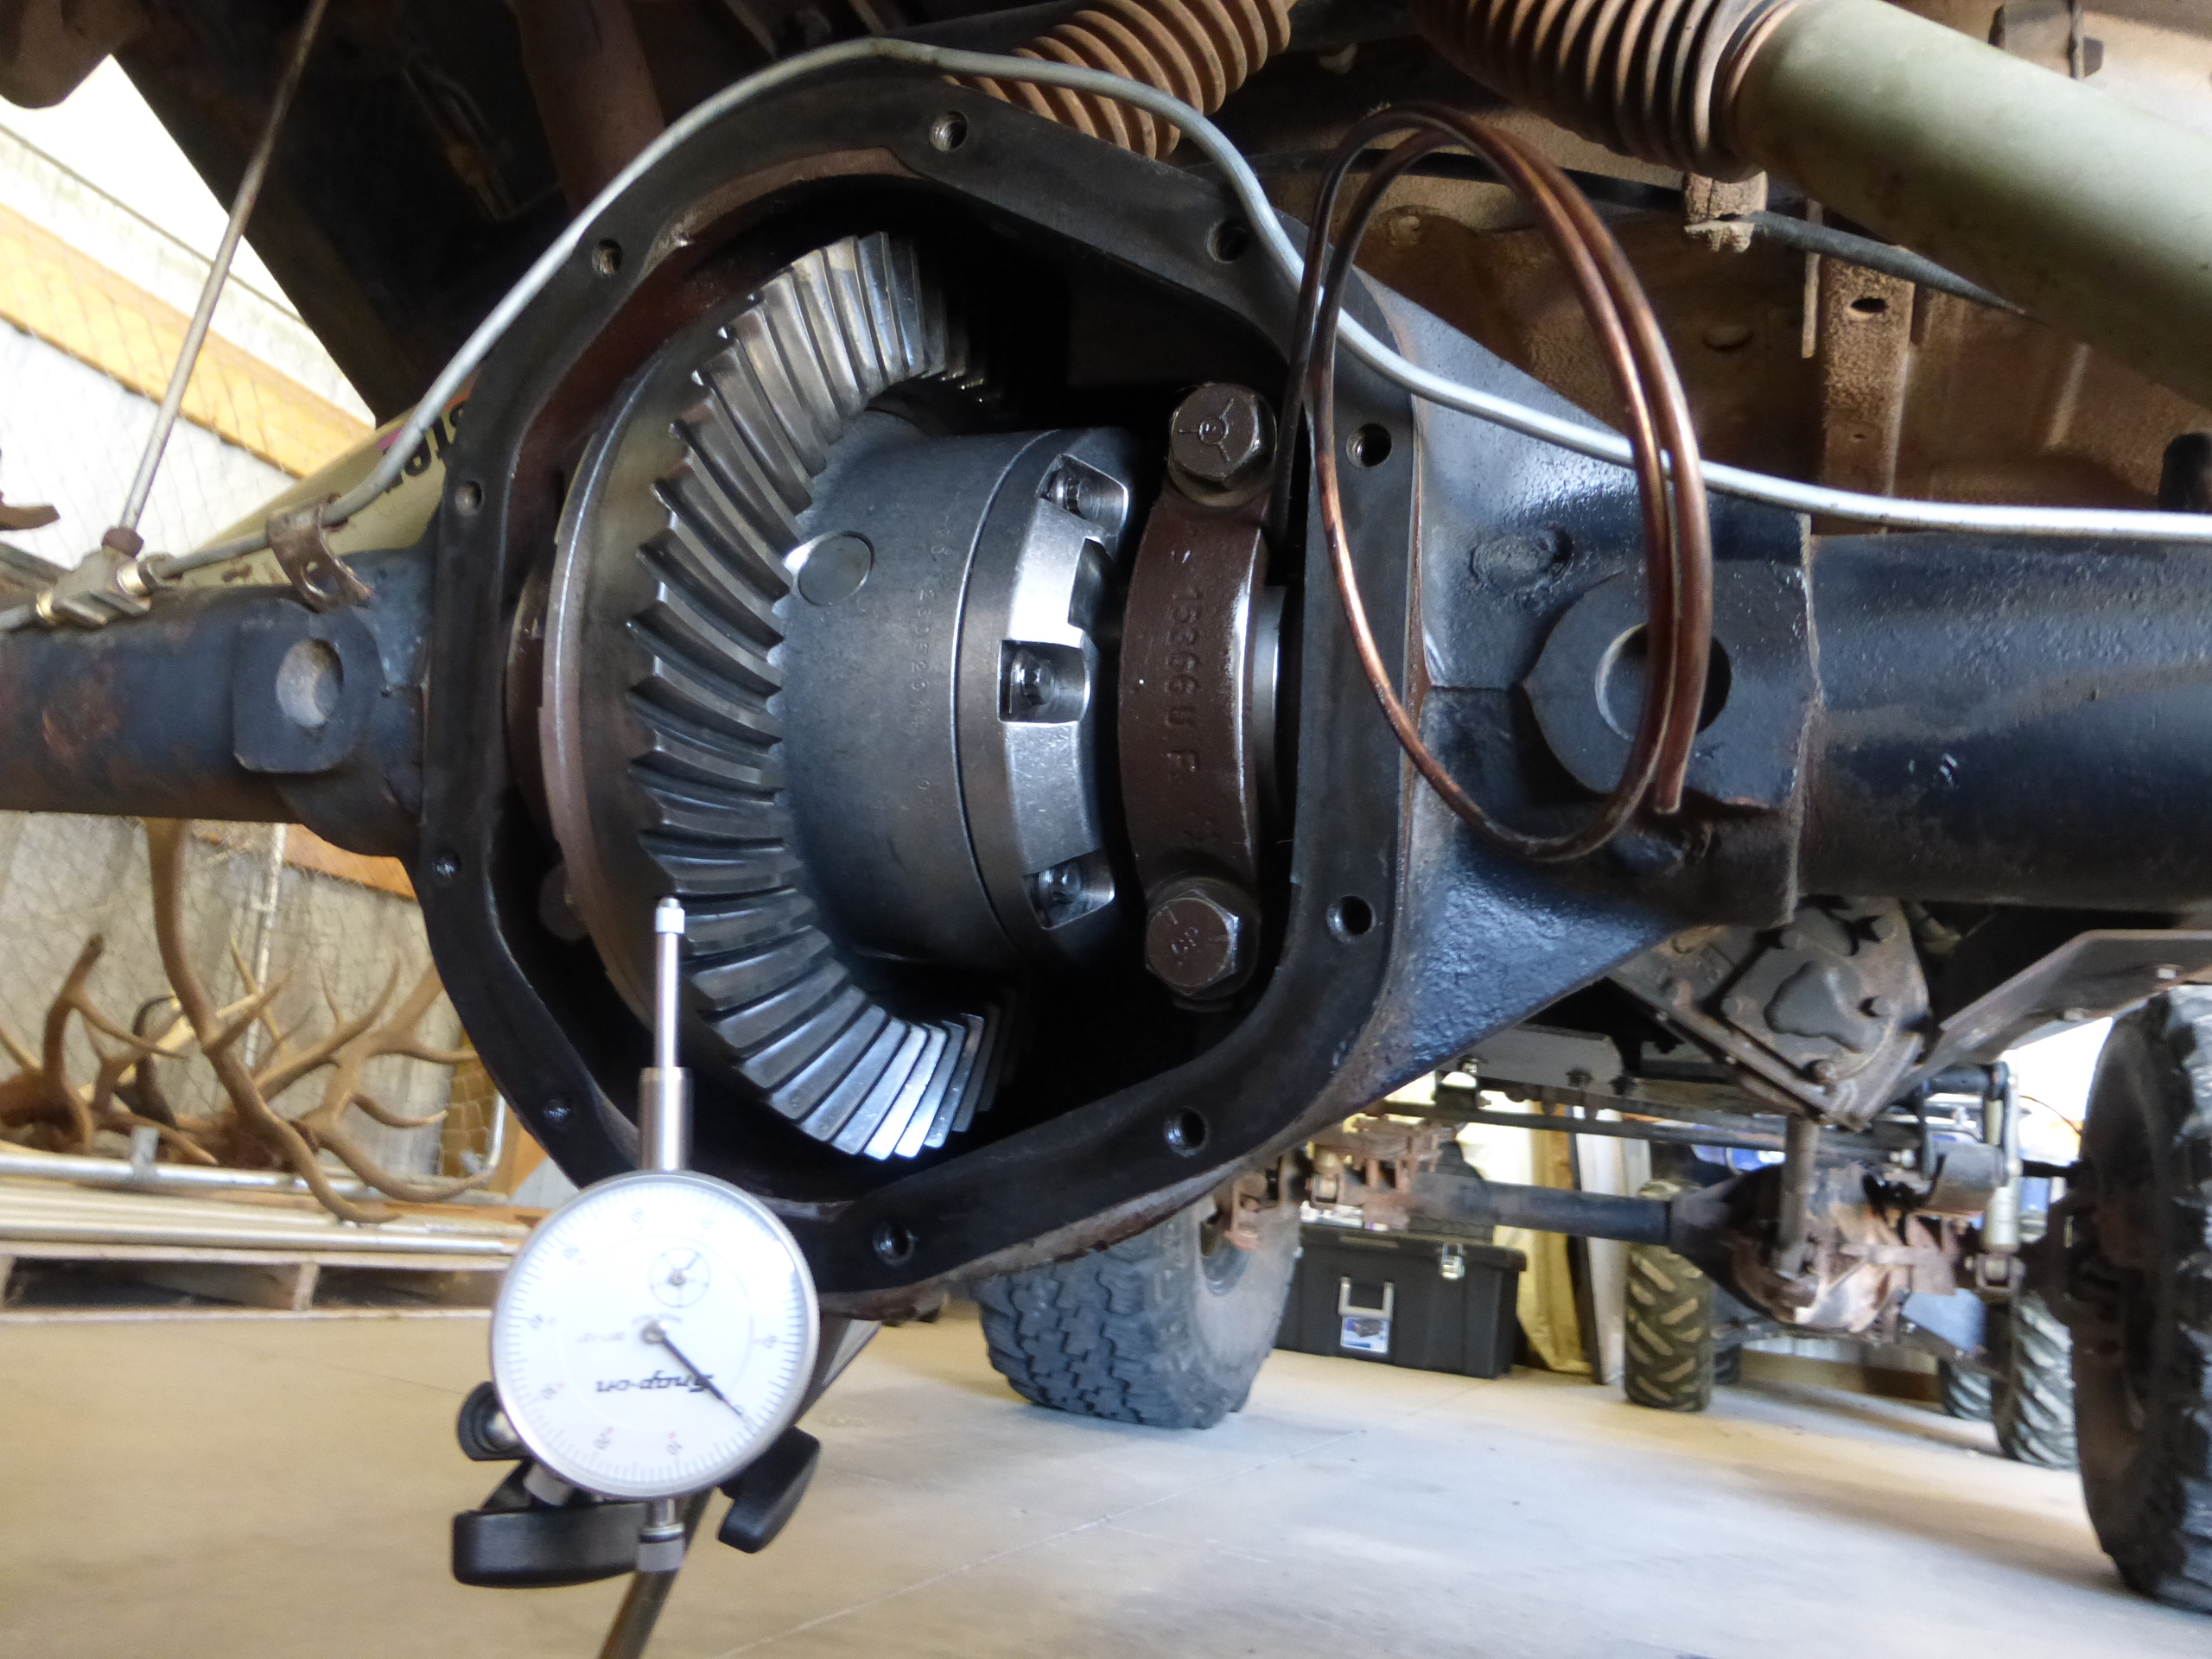
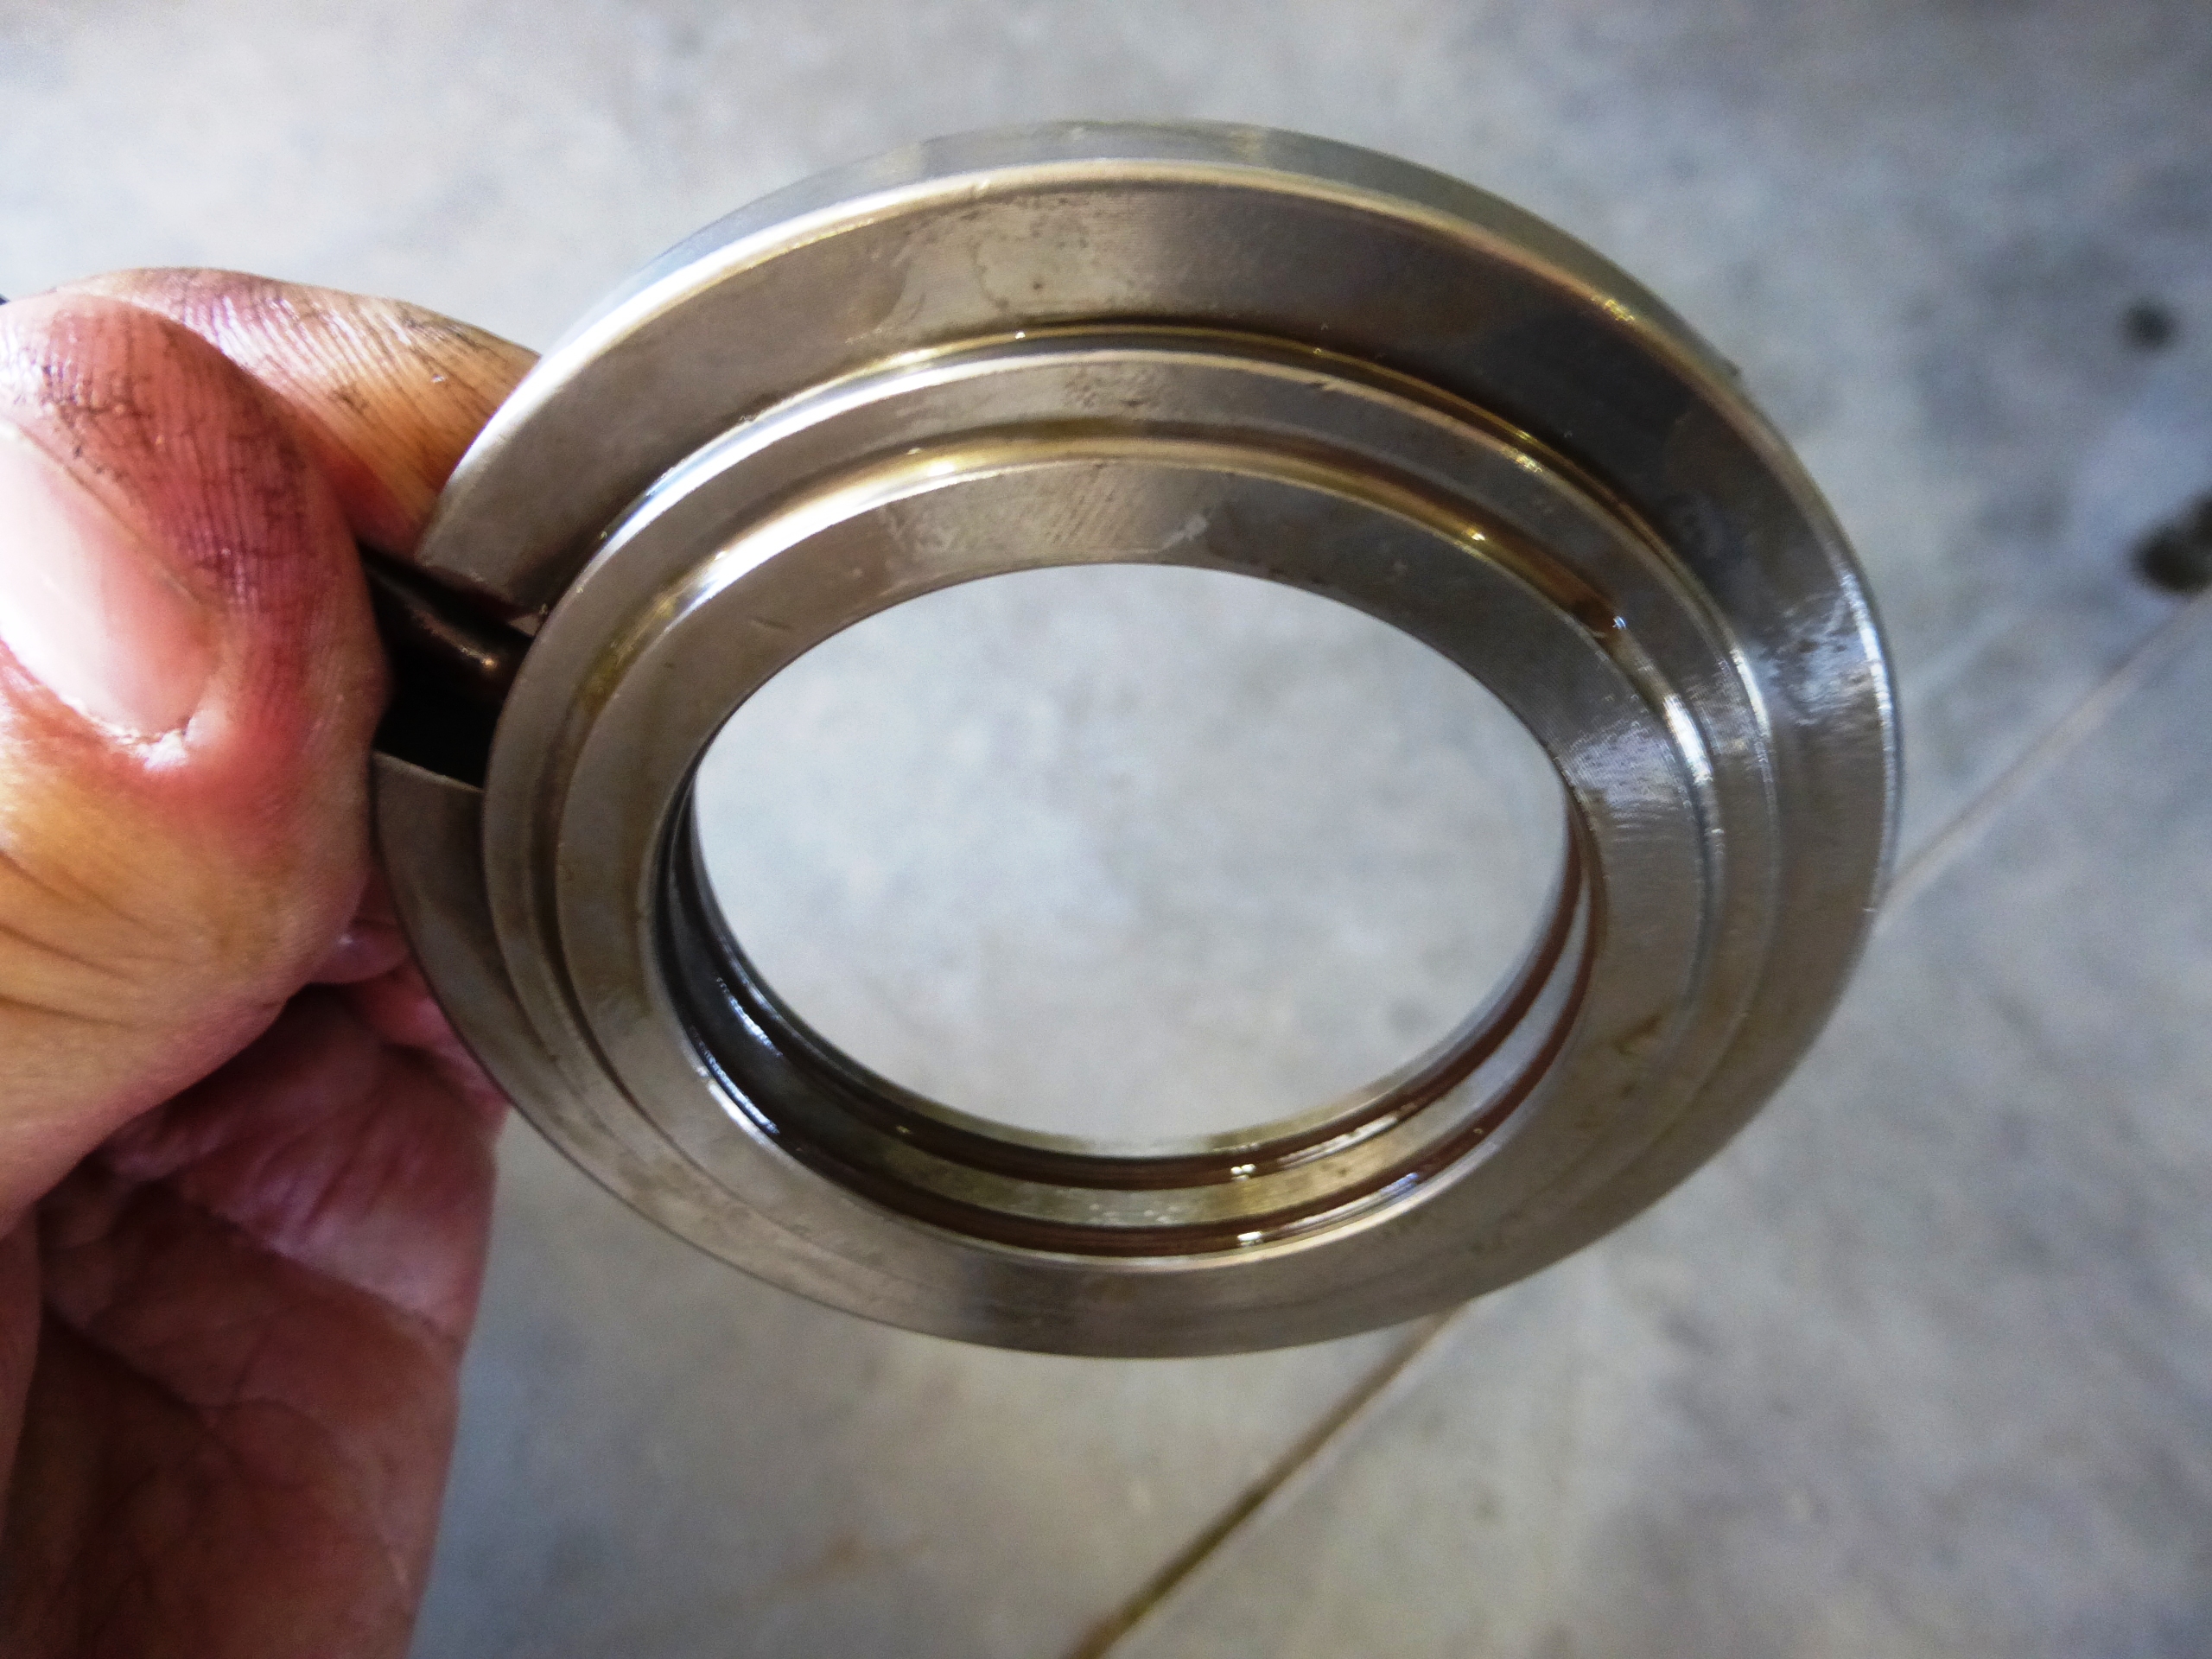
There are two o-rings in a collar that need to be well lubricated before being installed on the locker, be sure to cover those with oil before pressing the collar onto the locker itself. Once the locker was installed, we confirmed our gear pattern to be sure that we had it centered in the gears with good coverage in the drive, as well as coast side.
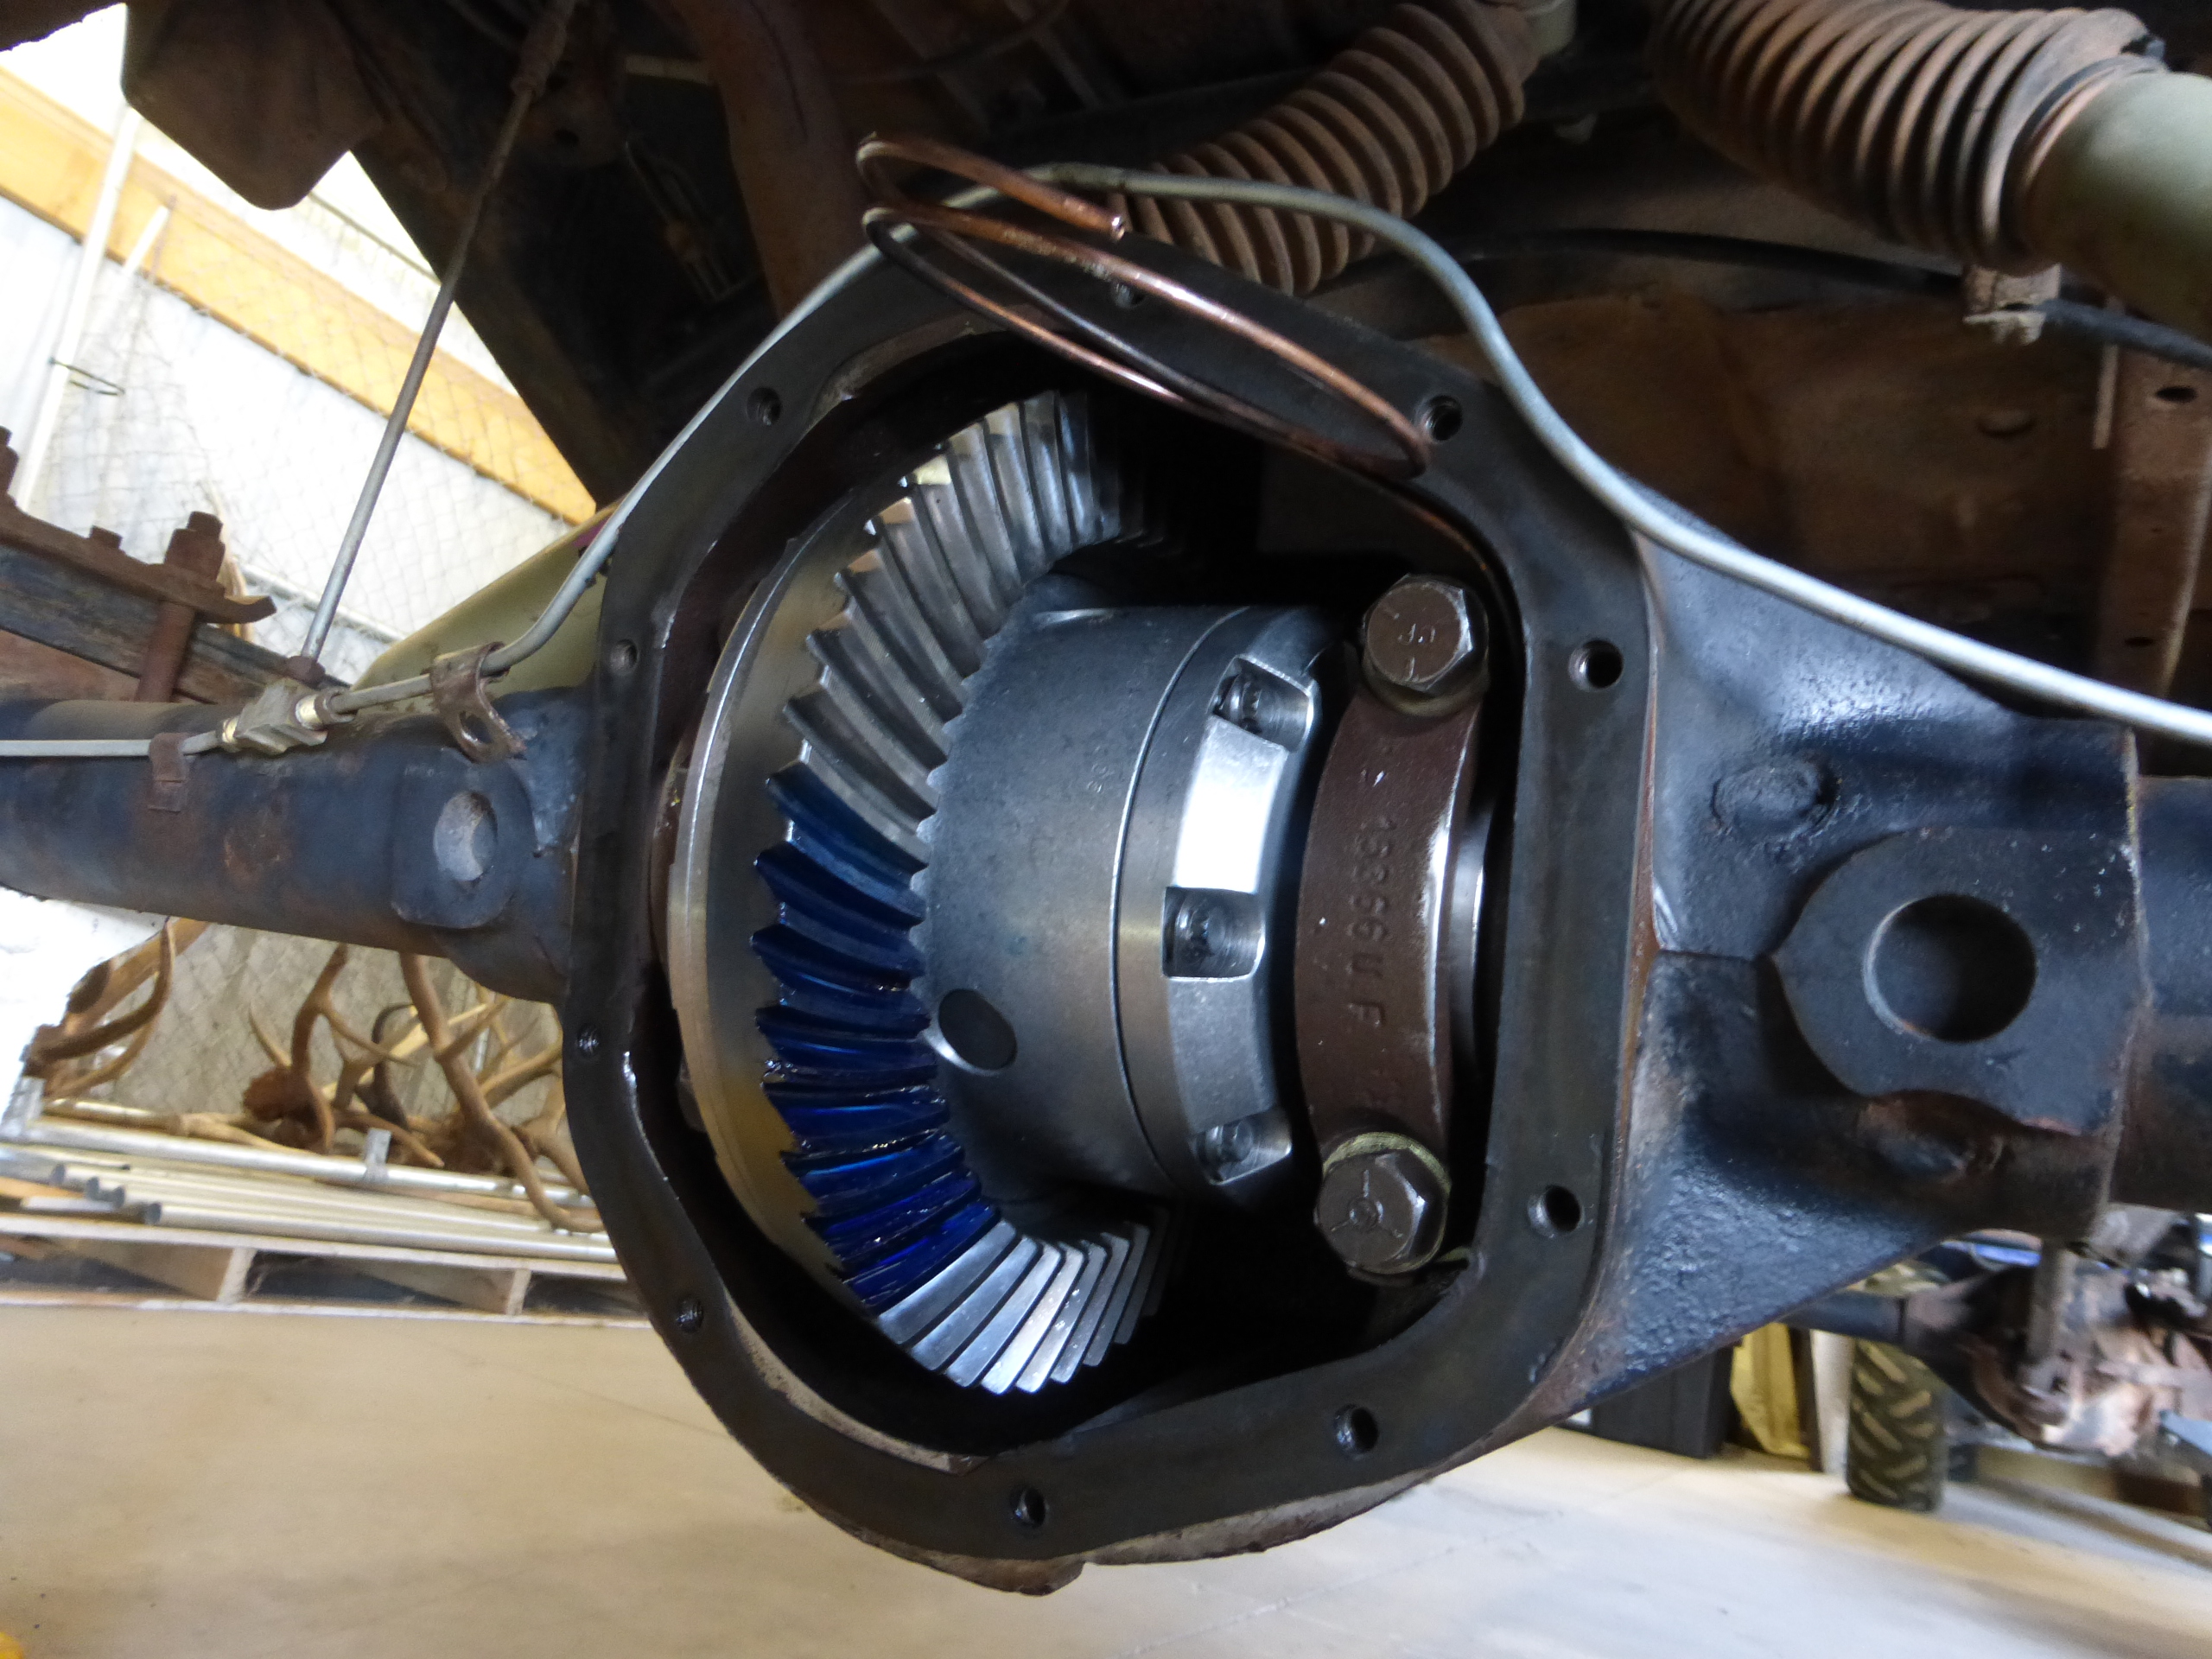
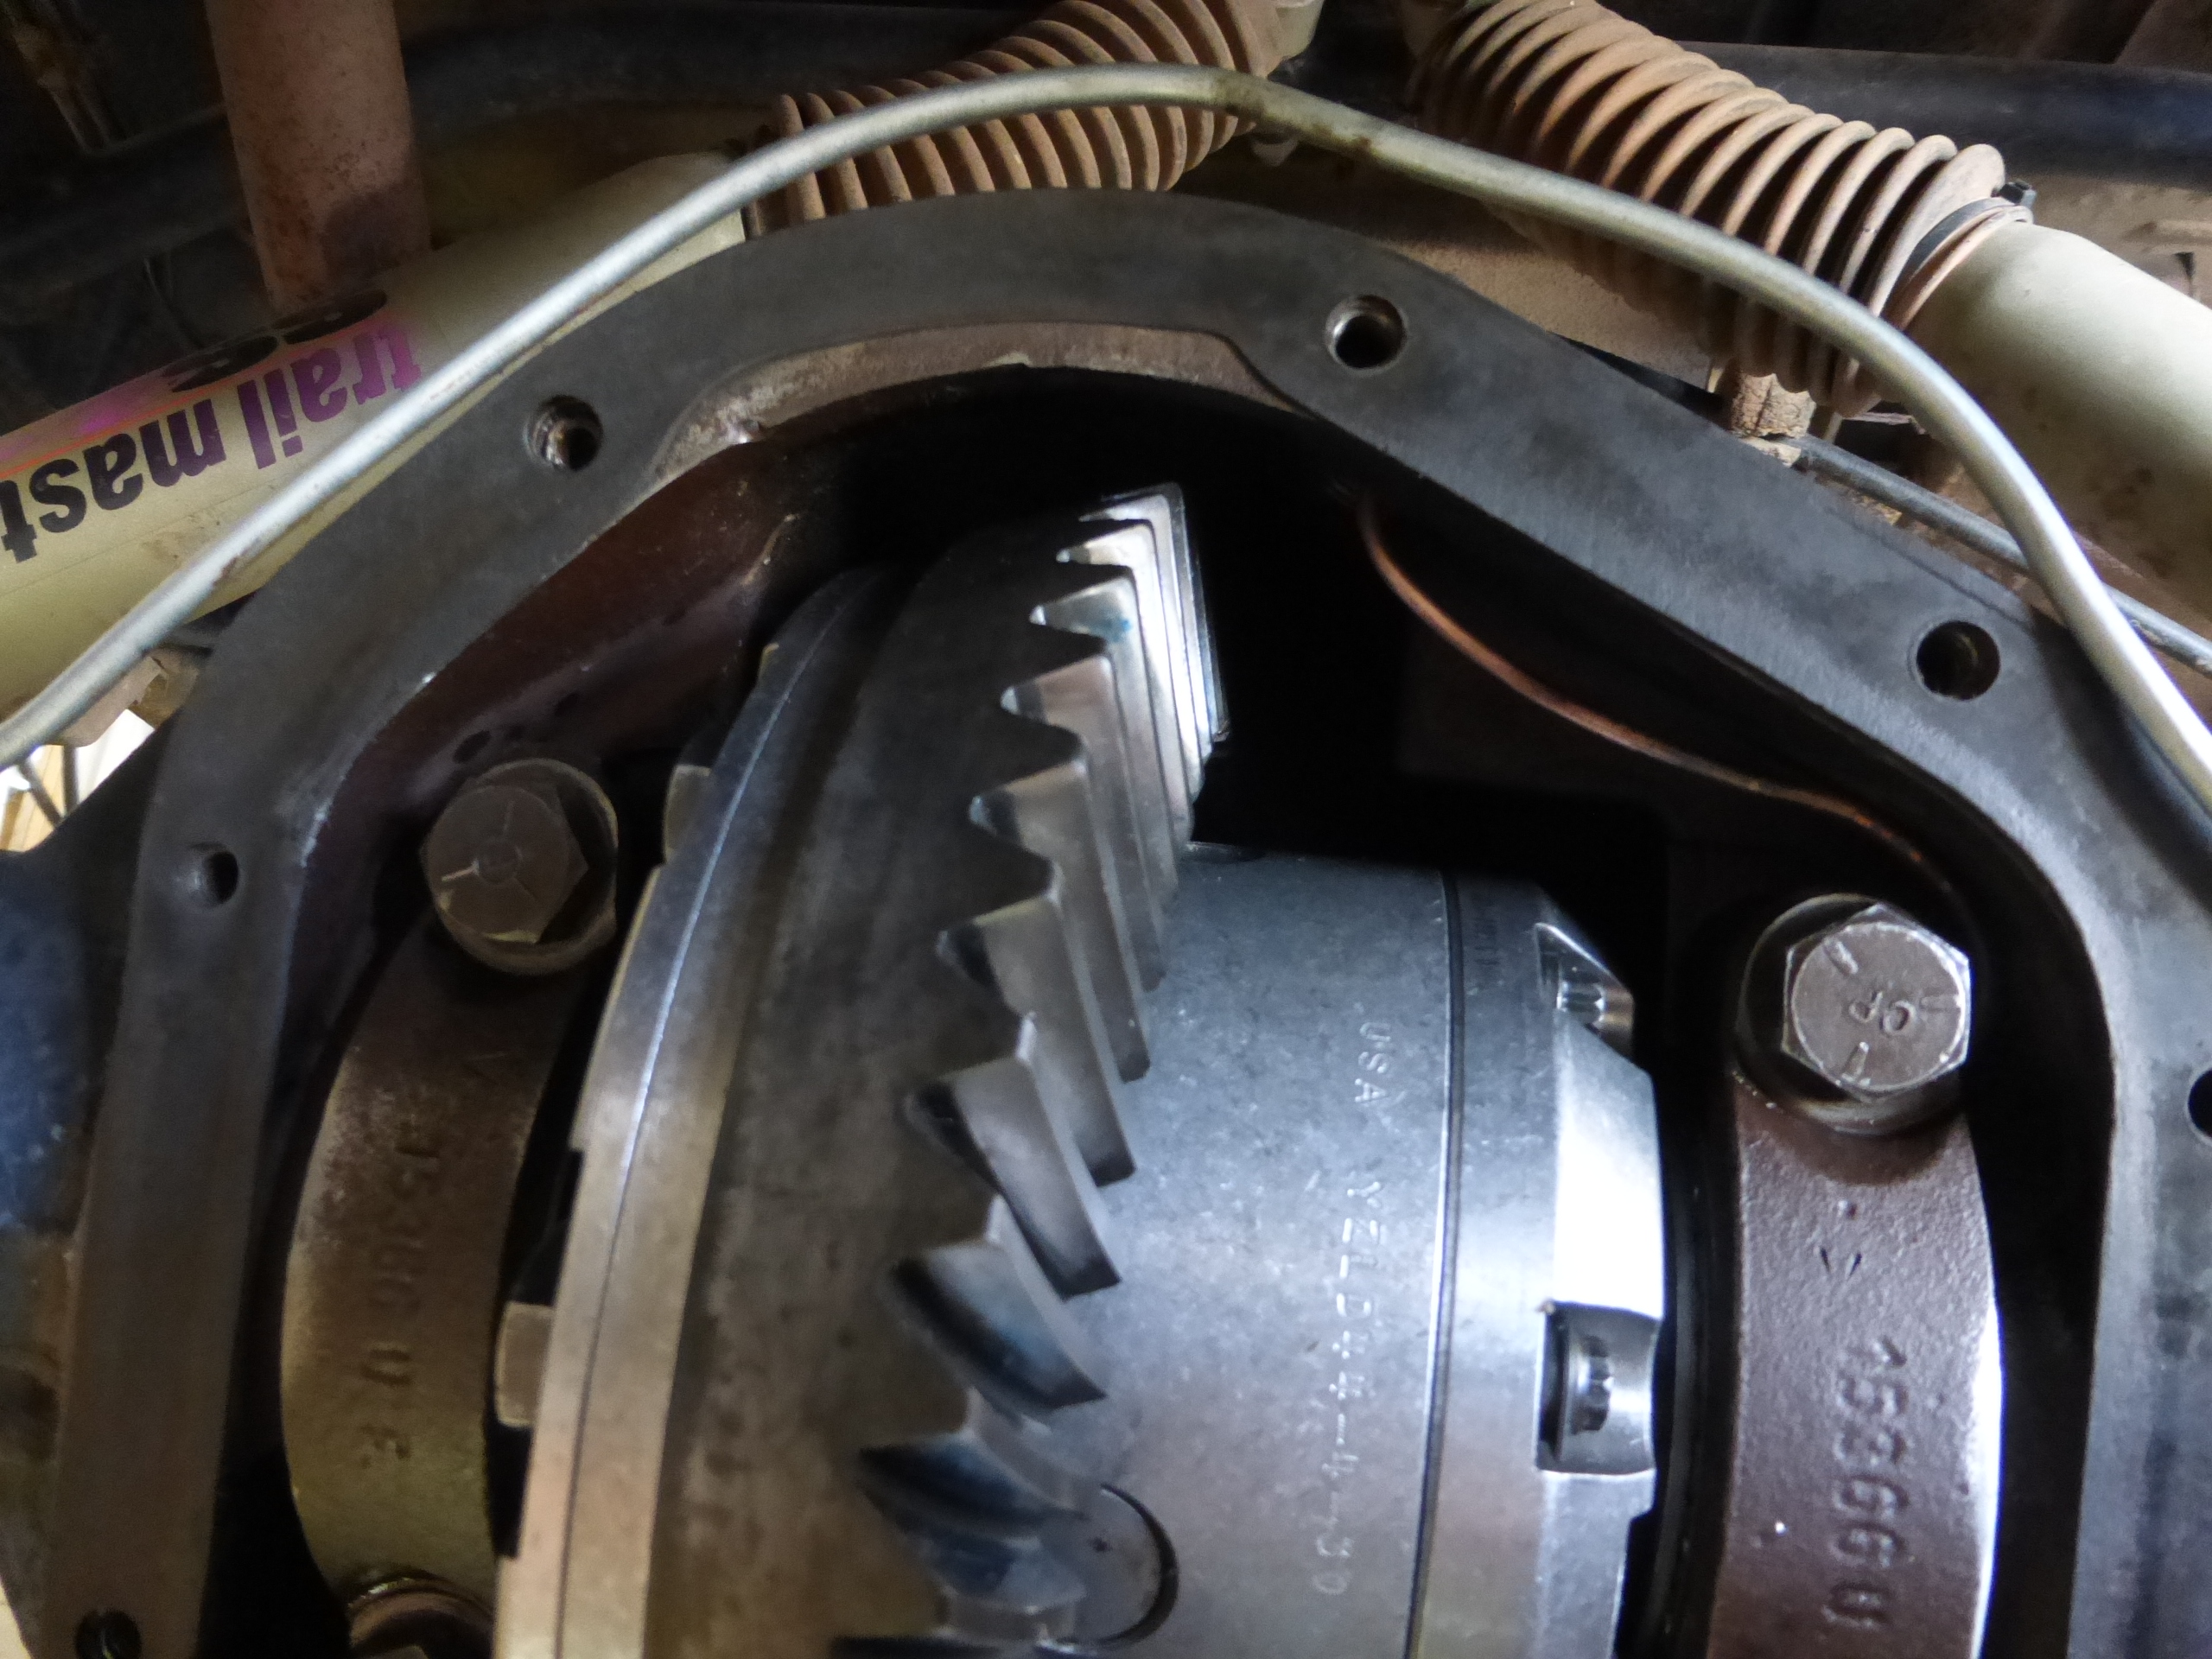
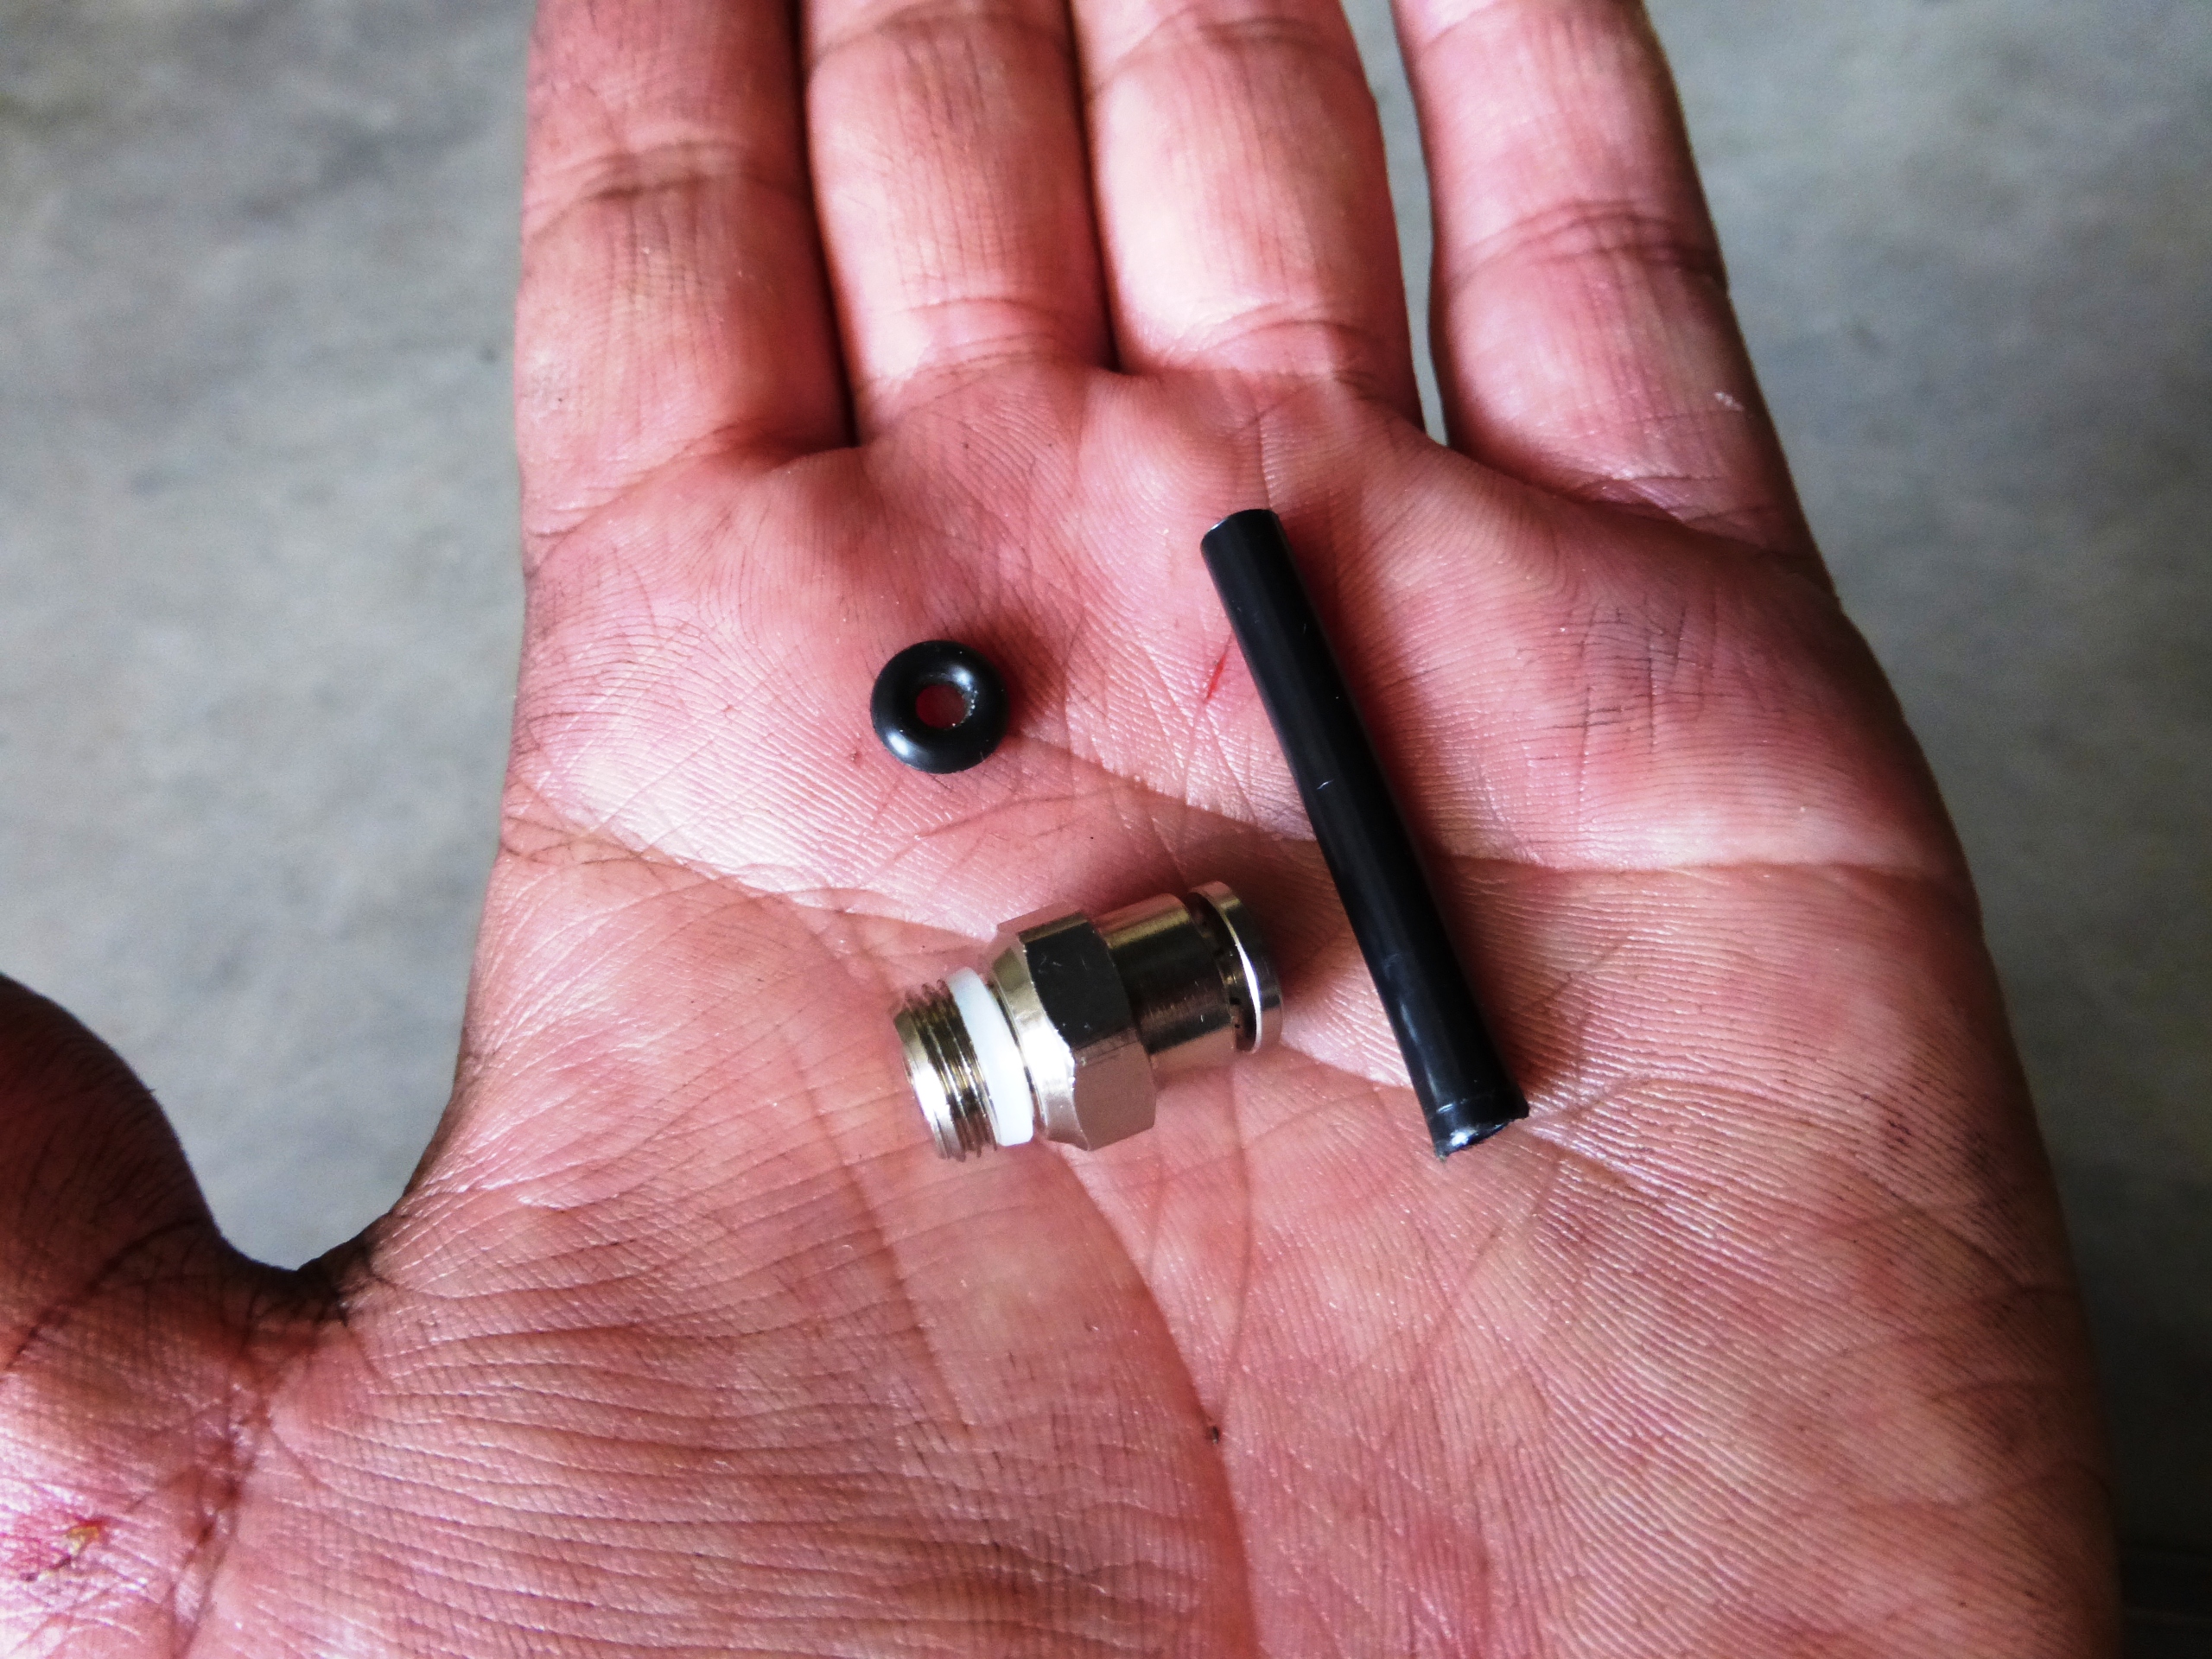
Once the gears were set where we wanted them, it was simply a matter of routing the copper air line within the differential housing and up to the hole we had previously drilled and tapped. We screwed one portion of the plug into the tapped hole and followed that up with an o-ring and a second fitting that holds the air line into place allowing it to operate the locker.


Next we re-installed the axle shafts, put the drum brakes back on and locked everything down so we could get the tires on and try the new locker out. In a matter of minutes we were able to test the locker for the first time, as expected; it operated with the flick of a switch. No more barking tires, people staring at us in parking lots wondering what one earth was wrong with our Jeep and even better yet, we are as ready for the trails as we are for the streets!

A very special thanks goes out to Yukon Gear & Axle for their involvement with this locker swap! For a visual on how this process and project all came together check out the video below.