A Safe For Your Jeep
Jeep Wranglers can be some of the most vulnerable vehicles on the road when it comes to security. How many Jeep Wranglers out there have either soft tops or are regularly driven with the top off altogether? One way to keep your smaller items safe and secure while you’re away is the Console Safe from Tuffy. A few dollars spent and less than an hour invested, your Jeep can have the extra level of security it deserves.
How Much Security Is Enough?
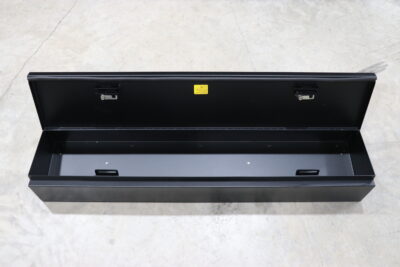
If you have ever had your vehicle broken into or anything stolen, there is no limit to how much. We recently installed and showcased the “Rear Under Seat Lockbox” also from Tuffy Security Products. No one wants to be the victim of theft so it’s best to be proactive.
Installing The Console Safe
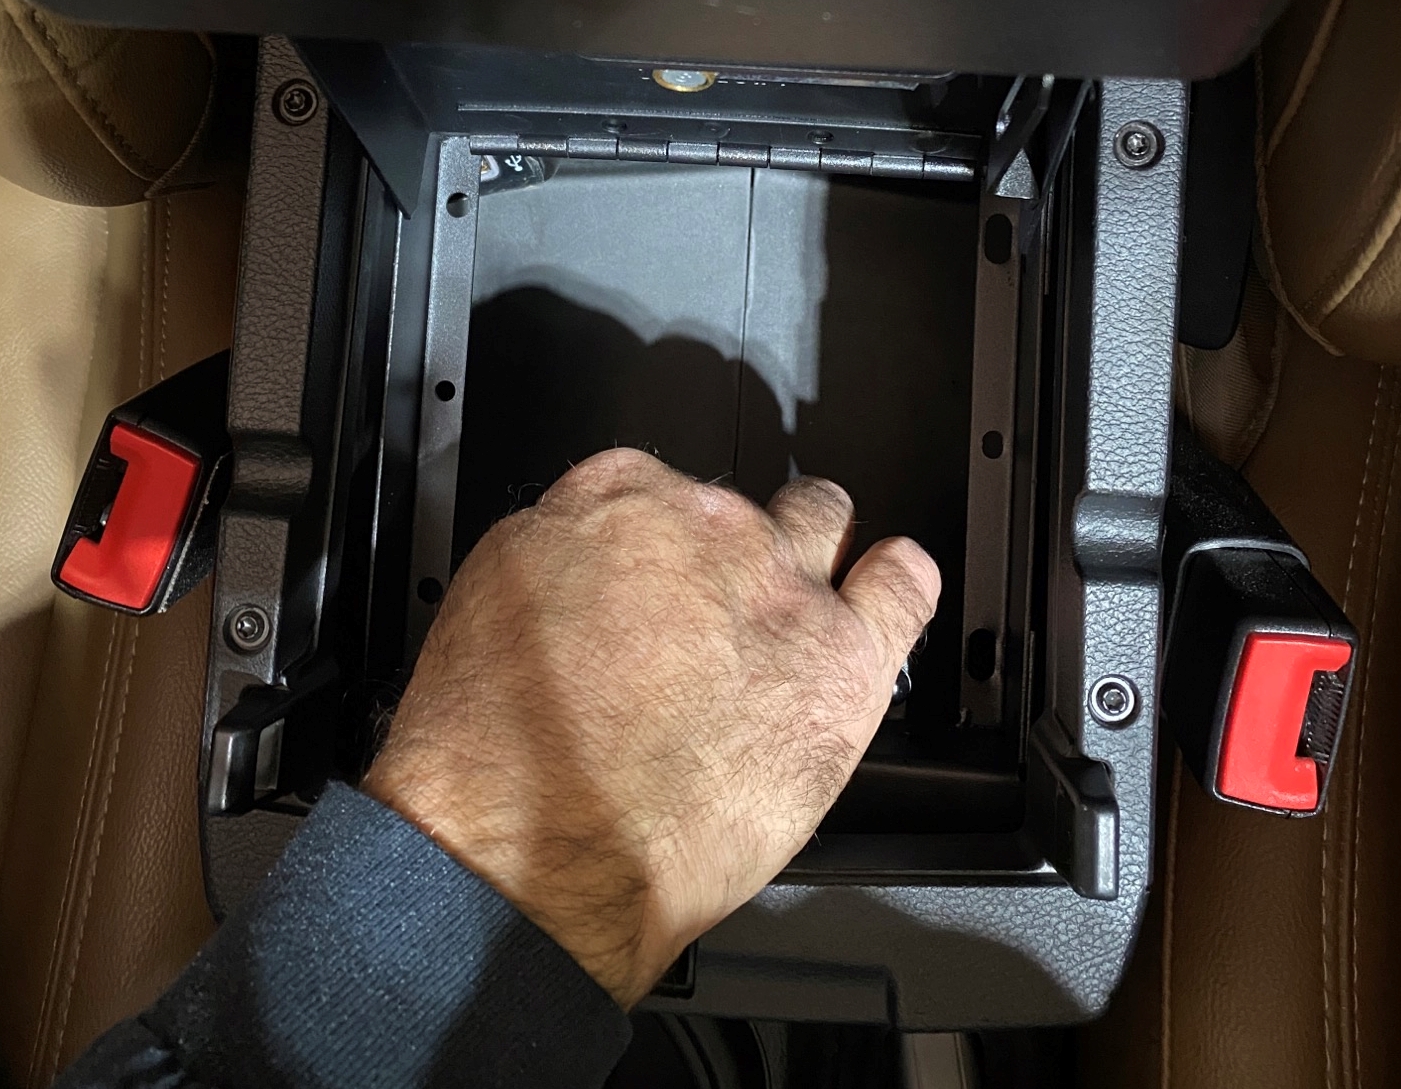
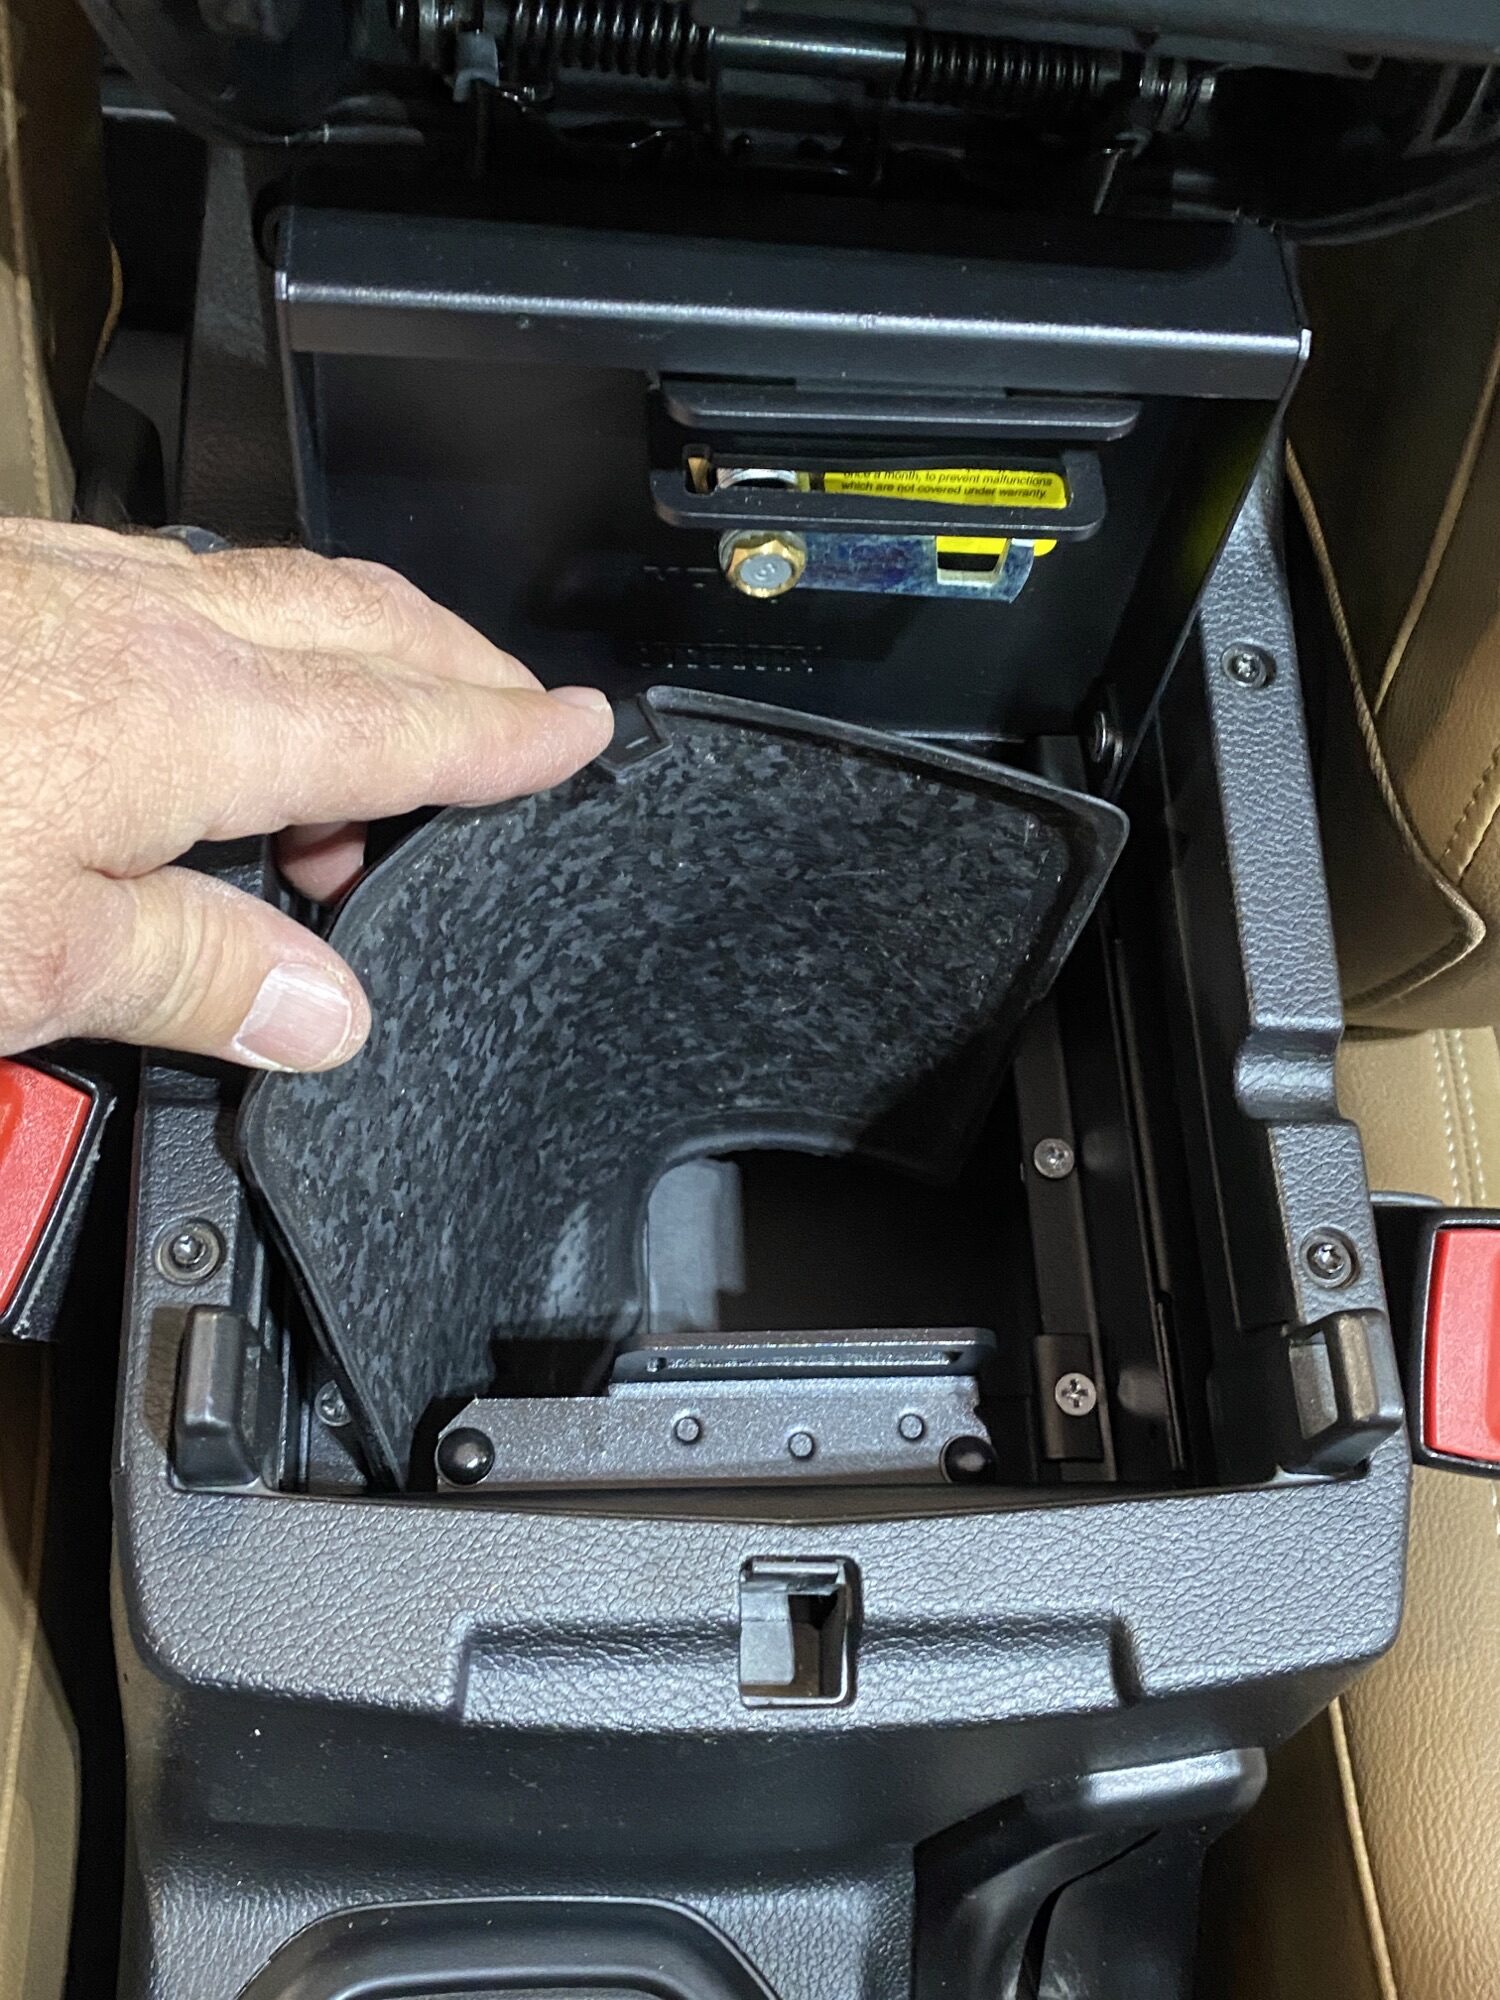
The preparation for the installation is incredibly easy and quick. Aside form opening the lid and lifting the tray, all you need to do is remove the mat from inside.
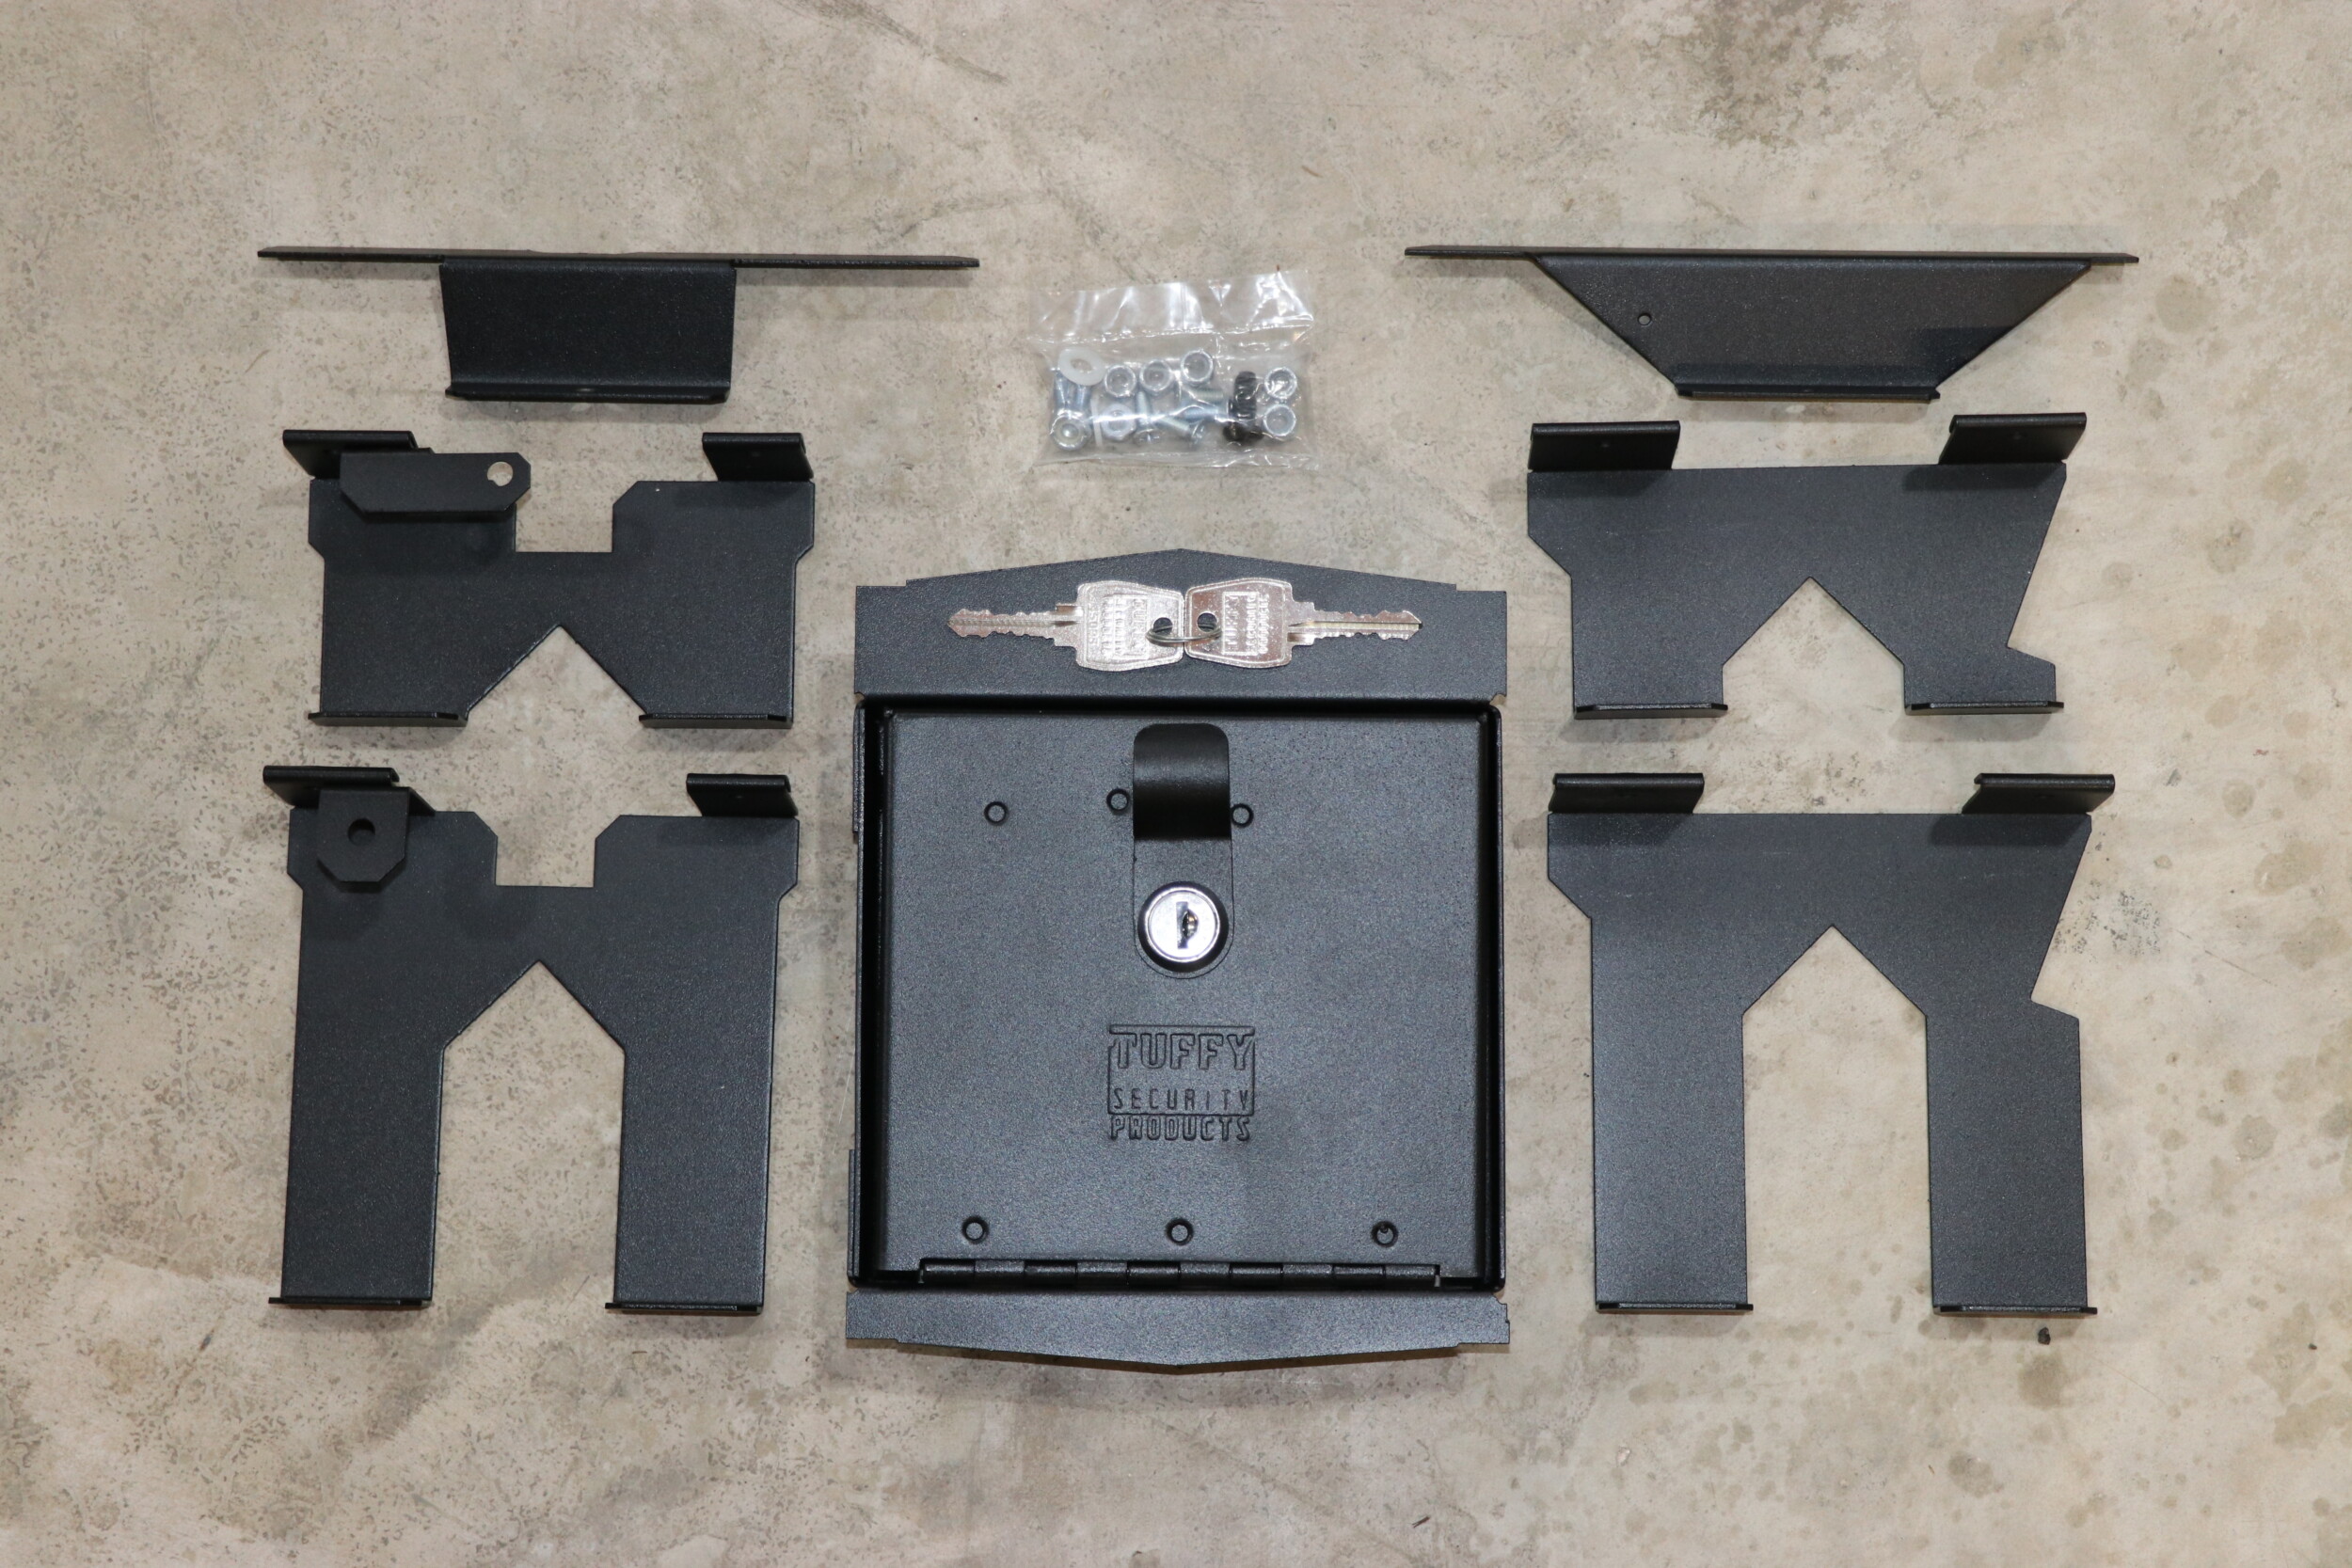

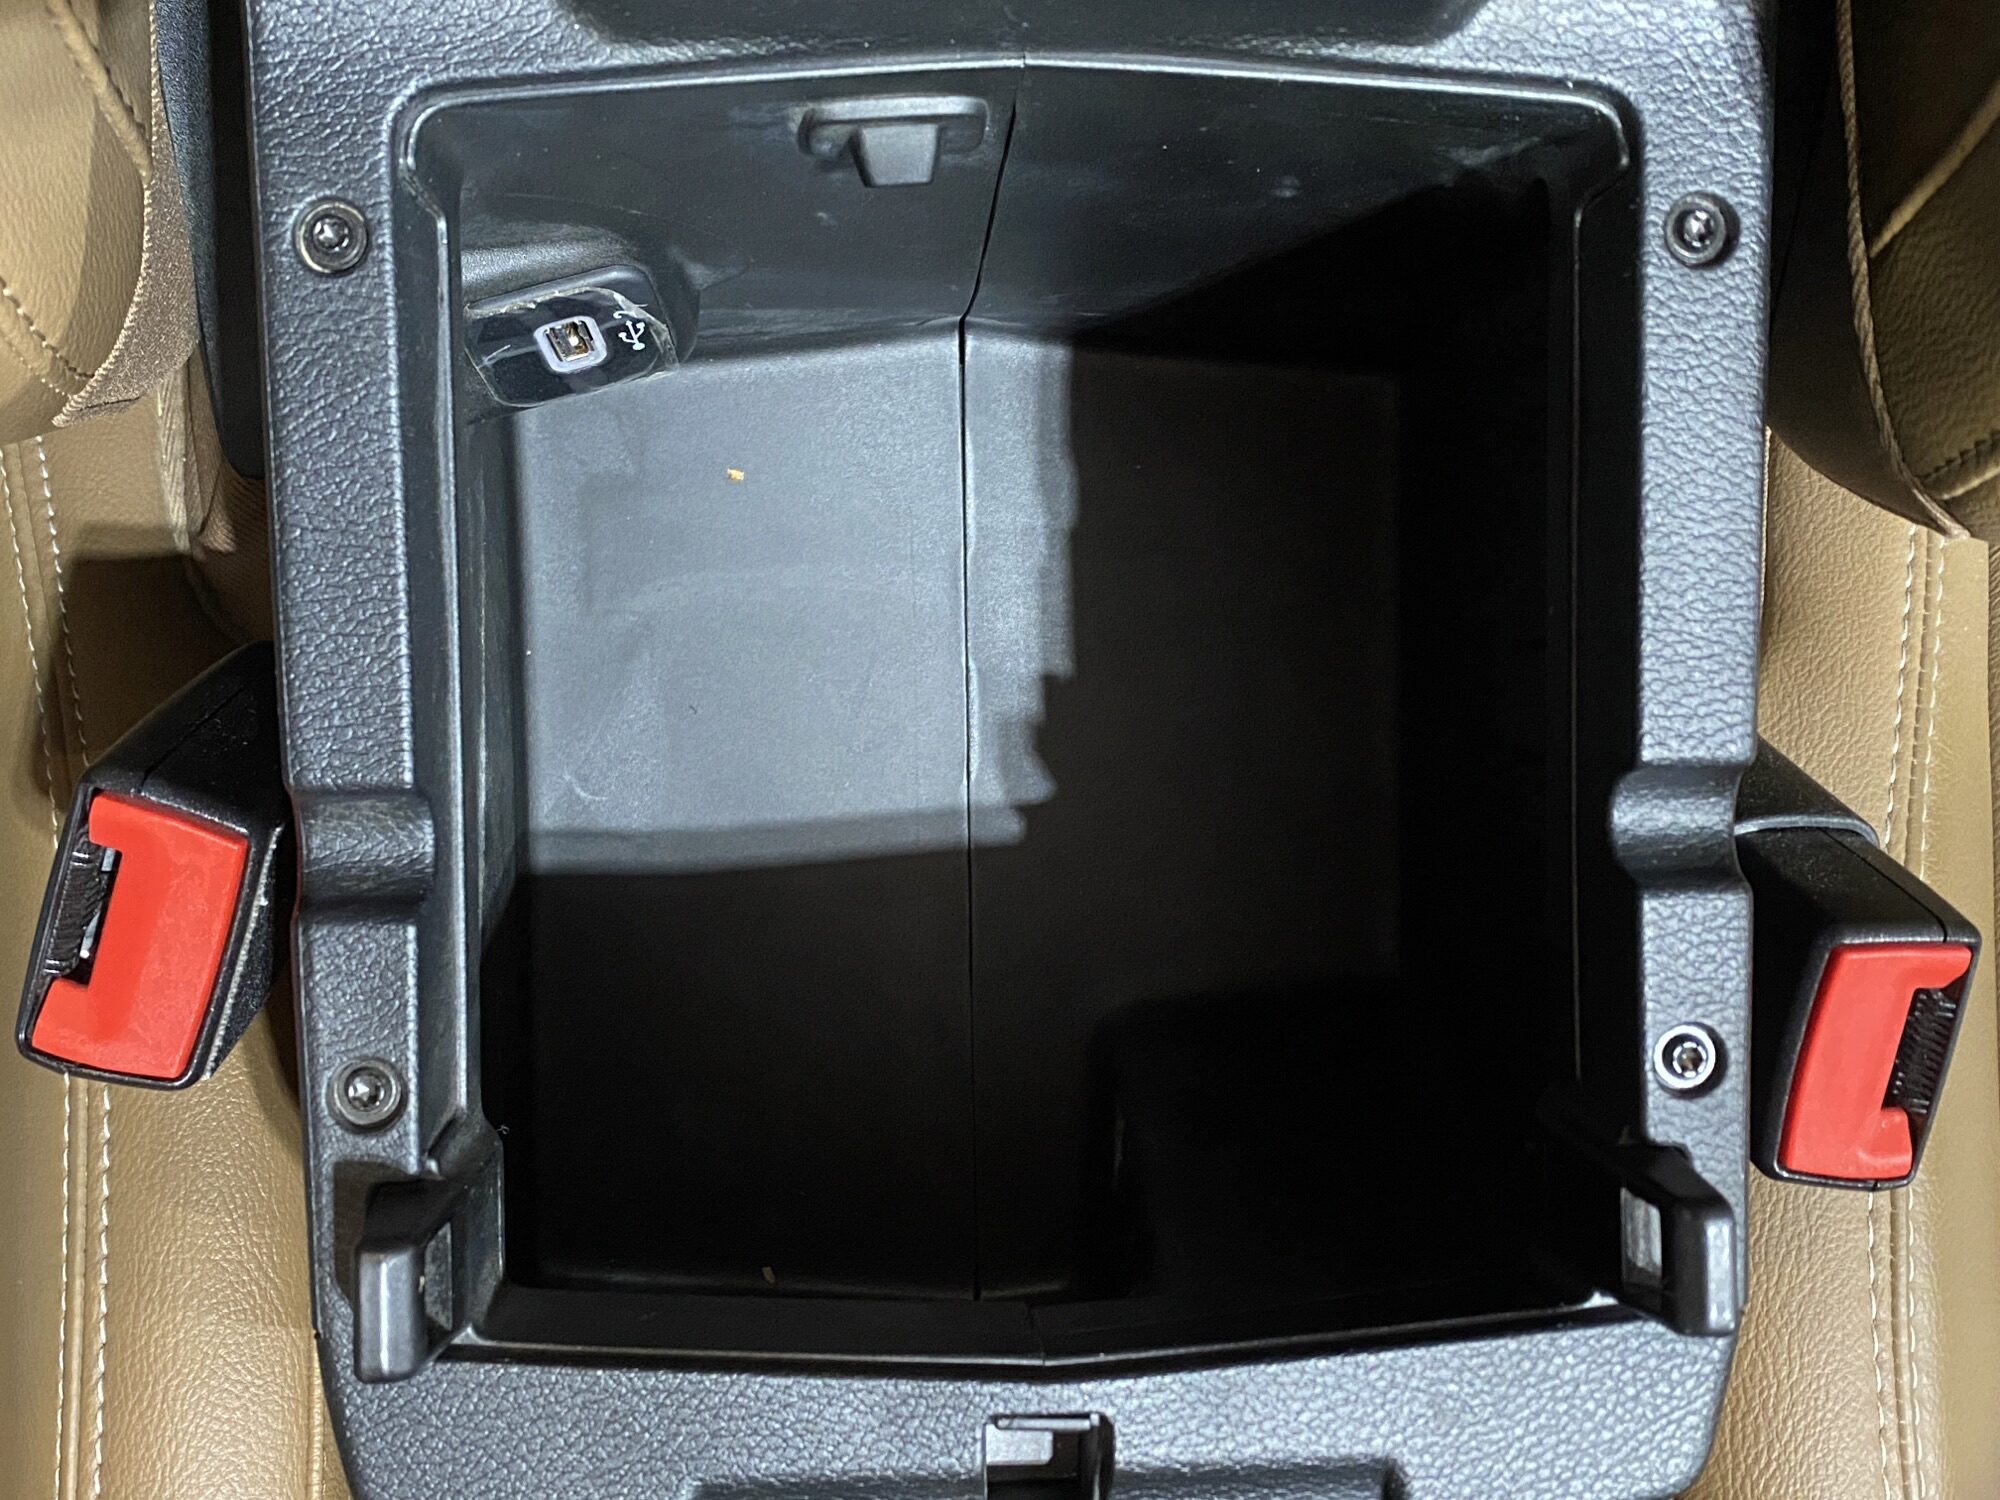
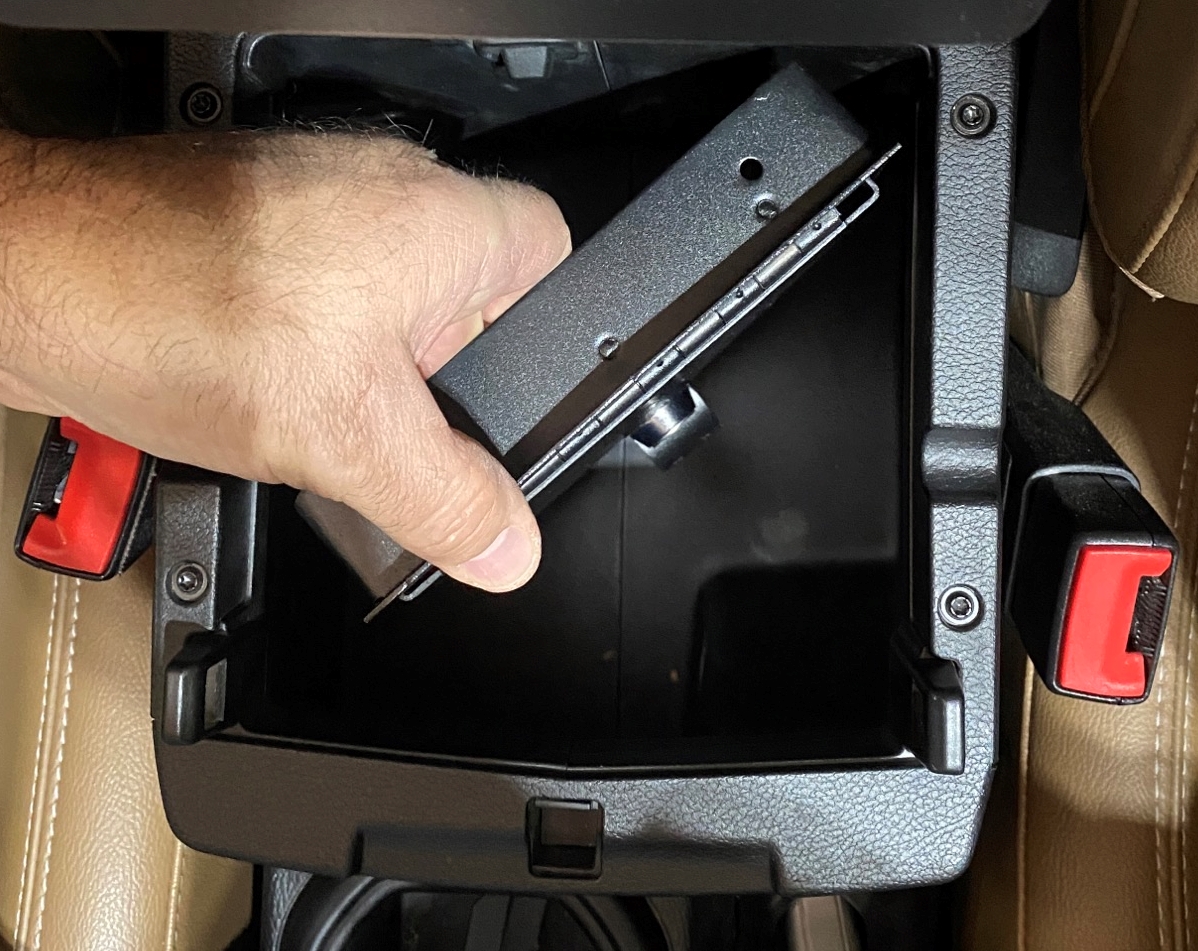
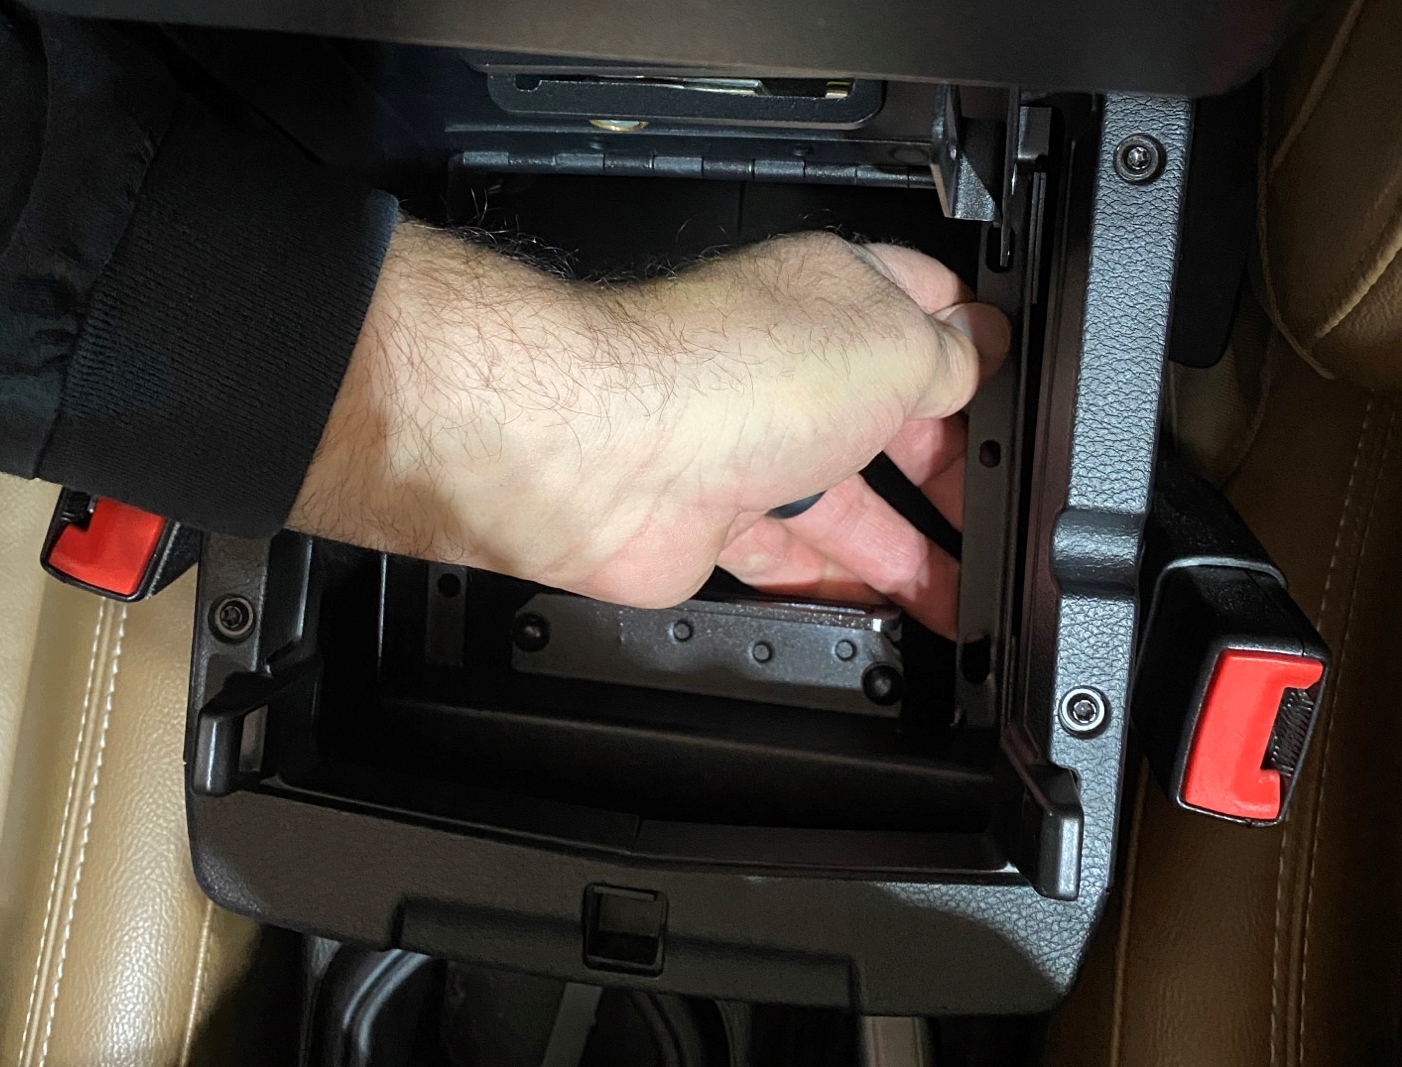
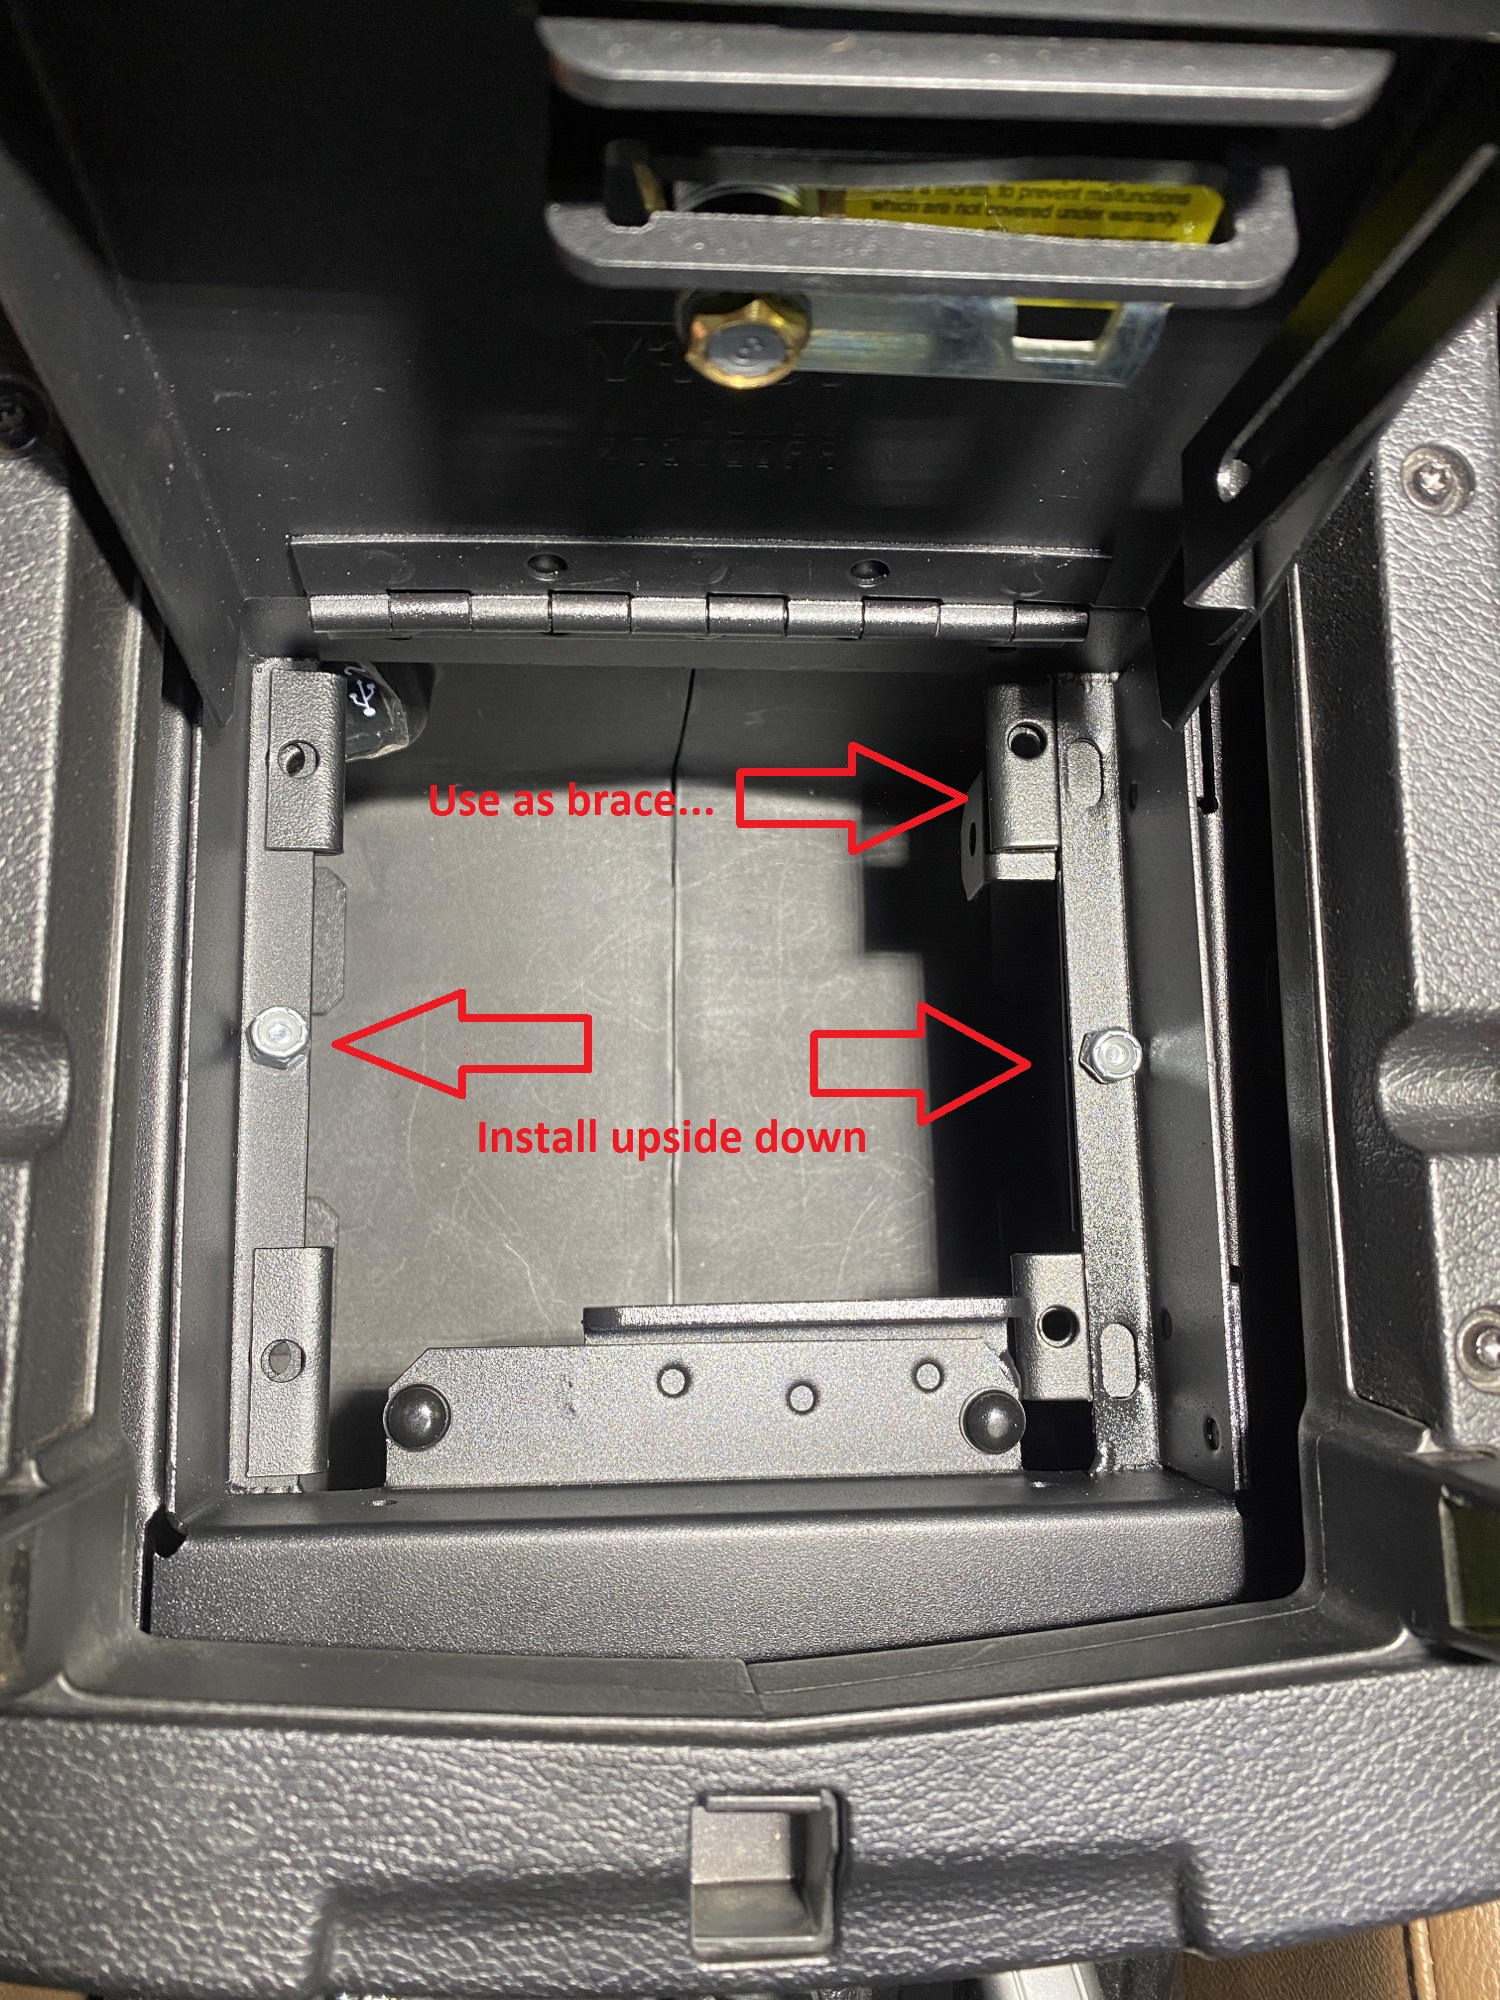
Read all of the instructions so you’re familiar with the process and dive in. The lid for the safe is the first component to go into the console. You have to angle it in to get it to fit past the opening at the top. With the safe lid inside the console, open it and lift it upwards so you can install the fill plates.
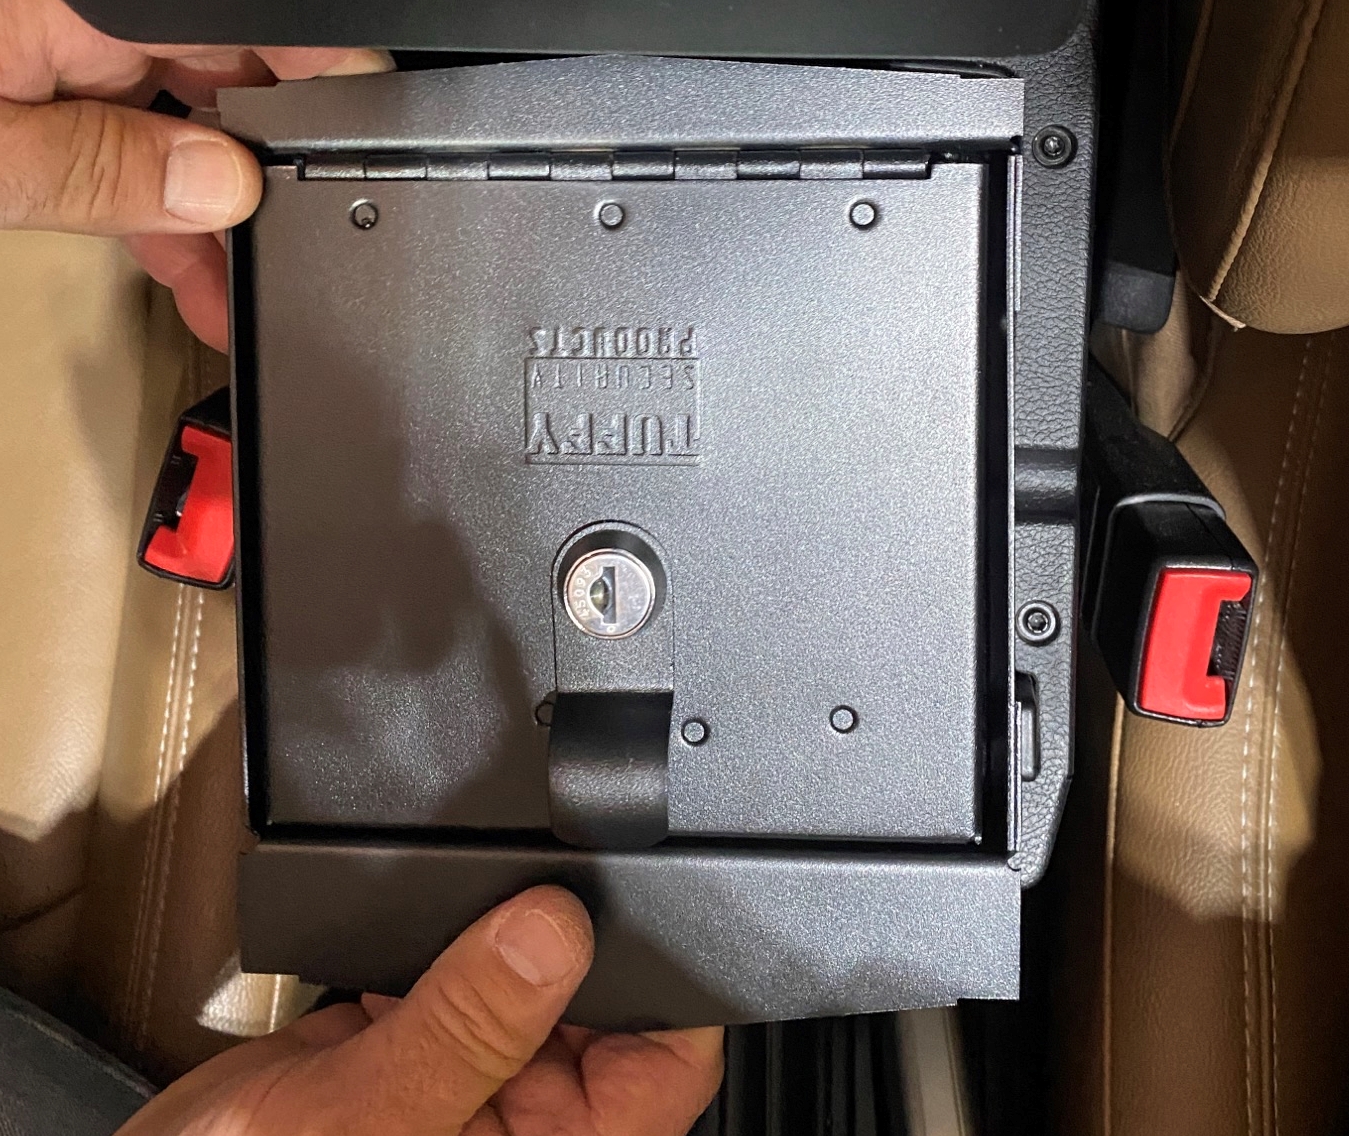

Assembling The Safe
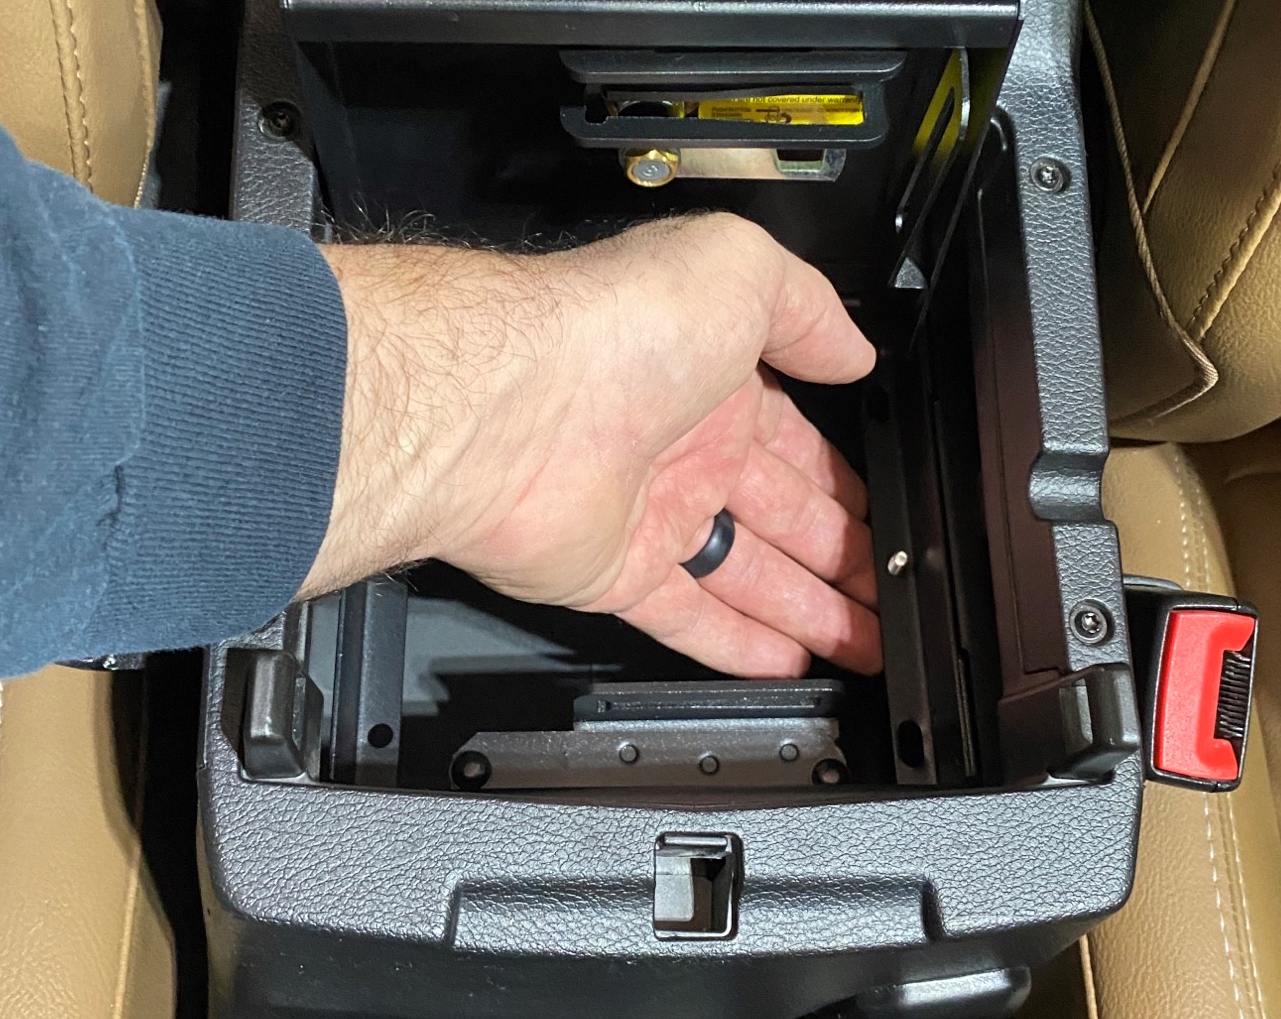
It is a bit of a juggling act but easy enough to work with. The instructions say to install the “Fill Plate” screws upside-down with the locknut on top to start. This will make sense as you fumble with trying to hold everything in place at first. Install the fill plates and then the side braces.
Four side braces are shipped with the kit but only two will be used. Vehicles with the “Selec-Trac” or “Rock-Trac” All Wheel Drive system, require the use of the shorter braces. The taller braces fit the other models, you’ll be able to tell early on.
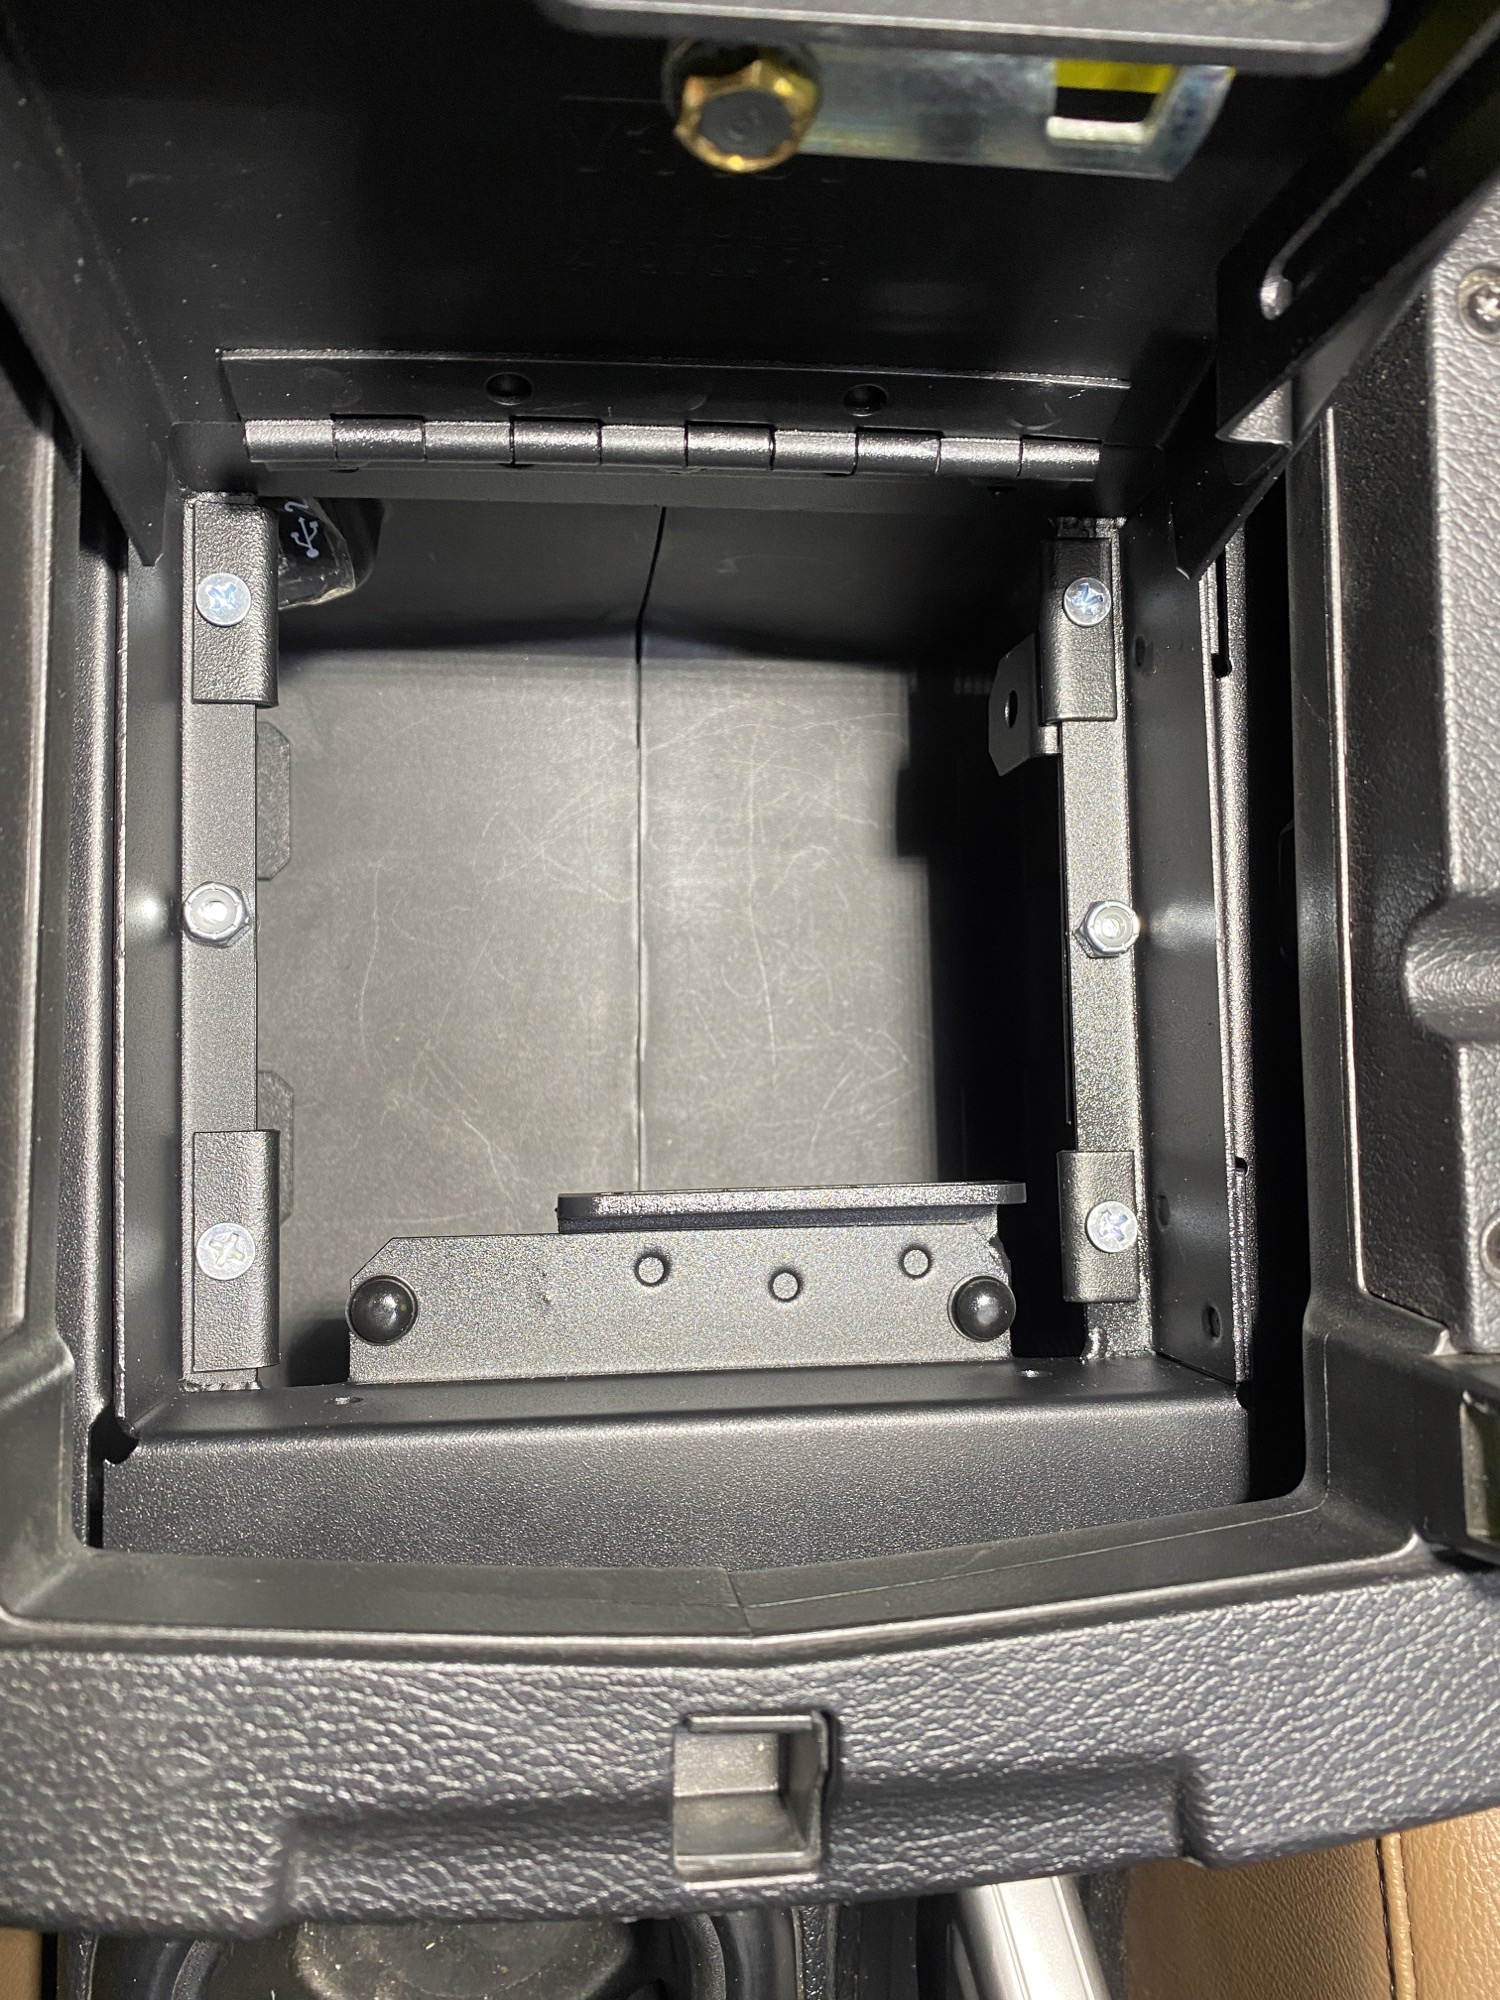
The braces come a bit overbent, inspect them before assembling the safe and open them up if necessary. I found that setting one side in place temporarily as a brace, allowed me to work with the opposite side. Install the four screws and locknuts in each corner.
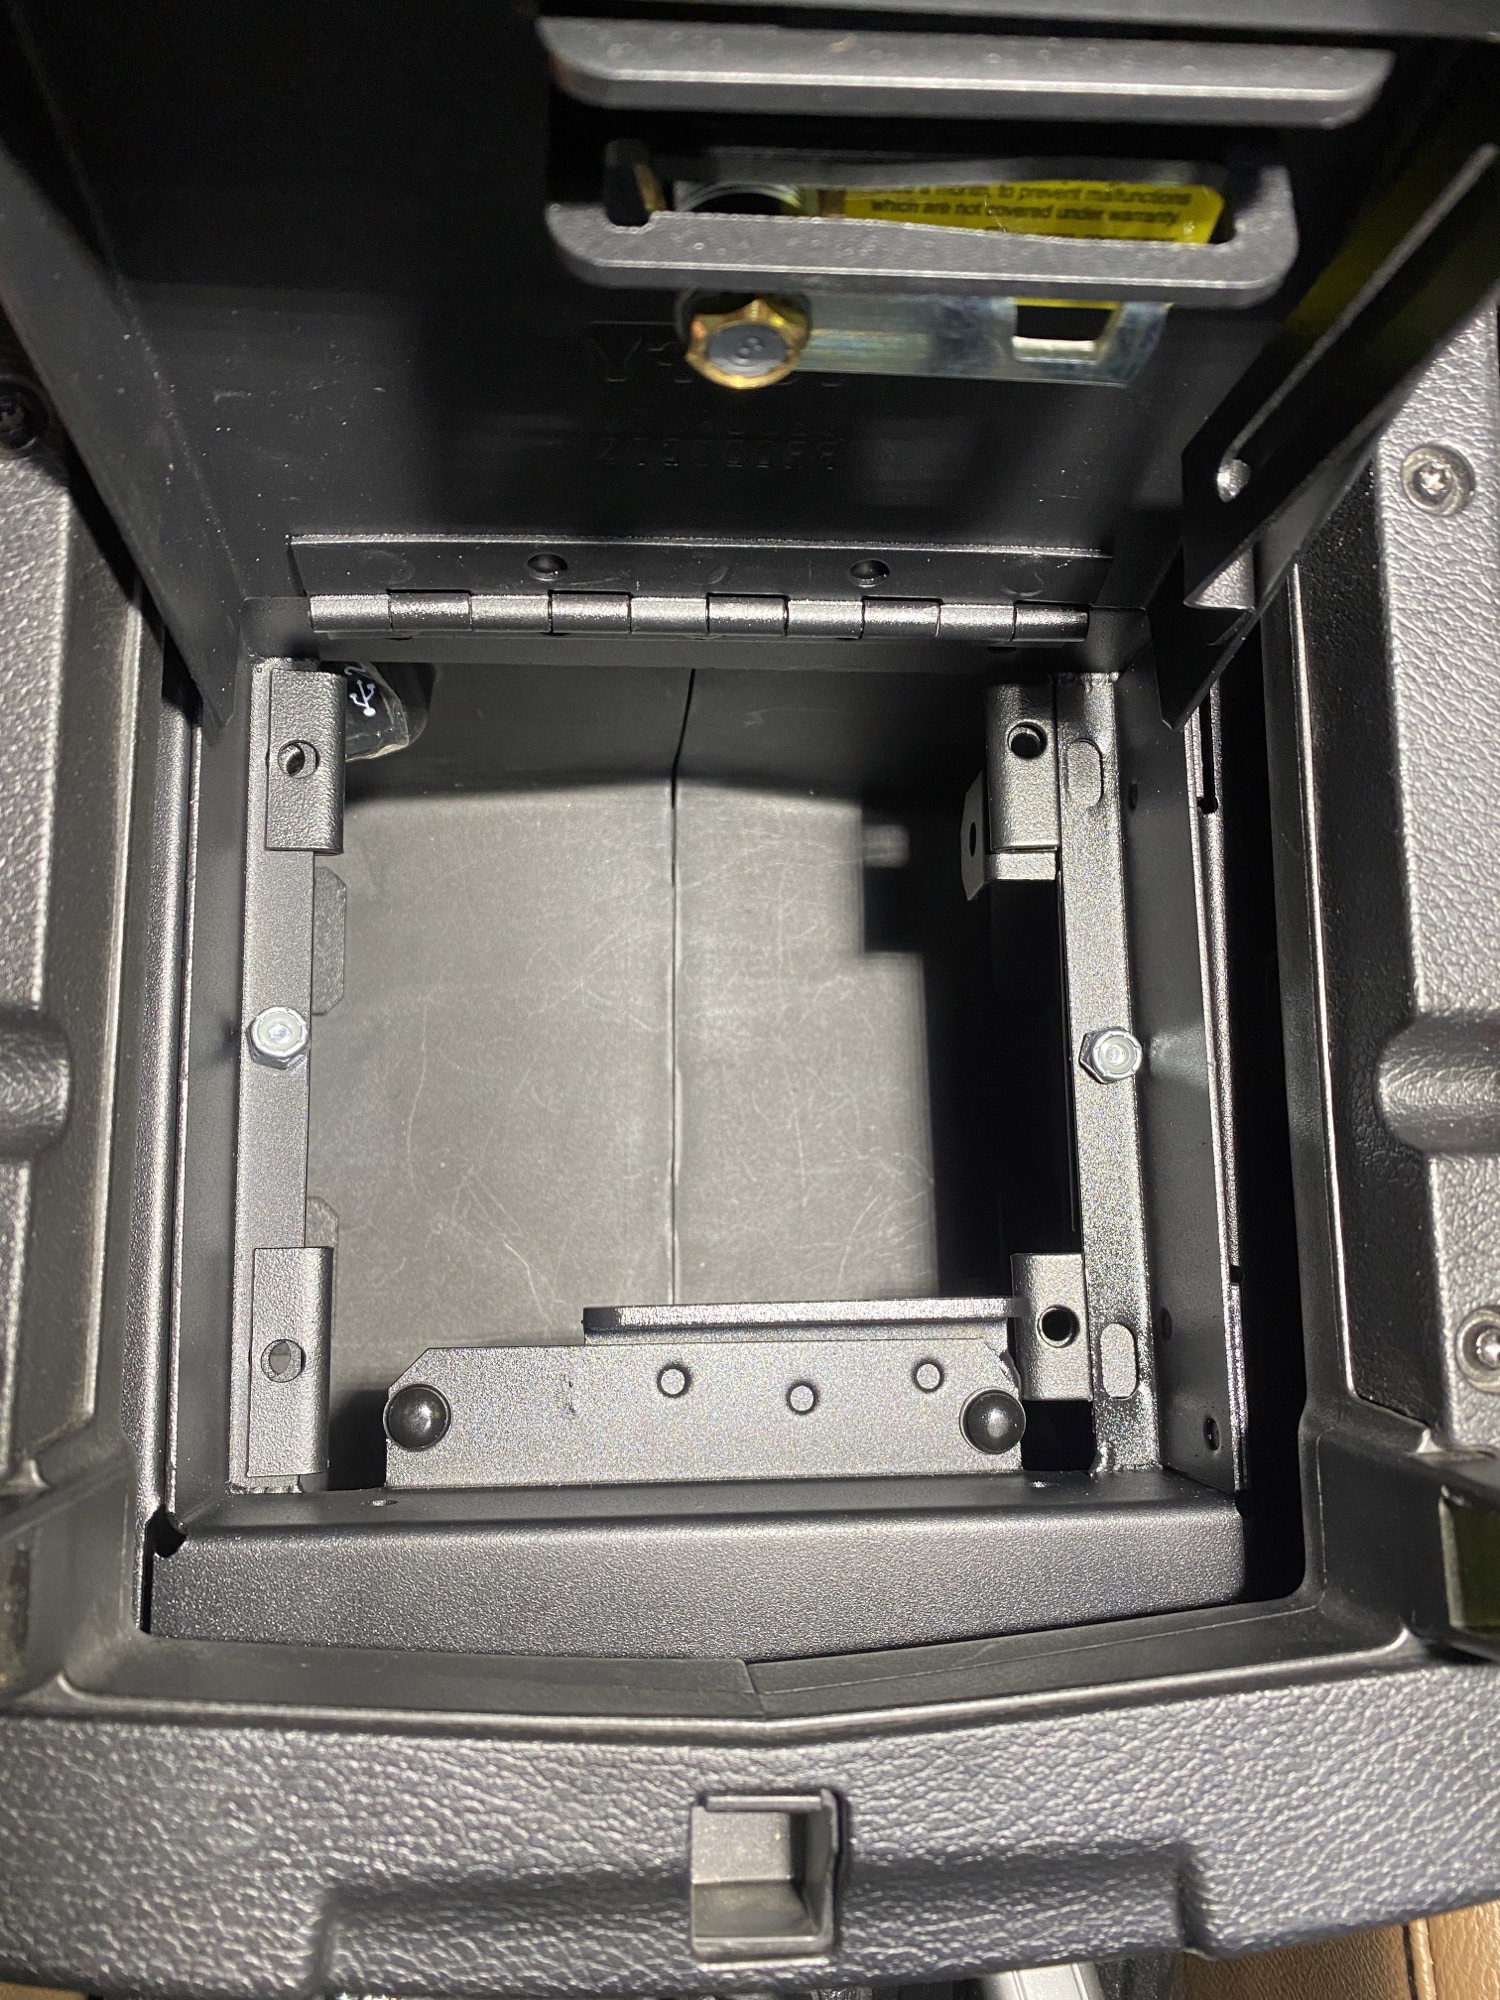
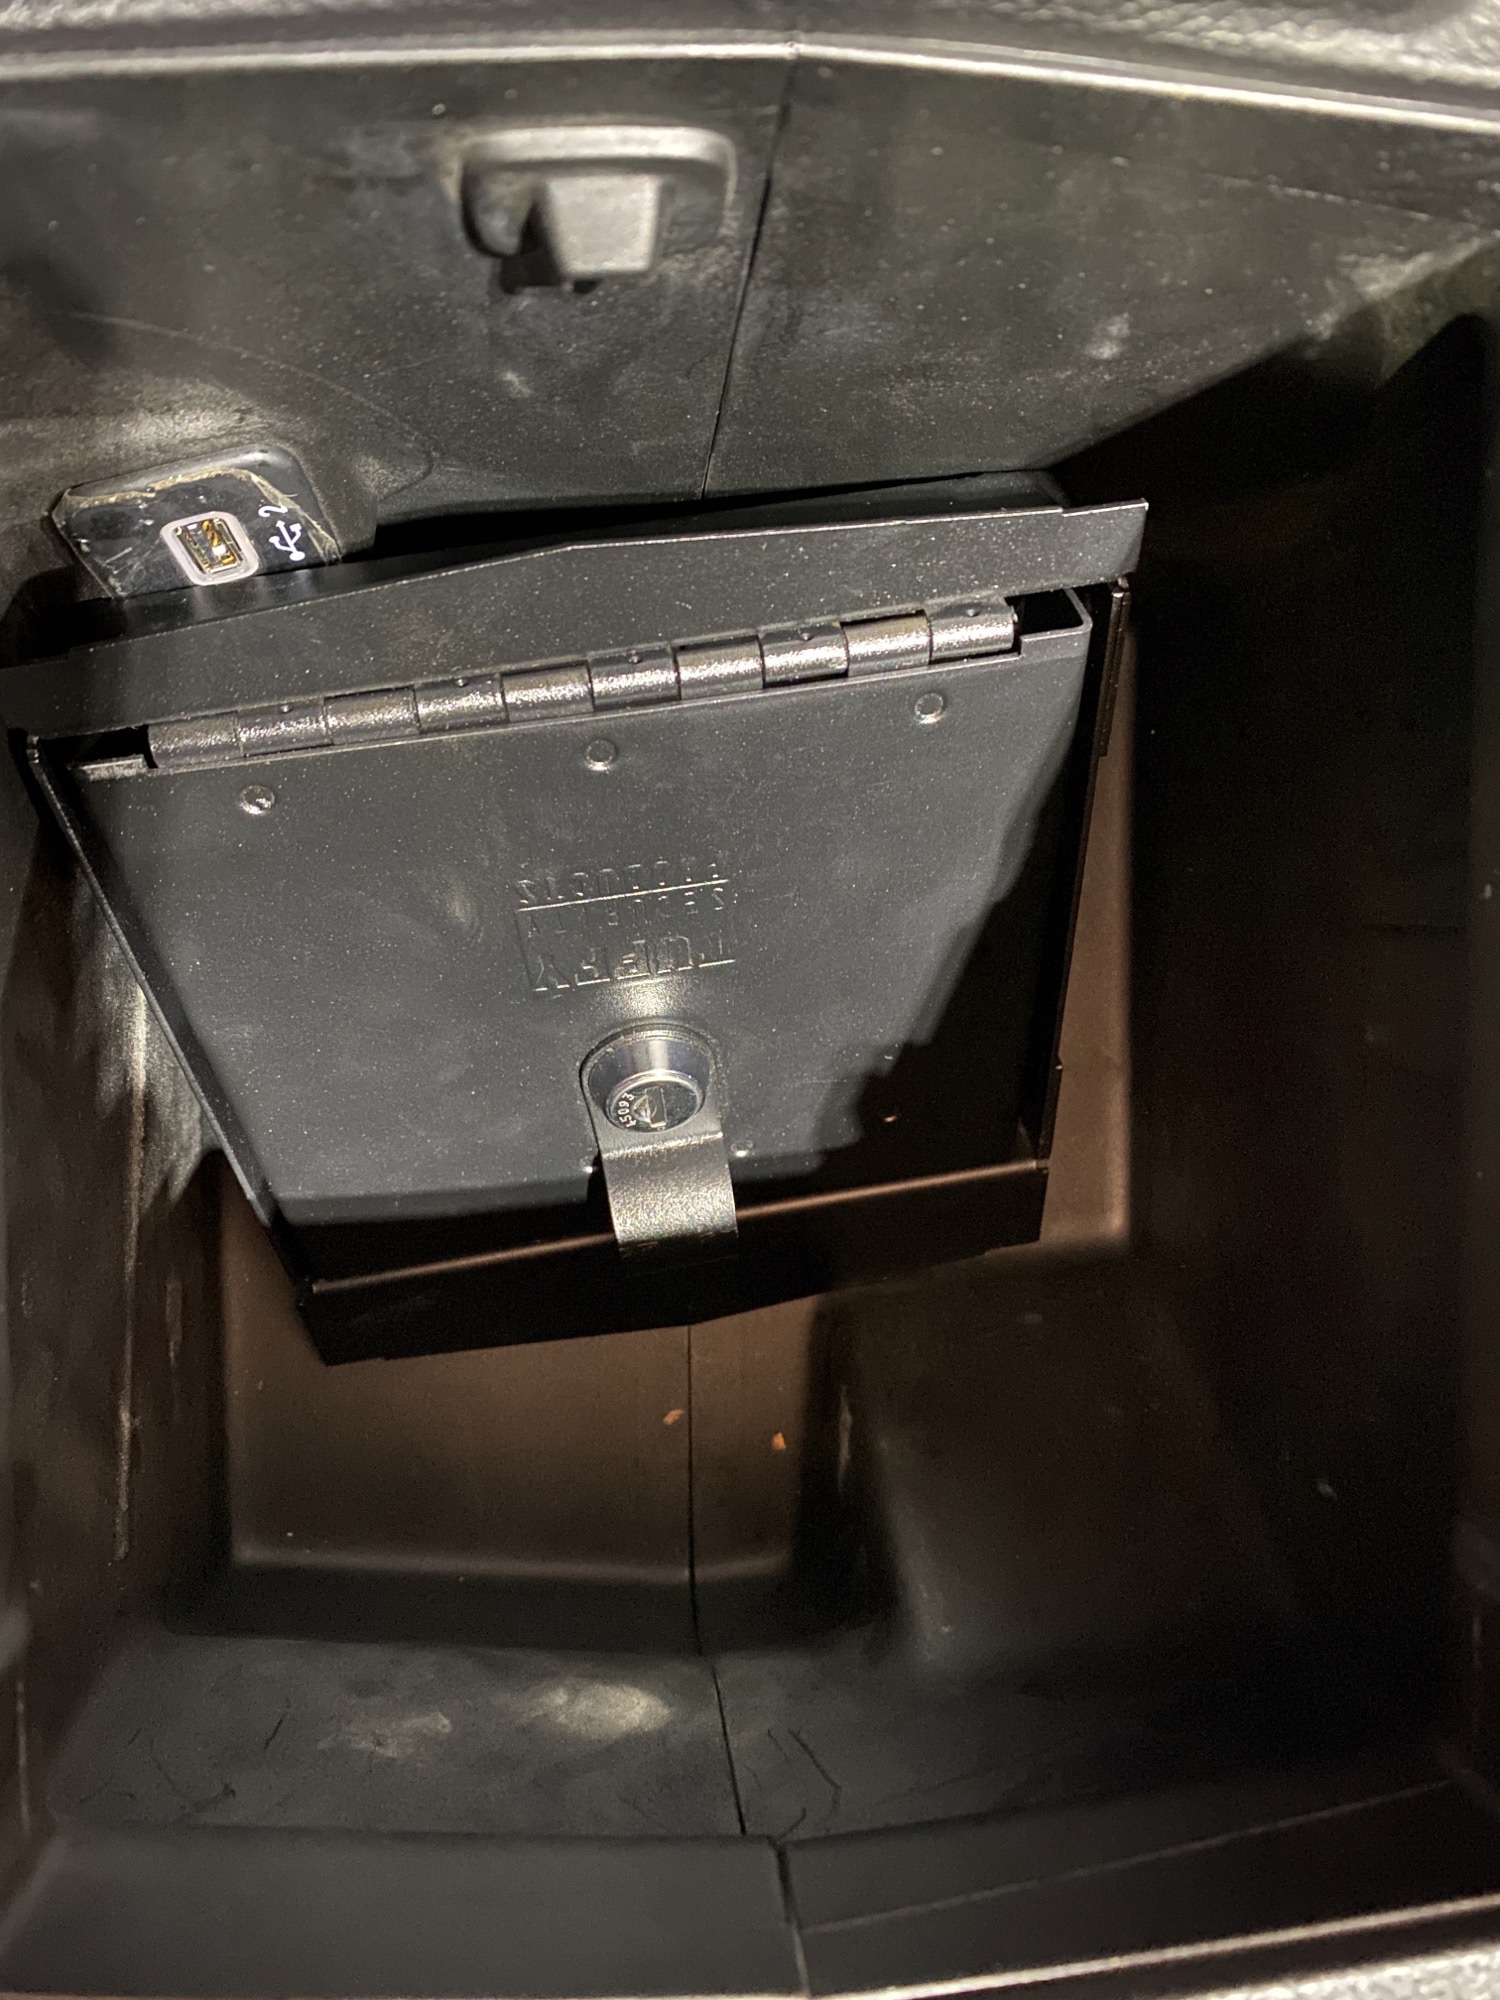
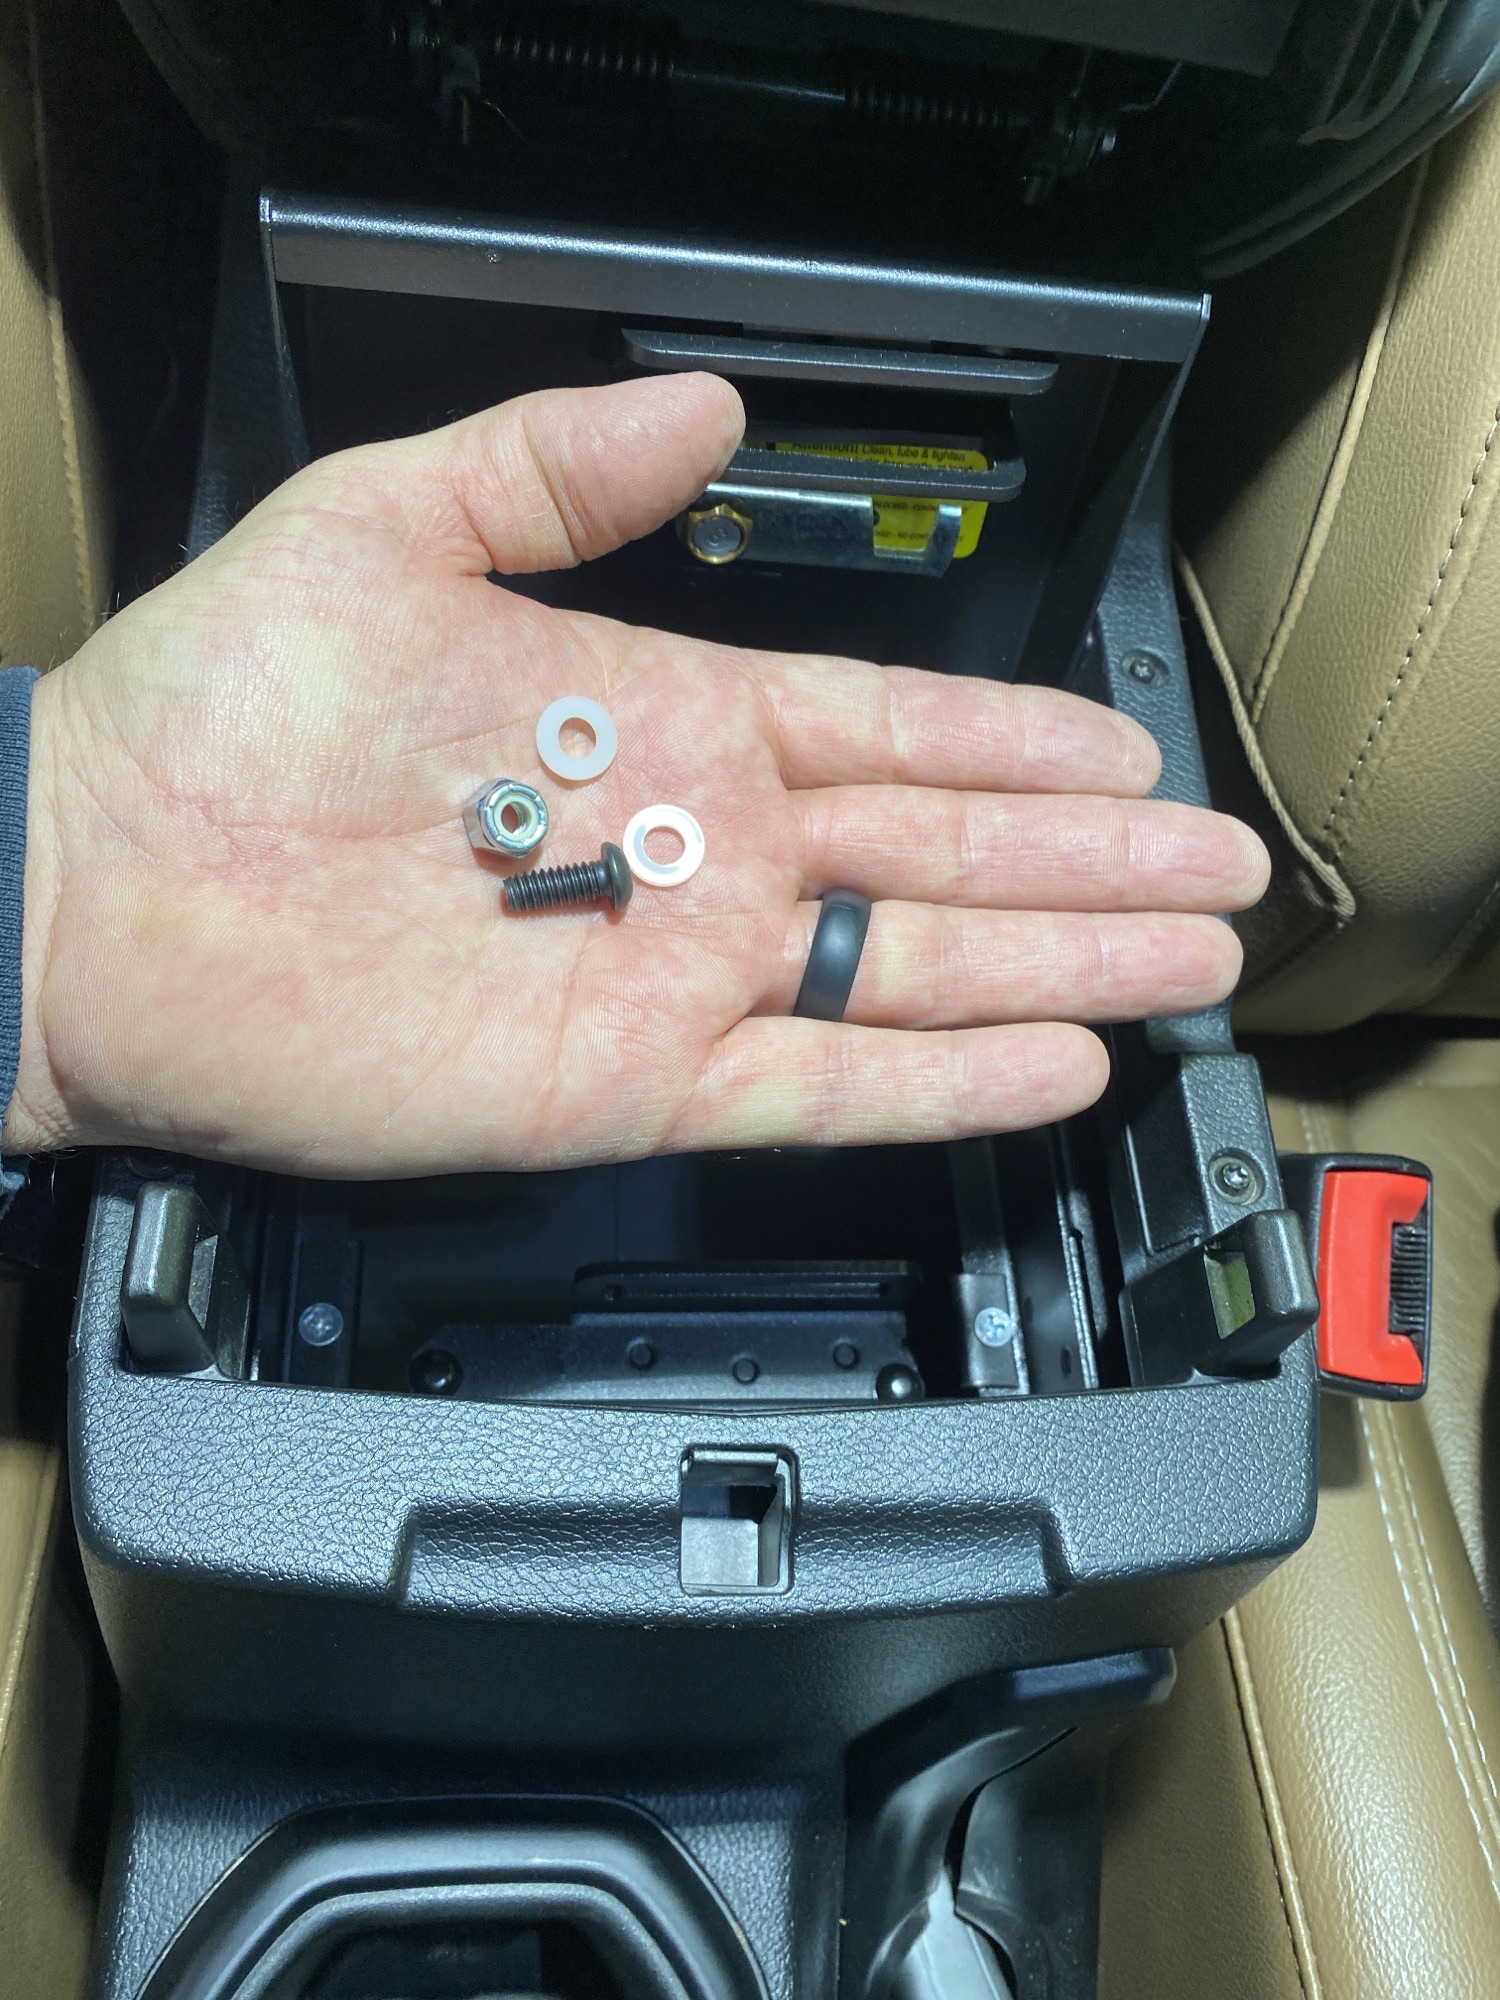
The last step is to install the (2) nylon washers, locknut and cap screw onto the lid support. This allows the lid to close slowly without falling on the users hand. Install one nylon washer on each side of the support, the cap screw in from the front and the locknut backs it all up. DO NOT OVER TIGHTEN!
Correct the orientation of the fill plate screws at this point too. With everything supported, it is much easier to swap them to the correct position with the locknut on the bottom.
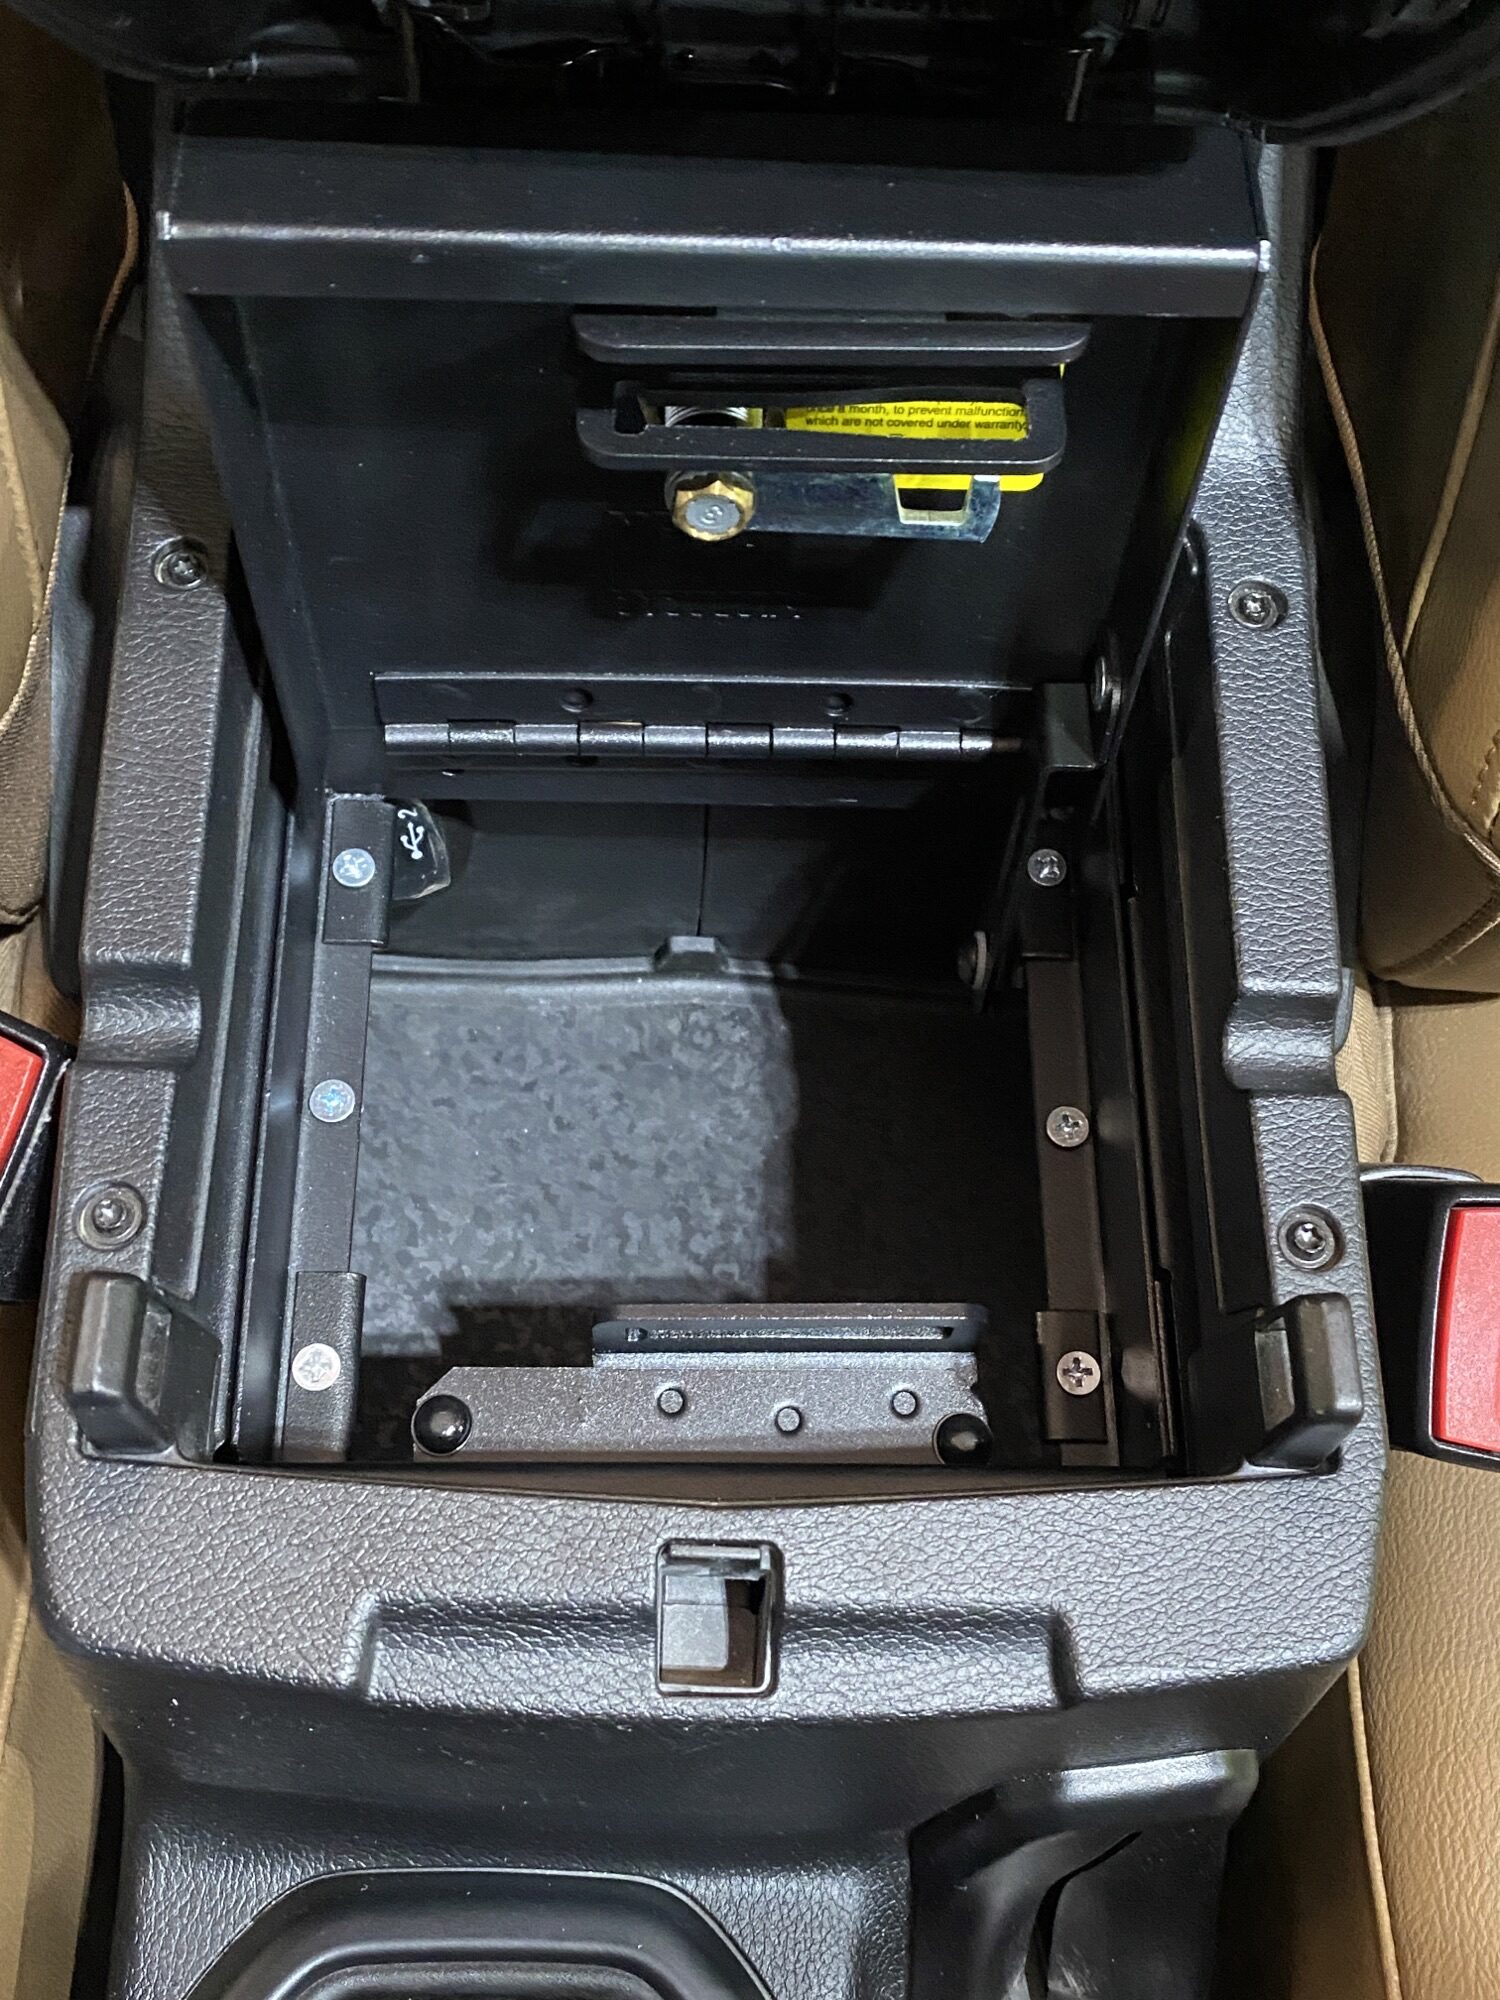
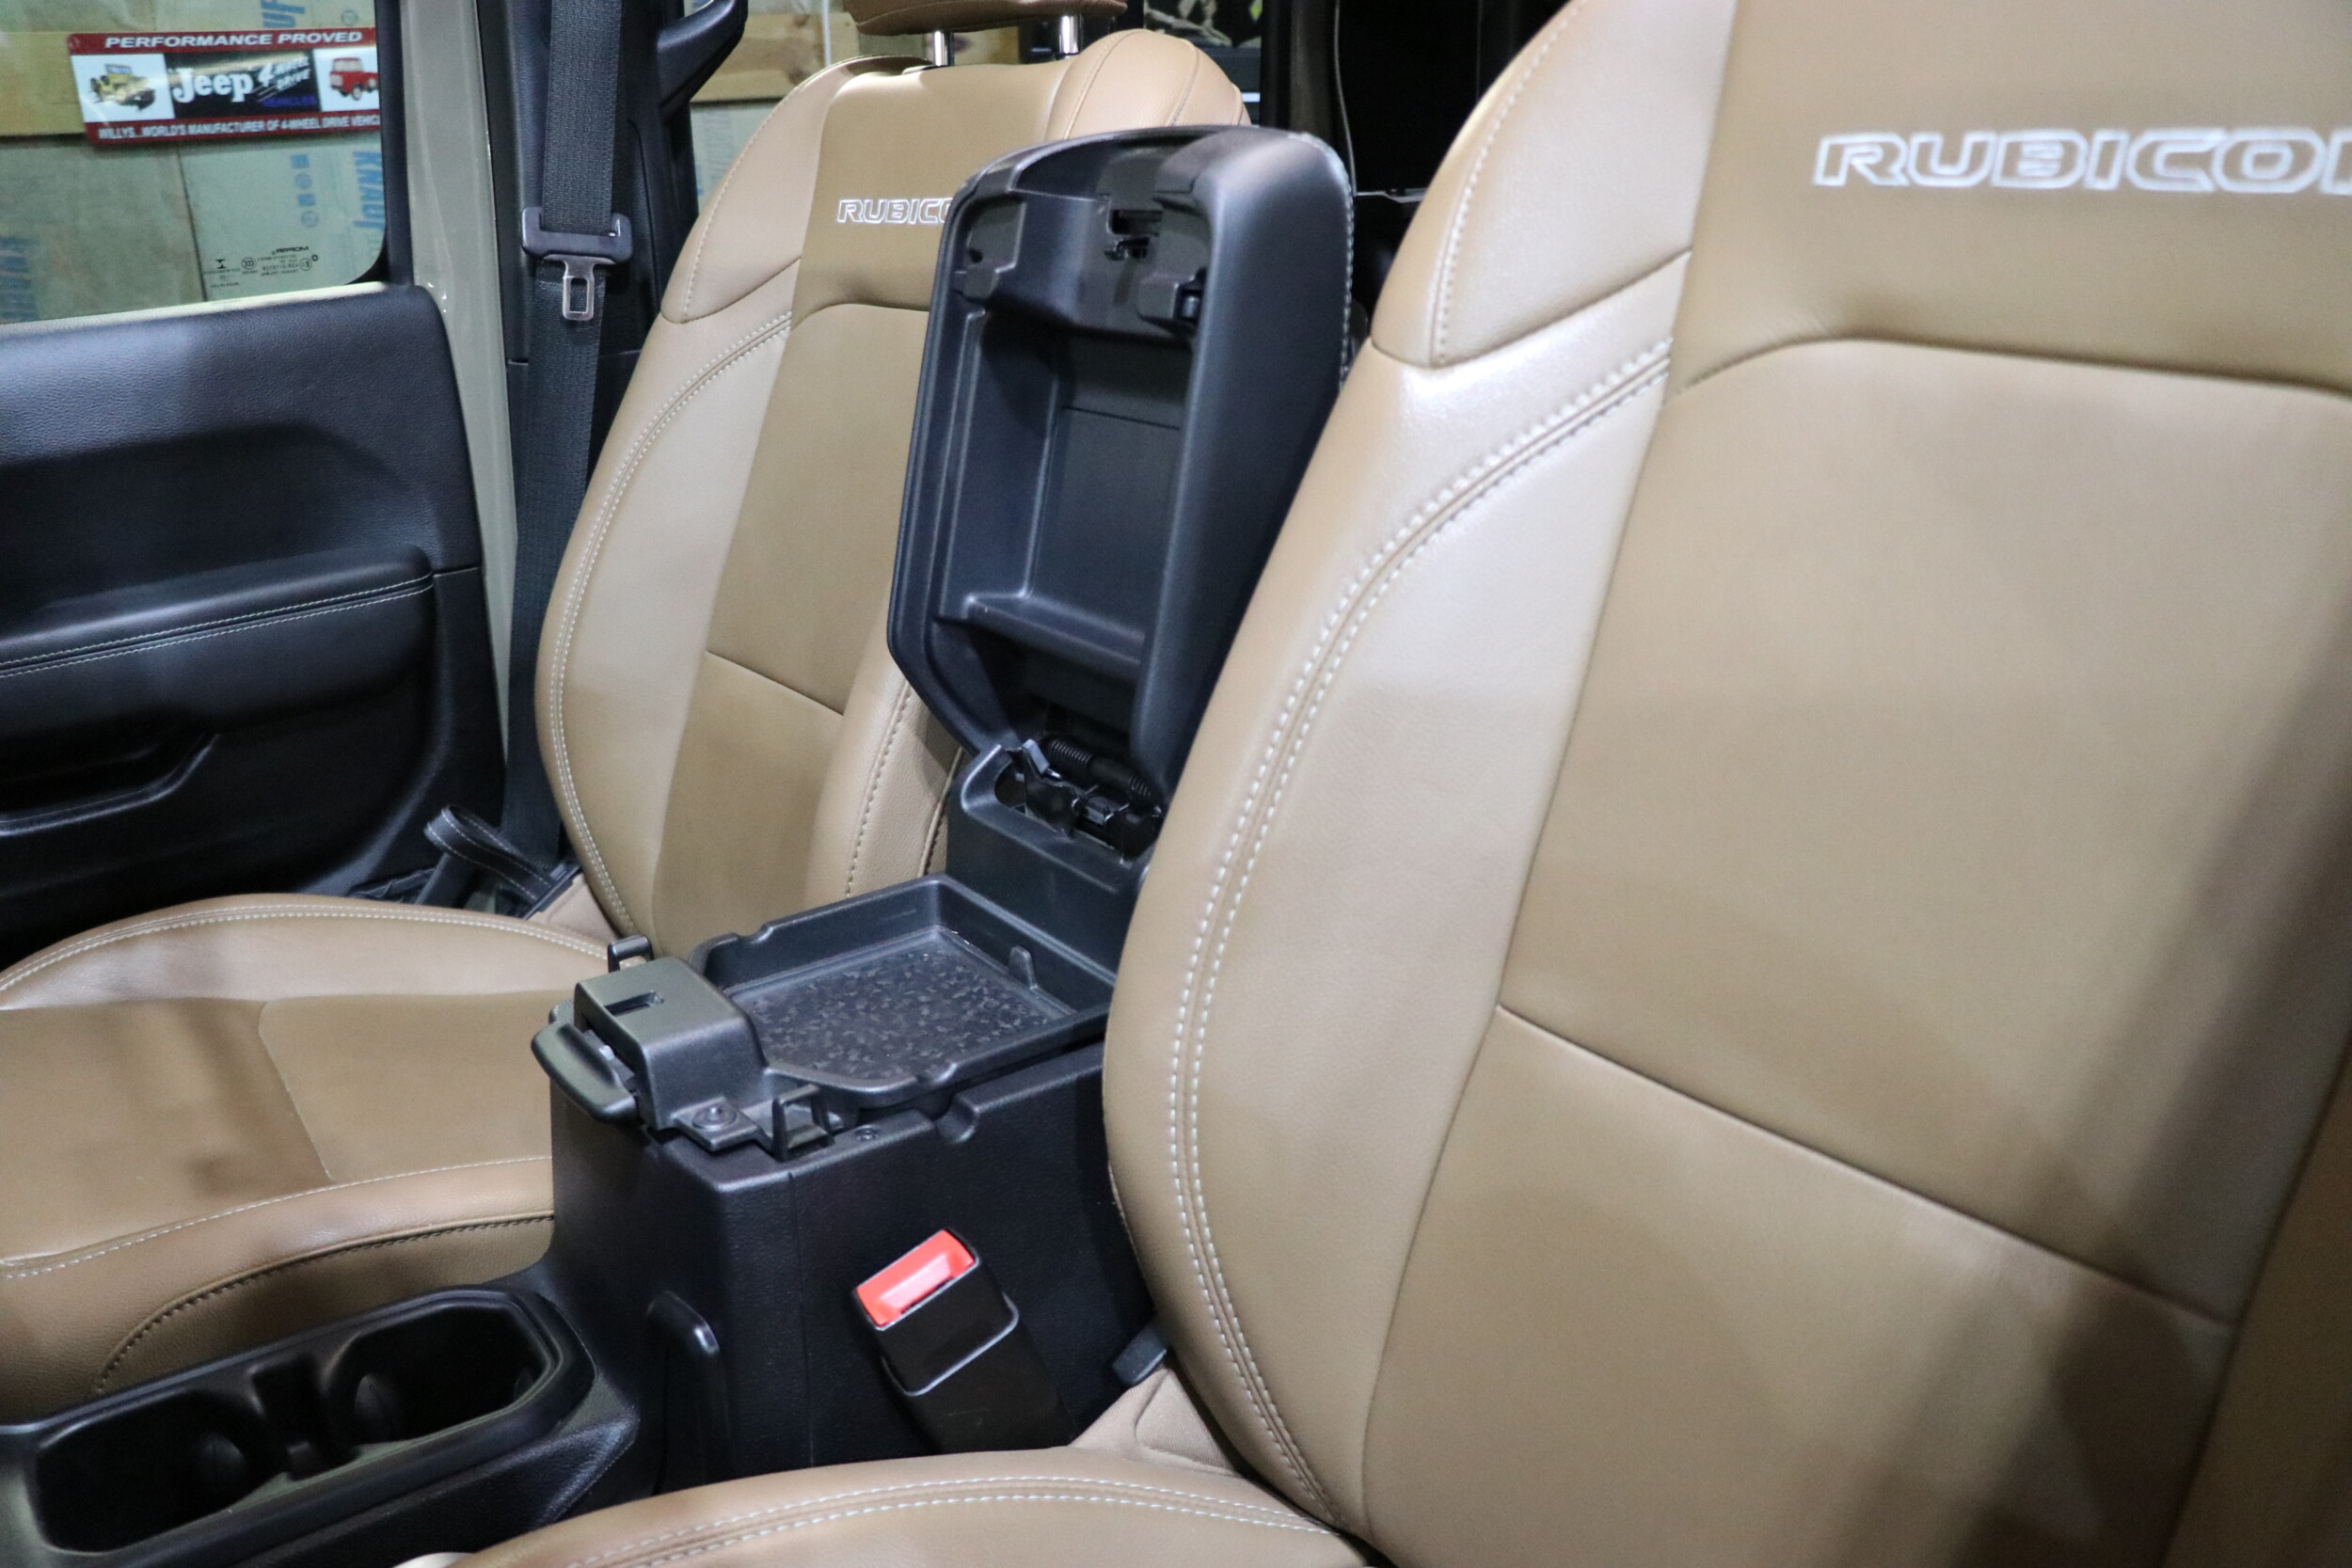
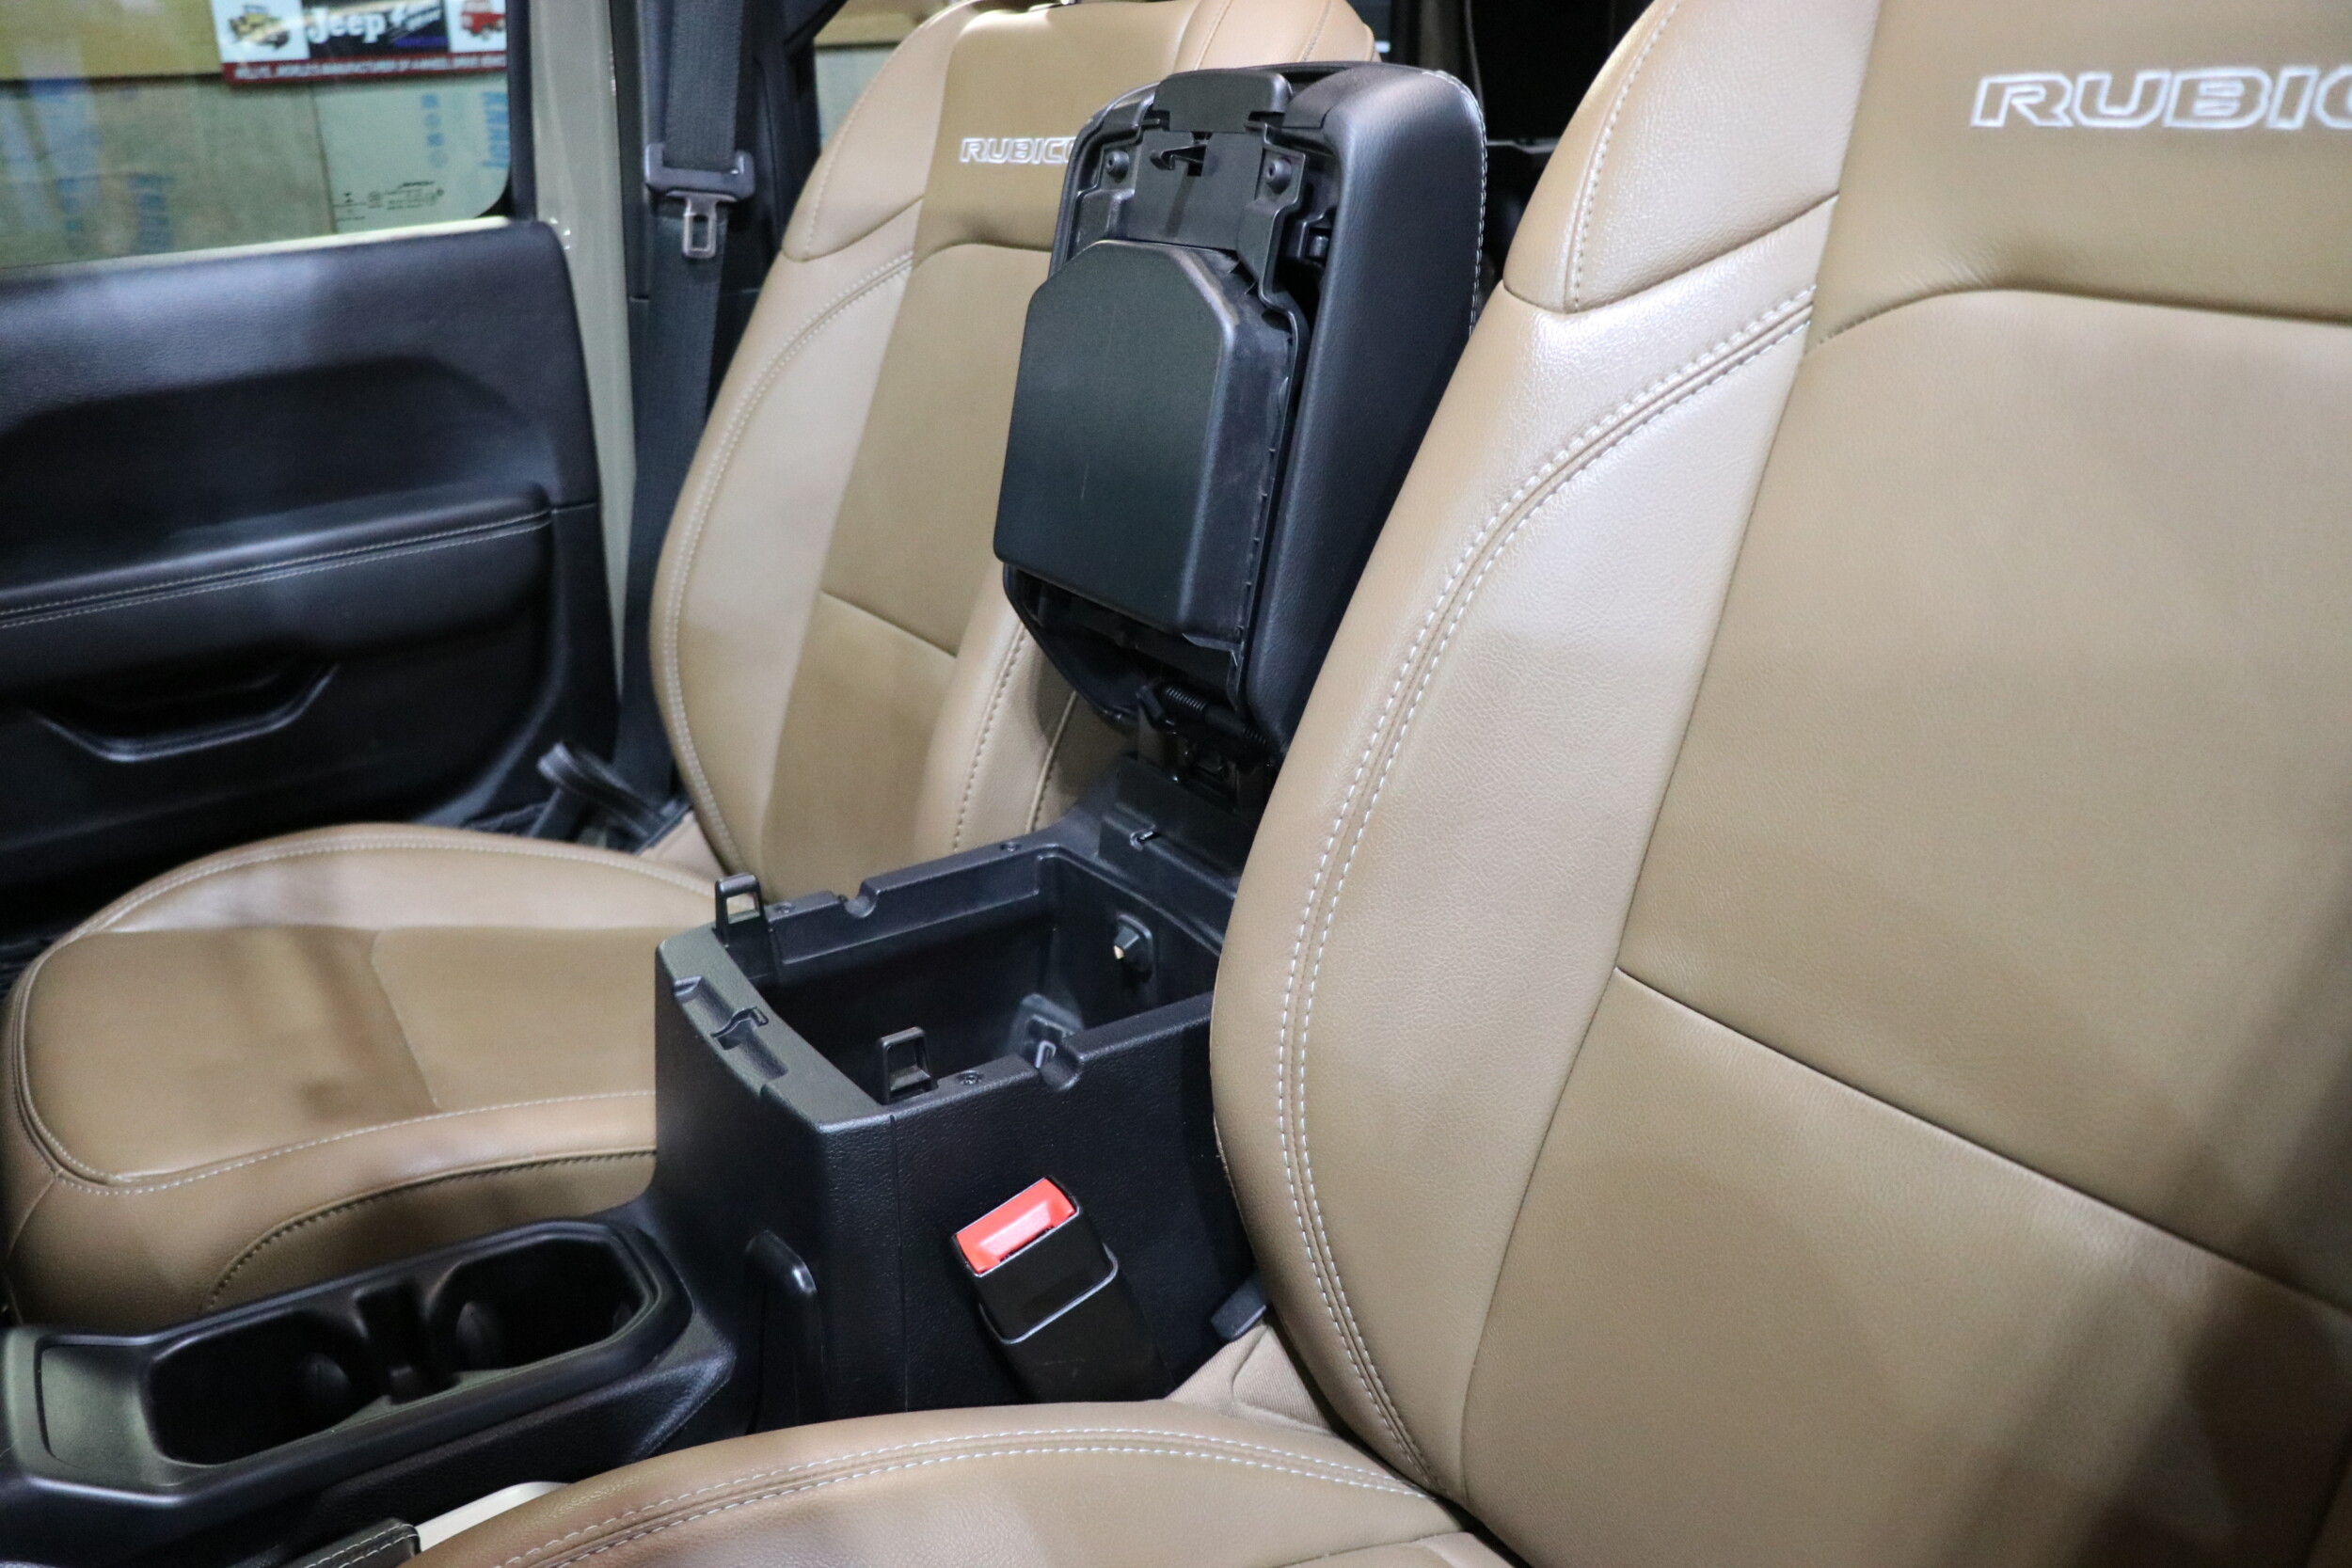
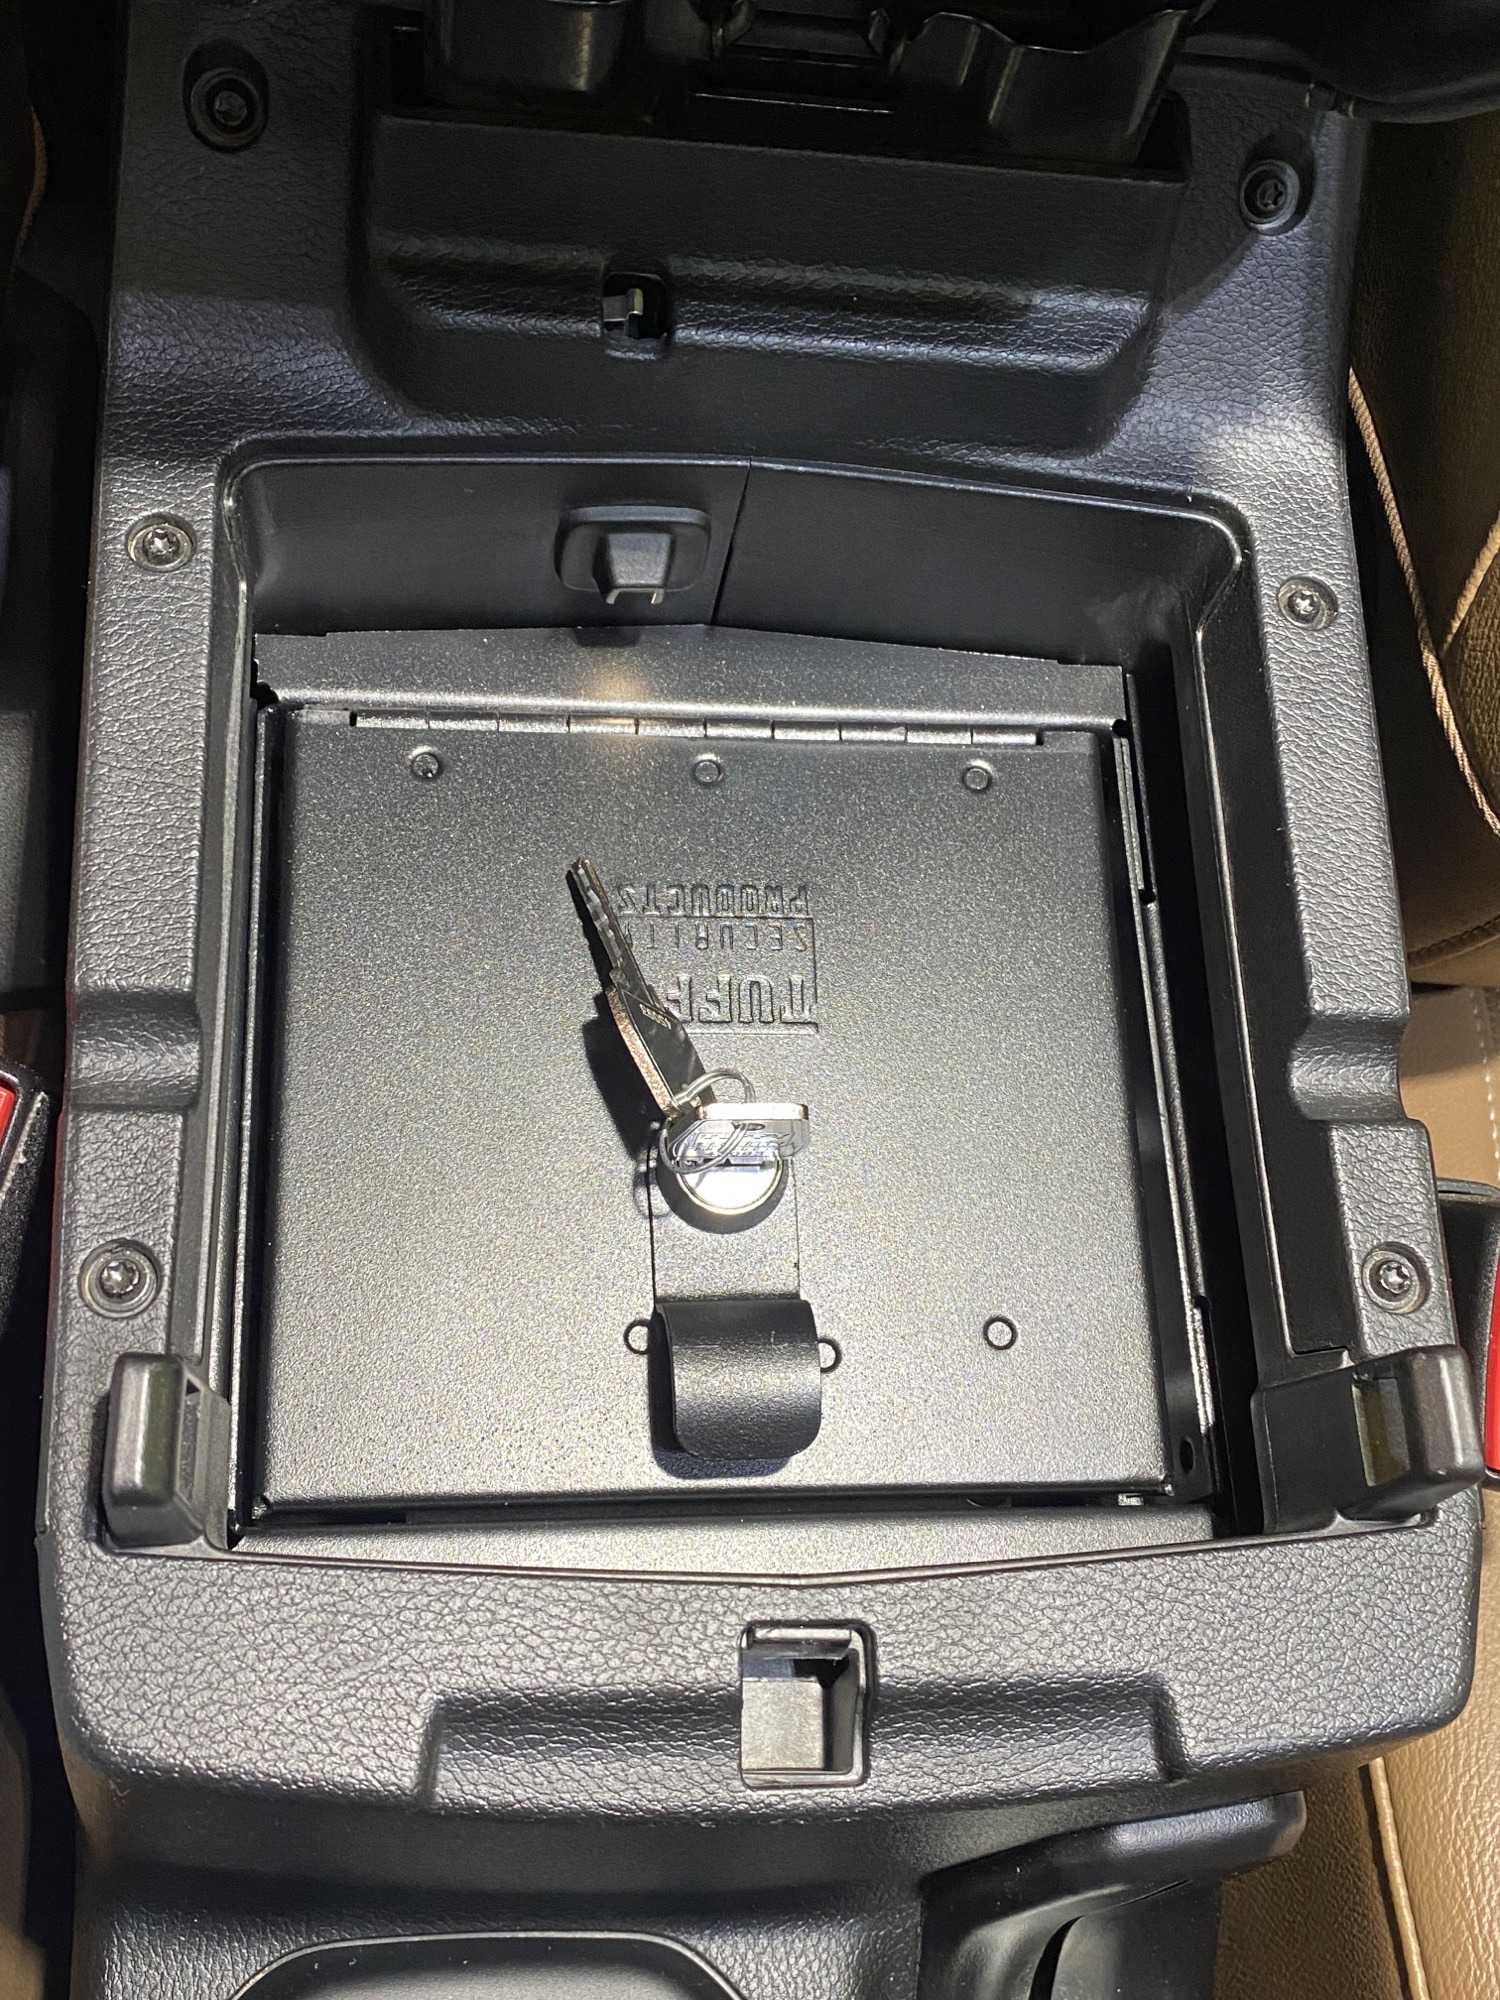
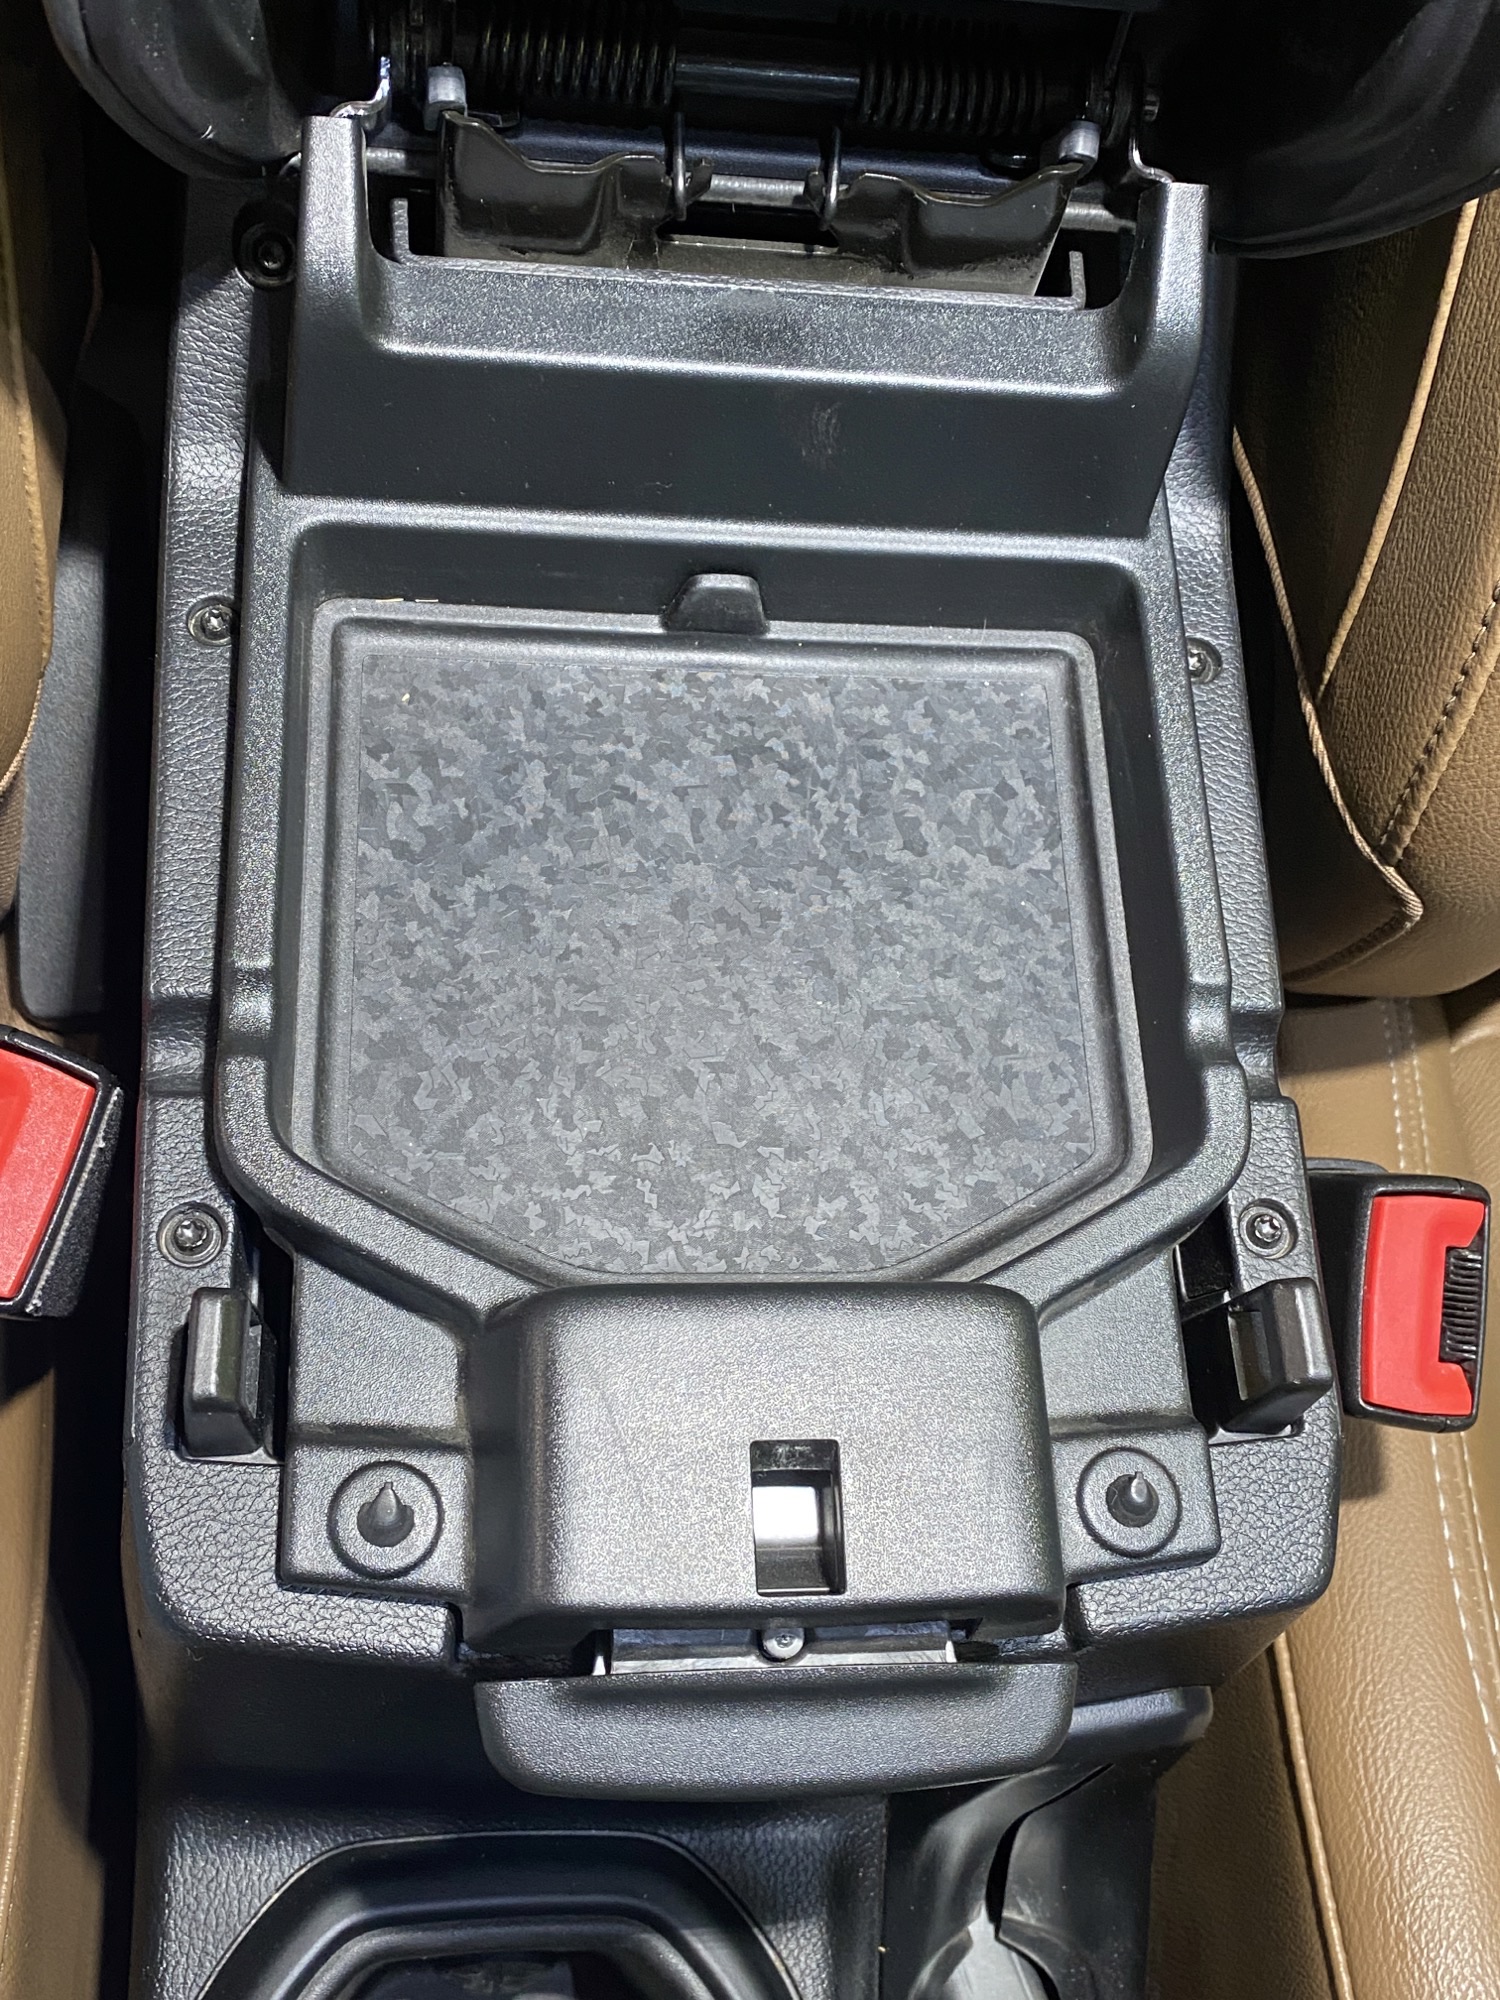
That’s it, in less than an hour, you now have one more, lockable place to keep smaller items secure. The console remains the same as it did from the factory with the exception of the hidden, locking safe. Close it up and get out there and start your next adventure!

Final Thoughts
Overall, I really like the Console Safe from Tuffy Security Products. I personally feel there is one thing that could be improved to make the installation easier. If the fill plates had weld nuts or something similar, the installation would be so much easier and quicker. It’s not a huge deal but with threads in the filler plate, that struggle would be eliminated.
The safe fits tight, it looks clean and looks like it belongs while being completely secure! What a perfect place to store the locking lug nut key if you have custom wheels.