Willys Era Front Disc Brake Conversion
When it comes to brakes, we’re a big fan of the disc brake system for multiple reasons. They are easy to inspect, require very little maintenance and require next to nothing for adjustments. Since we converted the rear to discs on our FC, it only made sense to convert the front as well. Follow along and we’ll show you how to install a front disc brake conversion.
Since we’re doing a full restoration, the steps are slightly different than a swap would be. Initially we’ll be starting from the bare essentials and building forward. If you plan to do this upgrade on an assembled axle, you’ll have to tear it down to the spindle.
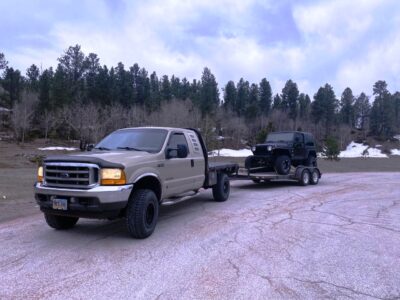
This conversion kit was sourced from the folks at www.KaiserWillys.com as was the rear conversion (www.JeepLifestyles.com). It comes with everything you will need with the exception of wheel studs if you plan on using aftermarket wheels. We discovered this on the rear conversion when we went to mount the new wheels. The studs included were too short to adequately provide enough threads for the lug nuts to secure the wheel. Obviously you want the wheels solidly mounted, make sure you check the stud length to ensure they’re long enough.
The kit does come with instructions but they are a bit vague. They don’t have a parts breakdown or any described order in which they install. The pictures are so small, they’re almost impossible to see the detail and hard to decipher. There is a version online that has clearer pictures, but we hope this detailed installation will help clarify the install.
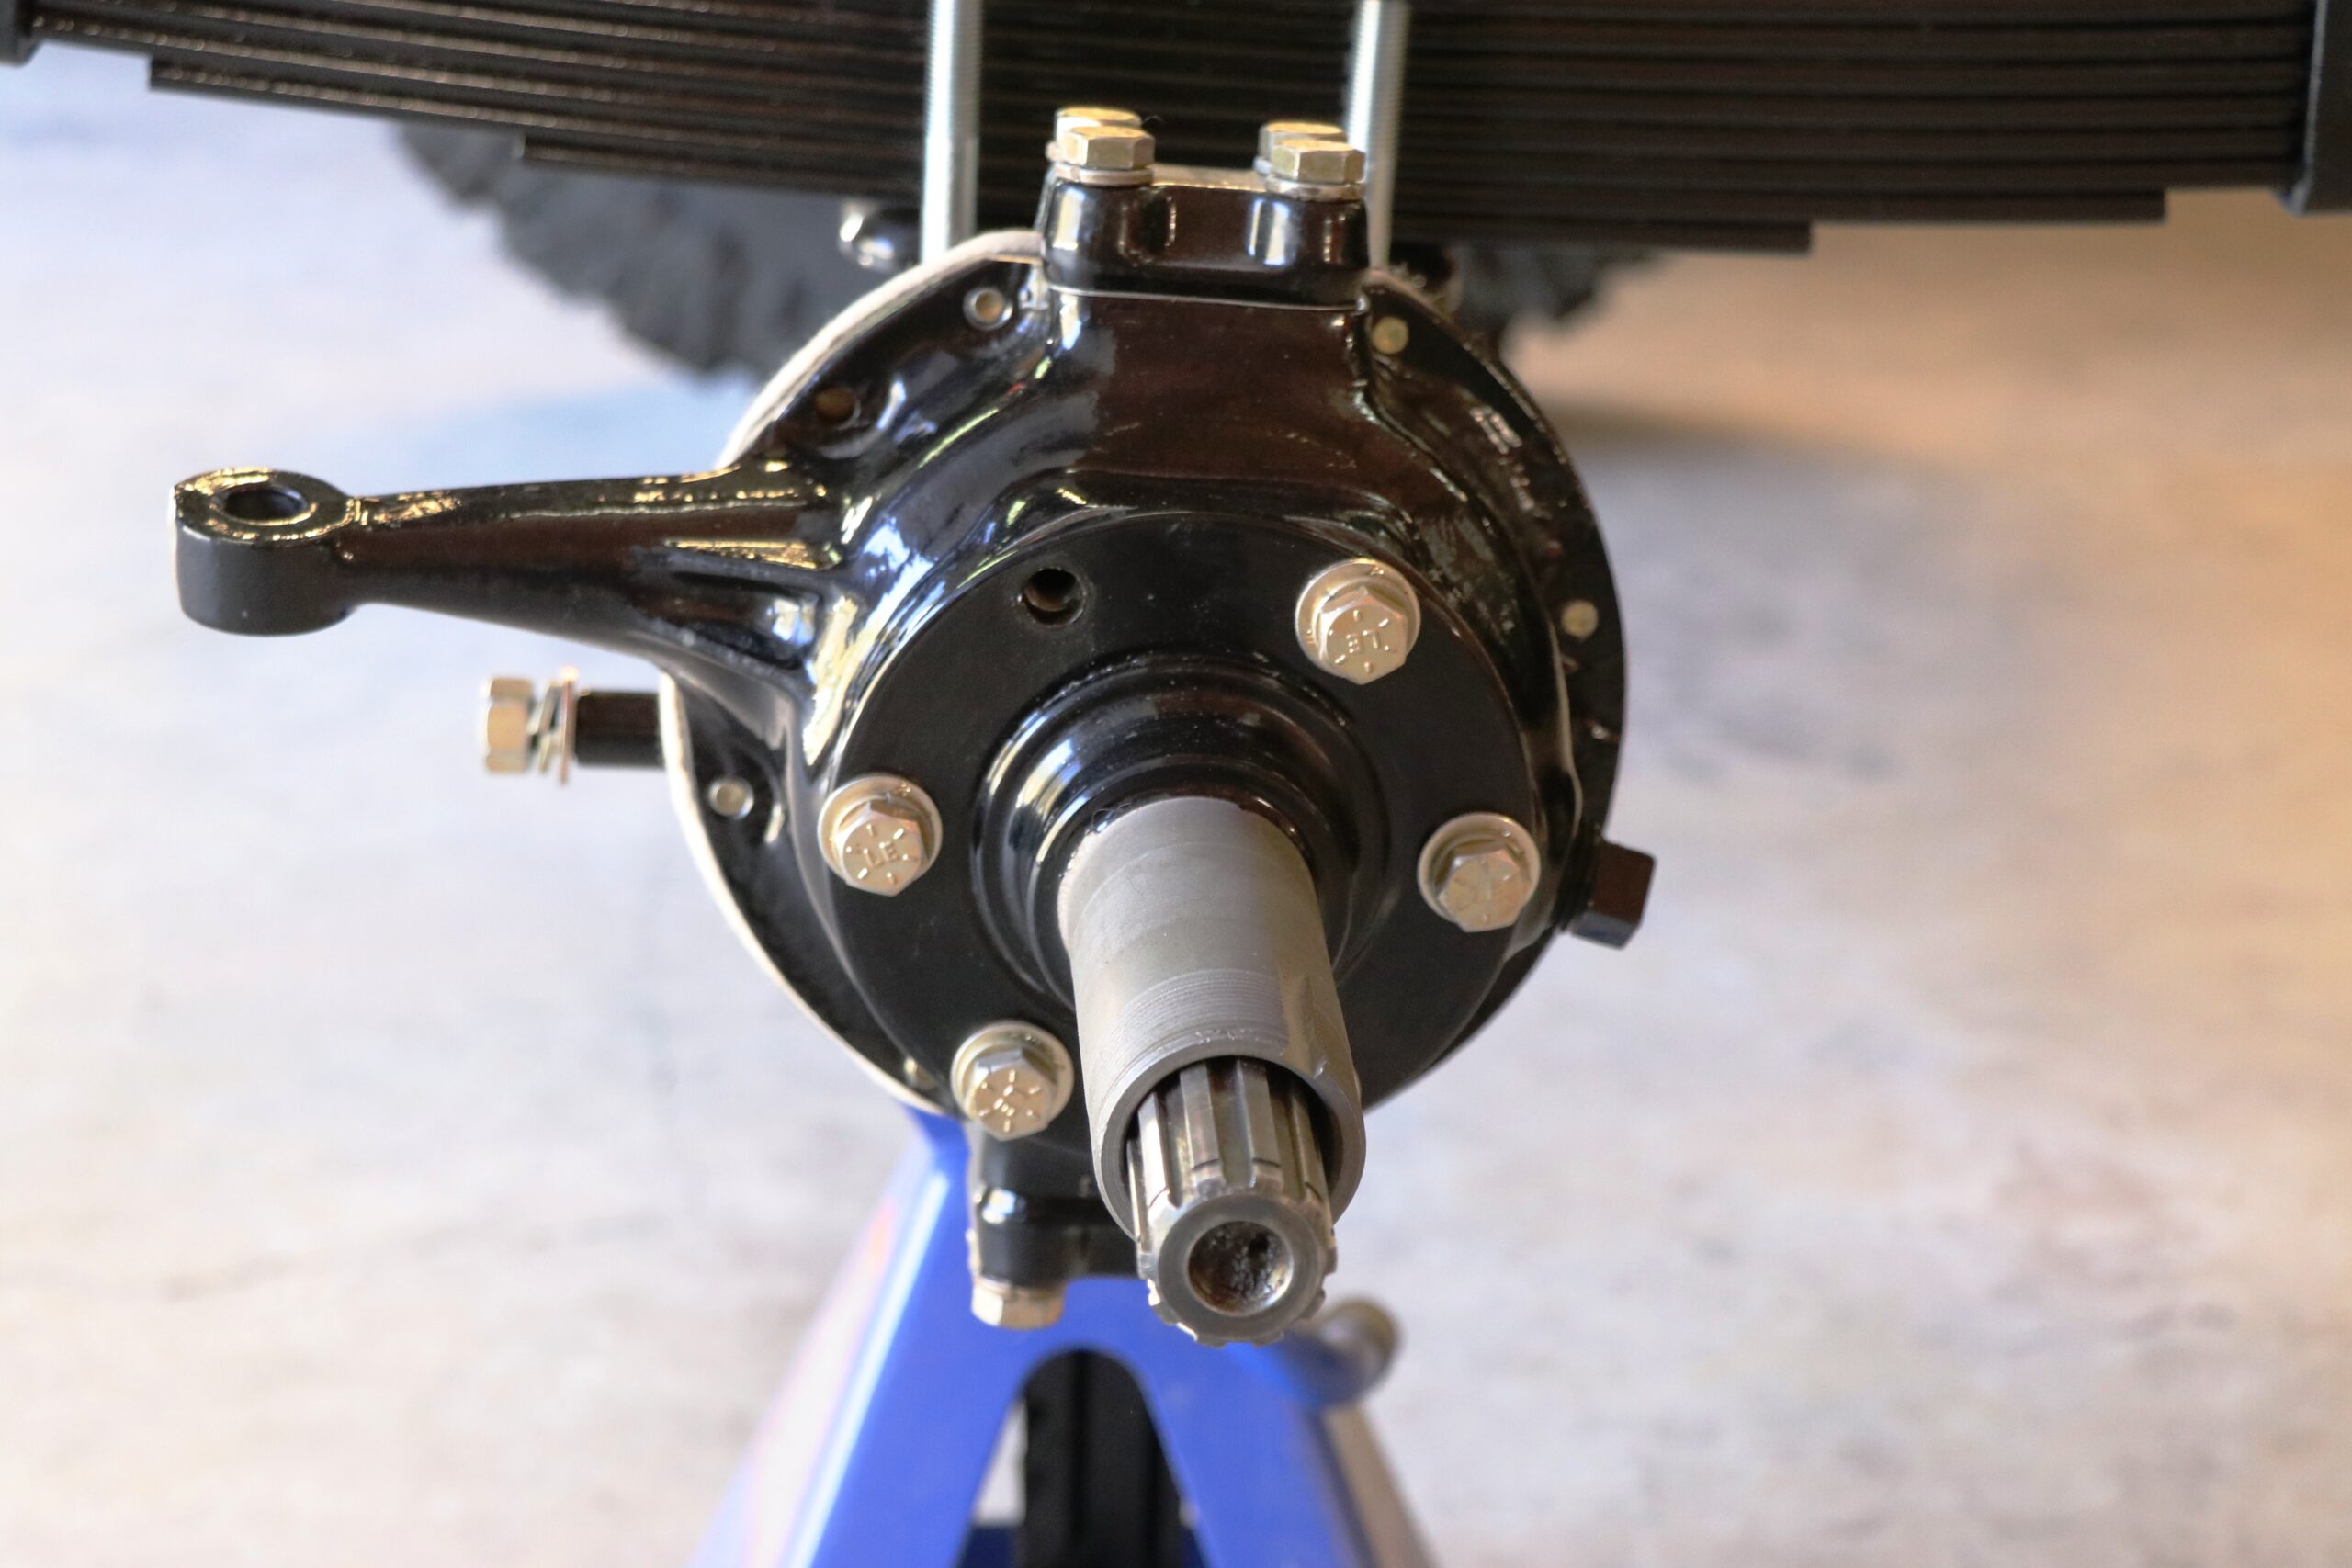
First step, unpack the kit (if sourced as a kit from www.Kaiserwillys.com) and check to make sure you have everything. From there, if you have an assembled axle you’ll want to strip it down. Take the wheels, the brake drums and hubs off so you have it stripped down to the spindle. You can inspect the bearings but in all reality, it just makes sense to replace all seals and bearings. The kit provides new bearings so plan on using them. You definitely want to take time to inspect the spindle for excessive wear or damage as well.
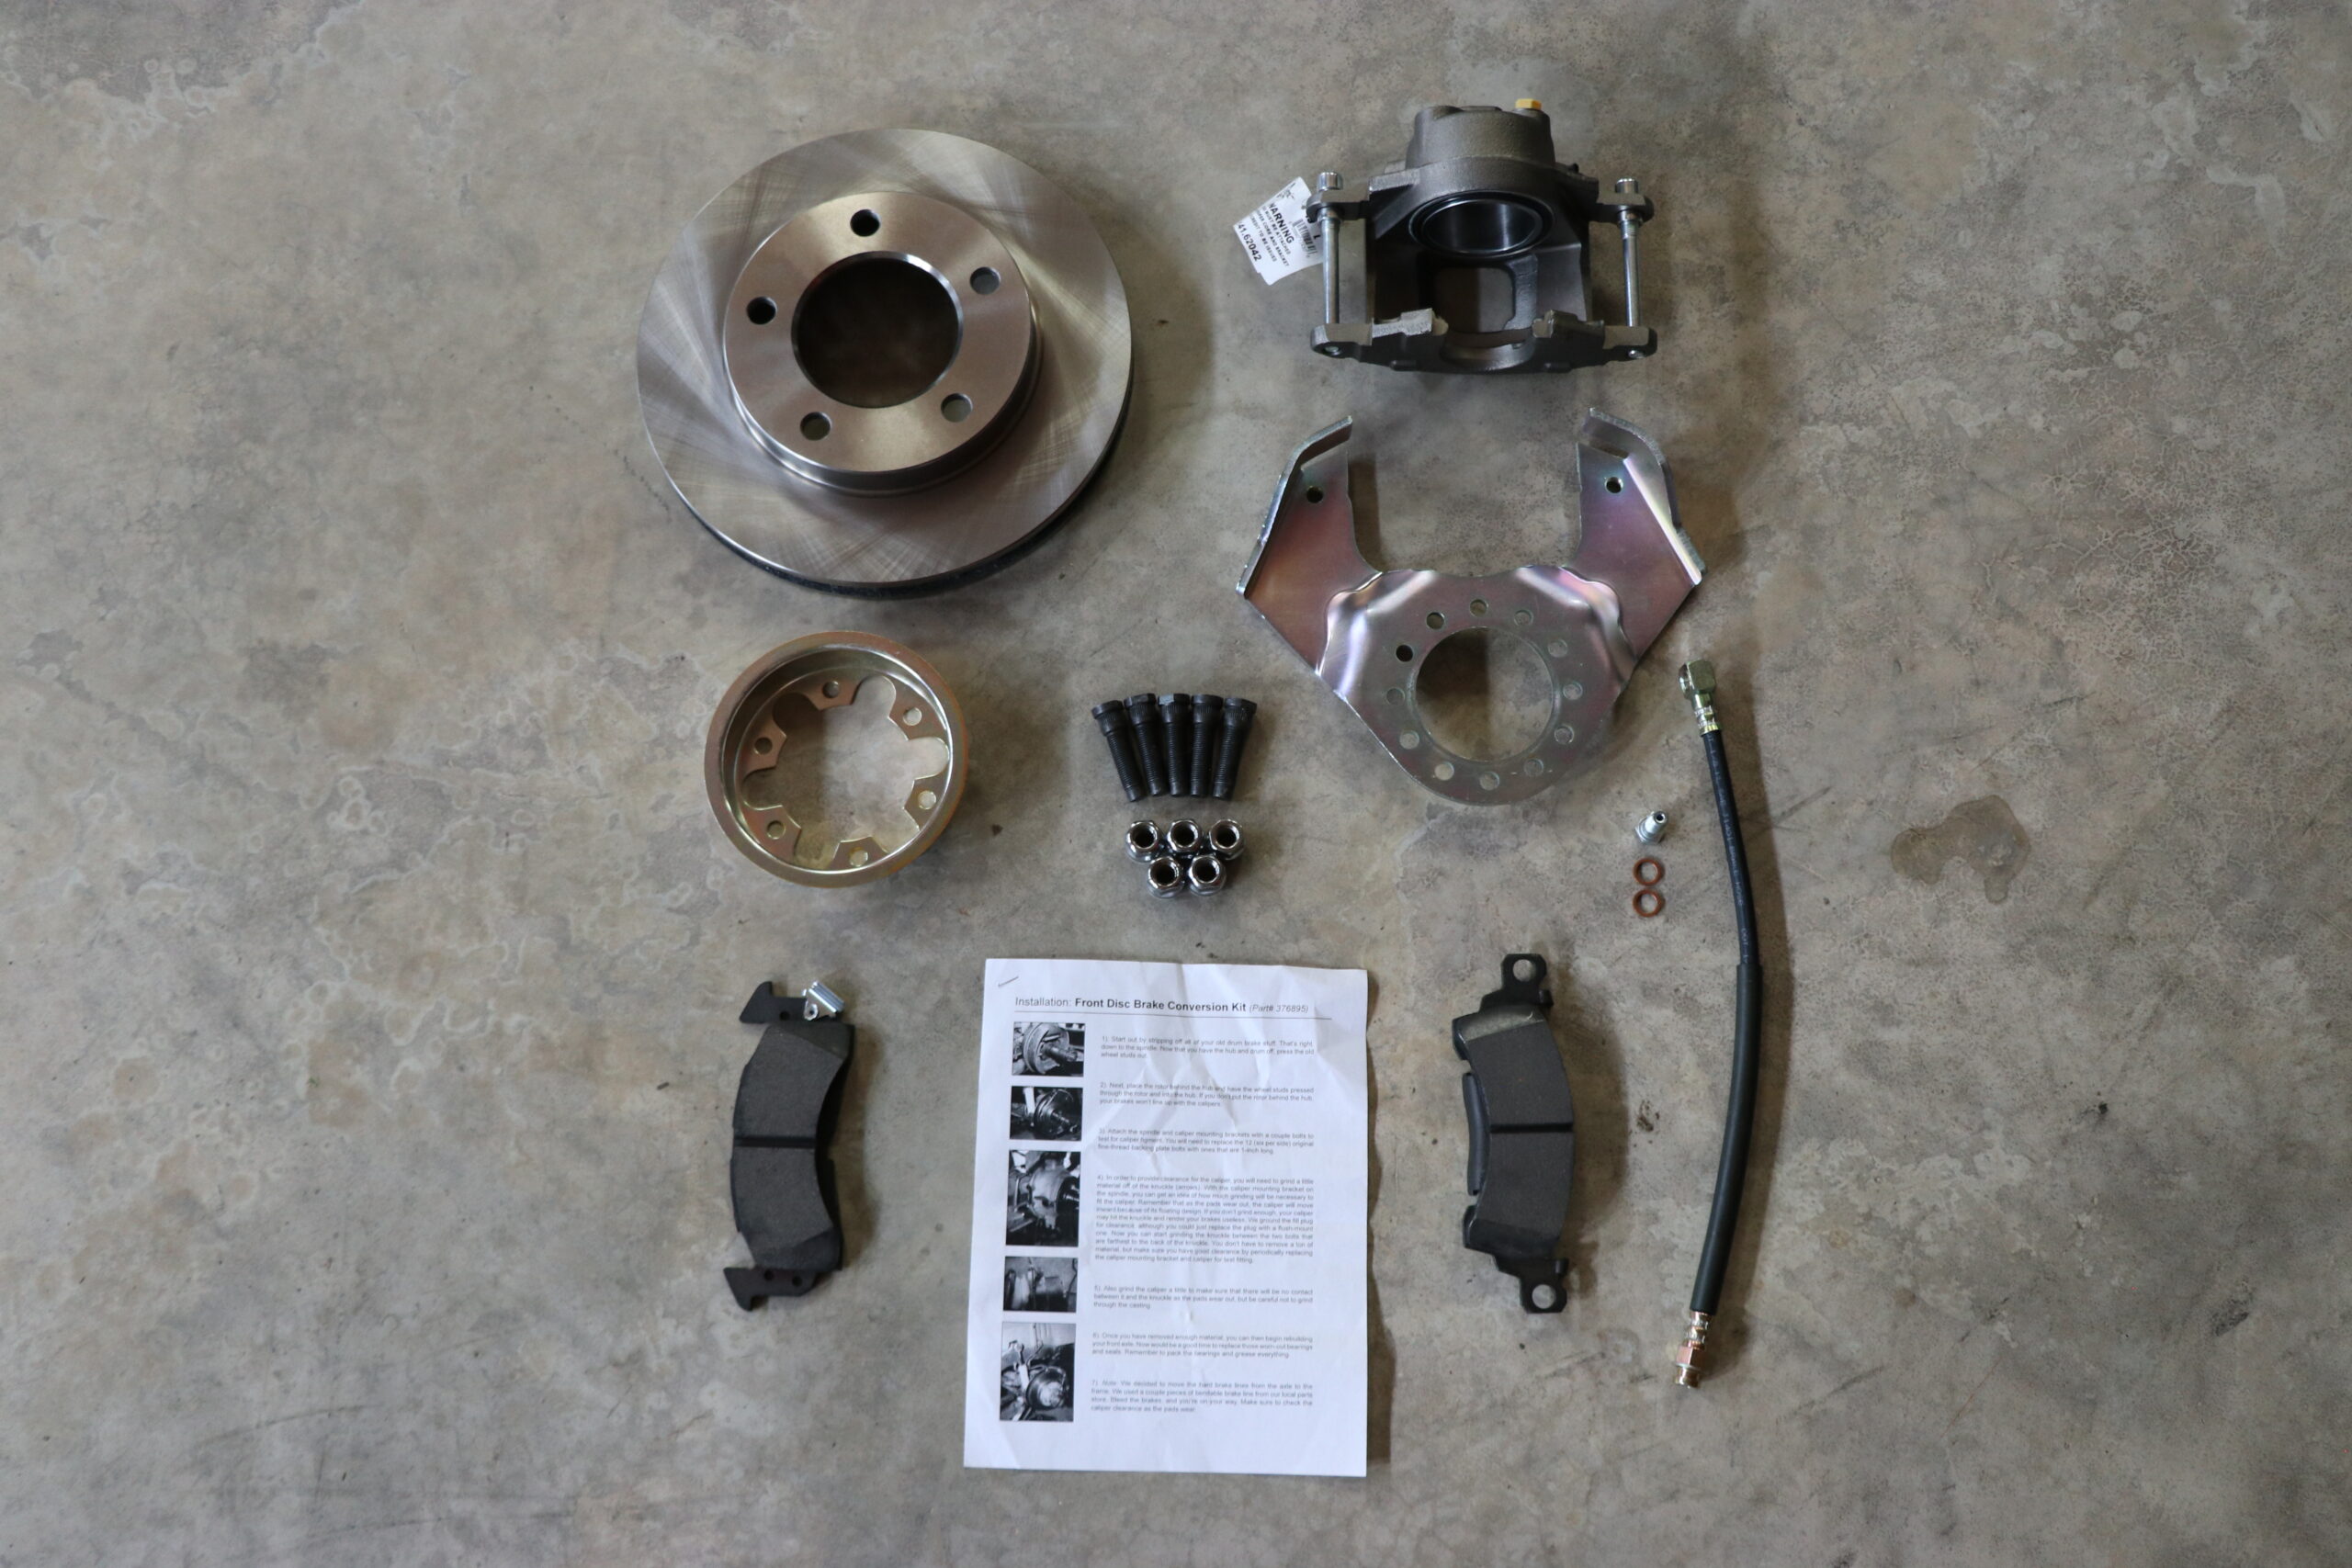
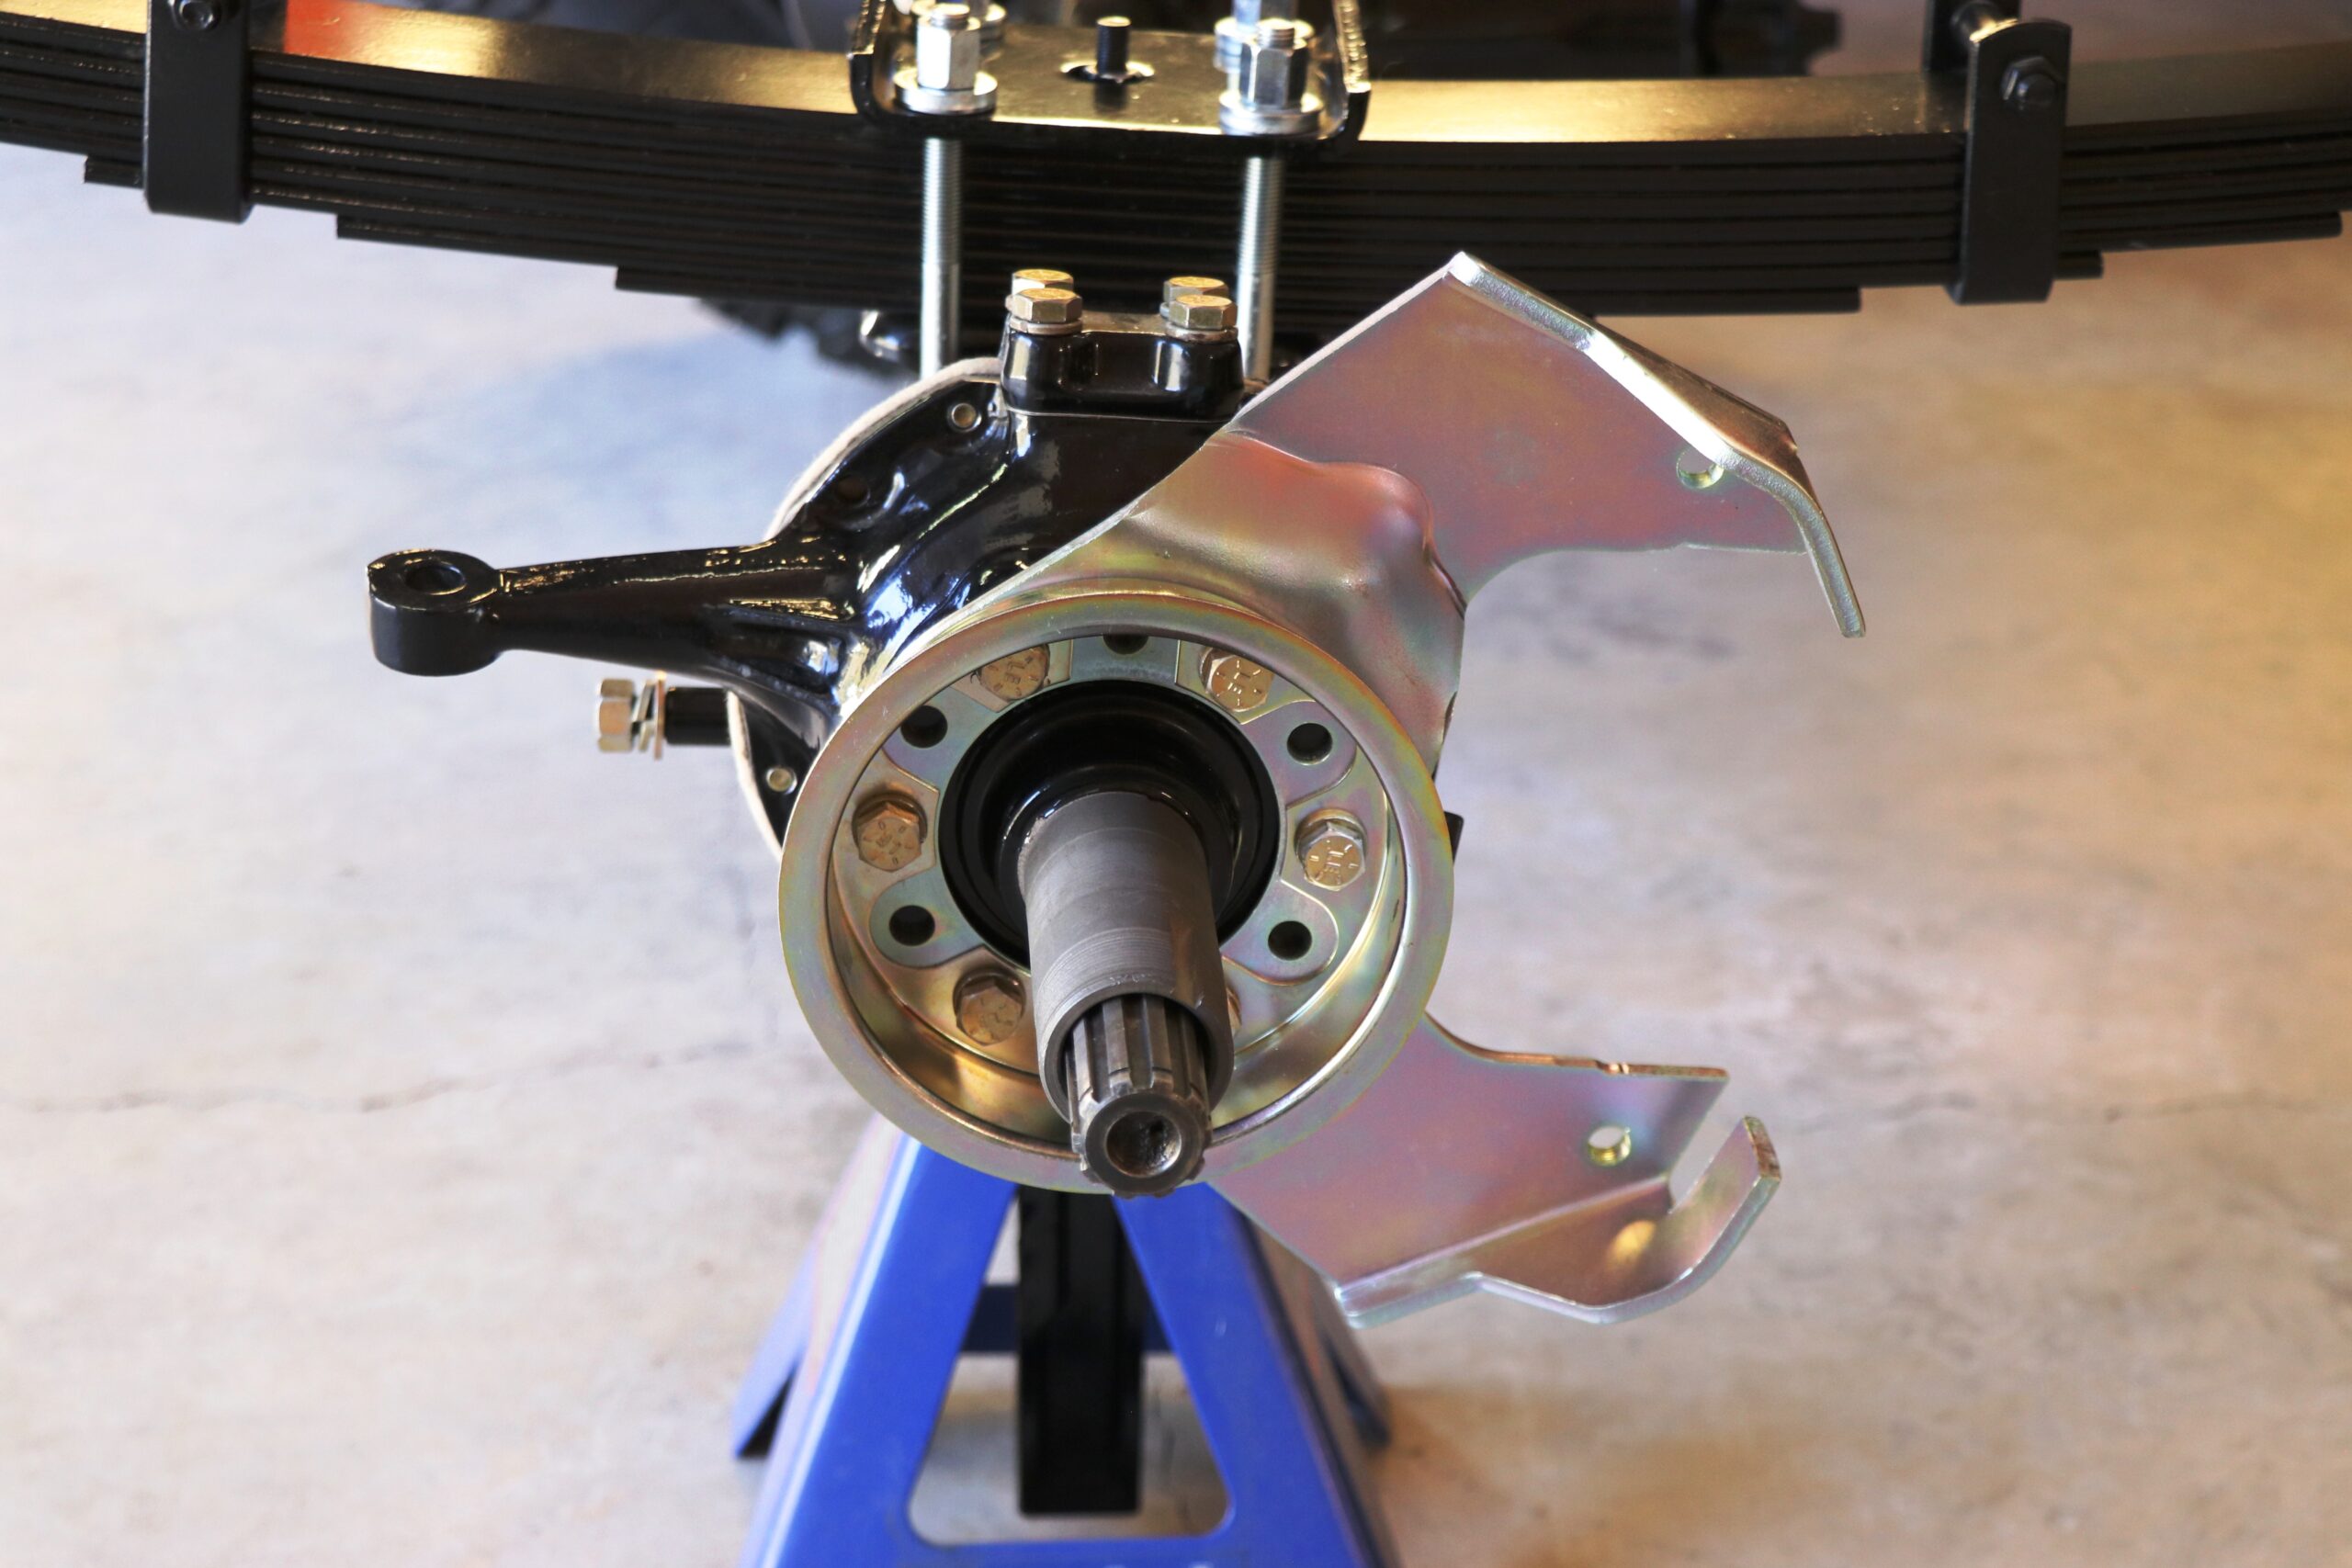
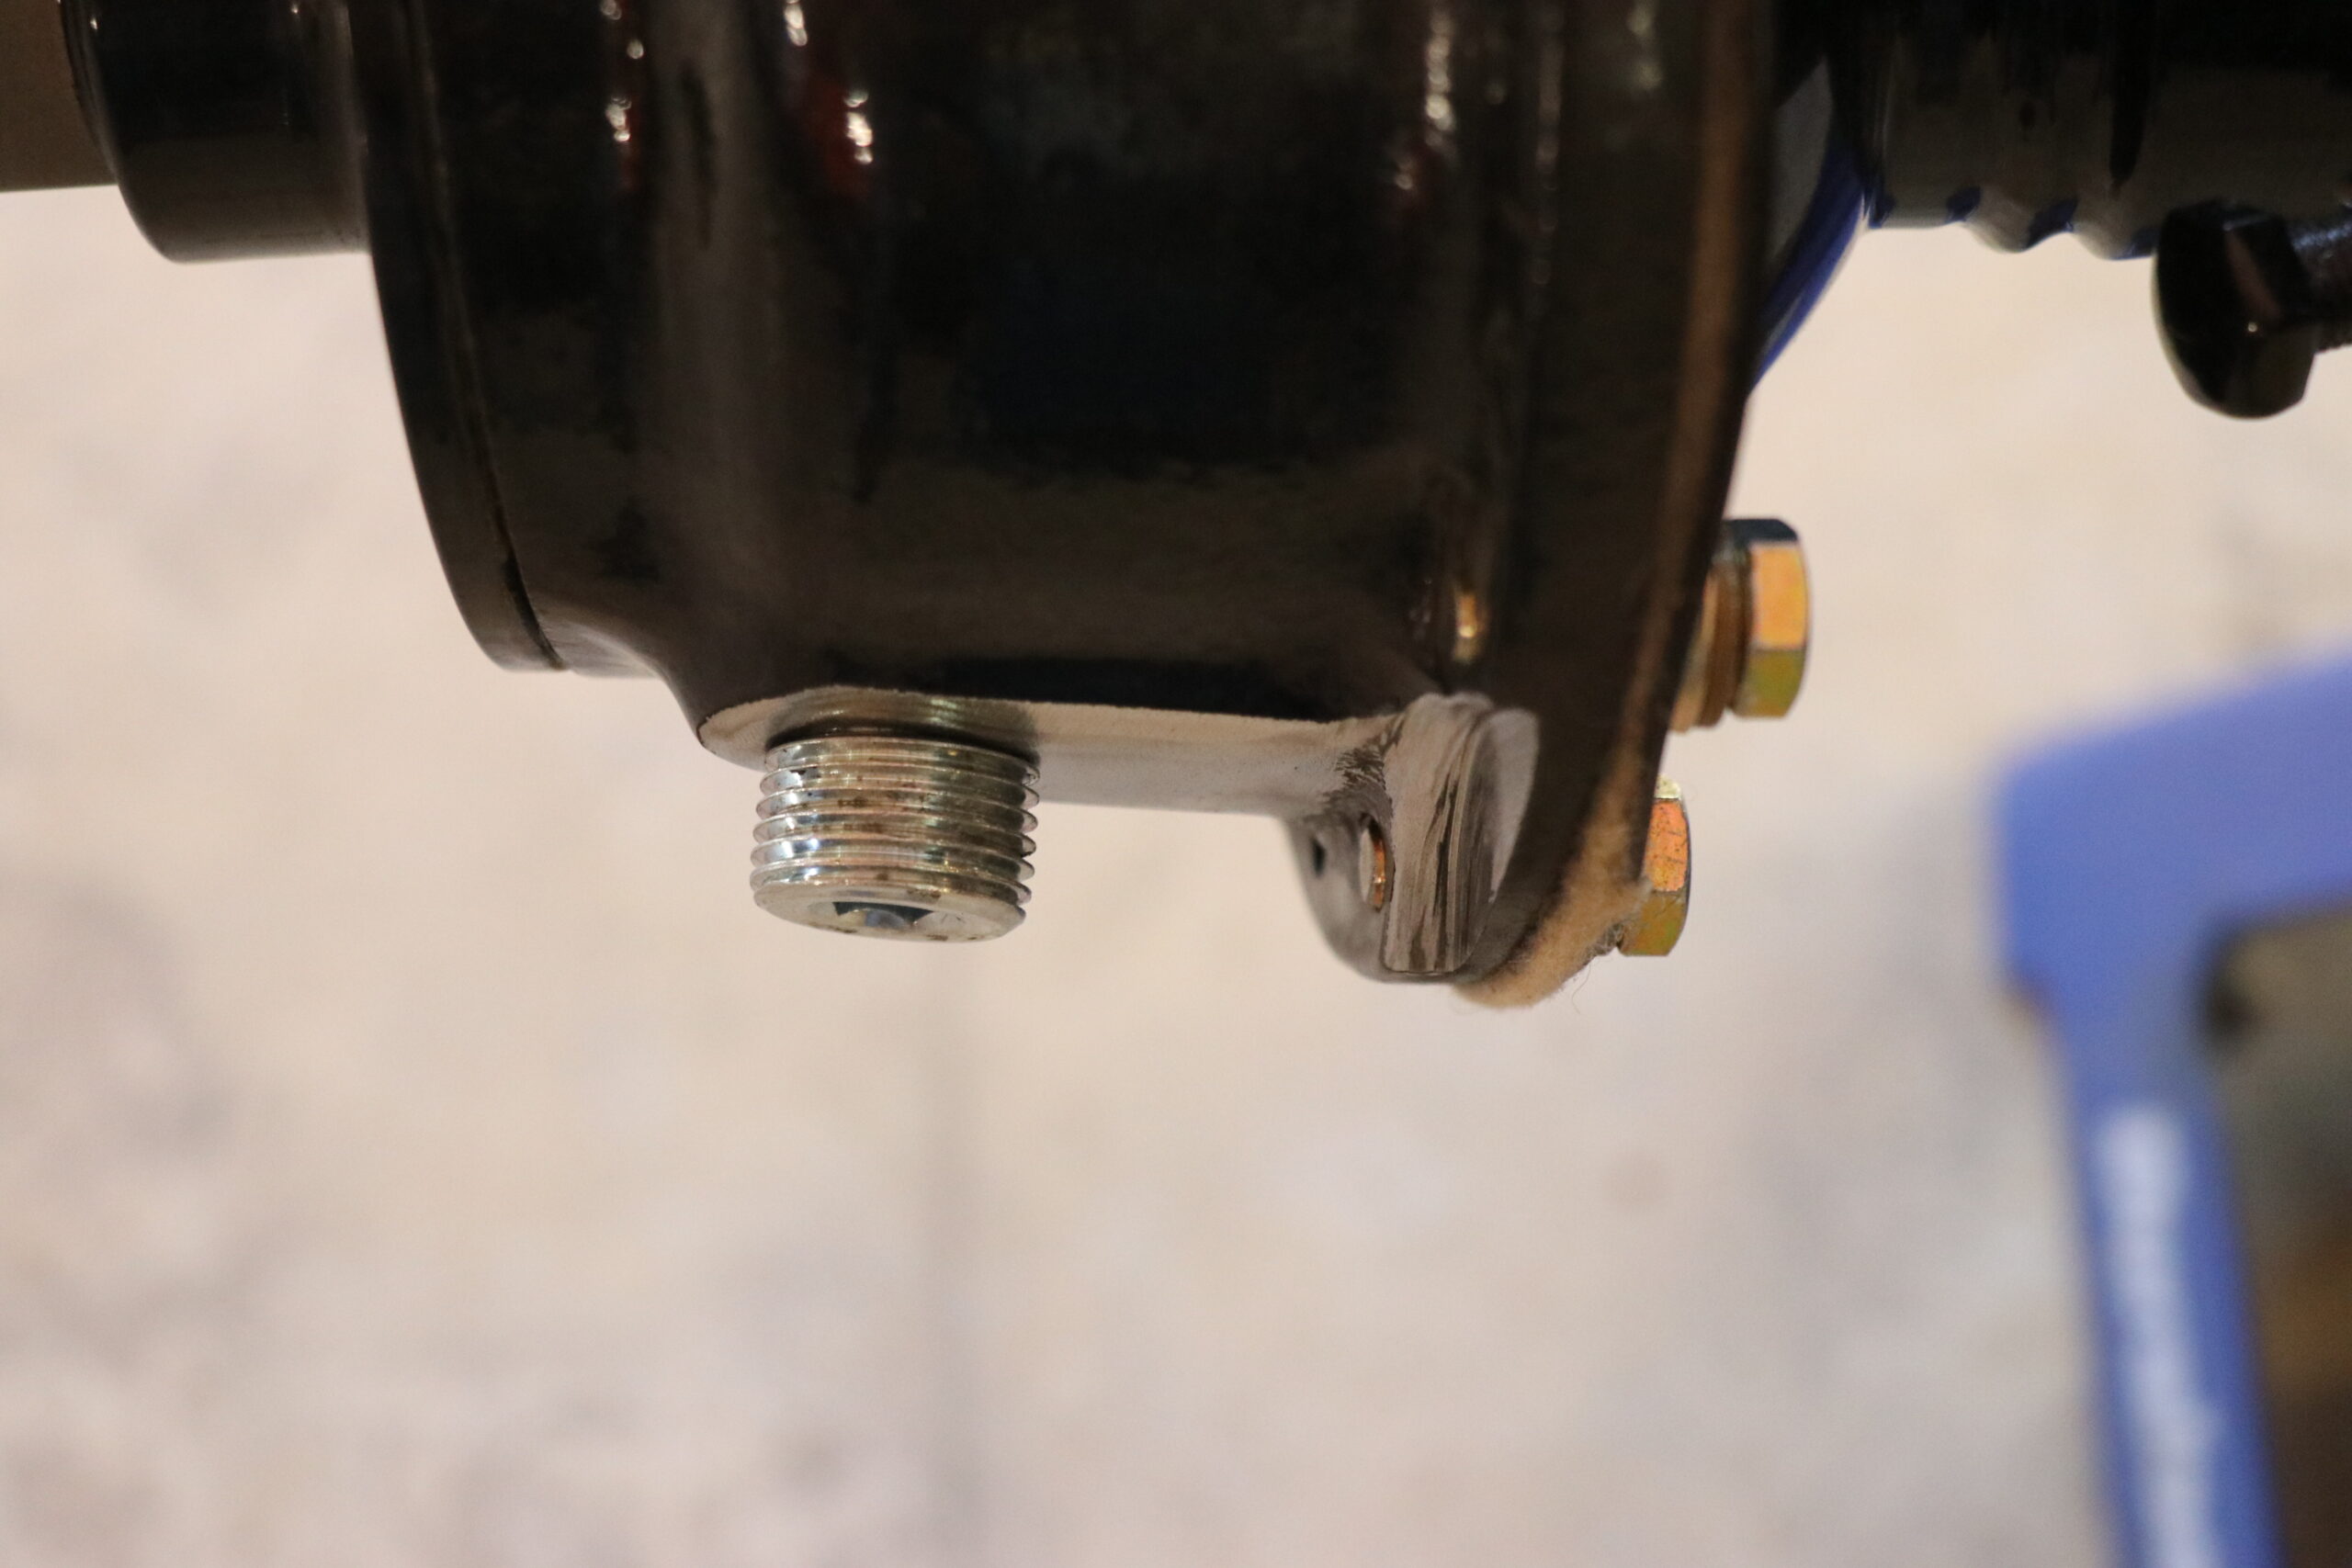
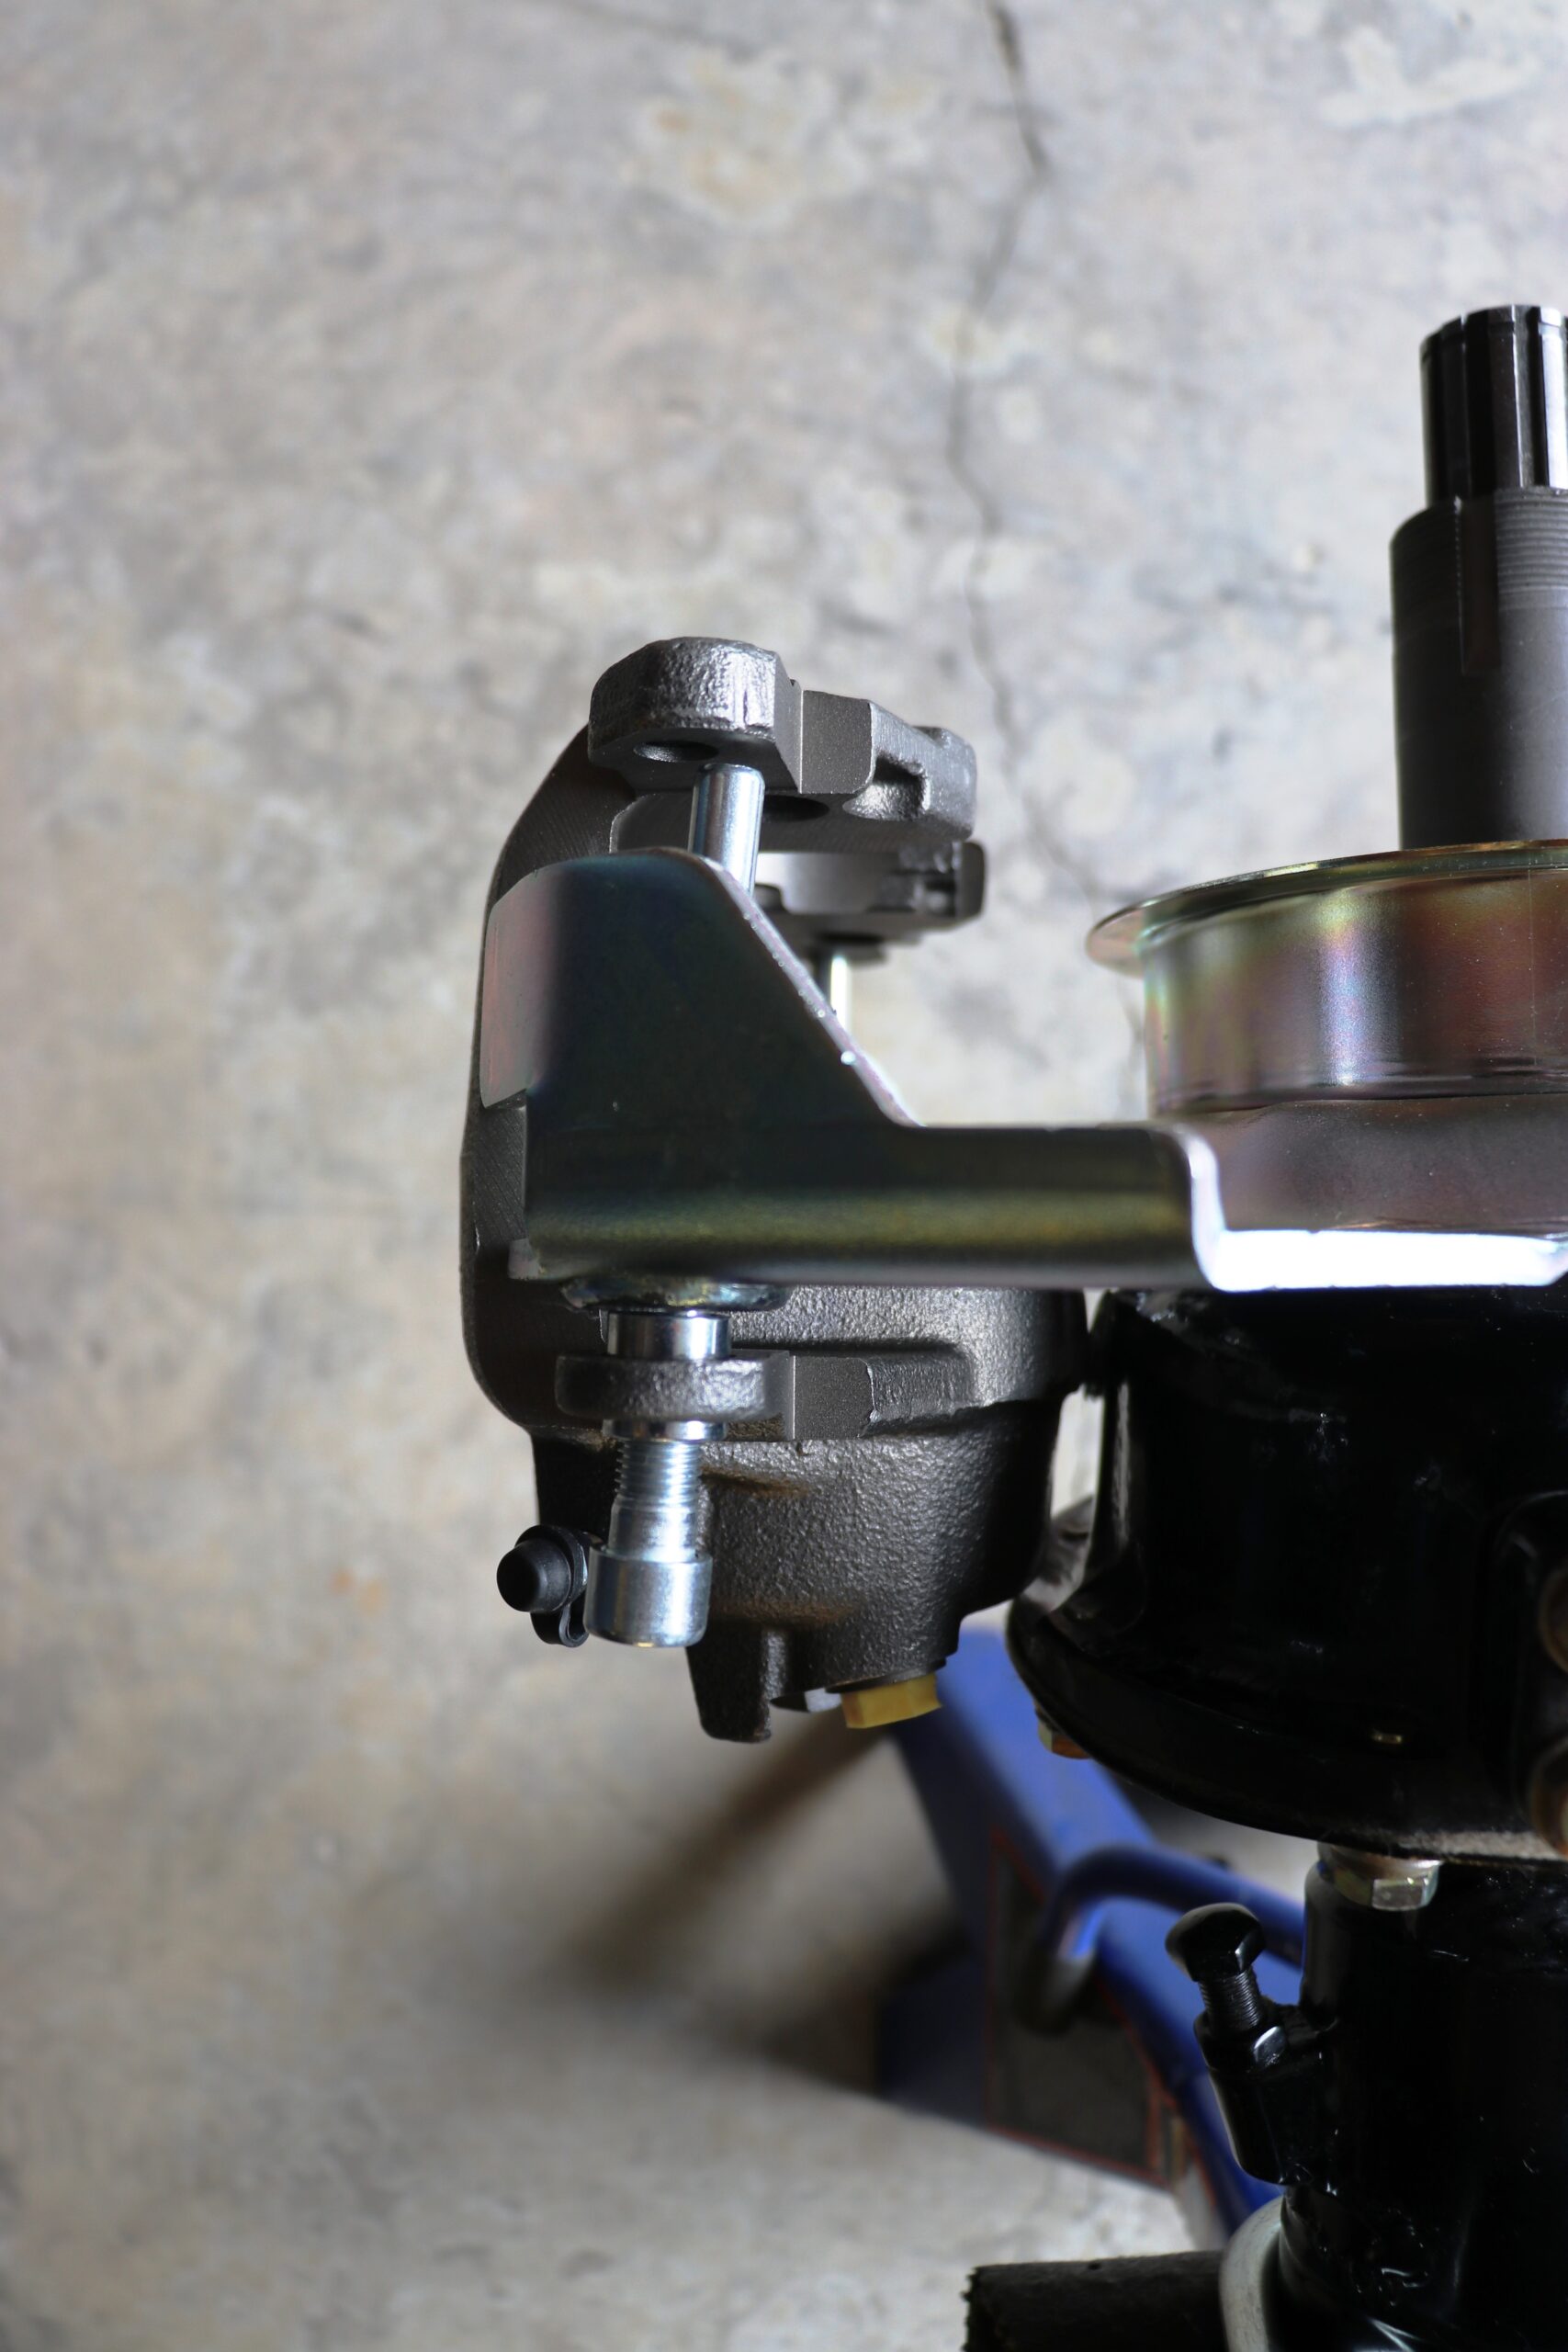
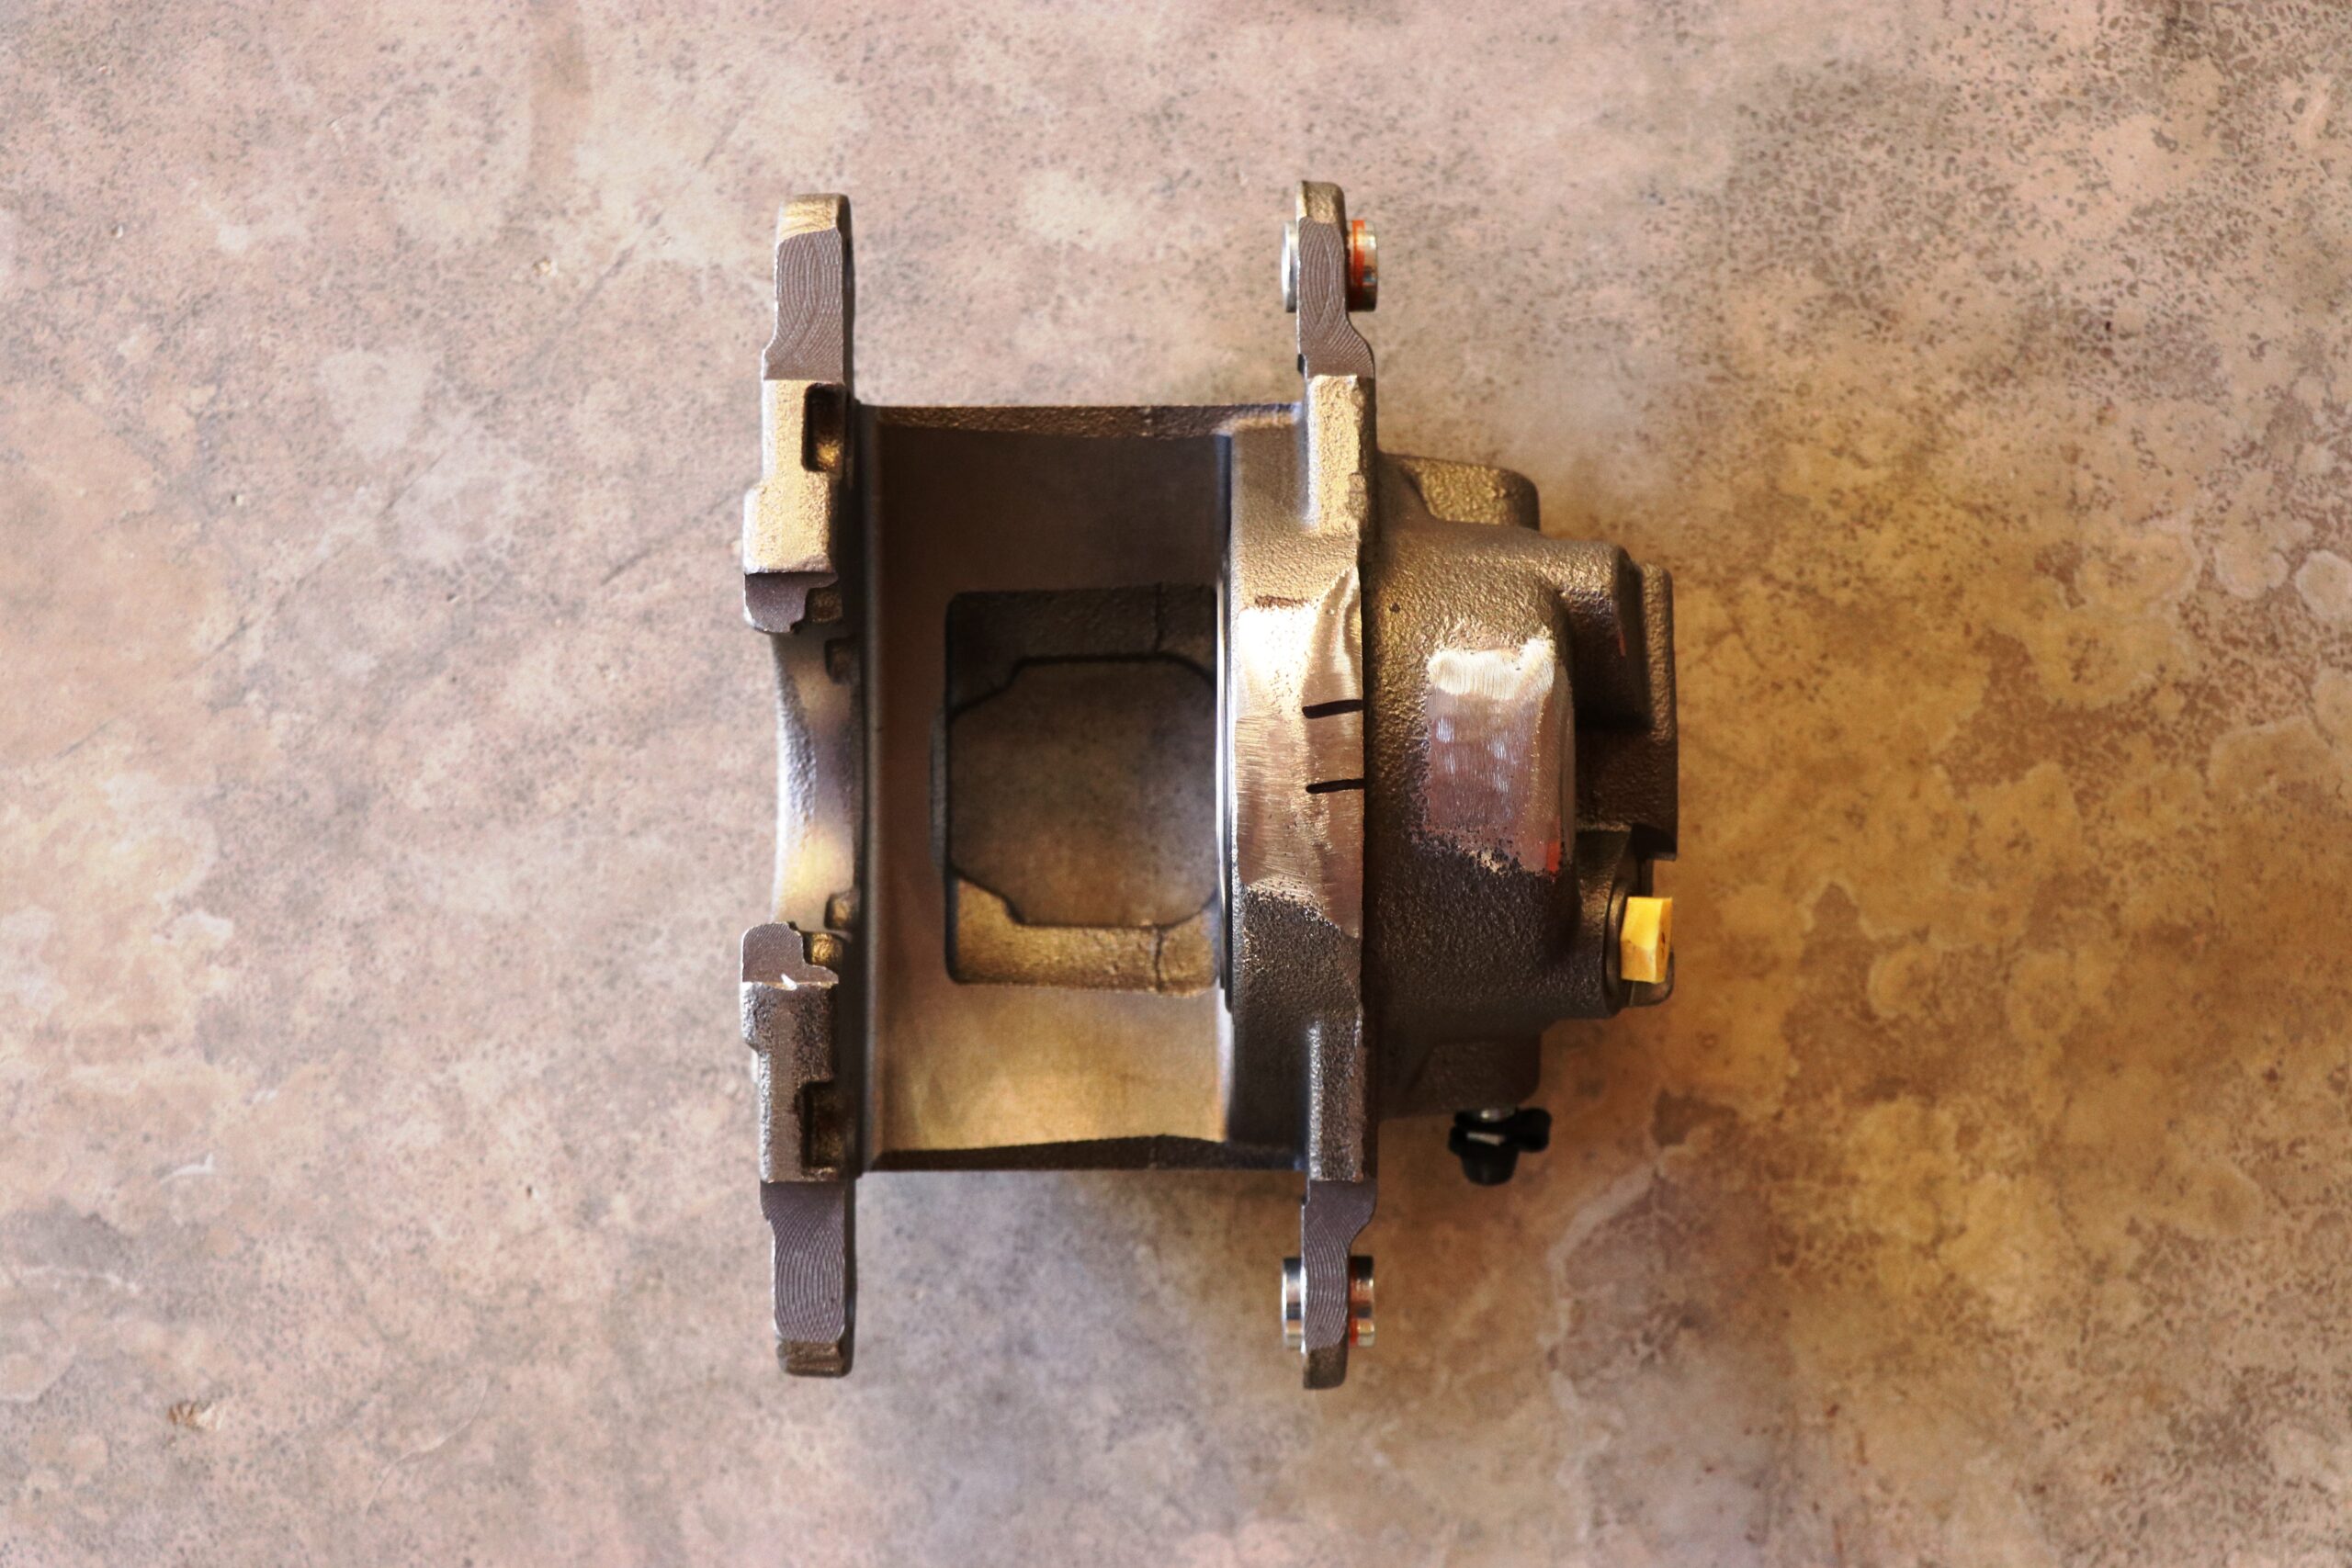
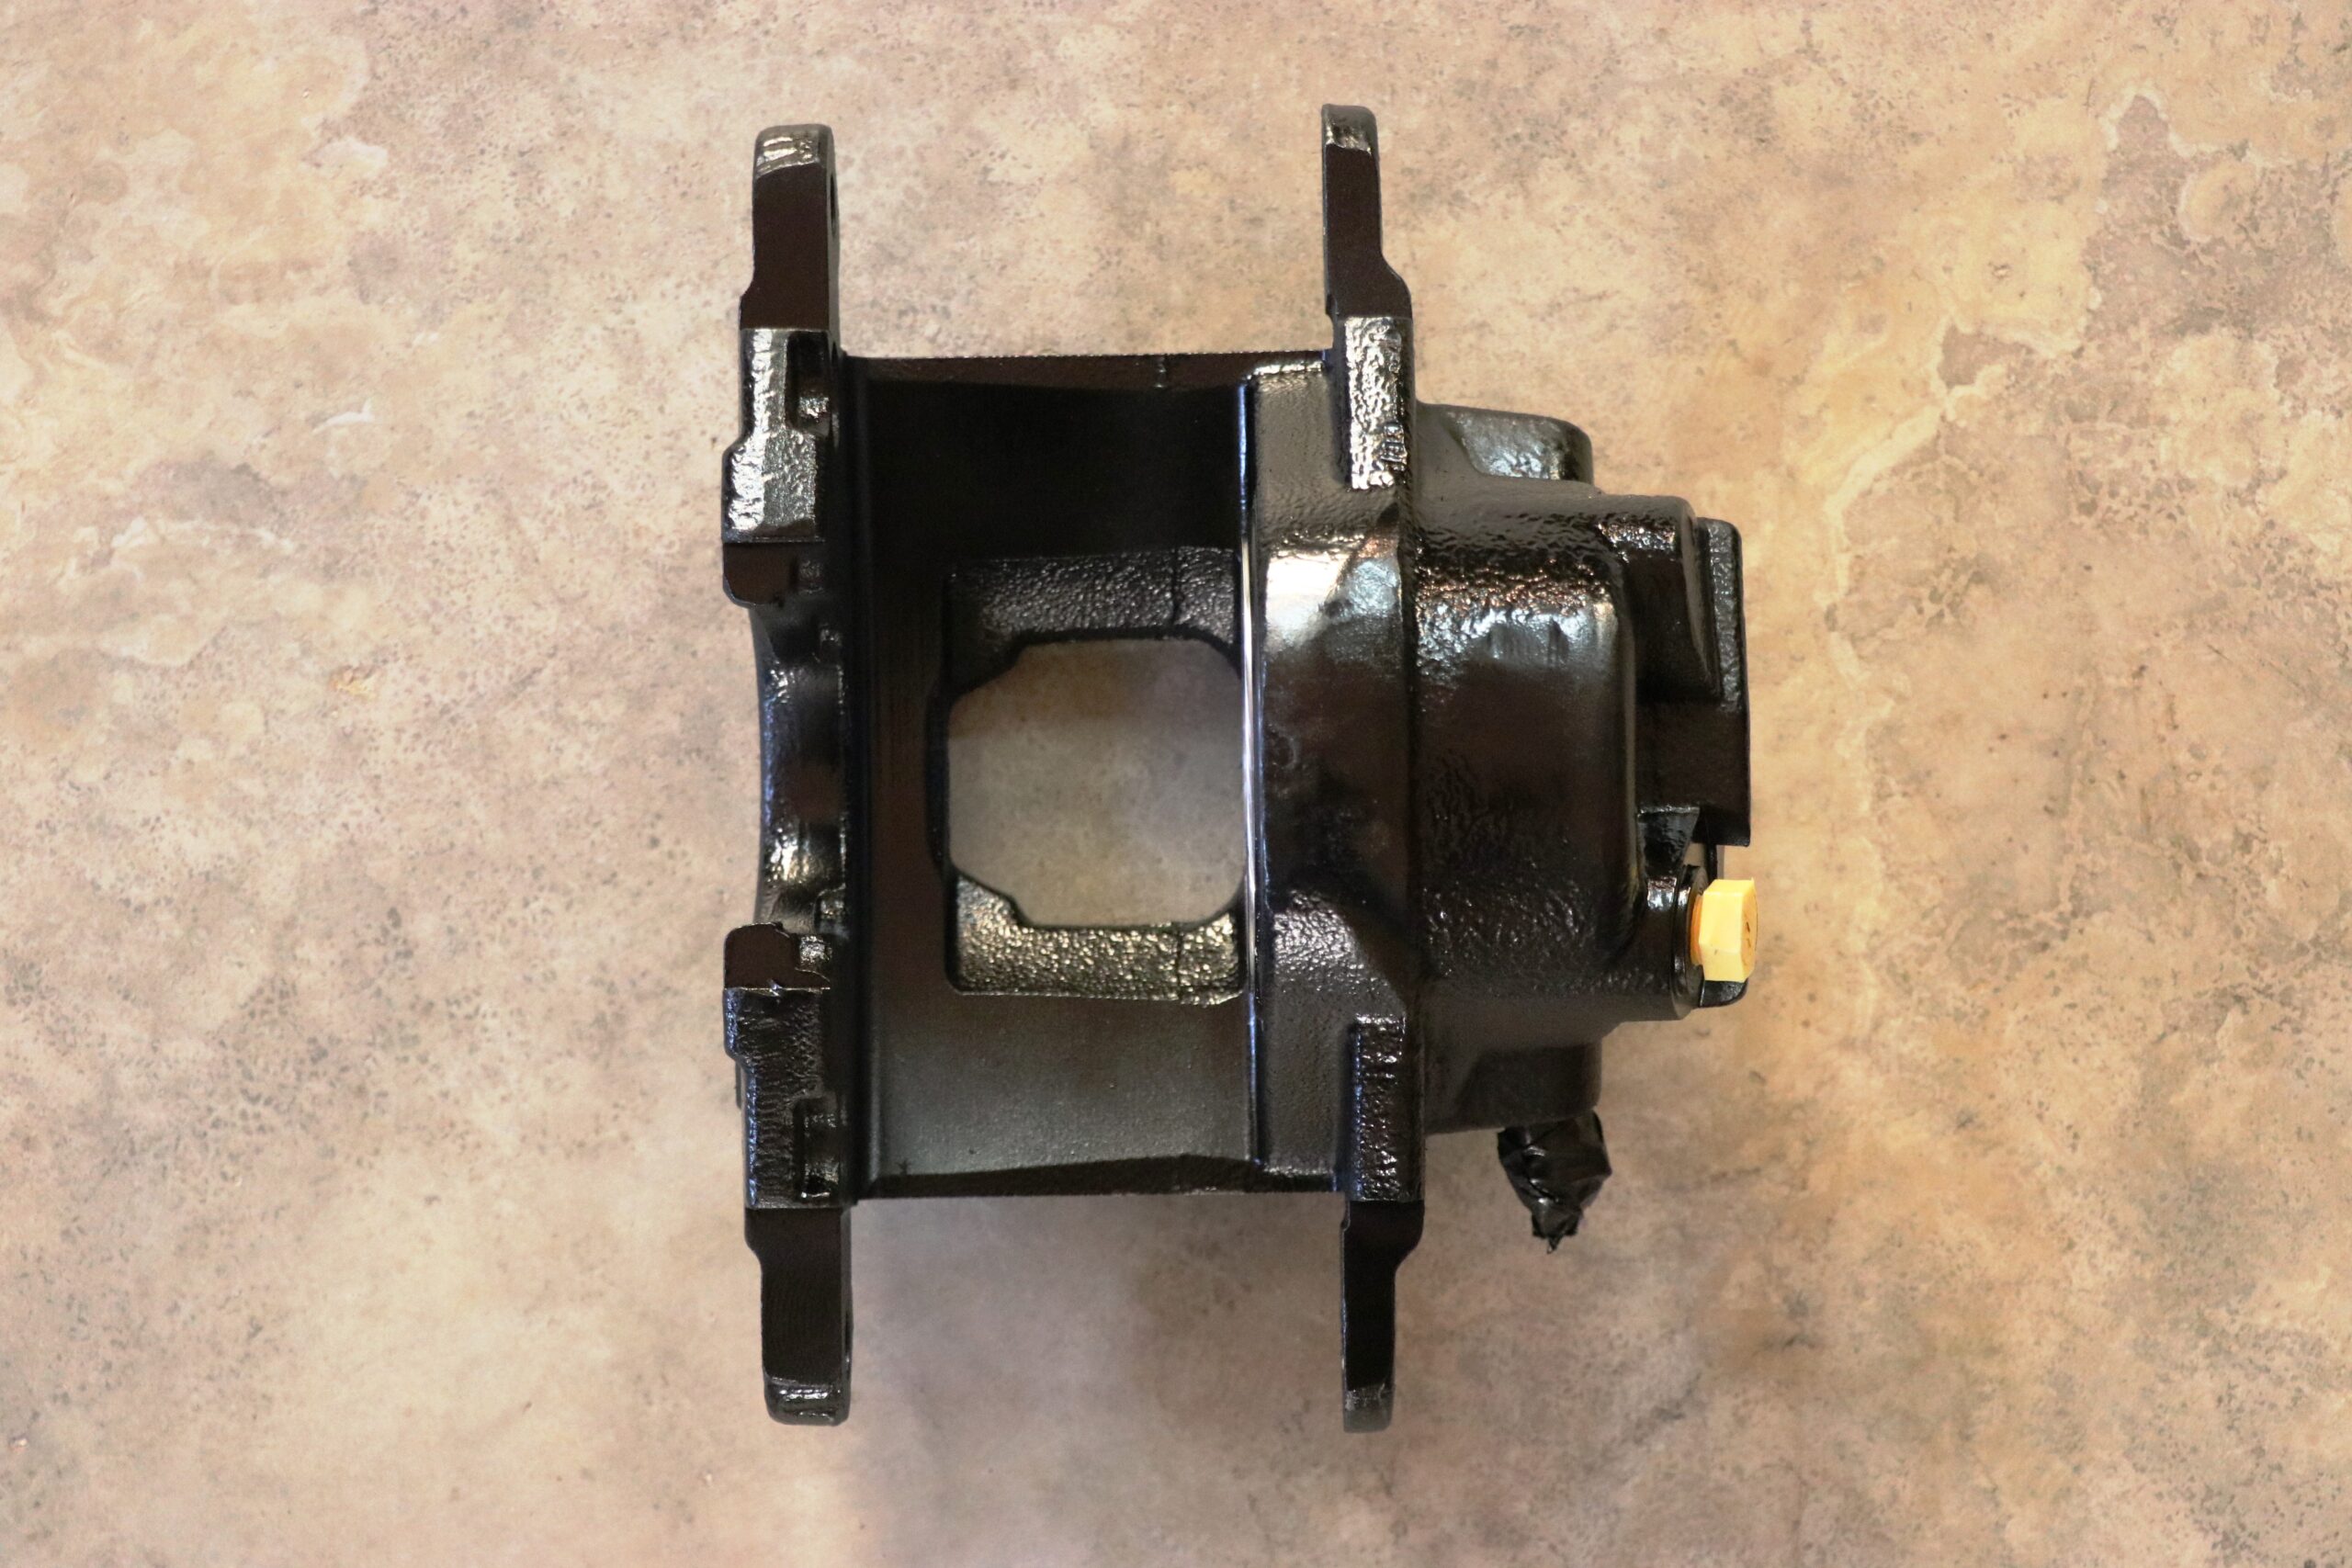
Next you’ll take the rotor and the hub and press the studs. The rotor must be mounted behind the hub to ensure proper alignment with the caliper. If you don’t have a press you can use an impact wrench and a nut. You will use one of the lug nuts to pull the stud tight through the hub and rotor. Once those are assembled take the six new, longer spindle bolts and mount the caliper bracket and dust shield. We mounted the caliper bracket in the 3 o’clock position on the driver’s side and 9 o’clock on the passenger. With the brackets in place you’ll begin checking the clearance between the caliper and the fill plug on the knuckle.

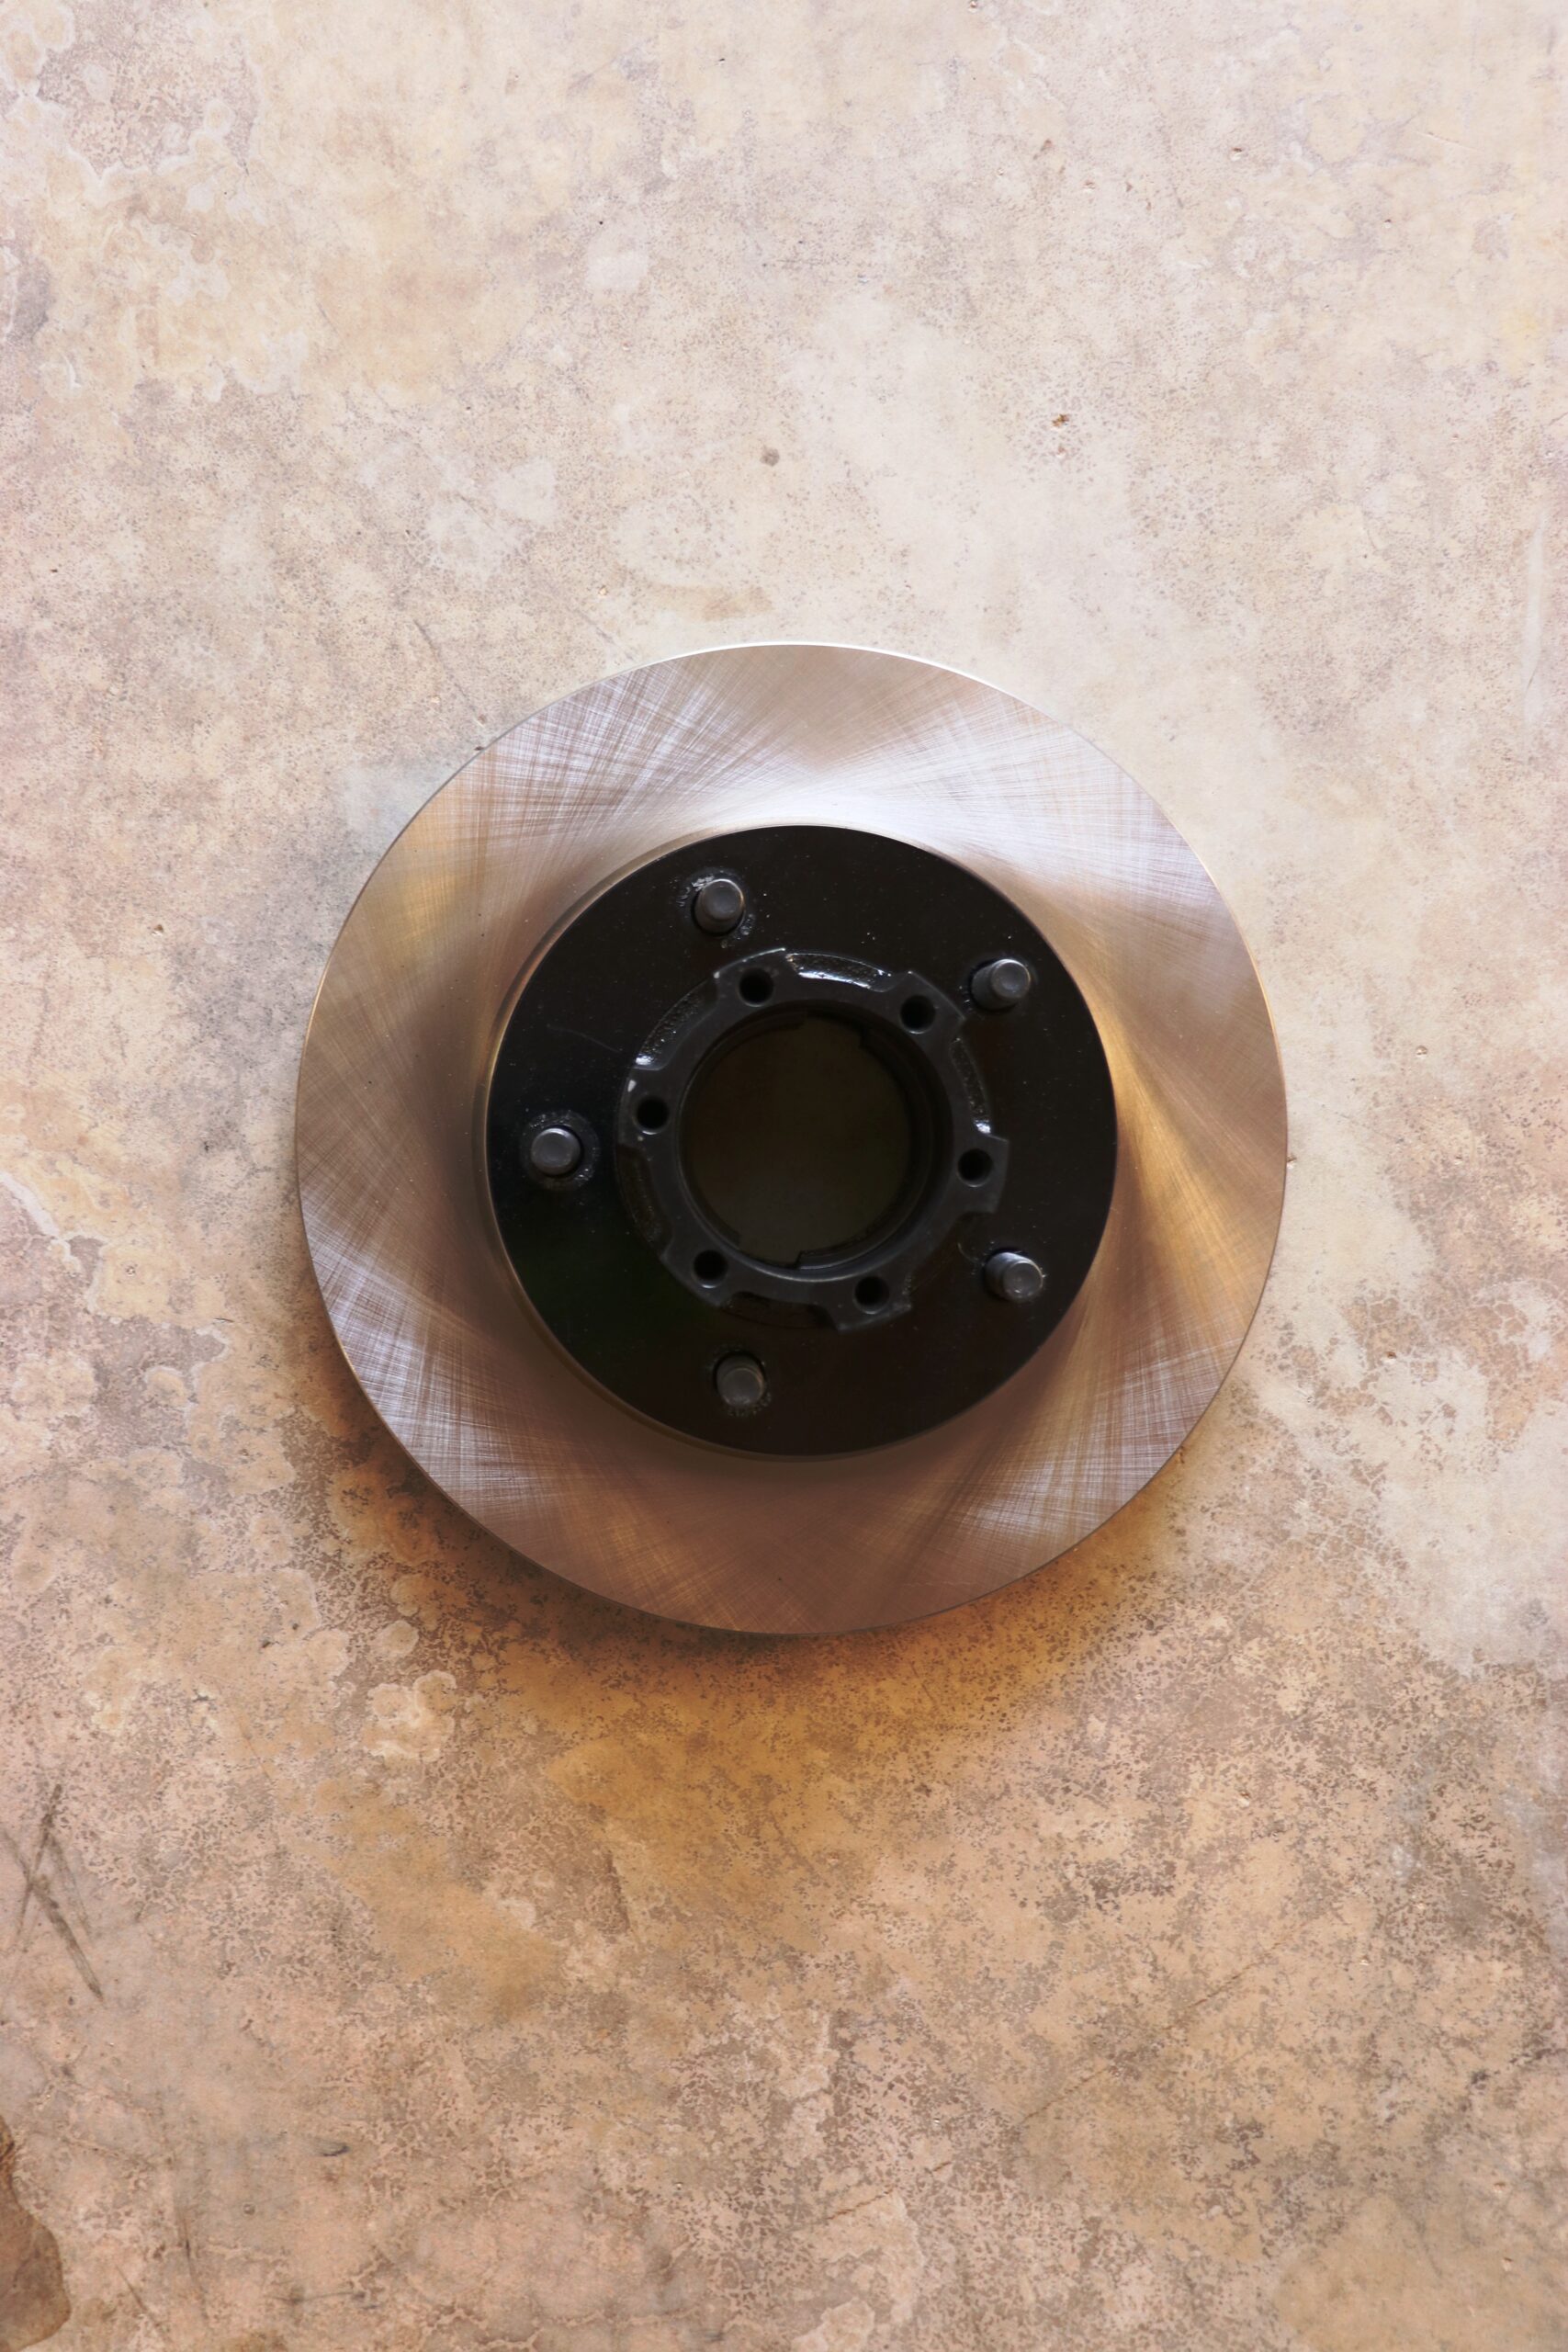


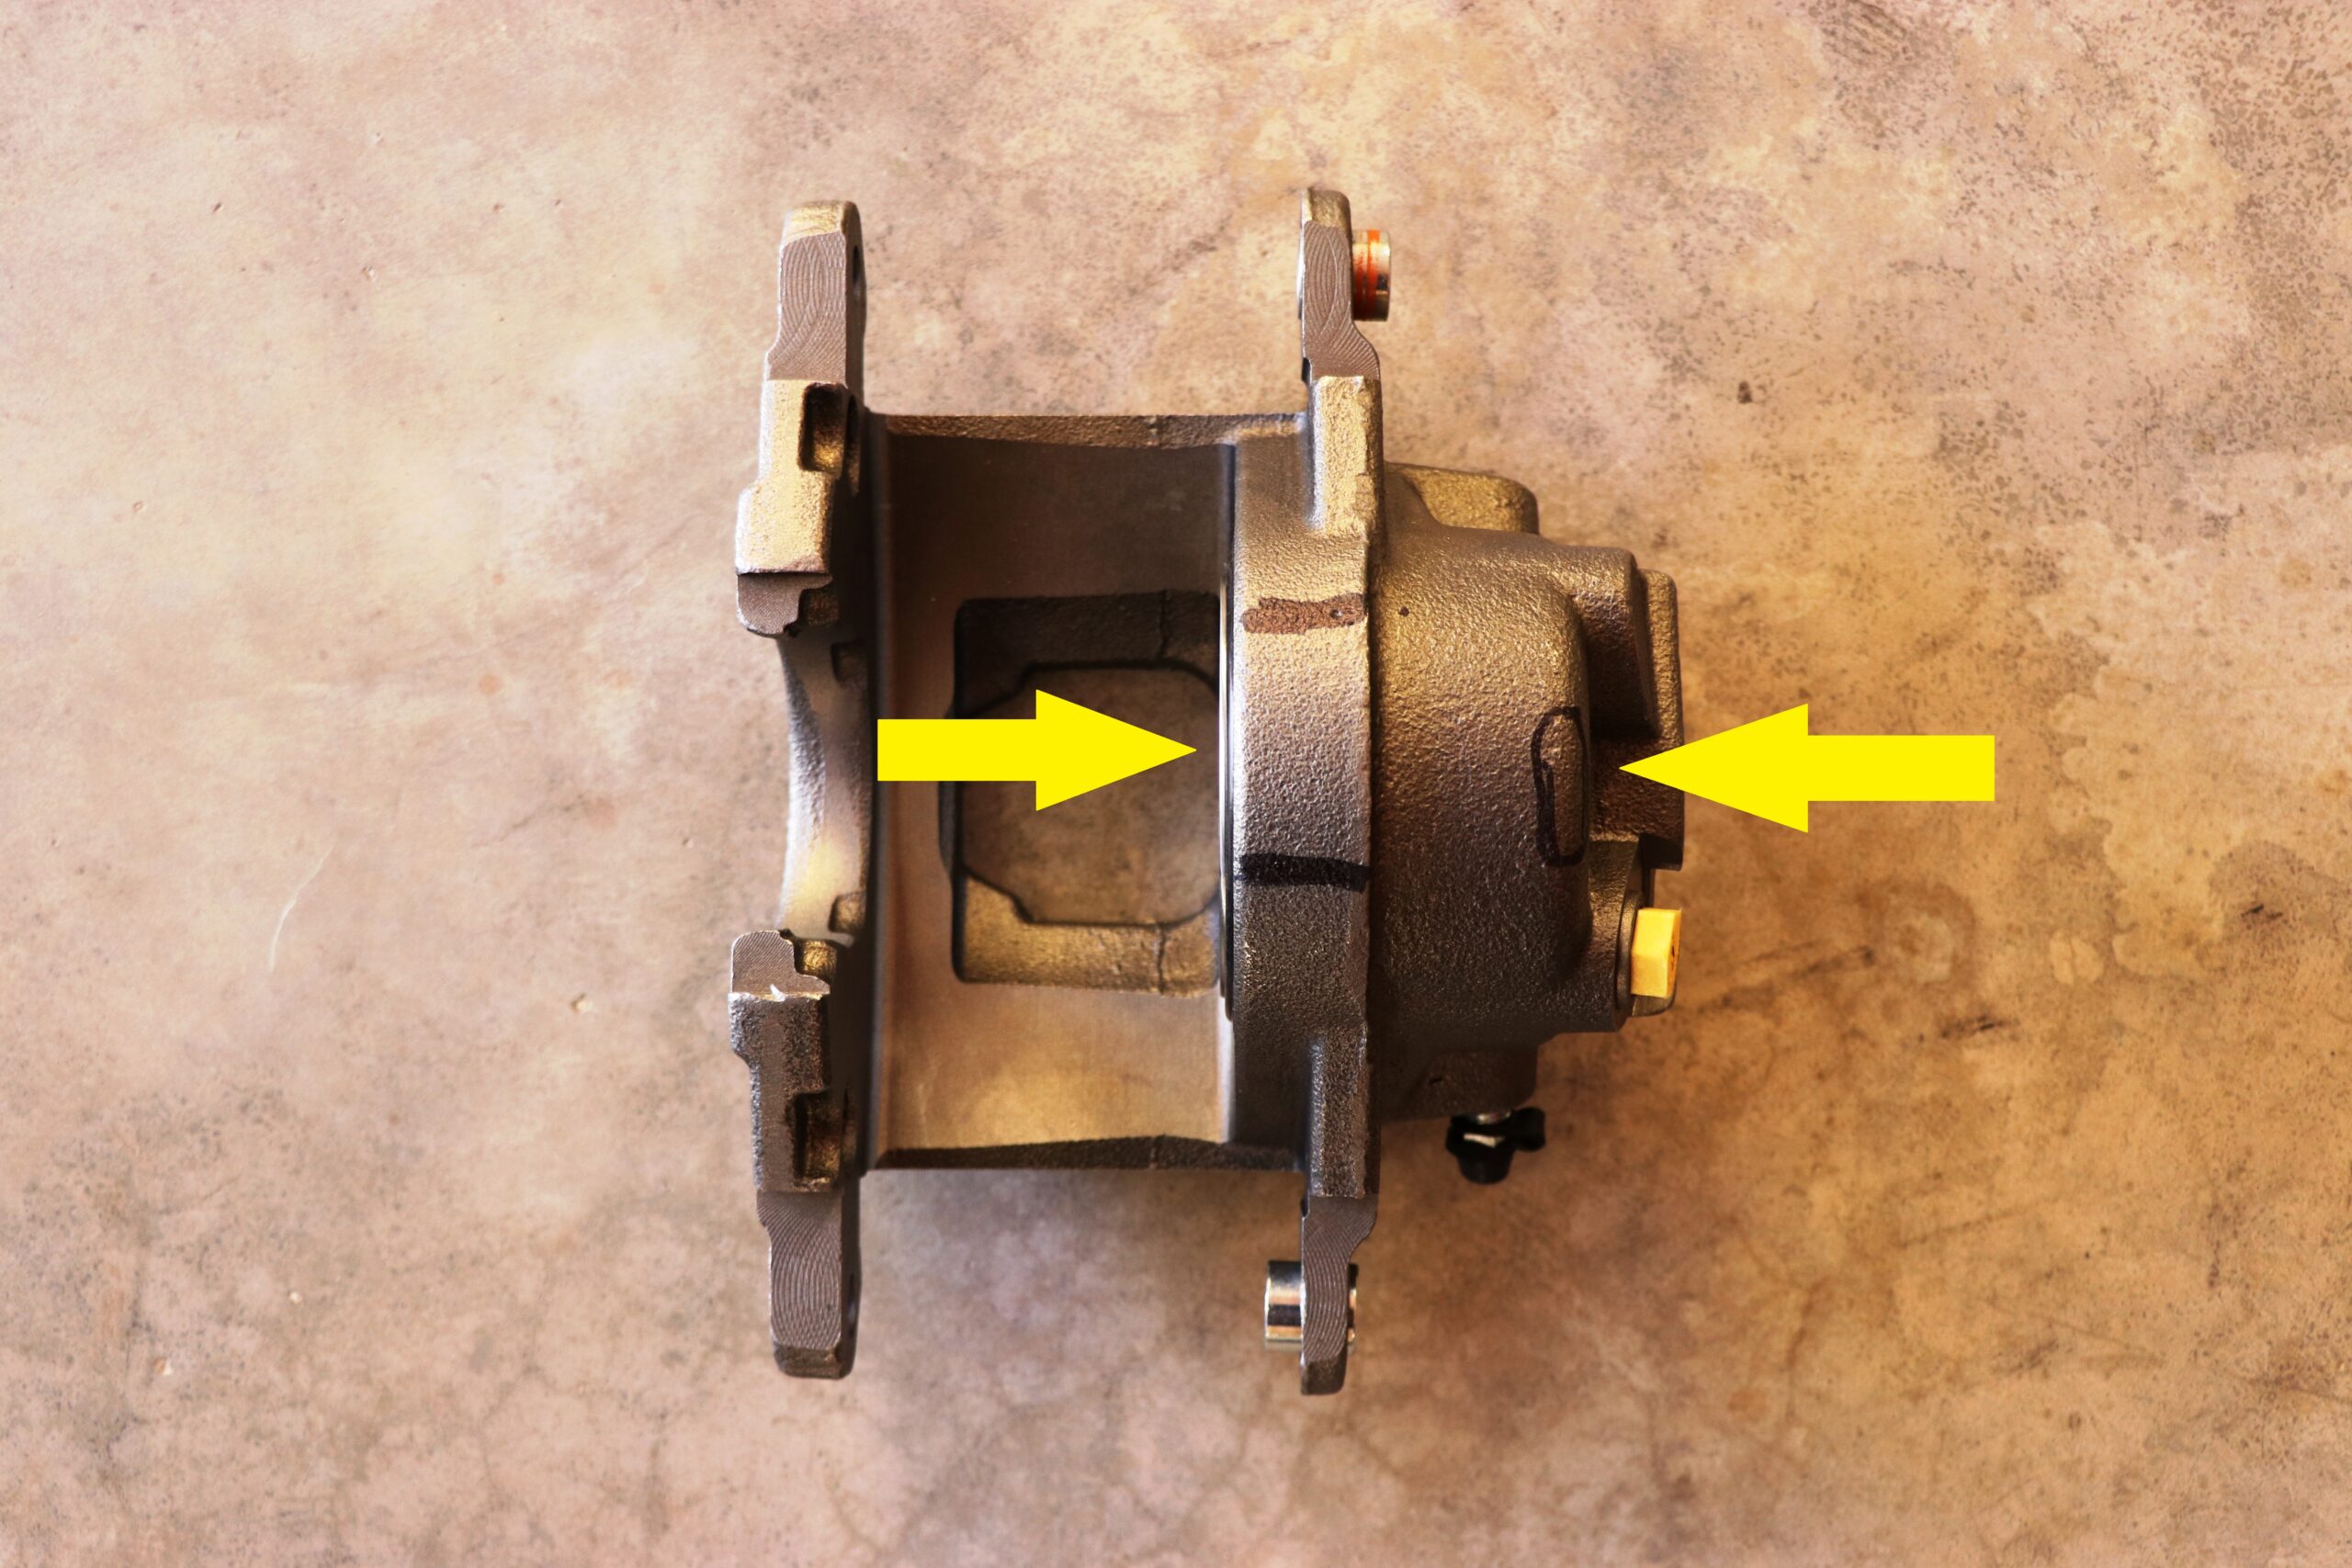
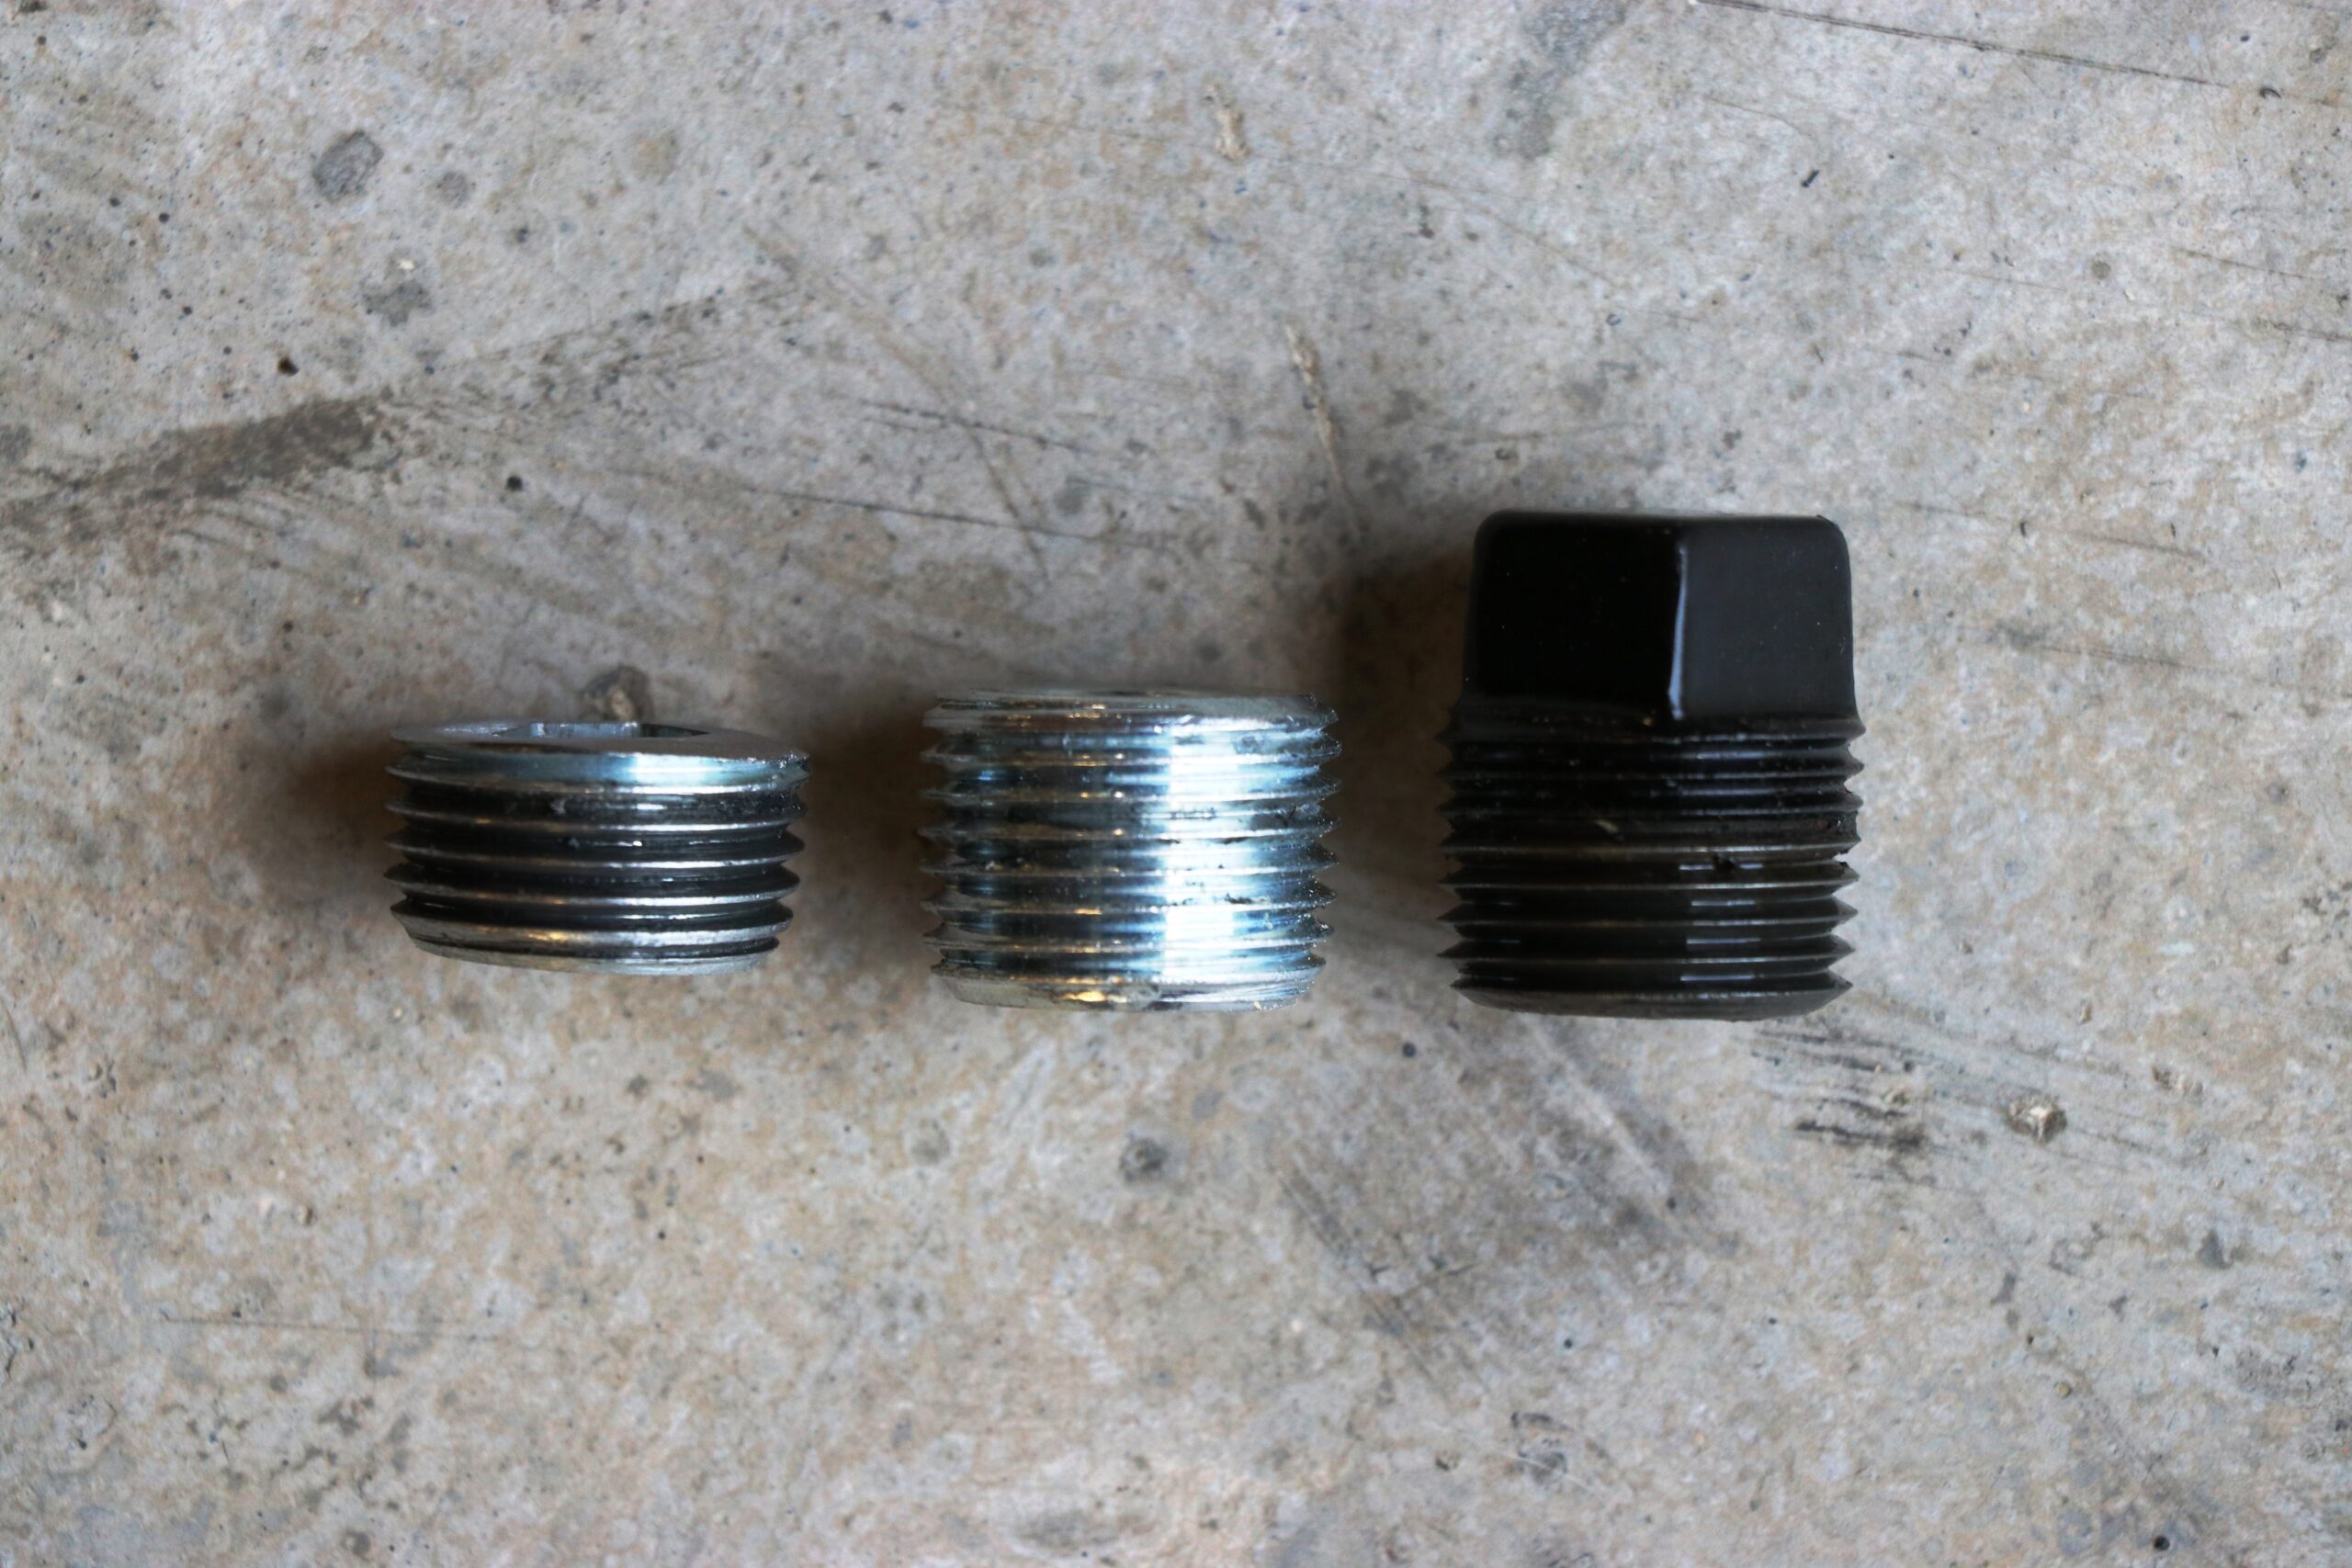
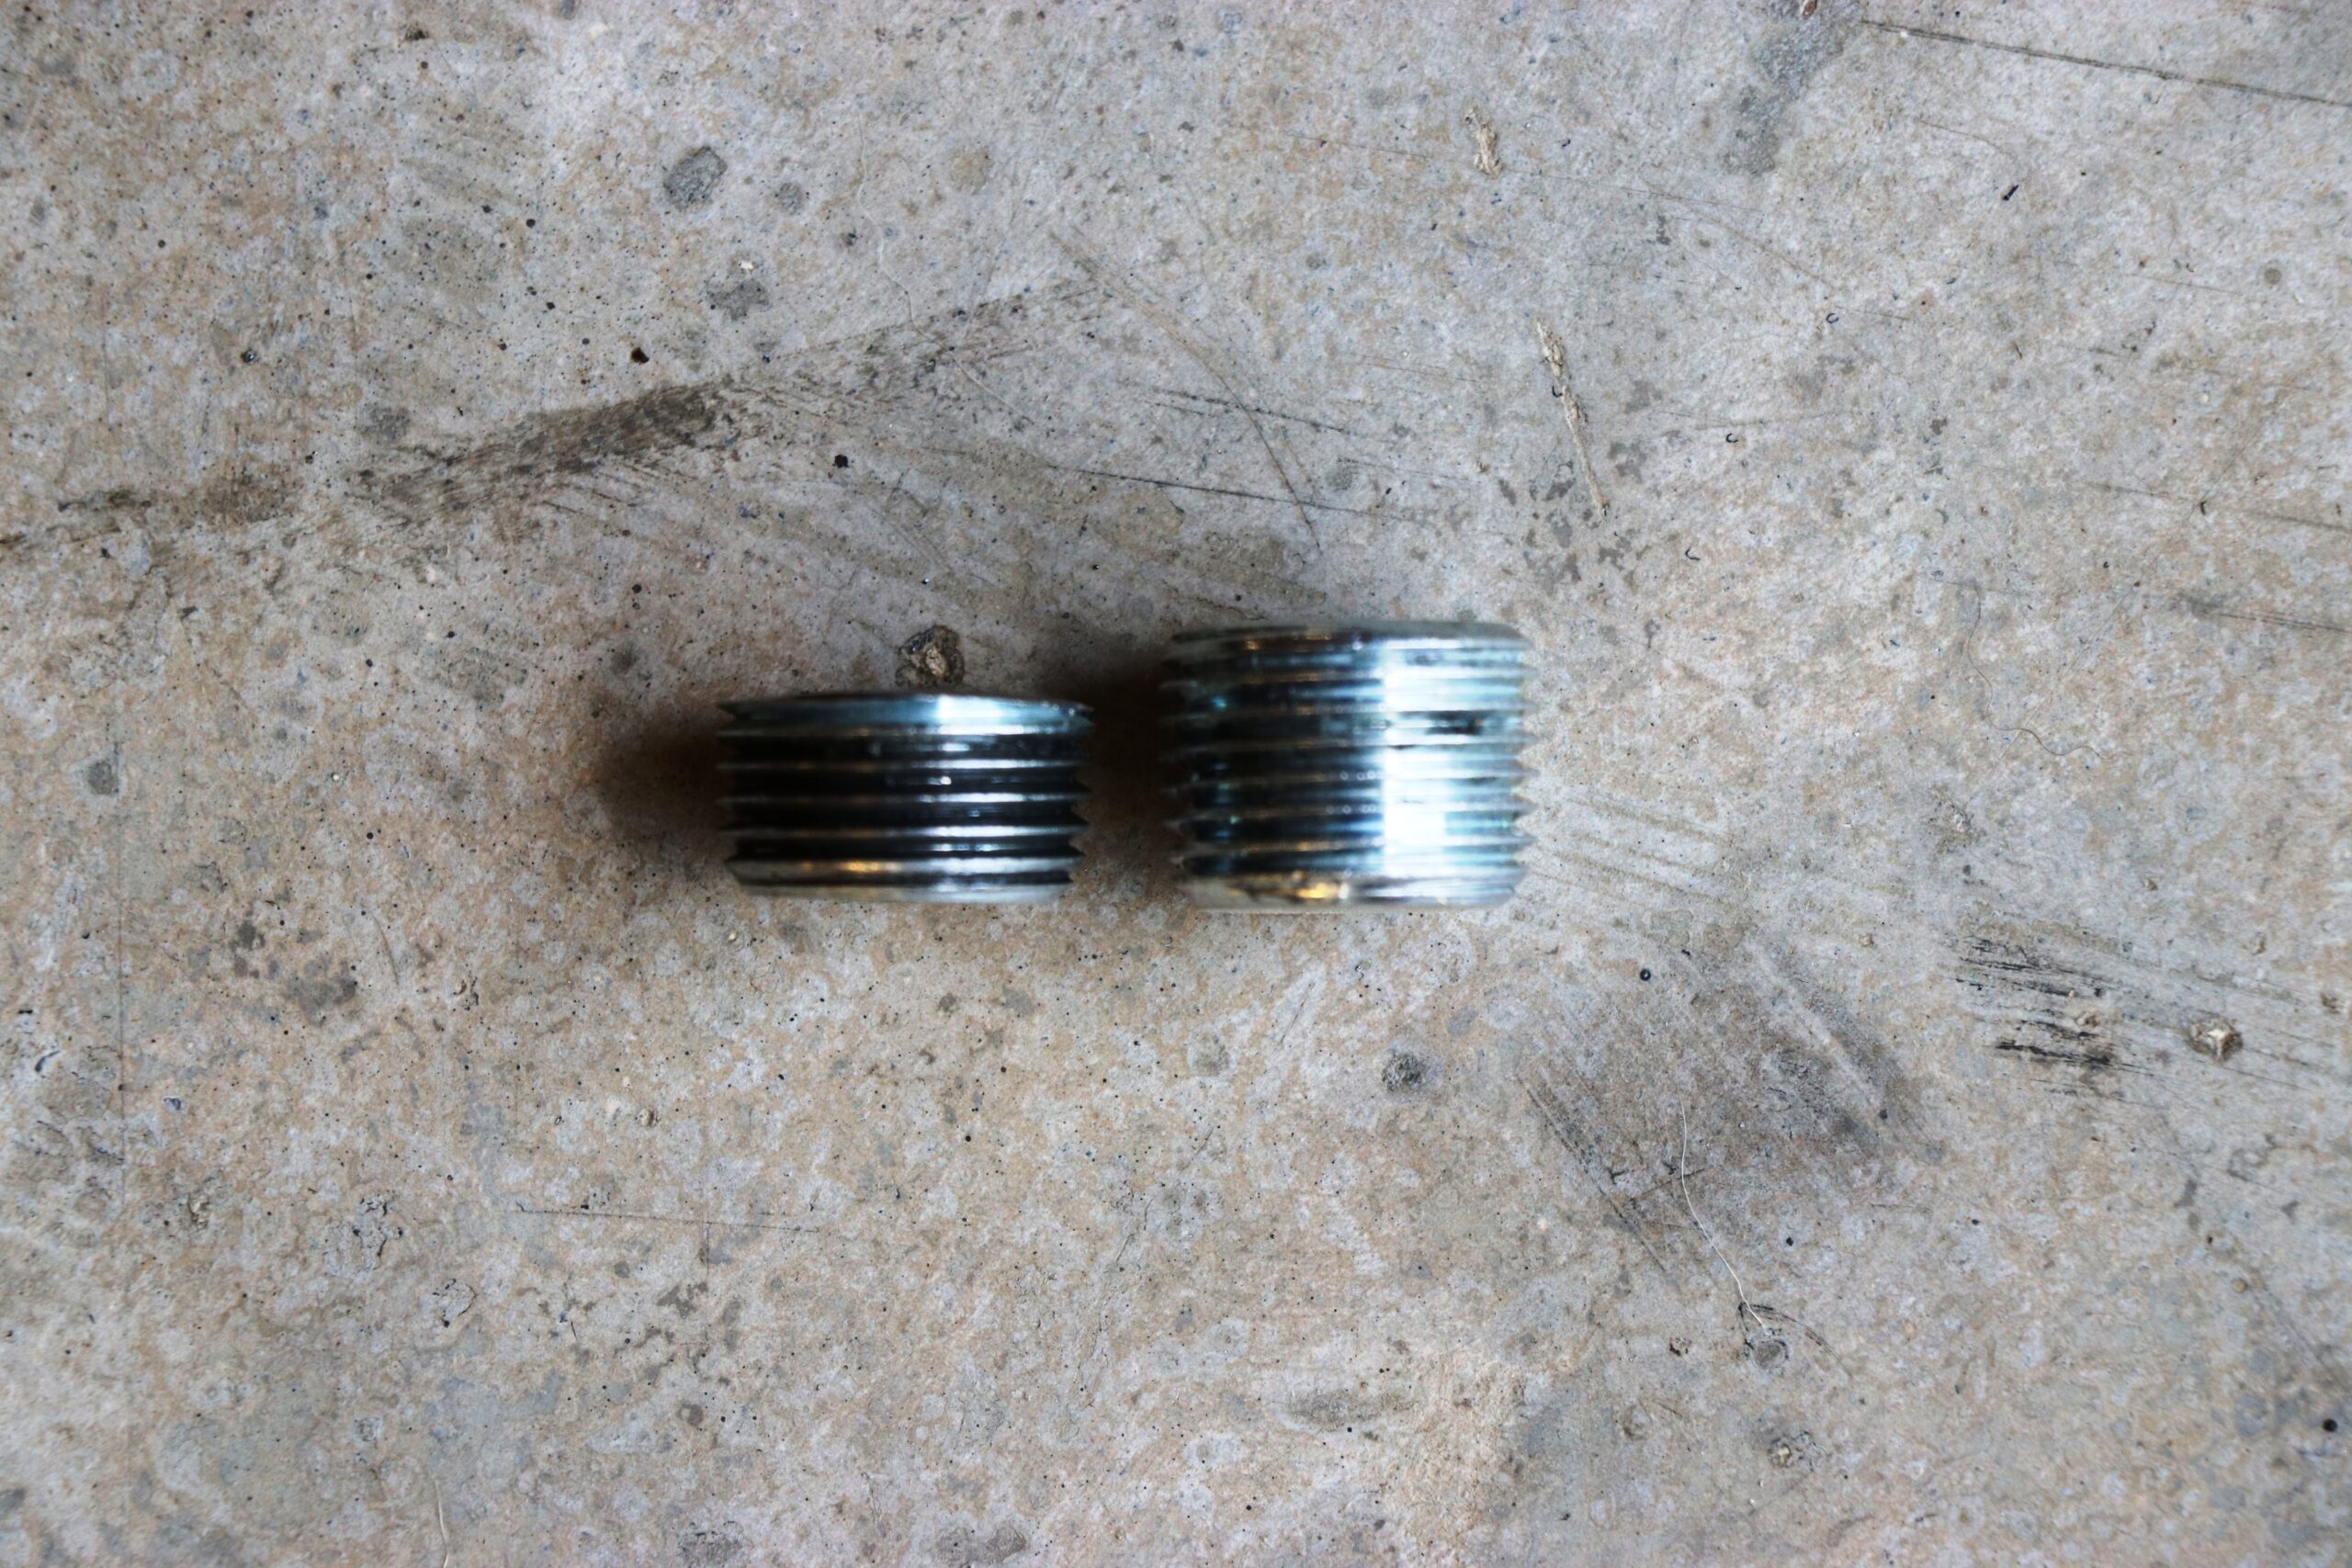
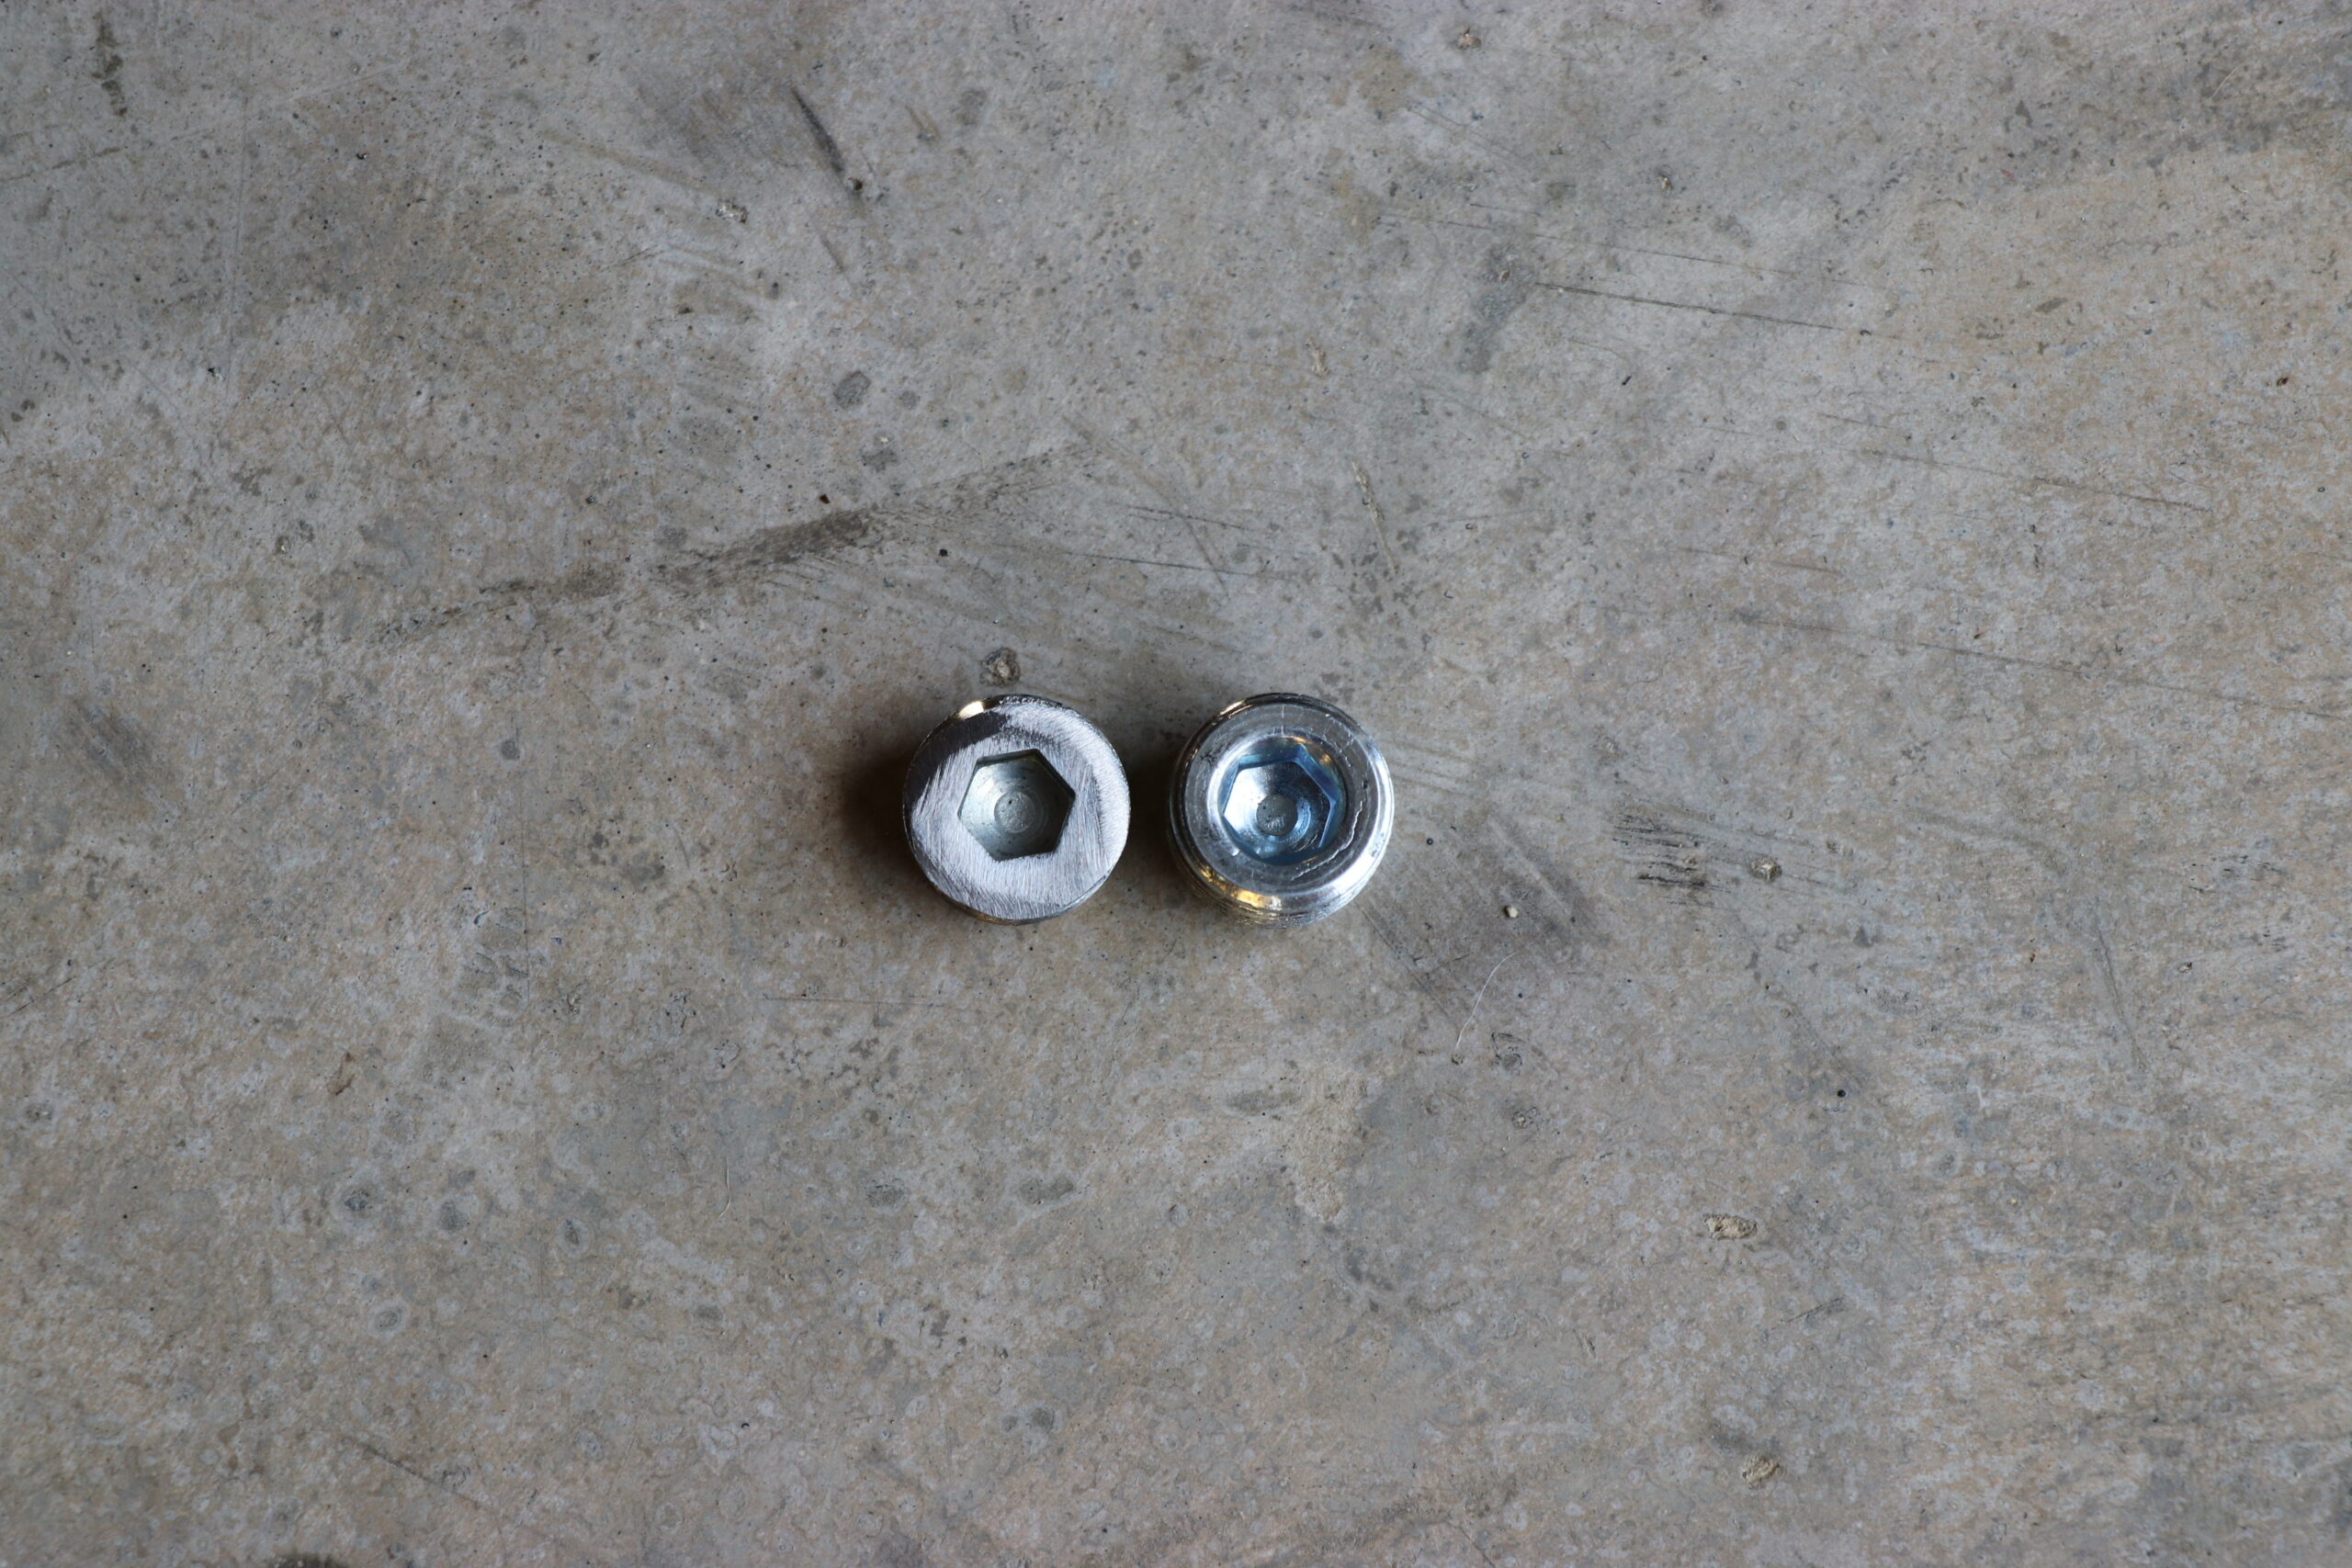
The instructions state that a small amount of grinding will provide the clearance needed, that didn’t work for us. We purchased a flush style plug and even with that, we still had to grind it down a considerable amount. We even ground a little bit of the caliper to provide enough clearance for it to be mounted. This is a process of grinding and test fitting until you have the clearance for the caliper to move freely. You MUST be very careful when grinding the caliper that you DO NOT grind through the housing!!
In the end, we wound up grinding a little bit of the caliper, the knuckle and the fill plug. We were careful not to grind too much off of any component so we could keep the integrity of each. This is a daunting task of grinding, test fitting and grinding more until we reached the necessary clearance desired.

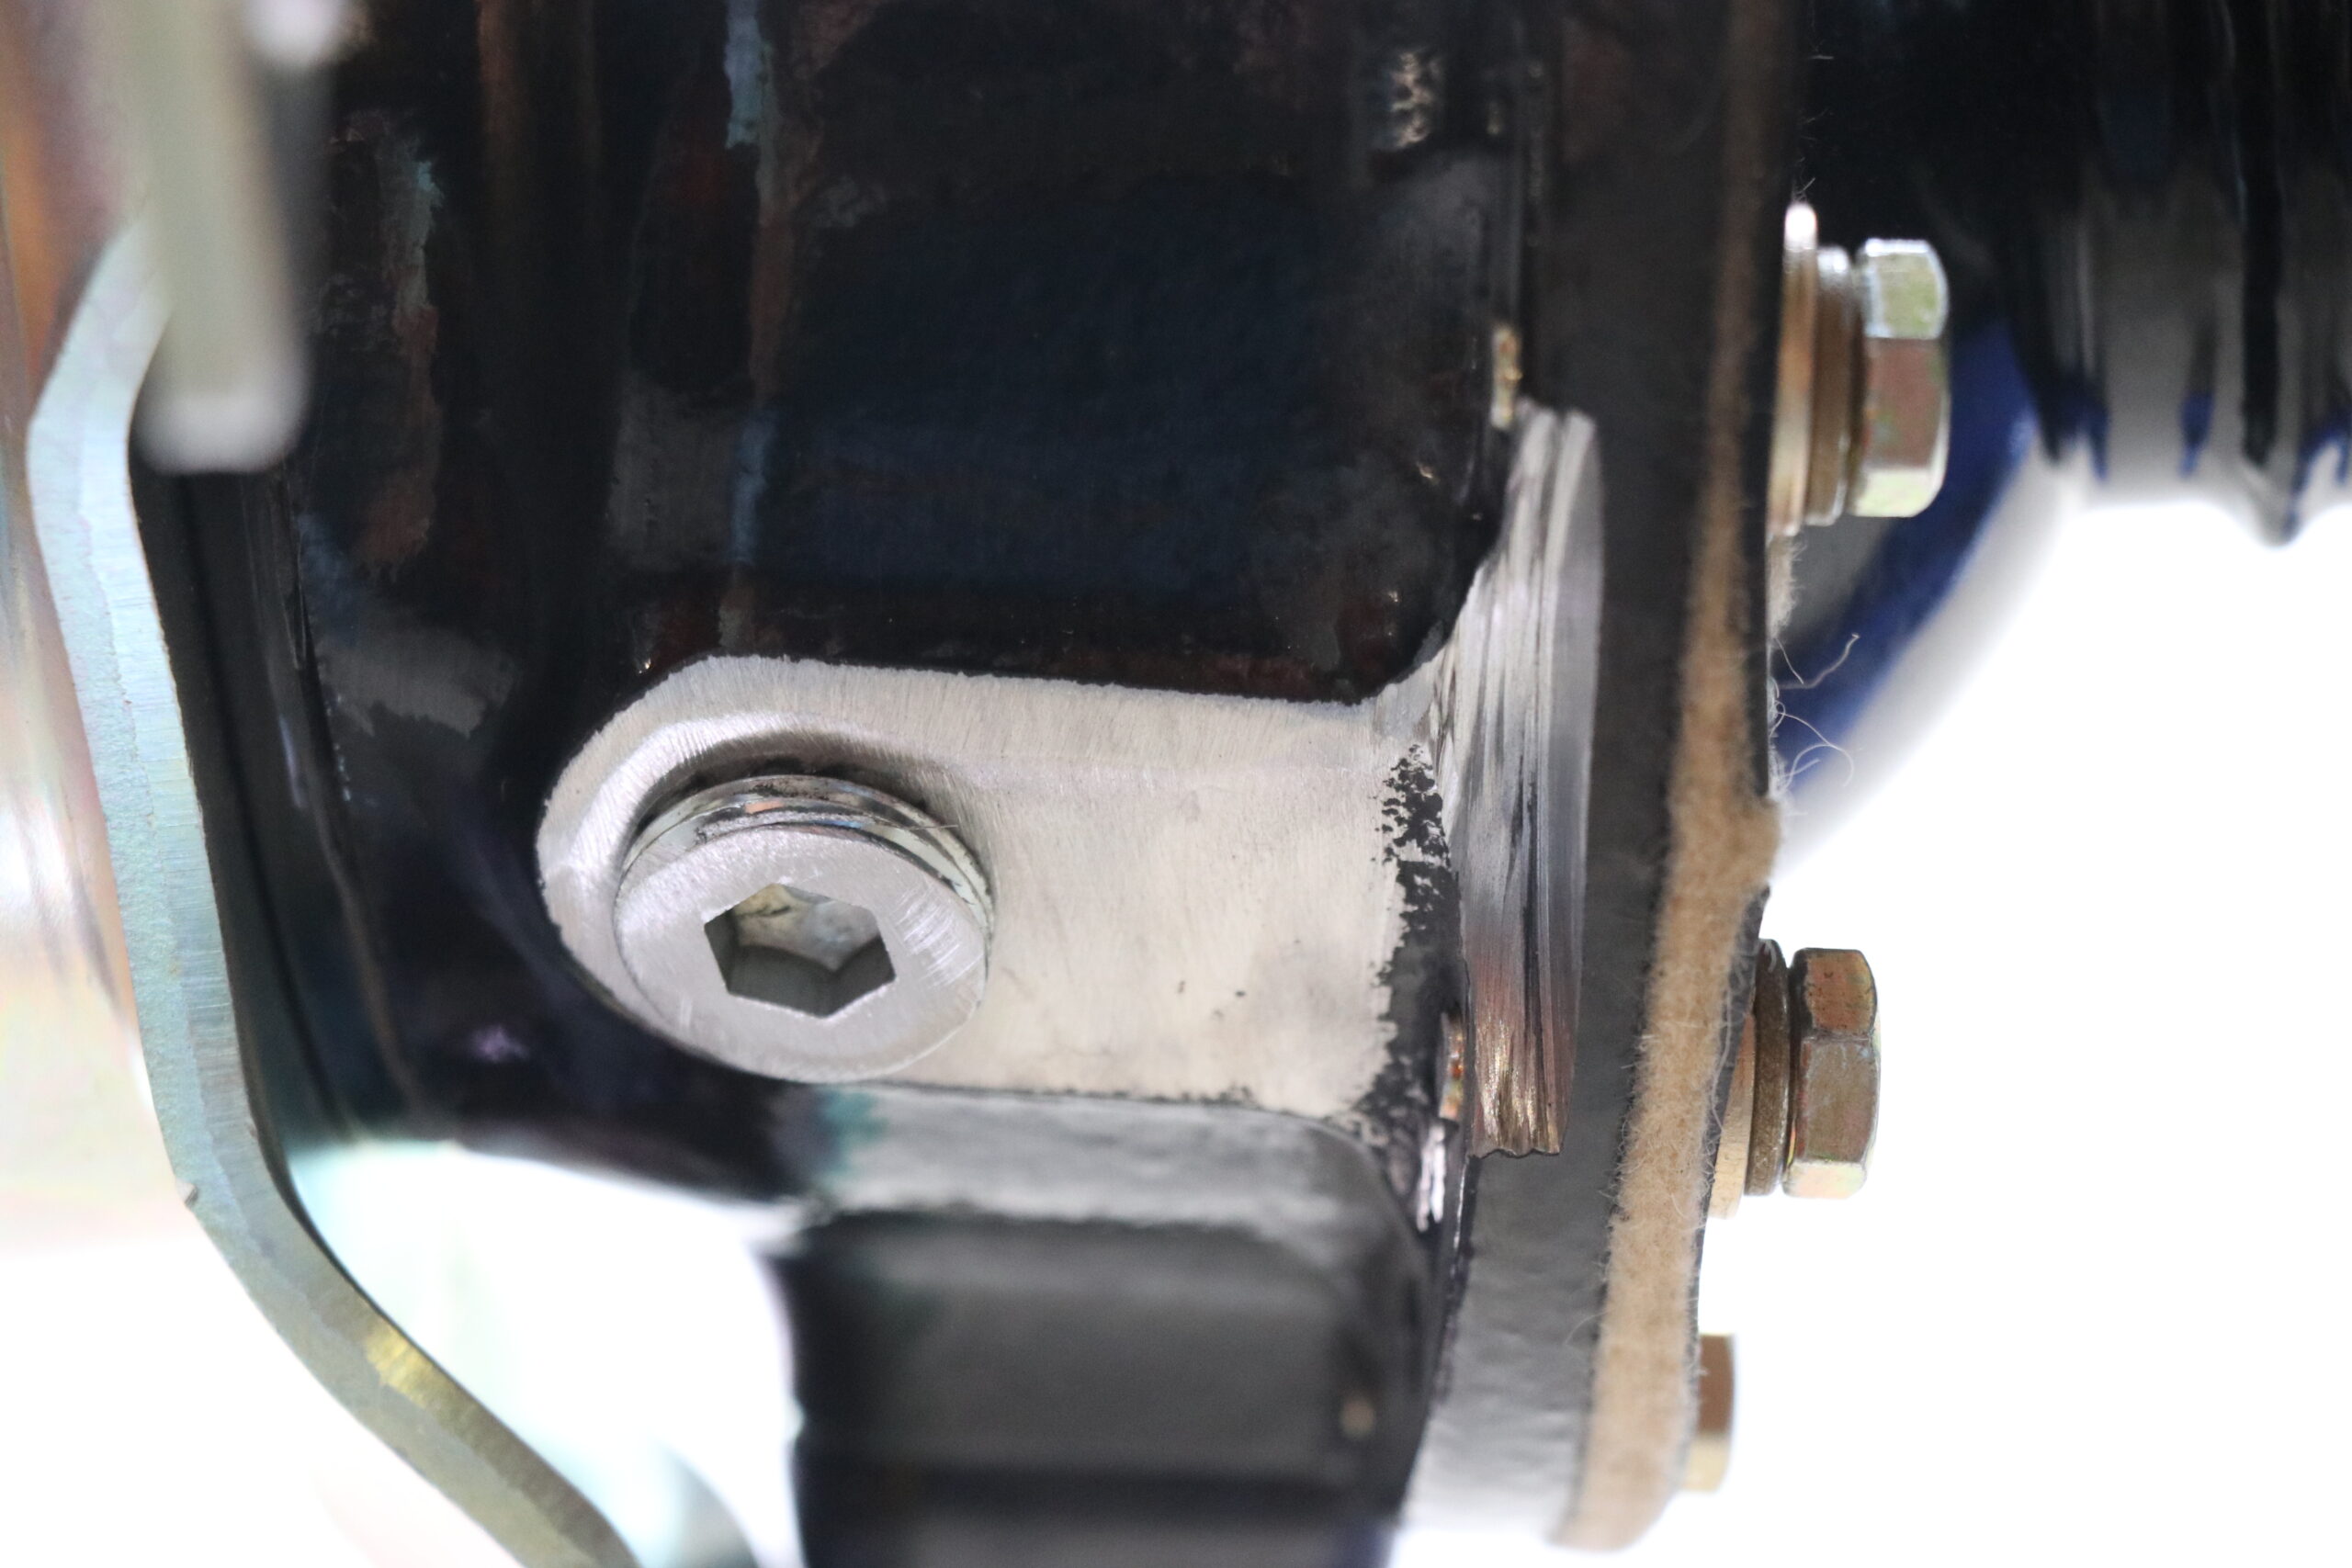

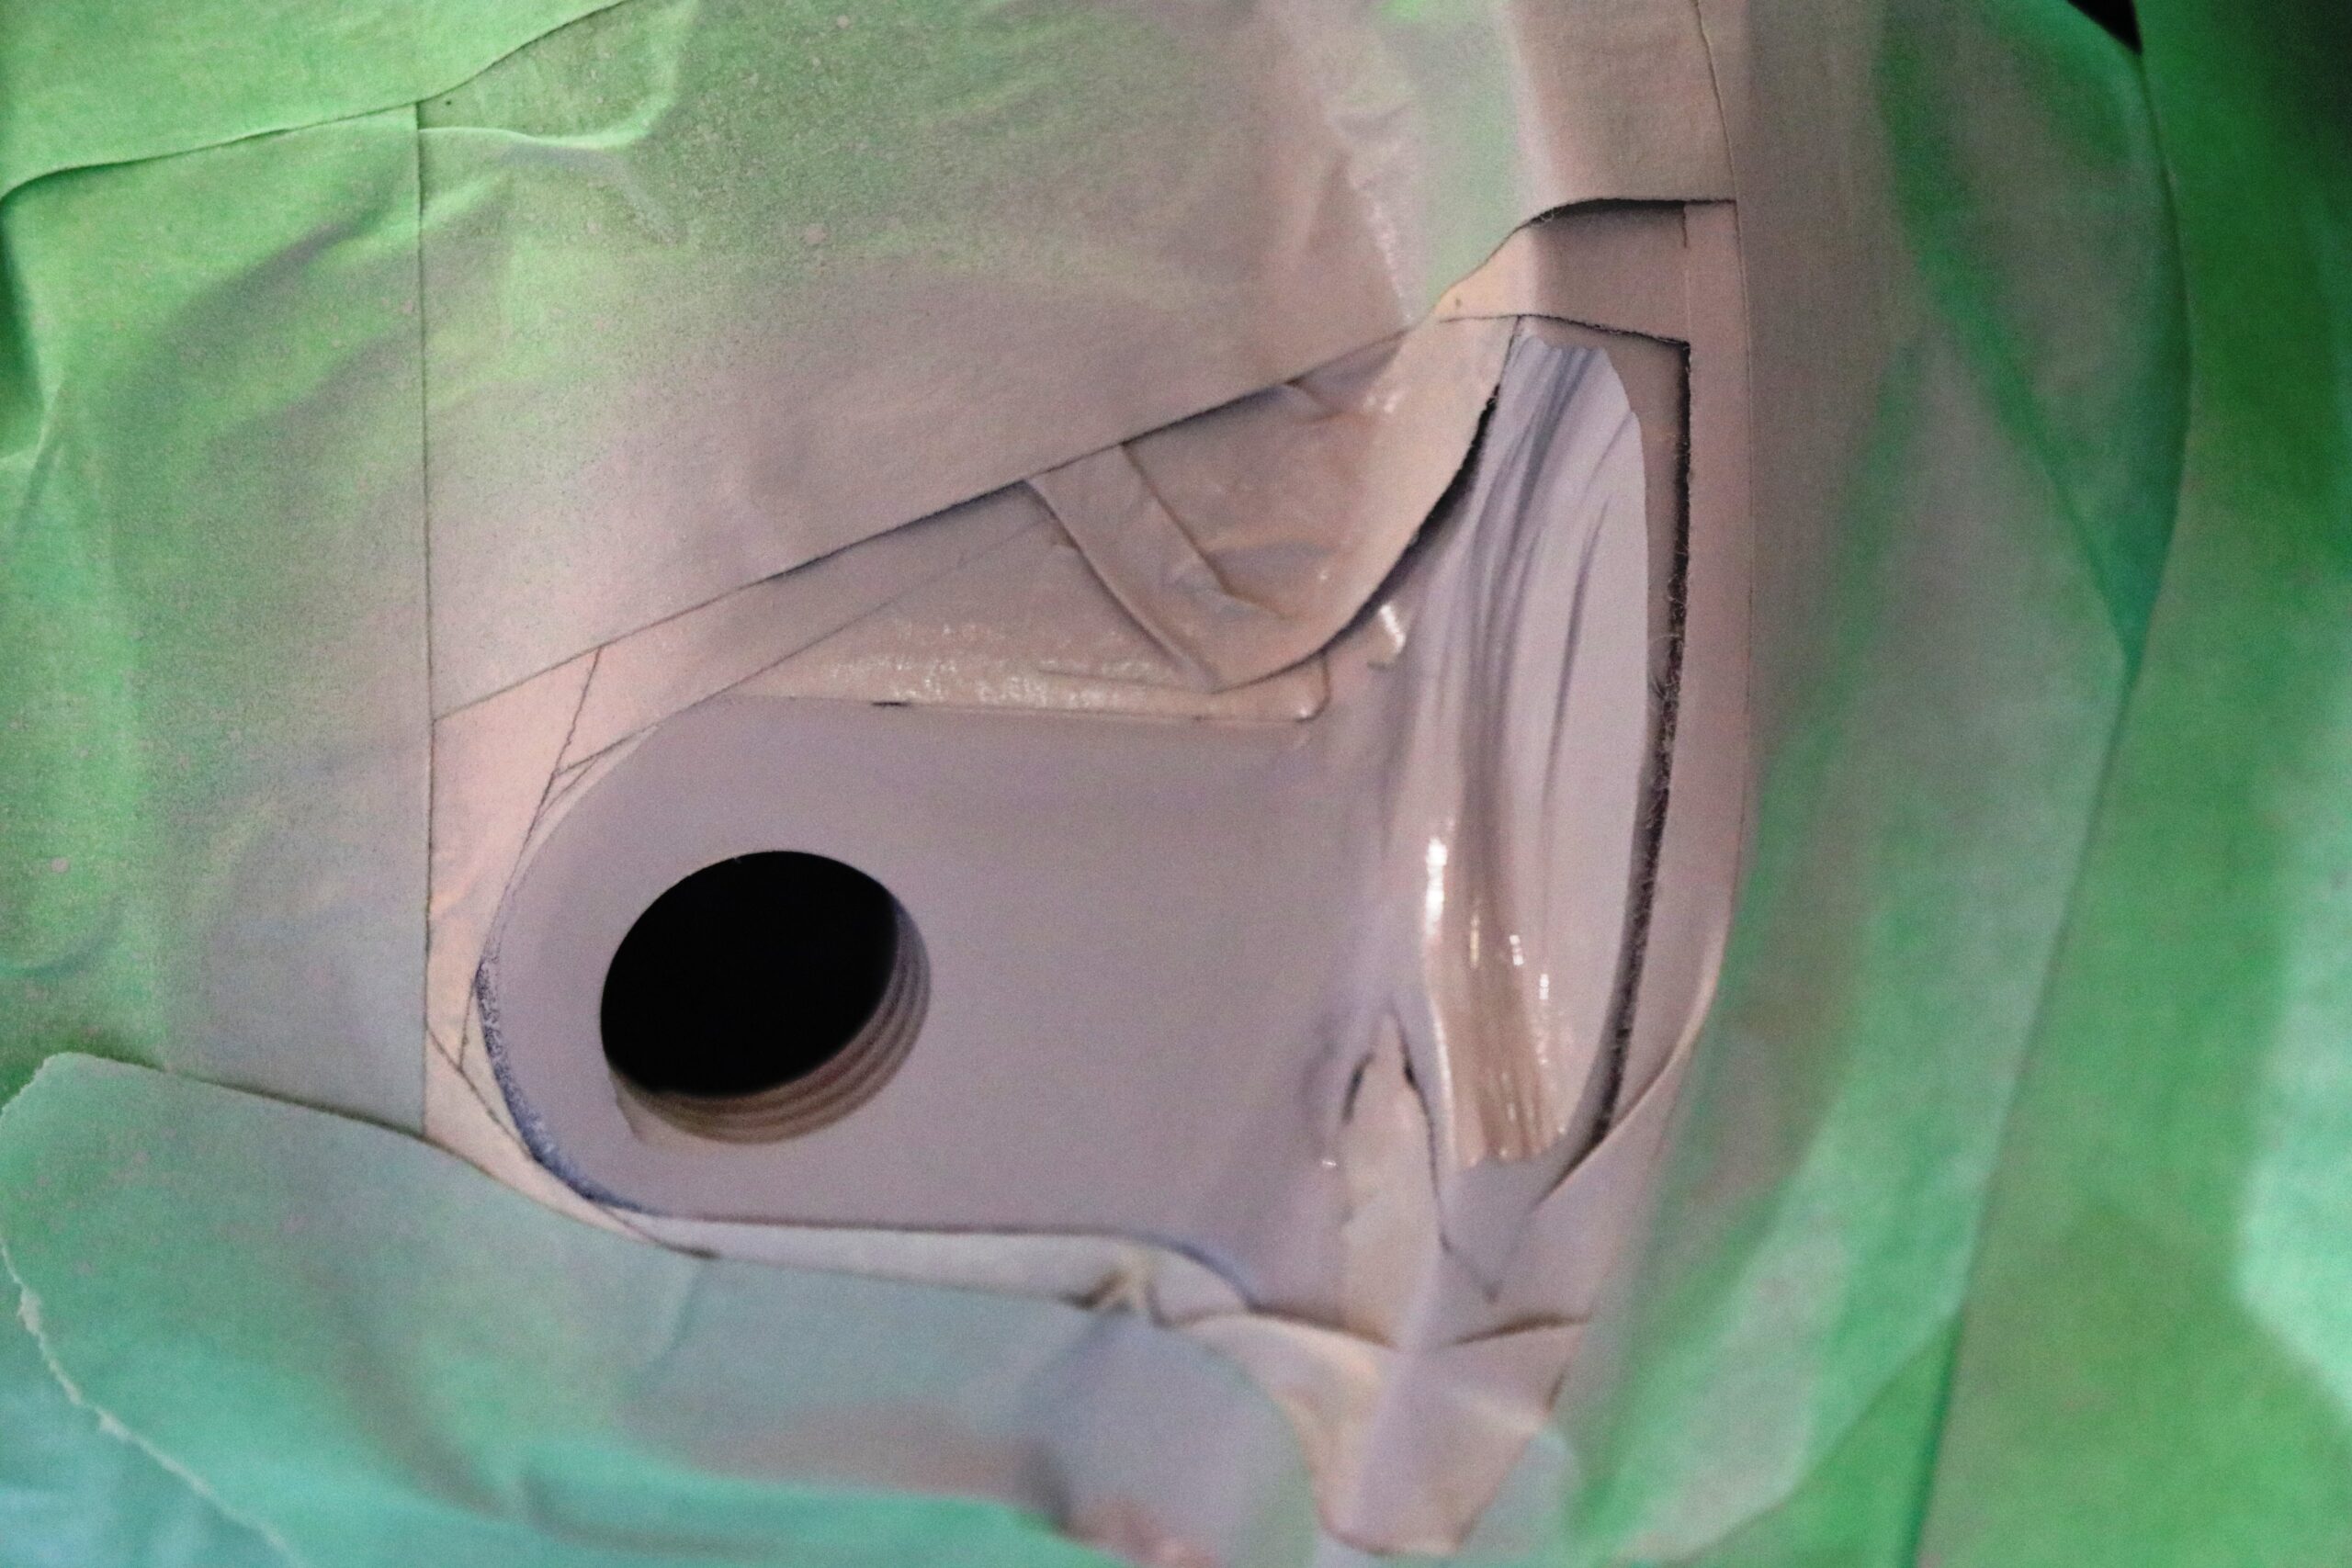
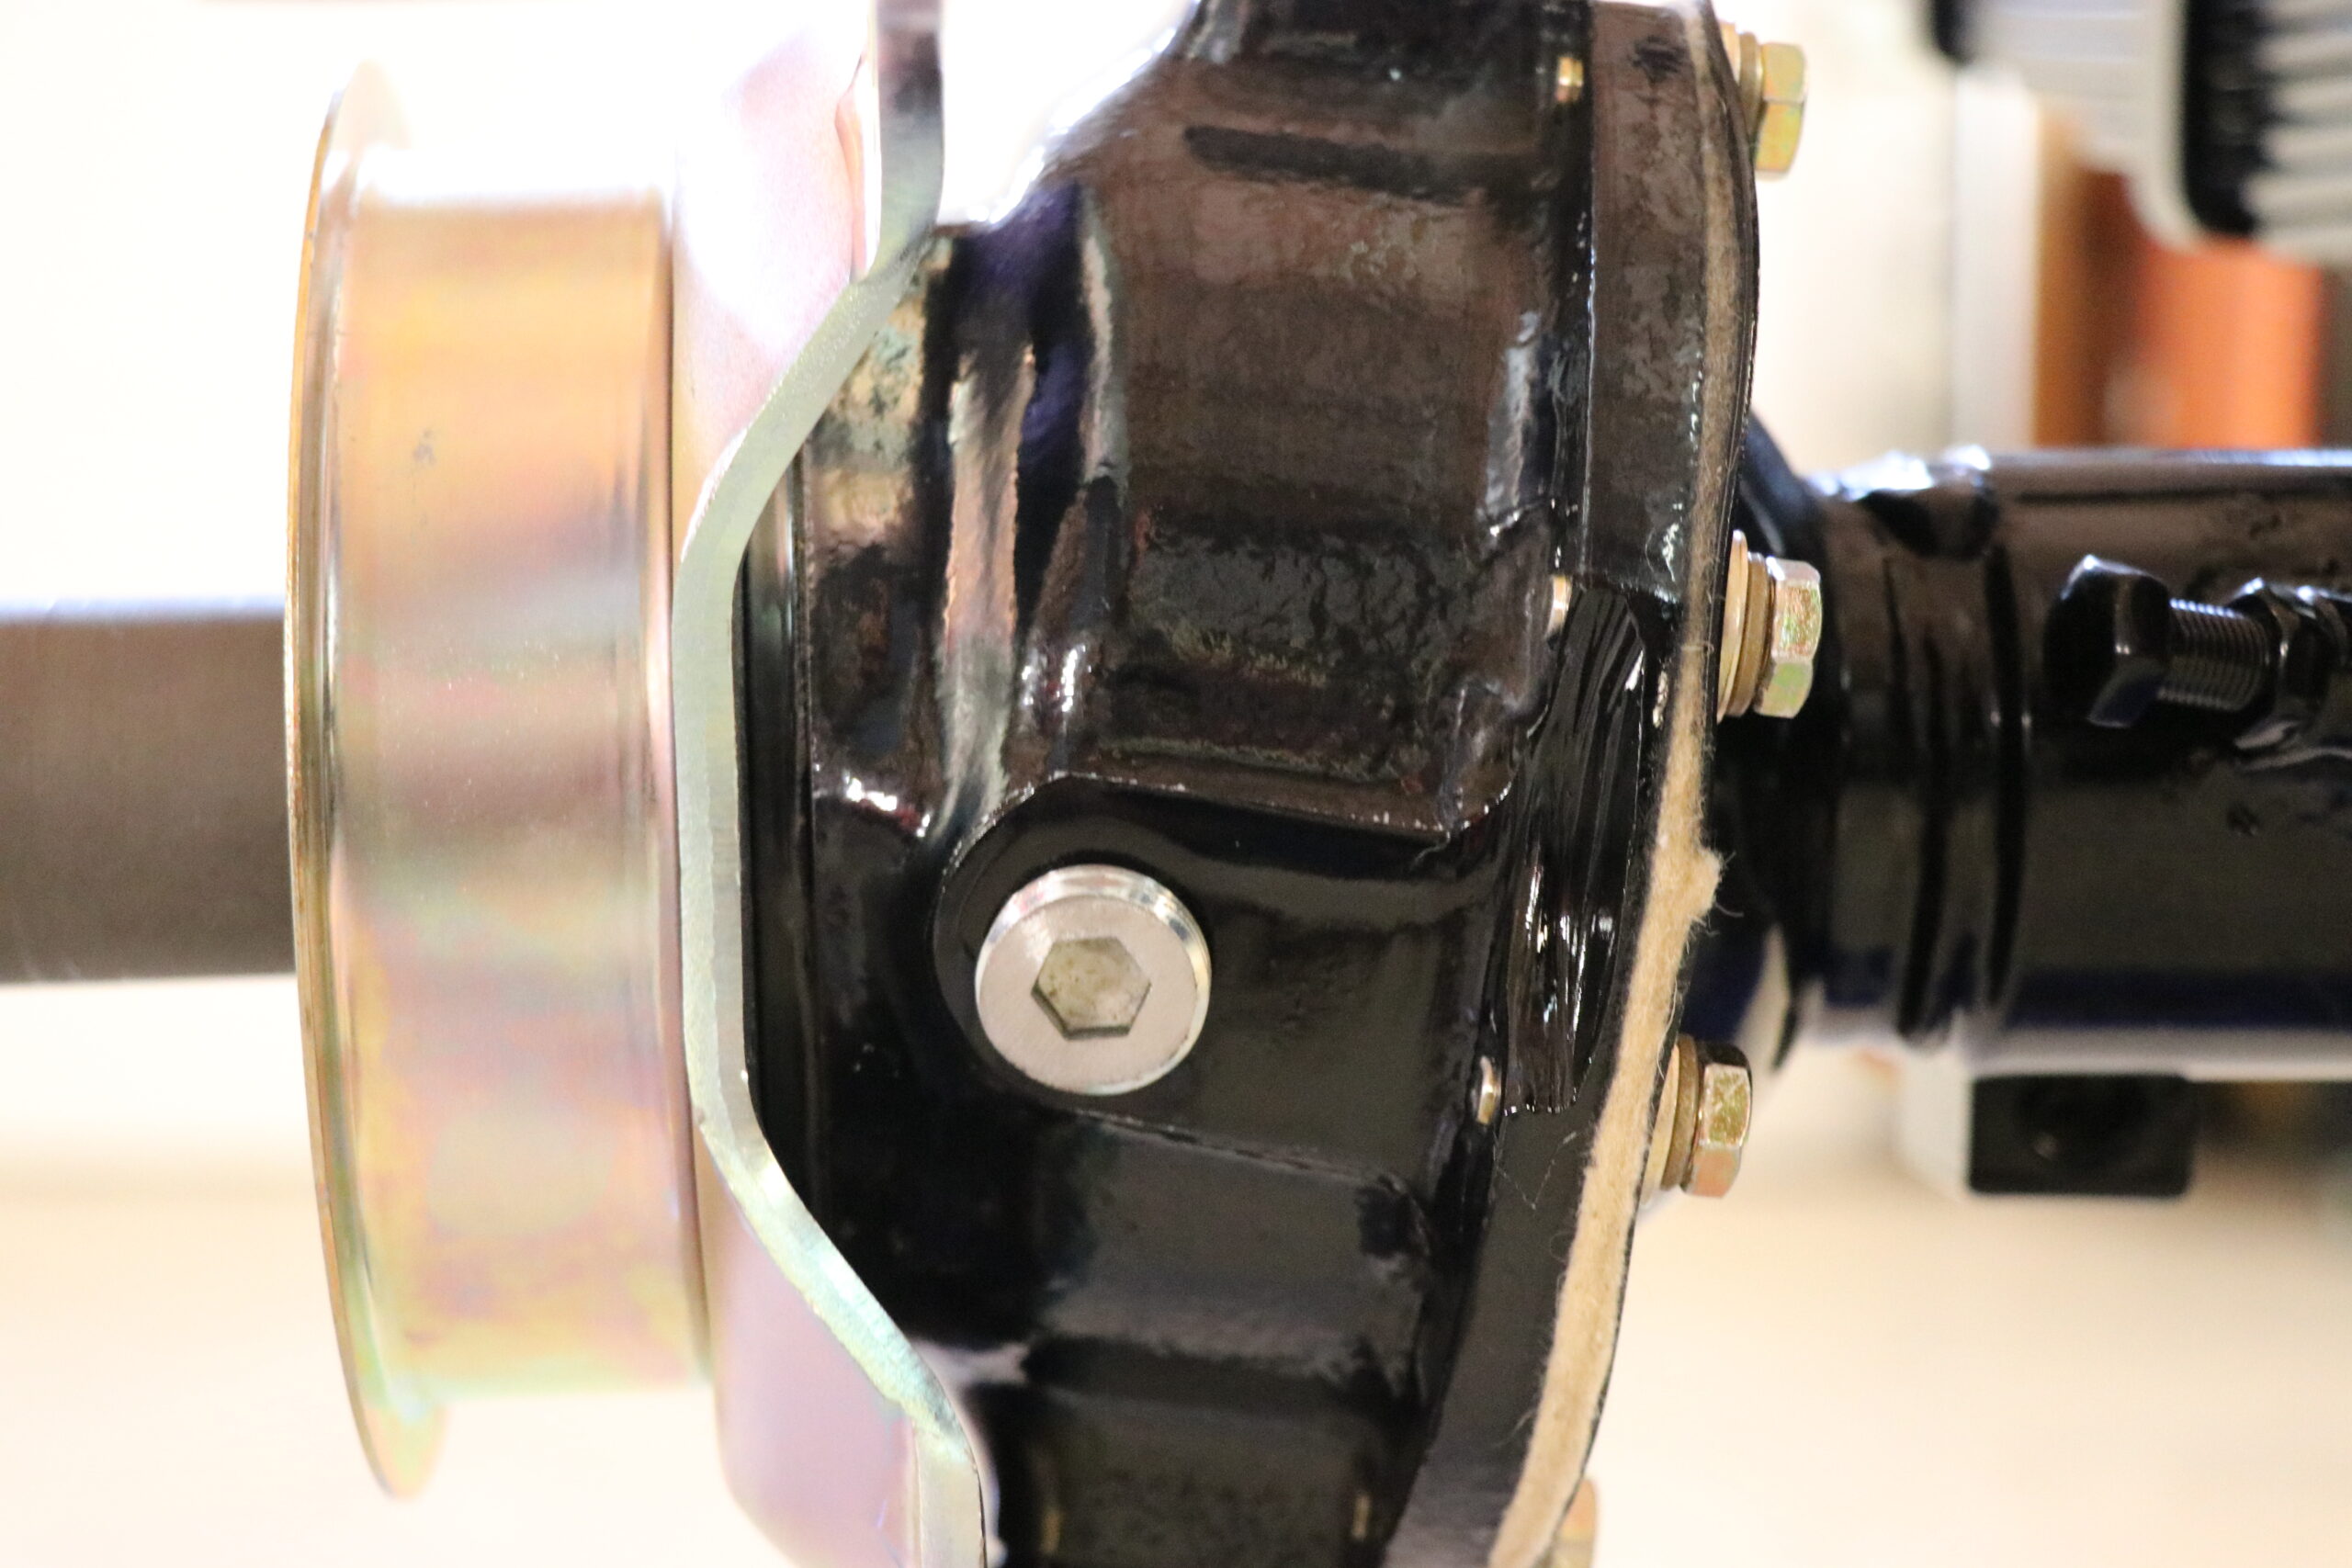
Since we had to grind off some of the powder coating we masked the area off and primed and painted the surfaces for cosmetic and longevity. We also prepped and painted the caliper in preparation of bolting everything together. Before mounting the caliper for the last time you want to make sure to fill the knuckle. You WILL NOT have access to the fill plug with the caliper mounted in place! There are several options out there for lube to fill the knuckle with. We used a John Deer product call “Corn Head Grease” purchased from our local John Deer dealer.
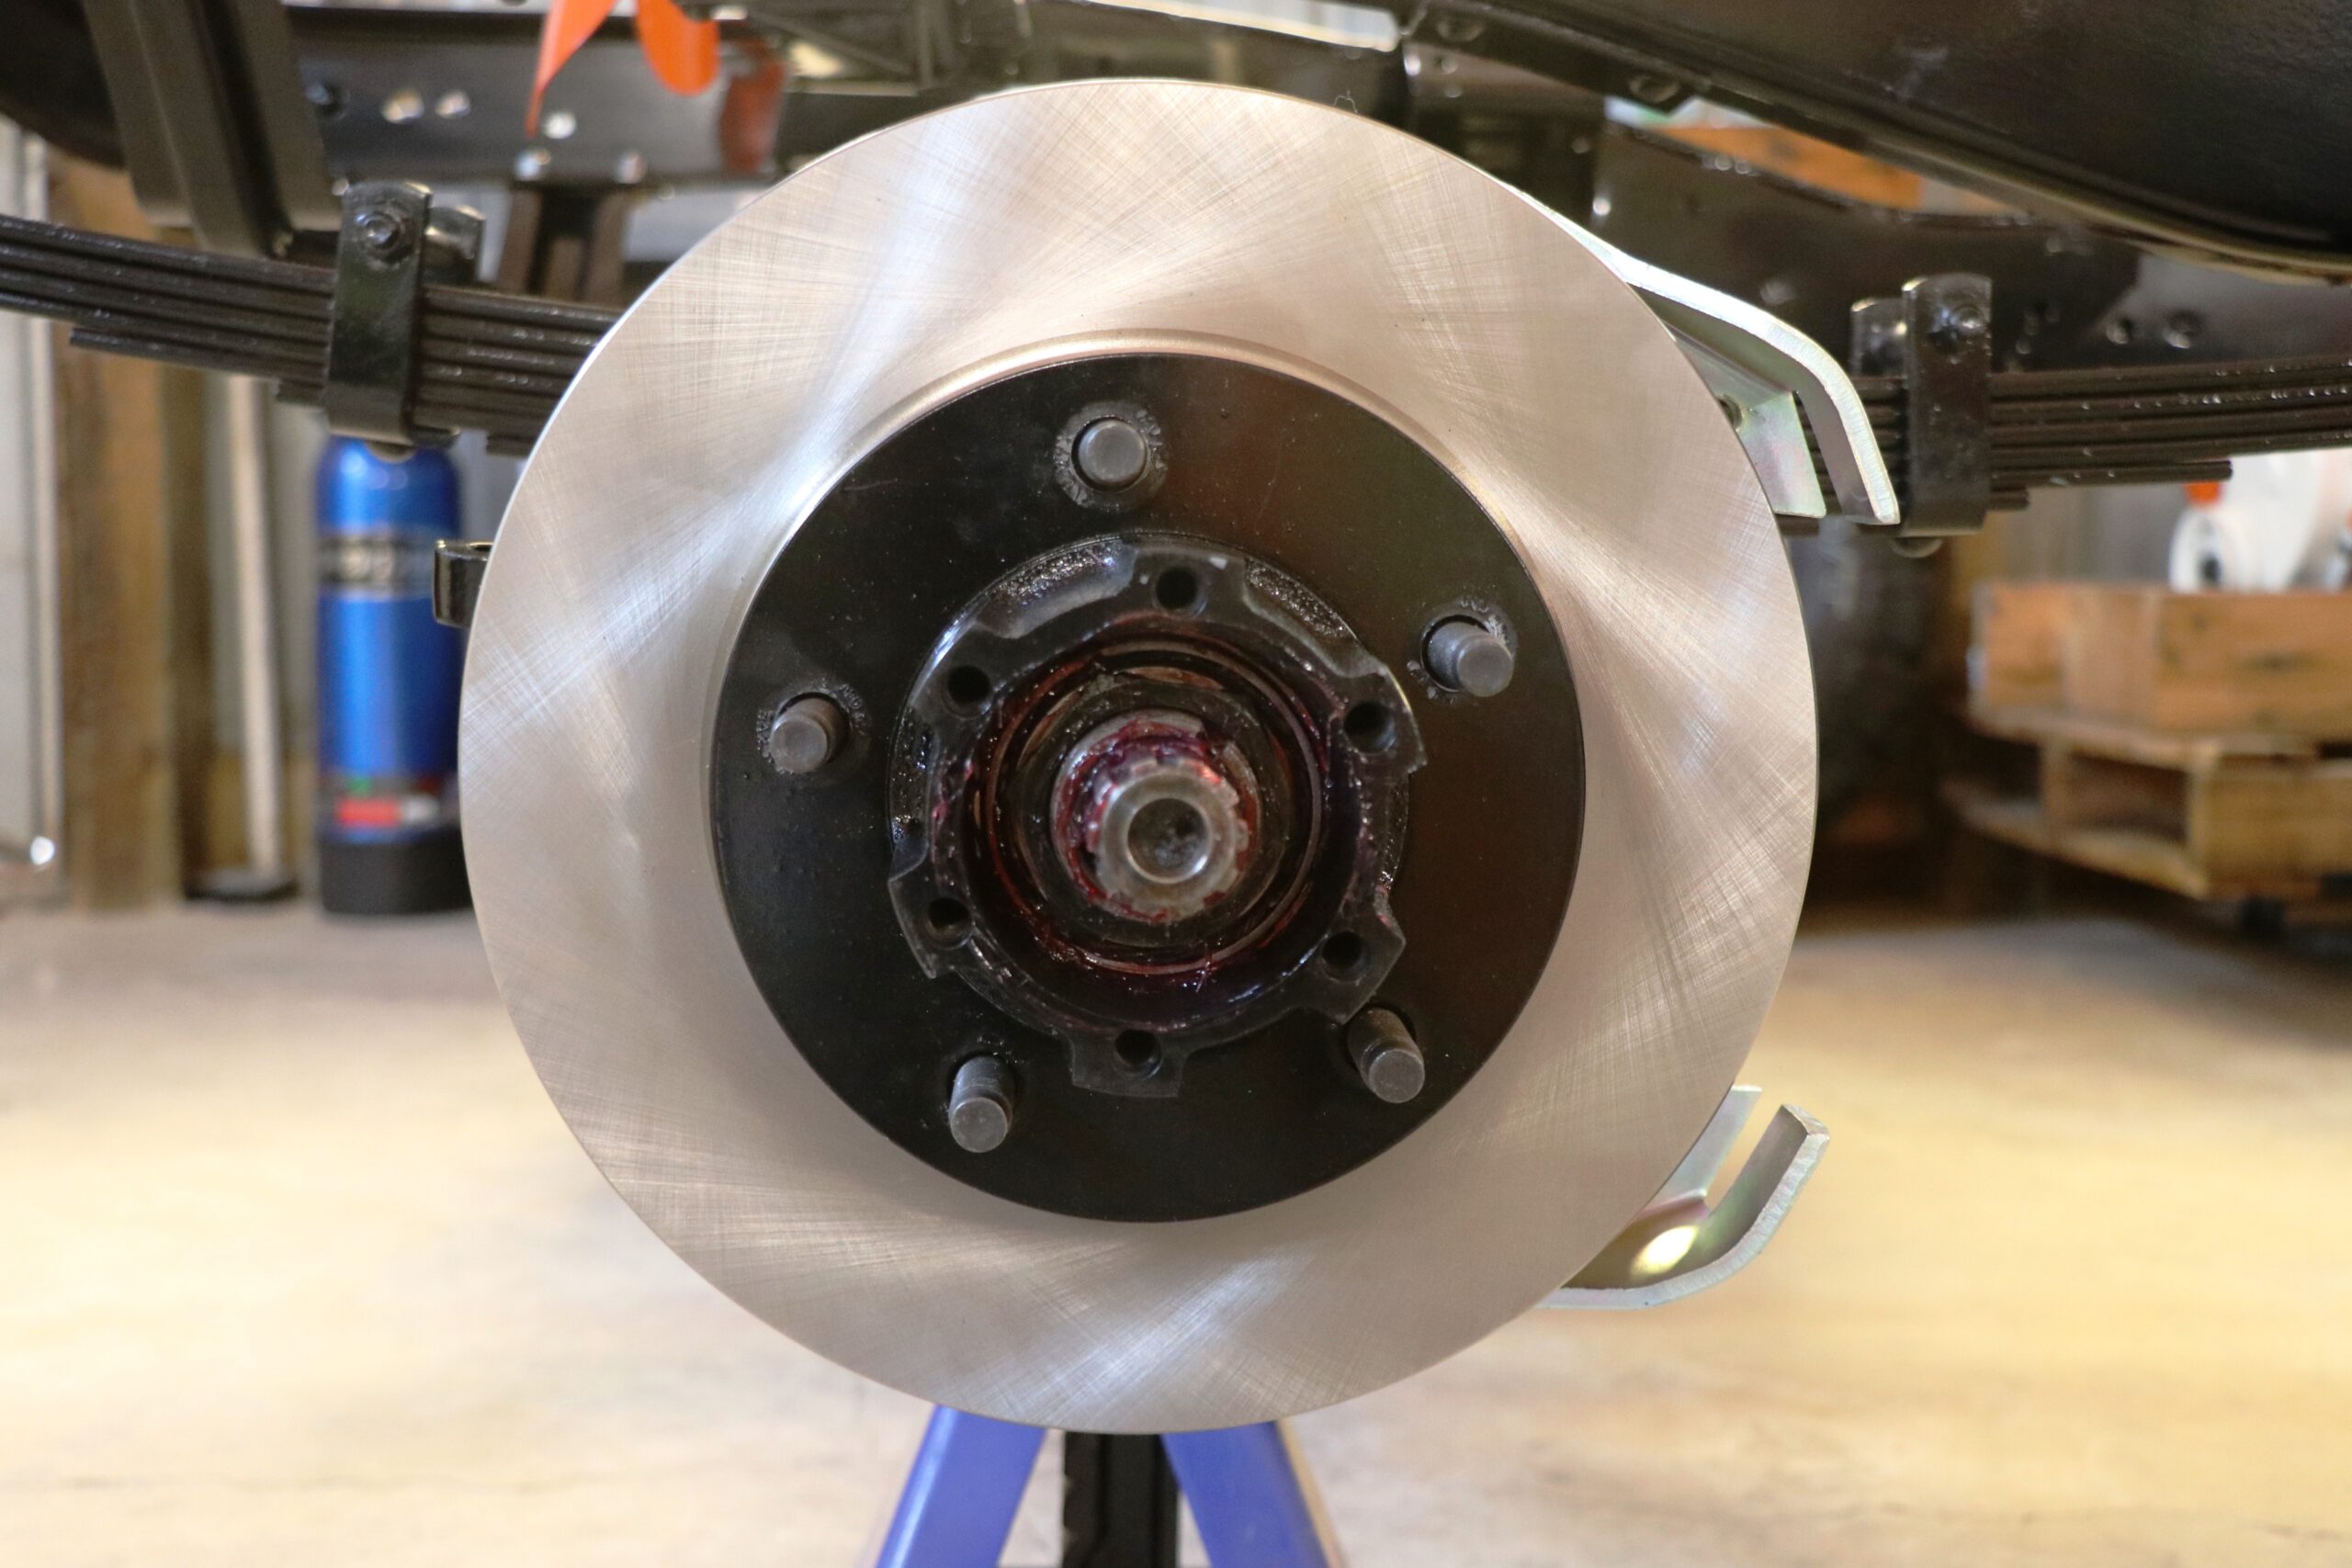
With the knuckle filled we installed the modified plug and were ready for the hub and rotor to go into place. The the inner and outer races and bearings were installed before mounting the hub and rotor onto the spindle. With the hub mounted the inner spindle washer and nut were installed. They were then torqued to 50 foot pounds and backed off one sixth of a turn for the preload on the bearings. Next was the second spindle washer followed by the last spindle nut and a final torque of 50 foot pounds. After both nuts and washers are installed and everything is torque checked, you’ll fold one side of the second washer over to keep the outer nut from backing off.
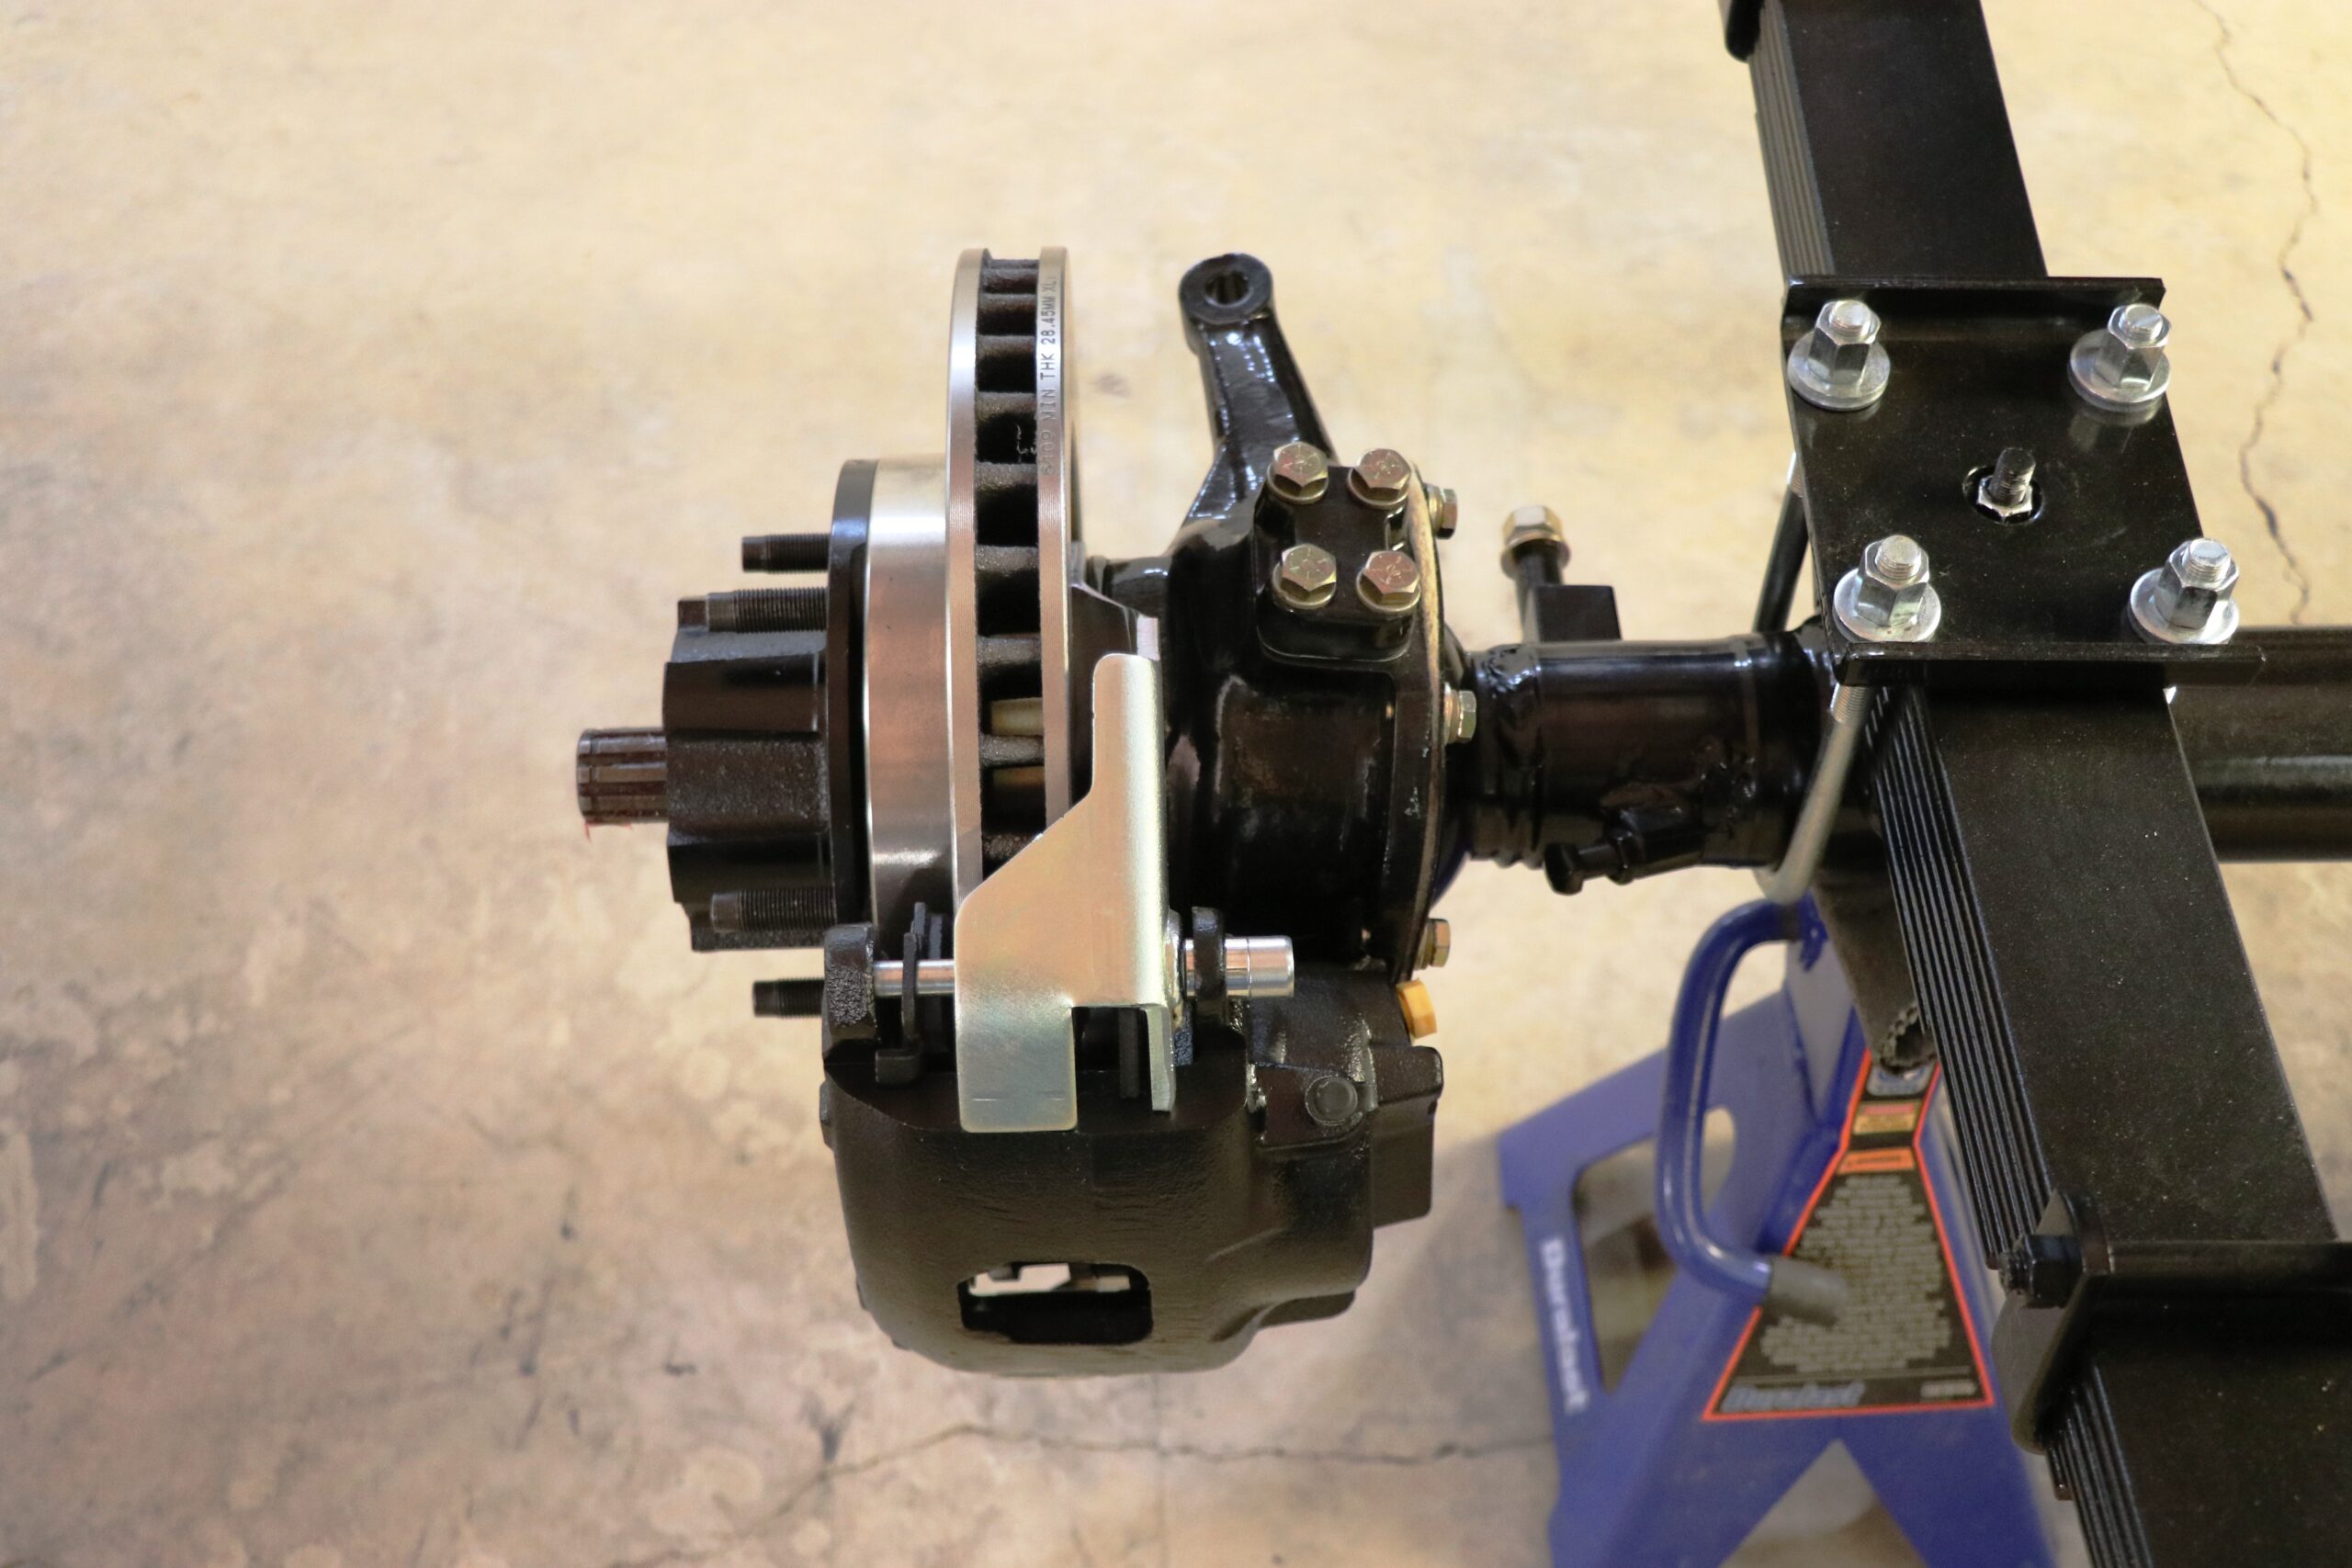
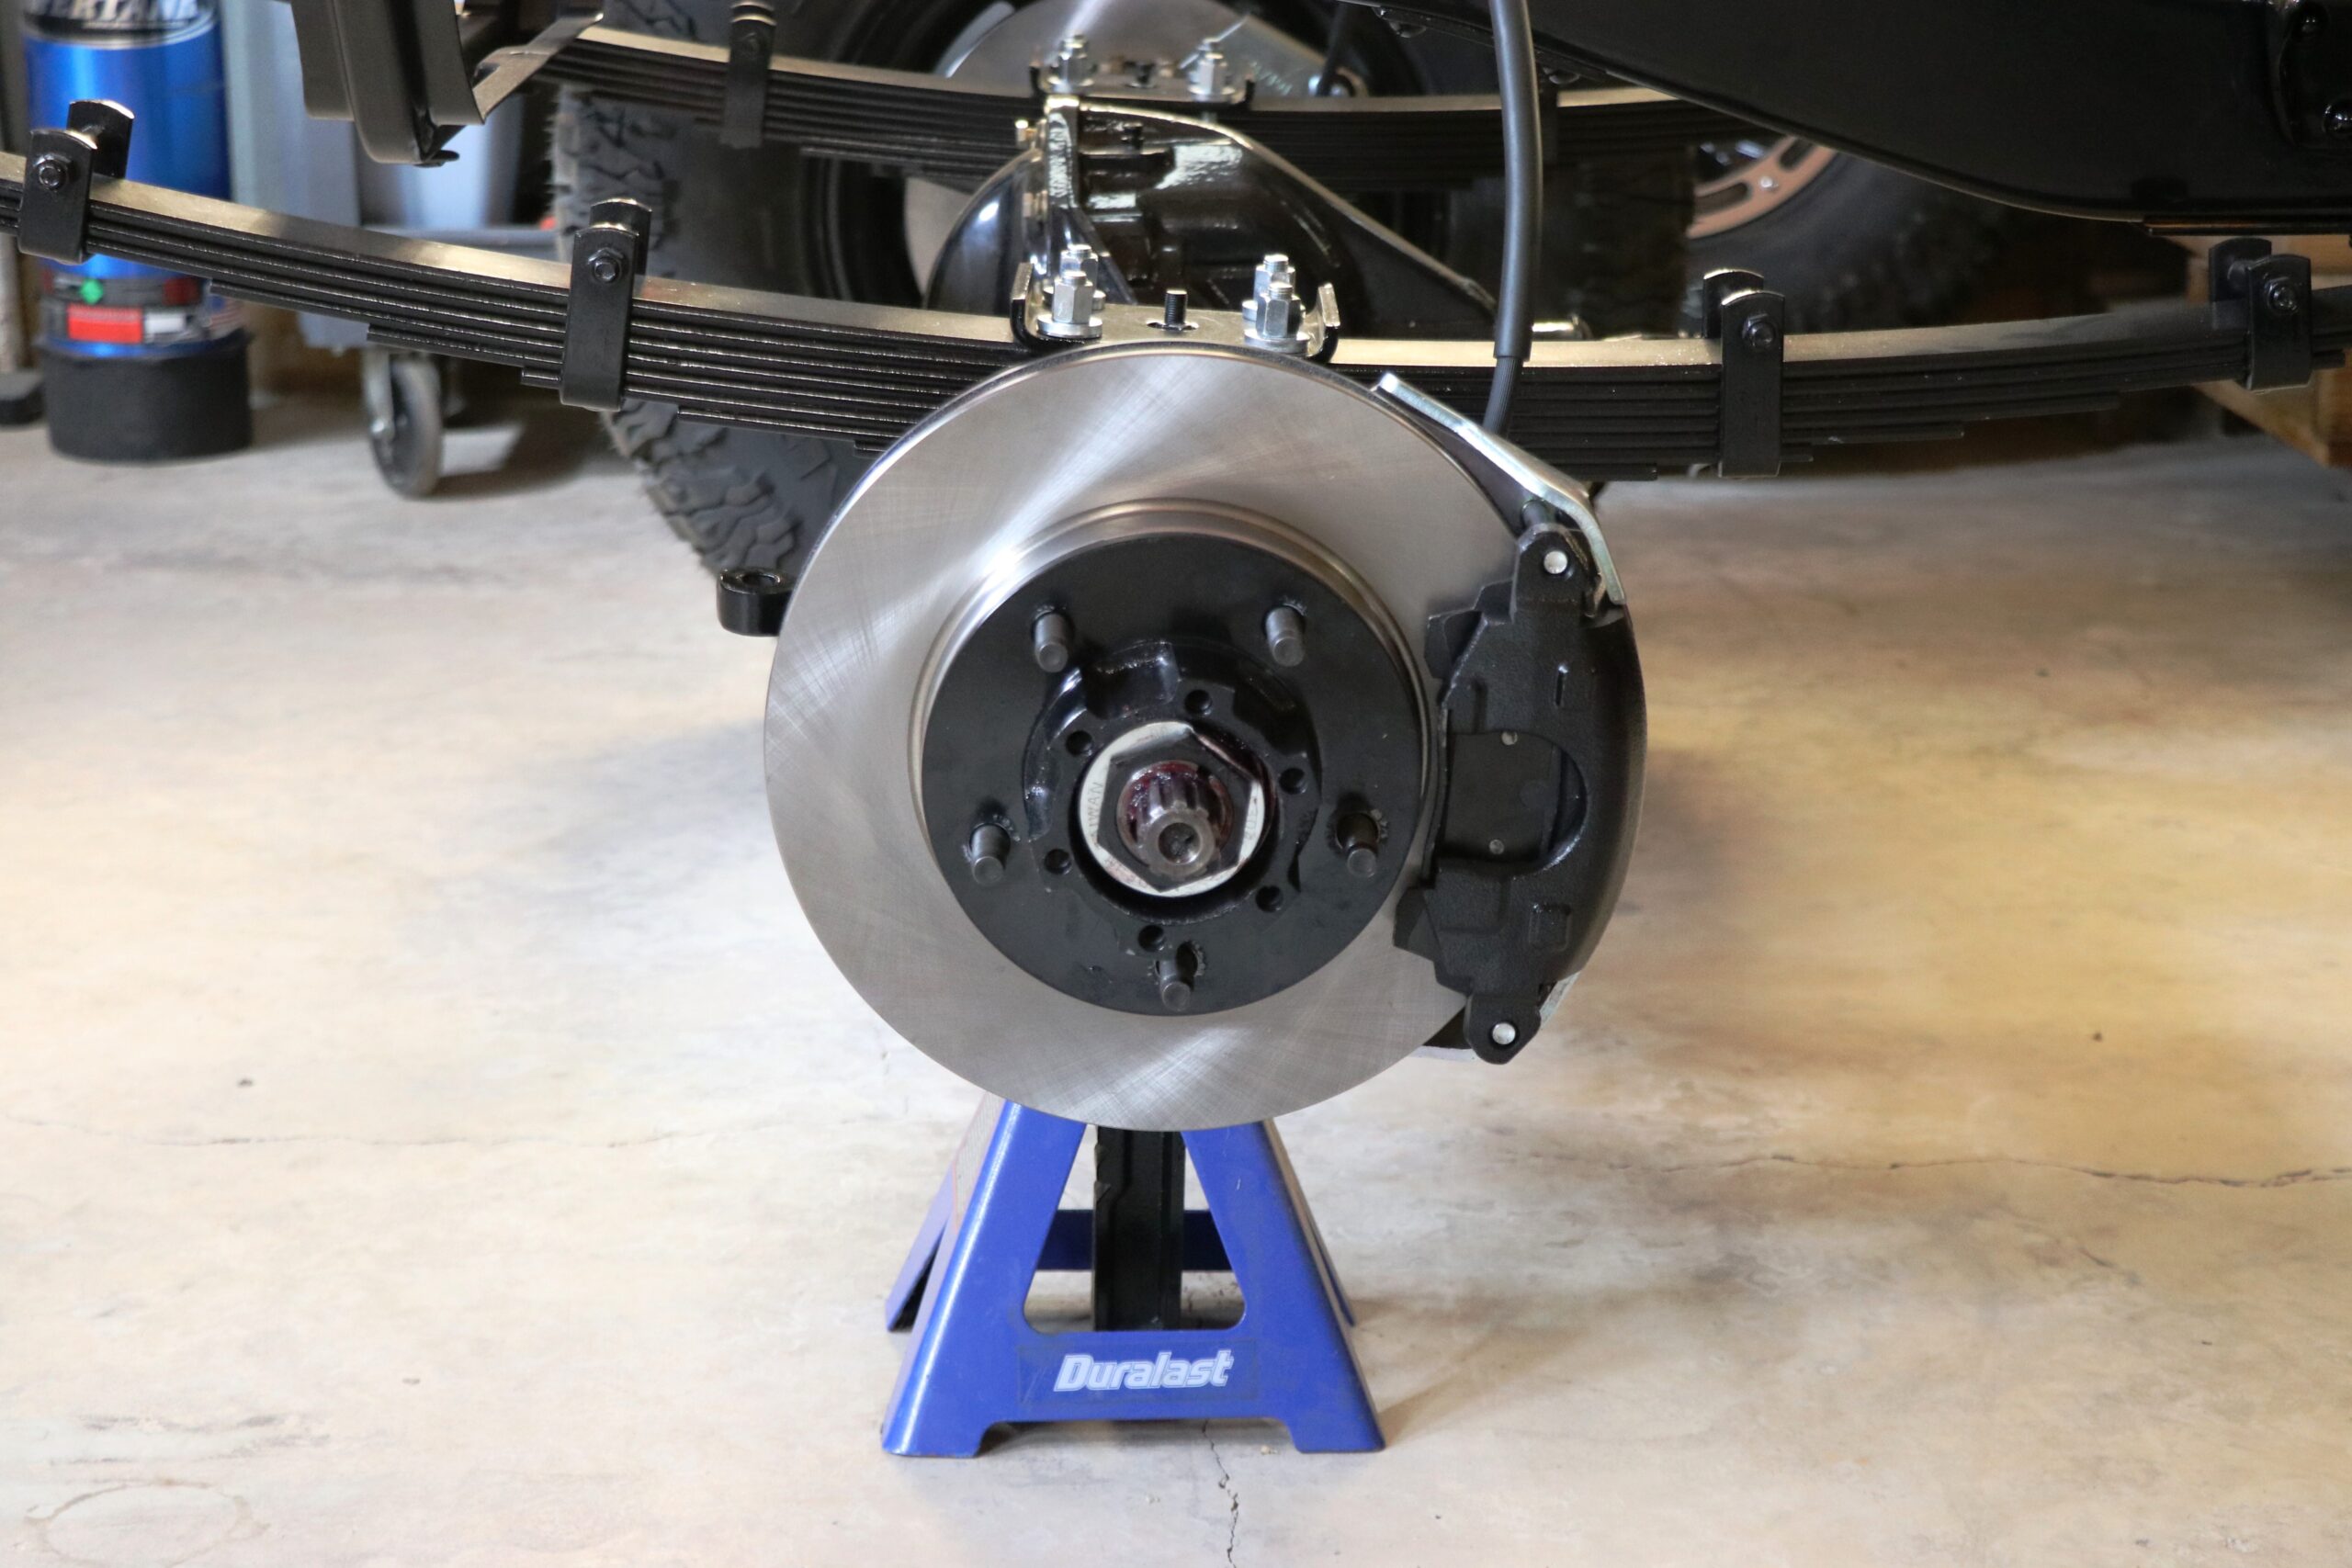
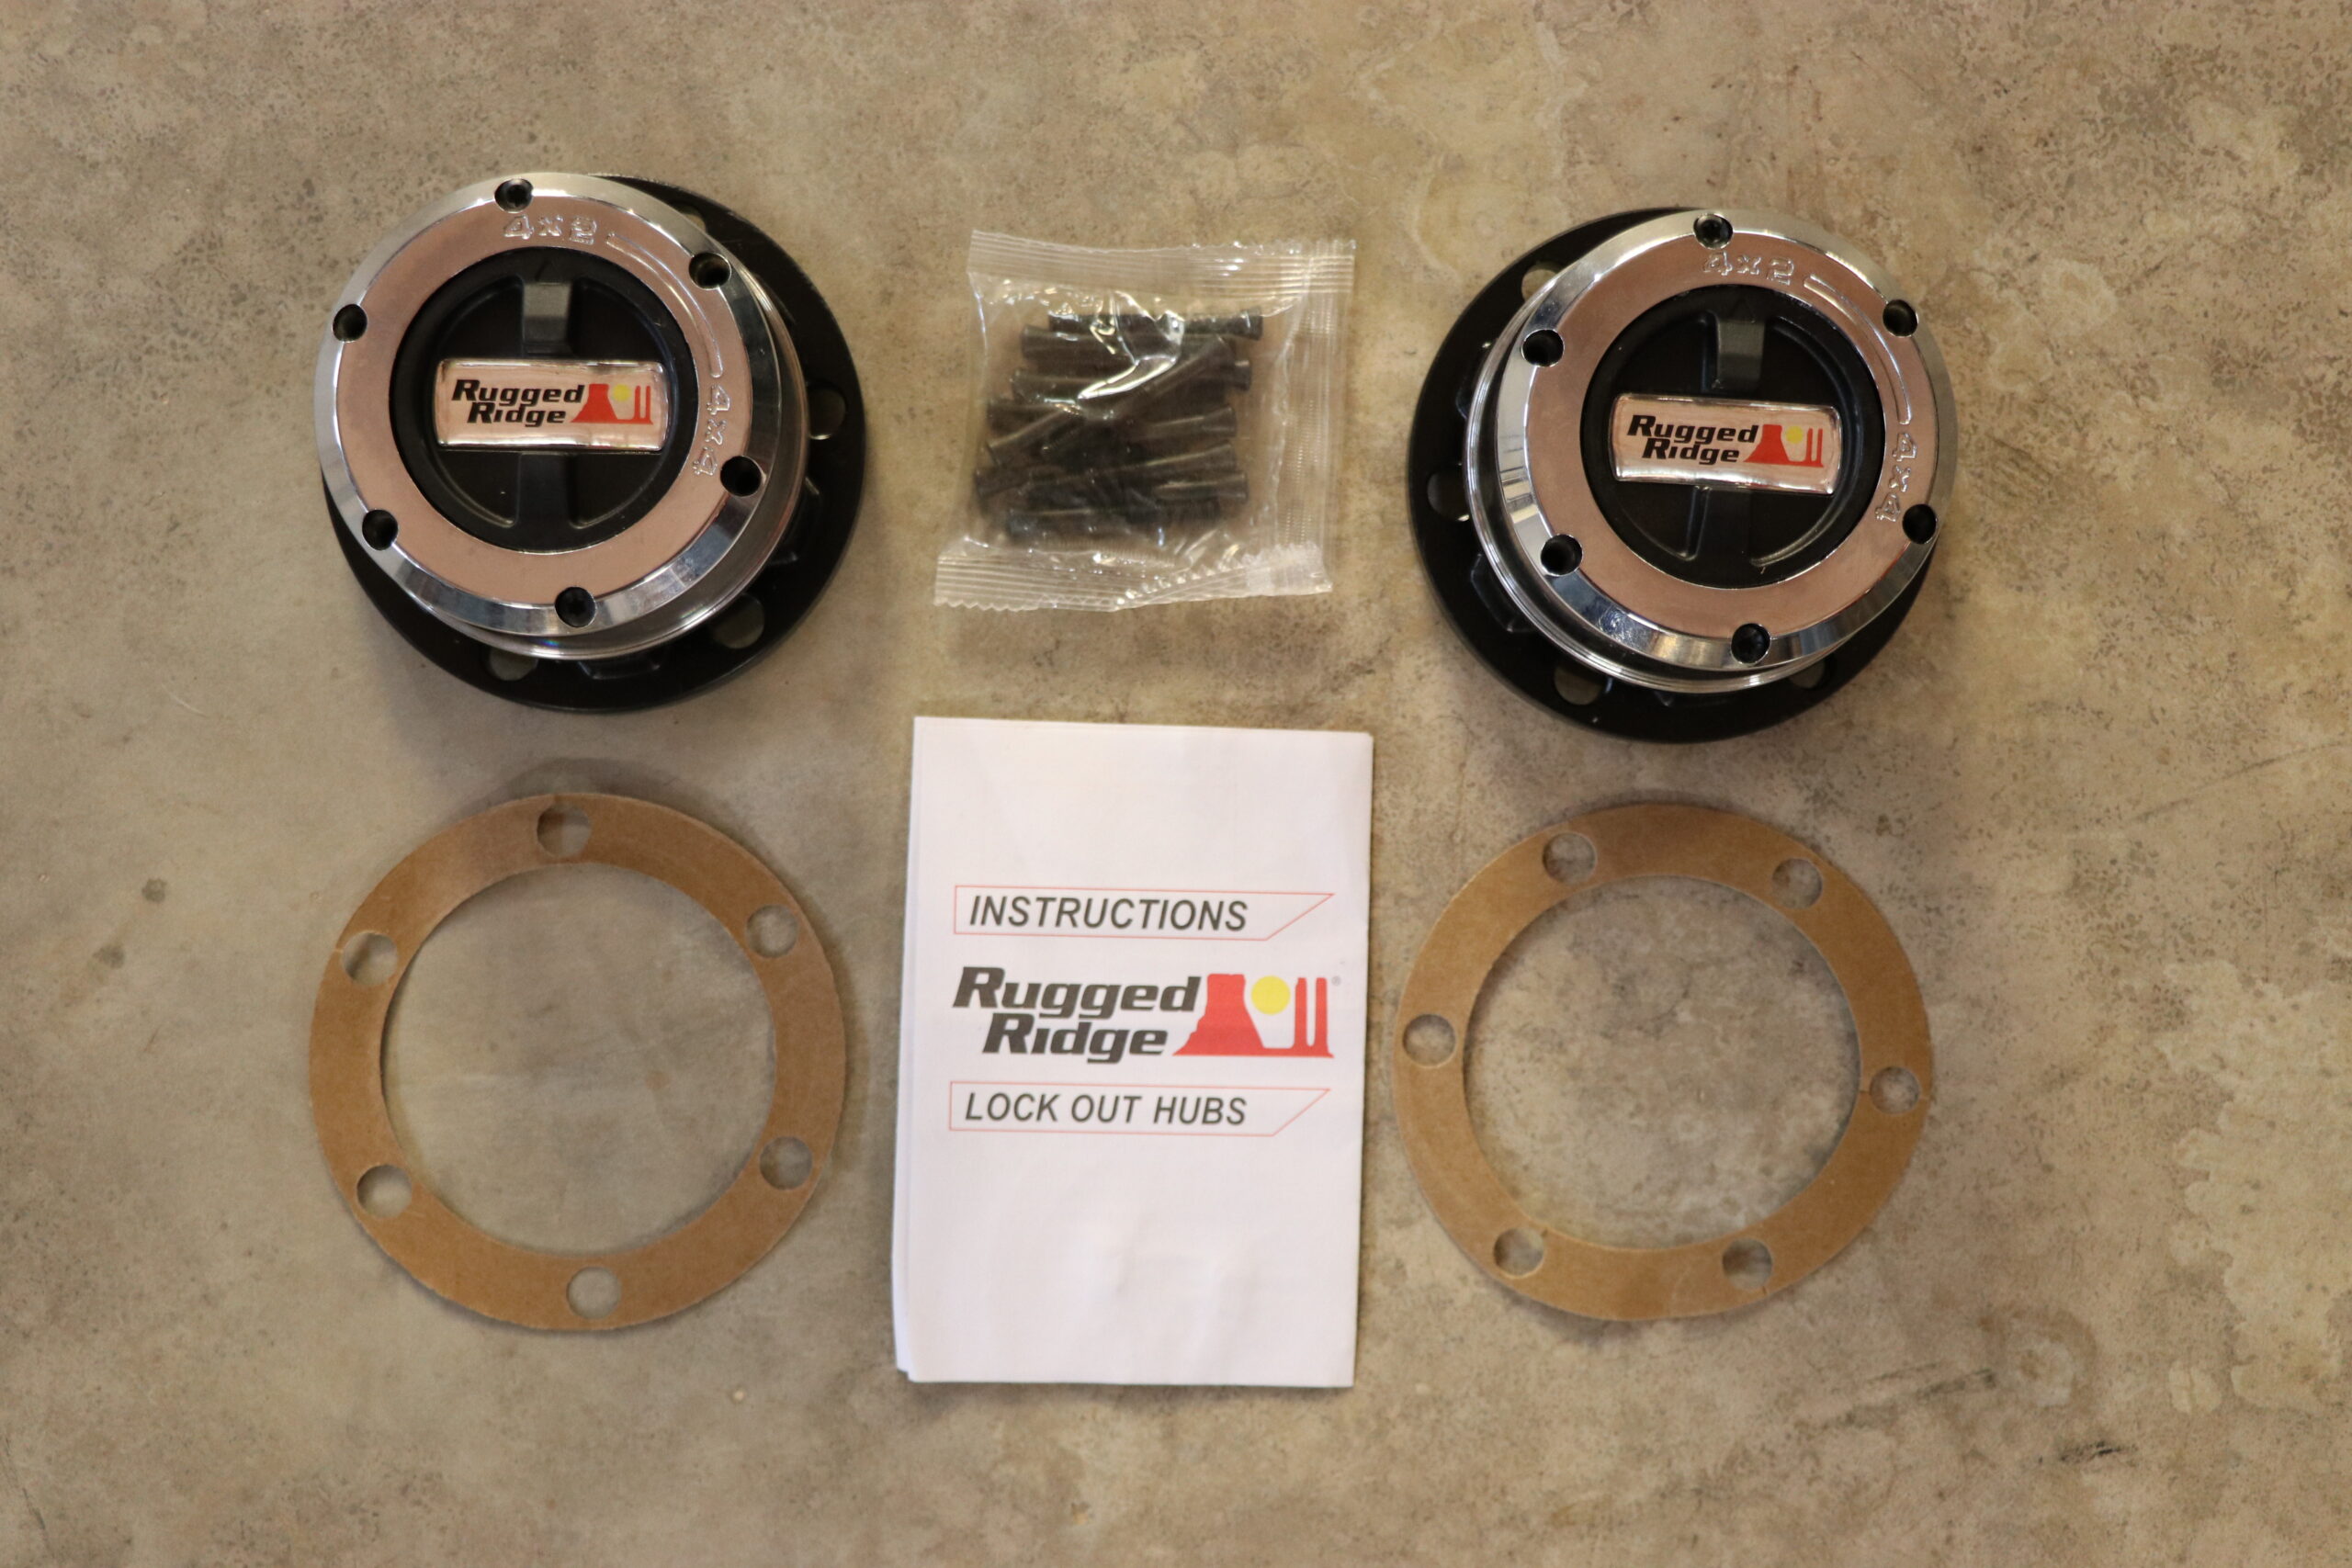
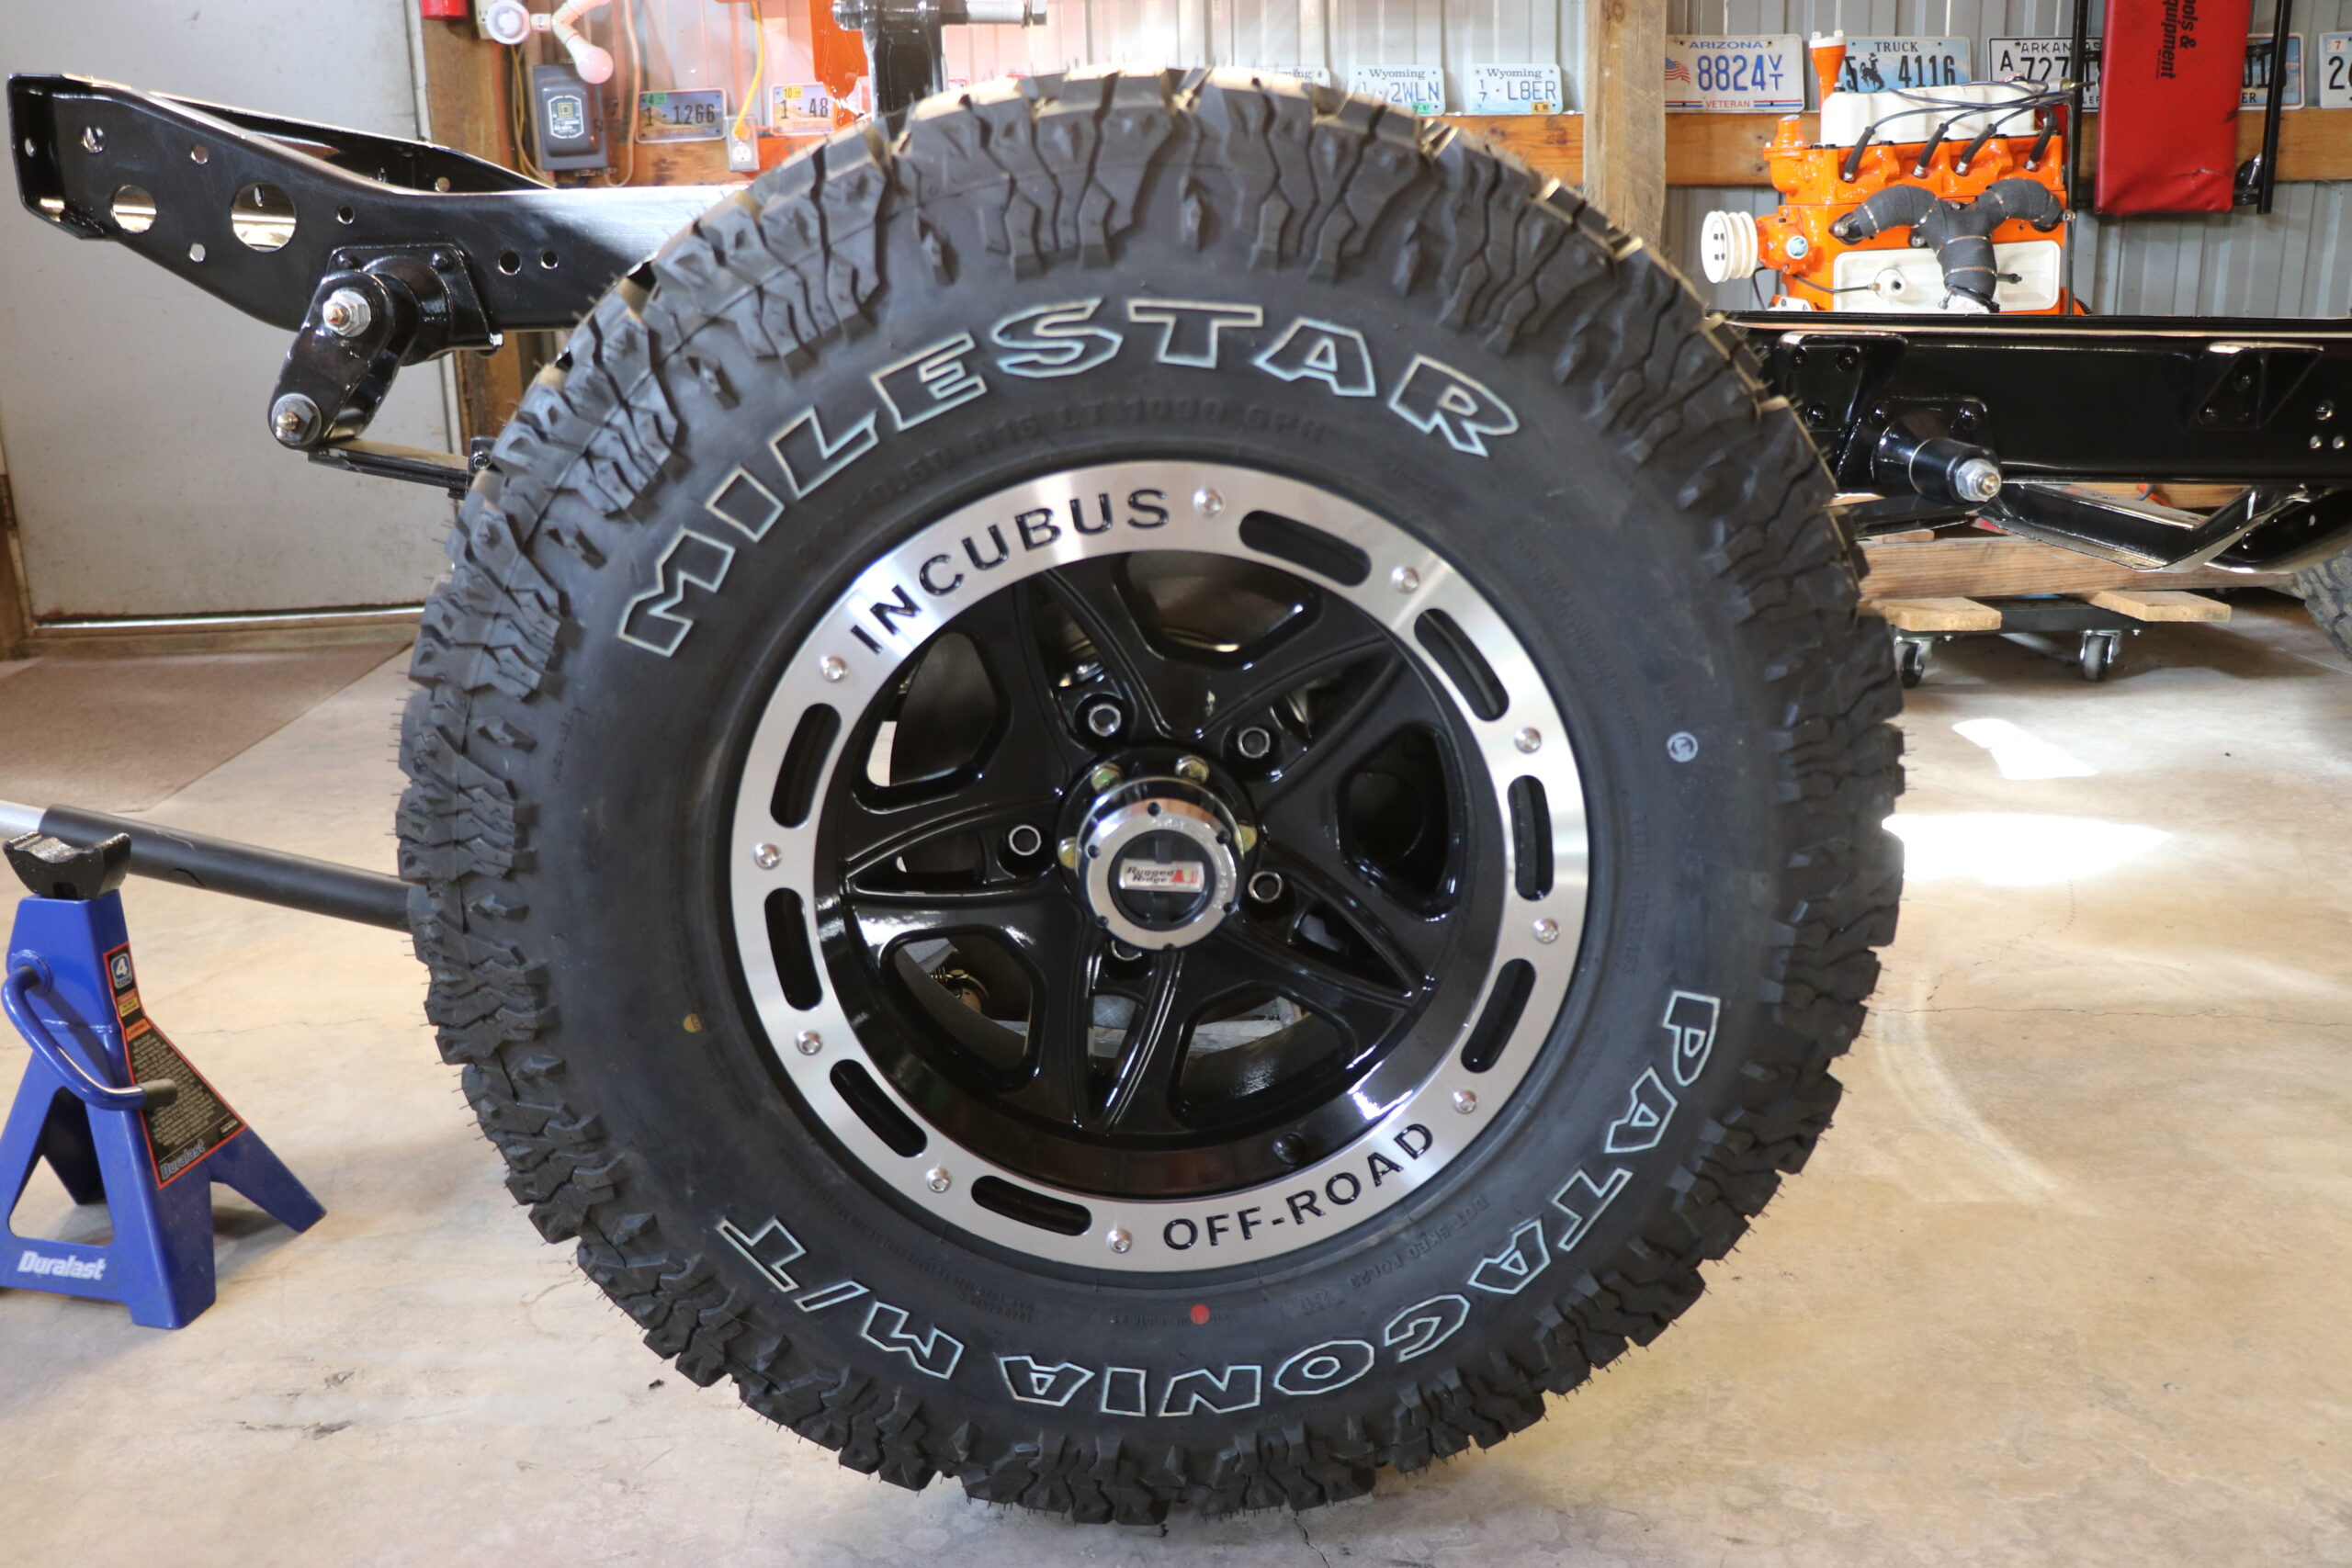
The next step was for the caliper and brake pads to be mounted, then the locking hubs and the wheel. We sourced our new Rugged Ridge locking hubs from our great support team over at Omix-ADA. Getting these locking hubs installed brought our FC-150 build and the front disc brake conversion to completion.

We also did a separate and complete video of this disc brake conversion that can be found on our YouTube channel here.